After the meal is done, do you clean the entire kitchen?  I know I do. I was brought up by my mother to make your bed every day, clean the bathroom, and always clean the kitchen after you have finished using it. Now that I have my own family, I still keep to these rules.  This is a blessing and a curse. I envy those who can wake up and not care– folks who can leave a bed undone, or the dishes in the sink until morning. Alas, I am not one of those lucky few, and I am passing that fate down to my boys. Now that they are living at home, there are rules that they have to follow. Of course, I should have taught them when they were young, but I couldn’t stand nagging them. It was just easier to do it myself. I did, however, manage to teach them how to do their laundry before they went to college.  I’d like to think their professors were grateful to have at least two well kept students.

When they were both at college, I went through their rooms, throwing out all I could and reorganizing the rest. I felt such peace. I was happy they were living on their own and that my house looked exactly like I wanted it to. Oh, don’t get me wrong, I missed them terribly, but I certainly did not miss their mess. I loved when they came home and loved when they went back. Who knew they would both be living with me again?

The rules are that the parts of my home that we share (ie not their bedrooms) must be as clean as it was before they came through. This is no easy feat, because overall, they are completely oblivious to their own messes. At first it was hard for me too, because, really, how many times can I repeat myself?  Even I got tired of hearing my own voice. 

 I finally put my foot down and set the new rules. Thankfully, the hubby totally supported me. When he tells them to do something, all he has to do is tell them once. Go figure. Now, after dinner (which I make most nights), they both help clean up the kitchen. One day, far in the future, I might stand a chance at getting them to tidy up their rooms. I should be so lucky! The true cherry on the top would be if they decided to be more adventurous eaters, but with such a beautiful family in a wonderful home, one can only ask for so much.  

This recipe is one I only wish my boys would try– they truly have no reason not to! The cauliflower and the onions are so sweet and tender after they have been cooked in the cream. The cheese is ooey-gooey deliciousness. The pepper flakes give the perfect amount of heat, and the breadcrumbs and sesame seeds add a crunchy texture. This is a keeper for sure.

This recipe is courtesy of Nothing Fancy, by Allison Roman and will serve 4 to 6 people who will offer to help clean up in exchange for the recipe.

Ingredients for Creamy Cauliflower Gratin:

1 cup heavy cream
4 tablespoons (1/2 stick) unsalted butter
2 garlic cloves, finely grated
Kosher salt and freshly ground black pepper
2 1/2- to 3-pound cauliflower, leafy green parts removed
1/2 small sweet or yellow onion, very thinly sliced
6 ounces Gruyère or white cheddar cheese, grated (about 2 1/2 cups)
Crushed red pepper flakes (optional)
2 cups fresh coarse bread crumbs or panko (omit if you’d like to make gluten-free)
3 tablespoons white sesame seeds
1/4 cup olive oil (if using bread crumbs)

Preheat the oven to 425°F.

Bring the cream, butter, and garlic to a simmer in a small pot over medium heat.

Season with salt and pepper and remove from heat.
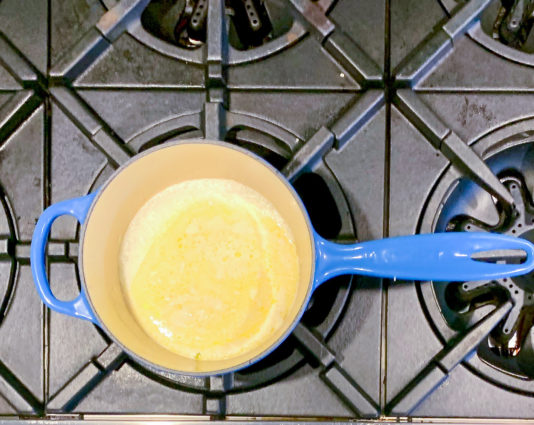
Slice the cauliflower into 1/2-inch-thick slabs (some of the bits will fall away and crumble into tiny florets; this is fine).

Place the smallest bits of cauliflower on the bottom of a 9-inch pie plate or cake pan (I like the roundness of the pie plates and cake pans, but a 2-quart baking dish of any shape will work).

Scatter with some of the onion, followed by some of the cheese.
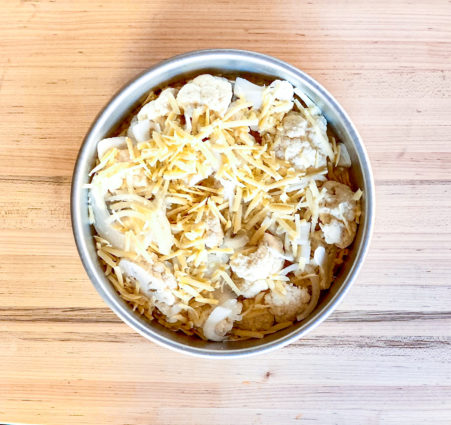
Repeat with the remaining cauliflower, onion, and cheese until all of it is used, ending with the cheese.

Pour the cream mixture over (leave the garlic in or remove), followed by a good sprinkle of crushed red pepper flakes, if using.
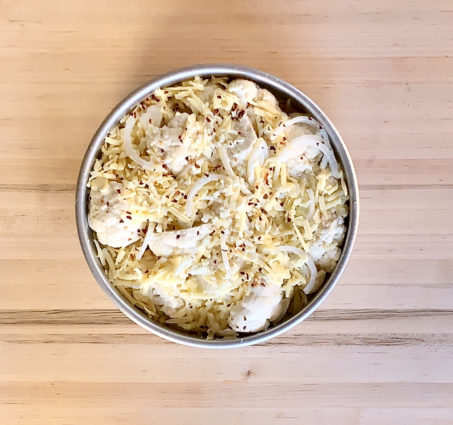
Cover with aluminum foil and bake until the cauliflower is tender and cooked through, 2o to 25 minutes.

Remove the foil and continue to bake until the top is bubble and golden and the cream is mostly reduced, another 15 to 20 minutes (it will look slightly runny and creamy in the oven but will set and thicken once you take it out of the oven and let it cool a few minutes).
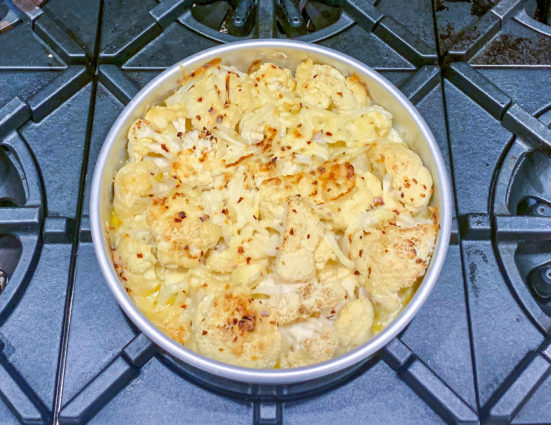
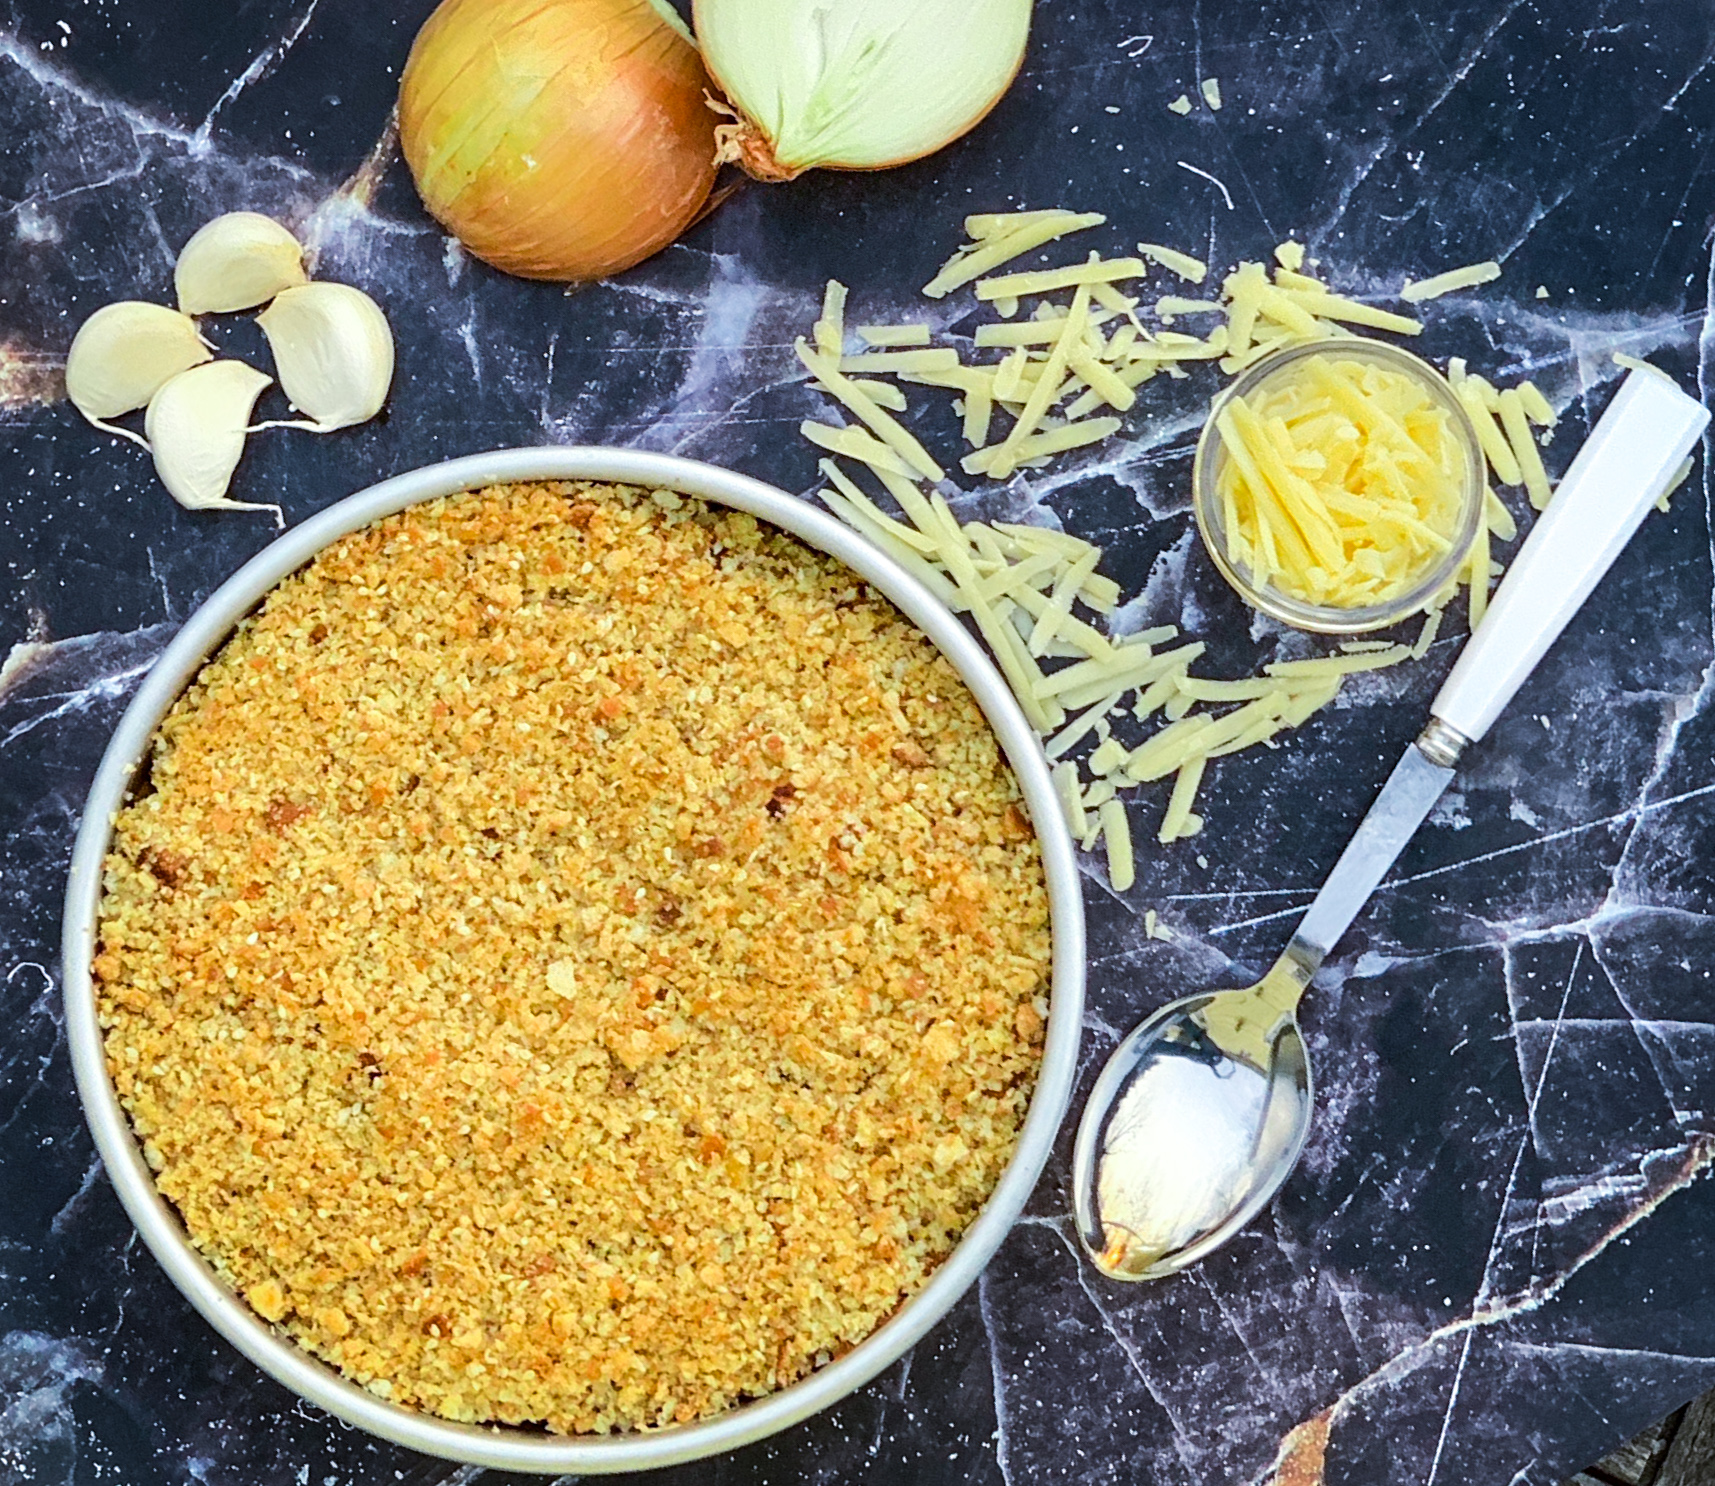
If using the bread crumbs: Now is the time to put them to use. Combine the bread crumbs, sesame seeds, and olive oil in a medium bowl (alternatively, just use the sesame seeds).
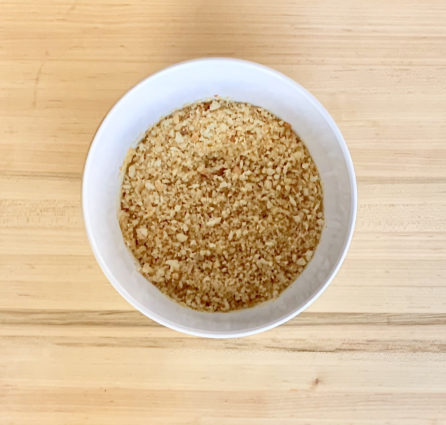
Season with salt and pepper.

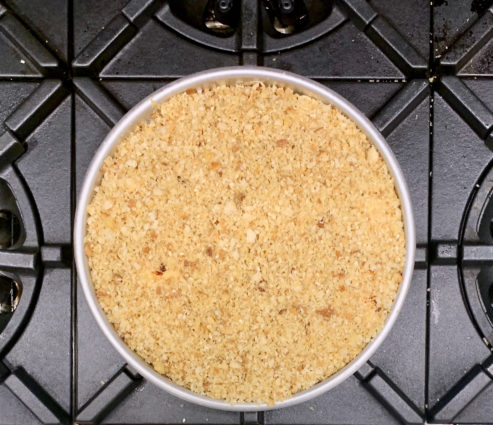
Scatter the bread crumb mixture (alternatively, just scatter the sesame seeds) over the top and bake until those are deep and thoroughly crispy and golden brown, 8 to 10 minutes.

Remove from the oven and let cool slightly before serving.
It’s that simple!
signature

[recaptcha]


I know lots of people who do not like to cook. They prefer to have somebody else to cook for them. Deciding where to go takes more time than throwing a chicken in the oven. And, now that it is so cold, once I get home, I do not want to go out again! Make a simple dinner at home is my first choice, and should be yours too.

First and foremost, cooking saves you money. Eating dinner that is prepared at home is much cheaper than eating at a restaurant, or even prepared meals at a grocery store.  Restaurants especially are so expensive and the cost of a meal every day will add up quickly. When you eat at home, you can plan cost-effective menus and make larger portions so you can have leftovers for the next day or two. Most folks (my family included included) love leftovers. 

Second, if you are cooking for yourself, the meal will likely be more healthy.  We do not tend to indulge at home like we would at a restaurant. You will probably not be making French fries because of all the work and mess that goes into it. Who has the right equipment for deep frying?  And more importantly, wants to clean that up? You will probably choose something easier, with simple ingredients that help you maintain a healthier lifestyle. 

Third, you know exactly what is going into your food. I know that when I go to a restaurant, I ask a million questions about how the food is prepared (they probably hate me for this) and what ingredients go into the dish. The staff are always kind enough to answer my questions and will often alter the dish according to my preference. Cooking at home will safeguard that you have control of what is in your food, such as sugar, oil, and salt.  For those of you with tight dietary restrictions, this is also much less stressful than eating out.

Whether eating at a restaurant or at my own table, sweets are a must for me.  If you can control what goes into your meal, then you may just have a little extra room to have dessert. You won’t feel guilty and you can truly enjoy them. Let’s face it, desserts make life more enjoyable, so cook yourself a good homemade meal and indulge (but not too much). 

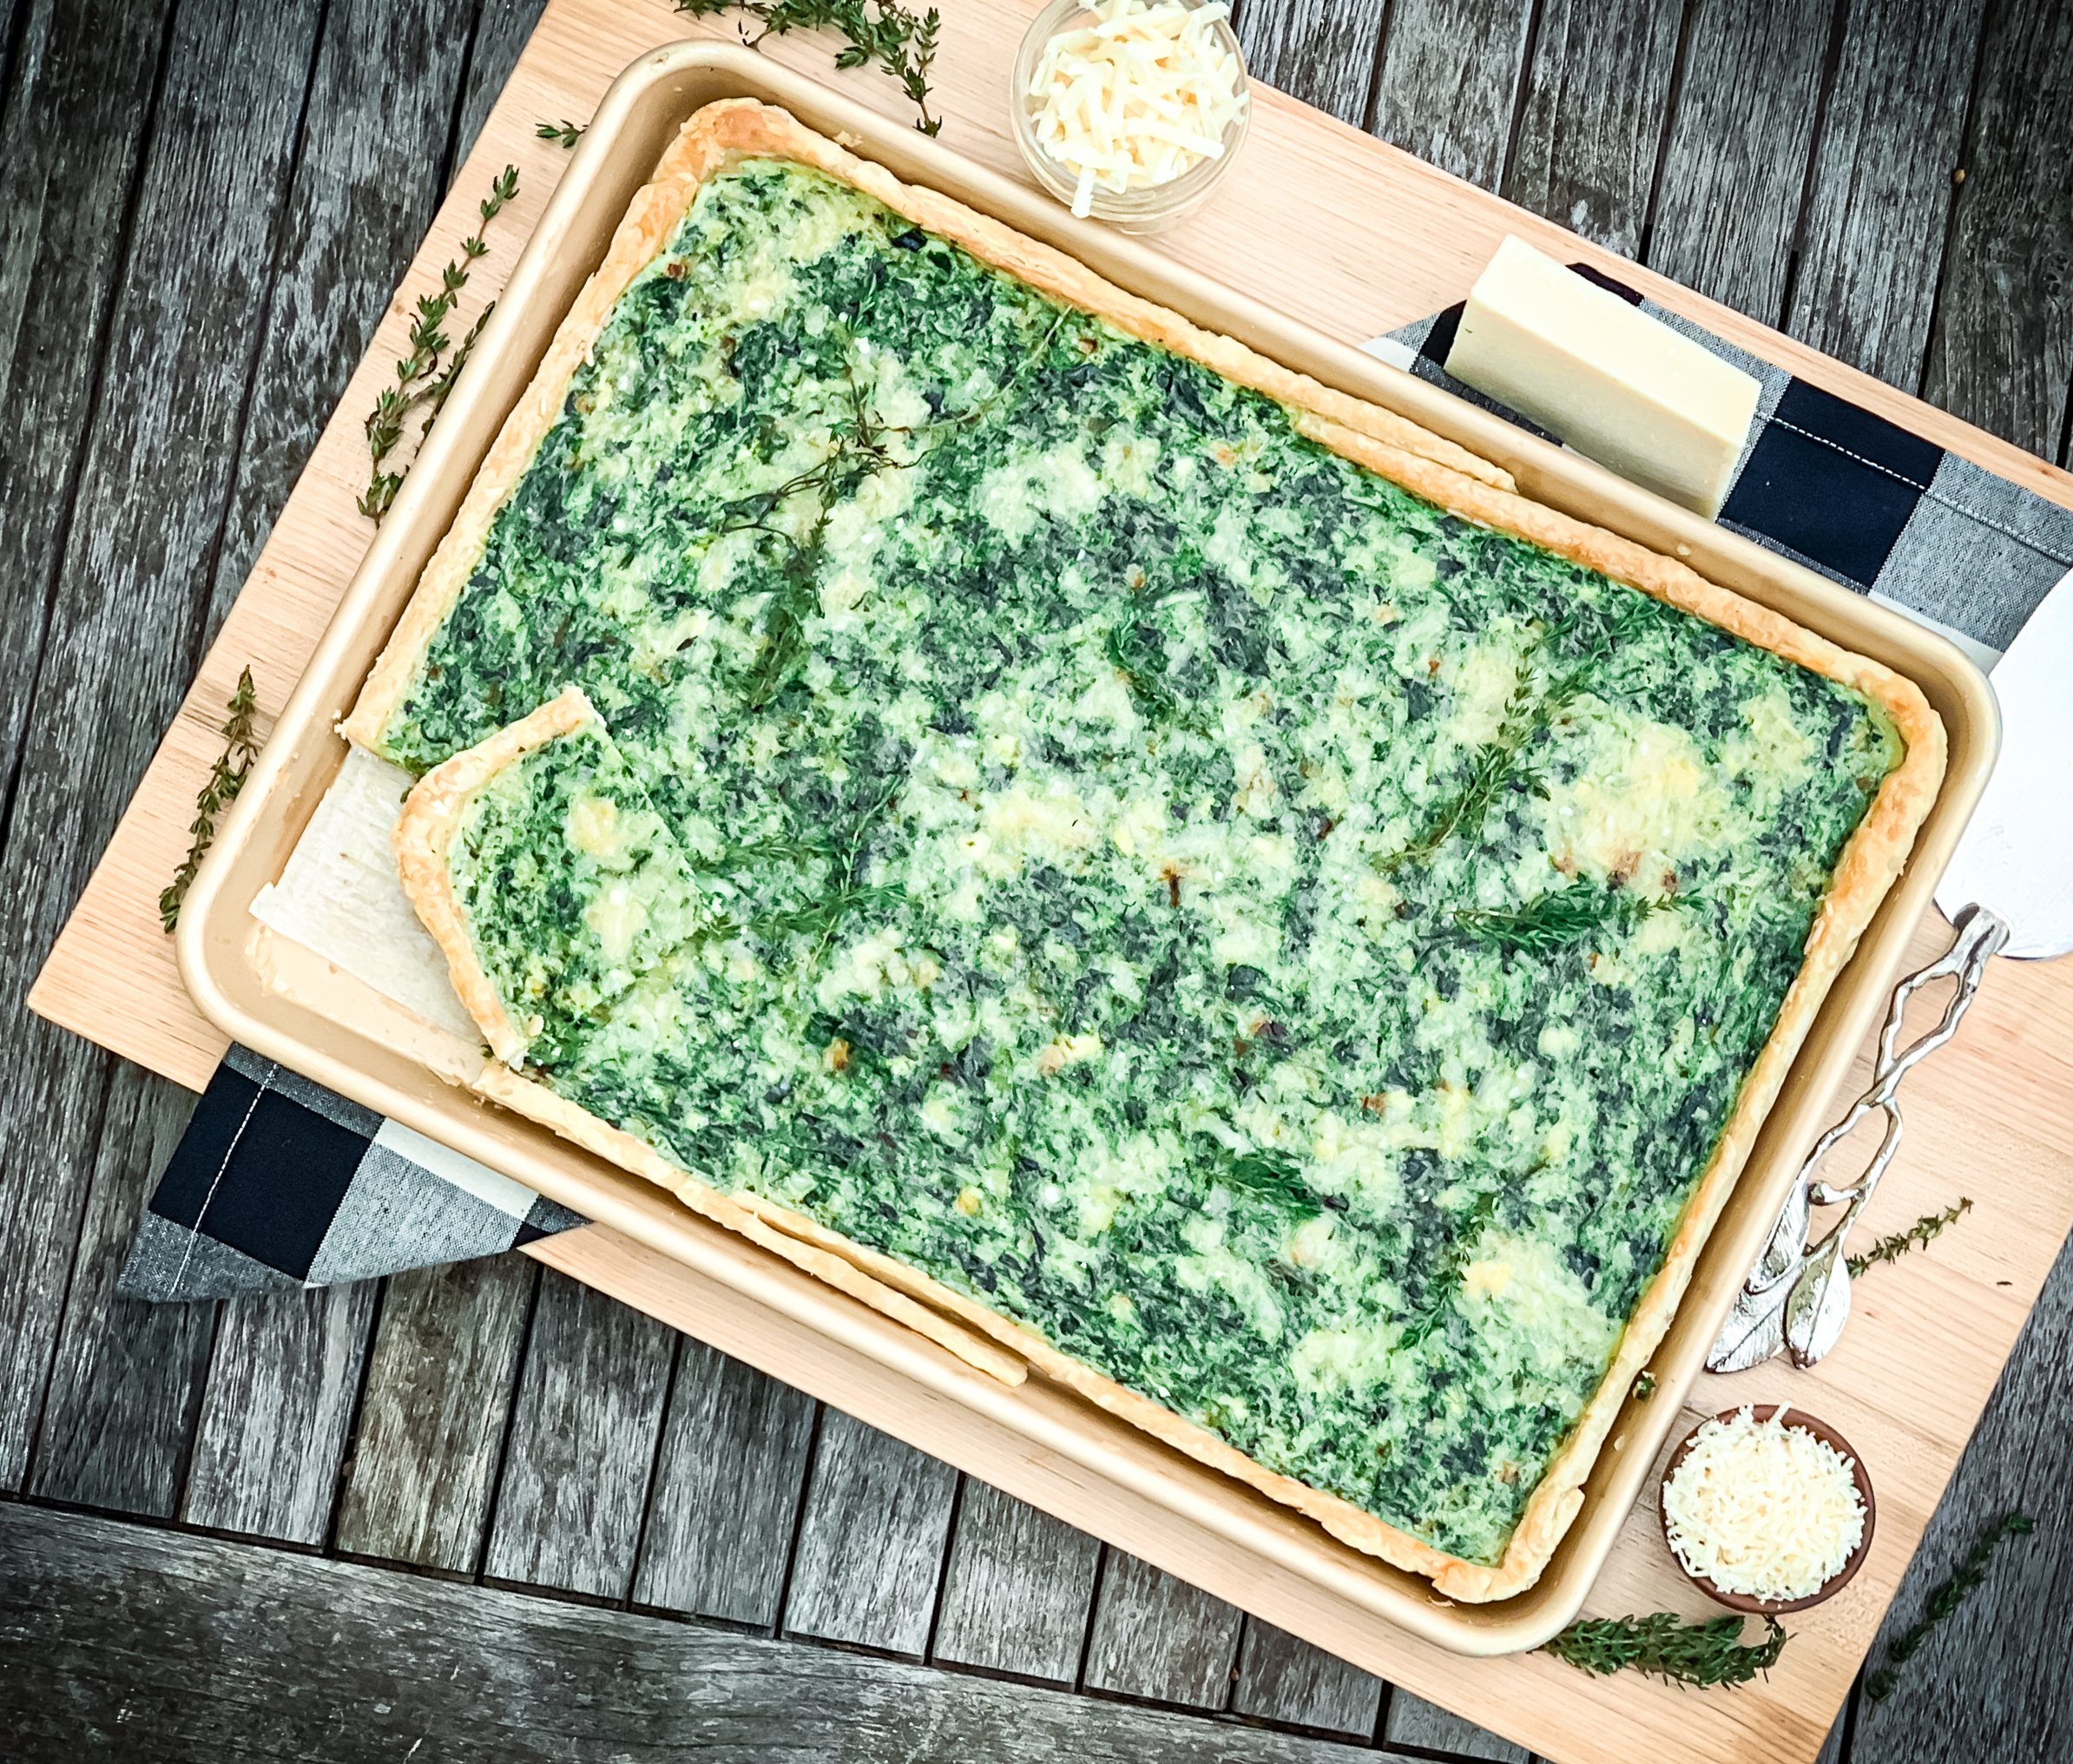
 This dish is definitely something you can make at home and feel really good about. It is very satisfying and so easy to make. The puff pastry is the perfect vessel for these enticing ingredients. The spinach and onion are a delicious combination. The cheeses add gooey deliciousness and the thyme and chives are the savory wonders of this quiche.

This recipe is mine and will serve 8 to 10 people who will love this rustic, homemade meal.

Ingredients for Spinach Quiche:

2 sheets puff pastry, defrosted but chilled
2 (10-ounce) packages frozen spinach, thawed and drained
4 ounces cream cheese, softened
1 cup Gruyere cheese
1 cup Parmesan cheese, divided
2 tablespoons olive oil
1 yellow onion, sliced
10 eggs
2 egg whites plus 1 teaspoon water
10 eggs
2/3 cup half and half, whole milk or heavy cream
4 sprigs thyme, thyme removed and chopped
1 teaspoon kosher salt
1/2 teaspoon freshly ground black pepper

Preheat oven to 400 degrees F.

Line a baking sheet with parchment paper.

On a floured surface, roll out each piece of dough to a long rectangle.

Place one sheet on either side of baking sheet, leaving enough dough on the sides to carefully work dough up sides of pan.

Press along center where the two puff pastry sheets meet and press so they come together.

Using your hands, work dough up to the lip of the pan, forming your crust.


Using a fork, prick the surface of the dough to keep it from puffing up when baking.

Brush the dough with egg whites plus 1 teaspoon water.

Place a piece of parchment paper over the dough and place some rice on top to weigh it down.

Bake the dough for 10 minutes then remove from oven.

Take the rice off and remove the parchment paper.

Place in the oven to bake for 5 more minutes.

While dough is baking, heat the olive oil in a large sauté pan over medium-high heat.

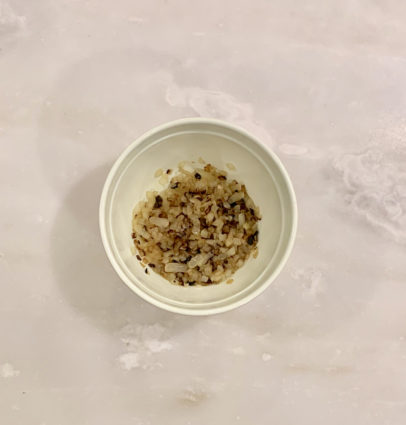
Add the onions and cook until they soften and become golden brown, about 15 to 20 minutes.

Transfer the onions to a bowl and allow to cool.

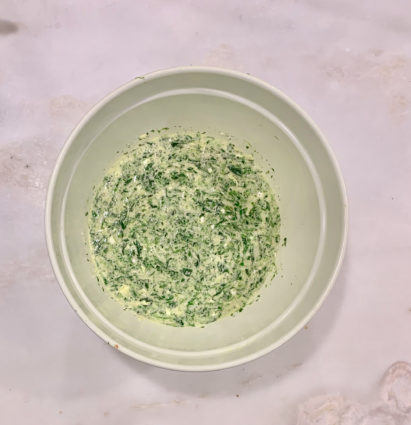
In a medium bowl, whisk together the 10 eggs, cream cheese, cream (or milk) and thyme, until they are completely combined.

Add thawed and drained spinach, 1/2 cup of Parmesan cheese and onions to the egg mixture.

Season with salt and pepper.

Sprinkle remaining 1/2 cup Parmesan on top.

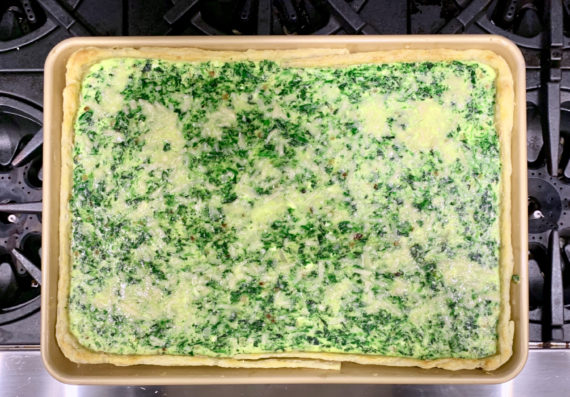
Pour the filling into the cooled crust and bake for 15 minutes or until the filling sets.

Allow the quiche to stand for 5 to 10 minutes.

Serve warm.

It’s that simple! 

signature

[recaptcha]


When my oldest son was a toddler, he was a very picky eater. My son had three or four foods he would eat, and boy was I grateful for those. For a while, I was able to get good nutrients into him, but those days were short lived. At some point, he began to eat only chicken fingers, pasta with butter, and pizza.  As a young mother, this behavior worried me, but I knew he would grow out of it.

My younger son was the exact opposite. I home-made his baby food, but he had none of it. He wanted the same food the adults had, and gave up baby food at a very young age. I remember when he had his tonsils removed. In the recovery room, my husband told him he would go get him some ice cream. “NO” he yelled, “I want shrimp.” My husband and I and all the nurses in the recovery room cracked up.

Nowadays, my older son has a much healthier diet, but does not like vegetables. Sometimes the dinner menu is hard because of that, but I manage. My own diet has changed through the years too. I find that I can’t eat like I used to–I read the ingredients list carefully, and don’t eat anything with an ingredient I can’t pronounce. Both of my sons live with me, and I have changed their diets to include natural, fresh food. I only buy snacks that have beneficial ingredients, and I find that we are all adapting well.

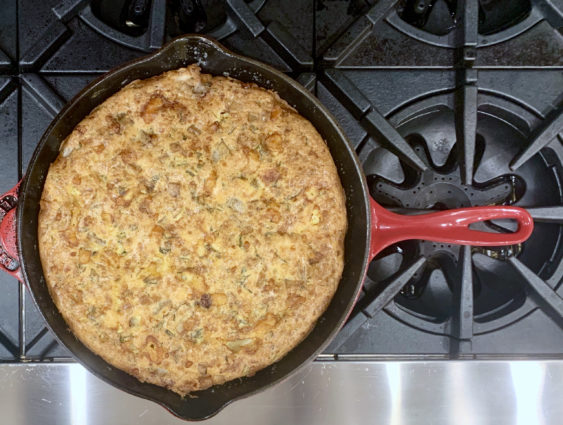
This is one recipe that my family all agrees on. Leave it to Ina to come through for me. The potato makes this dish a hearty meal, so you can serve it anytime of the day. The ricotta cheese and the gruyere are a perfect combination of deliciousness. The basil is the savory touch in this dish and adds wonderful flavor that transfers beautifully into this irresistible frittata. This is a “must try!”

This recipe is courtesy of Ina Garten and will serve 8 of even the most picky eaters.

Ingredients for Potato Basil Frittata:

8 tablespoons (1 stick) unsalted butter, divided
2 cups peeled and 1/2-inch-diced boiling potatoes (4 potatoes)
8 extra-large eggs
15 ounces ricotta cheese
3/4 pound Gruyère cheese, grated
1/2 teaspoon kosher salt
1/2 teaspoon freshly ground black pepper
3/4 cup chopped fresh basil leaves
1/3 cup all-purpose flour
3/4 teaspoon baking powder

Preheat the oven to 350 degrees F.

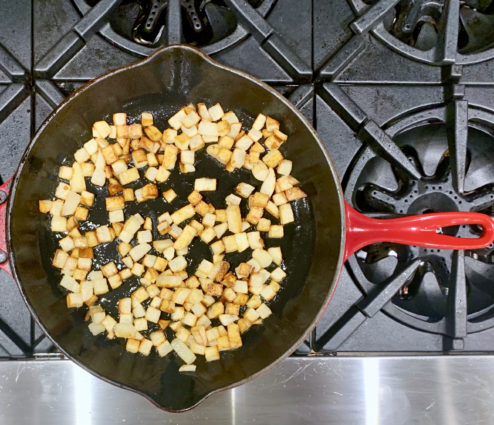
Melt 3 tablespoons of the butter in a 10-inch oven-proof omelet pan over medium-low heat.

Add the potatoes and fry them until cooked through, turning often, 10 to 15 minutes.

Melt the remaining 5 tablespoons of butter in a small dish in the microwave.

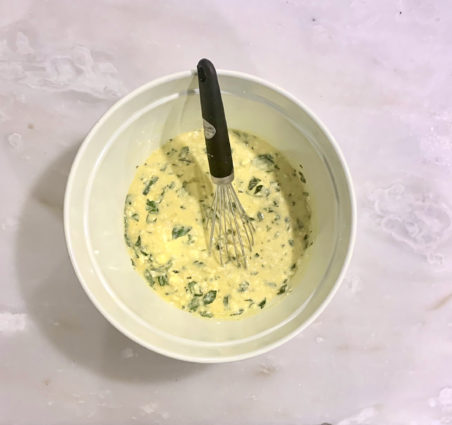
Meanwhile, whisk the eggs in a large bowl, then stir in the ricotta, Gruyère, melted butter, salt, pepper, and basil.

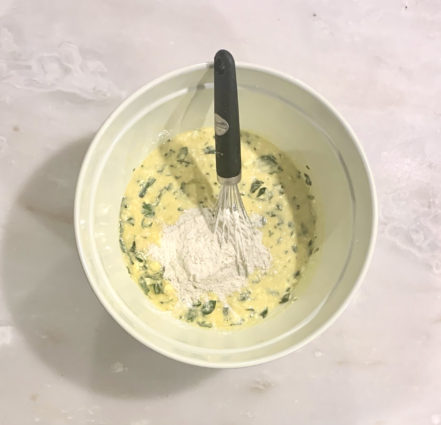
Sprinkle on the flour and baking powder, and stir into the egg mixture.

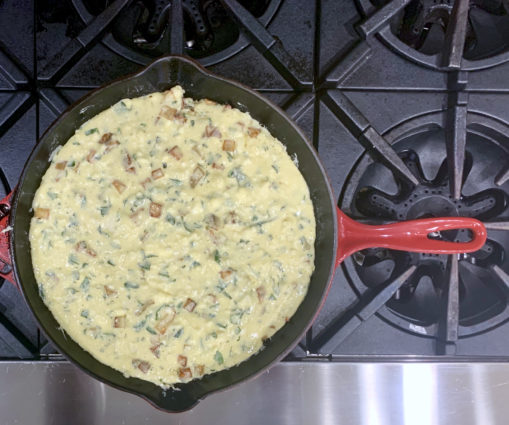
Pour the egg mixture over the potatoes and place the pan in the center of the oven.

Bake the frittata until it is browned and puffed, 50 minutes to an hour.

It will be rounded and firm in the middle, and a knife inserted in the frittata should come out clean.

Serve hot.

It’s that simple!

signature

[recaptcha]


Move over chickpeas, lentils are the new legume on the block!

Growing up, most of us never knew what a lentil was. My mother used them only in her soups, which I remember being delicious. But times are evolving and lentils on their own are becoming more popular, especially in vegan dishes. 

Given this, you would think they were just recently discovered, but they have been eaten since Neolithic times and were one of the first domesticated crops.  In the past, lentils have been considered as the “poor man’s meat.” In many countries, people who couldn’t afford fish would eat lentils. Today, lentils are cultivated throughout Europe, Asia, and North Africa.

Due to changing dietary choices, lentils have seen a new surge in popularity. They have become a healthy, meatless protein source, and are included in many vegetarian and vegan dishes. As a rule, plant based foods provide a wide range of fiber, vitamins, and minerals, and they contain antioxidant properties. There are a great source of folic acid and potassium. Having these nutrients can reduce the level of LDL cholesterol, aka “bad” cholesterol. They have 38 grams of calcium per cup, proving how healthy they are for your bones.

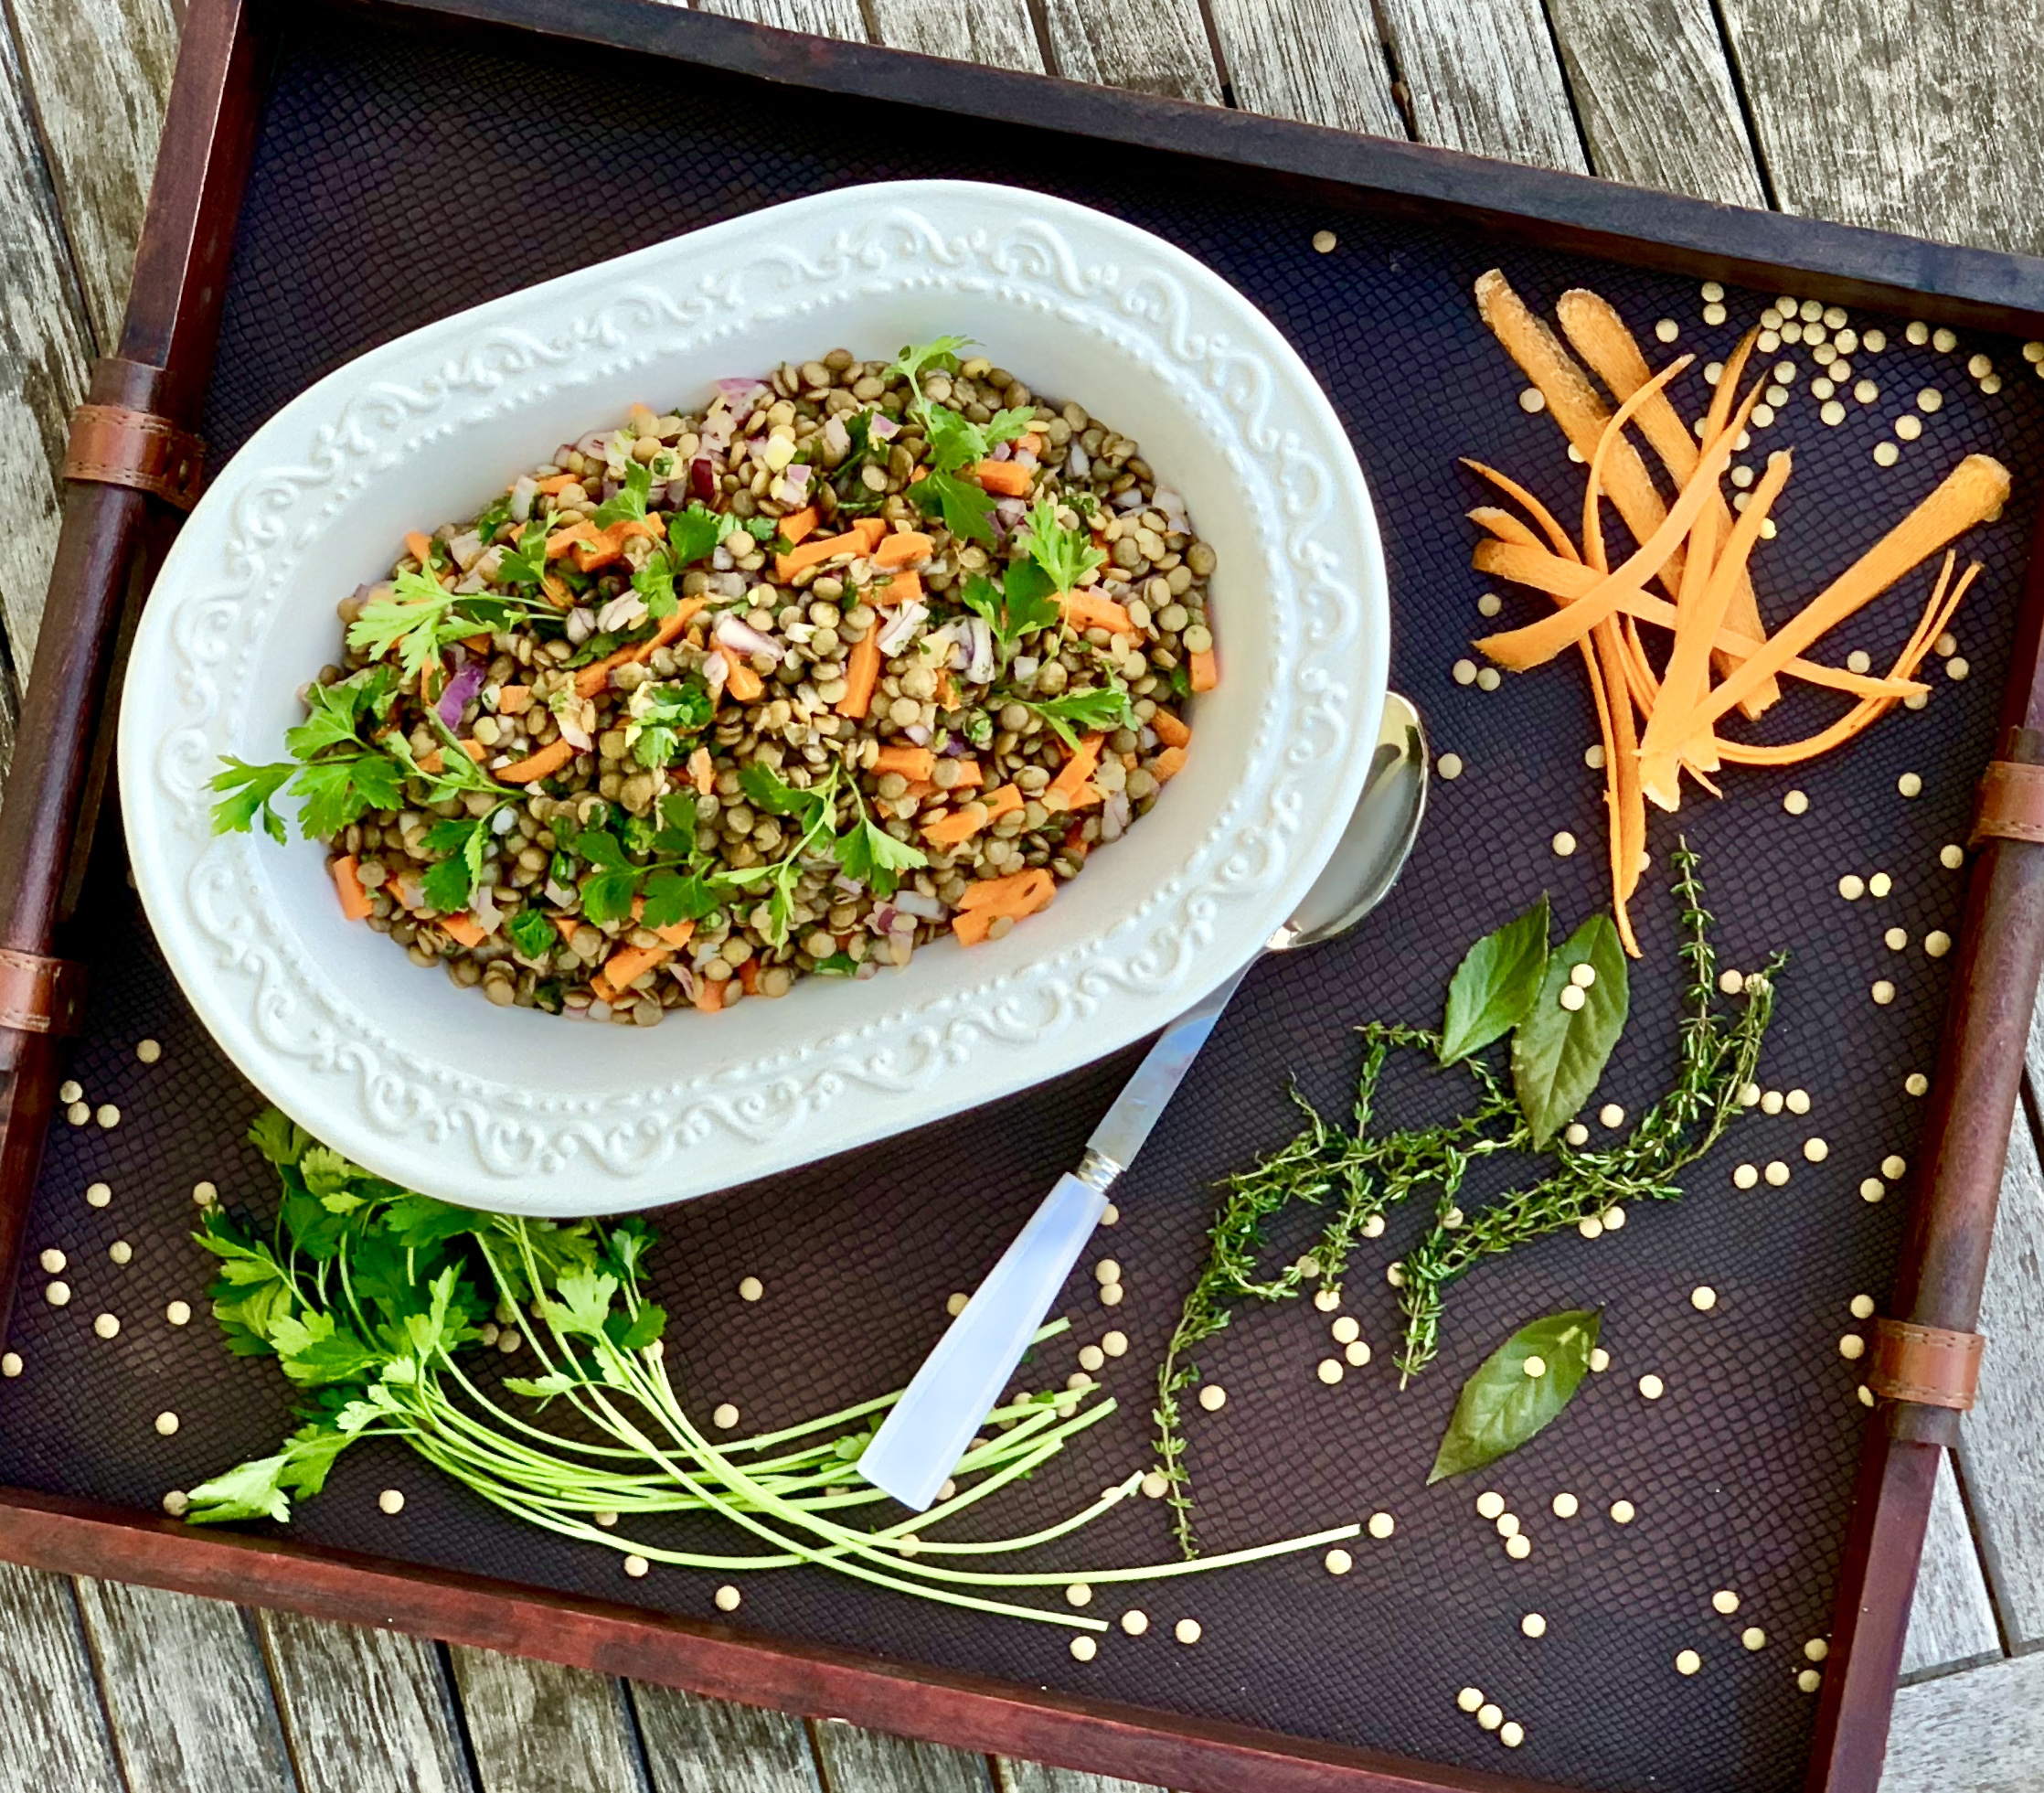
Have I convinced you yet? If I have, then this salad is just for you. If not, try it anyway!  It is packed with flavor and will keep you feeling satisfied, so you won’t be missing meat. It is also very versatile, so you can add or remove any other ingredients you would like. The bay leaf and thyme start the lentils off with a wonderful savory flavor that transfers beautifully into the salad. The onions and cayenne add nice heat, and the carrots give it gratifying crunch. Of course, the lemon juice dressing is perfect for this outstanding salad.

This recipe is my own and will serve 4 to 6 people who will enjoy this filling alternative to meat.

Ingredients for Lemon Lentil Parsley Salad:

2 cups green or brown lentils
6 cups water
1 bay leaf
4 sprigs fresh thyme, tied together with cooking string
1 cup finely diced carrots
1 cup finely diced red onion
1 cup fresh parsley, chopped
1/4 cup good extra virgin olive oil
Juice of 1/2 lemon, or more to taste
1/2 teaspoon sea salt, or to taste
1/8 teaspoon cayenne pepper, or more to taste

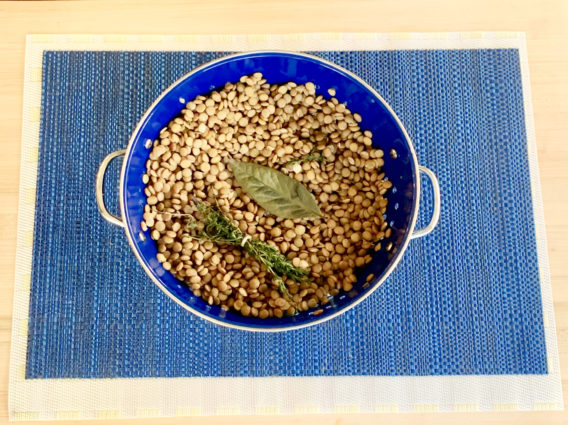
In a medium saucepan, combine the lentils, bay leaf and thyme.

Add enough water to cover by 1-inch.

Bring to a boil, then reduce heat and simmer uncovered until lentils are tender, about 15 to 20 minutes.

Drain the lentils and discard the bay leaf and thyme sprigs.

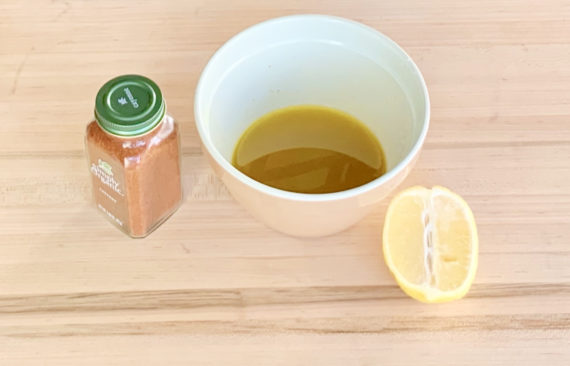
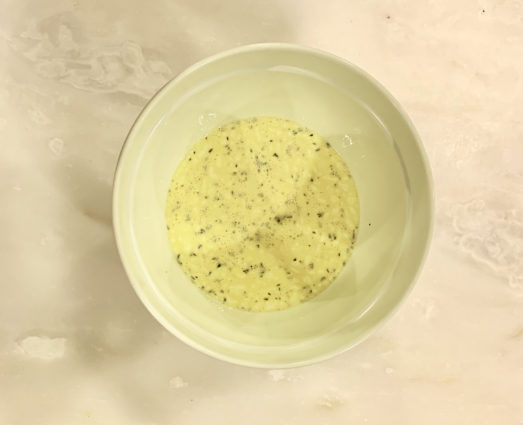
In a small bowl, whisk together the olive oil, fresh lemon juice, salt, and cayenne. 

In a large bowl, combine the lentils, carrots, red onion, and parsley.

Pour the dressing over the salad and toss to combine.

Refrigerate for about 30 minutes before serving.

It’s that simple!
MMM, good!

signature

[recaptcha]


Call me a late bloomer, but I am proud to announce that I have finally begun taking photography lessons. Oh, I know enough to get by, but I really wanted to learn from the ground up. Learning something new is always hard, and many people avoid the heartache of failing at something. Living in the same routine is easy, but it is the new year, and maybe it is time for you to challenge yourself too.

Photography uses a lot of fractions, which are not my forte. I was struggling to keep up with my instructor and write down my notes. While I know my current limitations, I will try to overcome them and learn as much as I can. Let’s think about all the successful people in this world– those who succeed the most were the best at learning new skills. You must dedicate your spare time in the pursuit of learning a new skill. And you must stick with it. That is what I intend to do, and I know I will be successful. I took up the sport of boxing at 45 and have stuck with it ever since, trying to improve any way that I can. Will I ever be Mohamed Ali? No, probably not, but I will be the best boxer I can be, and that is good enough. Will I ever be Annie Leibovitz? Not likely, but I know I will be better at photography than I am today. I also learned to speak Spanish when I was in my thirties. I felt invincible when I spoke my first full sentence.

Nothing will make you prouder at this moment, then learning something new. Remember the first couple of chords of your guitar? Or the feeling of making it downhill on the steepest ski slope? I remember when I couldn’t cook. Now I can. Try something new. It’s good for your brain, your heart and your emotional well-being. You can do it. If you’ve been successful at learning something new, please share it, I would love to hear from you!

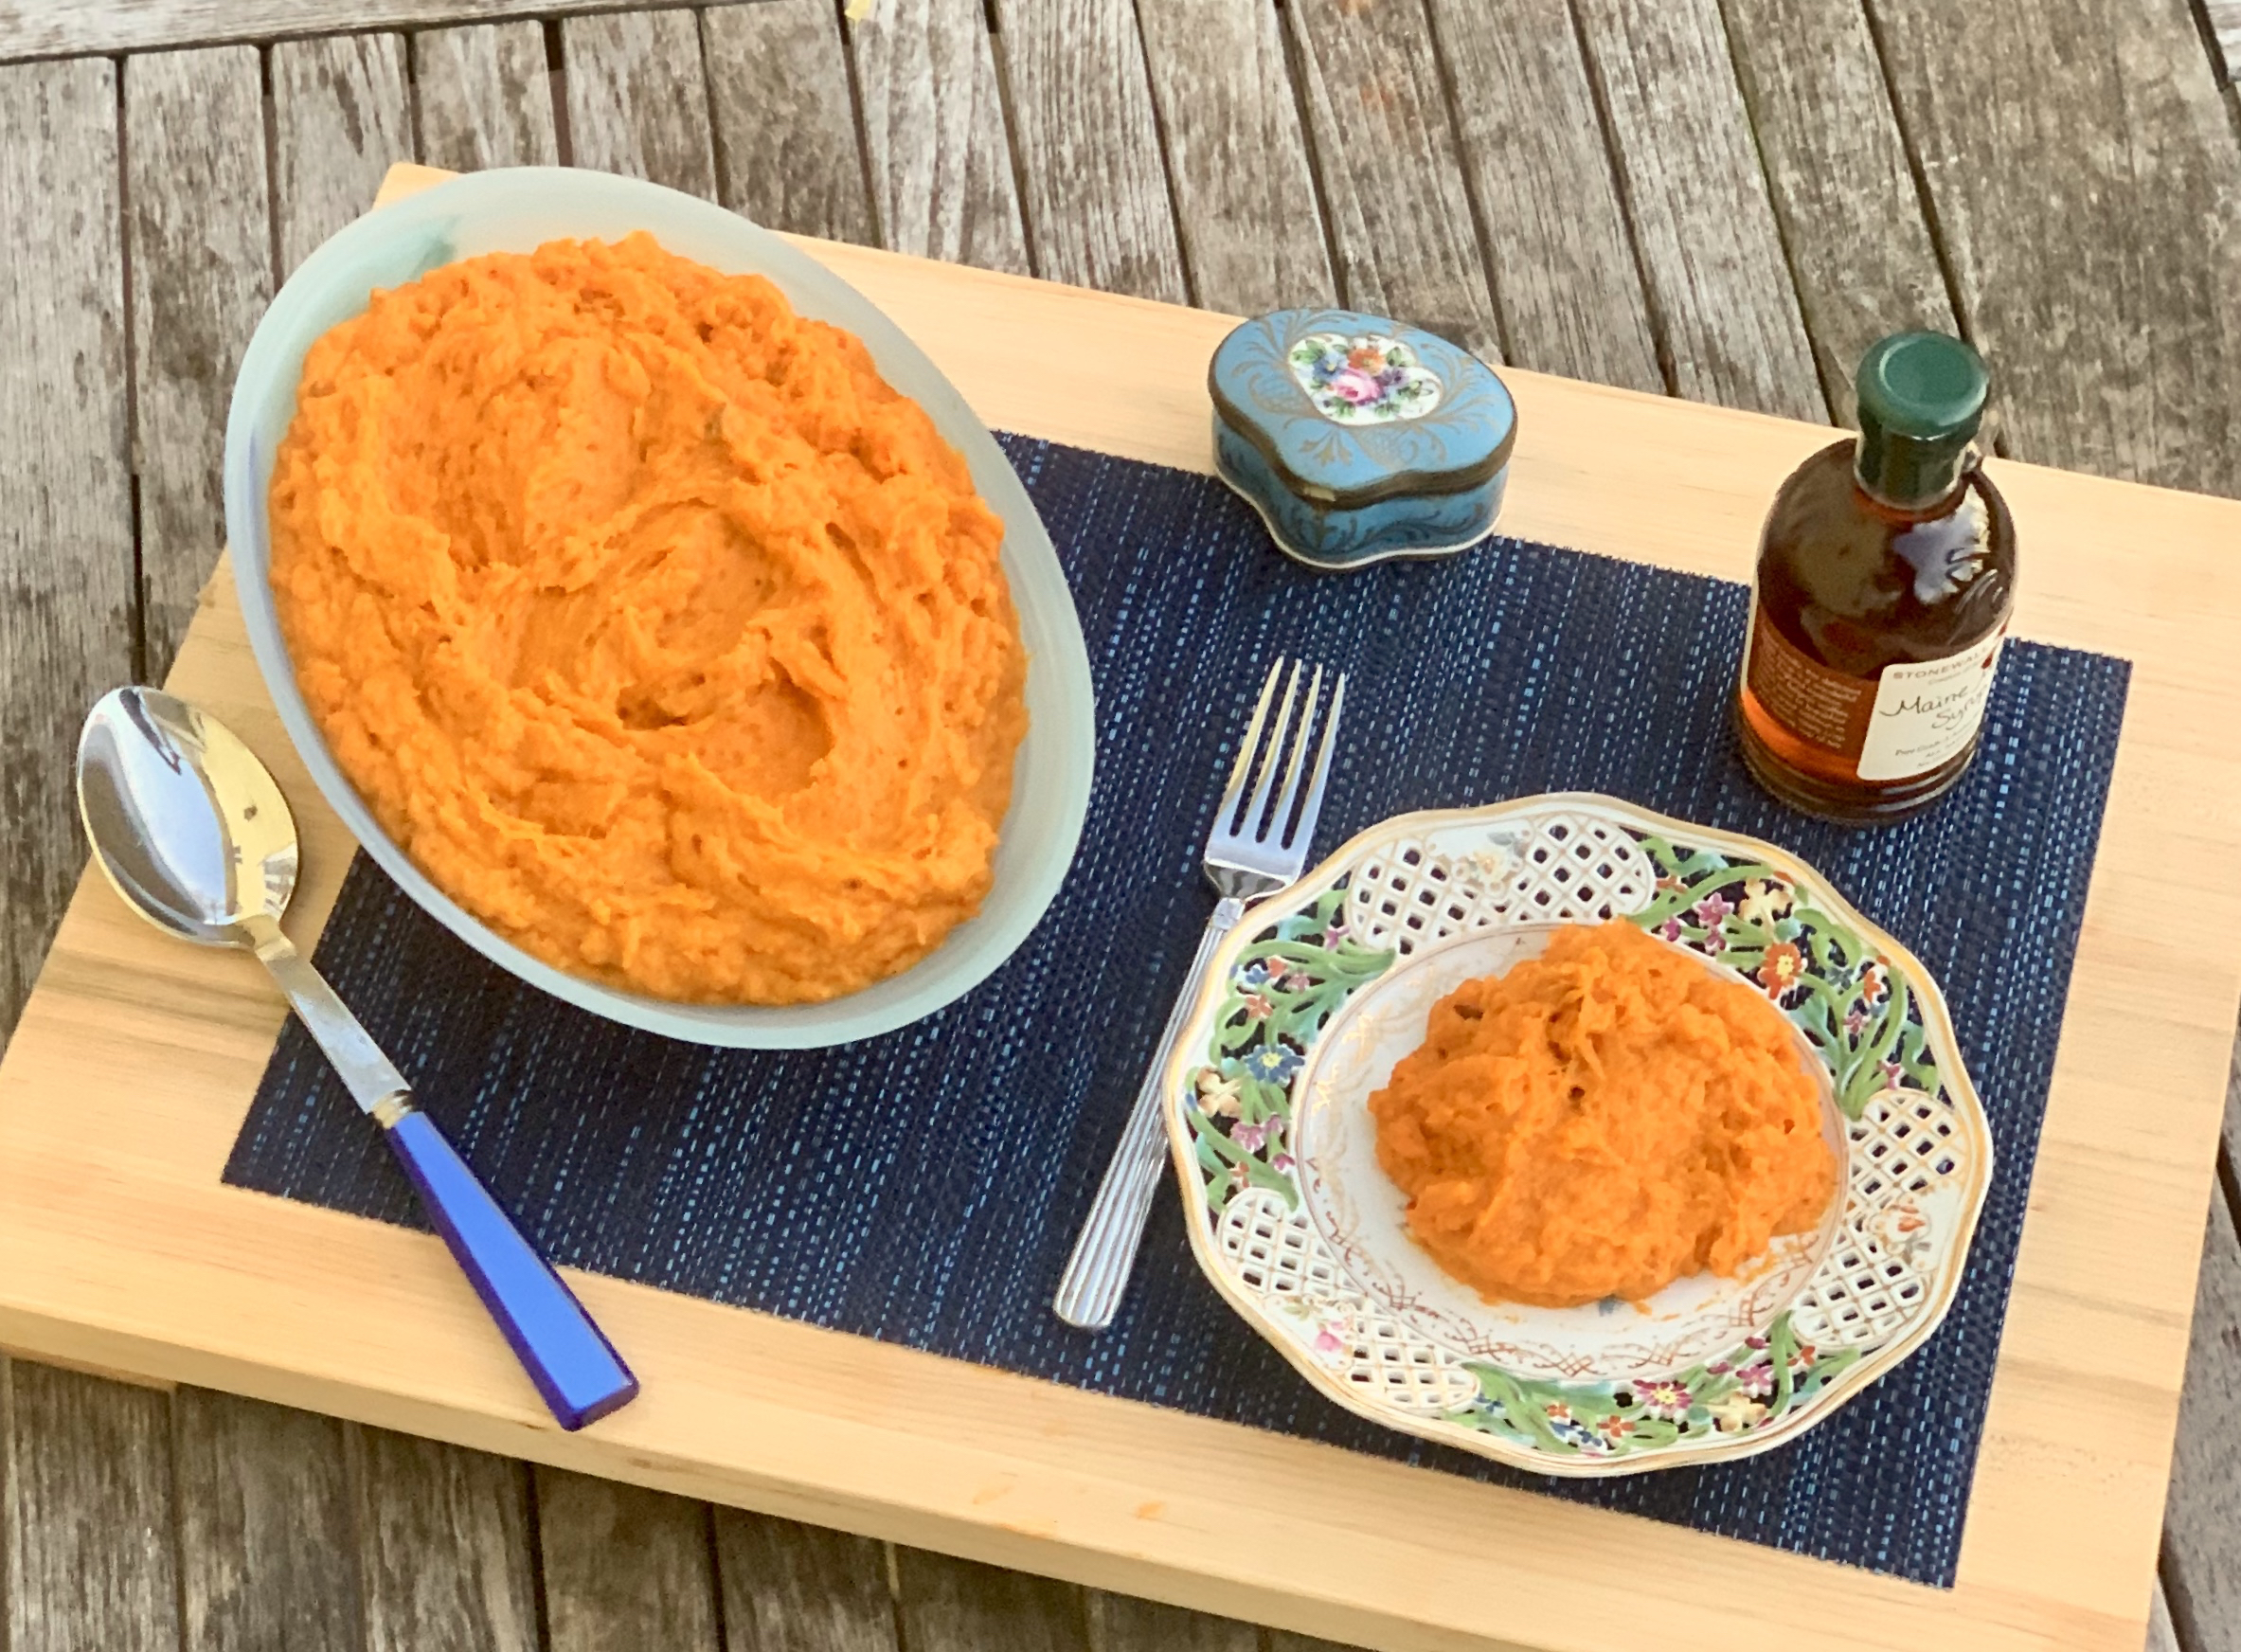
This dish is one that you can count on being successful. The roasted sweet potatoes are wonderfully caramelized adding deep rich flavor. It is so smooth and creamy. The maple syrup gives it sweetness and the chipotle chilies and the adobo sauce are the perfect amount of heat, making it lip-smacking good.

This recipe is courtesy of Ina Garten and will serve 6 to 8 people who will want to try this new dish too!

Ingredients for Chipotle Smashed Sweet Potatoes:

4 pounds sweet potatoes (6 potatoes)
1 cup whole milk
1 cup heavy cream
1 tablespoon minced chipotle chilies in adobo sauce with seeds, such as Goya
1 tablespoon adobo sauce (from the can of chilies)
¼ cup pure Grade A maple syrup
4 tablespoons (½ stick) unsalted butter, diced
Kosher salt and freshly ground black pepper

Preheat the oven to 350 degrees. Line a sheet pan with aluminum foil.

Place the sweet potatoes on the prepared sheet pan and pierce each potato 4 times with a small knife.

Roast for 1 to 1¼ hours, until very tender inside when tested with a knife.

Set aside until cool enough to handle. (Leave the oven on.)

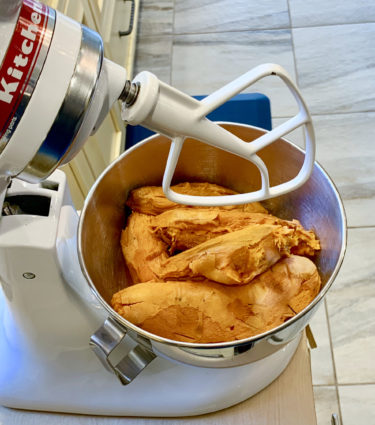
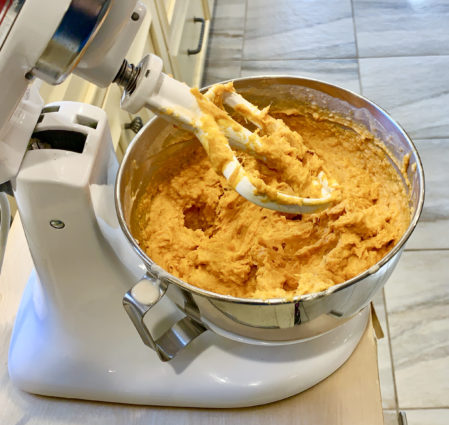
Peel the potatoes, discard the skins, and place the potatoes in the bowl of an electric mixer fitted with the paddle attachment.

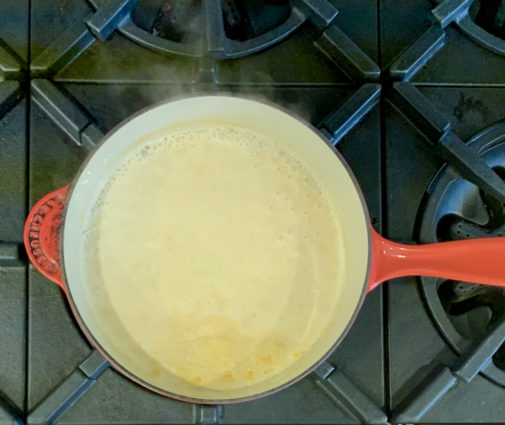
Meanwhile, place the milk, cream, chipotle chilies, and adobo sauce in a small saucepan.

Bring to a boil, lower the heat, and simmer for 5 minutes. (It might look curdled.)

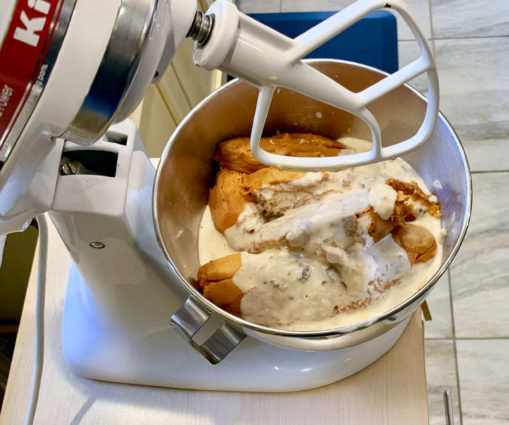
With the mixer on low speed, add the chipotle-milk mixture to the sweet potatoes.

Add the maple syrup, butter, and 1 tablespoon salt.

Mix until the potatoes are coarsely pureed.

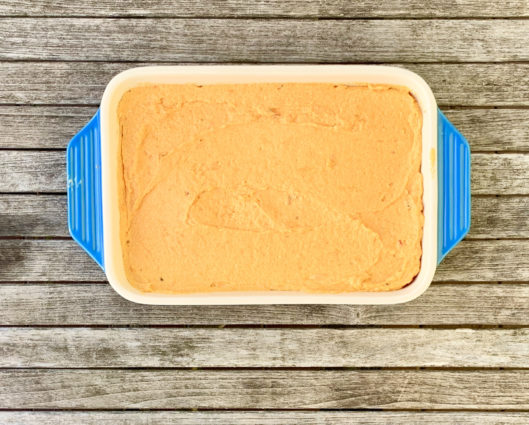
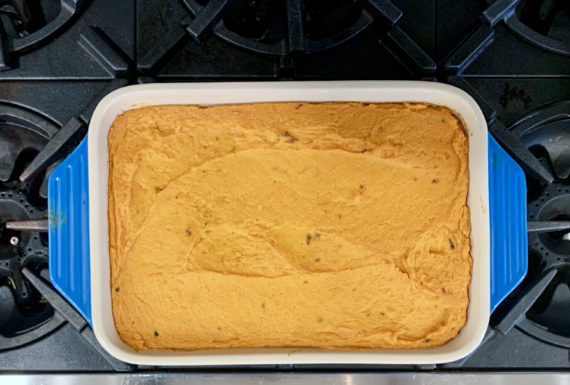
Pour into a 9 × 12 × 2-inch oval oven-to-table baking dish and bake for 30 minutes, until heated through.

Sprinkle with salt and pepper and serve hot.

It’s that simple!

signature

[recaptcha]