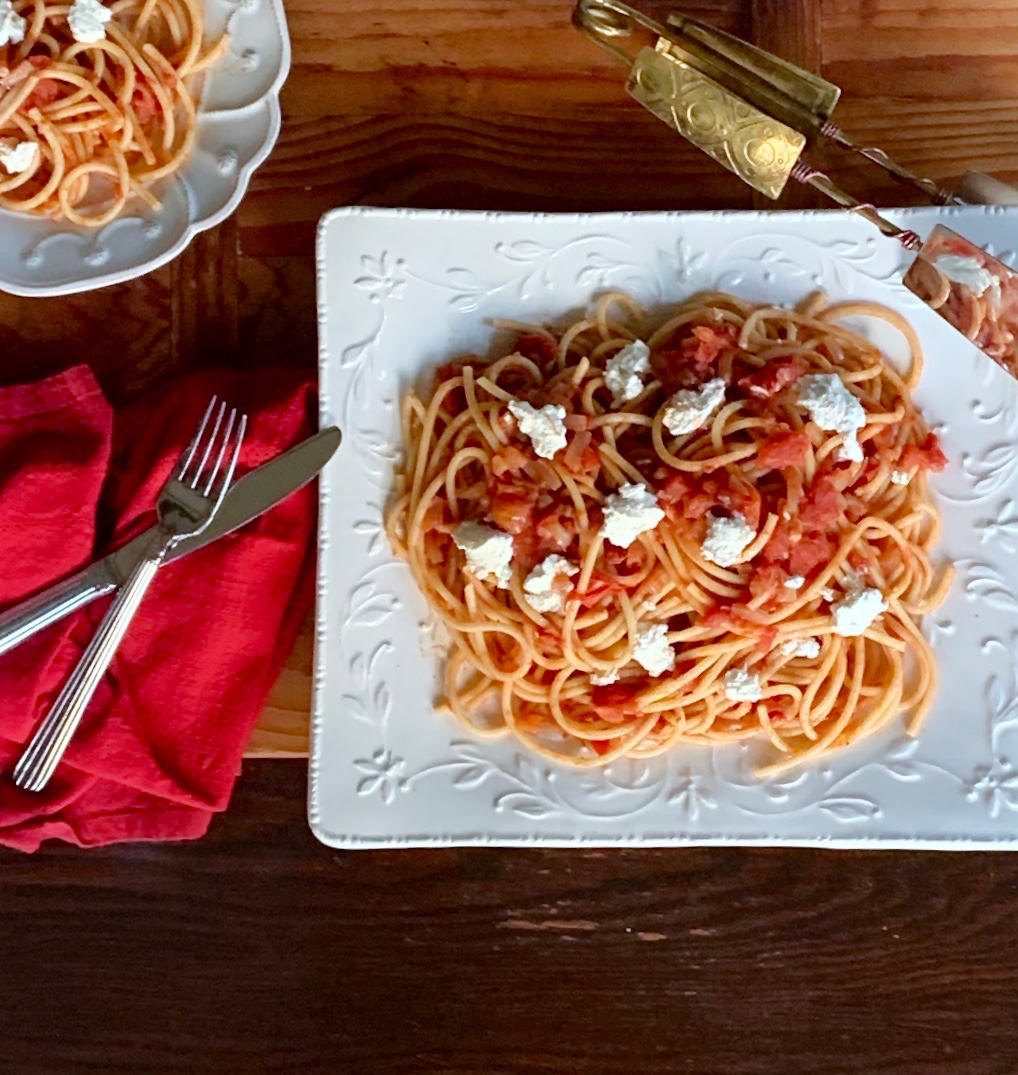
Let me hazard a guess: You hate anchovies. You don’t like the way they look, and you probably don’t like the way they taste either. I hope with this next recipe, I can get you to rethink the culinary riches of these ugly fishes. 

I didn’t start cooking with anchovies until a couple of years ago. Now, I am obsessed with them and add them to just about everything: pasta, salads, pizzas, vegetables, dressings, and eggs (to name a few). Weird though it may sound, I especially love them with eggs. My innermost self believes that just about everyone loves anchovies, they simply don’t know it yet.

When I first started including anchovies in my cooking, I didn’t dare tell my husband and sons.  It started small, with a simple pasta sauce that garnered rave reviews from my family. I told them they must love anchovies, to which they responded with a resounding “We hate anchovies.” I will never forget their faces after the big reveal.  Some time later, the same trick worked on my son’s friends, and they became anchovy lovers just as my family had.

Here’s the truth: Anchovies often enhance the flavor of a dish when used in small or medium amounts. Too much, and you’ll be tasting the ocean.  Many haters, without knowing that a dish is made with anchovies, will find that they enjoy the little fishes. Most of you just don’t know it. So maybe give them another try, I think you might just change your mind.

This particular dish is a wonderful side when you are short on time. The onions, garlic, and anchovies pack this sauce with a bold flavor. The crushed red pepper flakes, lemon zest, and juice add that heat and tang that makes this sauce luscious and satisfying. You won’t be able to get enough of it.

This recipe will serve 6-8 people who will rethink their position on anchovies.

Ingredients for Simple Pasta Sauce:

1 28-ounce can crushed San Marzano tomatoes
3 cloves garlic, chopped
8 anchovies, roughly chopped
2 tablespoons extra-virgin olive oil
1 cup Vidalia onion, finely chopped
1/2 teaspoon crushed red pepper flakes
Zest and juice of 1 lemon
1/2 teaspoon kosher salt
1/4 teaspoon freshly ground black pepper
3/4 pound long, thin pasta such as bucatini, spaghetti or fettuccine
1 cup Reggiano-Parmesan
1 cup Ricotta cheese


Bring a large pot of water to a boil.

Add 2 to 3 tablespoons kosher salt and return to a boil.

Place in pasta and cook 2 minutes less than package directions.

Reserve 1 cup of pasta water.

Heat the oil in a large heavy bottom skillet over medium-high heat.

Sprinkle in the anchovies and cook until anchovies are melted.
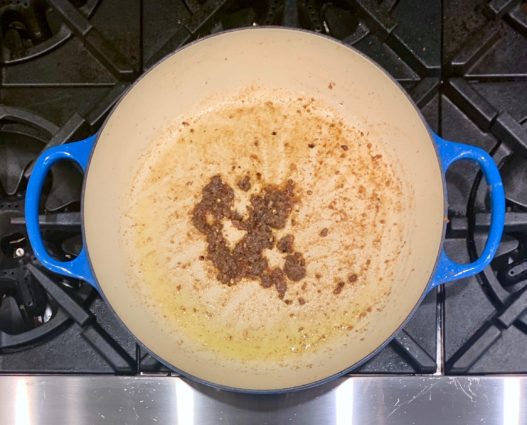
Add onions and continue to cook until onions are softened, stirring occasionally, for about 4 minutes.
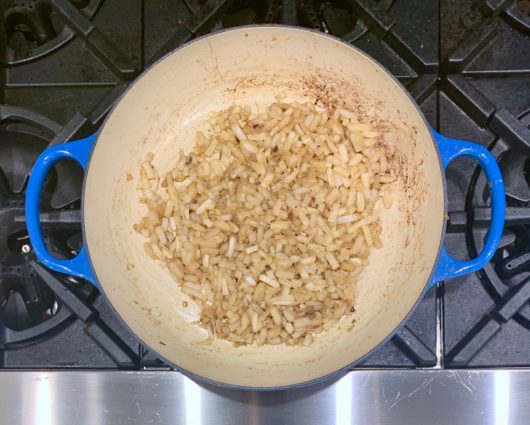
 Add the garlic and red pepper flakes and cook for 1 more minute.

Stir in the tomatoes, lemon zest, and juice.
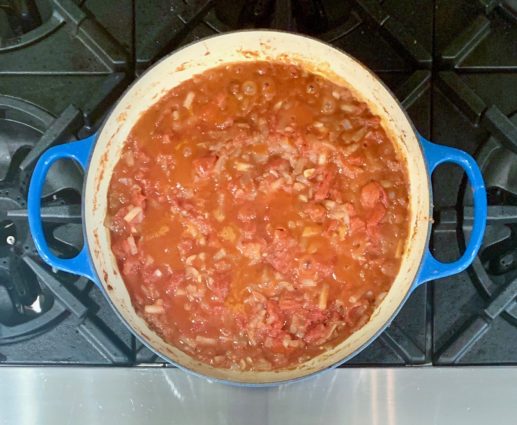
Bring the sauce to a simmer and hold at a simmer for 20 minutes.

Add the pasta to the sauce and toss to coat, adding a little pasta water at a time, until the sauce is your preferred consistency.

Toss in the parsley, Reggiano-Parmesan cheese and continue to stir.

Place pasta in a serving bowl and top with dollops of Ricotta cheese.

It’s that simple!

Flowers in Barbados -My Happy Place!
signature

[recaptcha]


Right up into my twenties, I was one of those people who despised vegetables. I would never even try one. Now, I love most vegetables. As you might expect, our food repertoire grows with us. Almost everyone eats a larger variety of foods as an adult than they did as a child. 

When we were younger, we all had vegetables that were cooked until they turned to mush, and the presentation was incredibly unappealing.  I don’t recall vegetables being served often in my house, but when they were, they looked truly awful and smelled just as bad. How many of you adults remember eating Brussels sprouts as a kid? I introduced vegetables when my children were older and I knew how to cook them correctly, and still they still won’t eat them (their loss).

As my knowledge of cooking increased, I learned how to cook veggies so they looked inviting and tasted wonderful. Roasting them at a high heat creates a beautiful caramelization that makes them crunchy and sweet. You can do this with any vegetable. Just toss them with a bit of olive oil, salt, pepper and lemon juice, and place them in the oven at 425 degrees. Different veggies have different roast times so you need to do your research and start checking them five minutes before the cook time the recipe tells you. 

If you are steaming veggies, take them out of the pot when they are a brilliant green, orange or yellow. Blanche them by placing them into a pot of ice-water to stop the cooking process. This will ensure that they do not overcook. Remember, everything you take out of the oven or a pot will continue to cook off the heat. Eat them plain, or toss with the sauce of your choice. 

Thankfully, vegetables have become an important choice for us all. And guess what? We really like them too.

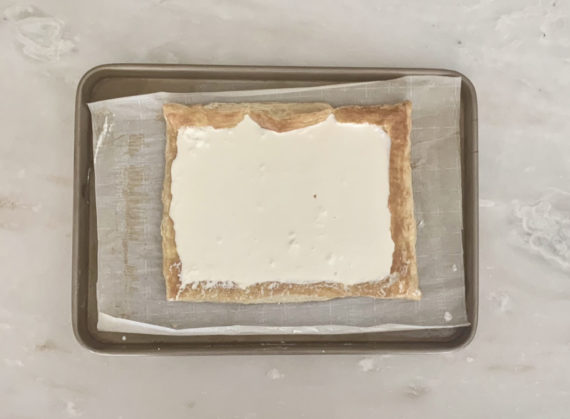
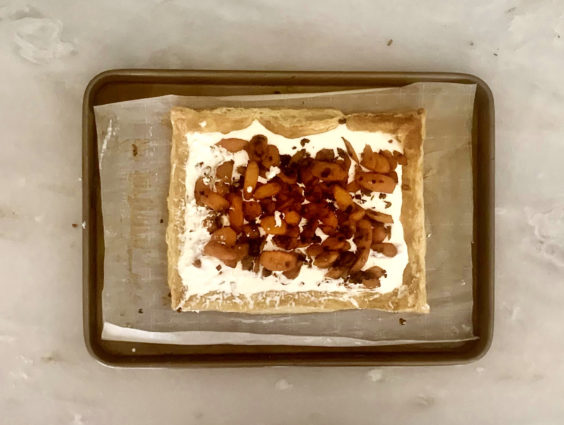
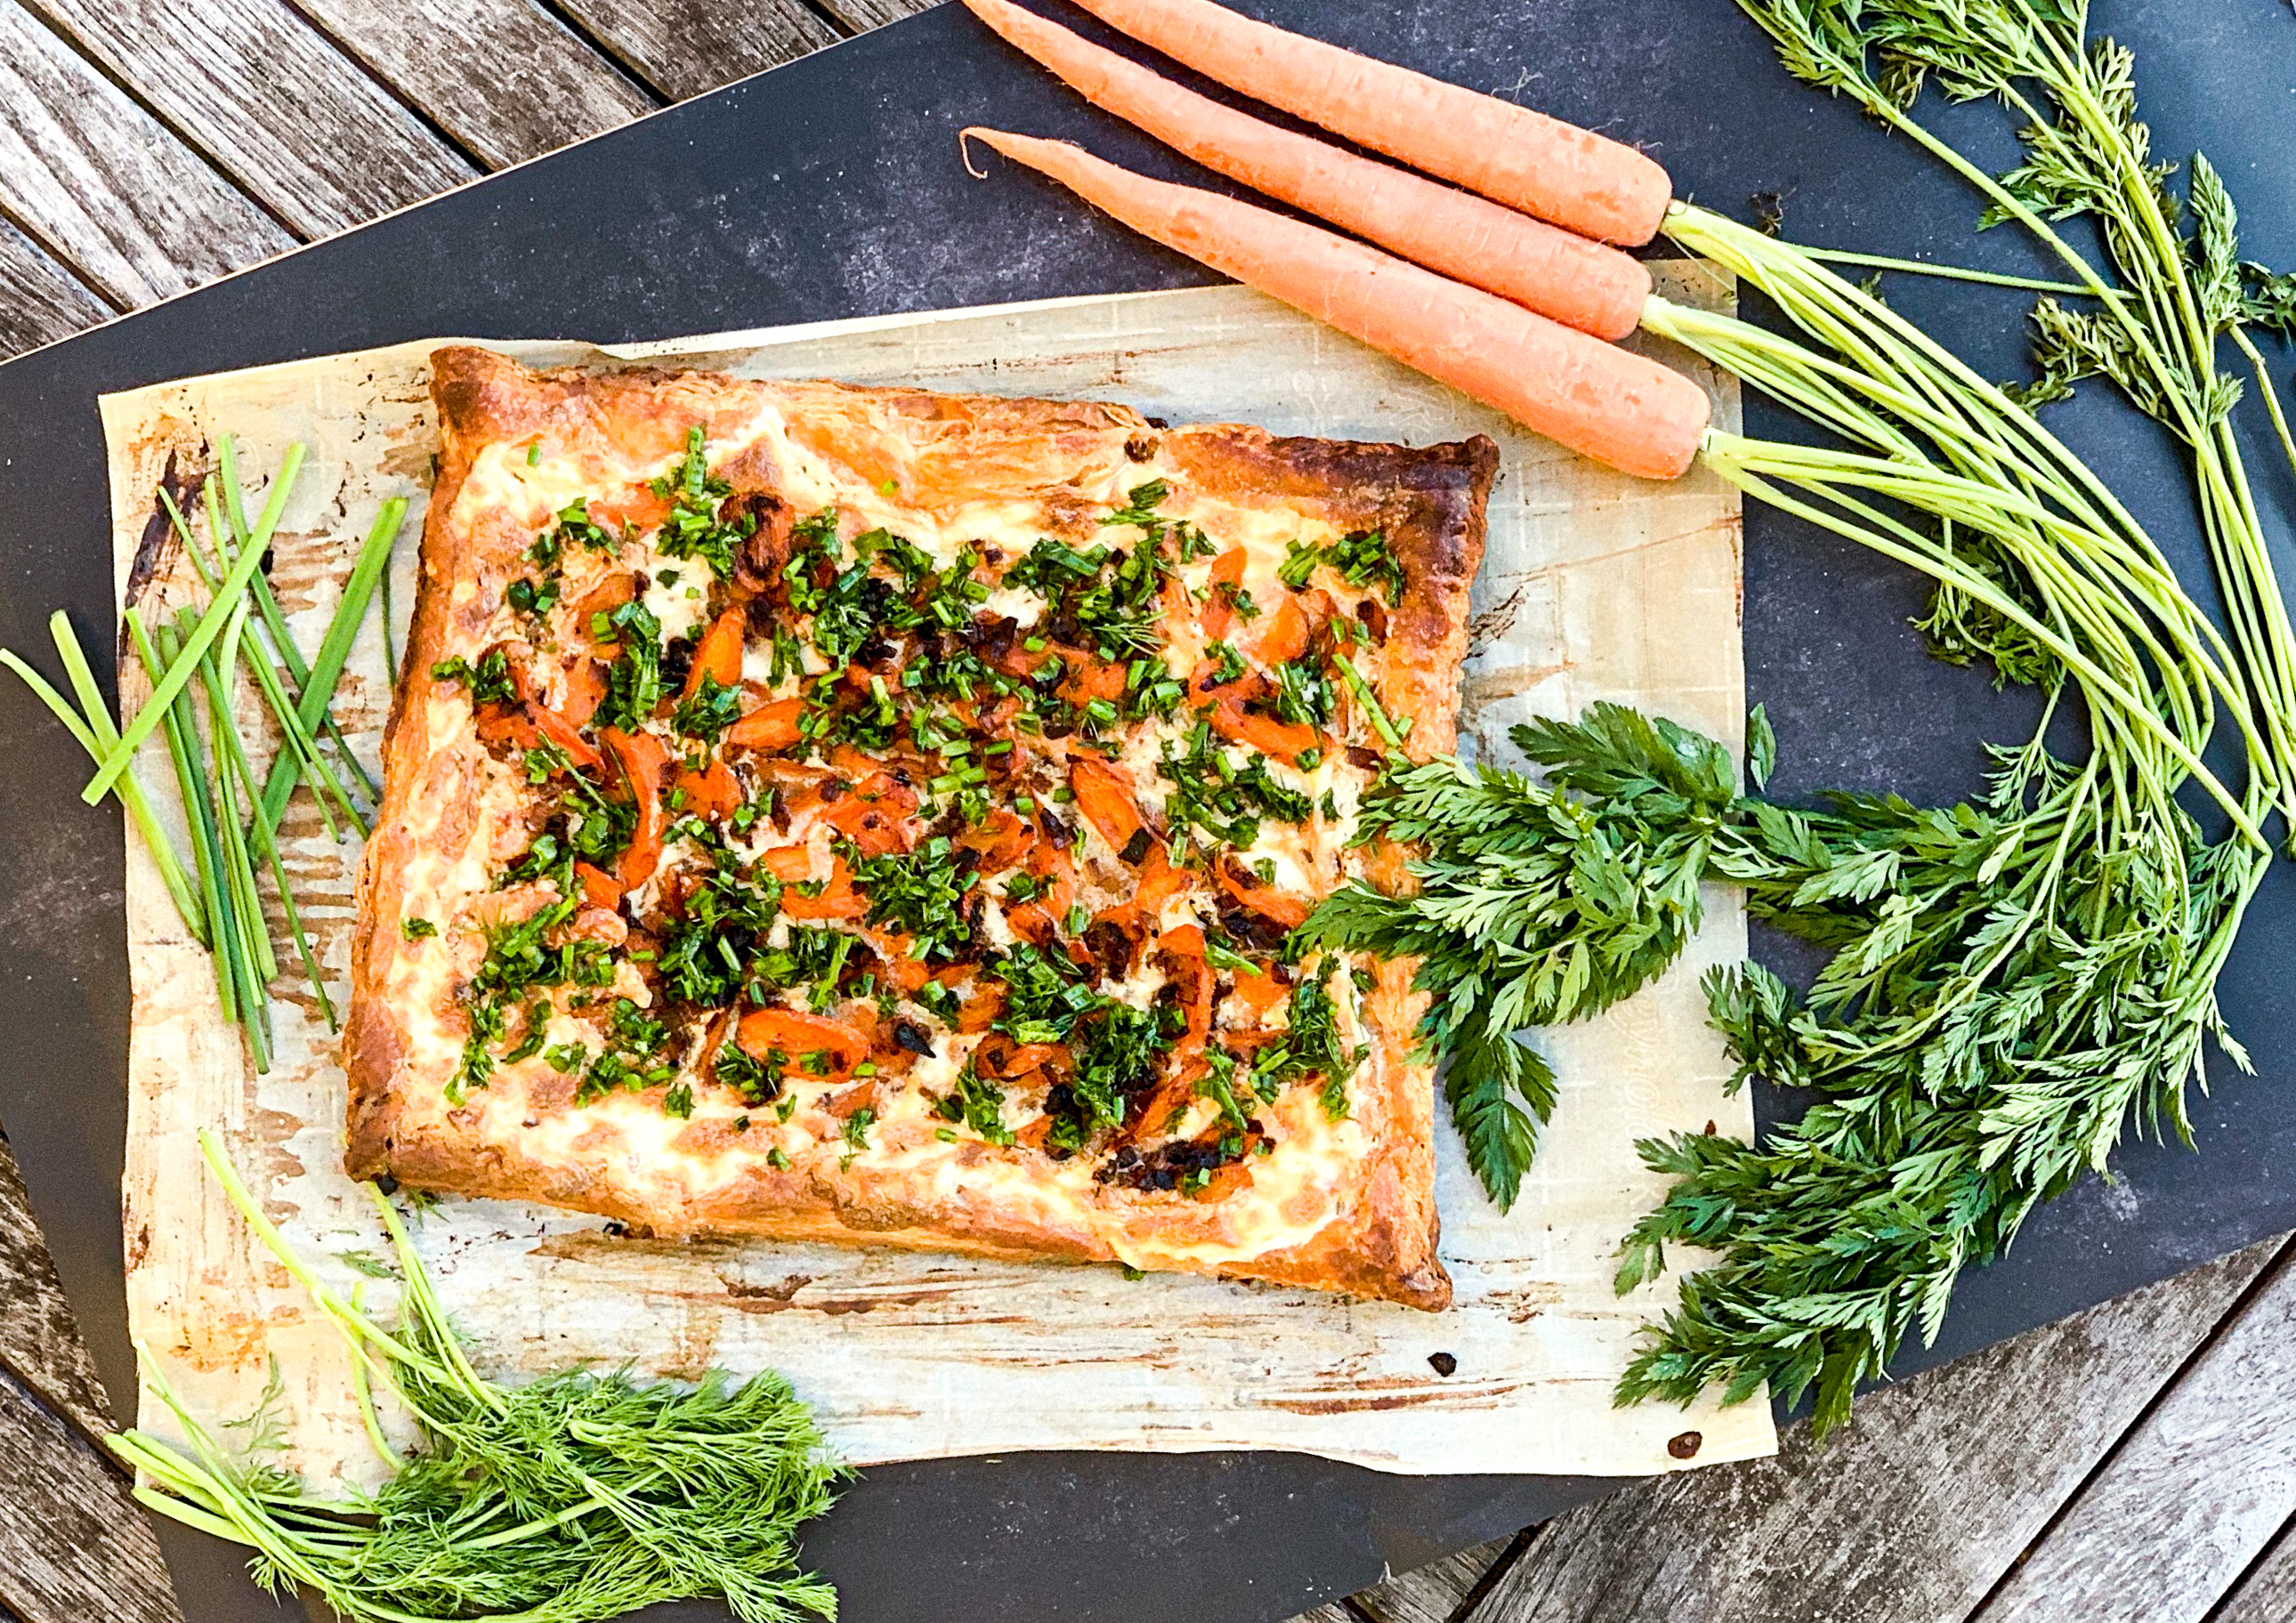
This wonderful tart is no exception. Watch the timing for the carrots, it is so important they do not overcook. The carrots and onions caramelize to sweet deliciousness in the pan. The ricotta and cream intensifies its delicious, rich flavor. The herbs add a savory touch, and the delicate, delightful puff pastry is the perfect home for this tart.

This recipe is courtesy of Bon Appetit and will serve 8 people who will love a fresh preparation on a familiar vegetable.

Ingredients for Carrot Tart with Herbs:

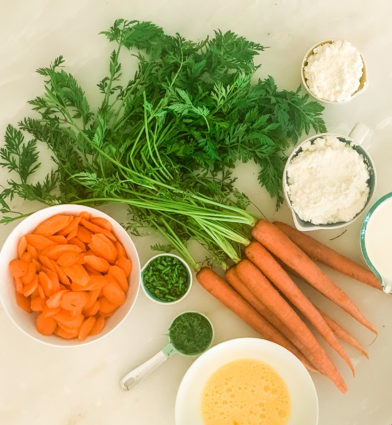
2 cups ricotta
¼ cup heavy cream
Kosher salt and freshly ground pepper
3 tablespoons olive oil, divided
1 small onion, thinly sliced
4 large carrots (about 8 ounces), scrubbed, thinly sliced into coins
1 package frozen puff pastry, thawed
1 large egg, beaten to blend
¼ cup coarsely chopped fresh chives
2 tablespoons dill, chopped 

Preheat oven to 425°.

Whisk ricotta and cream in a small bowl; season with salt and pepper. 

Heat 2 tablespoons oil in a large skillet over medium-high.

Cook onion, stirring occasionally, until soft and starting to brown, about 5 minutes.

Add carrots and cook, tossing occasionally, 2 minutes; season with salt and pepper and set aside.

Lightly roll out pastry on parchment paper just to smooth out creases.

Transfer on paper to a baking sheet. Lightly score a 1″ border around pastry.

Brush with egg; bake until golden and slightly puffed, 10–15 minutes.

Remove from oven and spread ricotta mixture over pastry, staying within border.

Scatter reserved onion and carrots over top. Bake until carrots are tender, onion is starting to caramelize, and pastry is golden brown and baked through, 30–35 minutes.

Let cool.

It’s that simple!

signature

[recaptcha]


I am a fastidious cleaner and my kitchen is always spotless before I go to bed. I’ve found some wonderful tips over the years, and many of them seem quite strange at first look.  Turns out, you can use so many everyday items to make your space a whole lot cleaner. Hope you learn something here!

First, don’t throw away your used lemon wedges. Throw them in your garbage disposal to freshen it up and take away those odors. With all that junk we throw in it, it can become nasty, so toss in the lemons to make it lemony fresh.

Peeling hard-boiled eggs can be tortuous, I know. Especially when the shell peels off little pieces at a time. It makes me crazy, so I finally found a way to get the shells off easily. Put the hard-boiled egg in a glass, and shake it gently. The shells will come off so easily–you are welcome!

Buy some barkeepers cleanser. I wrote an entire blog about it because it is such an amazing product. Use it on all your stainless-steel pots, and even those stubborn black spots from the stove. You won’t put those pots in the dishwasher ever again. It is perfect for cleaning your cast iron pots as well.

While you may think your washing machine gets cleaned every time you do the laundry, you are mistaken. The dirt actually stays in the washer and causes it to harbor bacteria. You can get a washing machine cleaner at the store, or just run a cycle with a quart of bleach, and those pesky odors will disappear and your washer will be as good as new.

Your comfy bed can be full of dust. It sheds its own fibers, accumulates skin flakes, and sends out a puff of dust every time you get in. Change the sheets at least once a week. Pour baking soda over the mattress and let sit for a while. Then take your vacuum and simply vacuum the baking soda up to keep it fresh.

I do not iron. I had to do it as a kid growing up, and I hated every minute of it. I still, to this day despise it. Lucky for me, there is a workaround. After I wash my clothes, I hang them on a drying rack. I let them dry completely and then I put them into the dryer for 10 to 15 minutes. The wrinkles come out like magic. I fold them right out of the dryer, and they look perfect. I also do this with my pillow cases and sheets that are prone to wrinkling. Get yourself a laundry rack and put away your iron forever. 

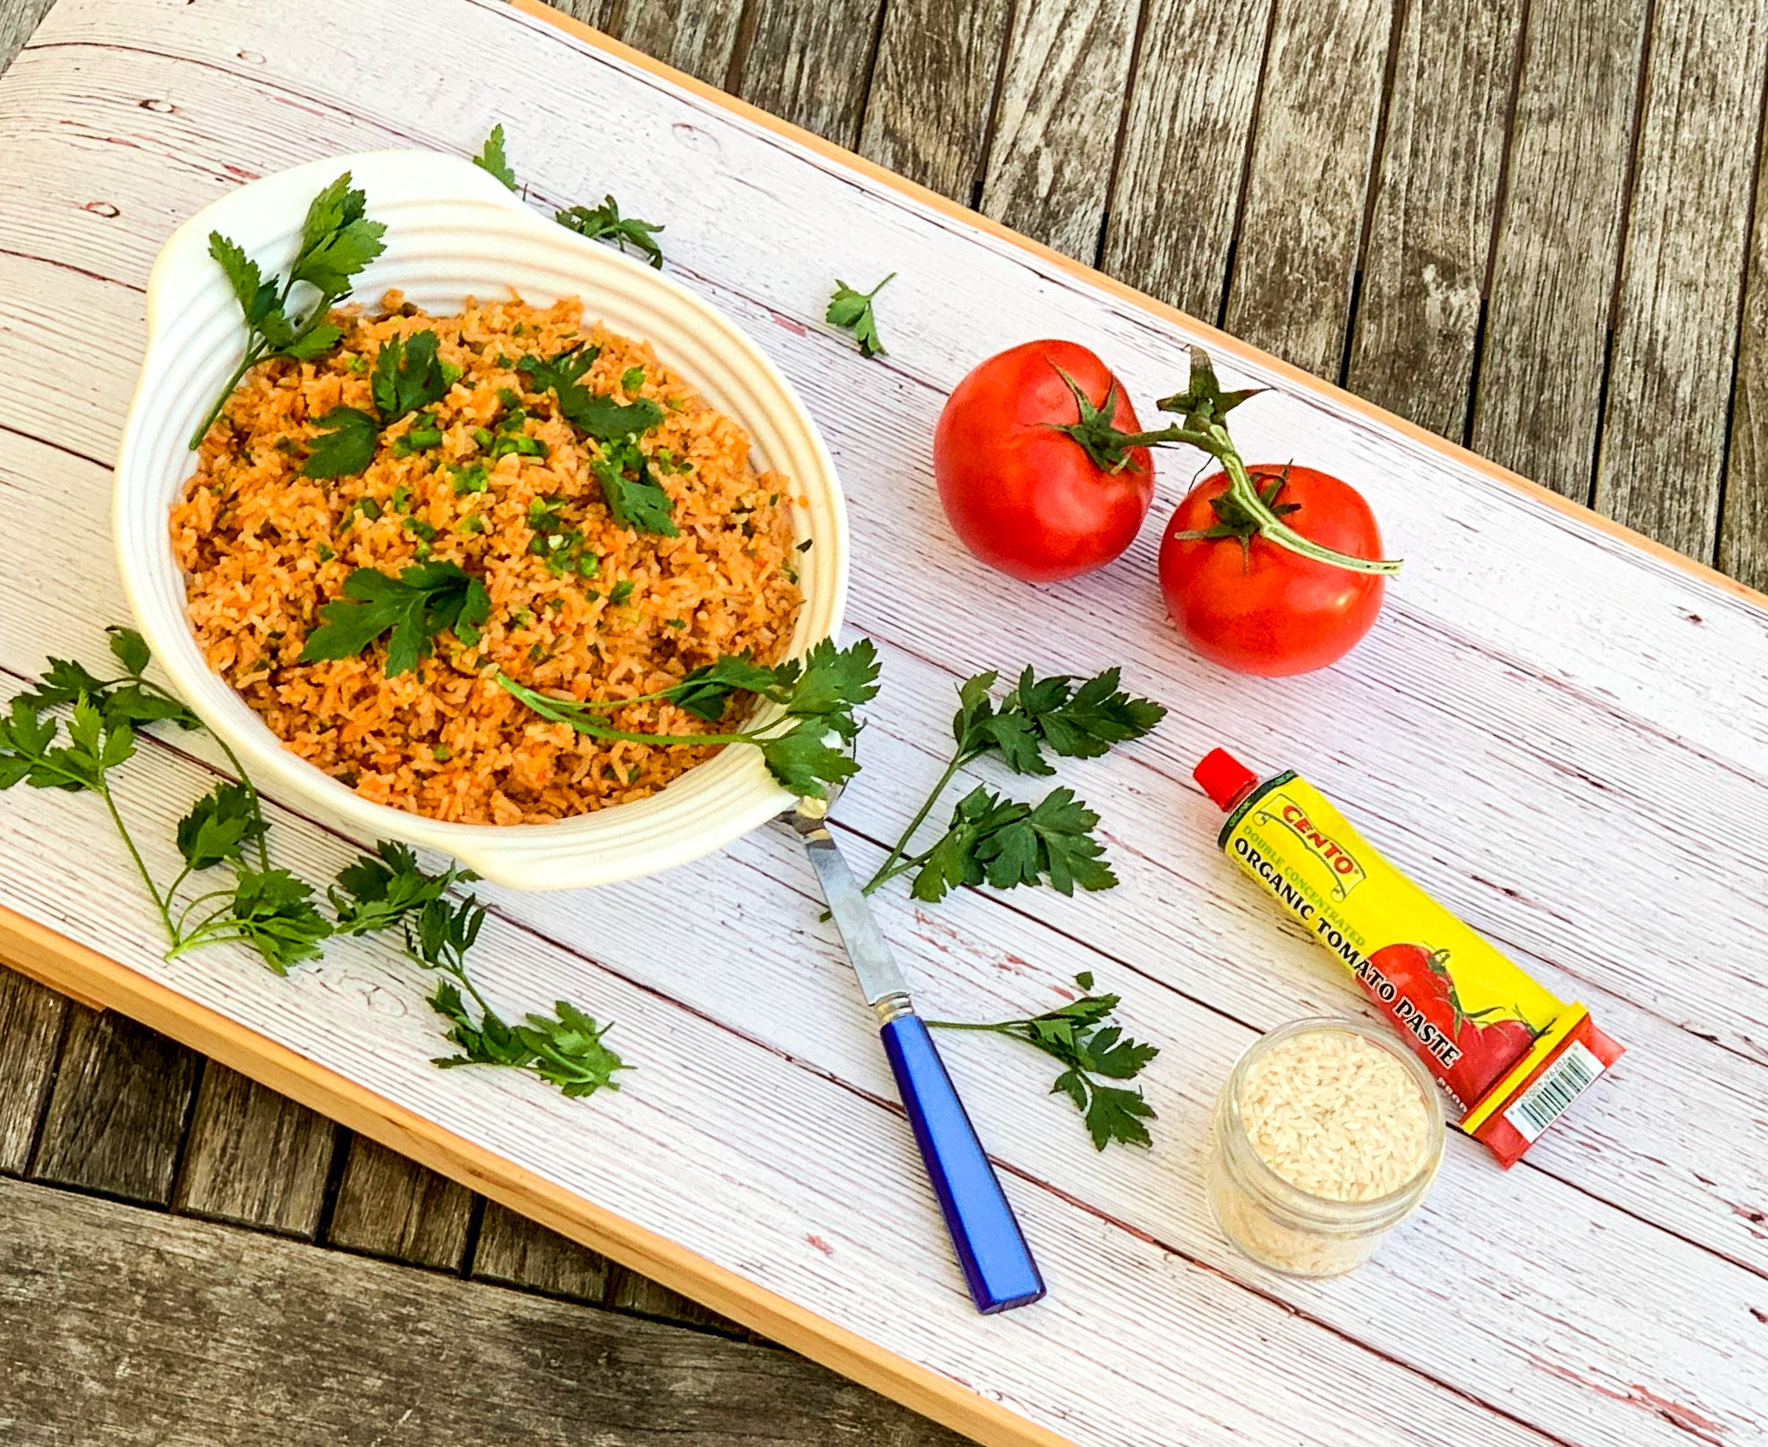
I am so happy to finally share some of my cleaning tips with you. Now that you may have more time to cook, here is a really delicious rice recipe. Maybe some of you have had it before, but this was my first time. This is truly a flavorful side dish filled with healthy ingredients. The tomatoes, onion, and garlic pack this dish with flavor. The tomato paste gives it a beautiful color. The jalapeños give it just the right amount of heat. I also squeezed in some lime juice, which complimented all the flavors beautifully. I also used parsley instead of cilantro, and you’re welcome to be the same.  Make this recipe now, you’ll be sorry you missed out on it for so long like I did.

This recipe is courtesy of America’s Test Kitchen and will serve 6 to 8 people who will want to come back for more of this festive dish.

Ingredients for Mexican Rice:

2 ripe tomatoes (about 12 ounces), cored and quartered
1 medium onion, preferably white, peeled, trimmed of root end,and quartered
3 medium jalapeño chiles
2 cups long grain white rice
1/3 cup canola oil
4 cloves garlic, minced or pressed through a garlic press (about 4 teaspoons)
2 cups low-sodium chicken broth (or vegetable broth)
1 tablespoon tomato paste
1 1/2 teaspoons table salt
1/2 cup minced fresh cilantro leaves
1 lime, cut into wedges for serving

Adjust oven rack to middle position and heat oven to 350 degrees.

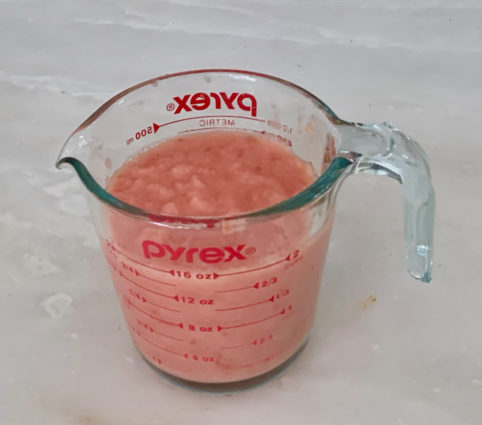
Process tomatoes and onion in food processor until smooth and thoroughly pureed, about 15 seconds, scraping down bowl if necessary.

Transfer mixture to liquid measuring cup; you should have 2 cups (if necessary, spoon off excess so that volume equals 2 cups).

Remove ribs and seeds from 2 jalapeños and discard; mince flesh and set aside.

Mince remaining jalapeño, including ribs and seeds; set aside.

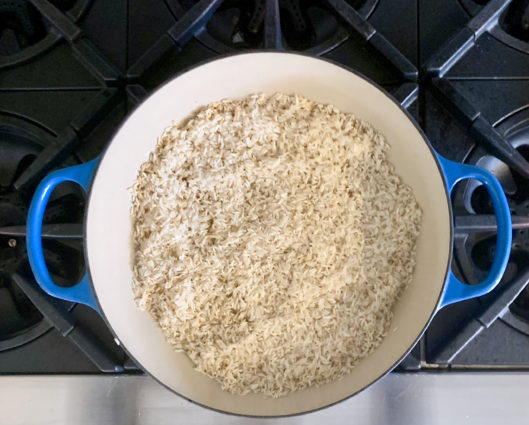
Place rice in large fine-mesh strainer and rinse under cold running water until water runs clear, about 1 1/2 minutes.

Shake rice vigorously in strainer to remove all excess water.

Heat oil in heavy-bottomed ovensafe 12-inch straight-sided sauté pan or Dutch oven with tight-fitting lid over medium-high heat, 1 to 2 minutes.

 Drop 3 or 4 grains rice in oil; if grains sizzle, oil is ready.

 Add rice and fry, stirring frequently, until rice is light golden and translucent, 6 to 8 minutes.

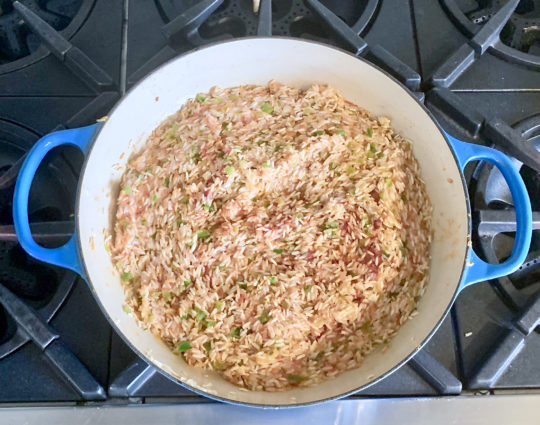
 Reduce heat to medium, add garlic and seeded minced jalapeños; cook, stirring constantly, until fragrant, about 1 1/2 minutes.

 Stir in pureed tomatoes and onions.

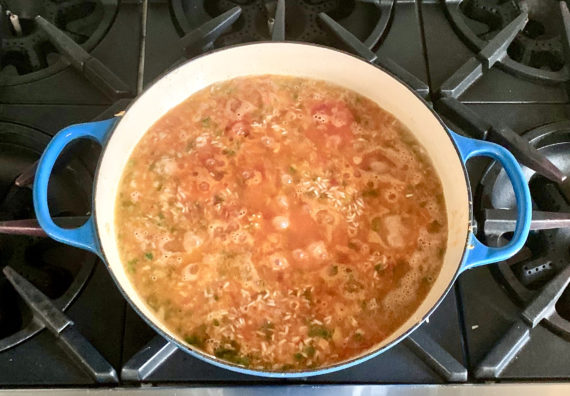
Add chicken broth, tomato paste, and salt; increase heat to medium-high and bring to boil.

 Cover pan and transfer to oven; bake until liquid is absorbed and rice is tender, 30 to 35 minutes, stirring well after 15 minutes.

 Stir in cilantro (or parsley) and reserved minced jalapeño with seeds to taste. Serve immediately, passing lime wedges separately, or squeezing some juice for extra flavor.

It’s that simple!

signature

[recaptcha]


I’ve said it a million times: I am just not into baking. Don’t get me wrong, I am a huge lover of all baked goods, but I am more of a cook than baker. Baking requires precision and timing. If you get one ingredient wrong, or the measurement wrong, it’s a disaster. Cooking is more open to interpretation–or just winging it!

Baking and cooking both require mixing, stirring, chopping, and cutting. They create desirable things to eat. Cooking is more laid back, requiring a ” handful of this,” a “pinch of that,” or “occasionally stir.” Baking is more definitive, calling for 1 cup plus 1 teaspoon of flour. It usually requires a standard measure of ingredients that must come together to achieve an exact result. It also requires the correct temperature that will take the mixed ingredients into another form (usually liquid-ish to solid). Baking is a science.  Cooking involves more improvisations and developing. Substitutions are easier when cooking. The amount of spices you use in a dish do not have to be exact, they could be just to taste. Don’t like onions?  That’s okay. Throw in some scallions or chives, or omit completely. The outcome will still be wonderful. Cooking is a form of art.

Baking too is surely an art.  There are so many beautifully frosted cookies and cakes out there, and creating those certainly involves a discerning eye and a practiced hane. So many cookie bakers are talented artists as well. I am a cook and an artist, but surely not the type for intricate cookie or cake decoration.  I leave that to others.

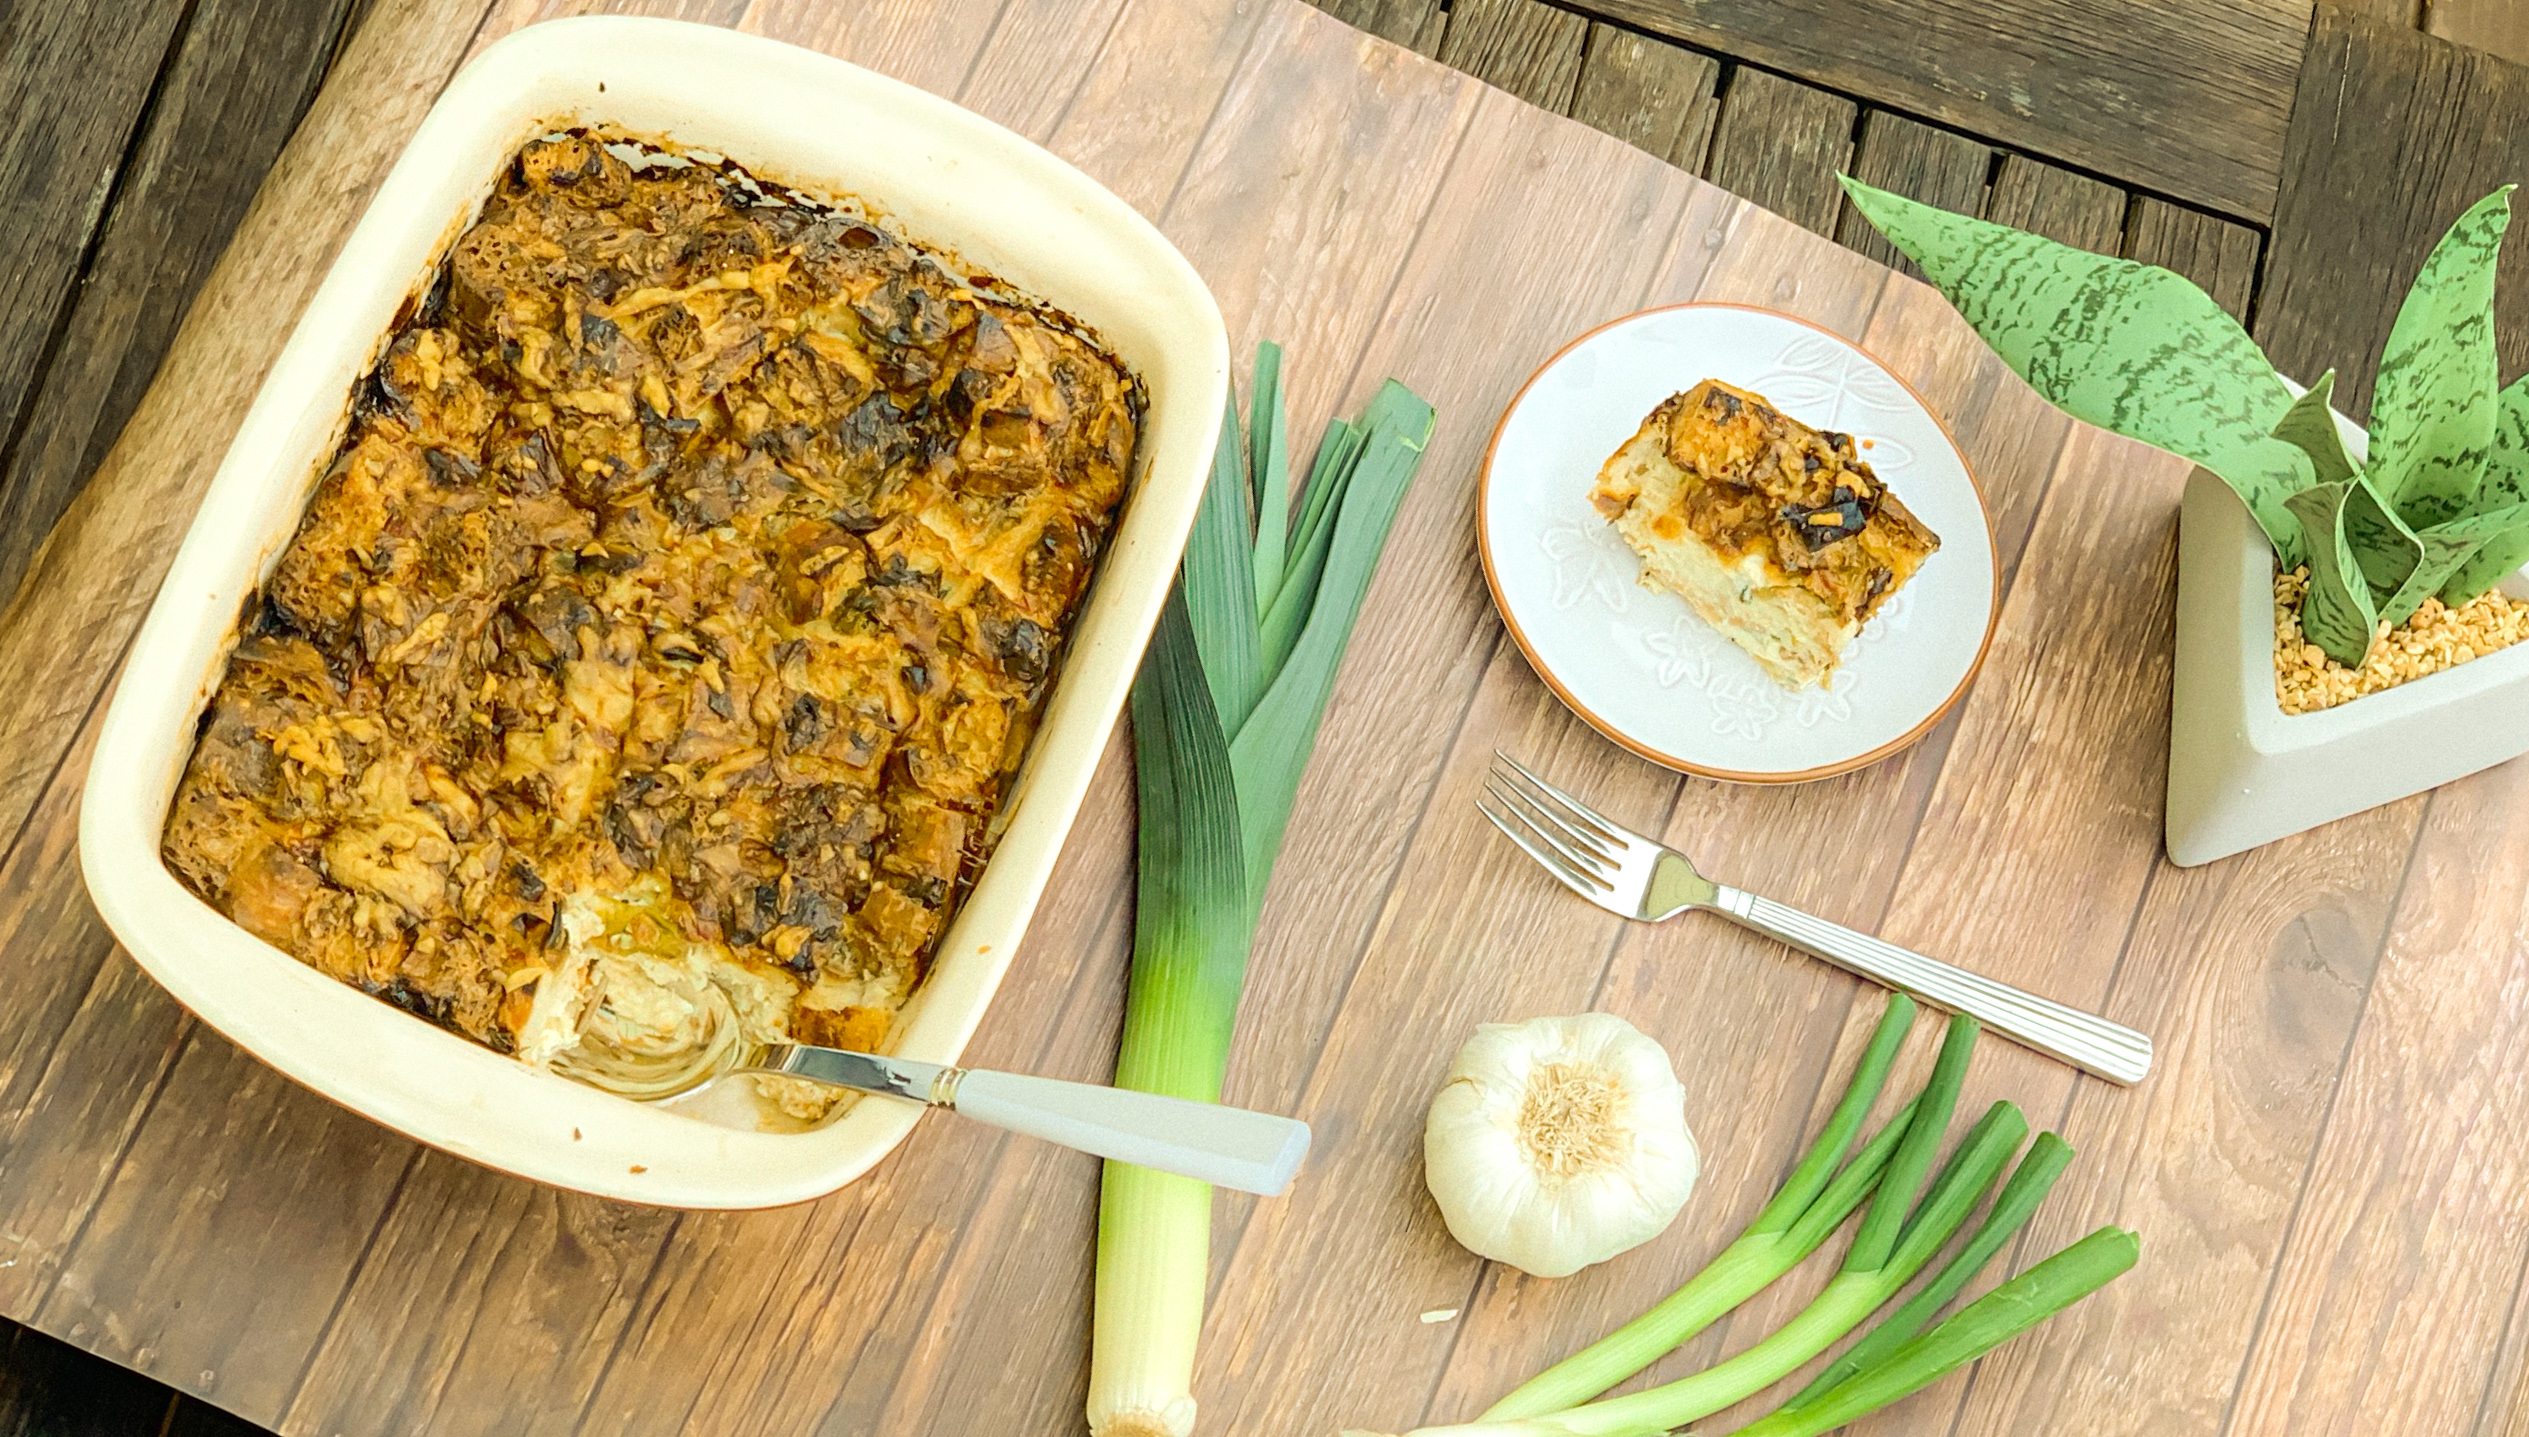
Whether you are a cook or a baker, this is one recipe that both can do. This beautiful bread pudding is filled with so many delicious ingredients. The leeks cook up into delightful treats, adding a full body of flavor to this dish. The scallions, nutmeg and thyme are the savory of this bread pudding. The gruyere adds cheesy goodness. The bread soaks up the creamy sauce and is the perfect filler for this dish. This is another keeper for sure.

This recipe is loosely adapted from Thomas Keller and will serve 12 cooks and bakers– or their helpers!

Ingredients for Leek Bread Pudding:

2 cups 1/2-inch thick sliced leeks, white and light green parts only, cleaned and rinsed
4 tablespoons unsalted butter
12 cups 1-inch bread cubes (baguette, French or challah) 
1 tablespoon finely chopped scallions 
1 teaspoon fresh thyme leaves
3 large eggs
3 cups whole milk
2 cups heavy cream
Kosher salt
Freshly ground black pepper
Freshly grated nutmeg
2 cups shredded Gruyere cheese

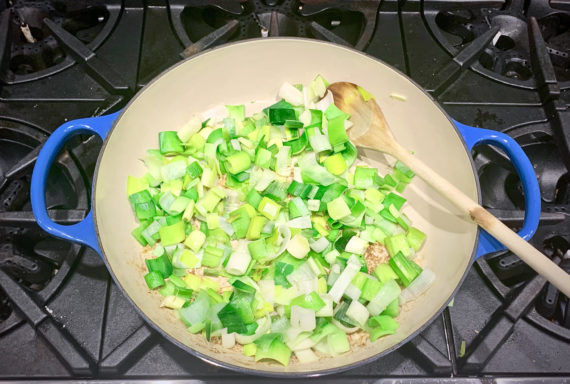
Place a medium sauté pan over medium heat, drain excess water from leeks, and add to pan.

Season with salt, and sauté until leeks begin to soften, about 5 minutes, then reduce heat to medium-low. (They’ll release liquid as they cook.)

Stir in butter.

Cover and cook, stirring occasionally, until leeks are very soft, about 30 minutes.

Adjust salt and pepper to taste.

Heat oven to 350° F.

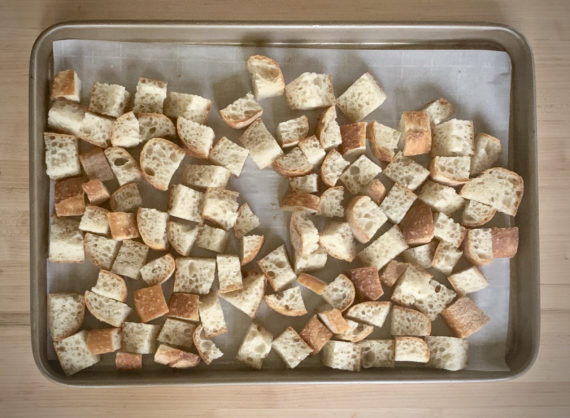
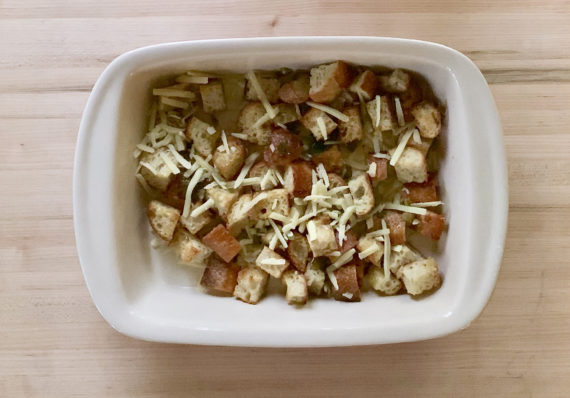
While leeks are cooking, spread bread cubes on a baking sheet and bake until dry and pale gold, about 20 minutes, turning pan about halfway through.

Transfer to a large bowl, leaving the oven on.

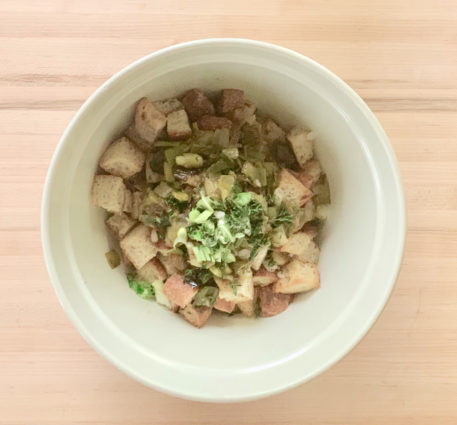
Add leeks, chives, and thyme to the bowl of bread; toss well.

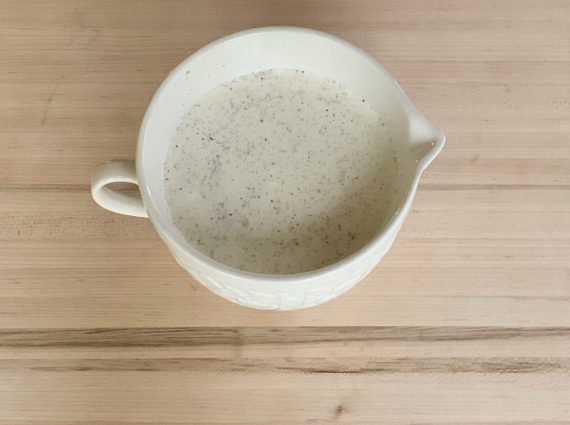
In another large bowl, lightly whisk the eggs, then whisk in milk, cream, a generous pinch of salt, pepper to taste, and a pinch of nutmeg.

Sprinkle 1/4 cup shredded cheese in bottom of a 9- by 13-inch baking pan.

Spread 1/2 of bread mixture in pan, and sprinkle with another 1/4 cup cheese.

Spread remaining bread mixture in pan, and sprinkle with another 1/4 cup cheese.

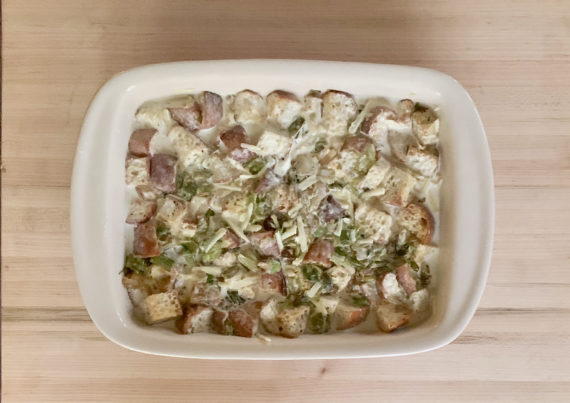
Pour in enough milk mixture to cover bread, and gently press on bread so milk soaks in.

Let rest 15 minutes.

Add remaining milk mixture, letting some bread cubes protrude.

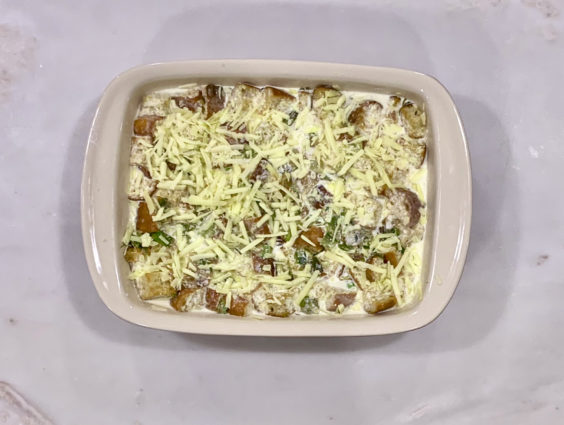
Sprinkle with salt and remaining cheese.

Bake until pudding is set and top is brown and bubbling, about 1 1/2 hours.

Serve hot.

It’s that simple!

signature

[recaptcha]


I must admit, I have never been a huge fan of Valentine’s Day. Don’t get me wrong, I am certainly a romantic, but the holiday itself feels hokey. When I was a young adult, without a boyfriend, I would feel lonely. Now, it’s just a day. I think we should show love every day, don’t you?

When I think of love, I think about kindness, mutual respect, and a safe and loving environment to express oneself. Love is reciprocal, and offers support and acceptance without expecting anything in return. It is not something that is forced, it comes naturally every day, not just one day of the year, or to romantic partners.  Love extends to family, friends and yes, our pets. Let’s be real here, our pets show us the most consistent love. Who here doesn’t love the joy your dog shows when you come home after work?

I am sure the people in my life know how much I love them. I try to make sure that they do through my actions all year round. I try to live my life in deep appreciation of those that love me. That said, while I don’t send all my loved ones a card or candy, I am sure they know the love I feel for them.

Even still, I find myself getting into the spirit of the holiday just a little bit. Celebrating the love you and your spouse share is a good thing. We get so busy with our daily lives throughout the year, it is nice to take one day where you are able to do something nice for one another. So, if my hubby buys me cards and flowers and takes me out, I do not refuse. However, I will absolutely not go out on the night of Valentine’s day because the restaurants make up ridiculously priced menus for that day. Joke’s on them–we are each other’s Valentine on every night. And that’s what matters.

Heart shaped sugar cookies with red or pink frosting are a staple for Valentine’s Day. They are so simple to make and of course home-made always says something extra-special. These cookies are no exception. The cookies themselves are so delicious, but topped with the home-made frosting, they become extraordinary. The frosting hardens after cooling on the cookie, so when you bite one, you get a mouthful of hard sweetness on top of a softer, more savory cookie. I bet you can’t eat just one!

This recipe is courtesy of Martha Stewart and will make two dozen cookies for beloved friends and family.

Ingredients for Iced Heart Cookies:

For the cookies:

2 cups unbleached all-purpose flour, plus more for dusting
1/2 teaspoon baking powder
1/2 teaspoon kosher salt
1 stick unsalted butter, room temperature
1 cup sugar
1 large egg
1 teaspoon pure vanilla extract

For the Icing:

1/2 pound confectioners’ sugar (2 spooned and leveled cups)
1 large egg white, or 2 1/2 tablespoons meringue powder
Gel food color (optional)

Make the cookies:

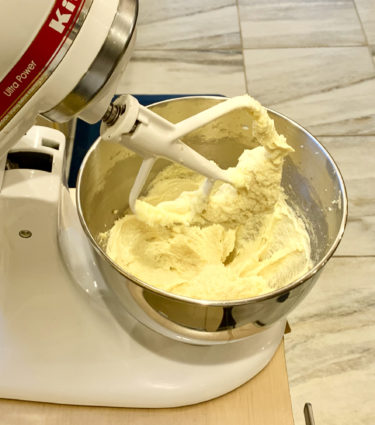
In a bowl, whisk together flour, baking powder, and salt. Beat butter and sugar on medium-high speed until light and fluffy.

Beat in egg and vanilla.

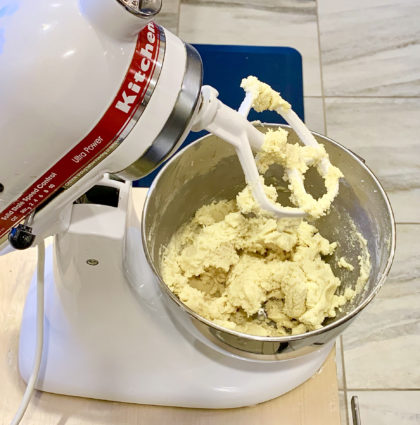
Reduce speed to low and gradually add flour mixture; beat until combined.

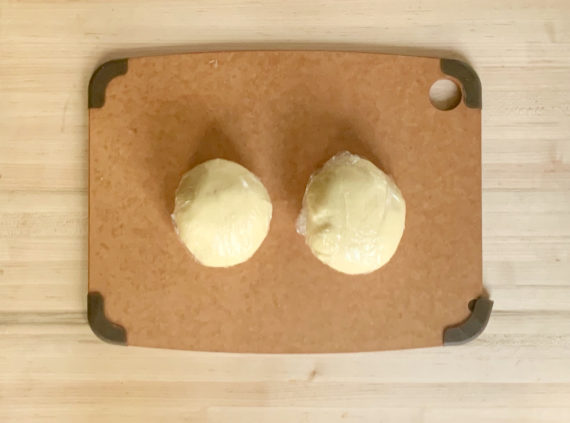
Divide dough in half.

Wrap each in plastic and freeze until firm, about 20 minutes.

Preheat oven to 325 degrees.

Line 2 rimmed baking sheets with parchment.

Remove 1 disk of dough; let stand 5 to 10 minutes. Roll out 1/8-inch-thick between two sheets of floured parchment, dusting with flour as needed.

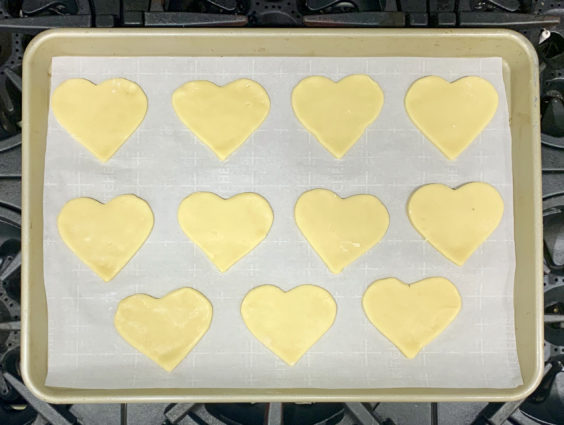
Cut shapes with 2 1/2-inch heart-shaped cookie cutters.

Using a spatula, transfer to prepared baking sheets (if dough gets too soft, refrigerate 10 minutes).

Reroll scraps and cut more shapes.

Repeat with remaining disk of dough.

Bake cookies, rotating sheets halfway through, until edges are golden, about 12 minutes. (If bubbles form, tap baking sheet firmly against oven rack a few times during baking.)

Let cool completely on wire racks.

Cookies can be stored in an airtight container up to 1 week.

Make the icing:

In the bowl of a mixer fitted with the paddle attachment, combine confectioners’ sugar and egg white on low speed.

Add a scant 1/4 cup water, then increase speed to medium-high and mix until icing holds a ribbon-like trail on surface for 3 seconds when you raise paddle, about 10 minutes.

Reduce speed to low and mix 1 minute more to eliminate air bubbles.

Add food color, a drop at a time, until desired color is reached.

Use immediately, or store in an airtight container in refrigerator up to 3 days.

Stir well before using.

Decorate cookies as desired.

It’s that simple!

signature

[recaptcha]