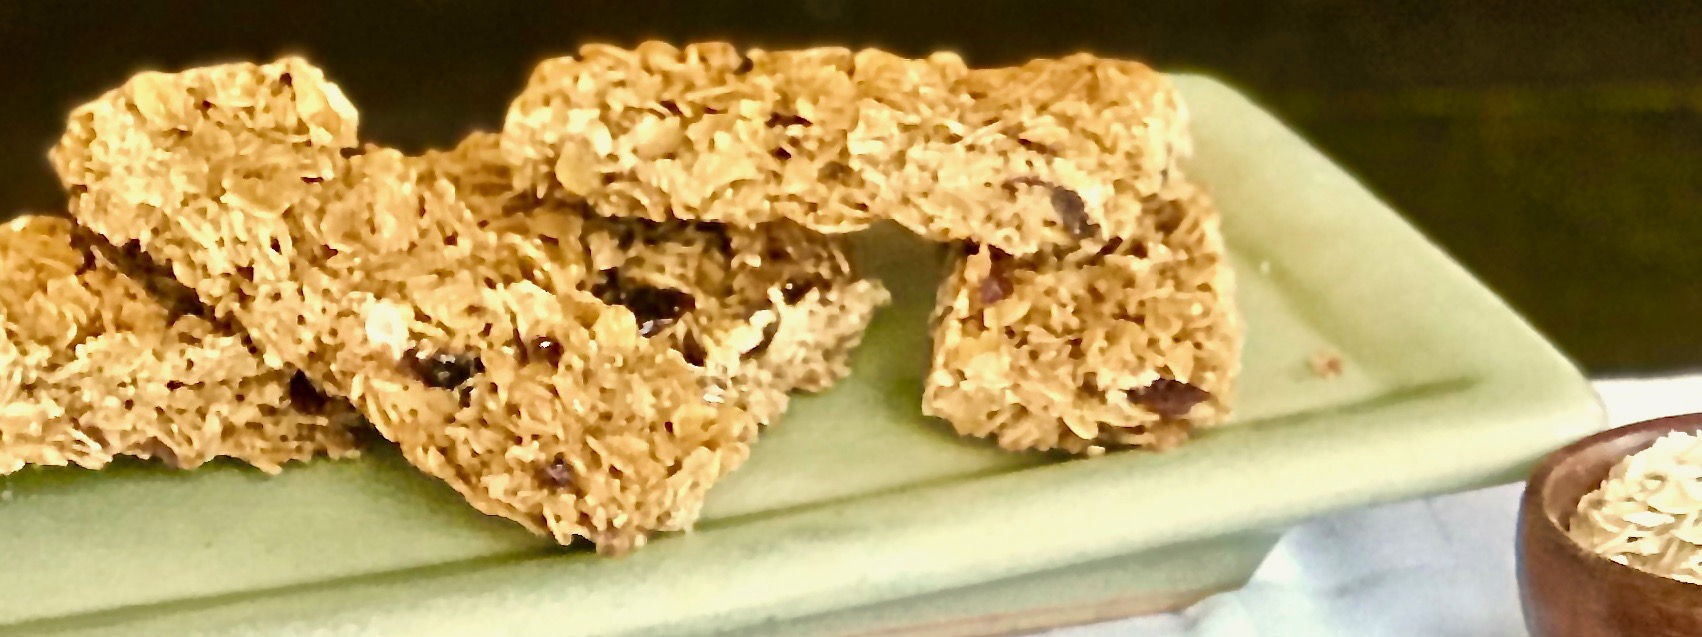
As late afternoon approaches, I am always looking for a snack. I used to reach for a granola bar, until I became more informed about its ingredients. 

Many of the bars claim to have nutritional value, but in actuality, the “natural flavors” listed are chemically engineered sugars manufactured to resemble the designated foods. 

If you are interested in obtaining more information about this, check out “The Food Babe” website. She is passionate about the foods we are eating and their ingredients.

This is why I decided to try and make the granola bars. I know that I am using healthy and nutritious ingredients. These bars are easy to make and so delicious.  Feel free to modify this recipe with any healthy ingredient you enjoy.  I did change a few things, as I noted in the recipe.

This recipe is courtesy of The Perfect Cookie by America’s Test Kitchen. It will make 36 bars ( depending on how you cut them).

Ingredients for Crunchy Granola Bars

7 cups old-fashioned rolled oats
1/2 cup vegetable oil (I used coconut oil)
1/2 tsp. salt
3/4 cup “natural” honey
3/4 cup packed light brown organic cane sugar
1 tbsp. vanilla extract
2 tsp. ground cinnamon
1 1/2 cups almonds, peanuts, or walnuts, coarsely chopped 

Preheat oven to 375.

Adjust oven rack to middle position.

Toss oats, oil, and salt together in a medium bowl.

Spread mixture over baking sheet and toast, stirring often, until pale golden, about 20 – 25 minutes.
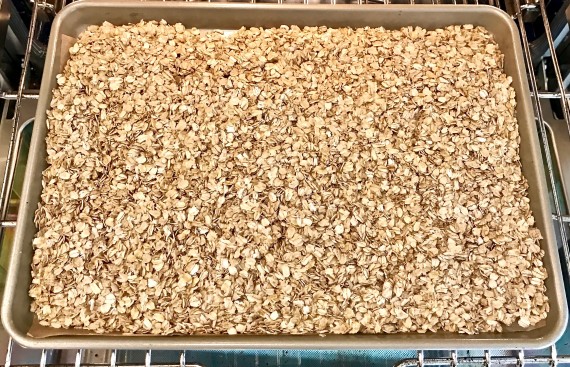
Gtanola Bars oats on pan

Meanwhile, line an 18 by 13-inch rimmed baking sheet with aluminum foil and grease foil. ( I used parchment paper, which I extended beyond the baking sheet rims).

Cook honey and sugar in a small saucepan over medium heat, stirring frequently, until sugar is fully dissolved, about 5 minutes. 
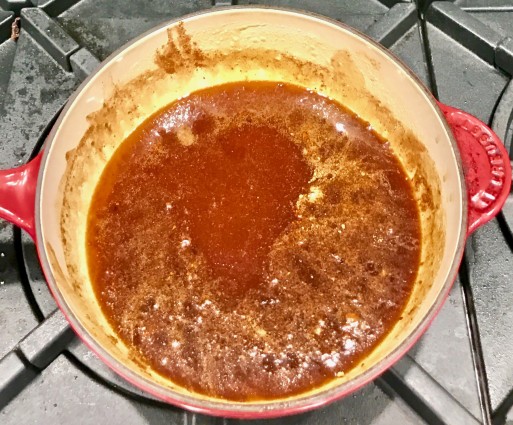
granola bars honey and sugar in pan

Take off the heat and stir in the vanilla and cinnamon, if using.

Transfer toasted oat mixture to a large bowl. 

Reduce oven temperature to 100. Add honey mixture and almonds (or any nut you are using) to oat mixture and toss until well combined.

Transfer mixture to prepared sheet and press firmly into even layer with a greased metal spatula.
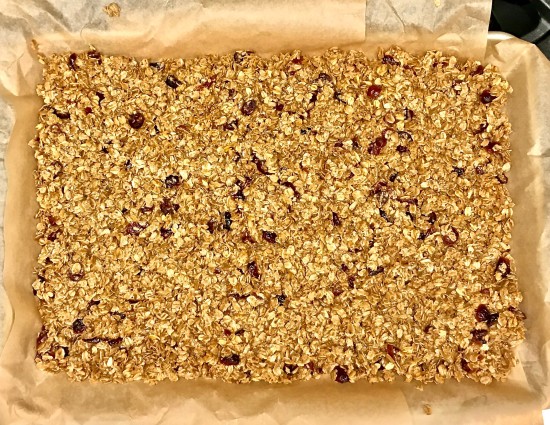
Granola bar transferred to baking sheet

Bake bars until golden, 35 to 30 minutes, rotating sheet halfway through baking. (set your timer).

Let bars cool completely, in sheet on wire rack for 15 minutes, then cut them into 36 pieces. 

Let cool completely, then remove individual bars from sheet with spatula. 

Bars can be stored at room temperature for up to 2 weeks.

It’s that simple!

signature

[recaptcha]


I am a big fan of making a meal out of the ingredients in my pantry and refrigerator. That is the origin of this recipe. A recipe should be used simply as a guide. Unless you are baking where it is imperative to follow every detail, feel free to change an ingredient if you do not have it. You might be surprised by the results! Your “new” recipe may become a family favorite.

I know you may roll your eyes when you read how long it takes to roast these peppers. They do take a while, but if you happen to have a jar of roasted red peppers on hand, use it! I had the red peppers in my refrigerator and needed to use them before they became inedible. Roasting red peppers is not on my list of favorite things to do. But, the result was worth the effort.

This recipe is delicious and, once the roasted peppers were cooked, came together easily. You can always add some Parmesan-Reggiano cheese to top it off. That would make the dish even more delicious!

This recipe will serve 4-6 people who will be ecstatic that you had these ingredients in your pantry!

Ingredients for Fusilli with Roasted Pepper, Garlic and Lemon

3 tbsp. extra-virgin olive oil
3 red bell peppers, roasted and cut into slices
4 cloves garlic, minced
1 package fusilli pasta
1 tbsp. butter
Zest of 1 lemon
Juice of 1/2 lemon
1/4 cup breadcrumbs
1 tsp. red pepper flakes
1 tsp. kosher salt, plus 2 tbsp. more for pasta water
1/2 tsp. freshly ground black pepper

Preheat oven to 450.

Cut the red peppers in half and discard the seeds. Place them cut-side down on a baking sheet that has been lined with parchment paper. 

Roast peppers for about 20-25 minutes, or until the skins are charred and wrinkled. 

Let cool. Cut them into 1/2-inch slices.

Meanwhile bring  a pot filled with water and 2 tablespoons of kosher salt to a boil. 

Add the pasta and cook 2 minutes less than the directions on the package.

RESERVE 2 CUPS OF PASTA WATER! Drain the rest. Set aside.

In a large skillet, heat 3 tablespoons of the extra-virgin olive oil. 

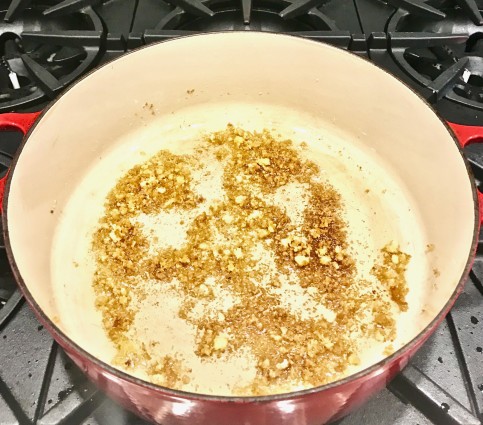
Add the breadcrumbs and cook until lightly browned.

Fusilli breadcrumbs

Stir in the garlic. Cook for one more minute.

Toss in the lemon juice and zest, salt, pepper and red pepper flakes. 

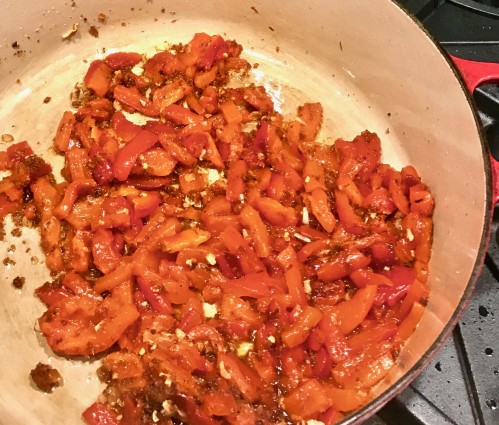
Add the roasted red peppers, stir to combine.

Fusilli red pepers lemon juice

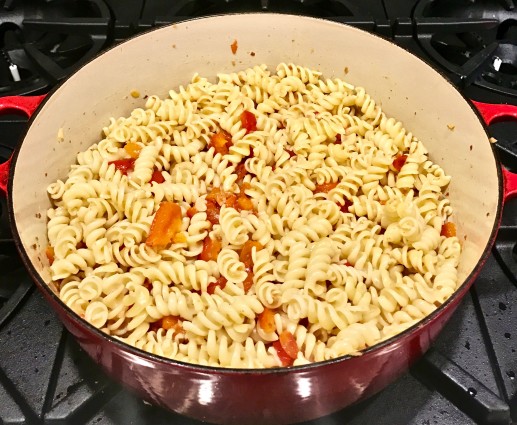
Pour in the pasta and 1/2 cup of reserved pasta water. 

Keep adding small amounts of pasta water and stirring until you reach the thickness of the sauce you desire.

Fusilli with pasta -done

Serve warm or room temperature.

It’s that simple!

Julie's flower
signature

[recaptcha]


My choice of cookware is enameled pots. I started using them many years ago. They can be pricey, but they are so worth it. You can now find them in stores like Home Goods at more reasonable prices. I started my collection slowly, buying one or two pots a year, and now I am hooked. I rarely use my stainless steel pots anymore for a number of reasons.

They burn easily and are very difficult to clean.

The enamel pots, on the other hand, clean easily, and rarely require overnight soaking.

In addition, enamel pots are made from a cast-iron or steel base and then coated with porcelain enamel to give the pan a smooth, non-stick surface. This coating is made from natural clay that has been baked and glazed to make it very hard and durable.

I have found that stainless steel pans are a poor conductor of heat, and, as a result, food tends to cook unevenly. They also contain some elements that may interfere with the taste of the food.

Enamel pots, however, combine the heat distribution benefits of iron with the non-stick properties of enamel. Foods cook more evenly and do not contain properties that interfere with the taste of the food.

Buy one for yourself. I know you will notice the tremendous differences between the stainless steel and the enameled pot. I think you are going to be hooked too!

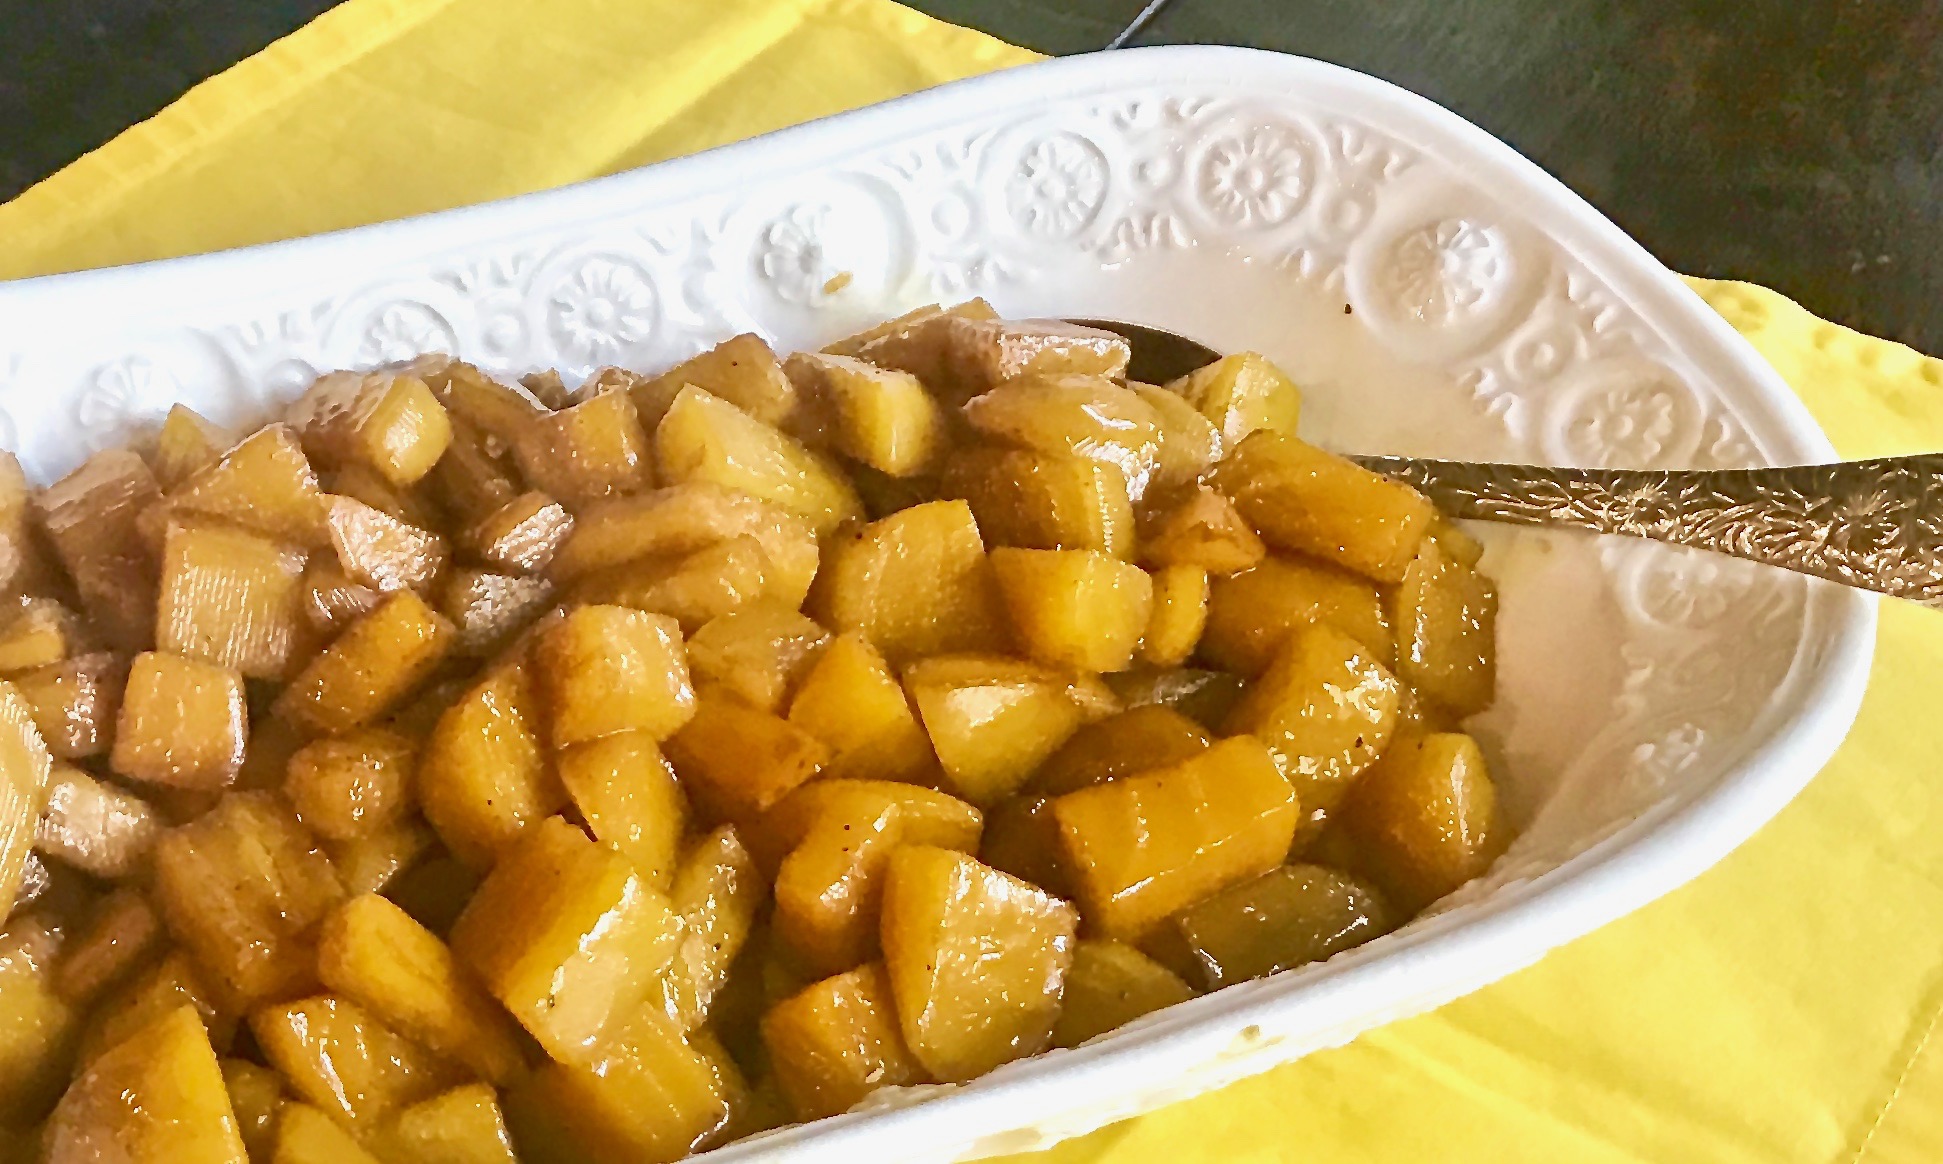
This recipe has turned a beet-hater like me into someone who actually enjoys them. The sweetness of the dark brown sugar combined with the tartness of the orange juice makes the beets as wonderful as popping a piece of candy in your mouth. I used golden beets for this recipe, but you can use the red ones as well. 

I hate to peel beets (don’t forget to put on gloves), but I love this recipe enough that I would gladly peel them again. It is scrumptious and worth every minute. Peeling and steaming the beets take the majority of the time required  for this recipe. Once the beets are done, the process goes quickly. Take a look at this recipe; how is that for short and simple? 

This recipe is courtesy of eating well.com and will serve 6 people who will be popping them into their mouths like bonbons!

Ingredients for Brown Sugar-Glazed Beets

3 cups peeled, steamed cubed beets, 1/2 to 1-inch cubes
3 tbsp. dark brown sugar
2 tbsp. orange juice
1 tbsp. unsalted butter
1/4 tsp. kosher salt
1/4 tsp. freshly ground black pepper

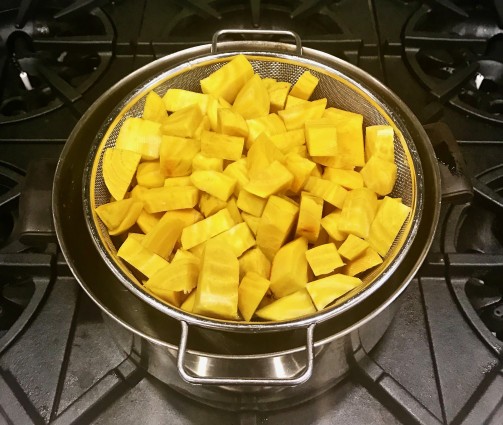
Place beets in a steamer in a pot with 2 inches of water. Steam on high heat for 15-20 minutes. 

Brown Sugar Beets in pan steaming

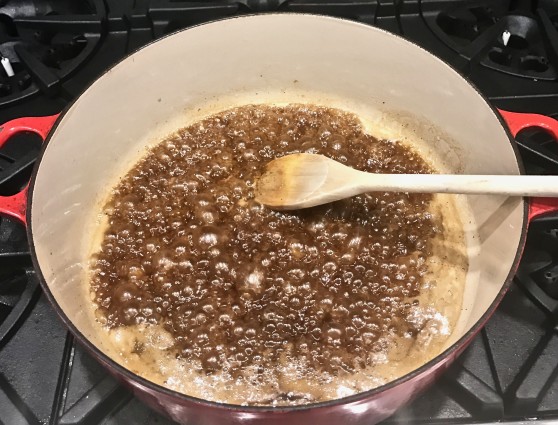
Combine brown sugar, orange juice, butter, kosher salt and pepper in a large nonstick skillet.

Brown Sugar beets sugar and orange juice

Cook over medium heat until the sugar and butter are melted and starting to bubble.

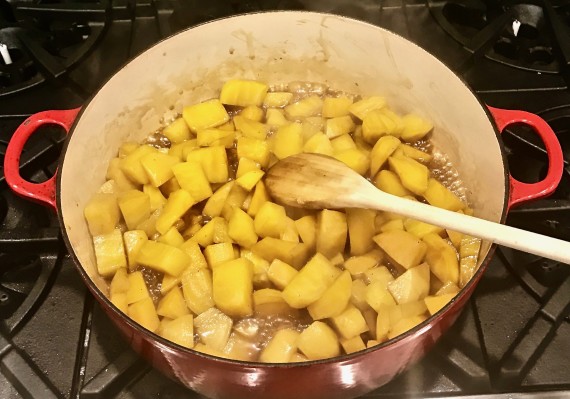
Stir in the beets and cook until most of the liquid has evaporated and the beets are coated with glaze, about 6-8 minutes.

Brown Sugar Beets in pan with brwon suagr and orange juice

Serve warm.

It’s that simple!

Jenna eating corn
signature

[recaptcha]


The July Fourth holiday is behind us, and before you know it, the summer will fly by. I never understood why the time seems to go so much faster during those long, lazy days of summer. One minute you are basking in the warm glow of summer, then in the blink of an eye, autumn is here, the kids are back in school, and you are riding a roller coaster for the next 9 months. Oh well. Sorry, let’s not think about that just yet.

There are so many wonderful things about the summer. I love the fragrant flowers and the beautiful harvest of vegetables (and so many other things, but I won’t bore you). For the past couple of years, I have been growing some of my own vegetables. Although I am not a  great gardener, I do manage to pull off a couple of tasty veggies. I enjoy growing them, and achieve satisfaction when I use them in the meals I prepare. It is still early enough for you to try to grow your own. So give it a try…you never know!

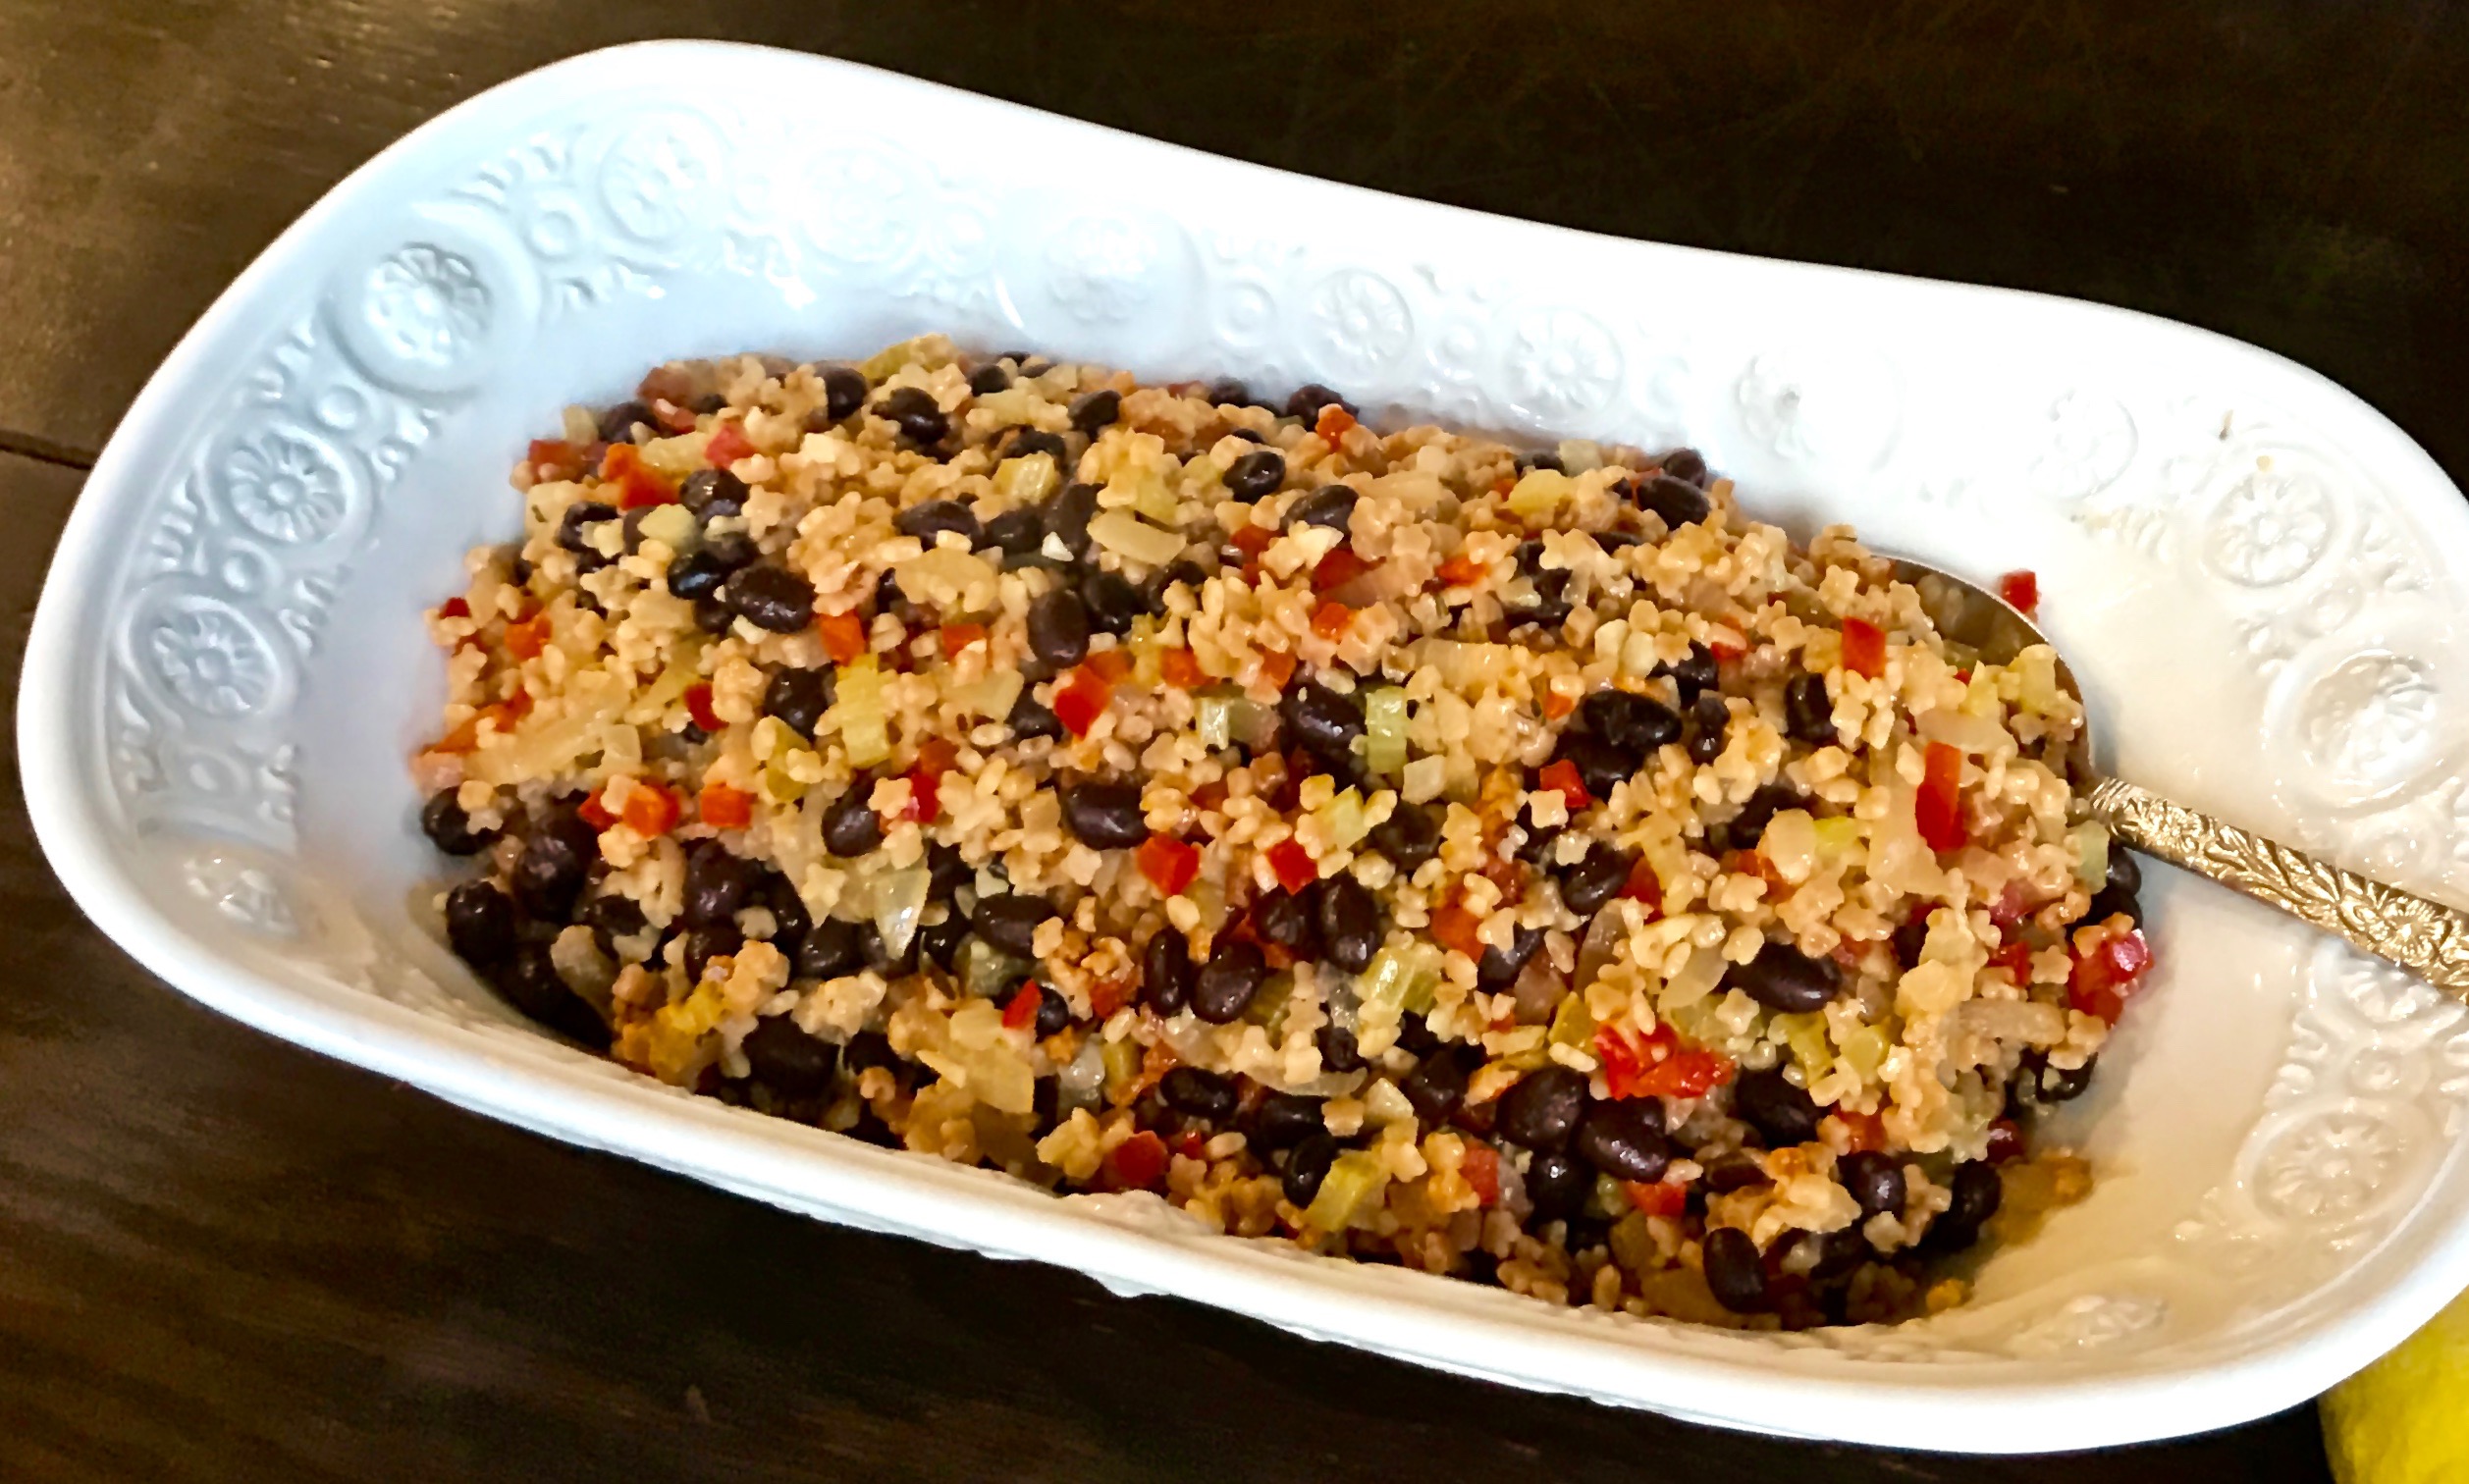
This recipe caught my eye as I was searching for a barley dish. Quick-cooking barley is easy to prepare and is very versatile. I had all the ingredients in my pantry for this recipe, so I gave it a try.

I am so glad I did! It was sweet, along with a little tang and a little heat–a perfect combination. You can also use chicken broth to prepare it (I did). If you use regular chicken broth, you should eliminate the salt. It will be salty enough once it is cooked. I also could not find black-eyed peas, so I used regular black beans, and I am sure the result was similar ( you could also substitute chick peas). Remember, a recipe is just a guide. When you cook (as opposed to baking), there is plenty of room to change things up, and make it exactly as you like.

Whatever you do, put this recipe on your to-do list. It is fast, easy and just plain delicious.

This recipe is courtesy of Eatingwell Magazine and will serve 4-5 people who will repeatedly crave this flavorful dish.

Ingredients for Barley Hoppin John

1 small red pepper, chopped
2 stalks celery, chopped
2 cloves garlic, minced
1 14-ounce can vegetable broth
1 cup quick cooking barley (I used Manischewitz toasted barley)
1 tbsp. chopped fresh thyme (or 1 tsp. dried)
2 tsp. lemon juice
1/4 tsp. crushed red pepper
1/4 tsp. kosher salt
2 15-ounce cans black-eyed peas, rinsed

Heat oil in a large nonstick skillet over medium heat.

Add onion, bell pepper and celery.

john barley veggies in pan

Cook until vegetables soften, 3-4 minutes.

Add garlic and cook 1 minute.

Add broth, barley, thyme, lemon juice, crushed red pepper, and salt. Bring to a boil.

Baley john barley added

Reduce heat, cover and simmer until the barley is done, 15-20 minutes.

Remove from the heat and stir in black-eyed peas.

Cover and let stand for 5 minutes.

Serve hot.

It’s that simple!

Yellow cone flowers
signature

[recaptcha]


There are so many wonderful cooking tips out there that will help you become a better cook. Throughout the years, I have always looked for those words of wisdom that will help make the process a little easier. As a result, I have collected quite an array of culinary tidbits. I would like to share several with you and hope you find them useful.

1. When making a salad, you know you should always wash your vegetables. What is equally important, in my opinion, is to dry them. Yup. Dry them really well. No one likes a wet salad. 

2. Always dress a salad right before you serve it. Dressing it too early will make it soggy and unappetizing.

3. Many of you store your spices in a shelf near the stove. Don’t! Spices need to be stored in a cool, dark space. Light and heat will cause them to lose their flavor.

4. After boiling vegetables, always plunge them in an ice bath to stop the cooking process. This will ensure you get crisp, beautiful vegetables every time.

5. Never put oil in pasta water. The oil will prevent the pasta sauce from sticking. Also, pasta with ridges or curves is the best to use with sauces because the sauce will stay in the curves. 

6. Remove your meat from the refrigerator one hour before cooking. It needs to come to room temperature in order to cook evenly.

7. And one from Ina Garten: For best results when baking, leave butter and eggs at room temperature overnight (yes, she said overnight) . I have always said, refrigeration is over-rated. You don’t need to refrigerate as much as the cookbooks suggest. The authors say it for their own safety reasons, just as they tell you to cook meat to a certain temperature.

8. Always cook your meat 10-15 degrees less than what your cookbook indicates. The meat will continue cooking after you take it out of the oven. If you don’t, you will have unpalatable, overcooked meat.

I will include many more cooking tips in future posts. I hope they help!

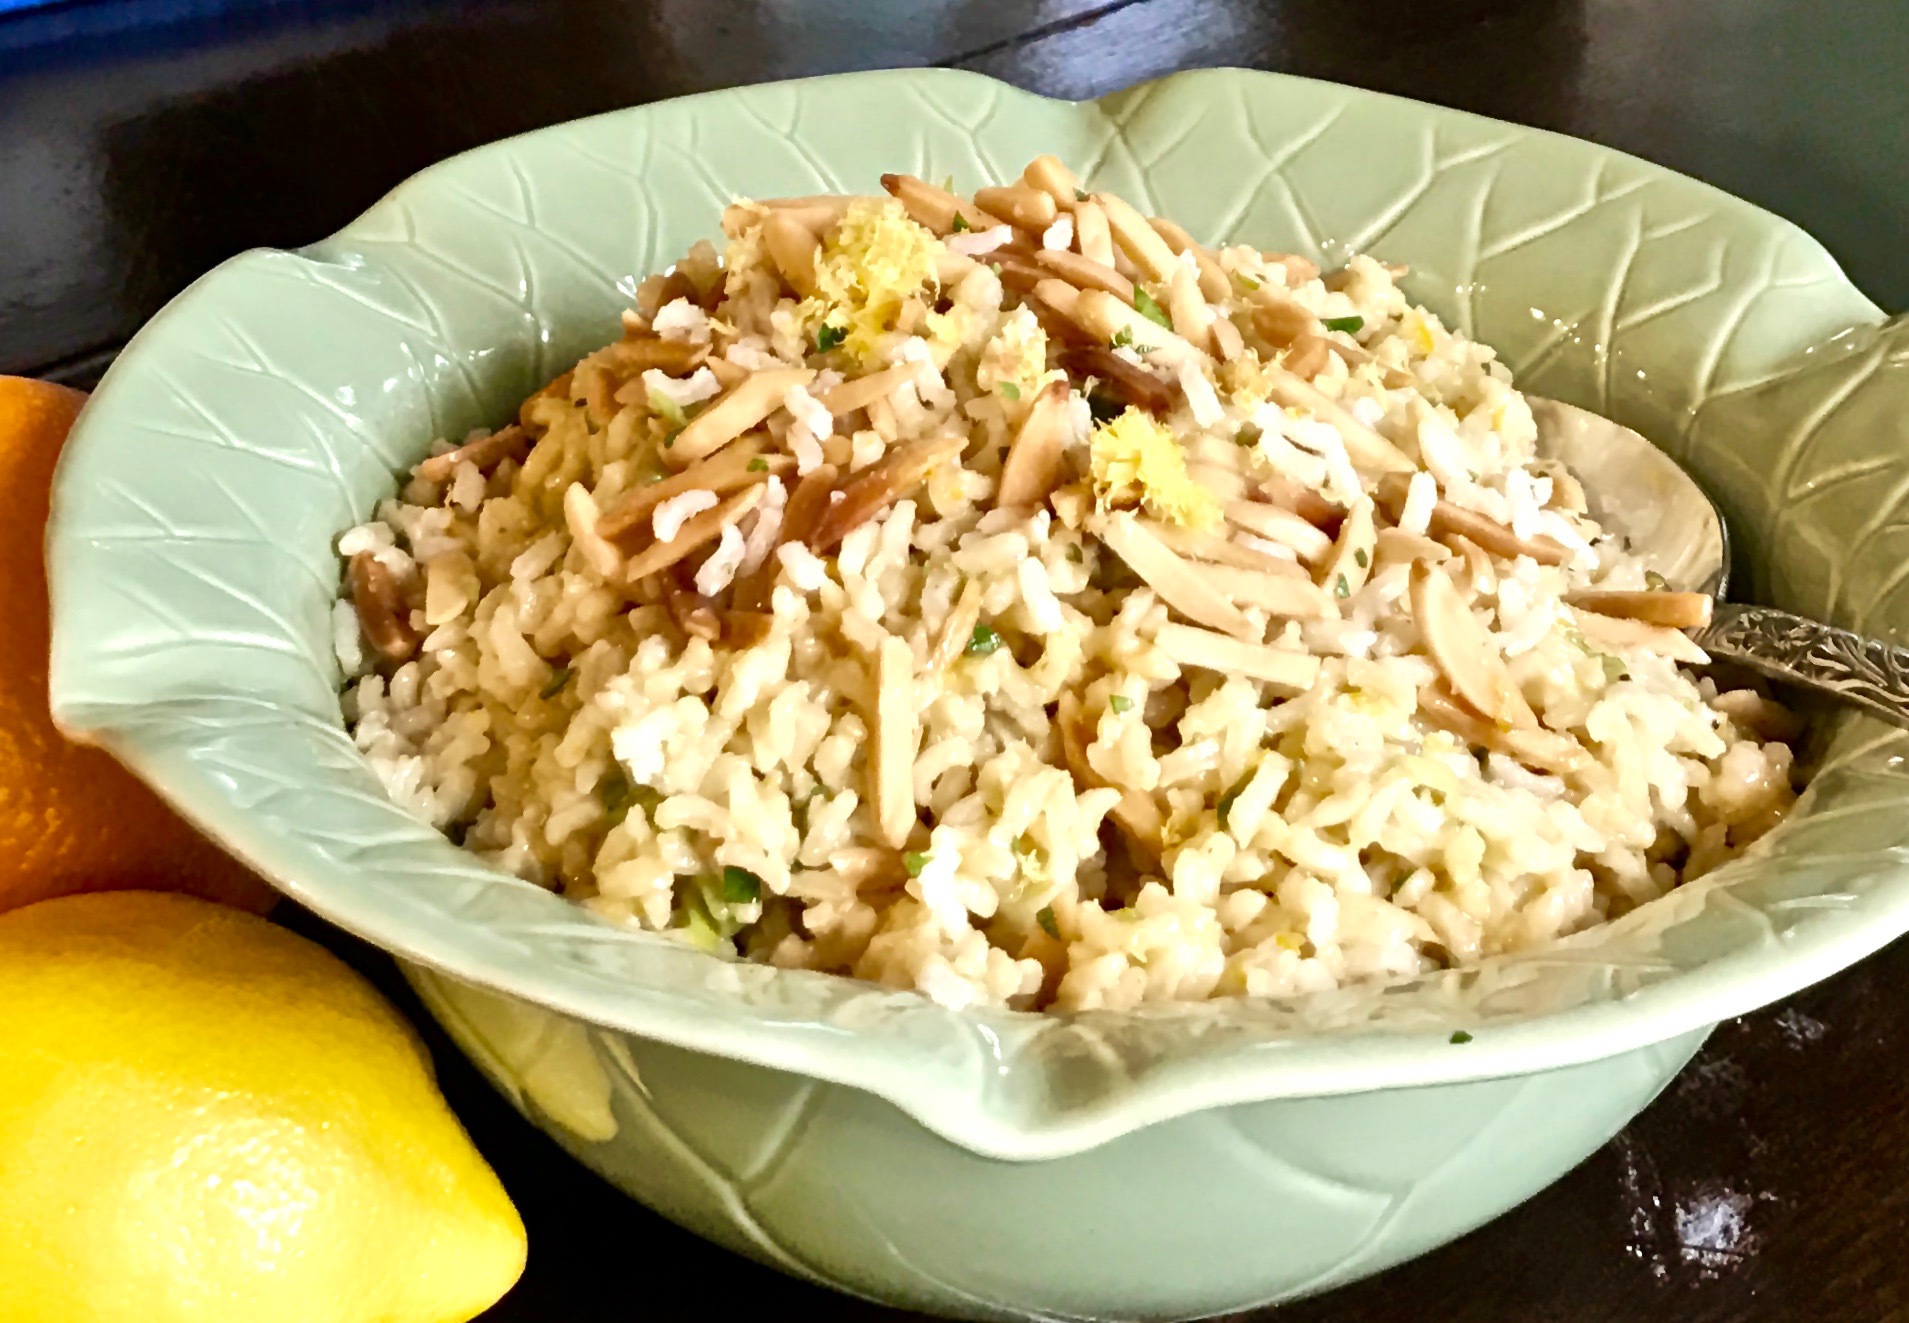
Today’s recipe provides an outstanding way to cook rice. It is so light and refreshing. The lemon zest, along with the orange zest, give the rice a bright, fresh citrus flavor that will titillate your taste buds, making them dance with happiness!

This is a must-try. It offers a wonderful start to summer with its natural citrus flavors. It is perfect as an accompaniment to any main dish or just as a snack. I did not use as many onions as the recipe called for, but it came out beautifully.

This recipe is courtesy of Giada DeLaurentis and will serve 4-6 people who will love it so much it may become a family favorite!

Ingredients for Citrus Rice

Rice Salad:

1/2 cup sliced almonds
4 cups low sodium chicken stock
1/2 tsp. kosher salt
2 tbsp. extra-virgin olive oil
2 cups basmati rice, rinsed
3/4 cup chopped fresh felt leaf parsley
1 medium orange, zested
1 lemon, zested
1 cup thinly sliced green onions

Vinaigrette:

1/2 cup extra virgin olive oil
1/4 cup freshly squeezed orange juice (about 1/2 orange)
3 tbsp. freshly squeezed lemon juice (about 1 lemon)
2 tbsp. soy sauce
1 tbsp. honey
1 1/2 tsp. ground cumin
Kosher salt 
Freshly ground black pepper

Heat oven to 350.

Place oven rack in the center of the oven.

Arrange the almonds in a single layer on a baking sheet. Bake for 5-6 minutes until golden brown.

Cool completely, about 15 minutes.

In a medium saucepan, bring the chicken stock, salt and oil to a boil over medium-high heat.

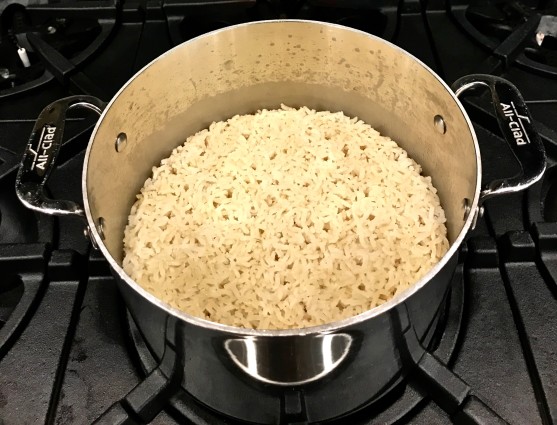
Stir in the rice. Cover the sauce pan, reduce the  heat, and simmer until all the liquid has been absorbed and the rice is tender, about 40 minutes.

Citrus rice rice

Remove the pan from the heat and let sit for 5 minutes.

Using a fork, fluff the rice and place in a large serving bowl.

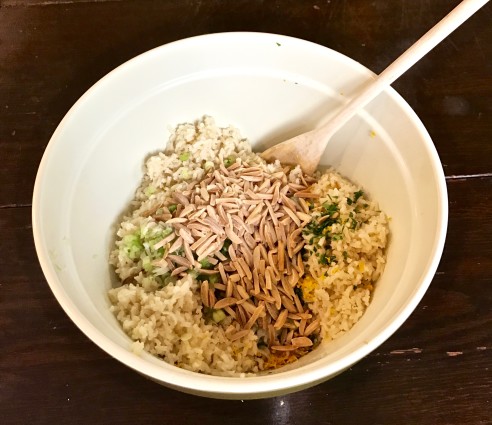
Add the parsley, orange zest, half the lemon zest, green onions, and 1/3 cup of the almonds

citrus rice rice parsley green onions lemon zest

Toss well.

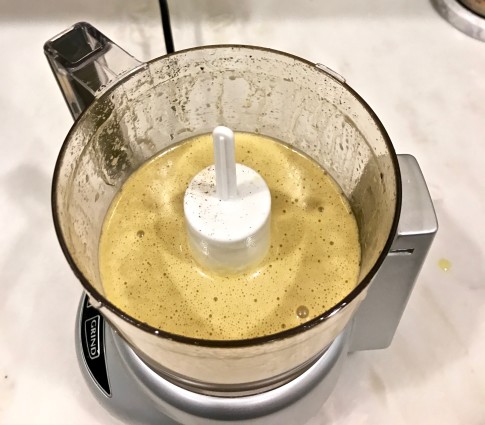
In a blender, combine the olive oil, orange juice, lemon juice. soy sauce, honey and cumin.

Blend until smooth. Season with salt and pepper to taste.

citrus rice food processor

Pour the vinaigrette over the rice mixture and stir well.

Garnish with the remaining lemon zest and almonds.

It’s that simple!

banana plant flower
signature

[recaptcha]