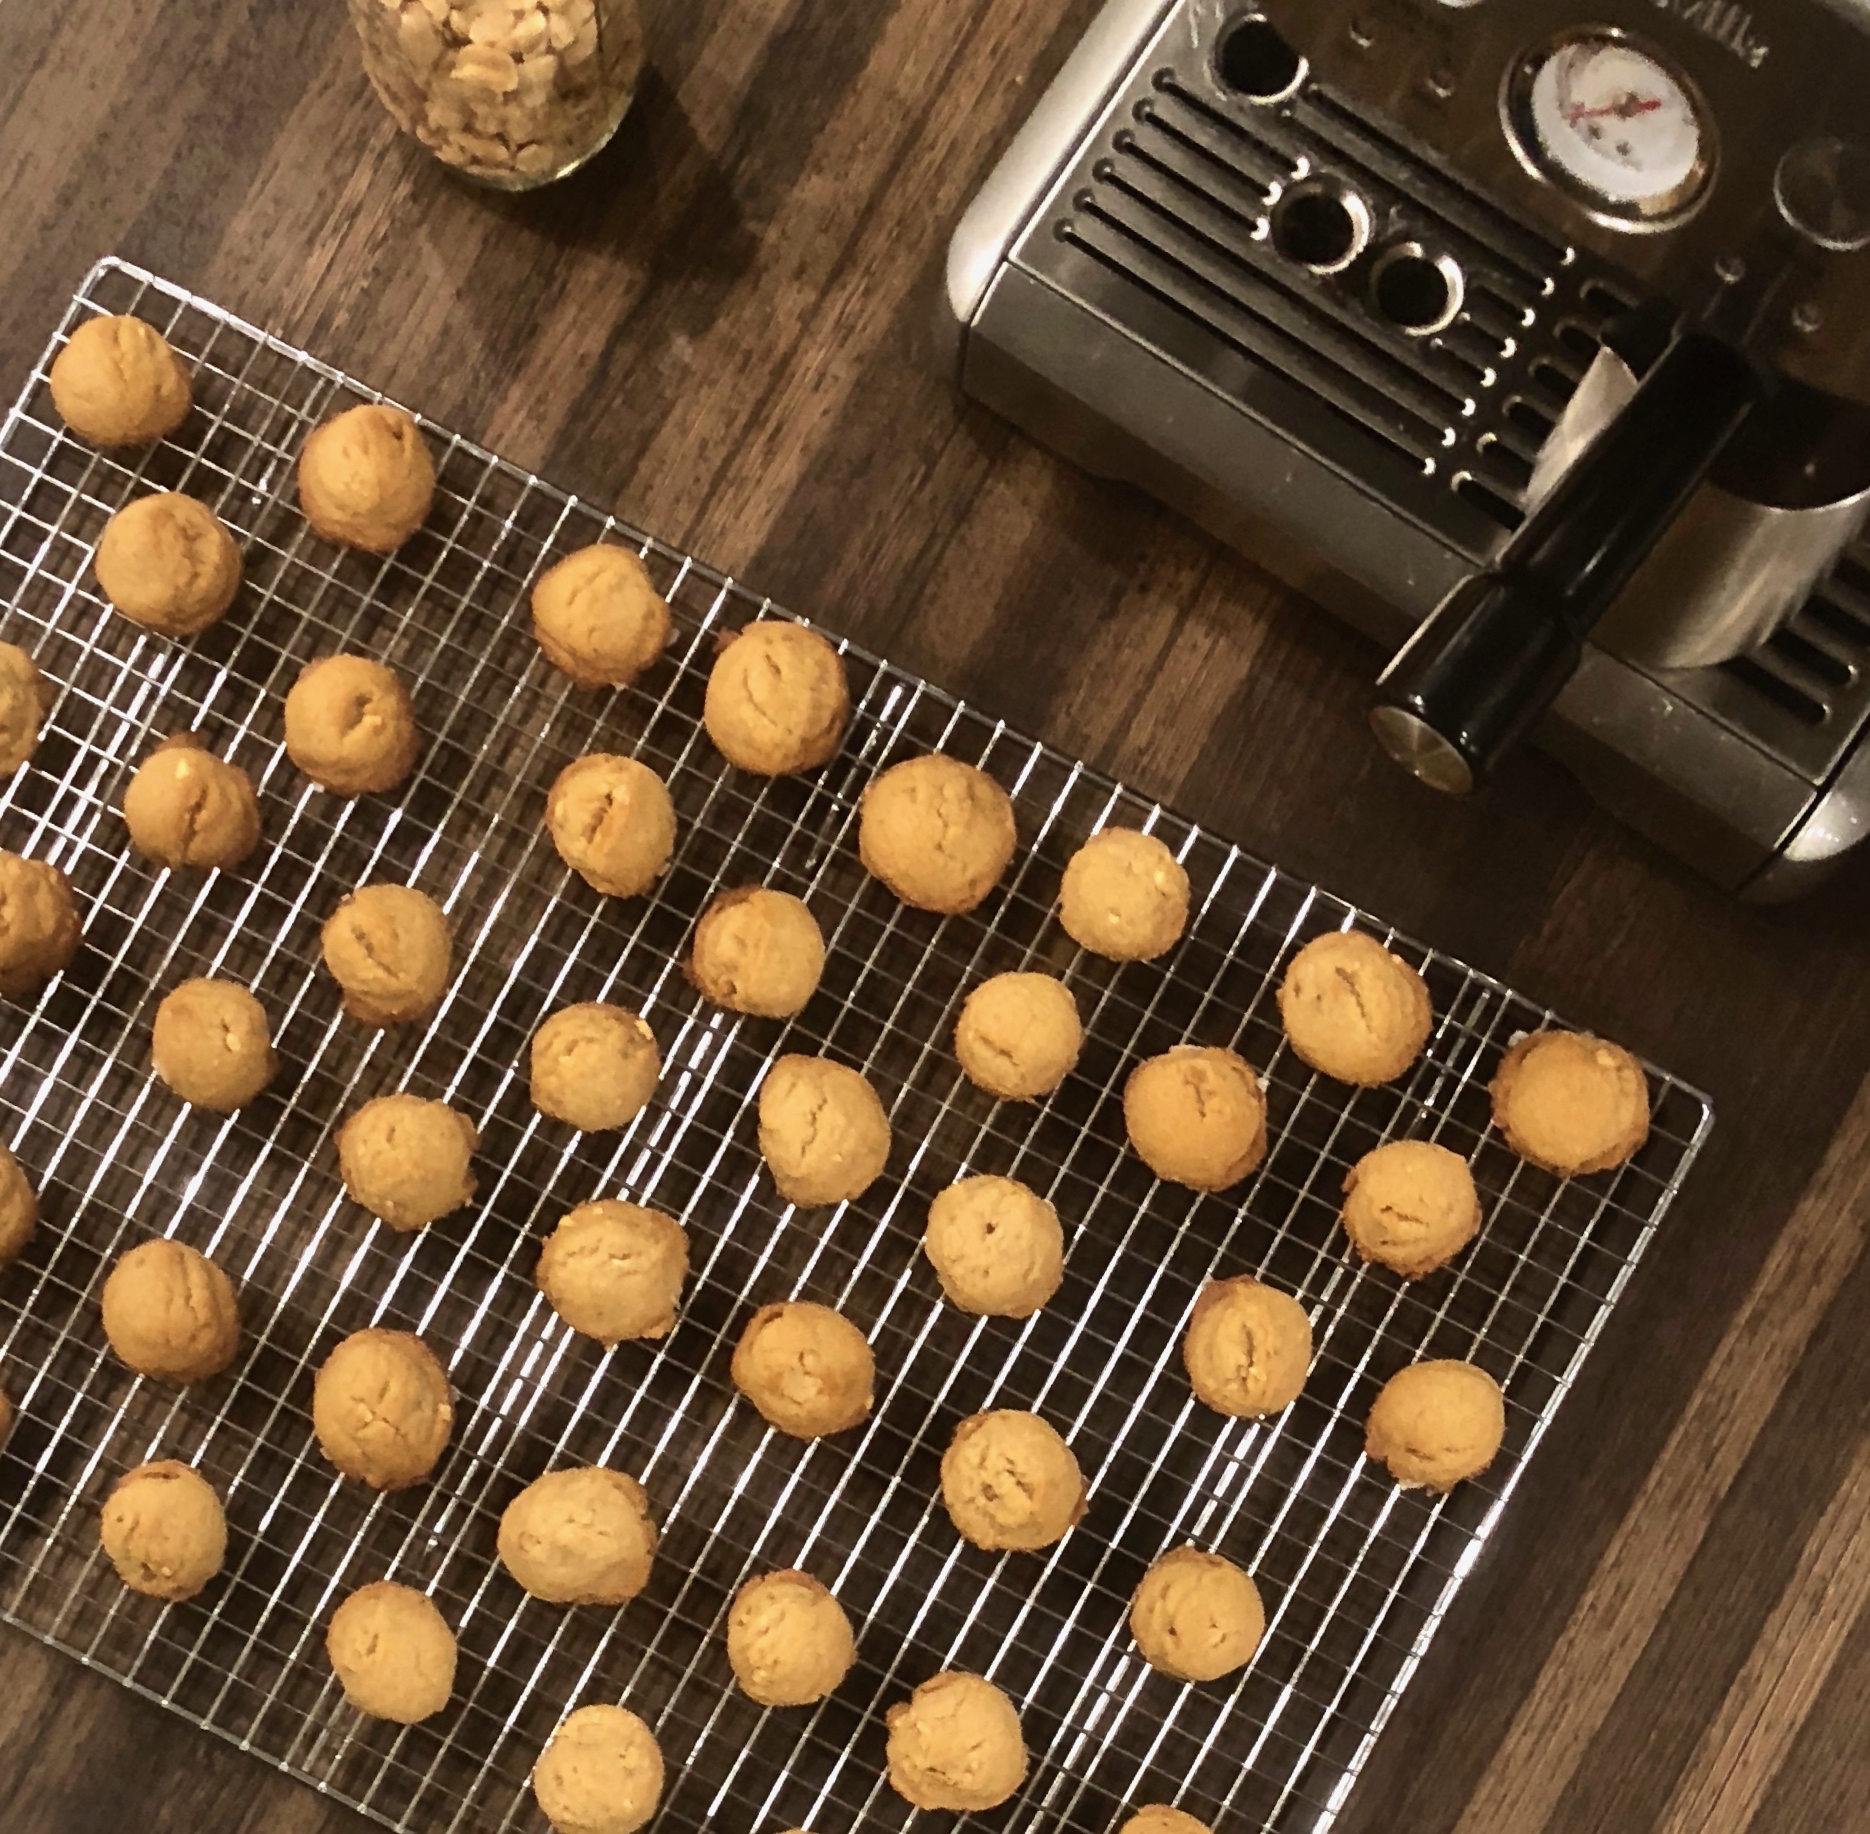
I have been baking a lot this fall. It probably has to do with the weather. When it is rainy and cold out, I love to cook and bake. Just the smell of delicious food makes me instantly feel better. Plus, staying active, whether I am organizing, cooking or cleaning keeps me sane. I just am not good at resting, unless it is to watch a great movie or TV show. 

Recently after minor surgery, my husband was turning down the covers on my bed. I asked him why he was doing it and he said it was for me to rest. This was very considerate and kind of him and I thanked him and told him I had no need to rest. I felt fine, and walked right into the kitchen to bake these cookies.

There are a lot of boring yet delicious peanut butter cookie recipes out there. Most of them have white sugar, brown sugar and flour in them. So does this one! But look carefully, there is something different about this recipe. They are made not with the usual salt, but with a coarse salt with generous bold flakes. Each bite of these amazing cookies surprises you with a nutty, sweet and tart flavor that is incredible. Dome shaped and best served warm, they are crispy outside and tender inside. I challenge you to eat just one. Put this one on your “absolutely must try” list and thank me later.

FYI – I just lightly dipped the bottoms of the cookie in Maldon salt flakes. This was suggested by the author of this recipe, and I didn’t want any of the salt to fall off if I had out them on top.

This recipe is courtesy of Julia Moskin and City Bakery, and will make 2-3 dozen cookies that will satisfy any sweet tooth. 

Ingredients for Peanut Butter Sandies:

1 cup unsalted butter, softened
2 cups sugar
2/3 cup packed light brown sugar
1 teaspoon kosher salt
2 cups peanut butter, creamy or chunky
2 large eggs
2 1/4 cups all-purpose flour
Flakey salt like Maldon for sprinkling

Heat the oven to 375°F with racks in the lower and upper thirds.

Line two large rimmed baking sheets with parchment paper or silicone baking mats.

In the bowl of a standing mixer fitted with the paddle attachment, cream the butter, sugars, and salt on medium-high speed until light and fluffy, at least 3 minutes.
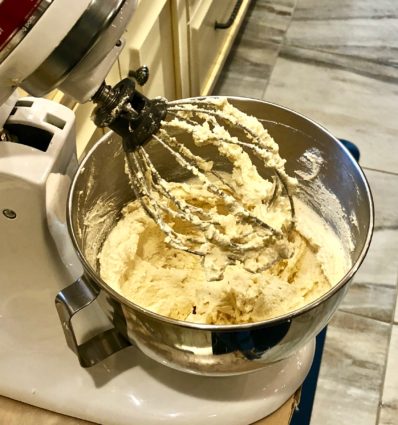
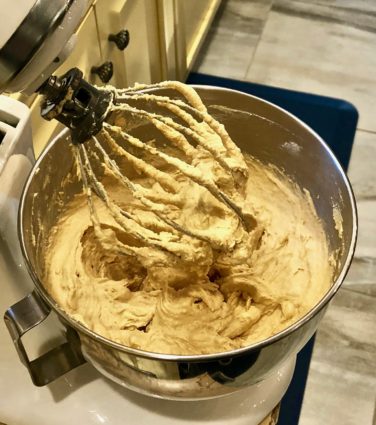
Scrape down the edges of the bowl, add the peanut butter and eggs, and mix on medium-high speed until well combined.

Add the flour and mix on low speed until no streaks of flour remain.
Using a 1-tablespoon cookie scoop or spoon, scoop the dough onto the baking sheets, spacing them 1 inch apart. (They won’t spread).

Sprinkle the top with flaky salt (or the bottoms).
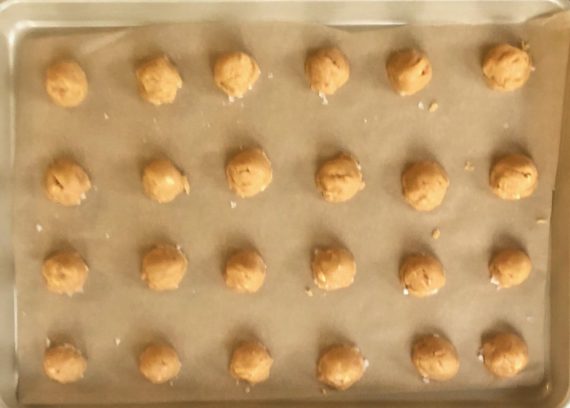
Bake until golden about 10 to 11 minutes, rotating the baking sheets back to front and top to bottom halfway through the baking.

Transfer the cookies onto a rack to let cool.

Serve warm, or let cool completely and store in an airtight container at room temperature.

These are the best the day they are made, but after that they can be rewarmed at 350°F for about 5 minutes.

You can also freeze extra scooped cookies for later and bake them without defrosting – they will take 1 to 2 minutes longer to bake.

It’s that simple!

signature

[recaptcha]


I have commenced my countdown to Thanksgiving. Readying a house for a 50 guest sit-down dinner is really like preparing for an event. Having done it for so many years, I have this process down to a science. I have to-do lists which include deadlines for each individual task (there are a lot)! I keep a large notebook for each year, documenting my progress, this way I can refer to last year’s book to make sure I am on pace.

I give out tee-shirts each year that are themed by the charity we are giving to. I am grateful I have a close friend who can help me create the design we email to the company that prints on the shirts. My guest list is always changing, usually up to the week of Thanksgiving, which makes it difficult to order the correct amount each year. 

Like the ever-changing guest list, table colors and flower arrangements change, so I begin thinking about the layouts very early. Believe it or not, the menu is the last thing I plan for Thanksgiving.Because the menu is most important, I save it for last. I need time to really think about what I am going to prepare, so I try to get the other things done first. Of course, my blog comes in handy for picking out recipes. I hope it helps all of you too.

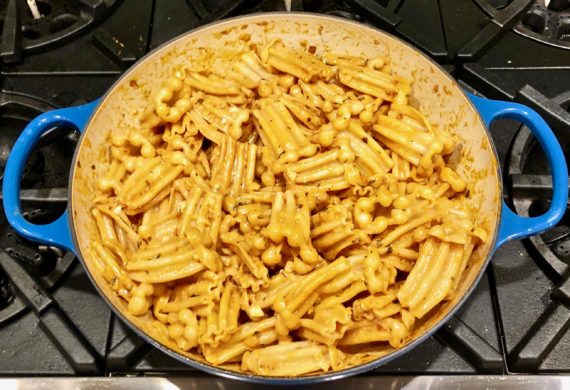
This is a recipe I would love to prepare for Thanksgiving, but I just have way too many people, and I would have to make so much pasta! I don’t even think I own enough pots to make all of it. If you are expecting a reasonable amount of guests, I would definitely add this to your menu.

This pasta is accompanied with a heavenly sauce that is thickened with flour, creating a “roux” and a creamy texture. The herbs and Parmigiano-Reggiano cheese add a savory perfection. This is one lip-smacking good dish!

By the way, I obviously did not use penne pasta. It was some other shape, and I forgot to write down the name of it. If anyone recognizes this shape, please let me know. So, feel free to use whatever shape you would like, just make sure it has ridges that the delicious sauce can creep into.

This recipe is courtesy of Taste of Home and will serve 8 people who will want you to prepare it for Thanksgiving year after year.

Ingredients for Blushing Penne Pasta:

1 package (16 ounces) penne pasta
2 tbsp. butter
1 medium onion, halved or thinly sliced
2 tbsp. minced fresh thyme or 2 tsp. dried thyme
2 tbsp. minced fresh basil or 2 tsp. dried basil
1 tsp. salt
1 1/2 cups half-and-half cream, divided
1/2 cup white wine or reduced-sodium chicken broth
1 tbsp. tomato paste
2 tbsp. all-purpose flour
1/2 cup shredded Parmigiano-Reggiano cheese, divided

In a 6-qt. stockpot, cook the pasta according to the package directions.

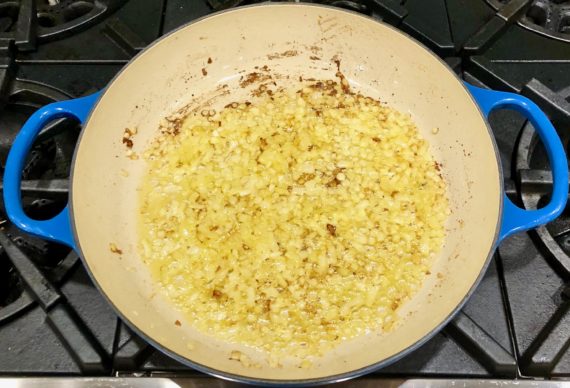
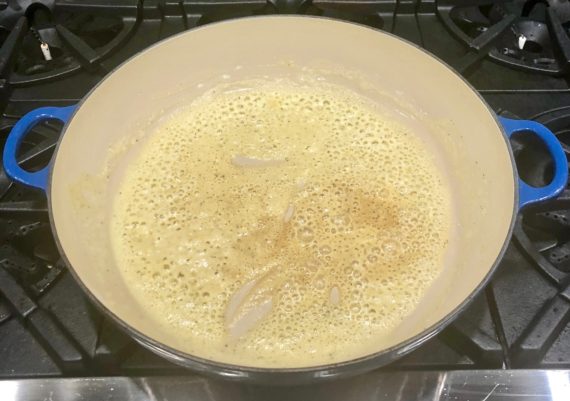
Meanwhile, in a large nonstick skillet, heat butter over medium heat; sauté onion until lightly browned, 8-10 minutes.

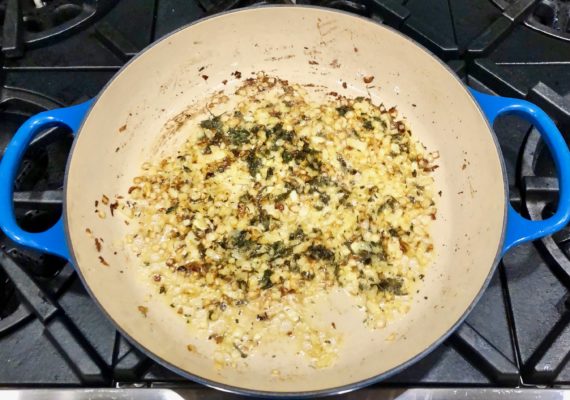
Add herbs and salt; cook and stir 1 minute.

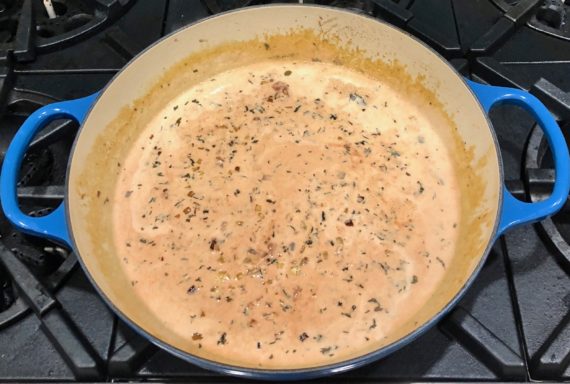
Add 1 cup cream, wine and tomato paste; cook and stir until blended.

Mix flour and remaining cream until smooth; gradually stir into onion mixture.

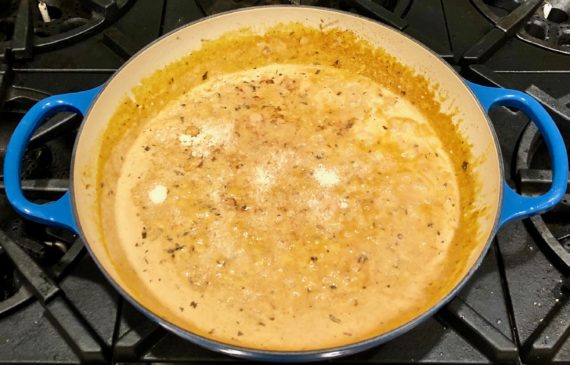
Bring to a boil; cook and stir until thickened, about 2 minutes.

Stir in 1/4 cup of cheese.

Add pasta.

Serve with remaining cheese.

It’s that simple!
Macy and Mitzie

signature

[recaptcha]


We have all had one of those days in the kitchen, where just about everything goes wrong. I am not a stranger to this. In fact, my mistakes have served me well and I have learned a lot from them. Here are some common cooking mistakes that myself and many others have made before.

Soggy salads. Even more of a pet peeve of mine than overdressing a salad, are you surprised? It is important to wash all of your greens, and it is just as important to dry them. I usually wrap them in paper towels to dry to get the best outcome, however, you could also use a salad spinner. I just find that it doesn’t dry the greens enough for me. They must be dried thoroughly or leafy greens will sit droopily in the bowl.

Overcooking hard-boiled eggs. Yes, it’s possible, and most people are probably guilty of this. After you boil an egg, check out the yellow part. If it is at all green around the edges, you have overcooked it! I have tried many methods and find this to work the best; place eggs uncovered in the pot emerged in water (about 1 1/2-inches over the eggs). Bring water to a boil, (you have to watch it) and take off the heat, cover them and set aside for 12 minutes. Pour them into the ice bath to stop the cooking process, then allow to cool for 15 minutes before peeling.

Cutting meat too soon. If you don’t let your meat sit for a bit before slicing, all the delicious juices will run out, leaving it dry. It is best to allow cooked meat a bit of downtime after removing it from the heat. This helps to re-disperse the juices so they stay inside. For smaller meat, like steak or chicken, give it about 5 minutes. For larger meats, such as a rib-roast or turkey, let stand for about 20 minutes. Loosely cover them with tin foil to keep it warm.

Overcooked turkey/roast. There is a simple solution for this. Use a meat thermometer. This takes all the guesswork out of the cooking process. Remember, always cook meat no less than 10 minutes of cooking time in instructions. The instructions usually do not allow for cooking time once you remove it from the oven.

Now on to our recipe for today!

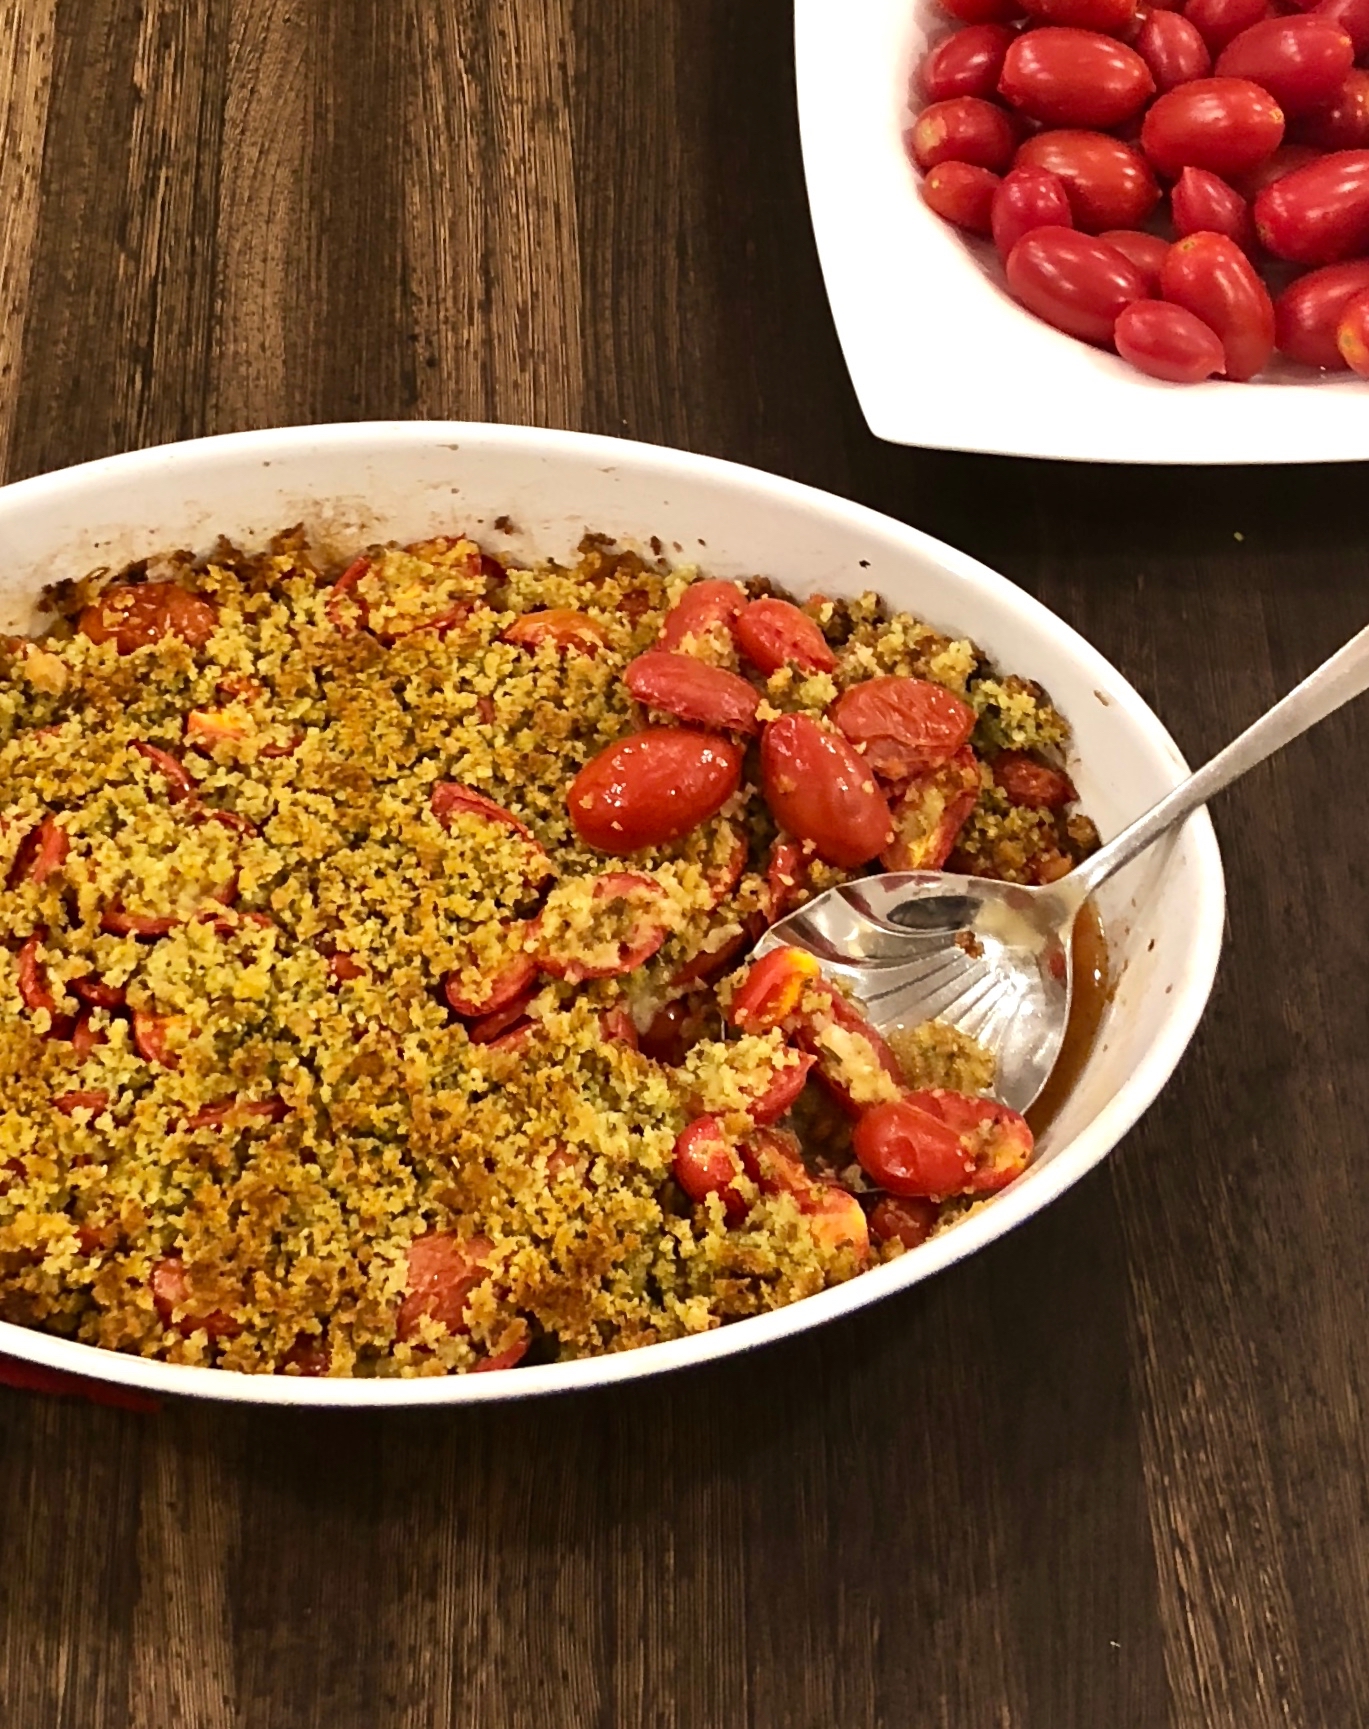
As promised, this is another great recipe to make for Thanksgiving. Whenever I want something easy that I know will also be special, I turn to Ina Garten. She comes through every time. This is something you can get to the table in no time. Roasted tomatoes are so yummy, and here Ina combines them with thyme and parsley giving it a savory aroma. This is spot on, easy and delicious. There is no reason not to make it.

This recipe will serve 6 people who will praise you for introducing them to this simply delectable dish!

Ingredients for Cherry Tomato Gratin

3 pints cherry or grape tomatoes, halved
1 1/2 tbsp. plus 1/4 cup olive oil
1 tsp. dried thyme
Kosher salt and freshly ground black pepper
3 large garlic cloves, peeled
1/3 cup chopped fresh flat-leaf parsley
2 cups coarse bread cubes from a country bread (crusts removed)

Preheat oven to 400°F.

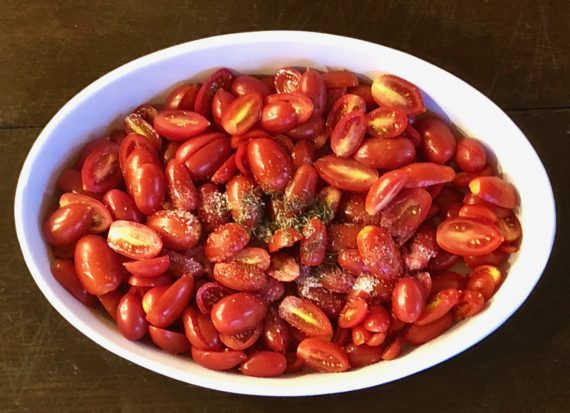
Place the tomatoes in a 9 x 13-inch ceramic dish.

Add the 1 1/2 tablespoons of olive oil, thyme, 1 teaspoon salt, and 1/2 teaspoon pepper and toss together.

Spread the tomatoes evenly in the pan.

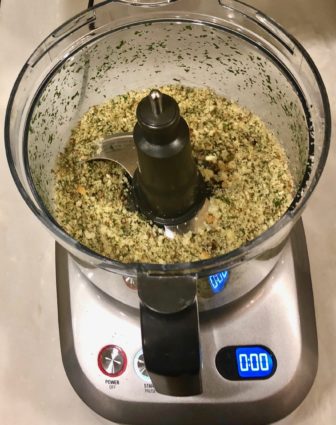
Place the garlic, parsley, and 1/2 teaspoon of salt in the bowl of a food processor fitted with the steel blade and process until the garlic is finely chopped.

Add the bread cubes and process until the bread is in crumbs.

Add the 1/4 cup of olive oil and pulse a few times to blend.

Sprinkle the crumbs evenly over the tomatoes.

Bake the gratin for 40 to 45 minutes, until the crumbs are golden and the tomato juices are bubbling.

Serve hot or warm.

It’s that simple!
signature

[recaptcha]


I keep a journal of cooking tips for my nieces. In all the years I have been cooking, I certainly have learned a few things that I would love to share. Remember, no matter how long you do something, whether it be professionally, or at home, there is always something to be learned. Here are some tips from my journal to help you become a better cook.

Prepare all your ingredients first. This is called a “mis en place”. It makes the cooking time go by faster, allows you to be in the moment and enjoy the fun of cooking.

When following a recipe for cooking meat, never cook the meat for as long as the recipe says. Most cookbooks are required to give you a certain time or temperature for health reasons. Always cook your meat ten minutes less and ten degrees less than they tell you. If you feel it is too undercooked, keep it in longer and check it at 1 or 2-minute increments. And remember, the meat will continue to cook when you take it off the heat, so be sure to factor that in as well.

Don’t skimp on the mixing process. Take your time and mix ingredients well. This is a very important step.

When boiling water for pasta, add a hearty palmful of salt. This will be the only time you get to season it. Cook the pasta 2-4 minutes less than the package instructions if you are going to place it in the oven. Always save 1 cup of pasta water. This can be used to thicken the sauce you are preparing the pasta in. Never rinse pasta!

When preparing grains cooking times can vary. When in doubt, taste them. If the grain is not as tender as you would like, add some more broth or water and continue cooking. If they seem fine before the liquid is done, simply drain it. Also, cooking them in chicken or vegetable broth will add flavor to them. Most grains soak up these flavors beautifully.

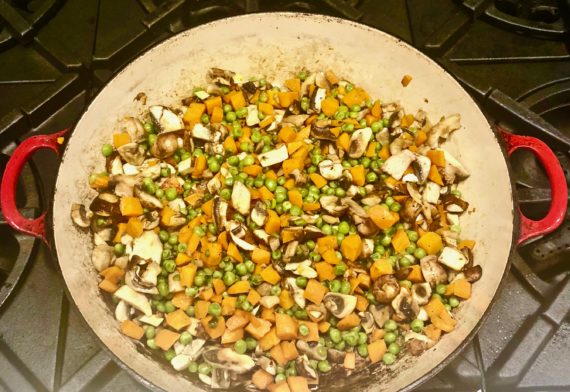
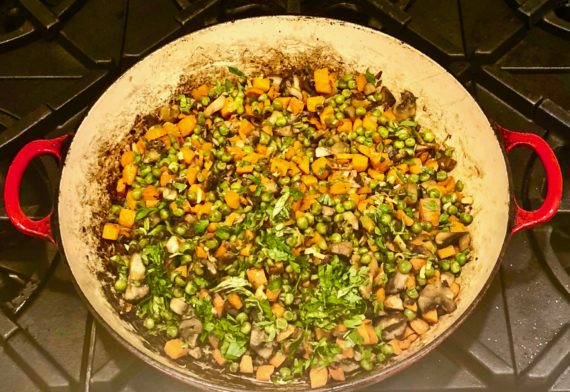
You do not have to follow a recipe exactly. Like this farro recipe for example, if you don’t like mushrooms, just leave them out. Add a little more garlic if you want. Don’t be afraid to make it your own!

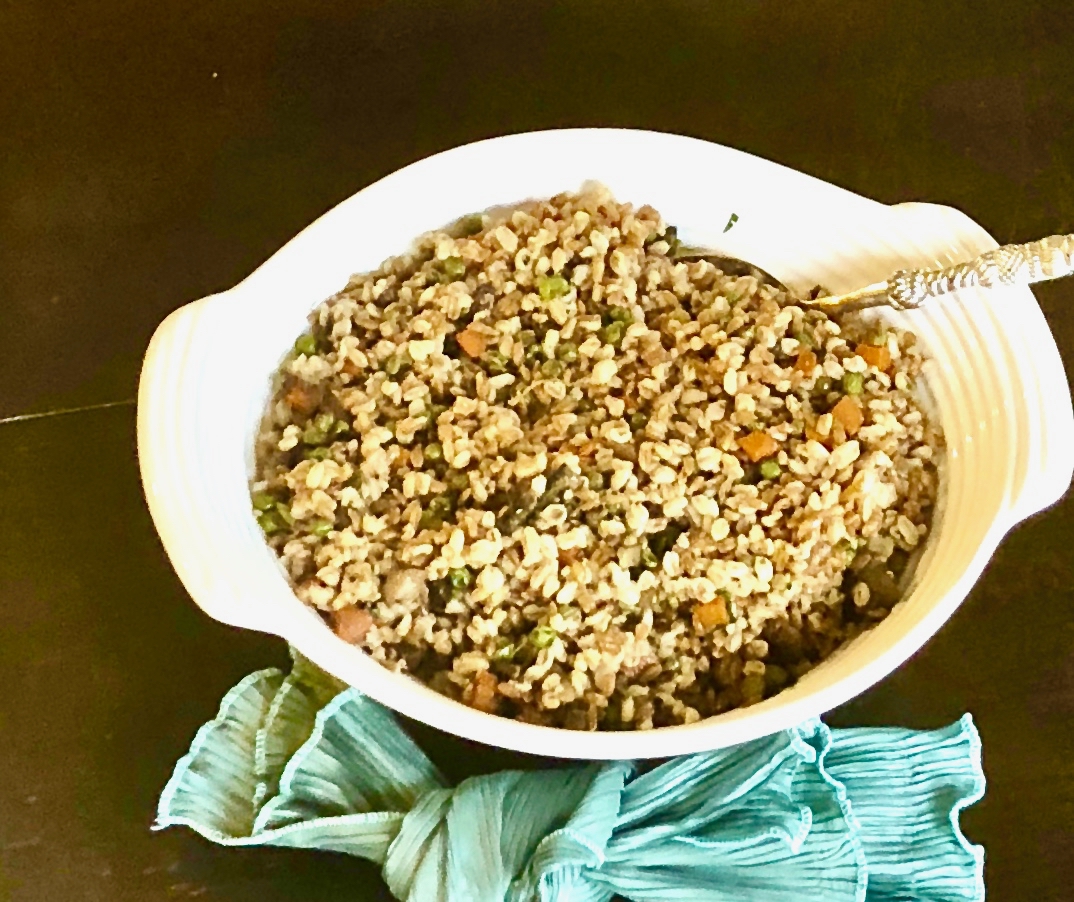
When it comes to grains, this recipe is about as easy as it gets. The farro does not take a long time to prepare, and it adds a wonderful texture and flavor to this dish. The mushrooms and carrots are extremely well-paired. The peas provide beautiful color and tiny little bursts of sweetness. The dressing for this dish has a creamy, yet sharp zing to it.

This recipe will serve 4-6 people who will be delightfully surprised with the depth of flavor this simple dish provides.

Ingredients for Farro with Mushrooms and Peas

1 cup organic cooked farro
8 ounces baby bella mushrooms, cleaned trimmed and sliced
1 cup frozen peas
1 cup carrots, diced
2 garlic cloves, chopped
1/4 cup fresh basil leaves, julienned or chopped
2 1/4 cup of chicken broth
2 tbsp. olive oil
1/2 tsp kosher salt
1/4 tsp. freshly ground black pepper

Ingredients for the dressing

3 – 4 tbsp. cup good-quality red or white wine vinegar.
1 tbsp. Dijon mustard
1 1/2 tbsp. maple syrup
1/2 tsp. kosher salt
1/4 tsp. freshly ground black pepper
1/4 cup good extra-virgin olive oil

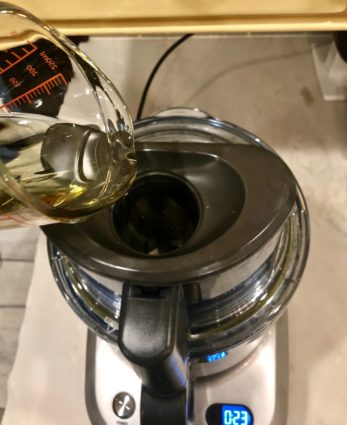
Cook farro according to package in instructions, but use the chicken broth instead of water.

Drain farro and set aside.

In a large, deep skillet, heat 2 tablespoons olive oil.

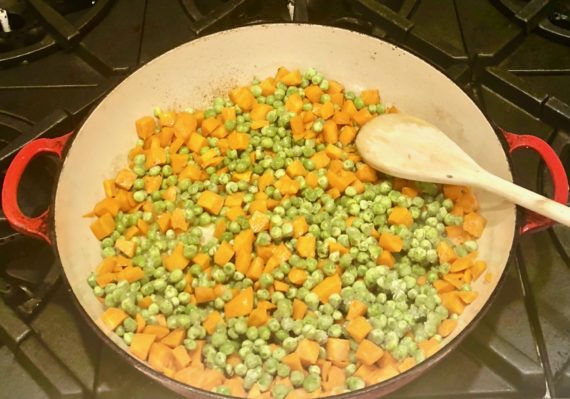
Add carrots and peas; sauté for 5 minutes, or until carrots are soft.

Add garlic, cook for 1 minute.

Toss in mushrooms, continue to sauté for 4-5 minutes.

Now add the basil, salt, and pepper. Cook for 1 minute.

Remove from the heat, and toss in the farro.

Mix gently to combine.

Make the dressing:

Mix first 5 ingredients in a small bowl.

Slowly whisk in olive oil.

Pour over farro mixture and gently mix together.

It’s that simple!

signature

[recaptcha]


When I had my new countertops put in my kitchen, the installer told me to clean them with Barkeeper’s Friend. I then learned that it could also be used to clean pots. I had some outdated farberware pots that my mother gave me when I got married. They are old, and they surely looked it. They had many black burn stains on them, and some of them had bright copper bottoms that had turned completely black. I never really used them anymore, but I kept them for their sentimental value. One day, I thought to try to clean them with Barkeeper’s friend. 

What amazing results! All of the black burns came off, and the copper bottoms were completely clean. I didn’t even have to scrub that hard. I was elated! I used it to clean some of my older cast iron pots that had black burn marks, and those disappeared as well. All of my pots looked like new again. Now I use Barkeeper’s friend to clean all my pots. This cleaner is truly remarkable. If you have a cast iron skillet, and are confused how to clean it, now you know. This cleaner takes all the mystery out of spotless pots and pans, and especially how best to clean a cast iron skillet. 

I love using my cast iron skillet to cook and bake. It distributes heat evenly and is now easy to clean. There are going to be a lot of future skillet recipes to come, and here is the first of many. 

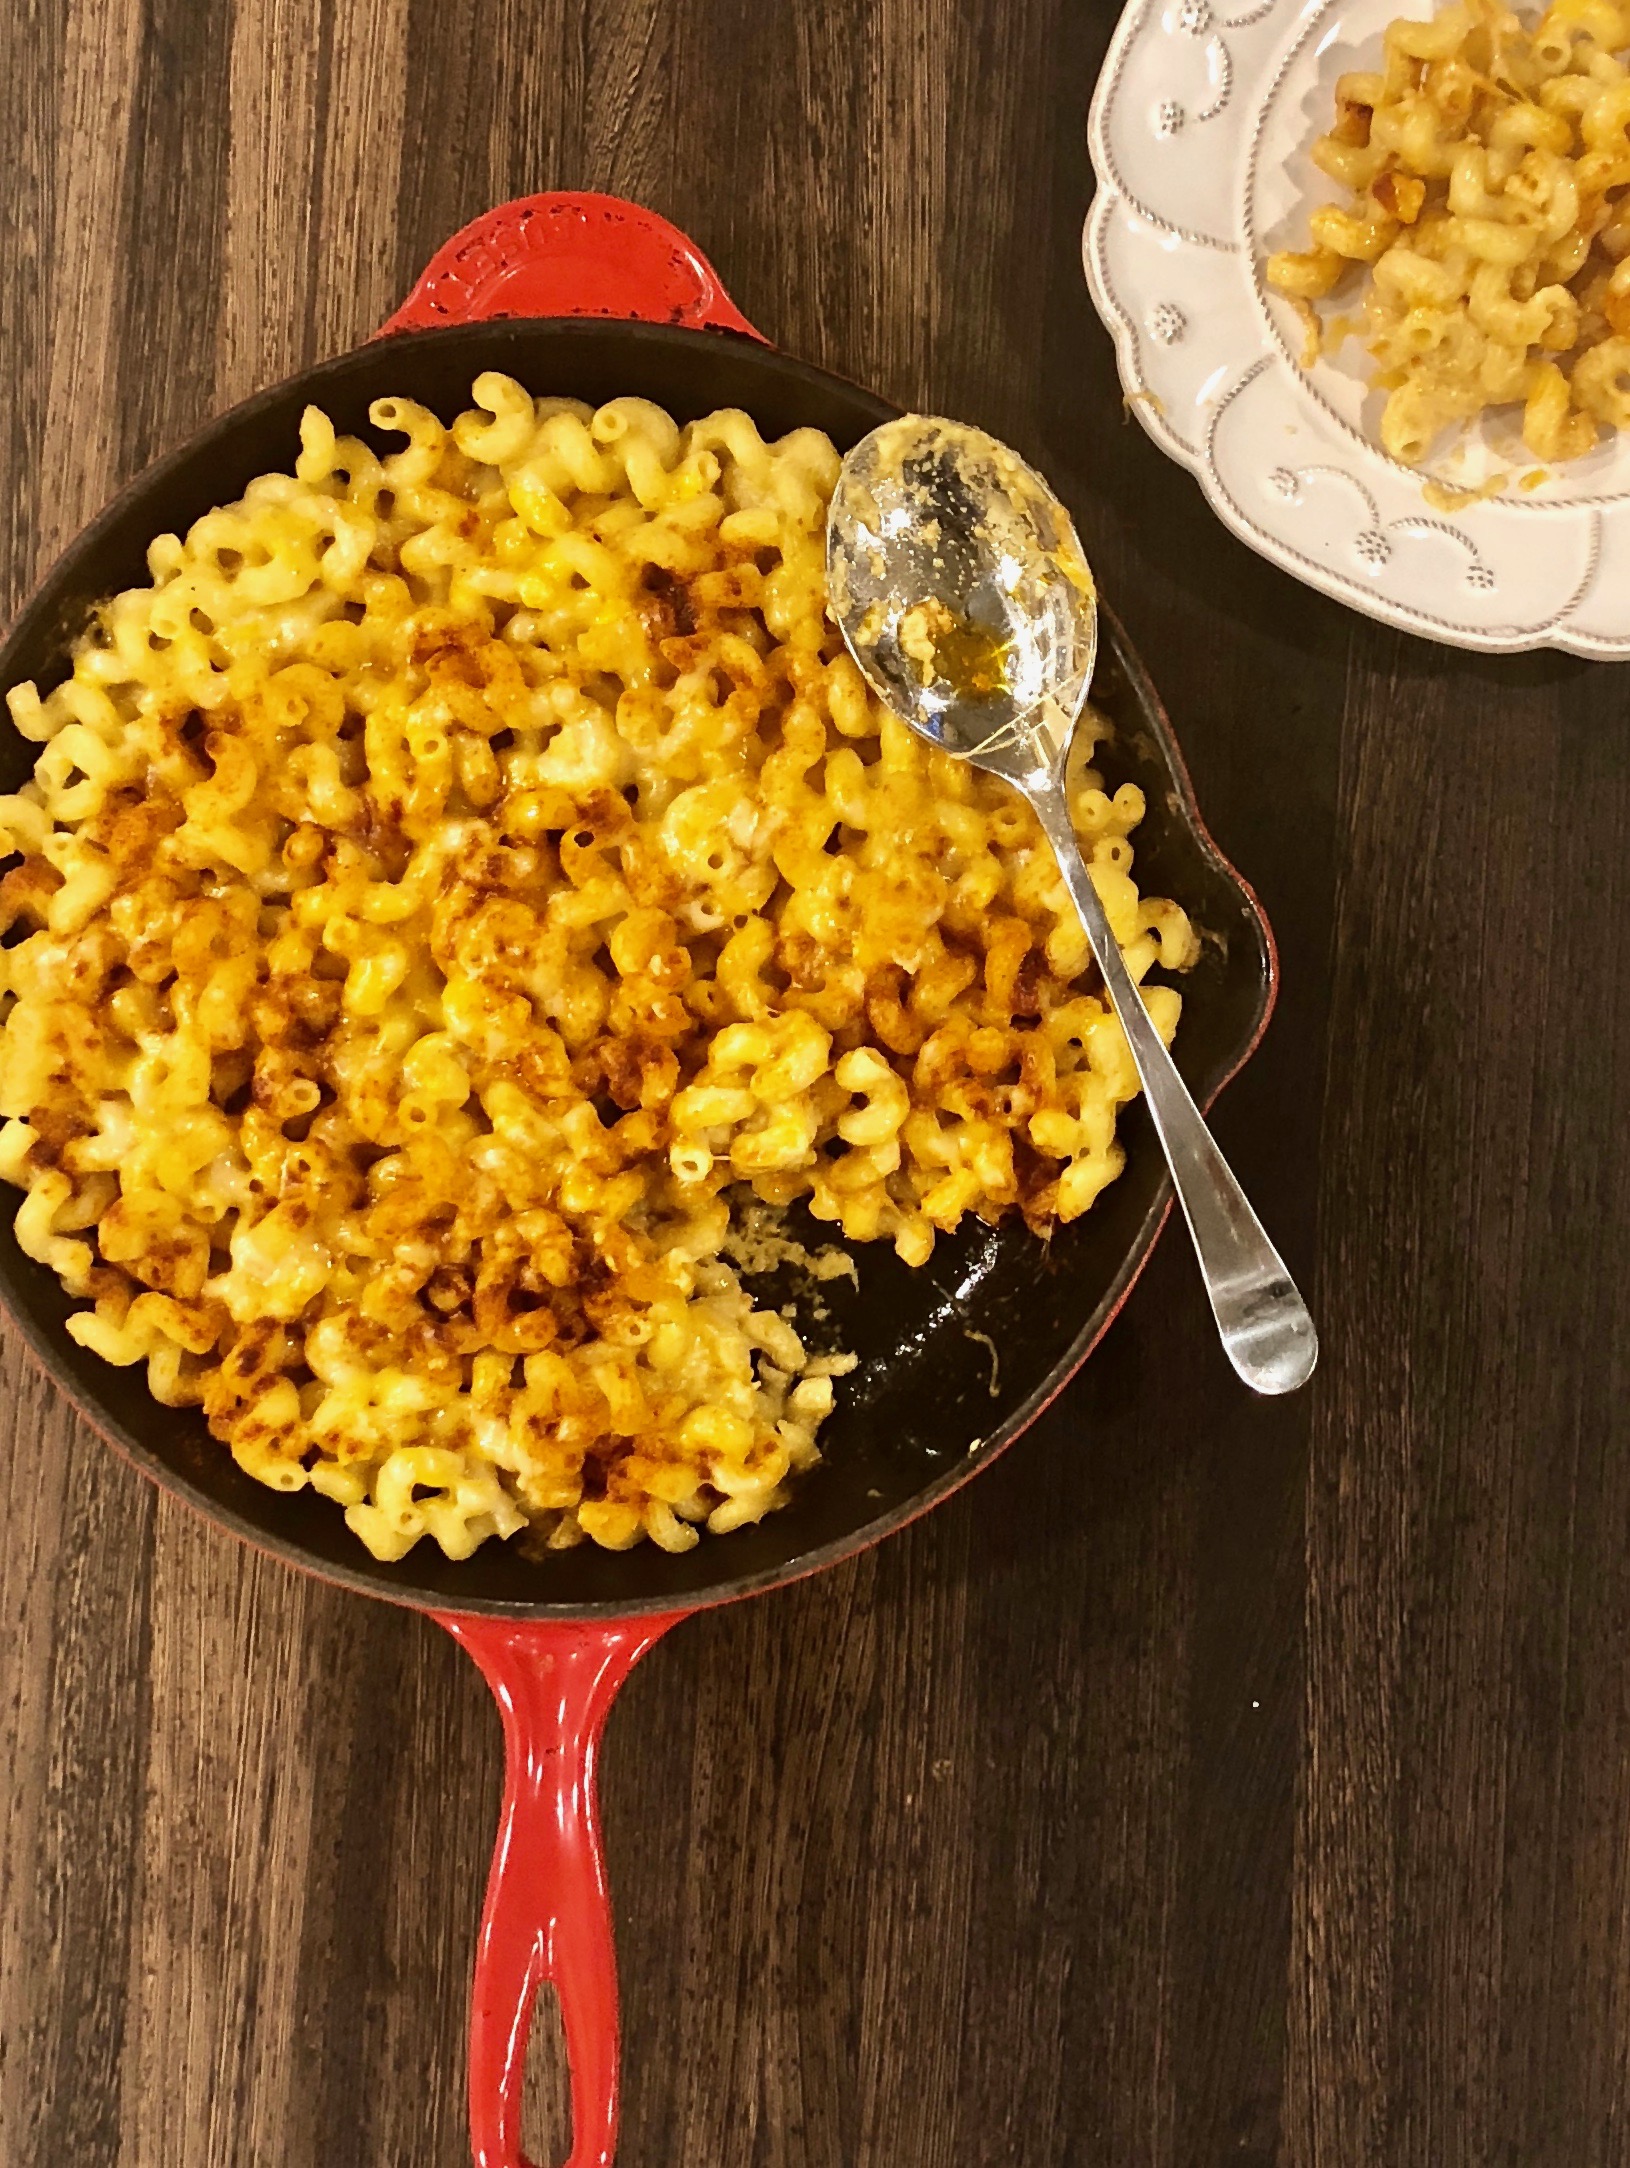
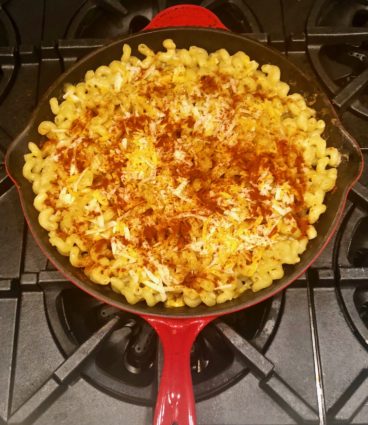
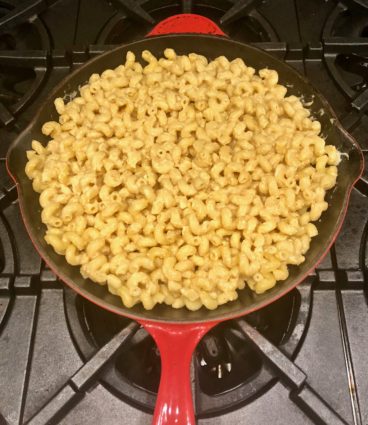
This mac and cheese is amazing. Just to note: I used 2 1/2 cups of sharp cheddar cheese and 2 1/2 cups of gruyere. I also heated the skillet before I used it, because that’s the way it should be done. Mac and cheese has always been everyone’s favorite comfort food, and this recipe will not disappoint. The sharpness of the cheddar cheese blends beautifully with the smoothness of the gruyere. The Worcestershire sauce adds a savory note, while the paprika gives it a beautiful color and a nice little kick. This recipe is a “must try”.

This recipe is loosely adapted from Tasteofhome.com and will serve 8 people whose tastebuds will be delightedly swimming in creamy, delectable cheese.

Ingredients for Homey Mac and Cheese:

2 1/2 cups uncooked elbow macaroni (I used small campanelle)
1/4 cup butter, cubed
1/4 cup all-purpose flour
1/2 tsp. kosher salt
1/4 tsp. freshly ground black pepper
3 cups 2% milk
5 cups shredded sharp cheddar cheese, divided (or 2 1/2 cups sharp cheddar and 2 1/2 cups gruyere)
2 tbsp. Worcestershire sauce
1/2 tsp. paprika
2 tbsp. olive oil

Preheat oven to 350°F.

Place 10-inch skillet in oven for 10 minutes to heat.

Cook macaroni 2 minutes less than package directions. 

Drain and set aside.

In a large saucepan, heat butter over medium heat. Stir in flour, salt and pepper until smooth.

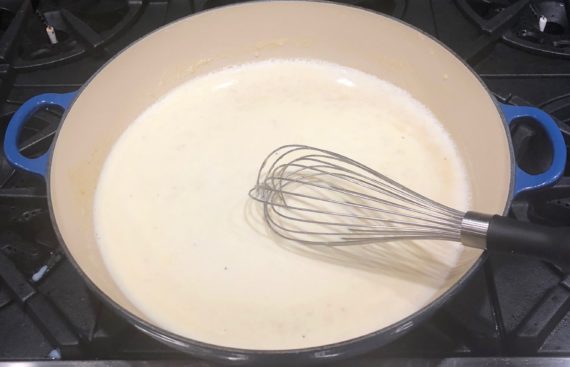
Gradually whisk in milk.

Bring to a boil, stirring constantly.

Cook and stir until thickened, 2-3 minutes.

Reduce heat.

Stir in 3 cups cheese and Worcestershire sauce until cheese is melted.

Add macaroni to cheese mixture.

Place 2 tbsp. olive oil into skillet.

Roll the oil around the sides and bottom of the pan.

Transfer mac and cheese to skillet.

Bake uncovered, 20 minutes.

Remove from the oven, top with remaining cheese.

Sprinkle with paprika. (Okay, so I used more than 1/2 teaspoon, use as much as you want!)

Bake until bubbly and cheese is melted, 5-10 minutes.

It’s that simple!
I wish they could bloom like this all year long!

signature

[recaptcha]