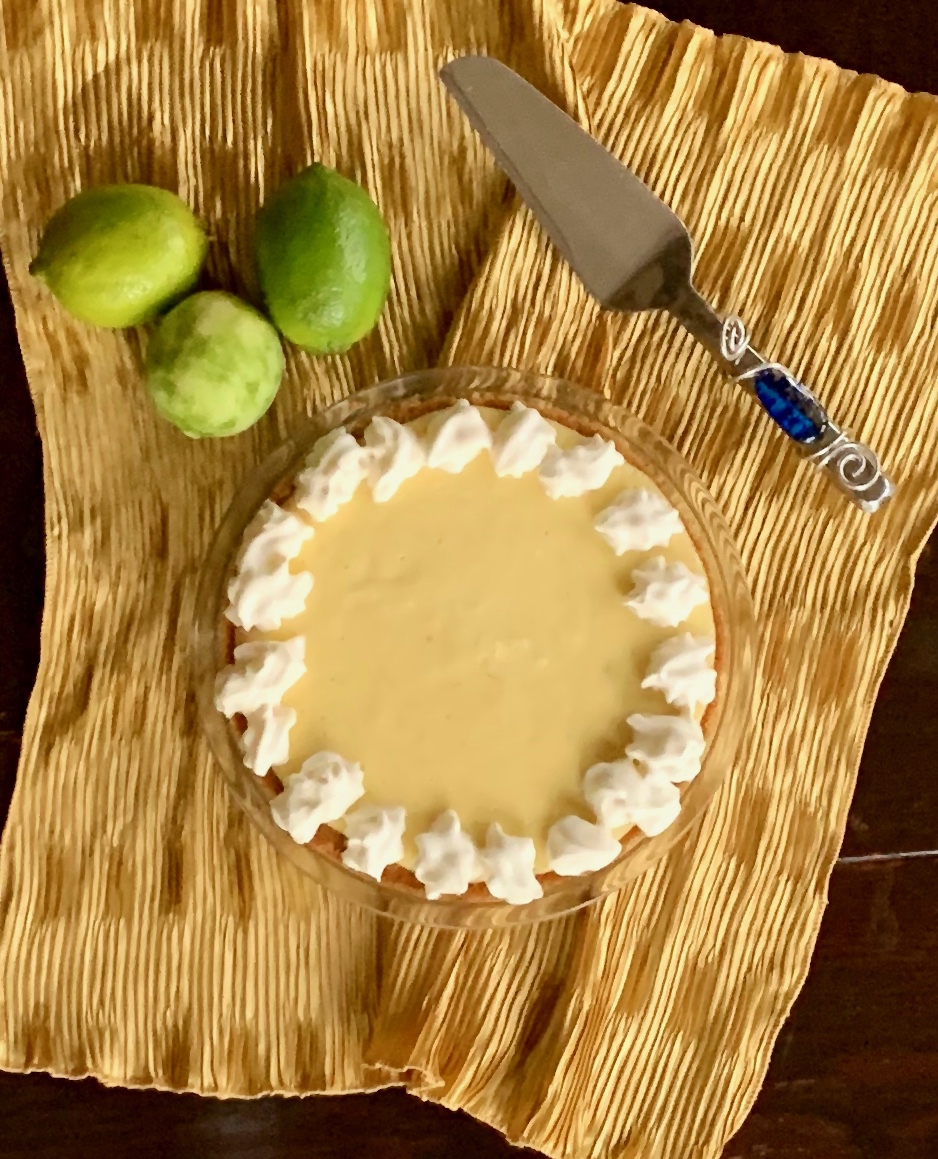
Despite my experience and all my efforts, every once in a while a recipe will not turn out so aesthetically pleasing. This was one of those times. When you take a look at the ingredients and directions, it seems so simple. As hard as it is to admit, it wasn’t the recipe, it was me.

The first time I attempted to make this pie, I doubled the crust as I always do. When I made the filling, I realized I would not have enough to fill up the crust I had laid down.

It looked really bad, so I couldn’t photograph it, but it still tasted wonderful.

While we all know it’s what’s on the inside that counts, I always get a thrill out of pulling a masterpiece out of the oven. So, I made the pie a second time. I did not double the crust this time. Then I prepared the filling and once again, it did not fill up to where I thought it should be.  After it had cooled, I went to wrap the pie with saran wrap to put it in the fridge. Huge mistake. Do not do this. The saran wrap fell onto the cake and when I lifted it off, the top came off with the cake. Lesson learned: do not put saran wrap on it until it hardens in the fridge.

The third time was the charm. I had finally used the correct size pie plate. It was that simple a solution! This pie is simply delicious. It is tangy and not too sweet. The cream cheese gives the filling a hardy texture and makes it so smooth and creamy. The graham cracker crust is the perfect home for the delightful filling. Don’t let my mistakes prevent you from making it, if anything learn from them to make it successfully yourself!

This recipe is courtesy of Sally’s Baking Addiction and will serve 8 to 10 people who will adore this marvelous dessert.

Ingredients for Key Lime Pie:

For the Crust:

1 1/2 cups graham cracker crumbs
6 tablespoons butter, melted
1/3 cup granulated sugar

For the Filling:

4 oz. full-fat cream cheese, softened to room temperature
4 egg yolks
14-oz. can sweetened condensed milk
1/2 cup lime juice
zest of 1 lime

Adjust the oven rack to the lower third position and preheat the oven to 350°.

Spray a 9-inch pie dish with non-stick cooking spray.

Set aside.

Make the crust:

Mix the graham cracker crumbs, melted butter, and sugar together in a medium bowl until combined.
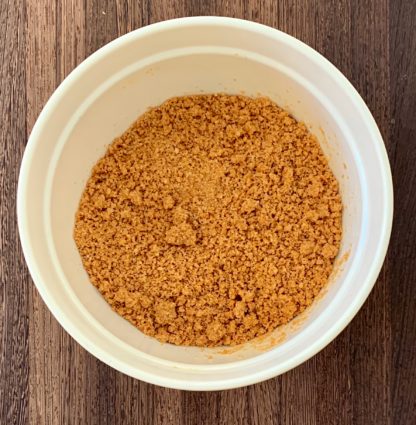
Press into the bottom of the prepared pan and only slightly up the sides.

The crust will be thick.
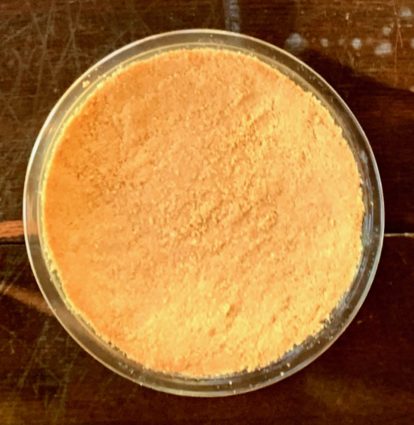
Bake the crust for 12 minutes as you prepare the pie filling.

Make the filling:

Using a hand-held mixer or a stand mixer fitted with the paddle attachment, beat the cream cheese on high speed until smooth, about 1 minute.

Beat in the egg yolks, scraping down the sides as needed.
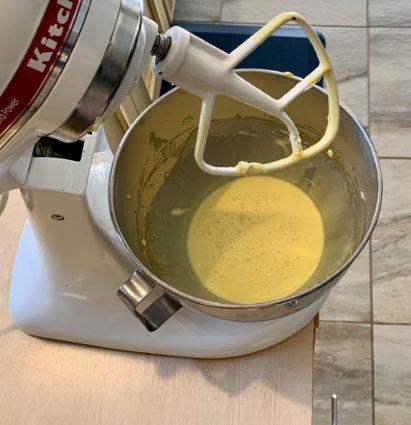
Beat in the condensed milk, lime juice, and lime zest until combined.
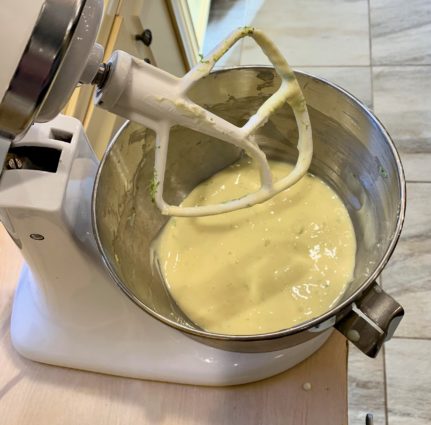
 

Pour into the warm crust.
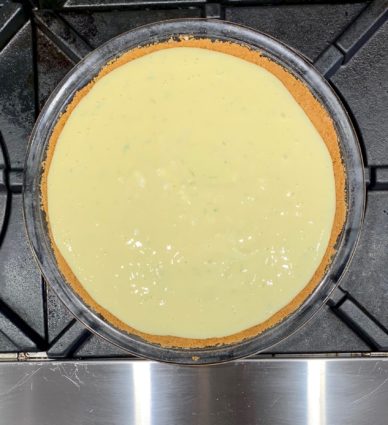
Bake for 16-18 minutes or until the sides are very lightly browned.

The center may slightly jiggle, which is okay.

Allow pie to cool set on a wire rack for 30 minutes. Transfer to the refrigerator and chill for at 4 hours before slicing.

Serve the pie chilled.

Cover the pie and store in the refrigerator for up to 3 days.

It’s that simple!

signature

[recaptcha]


I really enjoy trying to find recipes that are different and unusual for my blog. Although the blog highlights simplicity in many recipes, the more intricate ones are always more fun. Sure, there are some that are not really that difficult, but I mostly post those for my readers that are still beginners.

My niece told me a long time ago (before youtube became so popular) that I should write a blog on how to properly cut an onion, because many of her friends did not know how. I honestly don’t remember learning how to cut an onion, I thought everyone just somehow knew. My friend was over when I was preparing dinner one evening and when she saw me peeling garlic, she was surprised to see how it was done. I was shocked myself when I realized it was not general knowledge.

Maybe someday I will start a series of “how to” posts. I have a few tricks up my sleeve that are unique to experienced cooks. In the meantime, I promise to keep doing my research and find recipes that I know you will enjoy.

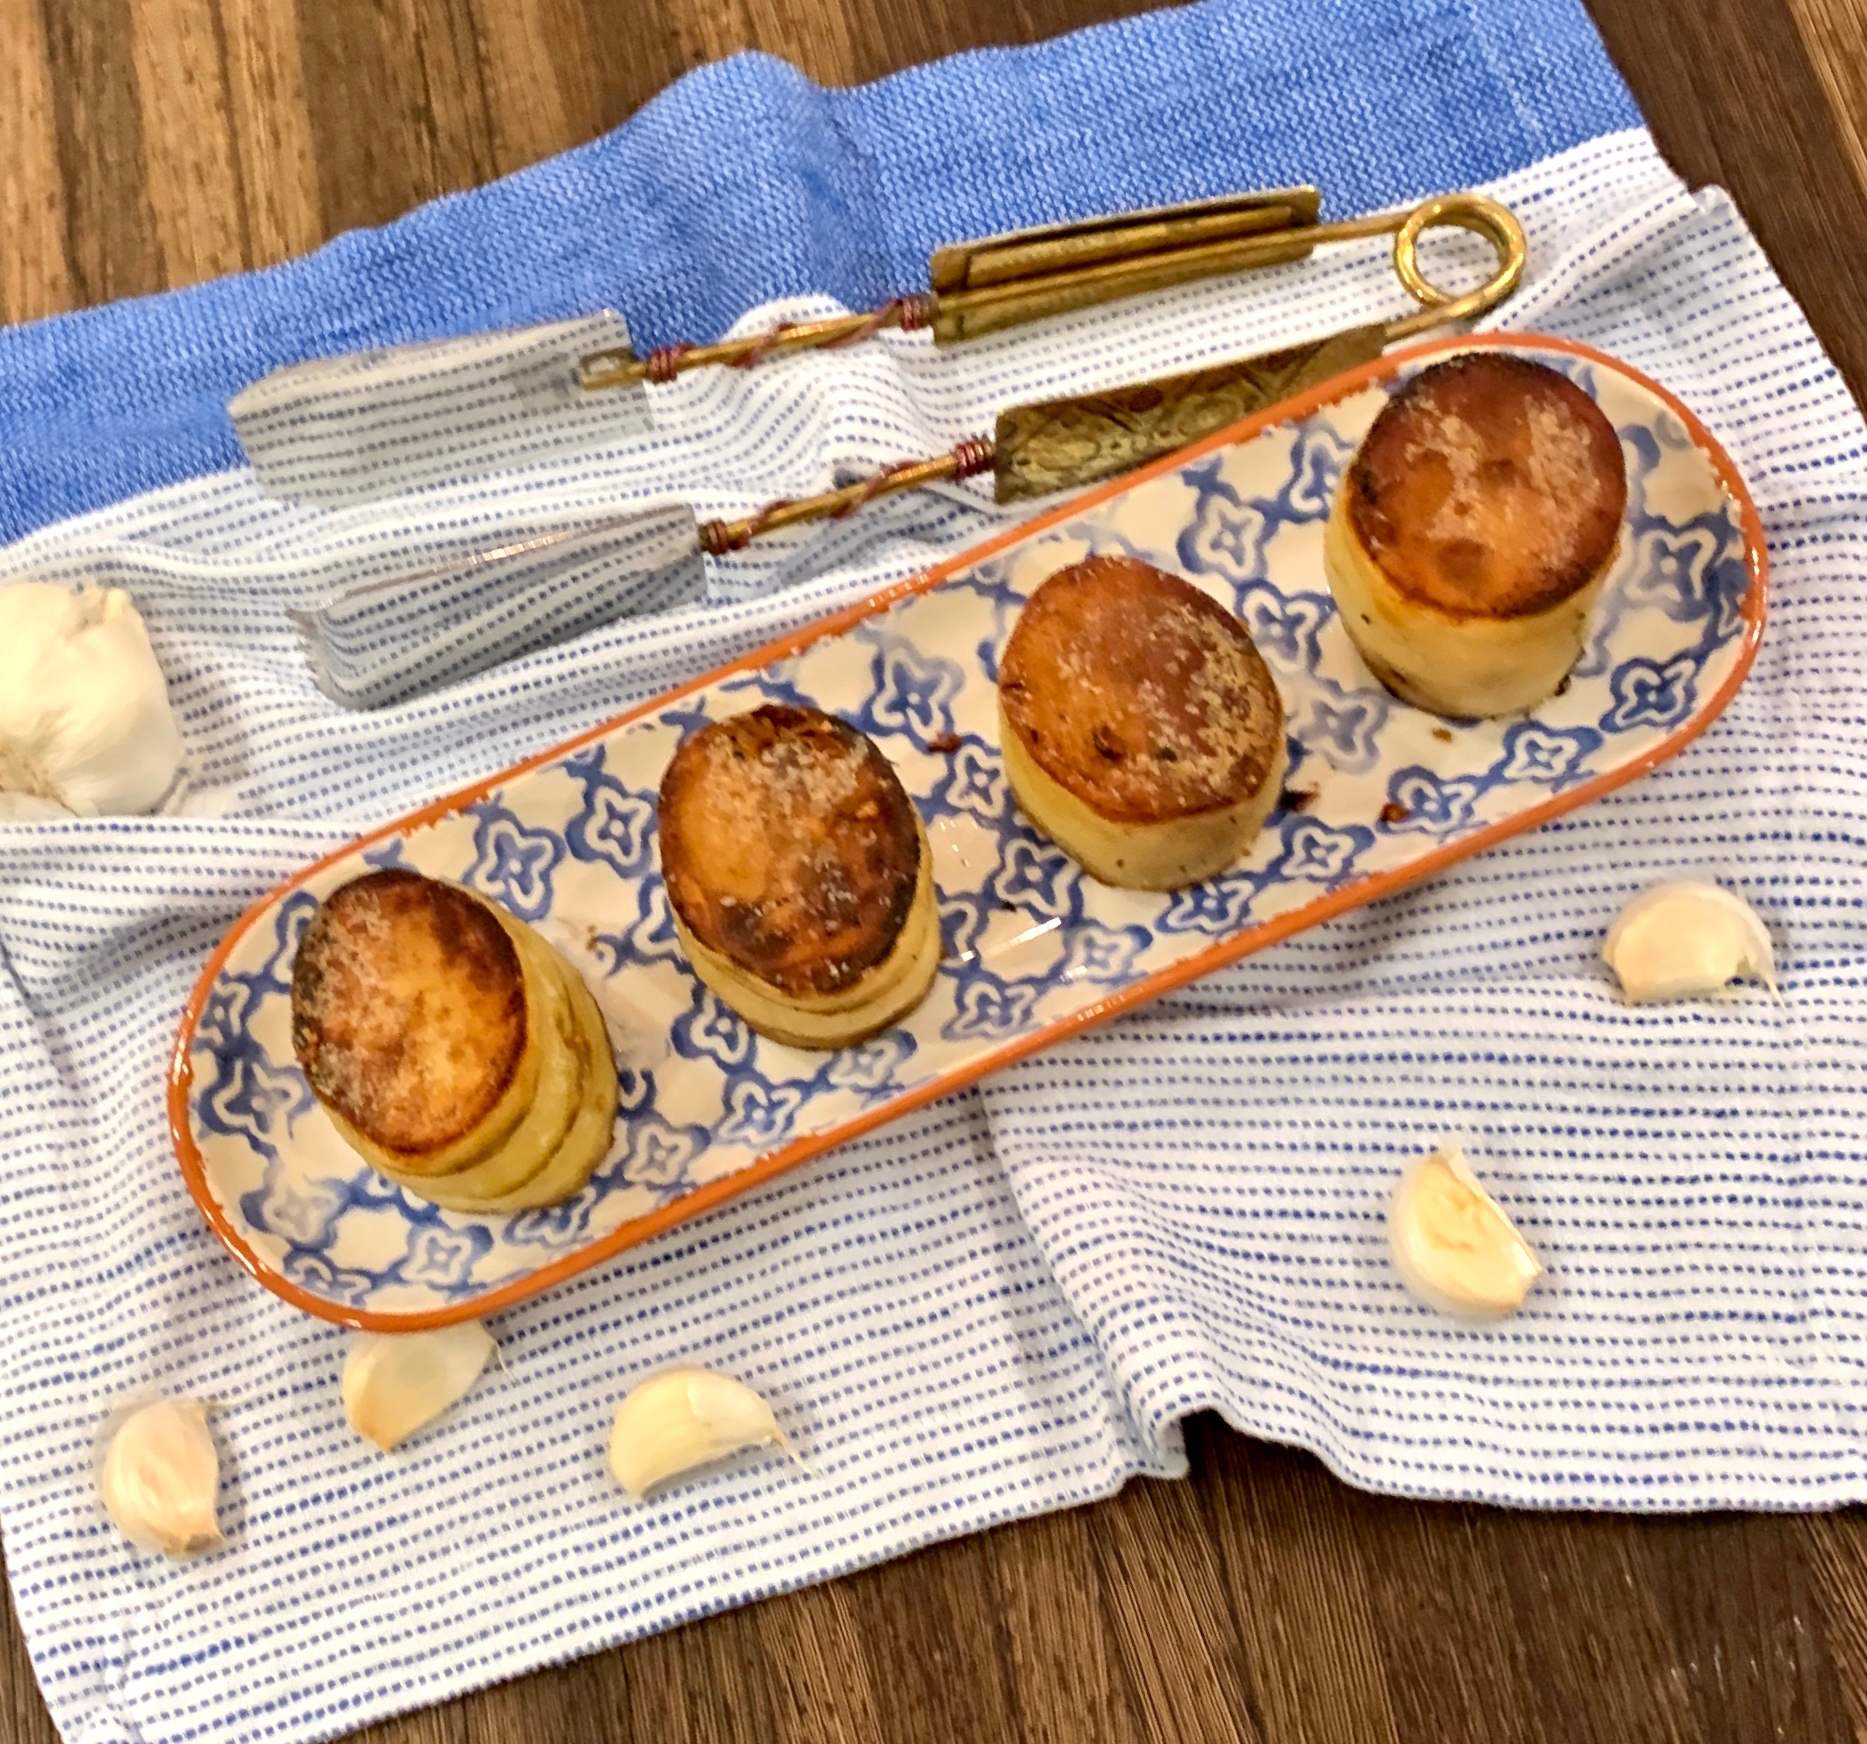
This dish was a first for me. I have never seen potatoes made like this and I was eager to take a shot at it. I was more than ecstatic with the results. The potatoes are browned and caramelized beautifully on both sides, bringing a sweet crispness to them. The garlic infused oil intensifies their flavor even more.  The chicken stock ensures that they are softened to perfection while baking them in the oven. My family just loved these extraordinary potatoes. These are perfect to serve for any holiday or family dinner.

This recipe is courtesy of Rockrecipes by Barry Parsons and will serve as many as you wish to impress!

Ingredients for Garlic Thyme Fondant Potatoes:

6-7 medium-sized russet potatoes
4 tablespoons butter
2 tablespoons olive oil
Salt and pepper to taste
3 garlic cloves, sliced
3 sprigs fresh thyme
1 1/2 cups low sodium chicken stock (boiling hot)
2 additional tablespoons butter

Choose a pan that will be the right size for the potatoes. You can use a 9×9 glass pan and peel and chop the perfect amount of potato to fit into it. 

Once you have determined what pan you will be using, remove the potatoes and heat the baking dish in a 400° oven while you brown the potatoes.

Peel the potatoes and cut them into about 2-inch thick cylinders.

Cut off the rounded ends and try to keep all the potatoes pieces the same size.

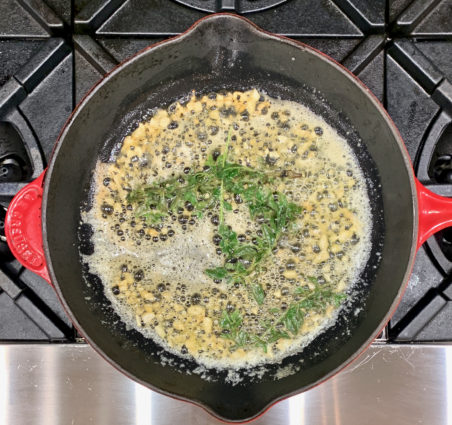
Heat the butter and olive oil over medium heat in a cast iron skillet or non-stick saute pan.

Add the sliced garlic and sprigs of thyme.

Cook for just a minute or so to soften the garlic, then remove it from the pan along with the thyme. 

Set aside.

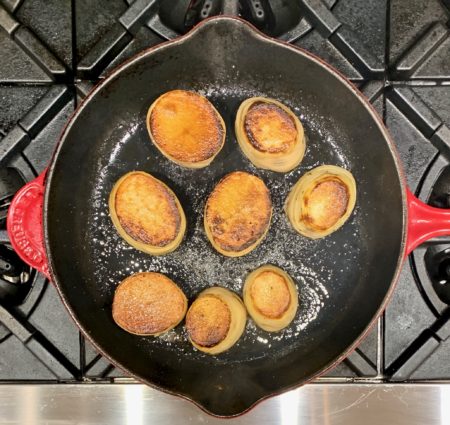
Season the potatoes on both sides with salt and pepper and brown both ends of the potatoes until golden, about 3-4 minutes per side over medium to medium-high heat.

While you are doing this, heat the chicken stock to boiling.

Remove the heated pan from the oven.

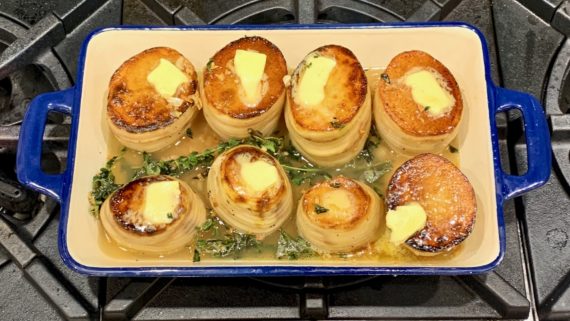
Place the potatoes from the cast iron pan and fit them into the heated baking dish from the oven.

Tuck the garlic slices and thyme sprigs used to flavor the oil and butter between the potatoes.

Pour in the hot chicken stock just until the potatoes are half submerged.

Dot the top of the potatoes with a little bit of butter, then return the pan to the oven for about a half hour or until the potatoes are fork tender.

Serve immediately.

It’s that simple!
 

signature

[recaptcha]


Any exercise enthusiasts out there? Back in the day I was an avid exerciser. I would come home from work, change, and go out for a run several days a week. When I first became a mother, as some of you know, your time is not your own, so I stopped running and would hope to find an hour a week to get to the gym. 

When my boys started school, I did find the time to go to the gym and began running again. Unfortunately, all those years I had spent running took a toll on one of my knees, and I ended up having surgery and stopped completely. Although I still went to the gym, it was sad to think I had to let a passion go. When I was in my forties, I found a professional boxer who was giving boxing lessons. I immediately called him. I had tried it before, and was excited to explore a sport I loved from the very beginning.

Wow, what an empowering feeling it is to know how to box. I worked hard and of course, I will never get in a ring, but I felt powerful every time I hit that bag correctly or lasted for 4 three-minute rounds. Intermittently, my trainer was working on my running posture, in hopes that I could run again. I tried running again this past summer, and I found that with the instructions my trainer taught me, I could do it! I was much slower than before, but I managed through. 

Imagine my surprise when fall rolled around and the weather became cooler. My age had not slowed me down, but the heat did! I can now run again at a decent pace and I am hoping to try a mini-marathon this spring. I encourage all of you to be patient and stick to anything that you wish to accomplish, no matter what it is. When it comes to perseverance, only good things can happen. 

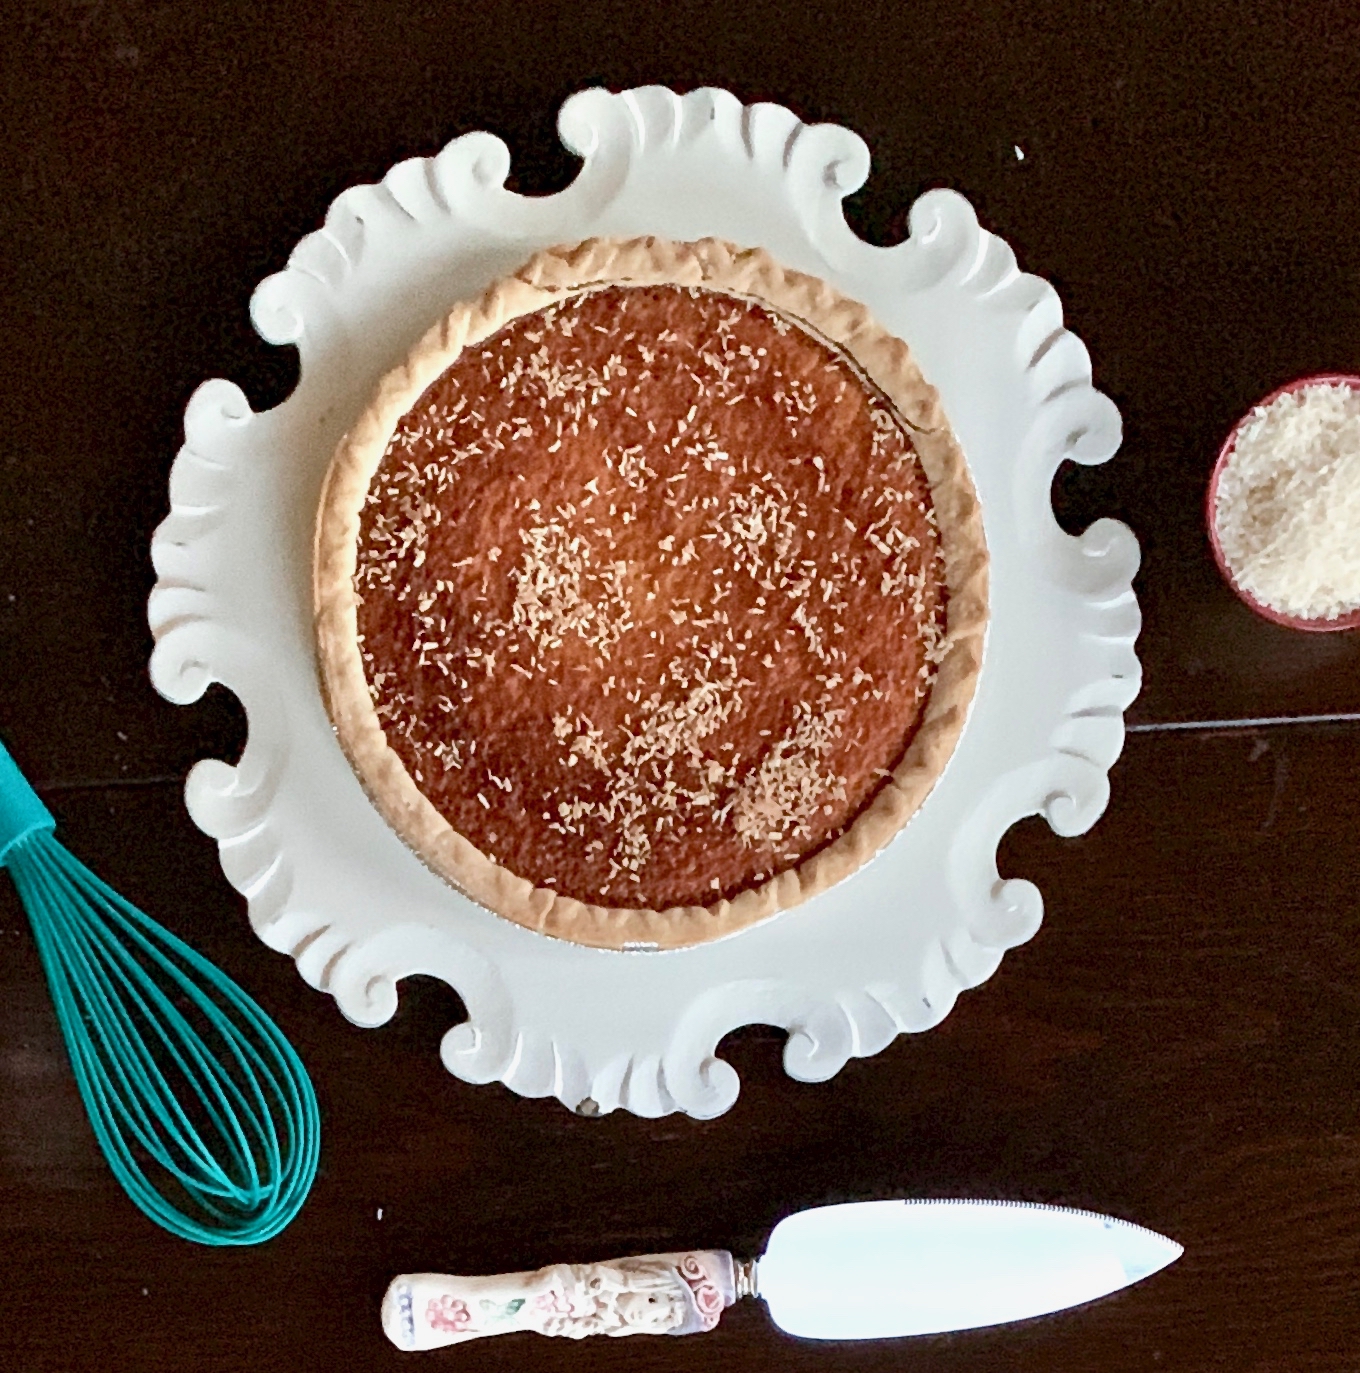
While some of us use exercise to improve our mood or maintain a goal-oriented lifestyle, others use it to stay fit enough to eat whatever they please. This is one recipe that might take a while to sweat out, but it is worth every calorie. The author of this recipe included instructions to make a homemade pie crust, but I just did not have the time, and a store-bought one worked perfectly. In fact, I have never made a pie crust, but maybe next time will be my first. This pie is so easy to prepare and I would bet you have a lot of the ingredients in your pantry. It is so rich and creamy, with a little hint of vanilla that makes it wonderfully sweet. There is a mouth full of coconut in every bite. I toasted up some extra coconut flakes to put on top. Of course, ice cream or whip cream would be even better. 

This recipe loosely adapted from Food and Wine and will serve 8 people who will be sure to over indulge.

Ingredients for Coconut Custard Pie:

1 frozen deep dish pie crust
1 cup sugar
4 tablespoons unsalted butter, melted
6 large eggs
1 cup buttermilk
2 teaspoons pure vanilla extract
Salt 
2 cups shredded sweetened coconut

Preheat the oven to 350°F.

Place pie crust in oven for 10 minutes to just lightly brown it, so the batter will not leak through.

Remove it and let it cool.

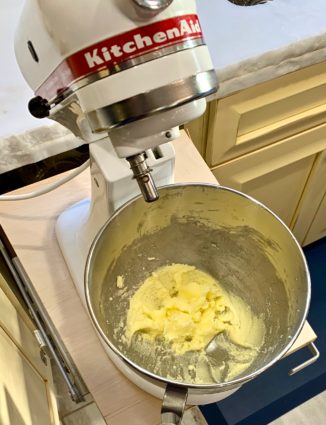
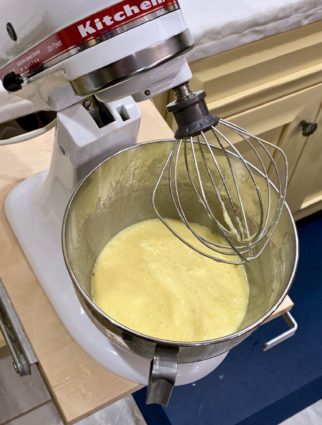
In a medium bowl, whisk the sugar with the butter, then whisk in the eggs.

Add the buttermilk, vanilla, and a pinch of salt and whisk until incorporated.

Stir in the coconut.

Pour the filling into the pie crust and bake for 45 to 50 minutes, until the custard is set and golden brown on top.

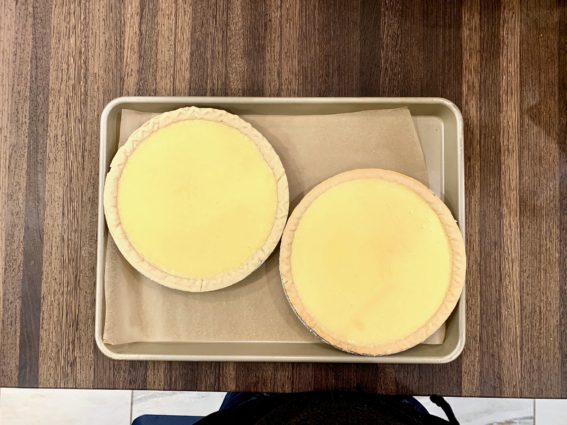
(I didn’t have a deep dish pie crust, so I used two regular ones!)

Let the pie cool completely.

It’s that simple!
signature

[recaptcha]


Everyone has their personal kitchen essentials! Although mine may be different from yours, I’d like to share!

My top essential is a really good chef’s knife. I know they can be very pricey, but it is a great investment. The difference between a good knife and a bad knife is your time and energy. You will be able to slice or dice in less than half the time, freeing you up to do other things. It will cut your tomatoes to perfection; who hasn’t had the experience of trying to cut a tomato with a dull knife? Definitely not pretty.

Next is a Dutch oven. You can make anything in a Dutch oven, from soups to stews to casseroles to bread! It is very proficient and can go straight from the stove to the oven. It also keeps your food warm for a longer period of time. What’s best is, you should be able to find a good brand at an affordable price.

Then, a wooden cutting board. For two good reasons; wood harbors fewer bacteria than other materials, and it is gentler on your knives.

Another piece I would struggle without is a 12-inch cast iron skillet. This is an extremely versatile cooking pan that can go from searing a steak to making a pizza, cornbread or a frittata.

Last but not least, (you may have already heard me rave about) Barkeeper’s Friend. It takes all the guesswork out of what is the best way to clean your pots, pans, skillets, cooktops, and countertops. It is an amazing product that is safe and easy to use.

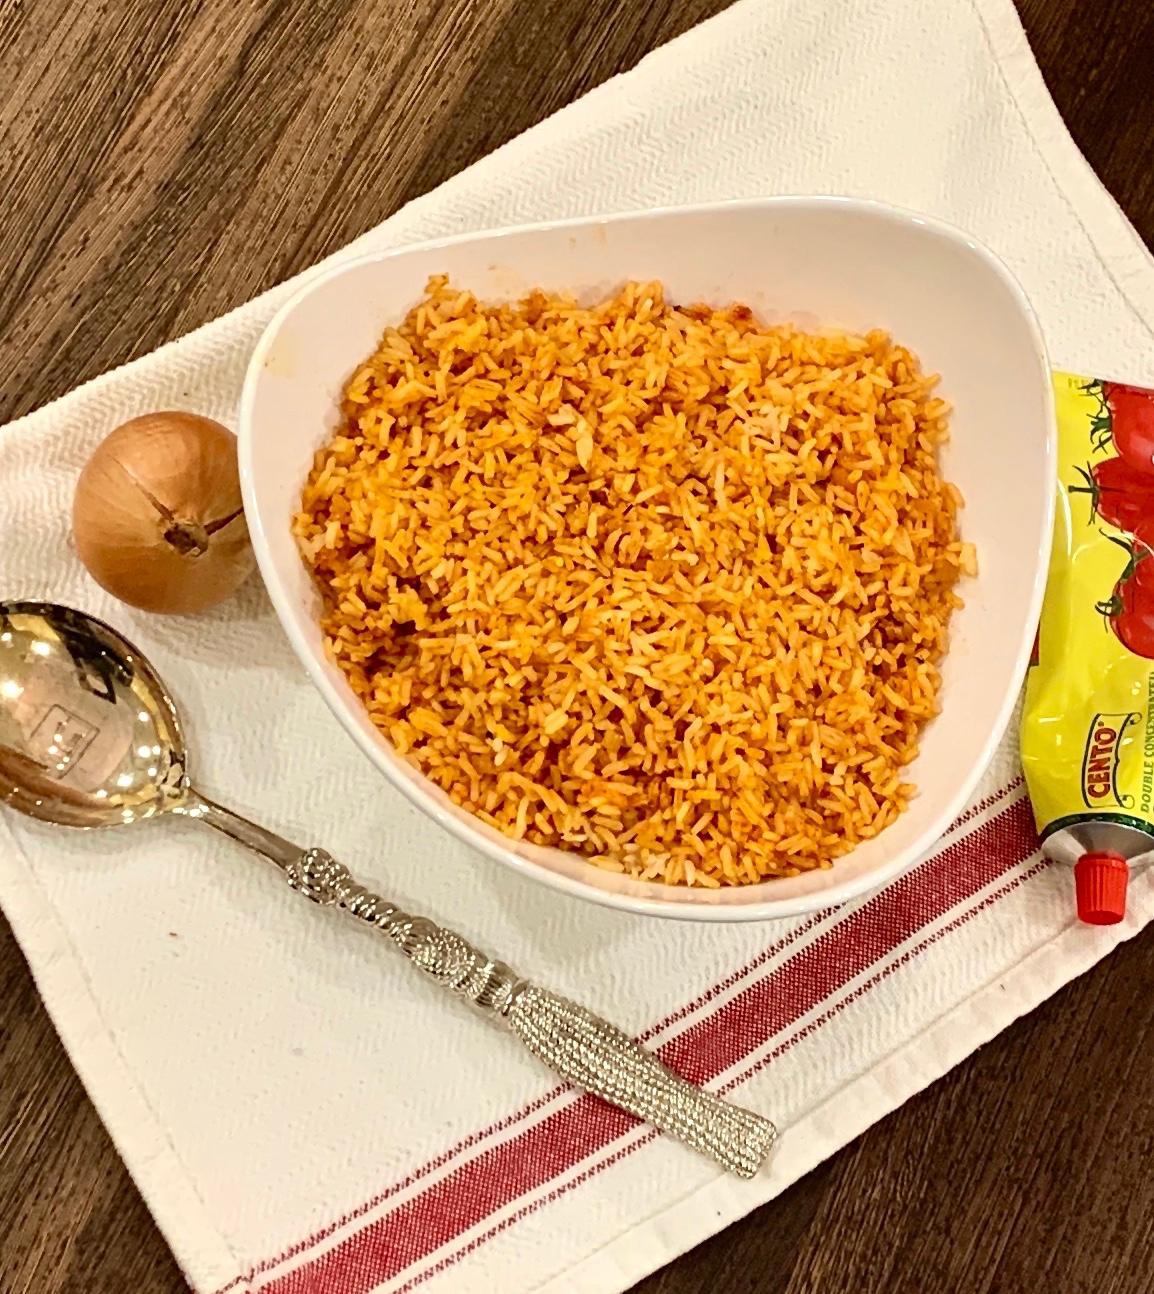
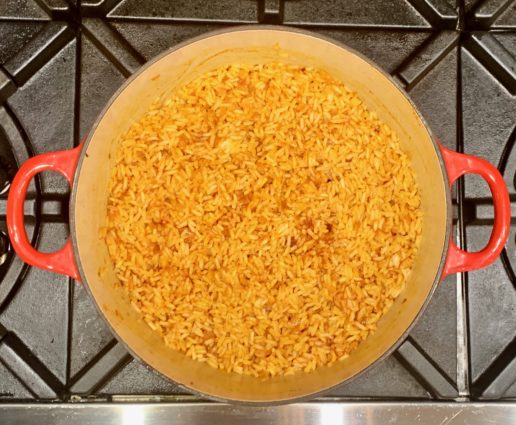
These are just a few of the things that I believe makes every cook’s life a lot easier! Now, to today’s wonderful dish. If you are bored with basic white rice, this is the recipe for you. Many versions of this call for you to toast the rice, but I think this is just as tasty. My rice recipe works perfectly every time. It comes out white and fluffy. The onions add an additional depth of flavor, as does the tomato paste and sauce. It is simple to make, yet has an elaborate tasting outcome.

This recipe will serve 4-6 people who will be awed by this delectable Spanish-like rice.

Ingredients for Spanish Rice:

2 cups long grain white rice, rinsed well
2 1/2 cups chicken broth
4 tablespoons olive oil, divided
1 1/2 teaspoon kosher salt
1 1/2 tablespoon tomato paste
1 (8-ounce) can tomato sauce
2 garlic cloves, minced
1/2 medium onion, chopped
Pinch of cayenne pepper

To make the rice:

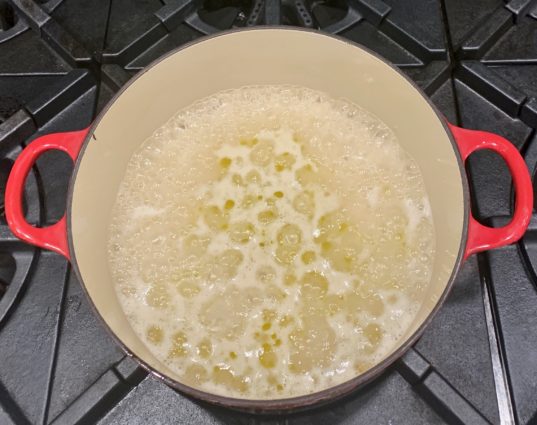
Bring the chicken broth and 2 tablespoons of the olive oil to a boil.

Add rice and salt.

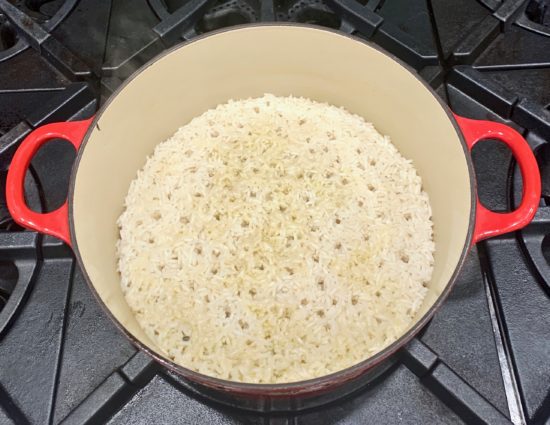
Cook on medium heat until the water has cooked down.

Turn the heat to medium-low or simmer and cover.

Cook for 15 minutes.

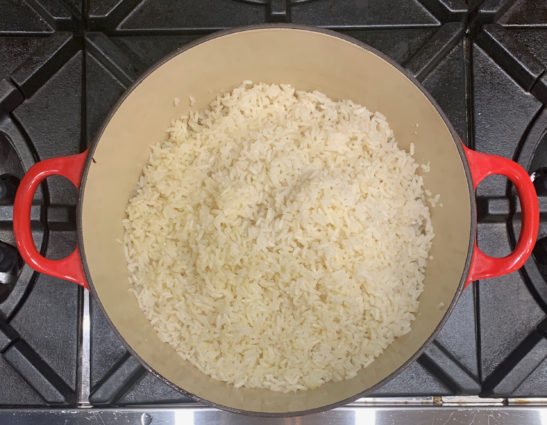
Fluff and cover for an additional 10 minutes.

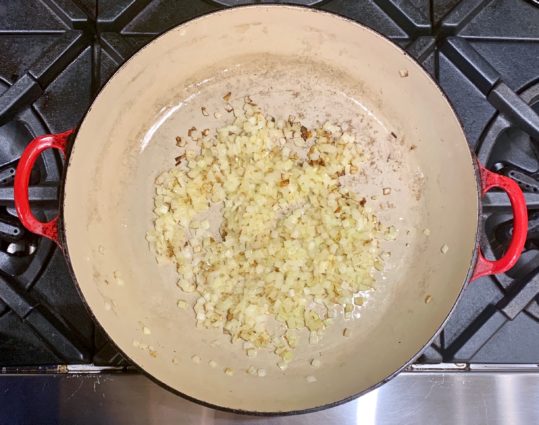
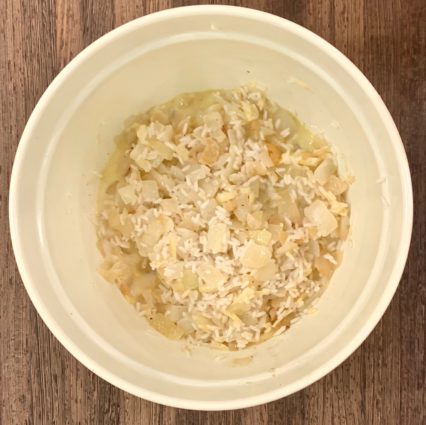
In a medium-sized saucepan, heat oil over medium heat.

Add onion and cook until the onions just start to turn brown.

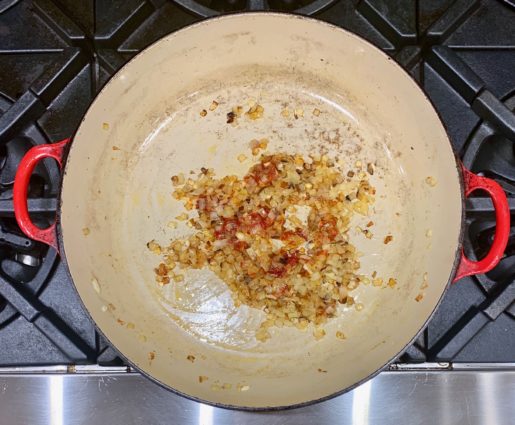
Add garlic and 1/2 teaspoon salt cook for 1 minute.

Stir in tomato paste and let brown cook stirring often, about 4-5 minutes.

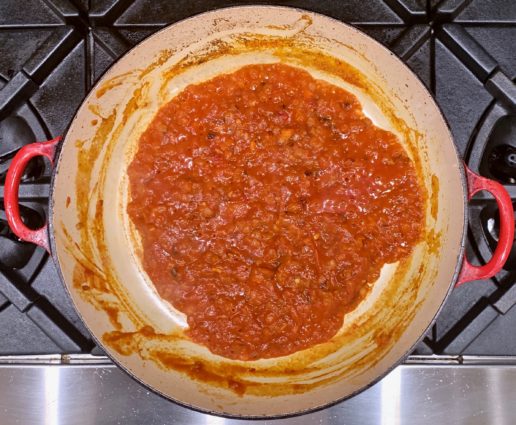
Slowly add in tomato sauce and pinch of caynne pepper and let simmer for 8 to 10 minutes.

Pour sauce into the pan with the rice and mix to combine.

Serve immediately.

It’s that simple!
signature

[recaptcha]


Many of my friends prefer going out to eat or ordering in for dinner. I personally think it is easier to throw a chicken in the oven, rather than figure out the kind of food we all want to eat and where to go. Now that it is so cold, I just don’t want to be outside more than I need to be.

So, cooking is my choice, but let’s see if I can convince some of you why you should choose to cook. 

First, cooking saves you money. Eating simple homemade food is much cheaper than eating at a restaurant. Even purchasing processed food at the grocery store will cost you more and so will going out for pre-made food. You can do cost-effective planning, like making larger portions so you will have leftovers. Most families (mine included) love leftovers!

Second, you know exactly what is going into your food. I know when I go to a restaurant, I ask a million questions about the preparation of the dish and what ingredients they use. Cooking at home will ensure that you have control of what is in your food such as sugar, oils, and salt. 

Third, cooking keeps you healthy. Let’s face it, you probably will not be making french fries at home with all the work that goes into it. You will choose something easier, with simple ingredients that will help you maintain a healthy lifestyle!

Last, and most important, cooking at home brings the family together in a comfortable, healthy environment. It strengthens family bonds, gets everyone to talk and just be together (and you know I’m all about that).

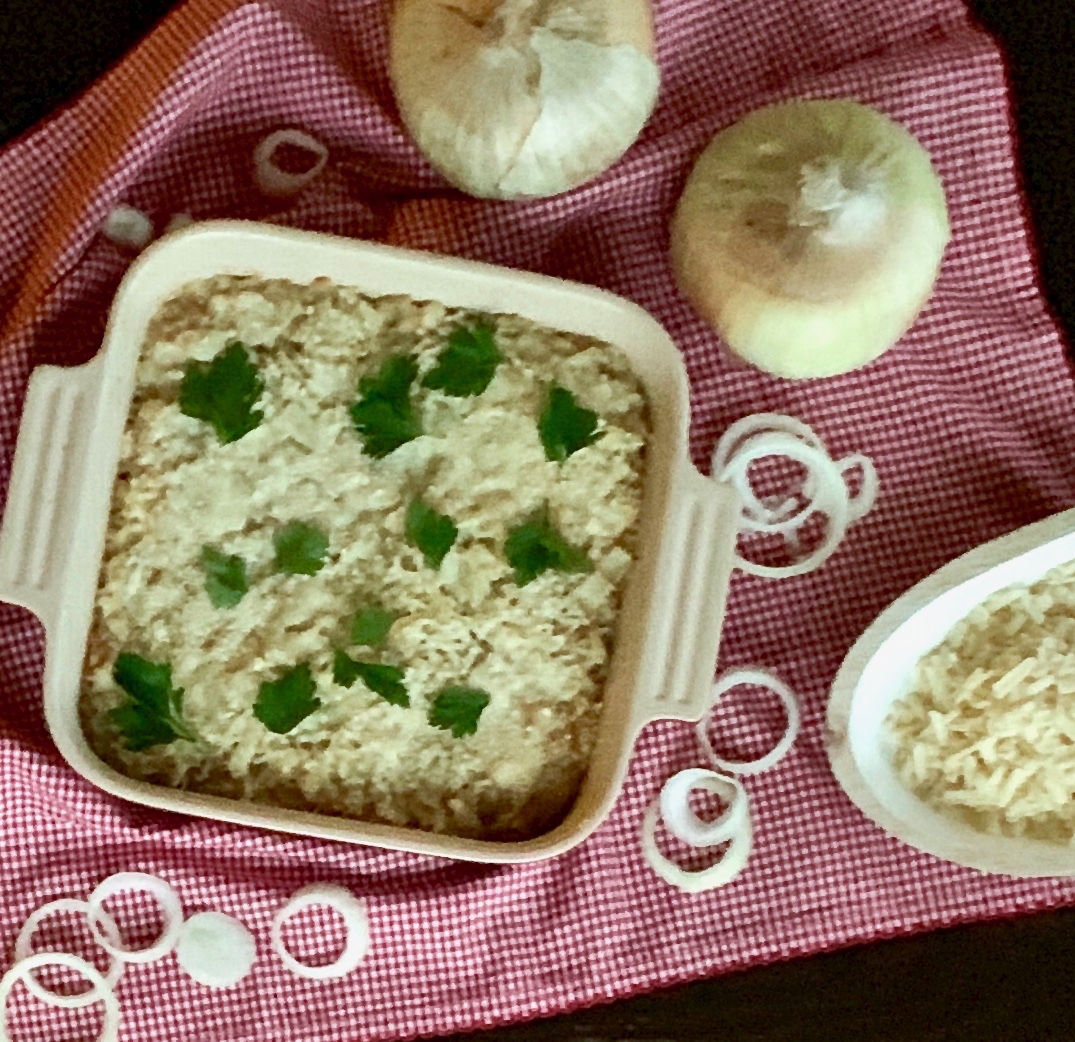
This is one great dish to bring your family together. It is packed with “wow”, “yum” and “please, give me some more”! The onions roast to achieve perfect sweetness. The two cheeses add that gooey deliciousness and the allspice gives it its savory goodness. This dish comes together fast and easy. I changed it up a bit (as per usual), by adding more of the two kinds of cheese the original recipe called for. I also let it brown more on top by keeping it in the oven just a bit longer.

This recipe is adapted from Myrecipes and will serve 6 people who will choose a gooey casserole over take-out from here on out!

Ingredients for Sweet Onion Casserole:

1 teaspoon olive oil
4 cups chopped sweet onion (about 1 3/4 pounds)
1/2 cup uncooked long grain rice
2/3 cup whole milk
1 cup shredded Gruyere cheese, divided
1/2 teaspoon salt
1/4 teaspoon freshly ground black pepper
1/8 teaspoon ground allspice
1/2 cup Parmesan cheese, divided
1 tablespoon parsley, chopped
Cooking spray

Preheat oven to 325°F.

Heat a large skillet over medium heat.

Add oil.

Swirl to coat.

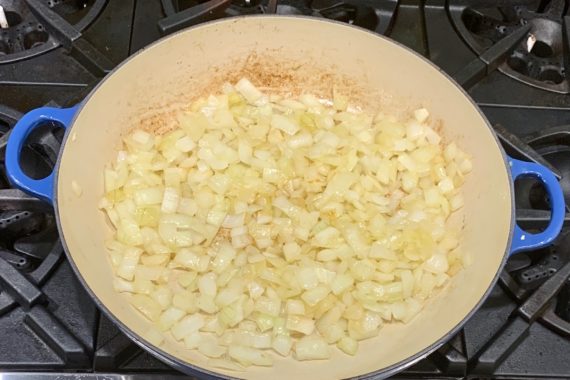
Add onion; sauté 5 minutes or until tender.

Place in a large bowl.

Bring a pot of water to a boil.

Place rice in.

Let cook 5 minutes.

Stir rice, milk, 1/2 cup Gruyere cheese, salt, pepper, and allspice into onion mixture.

Spoon onion mixture into an 8-inch square baking dish coated with cooking spray. 

Sprinkle evenly with Parmesan Cheese and remaining Gruyere cheese.

Cover and bake for 40 minutes.

Uncover and bake an additional 5 minutes.

Top with parsley, if desired.

It’s that simple!

signature

[recaptcha]