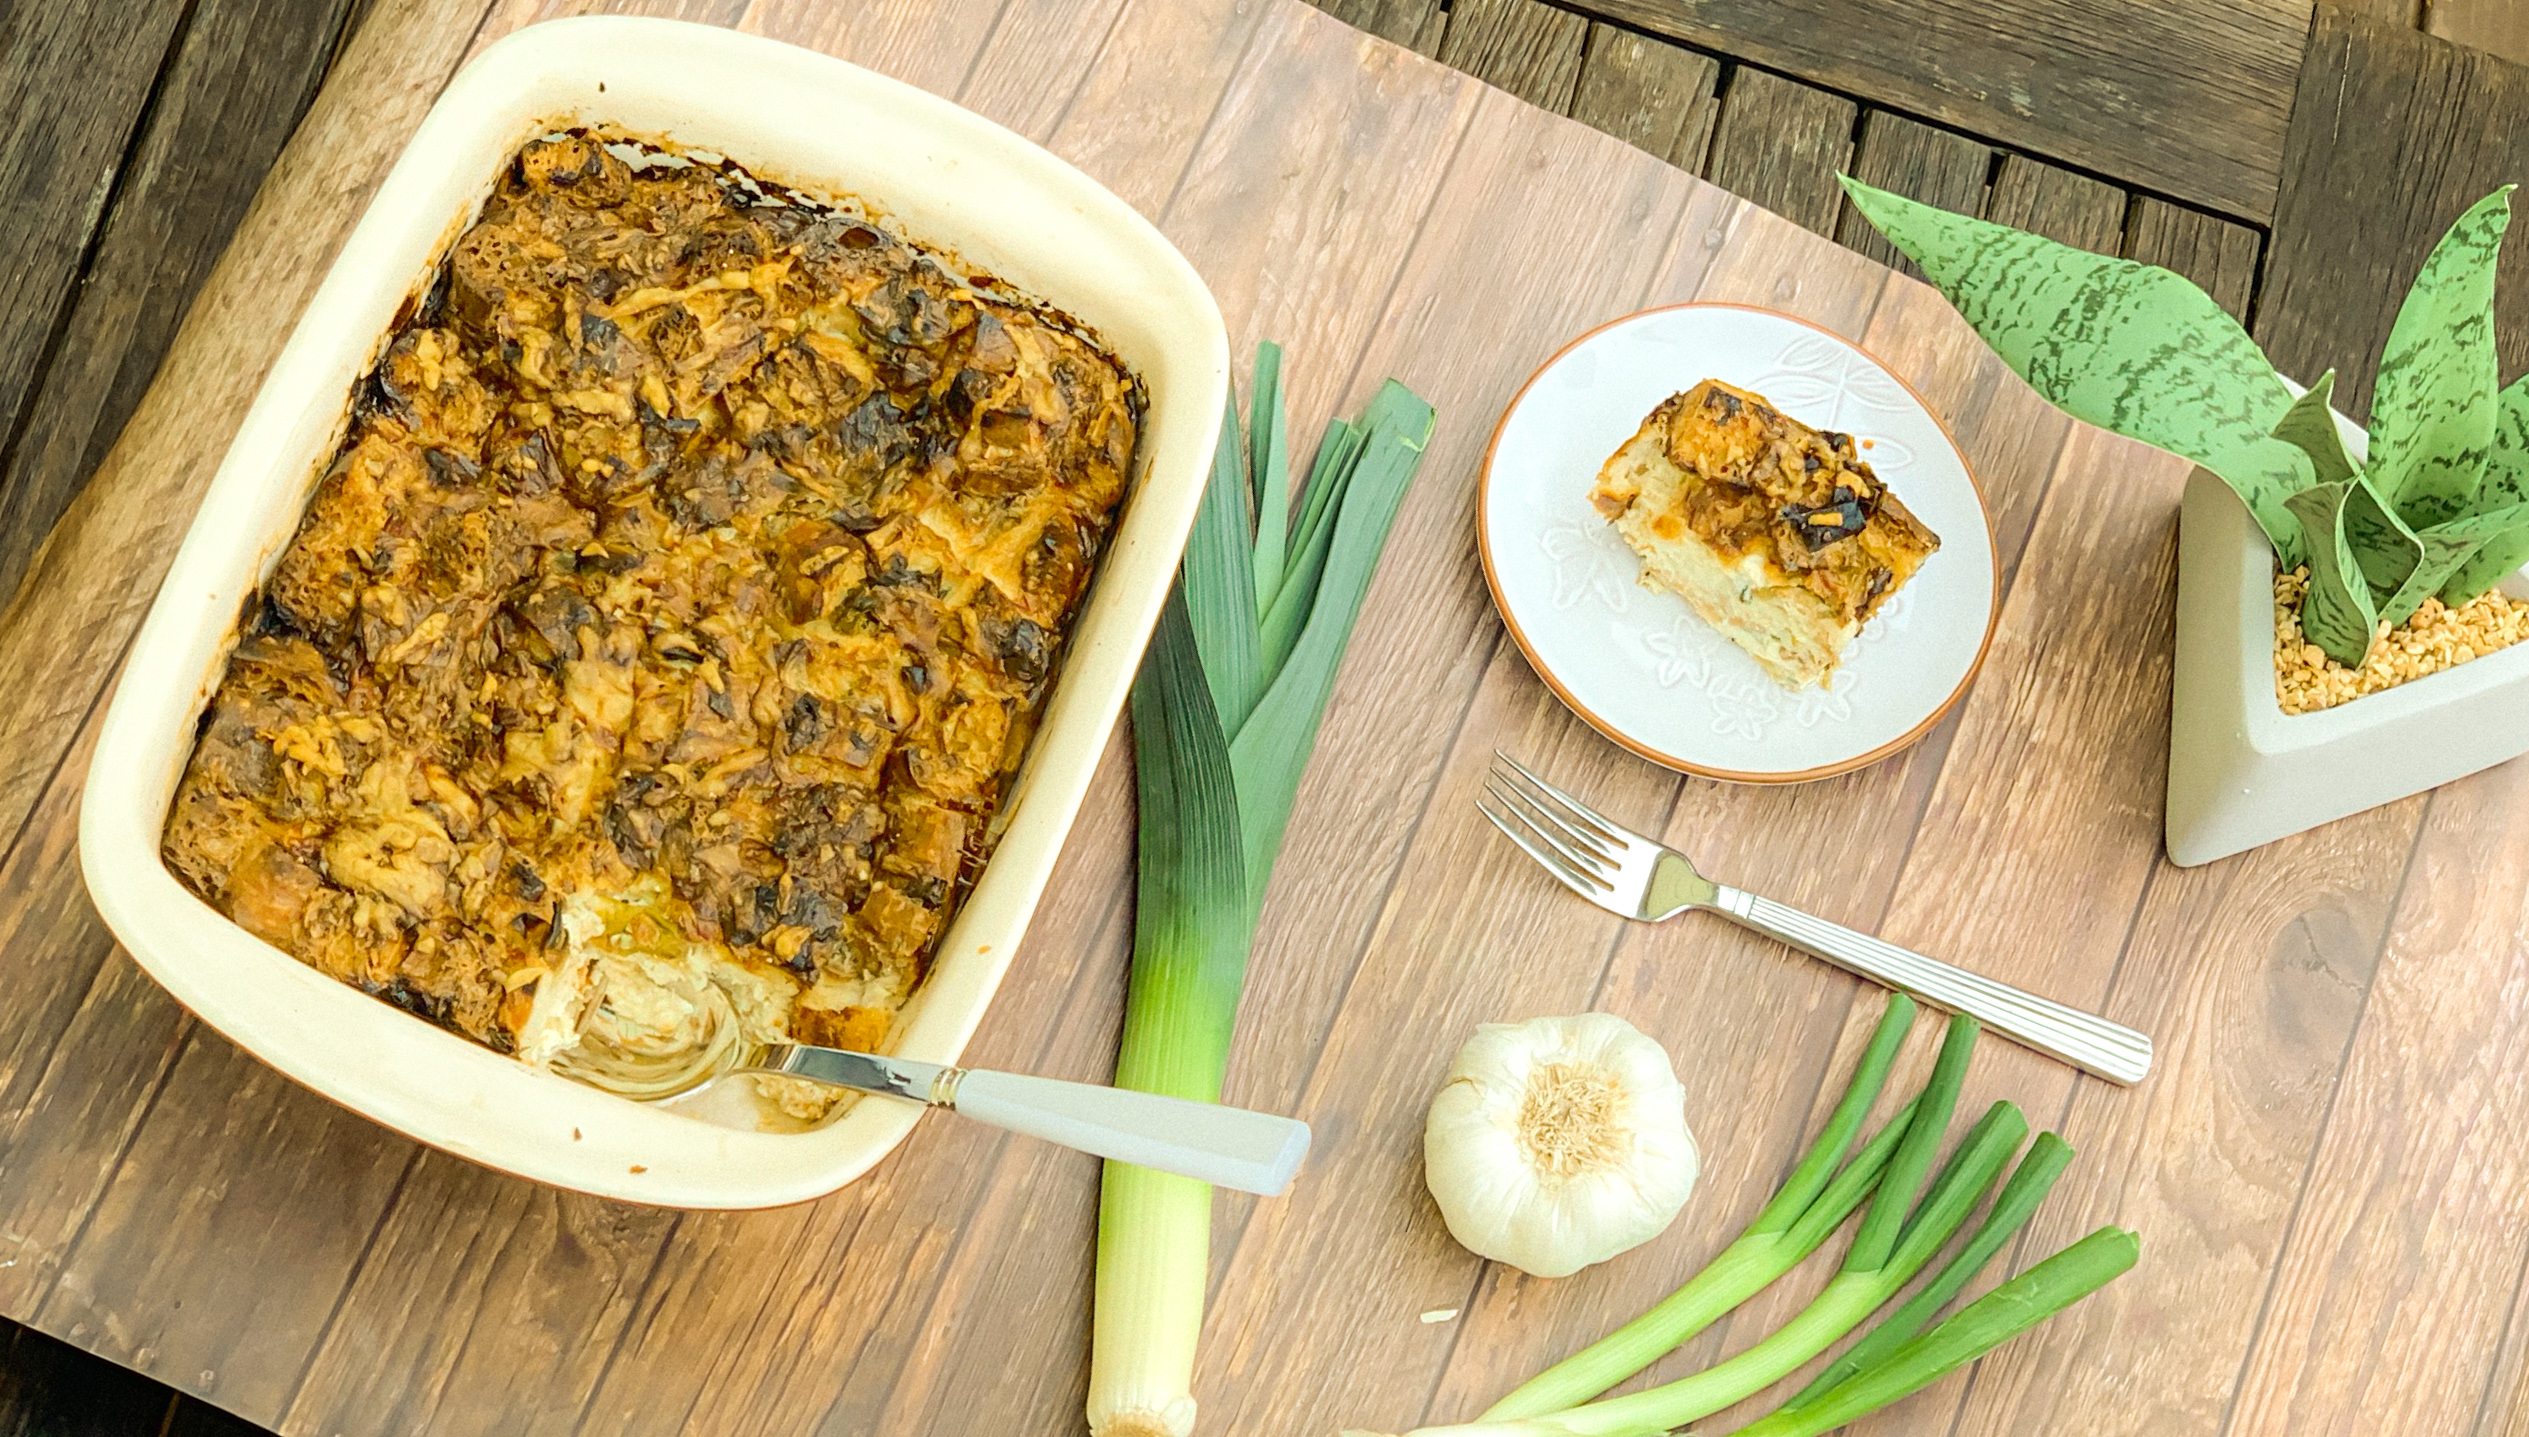
I’ve said it a million times: I am just not into baking. Don’t get me wrong, I am a huge lover of all baked goods, but I am more of a cook than baker. Baking requires precision and timing. If you get one ingredient wrong, or the measurement wrong, it’s a disaster. Cooking is more open to interpretation–or just winging it!

Baking and cooking both require mixing, stirring, chopping, and cutting. They create desirable things to eat. Cooking is more laid back, requiring a ” handful of this,” a “pinch of that,” or “occasionally stir.” Baking is more definitive, calling for 1 cup plus 1 teaspoon of flour. It usually requires a standard measure of ingredients that must come together to achieve an exact result. It also requires the correct temperature that will take the mixed ingredients into another form (usually liquid-ish to solid). Baking is a science.  Cooking involves more improvisations and developing. Substitutions are easier when cooking. The amount of spices you use in a dish do not have to be exact, they could be just to taste. Don’t like onions?  That’s okay. Throw in some scallions or chives, or omit completely. The outcome will still be wonderful. Cooking is a form of art.

Baking too is surely an art.  There are so many beautifully frosted cookies and cakes out there, and creating those certainly involves a discerning eye and a practiced hane. So many cookie bakers are talented artists as well. I am a cook and an artist, but surely not the type for intricate cookie or cake decoration.  I leave that to others.

Whether you are a cook or a baker, this is one recipe that both can do. This beautiful bread pudding is filled with so many delicious ingredients. The leeks cook up into delightful treats, adding a full body of flavor to this dish. The scallions, nutmeg and thyme are the savory of this bread pudding. The gruyere adds cheesy goodness. The bread soaks up the creamy sauce and is the perfect filler for this dish. This is another keeper for sure.

This recipe is loosely adapted from Thomas Keller and will serve 12 cooks and bakers– or their helpers!

Ingredients for Leek Bread Pudding:

2 cups 1/2-inch thick sliced leeks, white and light green parts only, cleaned and rinsed
4 tablespoons unsalted butter
12 cups 1-inch bread cubes (baguette, French or challah) 
1 tablespoon finely chopped scallions 
1 teaspoon fresh thyme leaves
3 large eggs
3 cups whole milk
2 cups heavy cream
Kosher salt
Freshly ground black pepper
Freshly grated nutmeg
2 cups shredded Gruyere cheese

Place a medium sauté pan over medium heat, drain excess water from leeks, and add to pan.

Season with salt, and sauté until leeks begin to soften, about 5 minutes, then reduce heat to medium-low. (They’ll release liquid as they cook.)

Stir in butter.
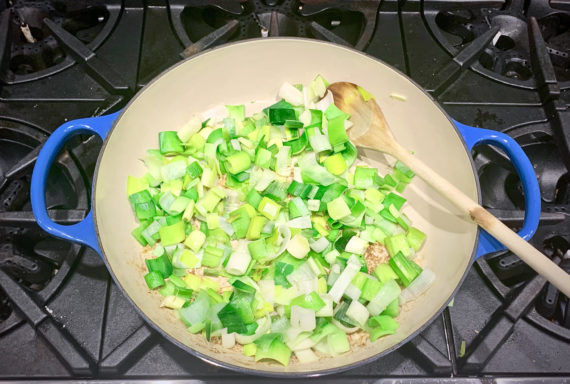
Cover and cook, stirring occasionally, until leeks are very soft, about 30 minutes.

Adjust salt and pepper to taste.

Heat oven to 350° F.

While leeks are cooking, spread bread cubes on a baking sheet and bake until dry and pale gold, about 20 minutes, turning pan about halfway through.
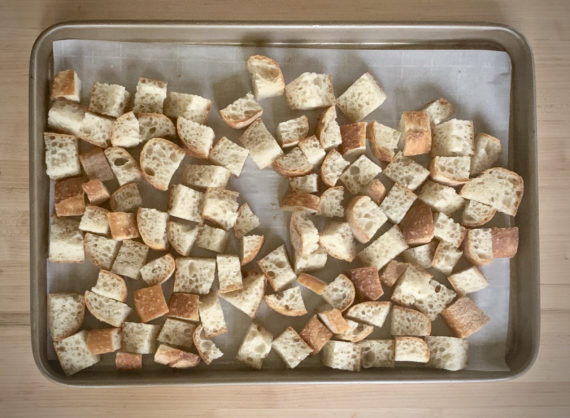
Transfer to a large bowl, leaving the oven on.

Add leeks, chives, and thyme to the bowl of bread; toss well.
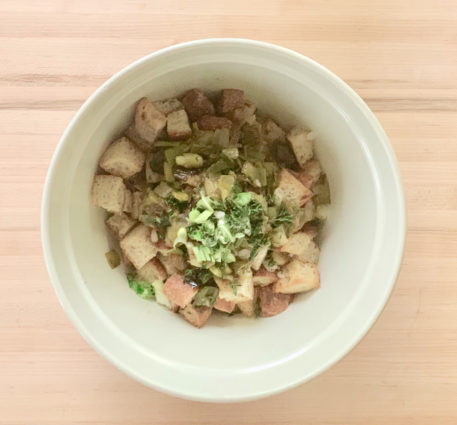
In another large bowl, lightly whisk the eggs, then whisk in milk, cream, a generous pinch of salt, pepper to taste, and a pinch of nutmeg.
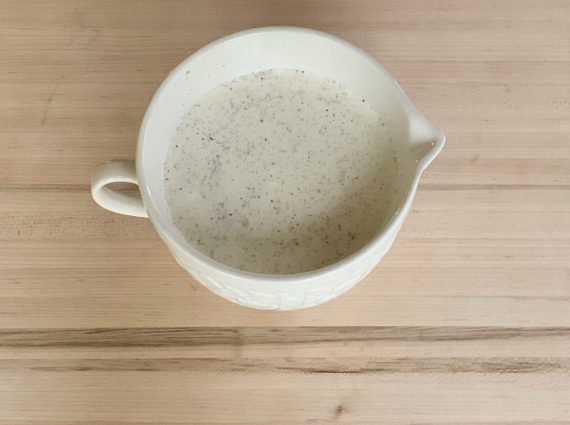
Sprinkle 1/4 cup shredded cheese in bottom of a 9- by 13-inch baking pan.

Spread 1/2 of bread mixture in pan, and sprinkle with another 1/4 cup cheese.
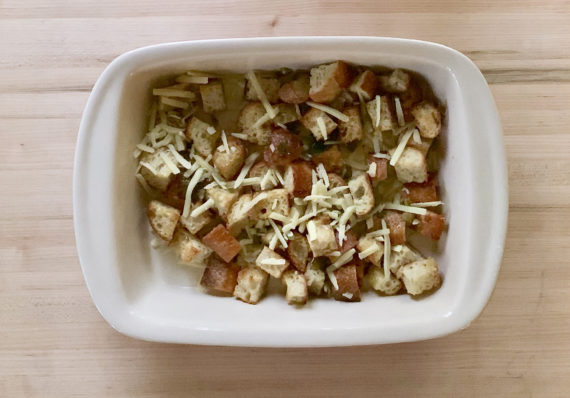
Spread remaining bread mixture in pan, and sprinkle with another 1/4 cup cheese.

Pour in enough milk mixture to cover bread, and gently press on bread so milk soaks in.
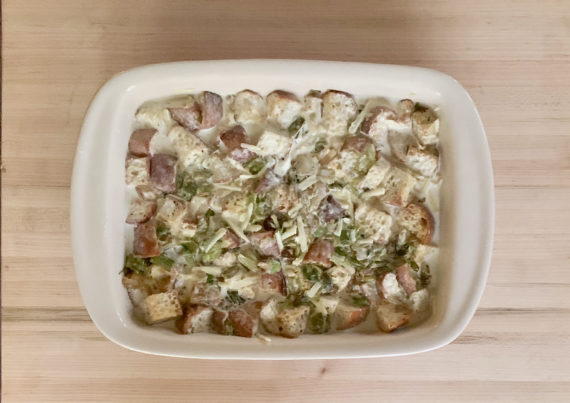
Let rest 15 minutes.

Add remaining milk mixture, letting some bread cubes protrude.

Sprinkle with salt and remaining cheese.
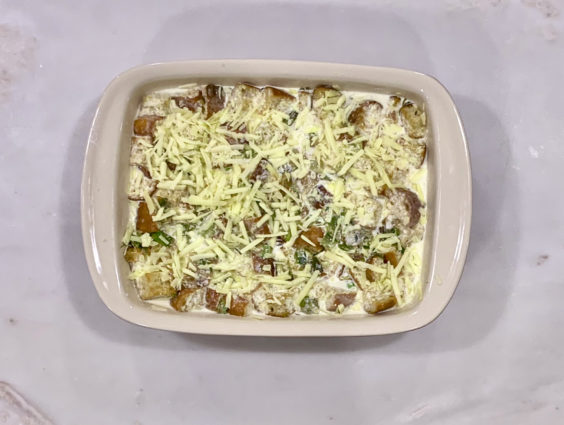
Bake until pudding is set and top is brown and bubbling, about 1 1/2 hours.

Serve hot.

It’s that simple!

signature

[recaptcha]


I don’t know about you, but I prefer the warm days of summer to the colder winter days. I love the feel of the sun on my skin, the long, sunny days and lighter clothes. During the winter, I am always freezing, and I find it difficult to get out of bed knowing just how cold it is outside. 

With all the cold weather here in the Northeast, I have been trying to stay positive.  I’ve looked to a few websites–Reader’s Digest, The Huffington Post, Aleksa Ristic, and Medical News Today– to investigate whether there are any upsides. What I’ve dug up might make you feel a little better, though it might not keep you warm.  So, let’s have a chat, shall we? 

Colder temperatures are known to help you think clearly. Research has shown that cooler rooms help people perform tasks better. Subjects in warm rooms were less likely to tackle harder problems, since the brain uses more glucose under those conditions. Going outside for a walk can clear your mind and help to prepare to take on more difficult tasks.

The cold makes your body work hard to maintain its warmth, therefore you might burn more calories. This may be an excuse to indulge, but just a little, not too much. Even more encouraging, just shivering will burn calories.

Perhaps you’ve noticed that your allergies don’t act up in the winter? This may be connected to the colder temperatures too, since the pollen count is almost nonexistent in wintry weather. If you have indoor allergies, I’m afraid this doesn’t apply to you.  Sorry!

Finally, you sleep better when it is cold. This is because your body temperature drops when you are trying to sleep. This process can take up to two hours in the summer, causing you to sleep less restfully. Plus, with darker mornings in the winter, you just might sleep later too.

So, this is a nice new way to look at those very cold days when you don’t want to get out of bed. Now you have some good reasons to face the day– I know I do!

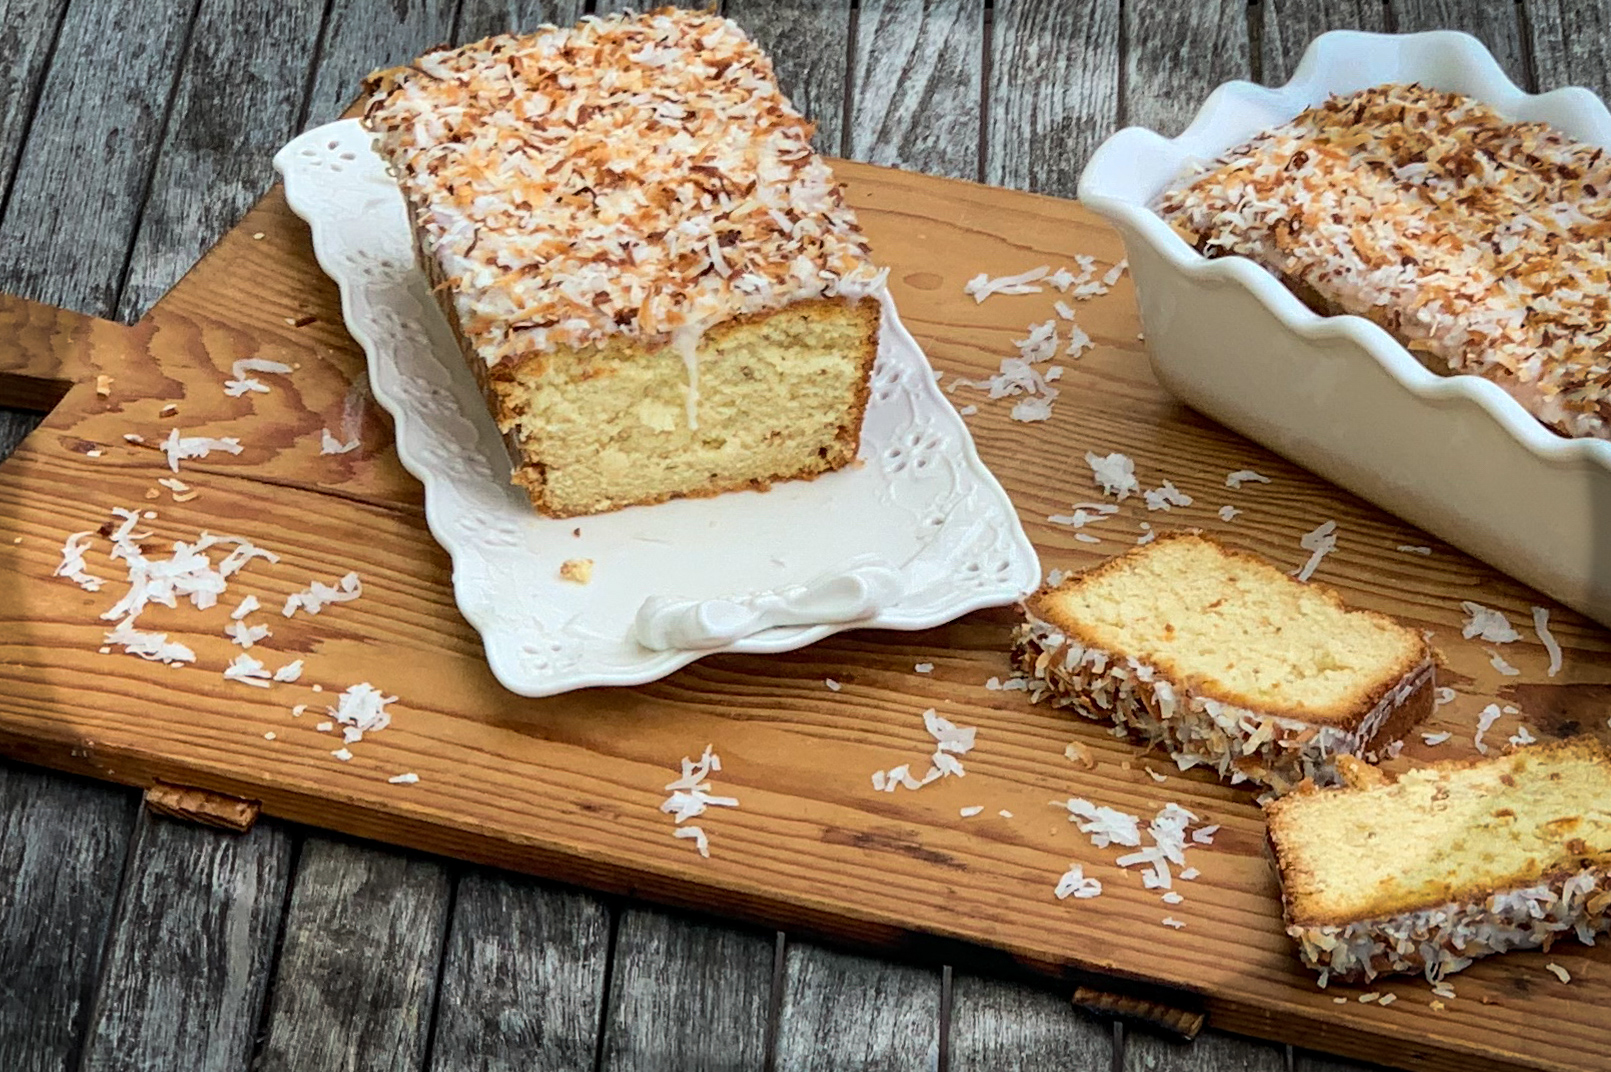
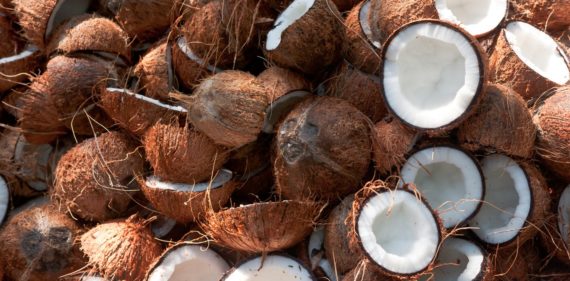
This dessert is perfect with a hot cup of tea, coffee, or cocoa on any cold day. The buttermilk ensures that this cake is moist. It is bursting with coconut flavor with a hint of savory vanilla. The lemon juice tames the coconut flavor with a little tang. The toasted coconut gives it a scrumptious texture. This cake is mouth-watering good. If you are cuckoo for coconuts, this is the cake for you! Make this cake now.

This recipe is courtesy of Bake from Scratch and will make two 9 x 5-inch loaves for people who will be happy to stay inside with you on a cold winter day.

Ingredients for Coconut Buttermilk Pound Cake:

1½ cups unsalted butter, softened
3 cups granulated sugar
5 large eggs 
3 cups all-purpose flour
2 teaspoons kosher salt
1 teaspoon baking powder
1 cup whole buttermilk
2 cups sweetened flaked coconut, toasted and divided
2 teaspoons vanilla extract
3 cups confectioners’ sugar
¼ cup unsweetened coconut milk
1 tablespoon fresh lemon juice

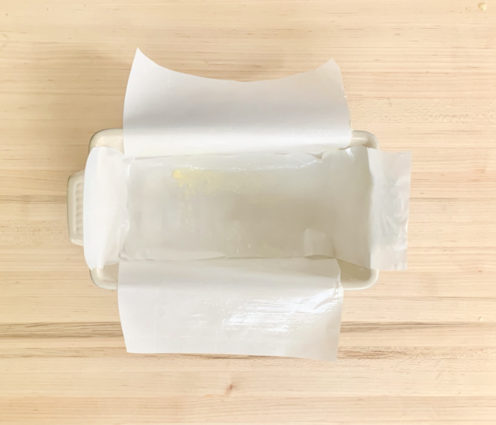
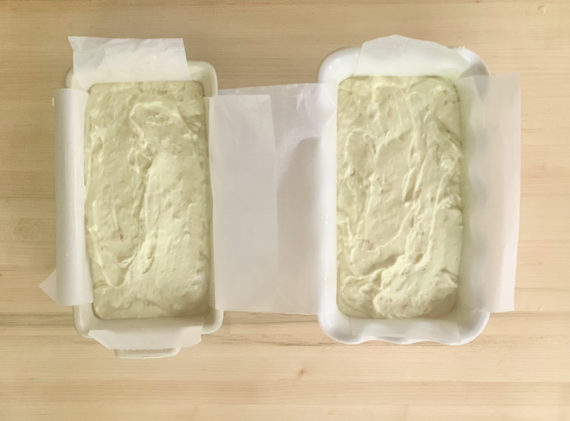
Spray two 9×5-inch loaf pans with baking spray, and flour lightly.

Line pans with parchment paper, letting excess extend over sides of pan.

Spray pans again.

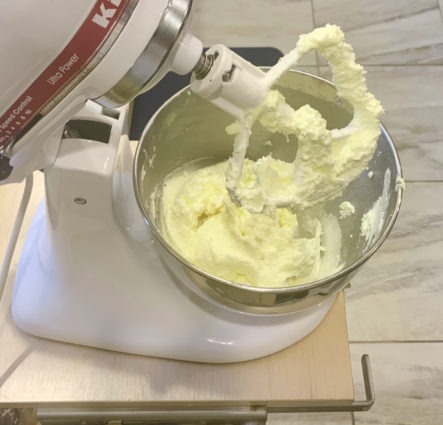
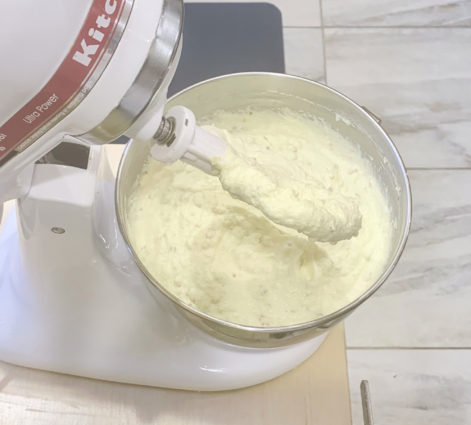
In the bowl of a stand mixer fitted with the paddle attachment, beat butter and granulated sugar at medium speed until fluffy, 3 to 4 minutes, stopping to scrape sides of bowl.

Add eggs, one at a time, beating well after each addition.

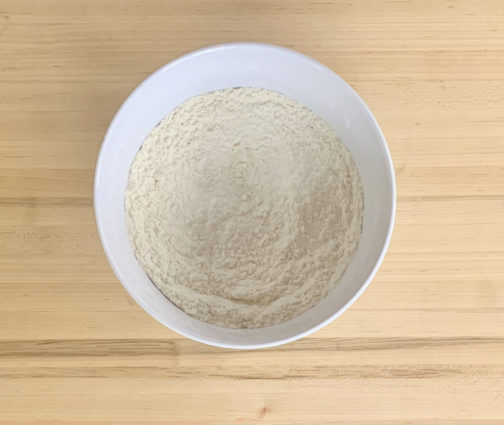
In a medium bowl, whisk together flour, salt, and baking powder.

Reduce mixer speed to low.

Gradually add flour mixture to butter mixture alternately with buttermilk, beginning and ending with flour mixture, beating just until combined after each addition.

Beat in 1¼ cups coconut and vanilla.

Divide batter between prepared pans.

Place in a cold oven.

Bake at 300°F until a wooden pick inserted in center comes out clean, about 1 hour and 15 minutes. (Mine took about 15 to 20 minutes longer than this.)

Let cool in pans for 10 minutes.

Remove from pans, and let cool completely on wire racks.

In a medium bowl, whisk together confectioners’ sugar, coconut milk, and lemon juice.

Drizzle glaze over loaves; sprinkle with remaining ¾ cup coconut.

It’s that simple! (And that good too!)

signature

[recaptcha]


Call me a late bloomer, but I am proud to announce that I have finally begun taking photography lessons. Oh, I know enough to get by, but I really wanted to learn from the ground up. Learning something new is always hard, and many people avoid the heartache of failing at something. Living in the same routine is easy, but it is the new year, and maybe it is time for you to challenge yourself too.

Photography uses a lot of fractions, which are not my forte. I was struggling to keep up with my instructor and write down my notes. While I know my current limitations, I will try to overcome them and learn as much as I can. Let’s think about all the successful people in this world– those who succeed the most were the best at learning new skills. You must dedicate your spare time in the pursuit of learning a new skill. And you must stick with it. That is what I intend to do, and I know I will be successful. I took up the sport of boxing at 45 and have stuck with it ever since, trying to improve any way that I can. Will I ever be Mohamed Ali? No, probably not, but I will be the best boxer I can be, and that is good enough. Will I ever be Annie Leibovitz? Not likely, but I know I will be better at photography than I am today. I also learned to speak Spanish when I was in my thirties. I felt invincible when I spoke my first full sentence.

Nothing will make you prouder at this moment, then learning something new. Remember the first couple of chords of your guitar? Or the feeling of making it downhill on the steepest ski slope? I remember when I couldn’t cook. Now I can. Try something new. It’s good for your brain, your heart and your emotional well-being. You can do it. If you’ve been successful at learning something new, please share it, I would love to hear from you!

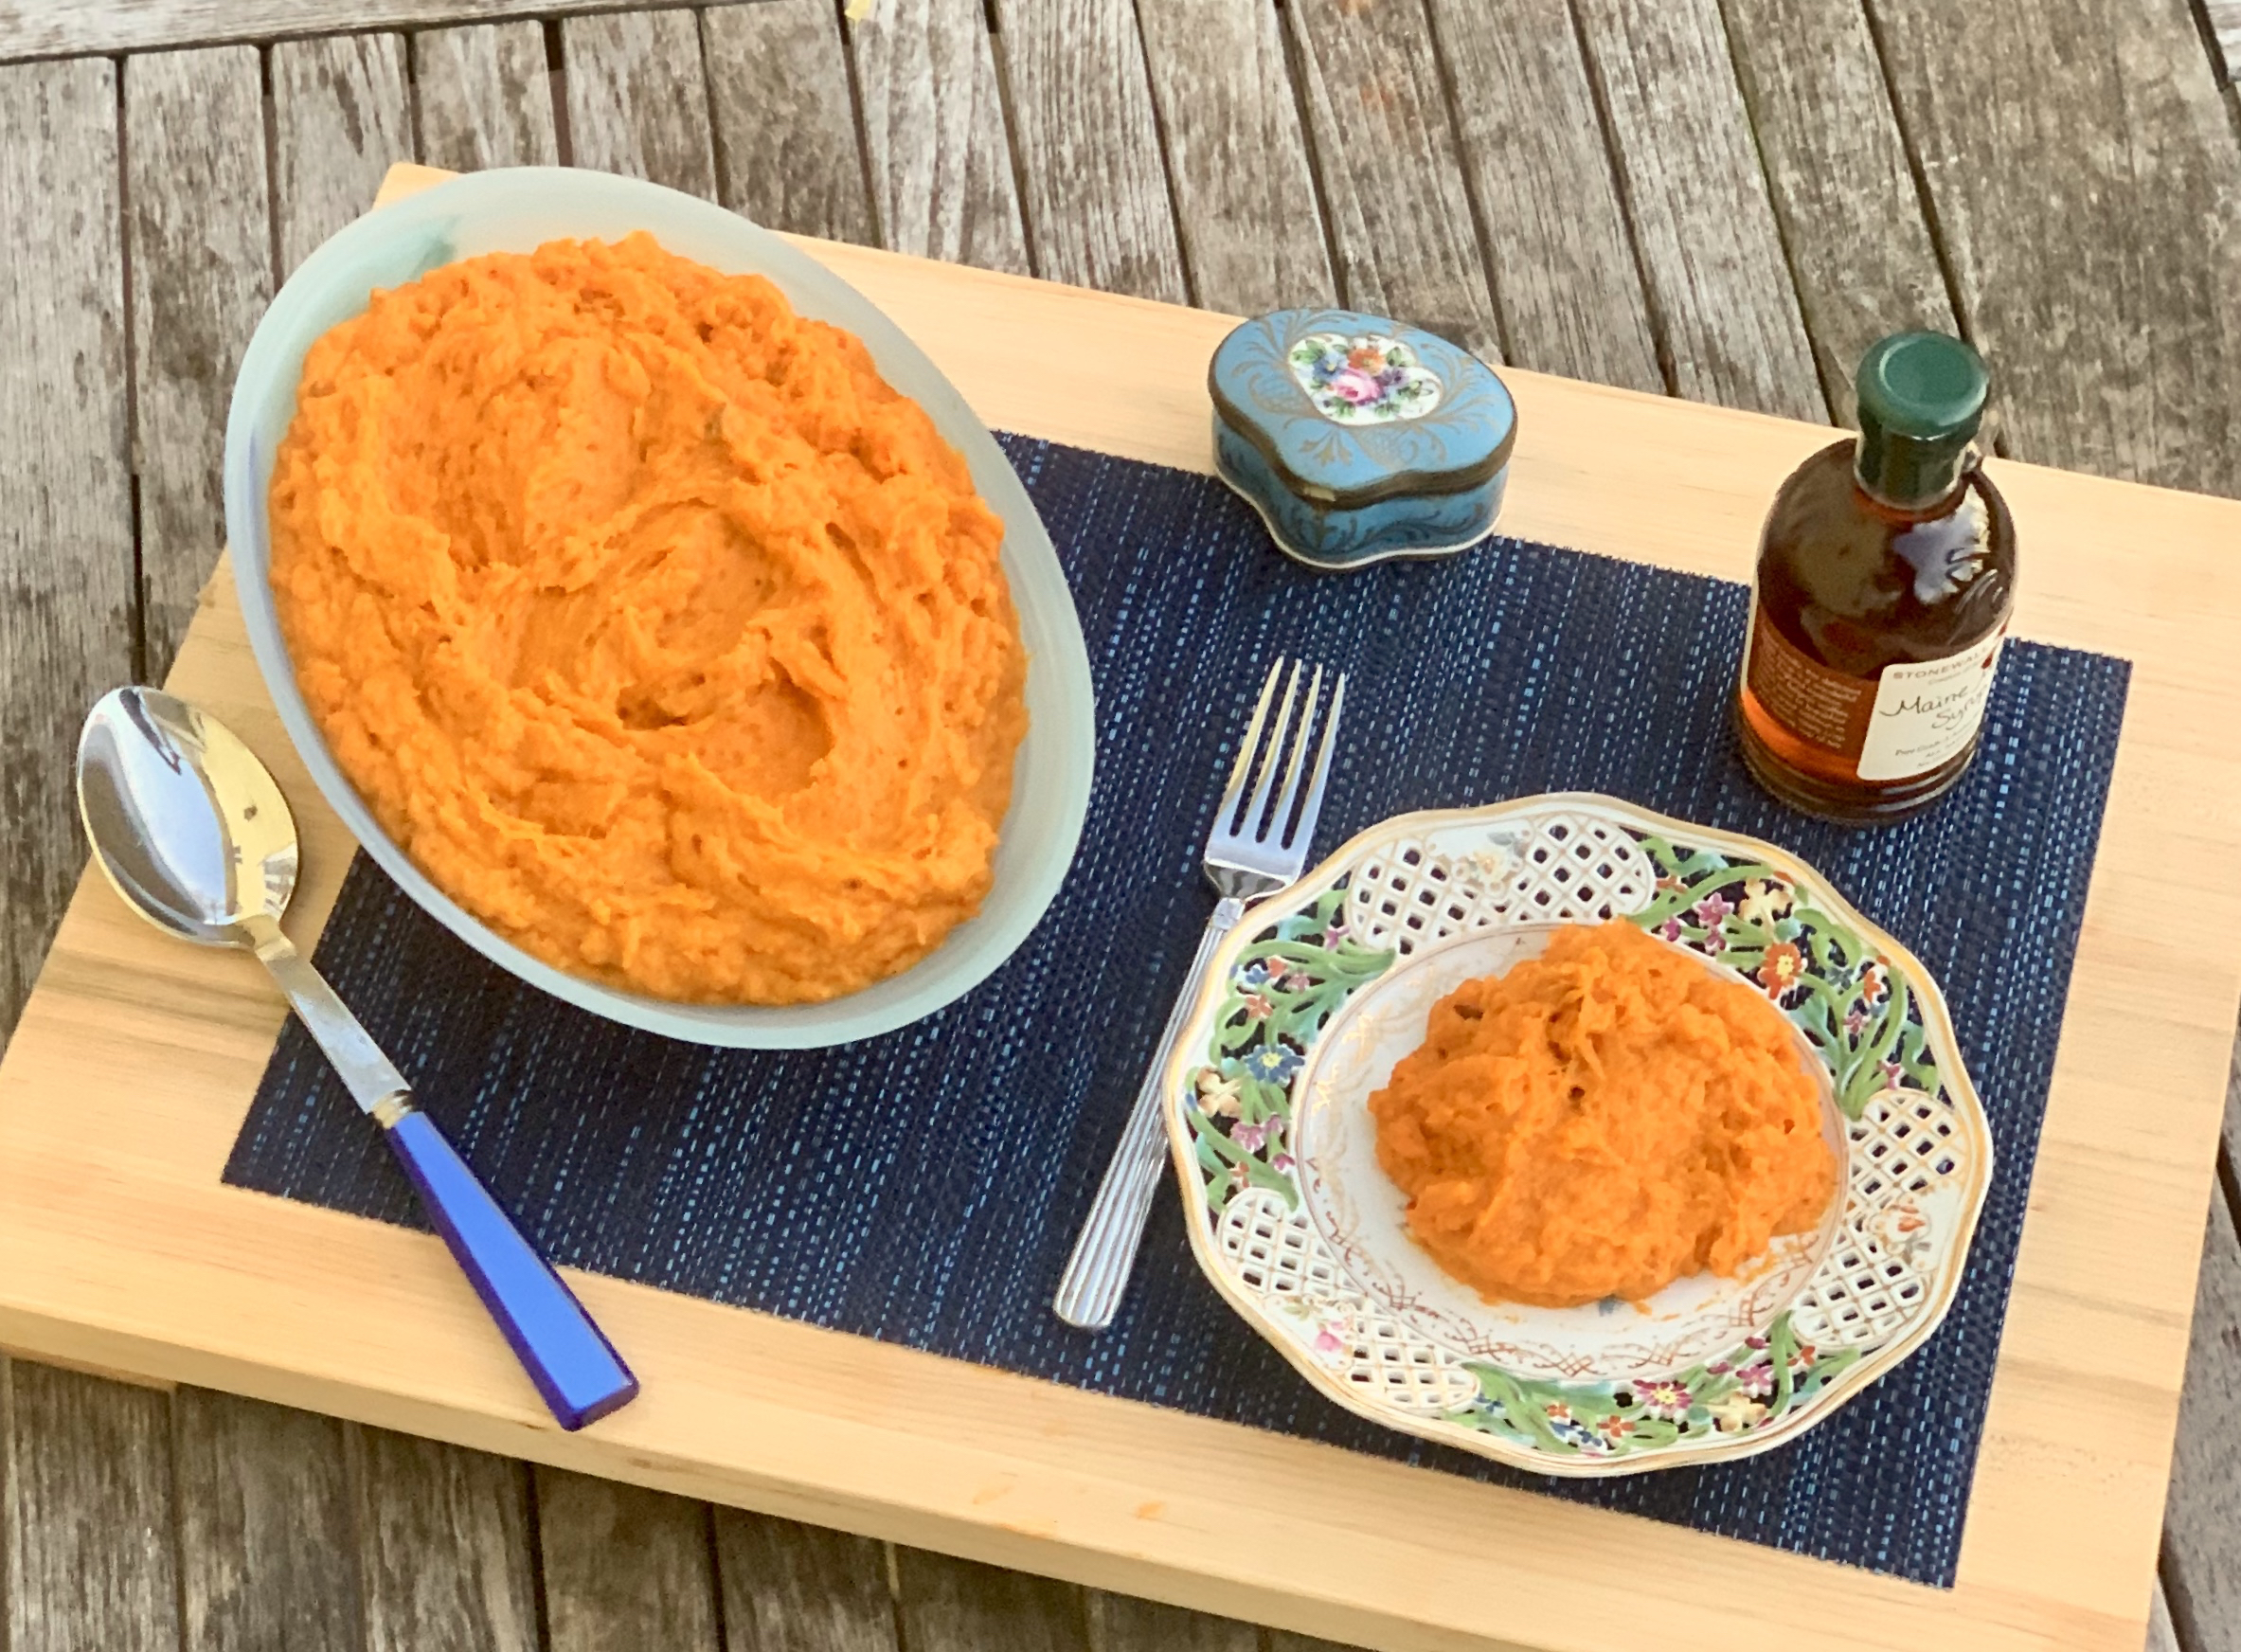
This dish is one that you can count on being successful. The roasted sweet potatoes are wonderfully caramelized adding deep rich flavor. It is so smooth and creamy. The maple syrup gives it sweetness and the chipotle chilies and the adobo sauce are the perfect amount of heat, making it lip-smacking good.

This recipe is courtesy of Ina Garten and will serve 6 to 8 people who will want to try this new dish too!

Ingredients for Chipotle Smashed Sweet Potatoes:

4 pounds sweet potatoes (6 potatoes)
1 cup whole milk
1 cup heavy cream
1 tablespoon minced chipotle chilies in adobo sauce with seeds, such as Goya
1 tablespoon adobo sauce (from the can of chilies)
¼ cup pure Grade A maple syrup
4 tablespoons (½ stick) unsalted butter, diced
Kosher salt and freshly ground black pepper

Preheat the oven to 350 degrees. Line a sheet pan with aluminum foil.

Place the sweet potatoes on the prepared sheet pan and pierce each potato 4 times with a small knife.

Roast for 1 to 1¼ hours, until very tender inside when tested with a knife.

Set aside until cool enough to handle. (Leave the oven on.)

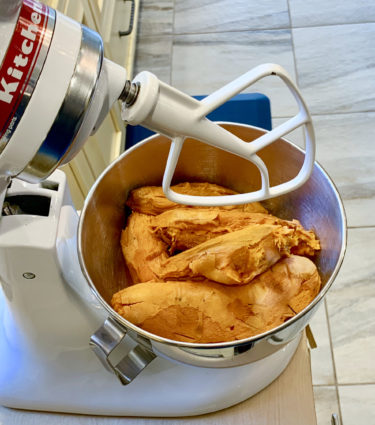
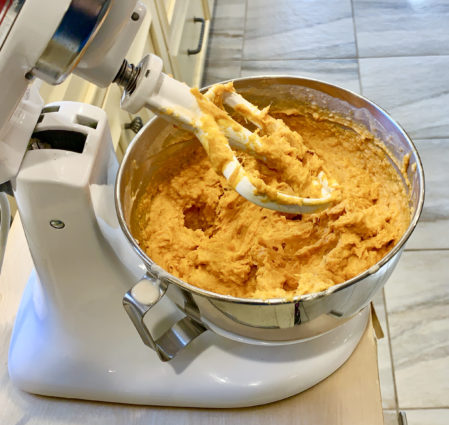
Peel the potatoes, discard the skins, and place the potatoes in the bowl of an electric mixer fitted with the paddle attachment.

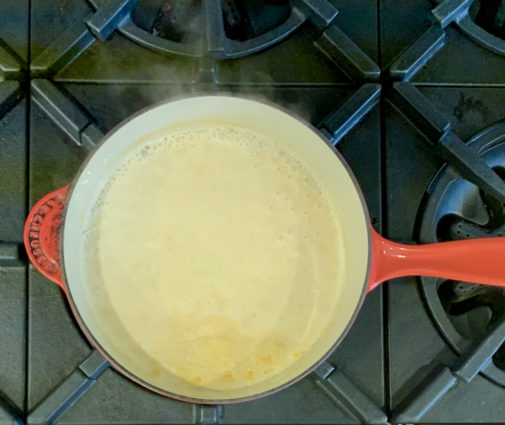
Meanwhile, place the milk, cream, chipotle chilies, and adobo sauce in a small saucepan.

Bring to a boil, lower the heat, and simmer for 5 minutes. (It might look curdled.)

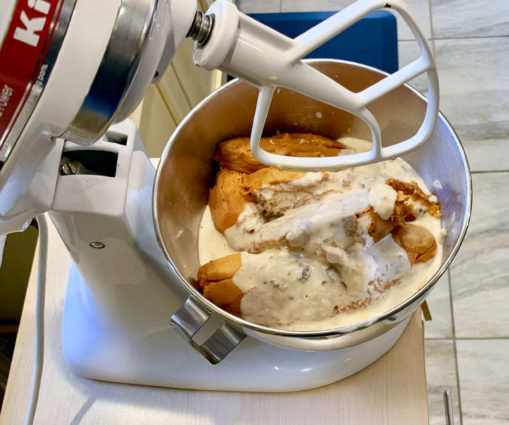
With the mixer on low speed, add the chipotle-milk mixture to the sweet potatoes.

Add the maple syrup, butter, and 1 tablespoon salt.

Mix until the potatoes are coarsely pureed.

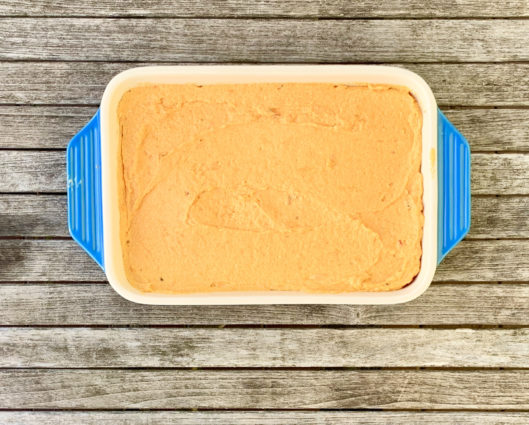
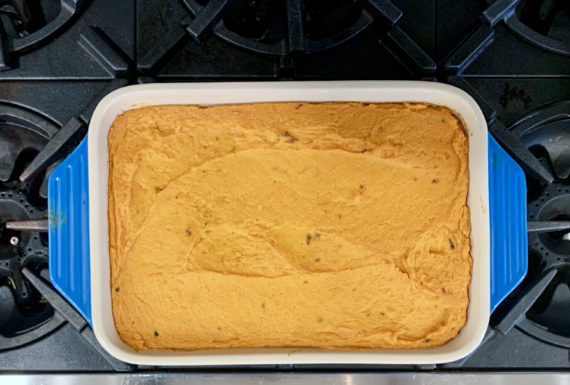
Pour into a 9 × 12 × 2-inch oval oven-to-table baking dish and bake for 30 minutes, until heated through.

Sprinkle with salt and pepper and serve hot.

It’s that simple!
signature

[recaptcha]


I love New Jersey’s charming little towns. I grew up in New York, where there were few towns that compare to the ones here. These all have their own unique vibes. My husband and I love using Fall weekends to explore new towns or revisit old favorites. These towns offer peace and tranquility, and we go frequently to learn more about the history of the area, or just to stroll down the main street and shop.

Many have high-end clothing stores as well as vintage ones. They have farm stands with fresh apples, pumpkins, soups, chili, cider doughnuts, and apple cider. There are farms that are turned into an Autumn adventure land, complete with pumpkin picking, pony rides, wine tasting, and live music. 

Some towns have an old-world Victorian look. Many have beautiful rivers running through them. Some towns have big festivals with pie-eating contests, hat making, bounce houses. and food vendors. Oftentimes, the food vendors make authentic food that is definitely worth a taste. These quaint towns are always walkable, and you will find unique bookstores and small coffee shops offering up a great cup of joe. There are independent shops, art museums, and family-owned restaurants. 

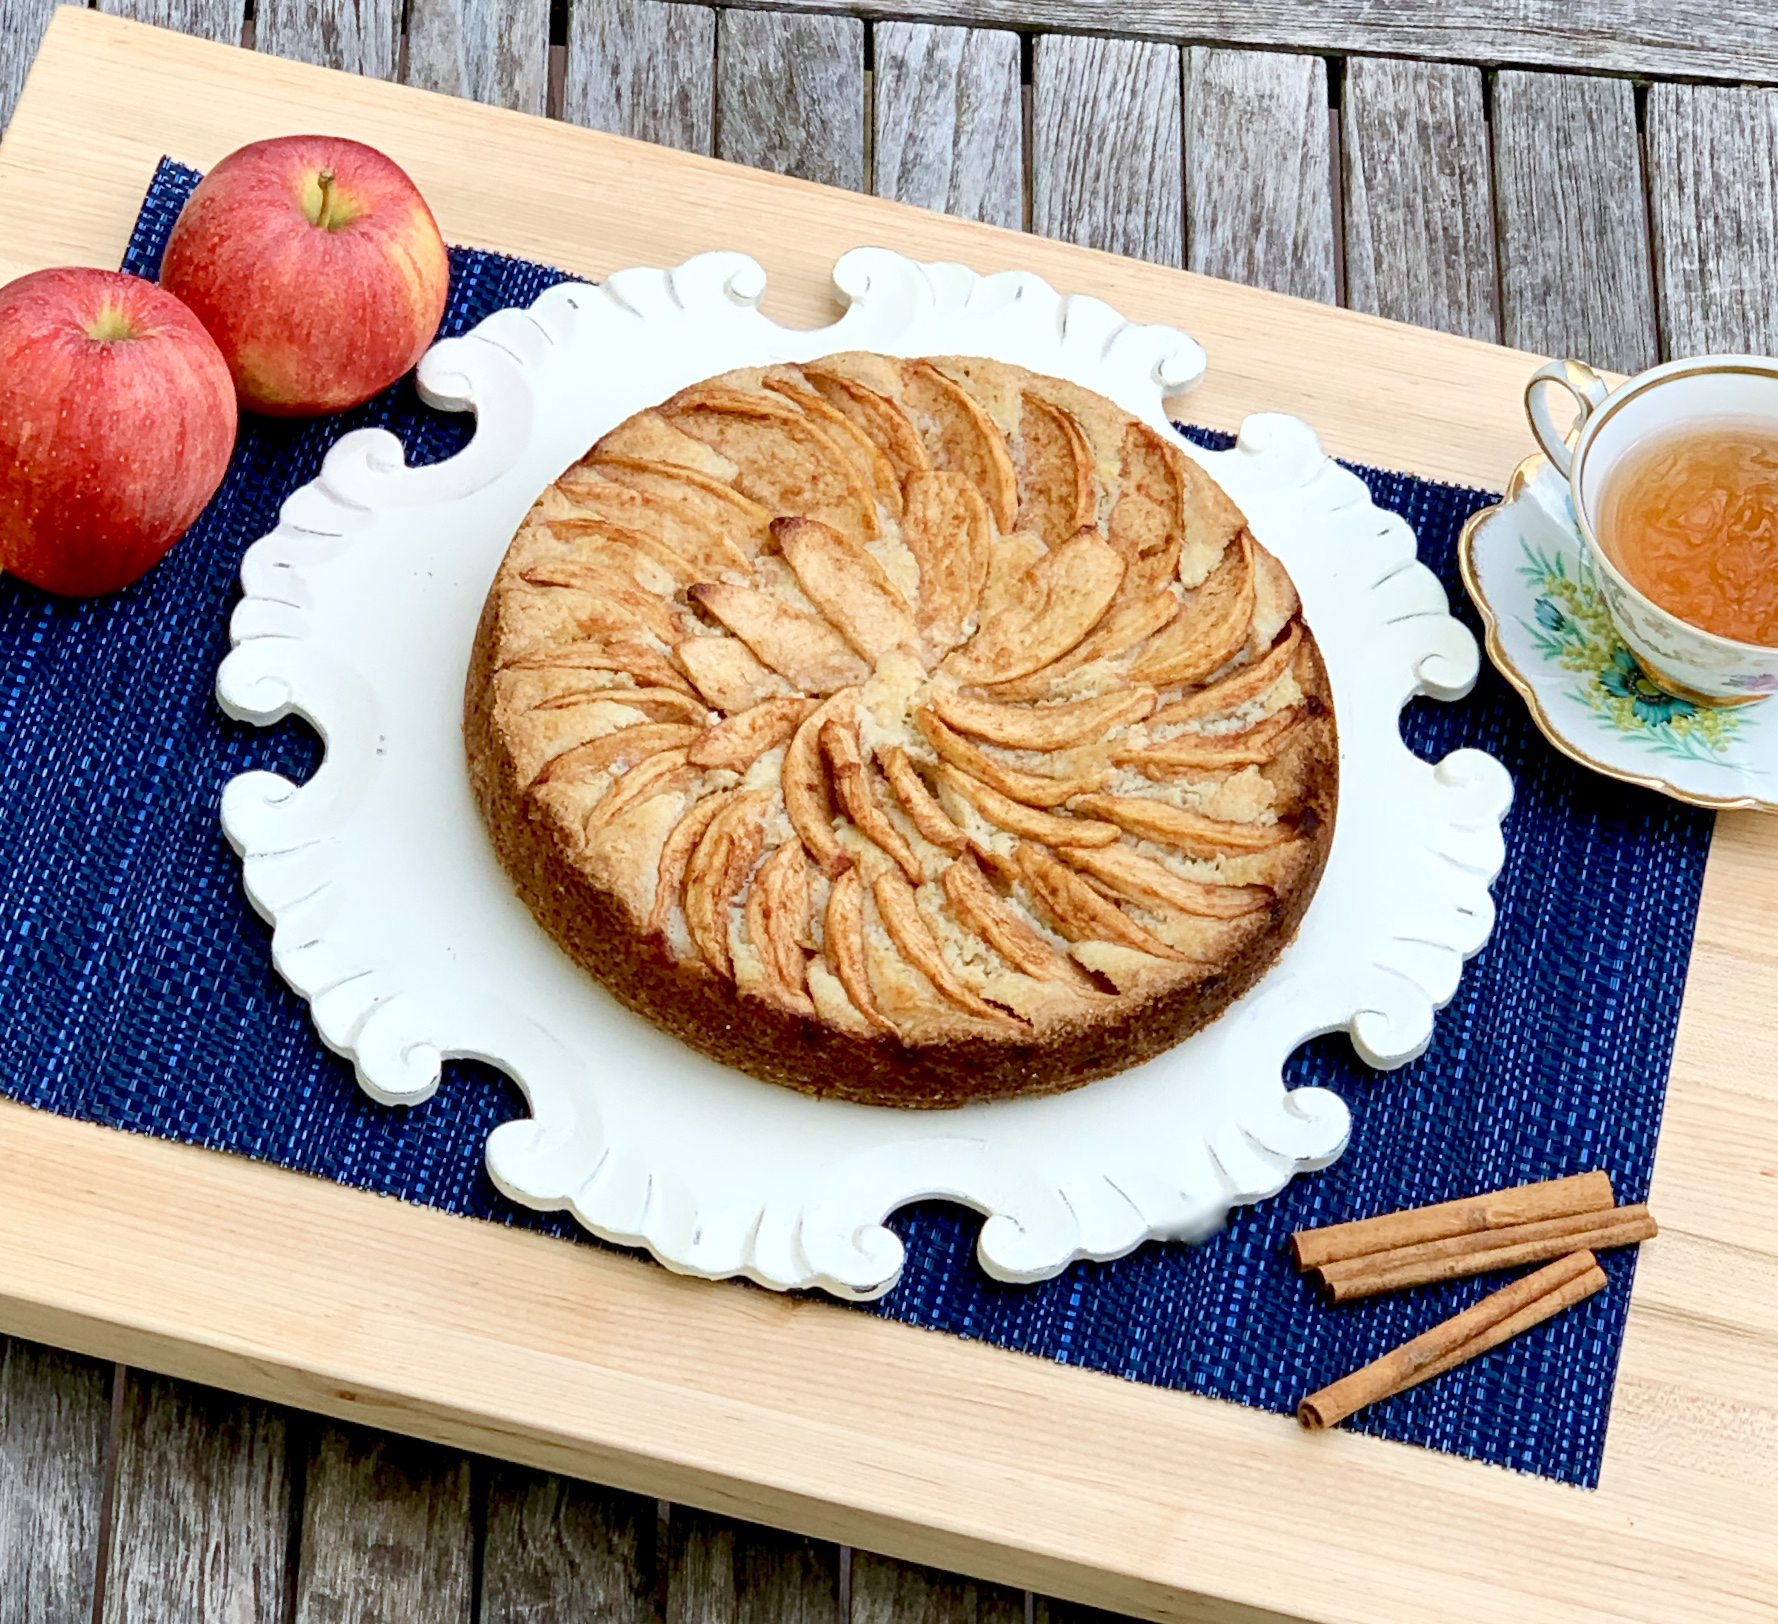
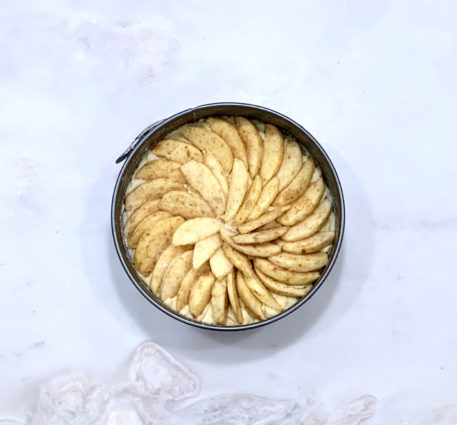
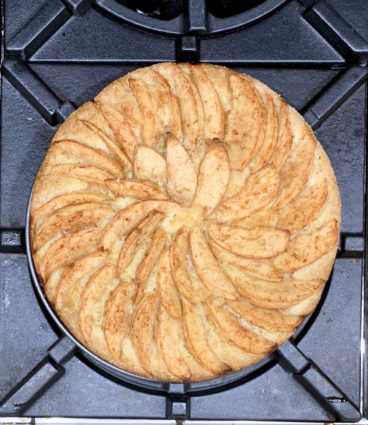
Even though these towns call us away on the weekend, there are many local farms, so I don’t have to go far to get the best stuff.  This year I got carried away and bought way too many apples. Some I gave away to friends, but I still have more than I can handle. This is a dessert that I retrieved from an old Joan Nathan book, and one I have wanted to try for a long time. It was well worth the wait. The Gala apples are baked to perfection and present beautifully on top of the cake — be sure to arrange them carefully! The apple brandy was a really nice touch that gives the cake a pleasant sweetness. The cinnamon and ginger added a savory Fall touch. This is a “must try.” Trust me, you will be missing out on something wonderful if you don’t indulge.

This recipe is courtesy of Joan Nathan and will serve 6 to 8 people who will want to come exploring on your next Fall road trip.

Ingredients for Babette Friedman’s Apple Cake:

8 ounces (2 sticks) unsalted butter, more for greasing pan
1 ⅓ cups plus 1 tablespoon sugar
⅛ teaspoon salt
2 large eggs
2 cups all-purpose flour
2 teaspoons baking powder
4 Gala or other flavorful apples, peeled, cored and each cut into 8 slices
½ teaspoon Calvados or apple brandy
1 teaspoon freshly grated ginger
½ teaspoon ground cinnamon

Preheat oven to 350 degrees.

Butter a 9-inch springform pan, and set aside.

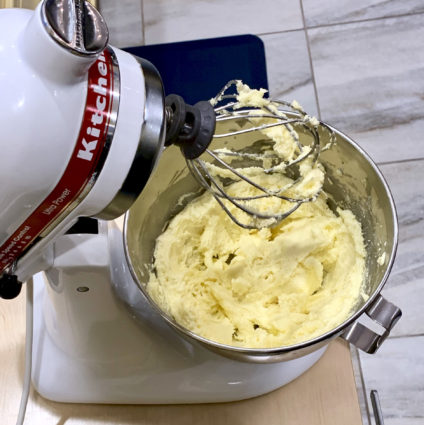
In bowl of an electric mixer fitted with a whisk attachment, combine remaining 8 ounces butter, 1 1/3 cups sugar and the salt.

Mix until blended.

Add eggs and whisk until smooth.

Using a rubber spatula, gently fold in the flour and baking powder until thoroughly mixed.

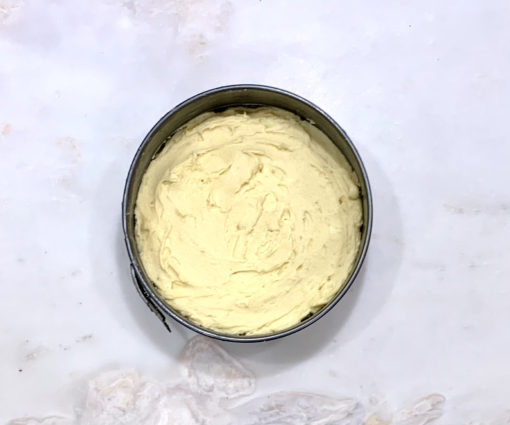
Fold in a few of the apples, and spread batter evenly in pan.

In large bowl, toss remaining apples with Calvados, ginger and cinnamon.

Arrange apple slices in closely fitting concentric circles on top of dough; all the slices may not be needed.

Sprinkle remaining 1 tablespoon sugar over apples.

Bake until a toothpick inserted into center of cake dough comes out clean and apples are golden and tender, about an hour and 15 minutes.

Serve warm or at room temperature.

It’s that simple!
signature

[recaptcha]


As you know, this blog started as a way to keep recipes that I liked.  As it grew, I also started chronicling my personal life in between the recipes.  Through the blog, you’ve come to know my home, my garden, my farmer’s market, my vacation spots, and my family.  Sometimes my life and the recipes line up well– for example, if I will be hosting a dinner party, the recipe might be a shareable main course.  I wish I could say that this is one of those days, but my task for this week has no relation to the recipe. I was just so excited to tell you of the good news that I couldn’t help myself. My niece, Tala is getting married!

In my family, the Aunts are in charge of the bridal shower. I created one this past March for my other niece, Lara. I really love to plan and decorate for them, but it is a lot of work for me. But practice makes perfect, so let my practice lead to your perfect.

First, you need to figure out how many guests you will have. Once you have compiled the list, you need to find a venue, maybe a restaurant or even your home. Some people don’t use a theme, but if you have one in mind (make sure the bride is okay with it!), you can build the shower around that.

My niece is a wonderful baker and has her own business, so picking the theme was an easy one. I am going to do a baking theme using “love is sweet” as our logo. I will pick out a few containers for the flowers that have to do with cooking. I will use a colander, a wooden spoon holder, a kitchen aid mixer, and a blender for the flower vases. I will use small glass jars filled with candy for personalized seat assignments and favors. There will be a cupcake carousel and jars filled with candy with her favorite colors, blue and yellow. Votive candles will round out the table setting.

The menu will be carefully selected hors d’oeuvres, since it is a cocktail bridal shower. I will make sure there is something everyone can eat according to many dietary conditions, so I will have kosher, gluten-free, and vegan choices. 

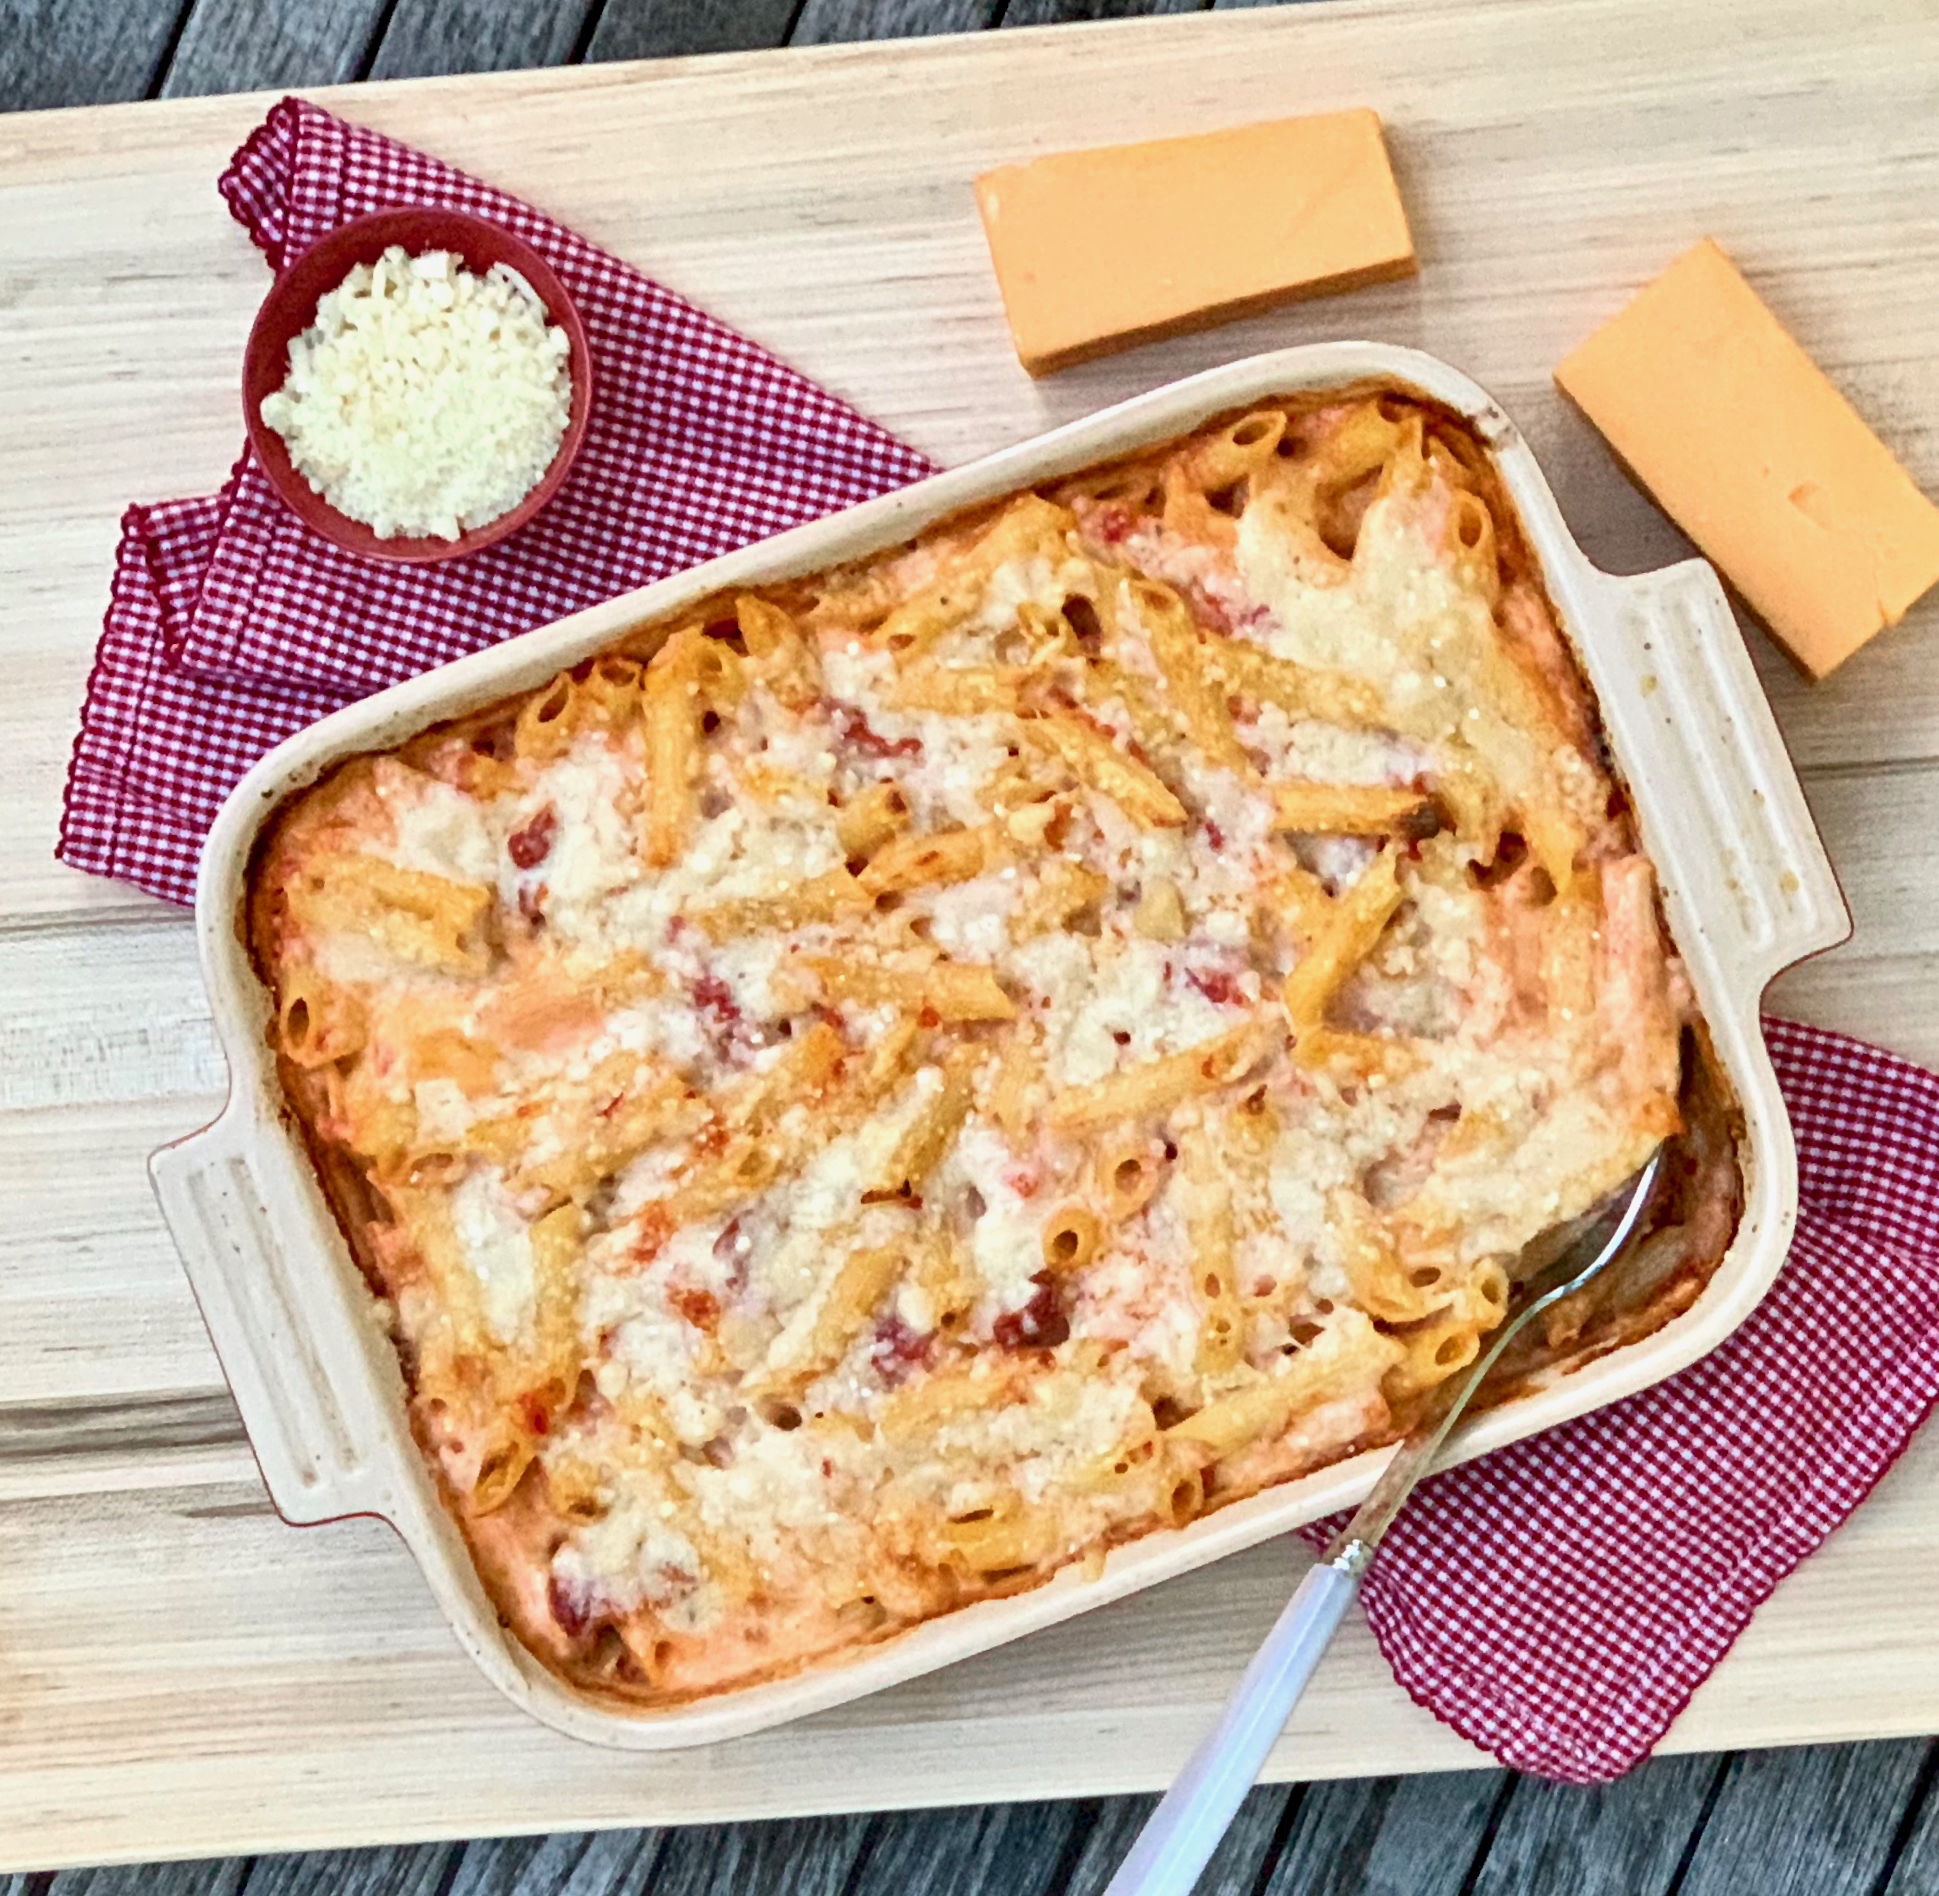
On to the recipe. As I mentioned, this has no place in a bridal shower, but it doesn’t stop it from being a lovely preparation. The combination of milk, heavy cream, and cheese give this dish a creamy, luscious texture. The Dijon mustard and green chilies bring just the right amount of heat and zest, and the Parmesan is the perfect topping. Oh boy, this is a good one. Put it on your “must try” list right now.

This recipe is courtesy of Epicurious and will serve 6 to 8 people who will be sure to enjoy this dish at your next party.

Ingredients for Baked Penne with Green Chiles:

2 cups (480 ml) whole milk
1 cup (240 ml) heavy cream
One 15-ounce (425-g) can crushed tomatoes
One 4-ounce (115-g) can diced green chiles, drained
2 cups (230 g) shredded sharp Cheddar or Mexican blend cheese
1 heaping tablespoon Dijon mustard
Salt and pepper
1 pound (455 g) penne or ziti
1 cup (100 g) freshly grated Pecorino or Parmesan cheese

Preheat the oven to 500°F (260°C), with a rack in the middle position.

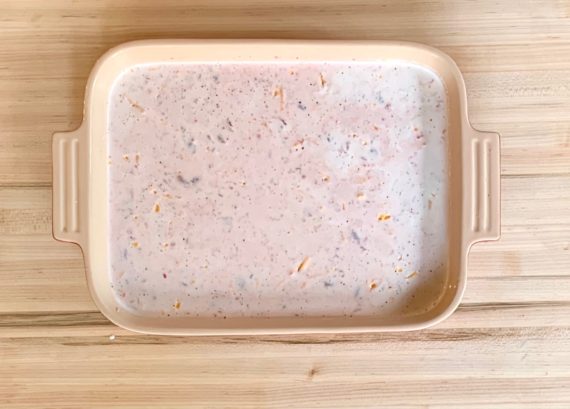
Bring a large pot of water to a boil over high heat. Meanwhile, in a 13 by 9-inch (33 by 23-cm) baking dish, stir together the milk, cream, tomatoes, chiles, Cheddar, and mustard.

Season with 1 teaspoon salt and some pepper, then set the tomato mixture aside.

When the water boils, season it generously with salt; it should taste like seawater.

When it returns to a boil, add the pasta, quickly stir to separate the noodles, then cover the pot.

When the water returns to a boil again, uncover and boil the pasta until very al dente, stirring occasionally.

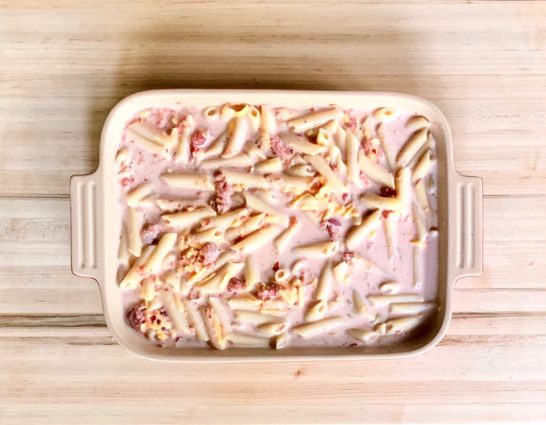
Drain the pasta thoroughly, then pour the noodles on top of the tomato mixture and toss to combine.

Gently “shake” the dish to distribute the ingredients, then top evenly with the Pecorino.*

Bake until bubbling and lightly browned, about 12 minutes.

Let rest for 5 to 10 minutes before serving.

Make Ahead

Prepare to * without preheating the oven, then keep, covered, in the refrigerator for up to 3 days or in the freezer for up to 1 month.

Bake, covered, at 350°F (175°C) until hot, about 30 to 60 minutes (if frozen), uncovering for the last 10 minutes or so.

Serve hot or warm.

It will keep, loosely covered, in a 200°F (90°C) oven for up to 2 hours.

It’s that simple!
signature

[recaptcha]