I recently came across this appetizer recipe in my archives and remembered that I had made it for a holiday. It was a big hit (not to mention delicious), so I decided make it and post it on my blog.

Unfortunately, this is not a recipe for the faint of heart. Making the filling is easy, but working the phyllo dough is a little tricky. If I’m being honest, it’s not that simple. Perhaps it is effortless for the bakers out there, but for us cooks…. not so much.

That being said, (and I hope I didn’t scare you too much), this is a wonderful recipe to try if you have the time. It is a great dish to make ahead for a dinner party and freeze. Once you get the hang of using the phyllo dough, it is fairly uncomplicated to make.

Don’t worry if a piece of the phyllo dough tears; just brush it with butter, and place a new one on top. It will not matter. Nor will it matter if your phyllo dough isn’t perfectly flat. It will right itself when you roll it up. 

Although I followed the recipe for the most part, I did make some changes. I used half the amount of salt called for in the original recipe, as I thought that the feta cheese was salty enough. In addition, I did not sprinkle any extra salt on top. I also did not use breadcrumbs between each phyllo sheet, as originally suggested, because I had poured all the breadcrumbs into the filling mixture (my mistake!). Guess what? My spanakopitas turned out beautifully. You can always fiddle with the ingredients of any recipe to accommodate your individual preferences. 

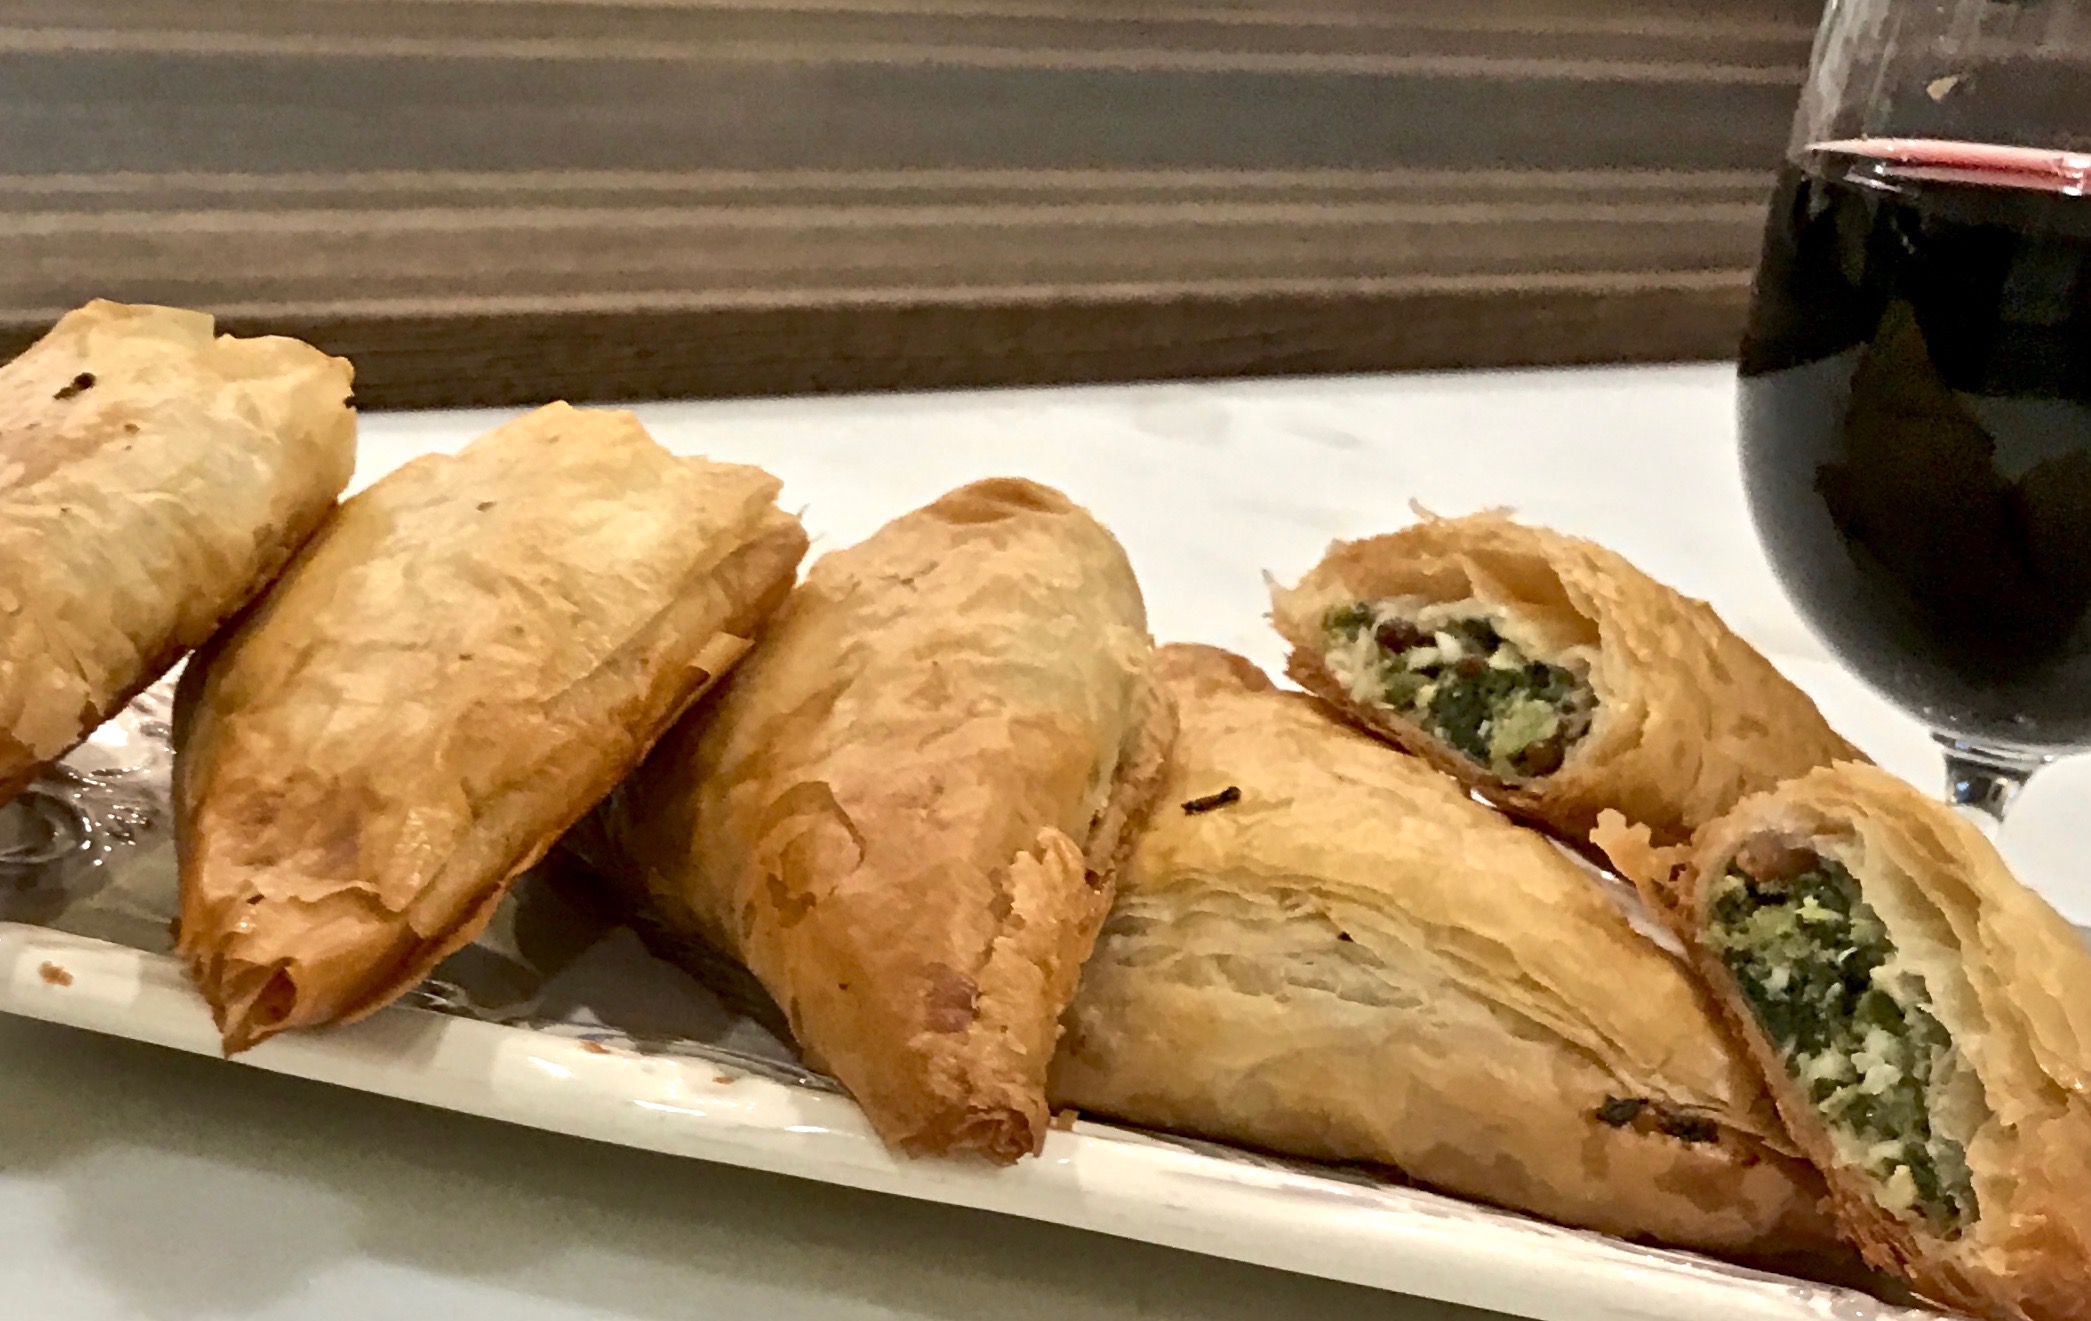
I say go for it! It is worth each and every minute you put into it when you relish each yummy bite! The phyllo dough is crisp and light. The filling is airy and not heavy. They come out of the oven beautifully browned, and you just can’t wait to dive in.

This recipe is courtesy of Ina Garten and will make 12 strudels, which will leave just about anybody delighted.

Ingredients for Spanakopitas

1/4 cup good olive oil
1 cup chopped yellow onion
3 scallions, white and green parts, chopped
2 (10-ounce) packages frozen chopped spinach, defrosted
4 extra-large eggs, lightly beaten
3 tbsp. freshly grated Parmesan cheese
6 tbsp. bread crumbs, divided
1 tsp. grated nutmeg
2 tsp. kosher salt (I used 1)
1 tsp. freshly ground black pepper
 2 cups small diced feta cheese (12 ounces)
3 tbsp. toasted pine nuts
24 sheets frozen phyllo dough, defrosted
1/4 pound (1 stick) unsalted butter, melted
Flaked sea salt, such as Maldon, for sprinkling

Preheat the oven to 375.

Heat the olive oil in a medium sauce pan. Add the onions, and cook for 5 minutes over medium-low heat.

Add the scallions, and cook for another 2 minutes until the scallions are wilted but still green. Meanwhile, gently squeeze most if the water out of the spinach and place in a large bowl.
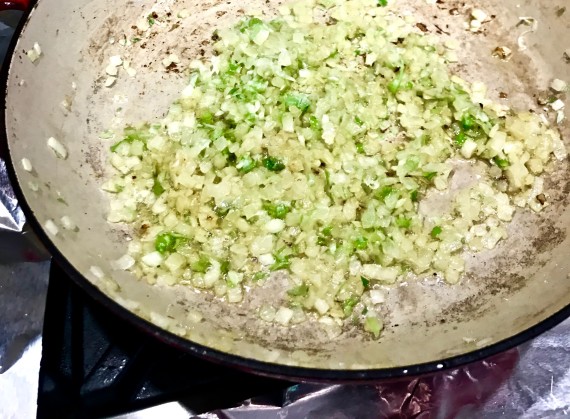
Spanakopitas onions and scallions

When the onions and scallions are done, add them to the spinach. 

Mix in the eggs, Parmesan cheese, 3 tablespoons breadcrumbs, nutmeg, salt and pepper.
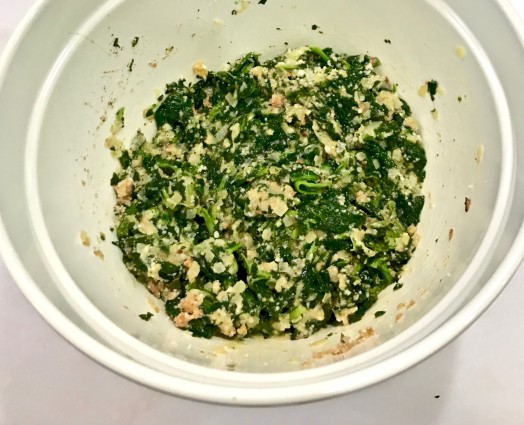
spanakopitas spinah and eggs breadcrumbs added

Gently fold in the feta cheese and pine nuts. Set aside.
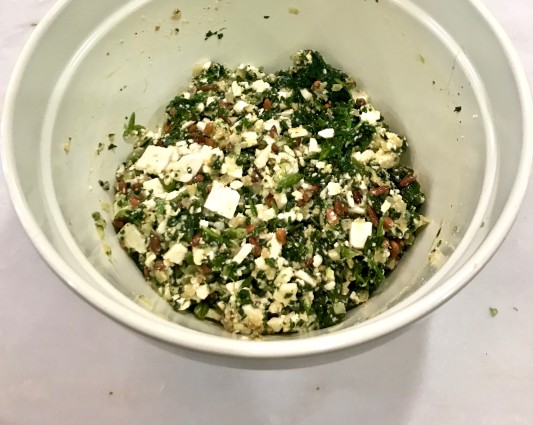
spanakopitas feta and pine nuts

Place 1 sheet of phyllo dough flat on a work surface with the long end in front of you. Brush the dough lightly with butter and sprinkle it with a teaspoon of breadcrumbs. (I did not use breadcrumbs for this).

Working quickly, slide another sheet of phyllo dough on top of the first. Brush it with butter, and sprinkle lightly with breadcrumbs. (use just enough breadcrumbs so the layers of phyllo dough do not stick together). 
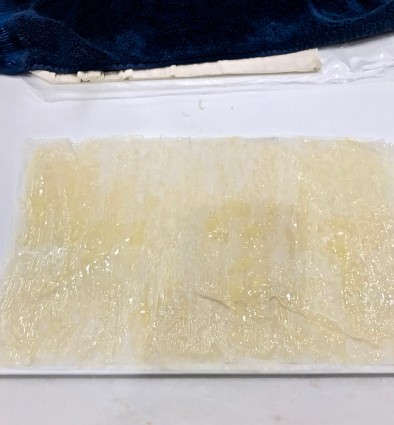
spanakopitas phyllo dough with butter

Place a wet towel over unused phyllo to keep it moist.

Pile up 4 layers total on top of each other, this way, brushing each with butter and sprinkling with breadcrumbs. 

Cut the sheets of phyllo in half lengthwise. (Use a pie cutter, it will cut easier and not tear the phyllo)

Place 1/3 cup of spinach filling the corner side of the phyllo dough. Roll it up diagonally as if folding a flag.
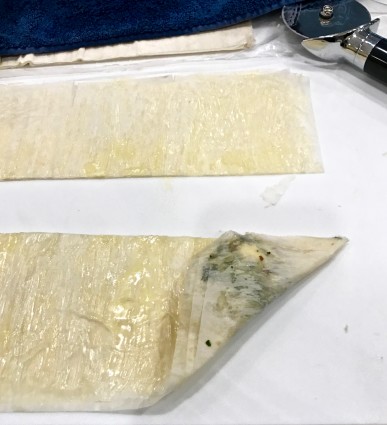
spanakopitas phyllo with spinach

Fold it over straight and then diagonally again. Continue folding until you reach the end of the sheet. 

The filling should be totally enclosed.
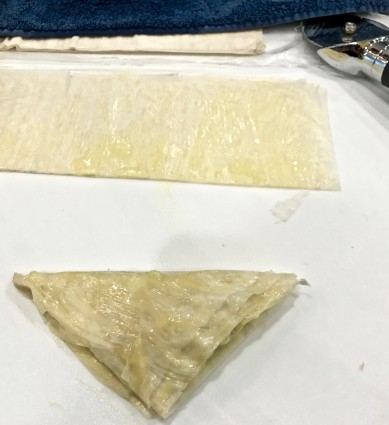
spanakopitas phyllo rolled up completed

Continue assembling phyllo layers until all the filling is used.

Place on sheet pan, seam sides down.
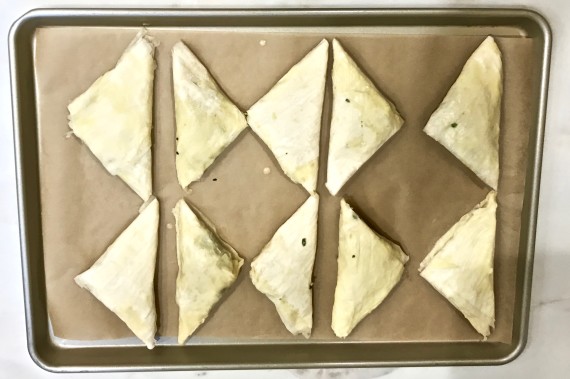
spanakopitas in pan before baking

Brush with melted butter, sprinkle with flaked salt and bake for 30-35 minutes, until the phyllo is browned and crisp.

Serve hot.

spanakopitas laid out on towel

It’s that simple! (Uh, no, not really!)
signature

[recaptcha]


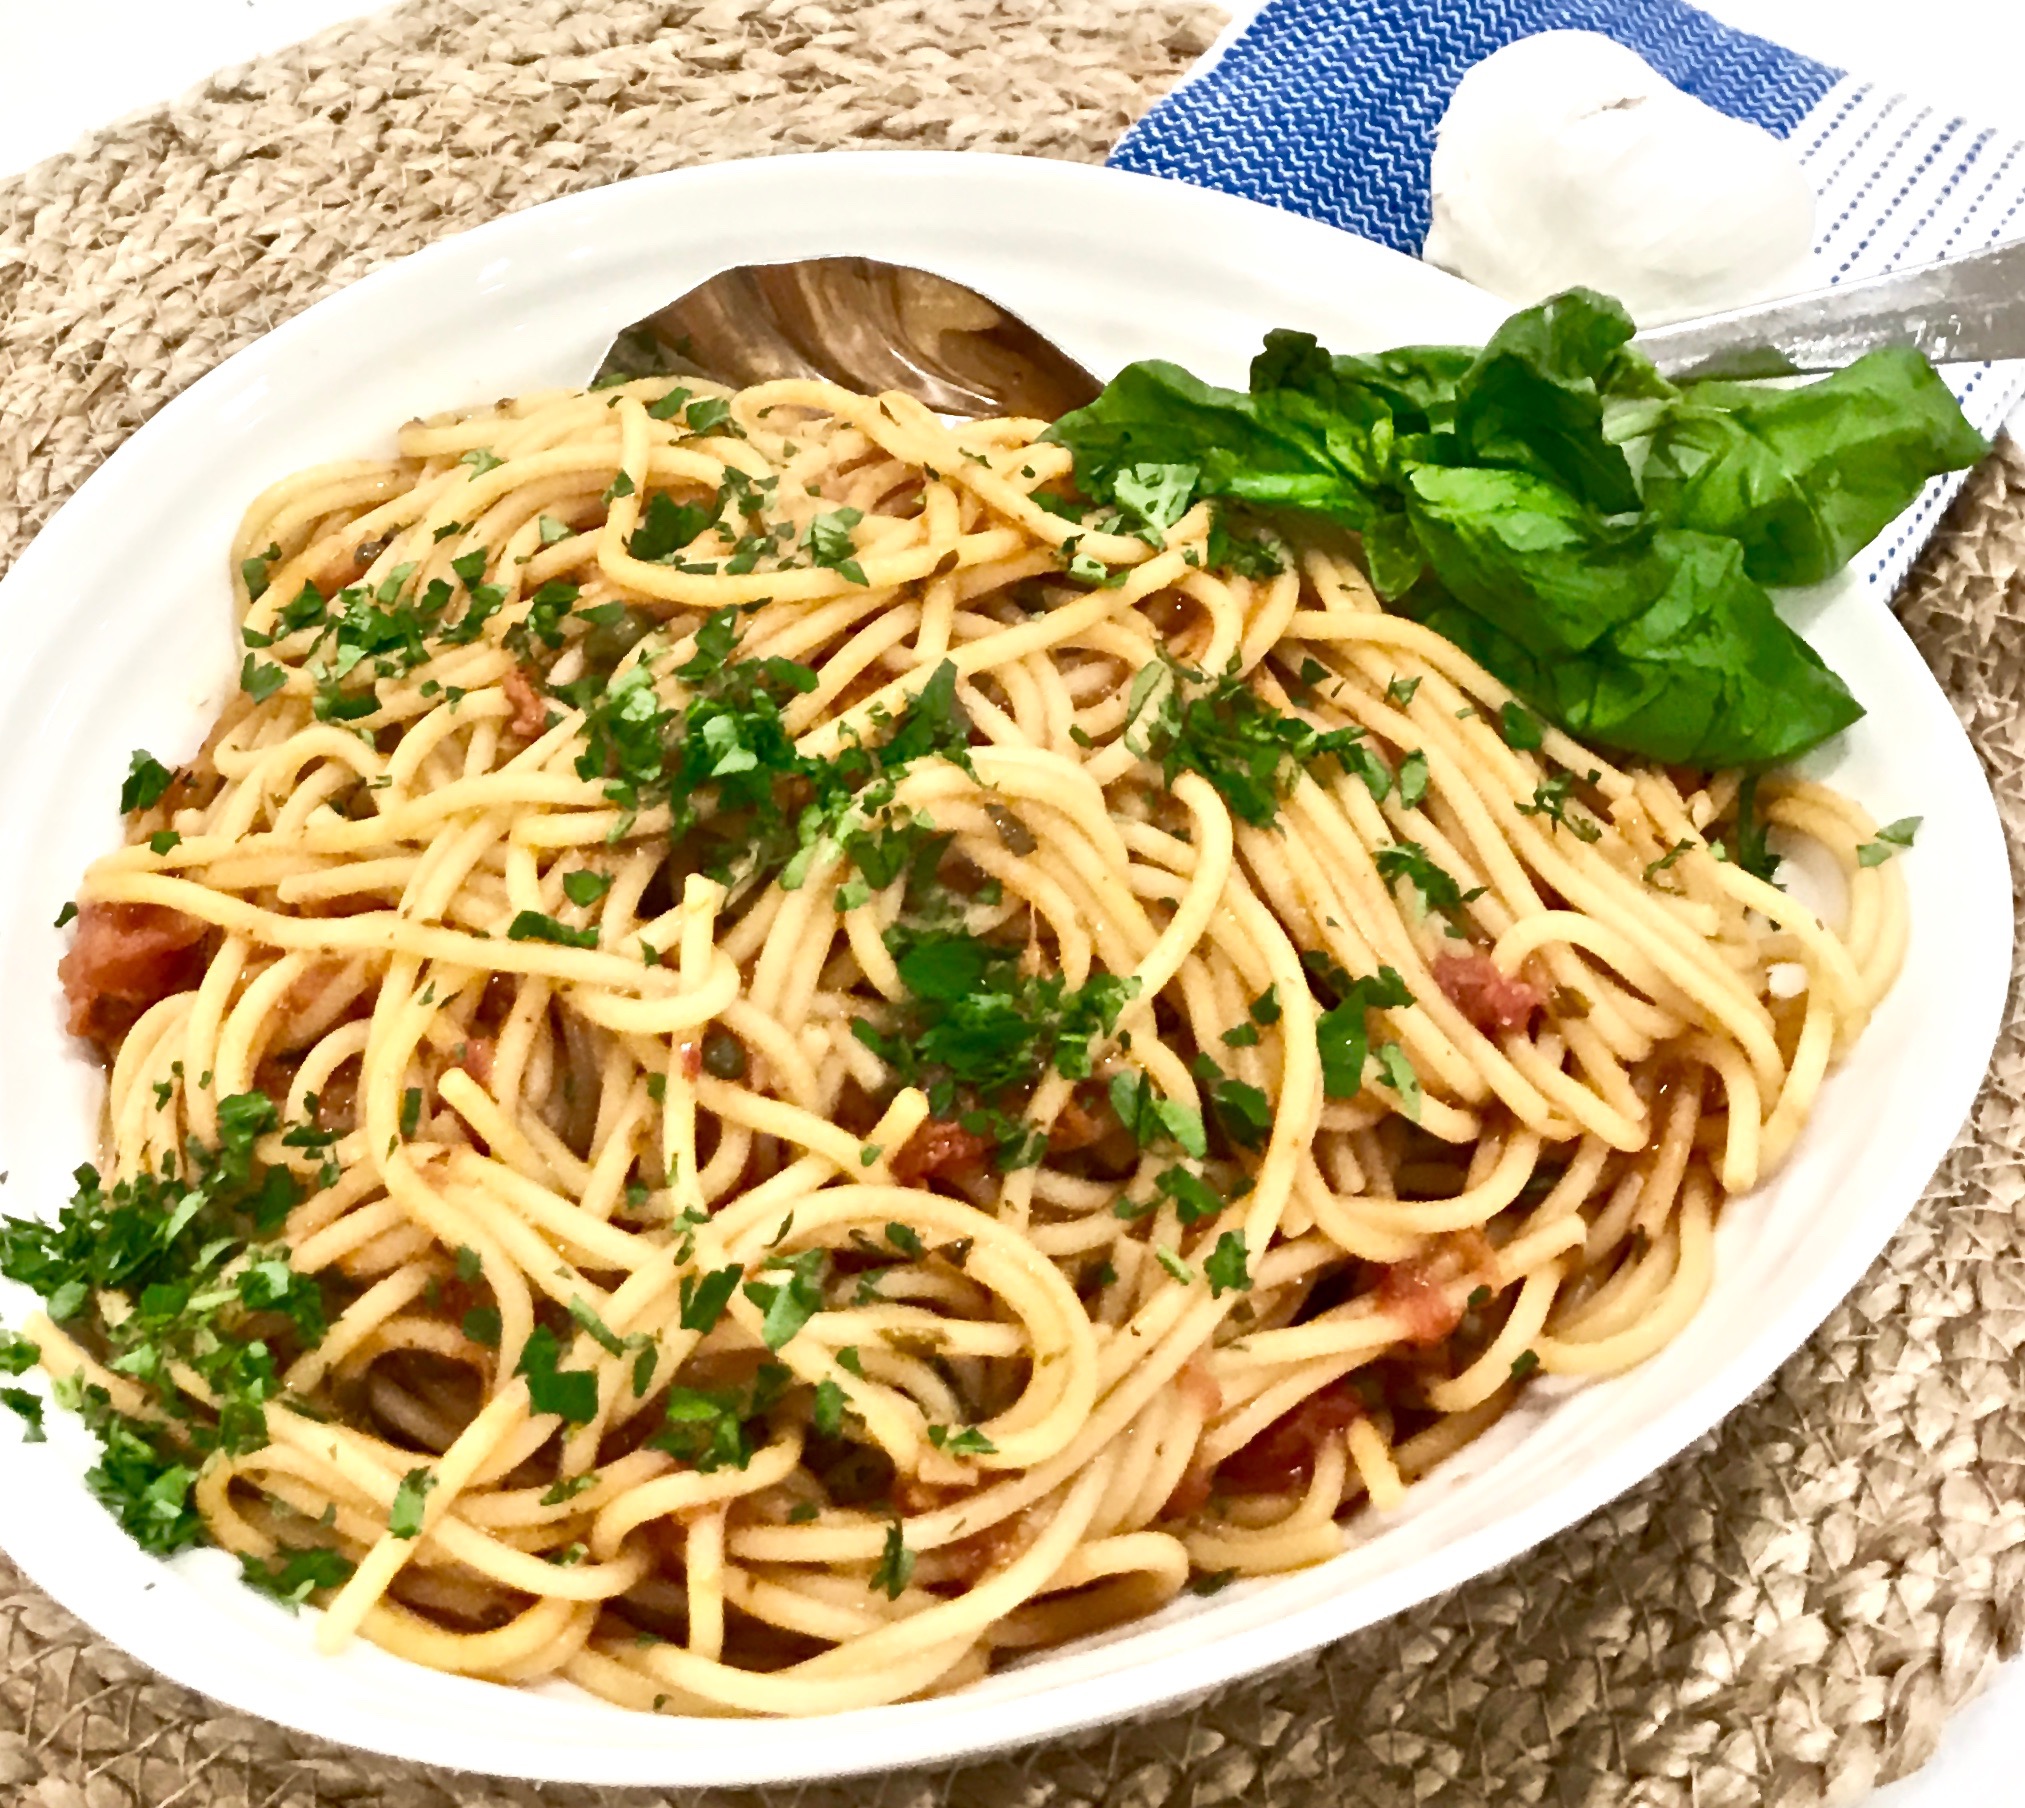
The original sauce in this recipe was similar to a puttanesca sauce. I made a lot of welcome changes, however and if  I do say so myself, my sauce is outstanding.

Since I am not a lover of olives, I did not include them in this recipe. If you are fond of them, feel free to use them.

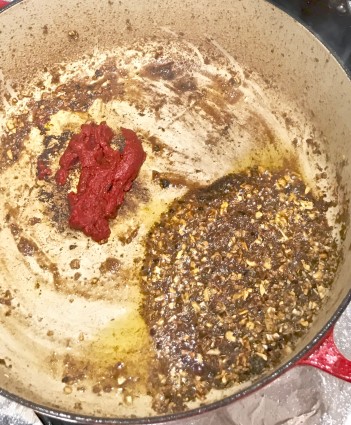
One of the secrets to making this dressing is to brown the tomato paste. This adds another depth of flavor that makes this dish so special. It is easy to do, and I hope that you take the extra few minutes to do it. All you have to do is push the other ingredients to one side of the pan. Add the tomato paste to the other side and allow it to get a little brown and caramelized. When mixed with the other ingredients, you really have added a new dimension of flavor to the sauce.

All of these ingredients combine together to make an exquisite sauce that is perfect for any weeknight meal (not only Friday!). You can use any kind of pasta with it, as it will be just as enjoyable!

This recipe will serve about 6 very overjoyed pasta lovers.

Ingredients for Friday Night Pasta

1/4 cup extra- virgin olive oil
10 anchovy fillets
6 garlic cloves
3 tbsp. tomato paste
1 1/2 tsp. dried oregano
3/4 tsp. crushed red pepper
2 cups unsalted chicken stock
1 (15 ounce) can crushed tomatoes
1/4 cup basil, chopped
1/4 cup parsley, chopped
1 package spaghetti 
3 tbsp. capers
1/2 tsp. kosher salt
1/4 tsp. freshly ground black pepper

Bring a medium size pot filled with water and a handful of kosher salt to a boil. 

Add the pasta to the pot and cook for 2 minutes less than cooking time specified in directions.

RESERVE 1 CUP OF PASTA WATER.

Heat a large high-sided dutch oven over medium heat. 

Place olive oil into the pan.

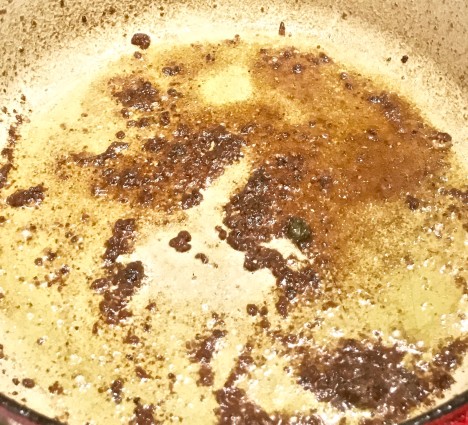
Add anchovies and cook until melted.

Friday pasta anchovies melted

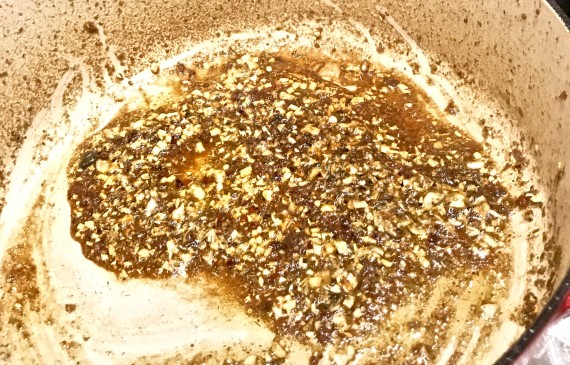
Place in oregano, red pepper flakes and garlic. Cook for 1 minute.

Friday pasta anchovies oregano pepper flakes

Move the oregano, red pepper flakes and garlic over to one side of the pan.

Add the tomato paste and brown for two minutes, turning as it browns.

Friday pasta tomato paste browning

Pour in the chicken stock and bring it to a boil.

Add the can of crushed tomatoes. Mix thoroughly.

Friday pasta crushed tomatoes

Mix in kosher salt and pepper.

Let simmer for 5 minutes.

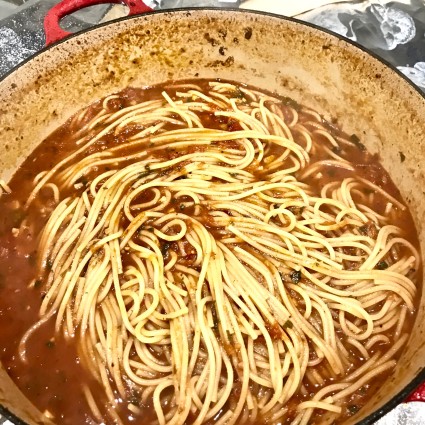
Add in the capers and pasta.

Friday pasta spaghetti

Pour the reserved pasta water a little at a time, until the sauce reaches the desired thickness.

Serve hot.

It’s that simple!

signature

[recaptcha]


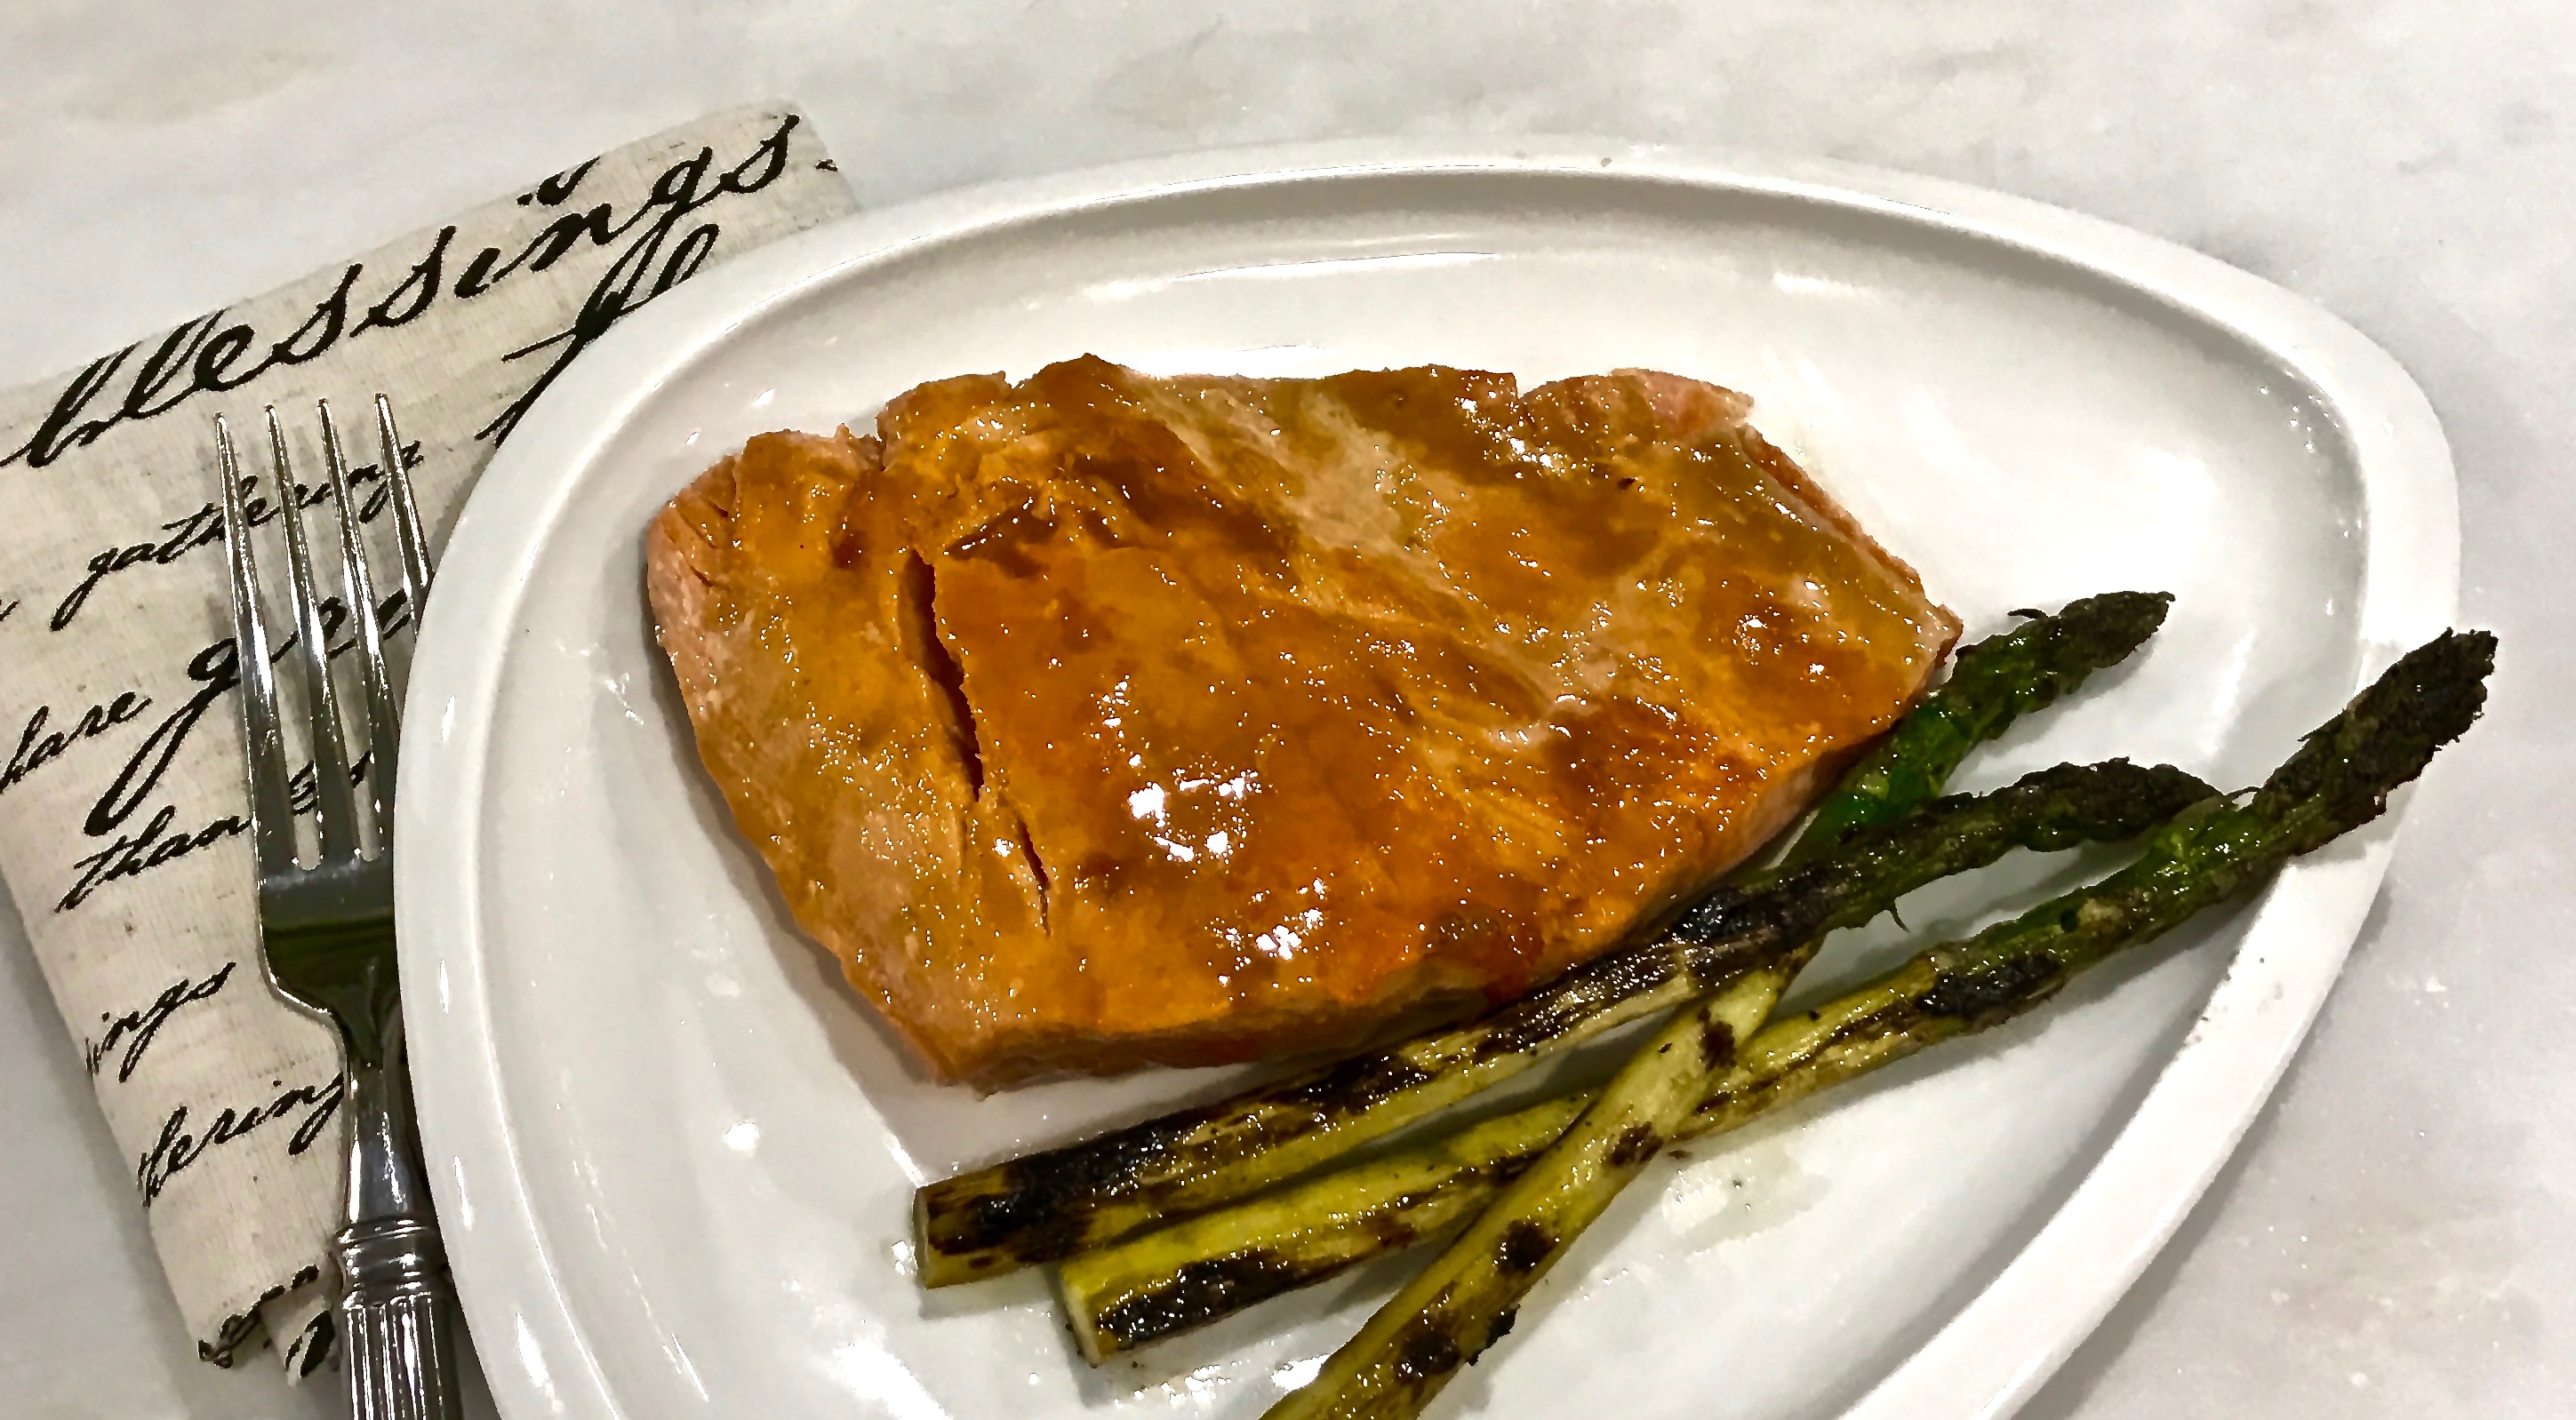
I am always looking for new ways to make salmon. It is a fish my family enjoys, so I make it fairly often. 

Usually I cook the salmon in the oven because I never want to turn it over. I am always fearful that it will fall apart and not look appetizing when I plate it. 

It is time for a new adventure with salmon. Besides, who cares if it falls apart a little? It will still taste wonderful.

This recipe is surprisingly easy, and turning it over really gives the salmon skin a delicious new quality of flavor. 

When you add the sauce, this turns out to be an amazingly fresh new way of enjoying salmon. (Of course, if you want you can bake the salmon at 350 for 25 minutes and then top it with the sauce). I like the taste of the skin cooked in the pan, especially with this dressing. It comes out moist inside with a crispy golden exterior. 

This is a great, quick dinner for any day during the week. The sauce can be used with a variety of fish or chicken. Give it a try, I am sure you are going to love it!

This recipe is courtesy of Epicurious.com. It will serve 2 very happy fish enthusiasts.

Ingredients for Honey and Soy Glazed Salmon

4 tbsp. honey
4 tbsp. soy sauce
3 tbsp. freshly squeezed lime juice
4 tsp. Dijon mustard
2 tsp. water
2 tsp. vegetable oil (I used olive oil)
2 (six-ounce) pieces salmon fillet

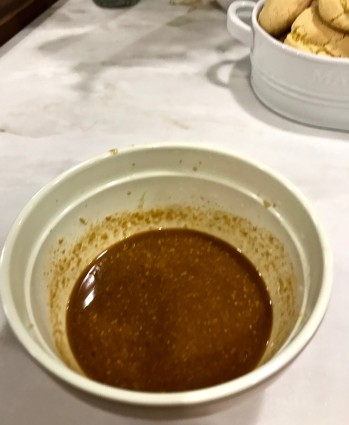
In a small bowl, whisk together the honey, soy sauce, lime juice, mustard, and water. Set aside.

honey soy salmon glaze in bowl

In a non-stick skillet, heat oil over medium heat until it is hot but not smoking.

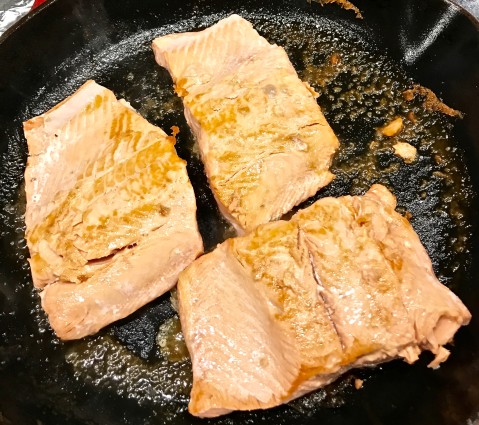
Place salmon fillets into skillet and cook 2-3 minutes each side, or until golden and just cooked through. (this may take you more or less time, depending how thick your fillets are).

honey soy salmon slamon in skillet

Transfer salmon fillets to a plate. Set aside.

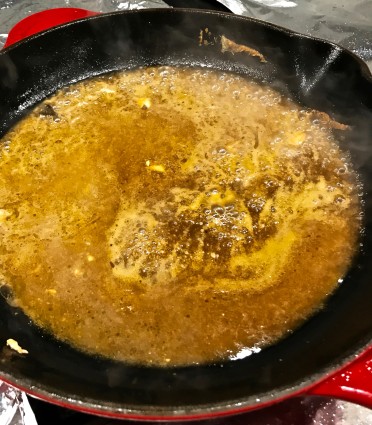
Add honey-soy glaze to the same pan and simmer, stirring, about 1 minute. (Remember, your pan will be very hot, so this step shouldn’t take much time at all).

honey soy salmon glaze in pan

Pour glaze over salmon.

It’s that simple!

signature

[recaptcha]


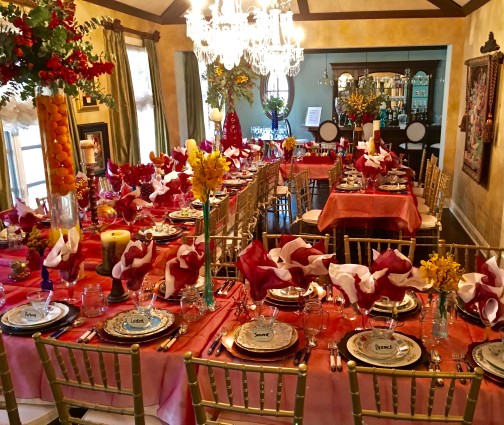
My construction is finally over! It was a long 5 months, and I’m so glad to be back! My goal was to be back in business by Thanksgiving, and thankfully, all went fairly smoothly. Sure, there were a few glitches, but overall, I can’t complain.

A week before Thanksgiving, (a holiday at which I host 50 people), my house was still a construction site! It was challenging, but somehow we managed to get the house clean and ready for the holiday. Whew! Glad it is over! 

Enough of that, let’s talk about cooking. I missed writing my blog and I am so happy to be back!

I found this chicken recipe online, but made so many changes that I now consider it one of my own.

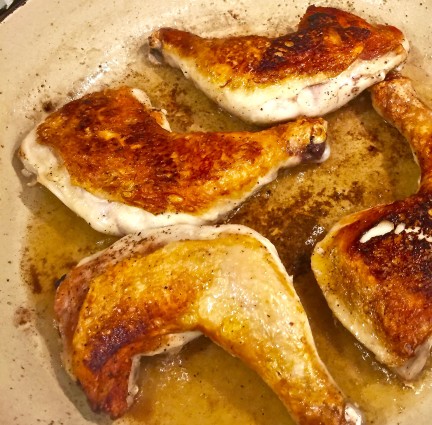
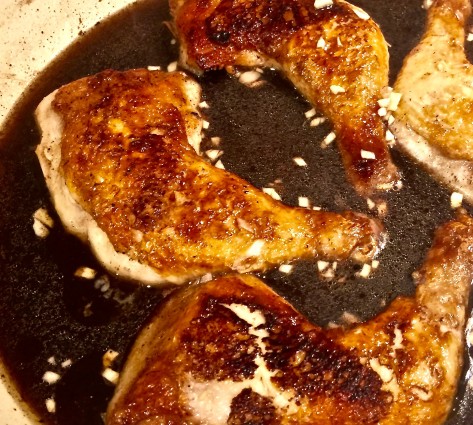
Many recipes do not call for browning or crisping the skin first. I think this is one of the most important steps in any chicken recipe. Nothing beats chicken with a crisp, caramelized skin. This will add only 10 minutes to the cooking time, yet yields  a wonderful texture and enticing flavor to any chicken dish. If you can, try to spend the extra time to brown it, it is so worth it.

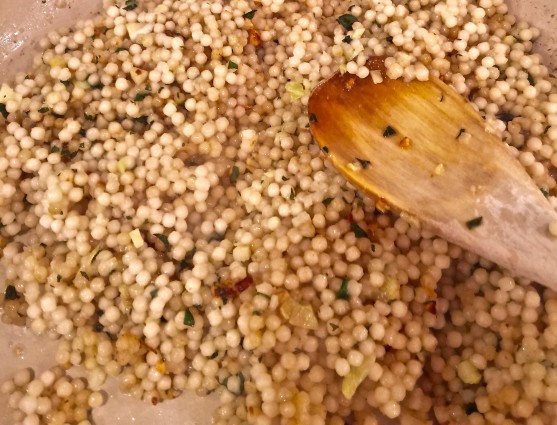
Although this recipe is made with couscous, you can make the balsamic chicken with any grain such as barley or farro. I prefer to use chicken broth instead of water to prepare it. The chicken broth will add a nice dimension of flavor.

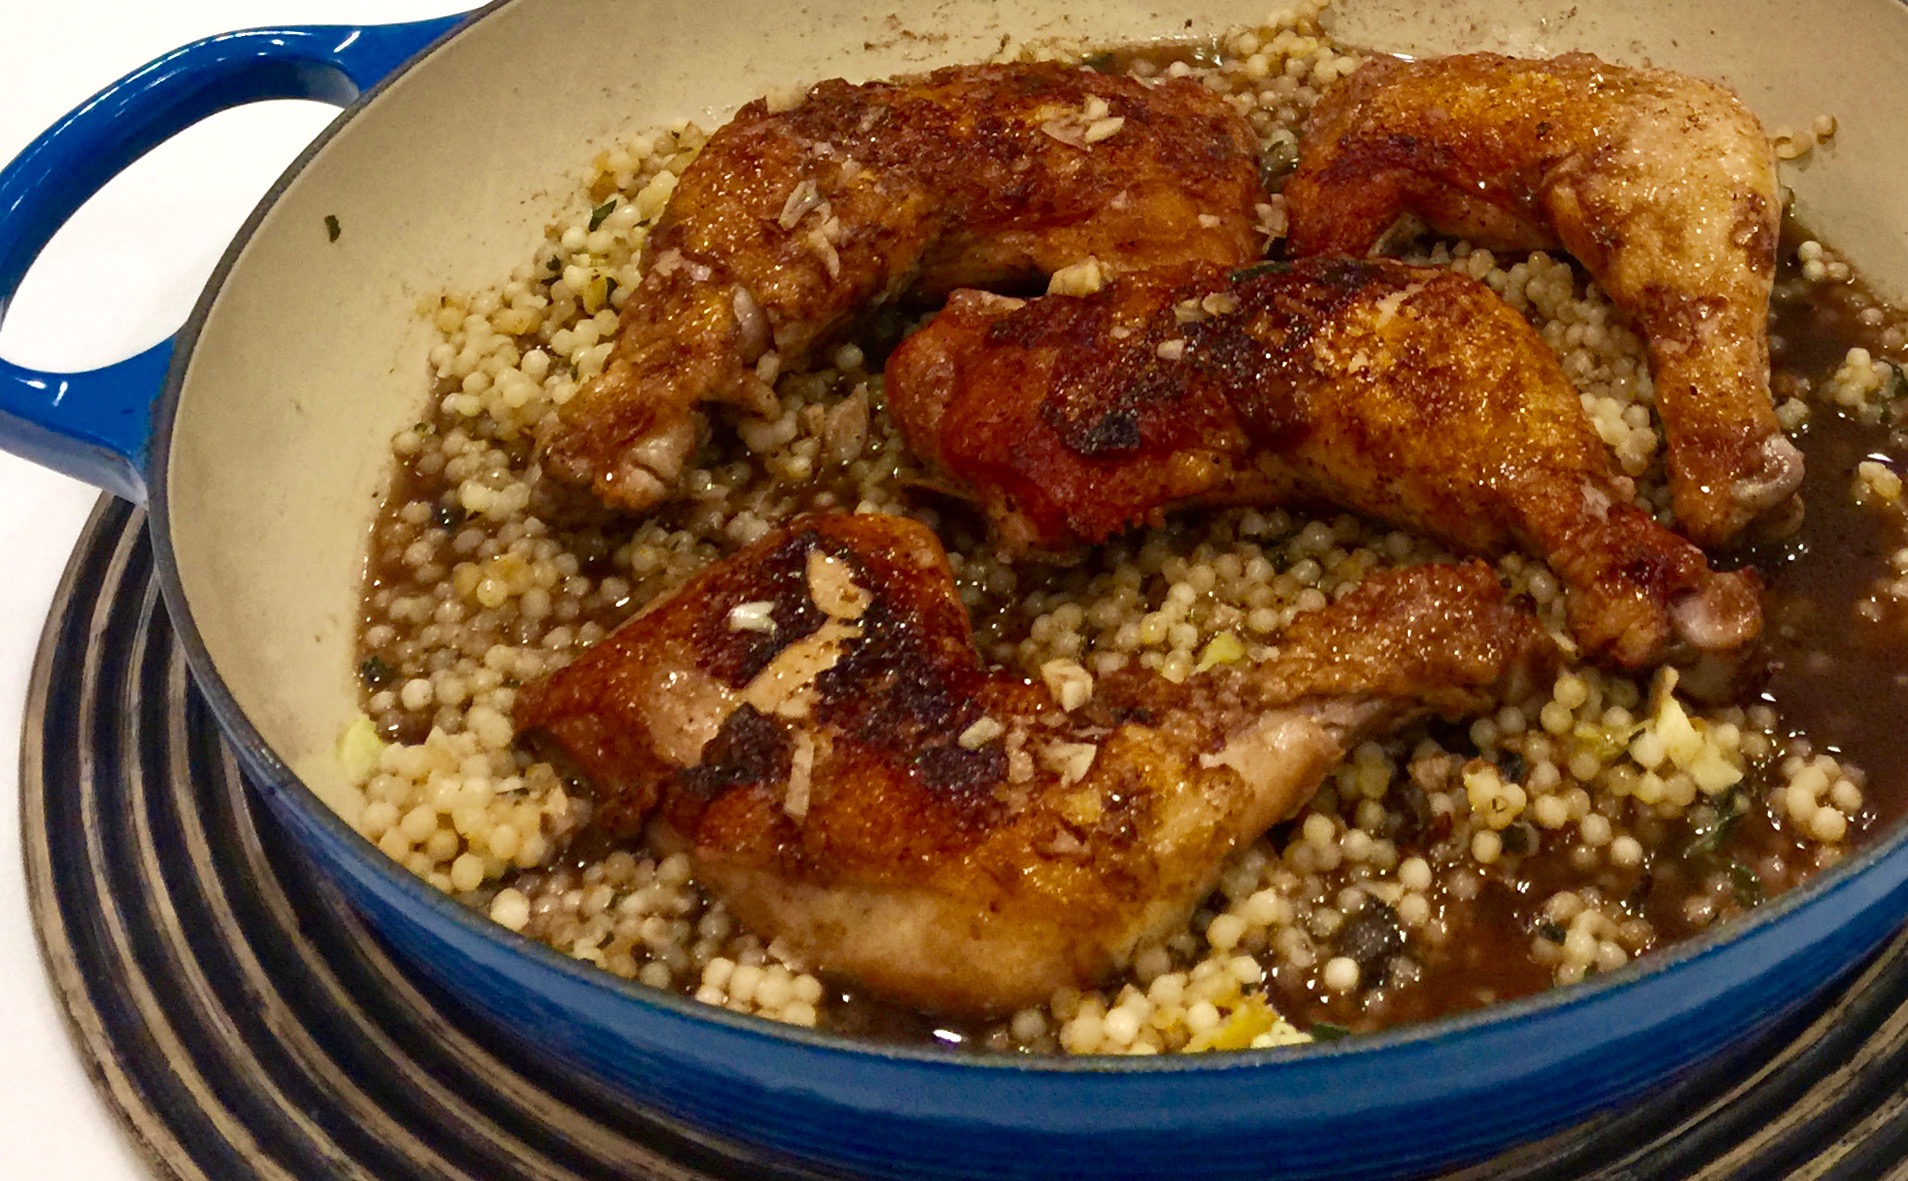
I love this recipe. The chicken thighs are so moist, accompanied by a delicious, uncomplicated sauce that makes this an easy go-to meal.

You can use this recipe with chicken breasts, but be sure to get bone-in breasts. They have much more flavor and will be tender and just as good.

This recipe will serve 4 people, but you want might to make a little extra. I am sure they will be asking for seconds!

Today’s Hint: For crispier skin on chicken, or for a better browning on meat, always pat them dry with a paper towel. If you leave any moisture on the chicken or meat, it will impede the browning process. Do not overcrowd the pan or your meat or poultry will steam and not brown! Remember, the brown part is always the best tasting part of the poultry or meat. It is also known as caramelizing, which ensures the best (and yummy) results.

Ingredients for Chicken

4 chicken thighs (or chicken bottoms (thigh and leg)
4 tbsp. olive oil
1/2 cup balsamic vinegar
1/2 cup chicken stock
1-2 tbsp. sugar (optional)
2 cloves garlic crushed

Ingredients for Couscous

1 1/2 cups couscous
2 1/4 cups chicken stock
3 tbsp. margarine or butter
4 cloves garlic, chopped
3 tbsp. fresh oregano, finely chopped

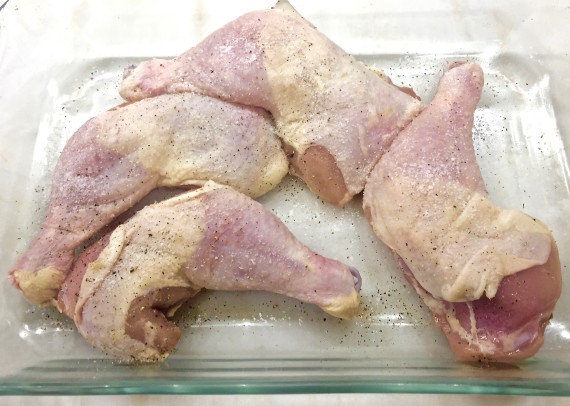
Pat the chicken bottoms dry with a paper towel. Sprinkle both sides with a good amount of salt and pepper.

balsamic chick cous with salt and pepper

Place skillet on stove, over medium heat. Add chicken, skin side down. Let cook, without moving it for 6-7 minutes. Turn the chicken over and repeat on the other side for about 4-5 minutes.

balsamic chic cous skin browned

*The pan becomes hotter as it cooks, so the browning time for the other side will be less.

Set pan aside.

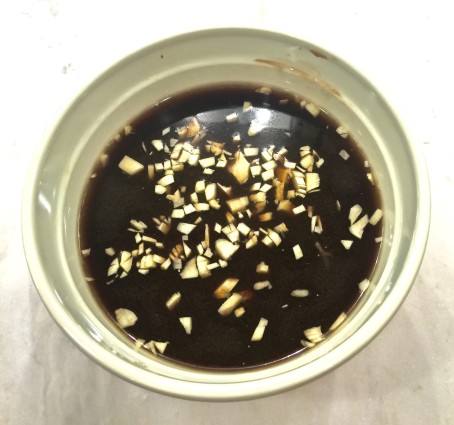
Prepare the marinade. Combine the vinegar, chicken stock, sugar and garlic in a shallow bowl. 

balsamic chic cous sauce

Place chicken in marinade 10 minutes for each side.

Prepare the couscous.

Boil chicken stock and pour over couscous in a medium bowl. Cover the bowl tightly with a plate or aluminum foil  and let it sit for 5-7 minutes, until all the liquid is absorbed. If you have any remaining liquid, just pour it out. Set aside.

Cut butter into small pieces (this will help it melt faster) and place in skillet (different than the one you used for the chicken) over medium-low heat.

Add the garlic and oregano and cook for 1-2 minutes. Be careful, you do not want the garlic to turn brown or burn.

Add the couscous into the pan and stir it for about 3-4 minutes. Set aside.

balsmaic chic cous cous cous

Add the chicken and the marinade back into the original pan and let it cook on medium-low for 10-15 minutes. The marinade will thicken.

balsamic chic cous chicken in sauce

Place couscous on a serving platter and pour the chicken and sauce over it.

Dinner served!

thanksgiving full table

It’s that simple!

signature

[recaptcha]


Ramen noodles are all the rage now. They are a Chinese-style wheat noodle that has become increasing popular in the United States.

I was not sure if I would like ramen noodles. Well, after experimenting with this recipe, I’ve now jumped on the ramen noodle bandwagon. The possibilities for them are endless.

I decided to try this recipe because it contained some vegetables and herbs I had in my garden, specifically cucumbers and basil.  This recipe seemed perfect.

I could not find raw peanuts, so I bought unsalted peanuts, cooked them according to the recipe and they were delicious.

This recipe was simple and was on the table in no time. The dressing was wonderful. You might want to try adding a little fresh lemon or lime juice. That would really brighten up the flavor as well.

I enjoyed this recipe from http://www.food.com. The recipes says it serves 2 people, however I think it serves 3-4 people all of whom will be very pleased.

1 English cucumber ( I used 2 regular cucumbers, peeled and seeded)
6 ounces green beans
3 ounces scallions ( about 2-3)
2 garlic cloves, chopped
1 ounce fresh basil (about 3-4 large leaves
1 lime
2 tbsp. tamari sauce oil
2 tsp. toasted sesame oil
2 tsp. sugar
2 1/2 ounces dried ramen noodles
1 ounce raw peanuts
2-3 tbsp. safflower or vegetable oil

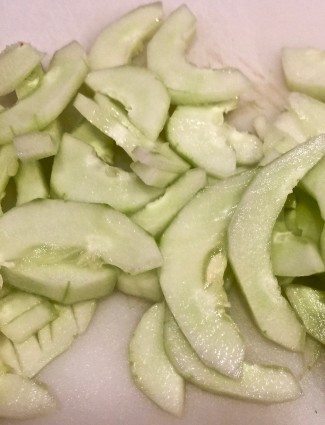
Halve the cucumber lengthwise (and take out the seeds if you are using a regular cucumber).

Thinly slice into half moons.

cucumber noodel cumcumbers halved mooned

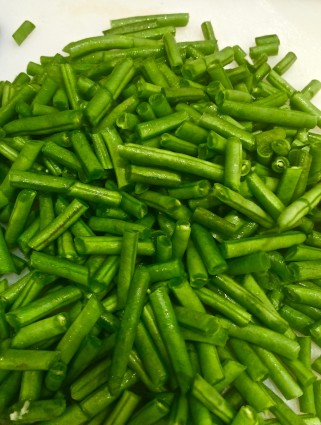
Trim green beans and break into 1-inch pieces.

cucumber noodle grean beans cut

Cut roots off scallions and thinly slice, separating the green tops and scallion whites.

Peel and finely chop garlic.

Cut basil into thin pieces.

Halve the lime lengthwise and squeeze juice into a small bowl.

Add the tamarin sauce, sesame oil, and 2 tsp. of sugar and stir until sugar dissolves. Set aside.

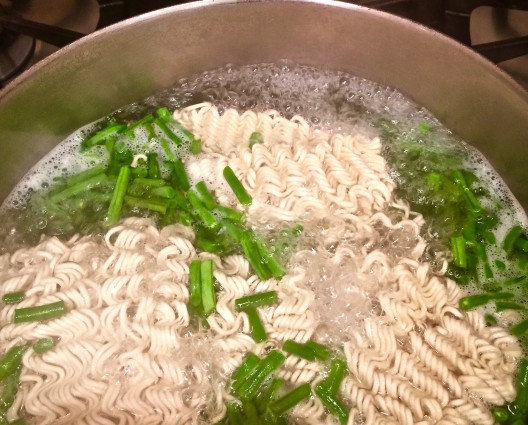
Bring a medium pot of salted water to a boil. Add ramen noodles and green beans and cook until green beans are bright green, about 2-3 minutes. Drain and set aside.

cucumber noodle noodle and beans cooking

Heat 2-3 tbsp. vegetable oil in a large skillet over medium-high heat.

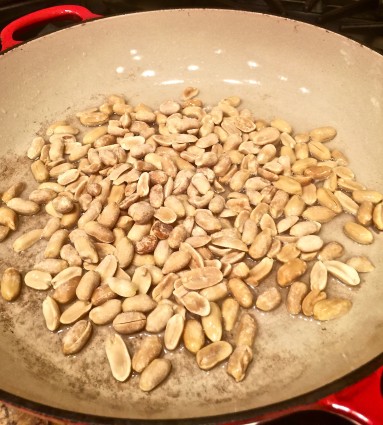
Add peanuts and cook, stirring constantly, until golden, about 2-4 minutes. Using a slotted spoon, transfer to a bowl and season with salt.

cucumber noodle peanuts cooking

Add garlic and scallion whites to the skillet and cook on medium-high heat for about 1 minute.

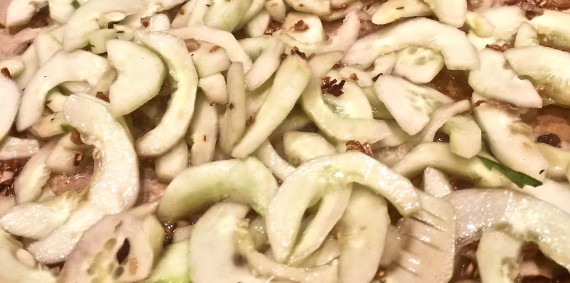
Add cucumbers, season with salt, and cook, tossing until beginning to soften, about 2 minutes.

cucumber noodle cukes cooking

Add the ramen noodles and green beans and toss to combine. 

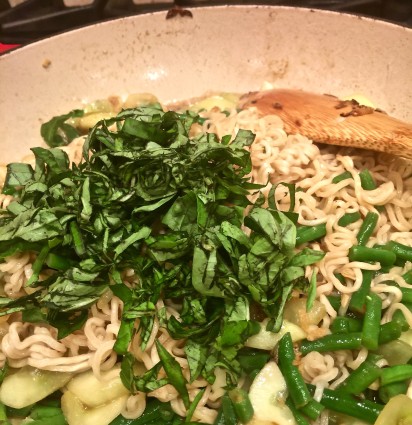
Whisk the tamari mixture and add it to the skillet, along with the basil.

cucumber noodle with basil added

Cook, tossing frequently until basil starts to wilt and liquid is reduced and coats the noodles, about 2 minutes.

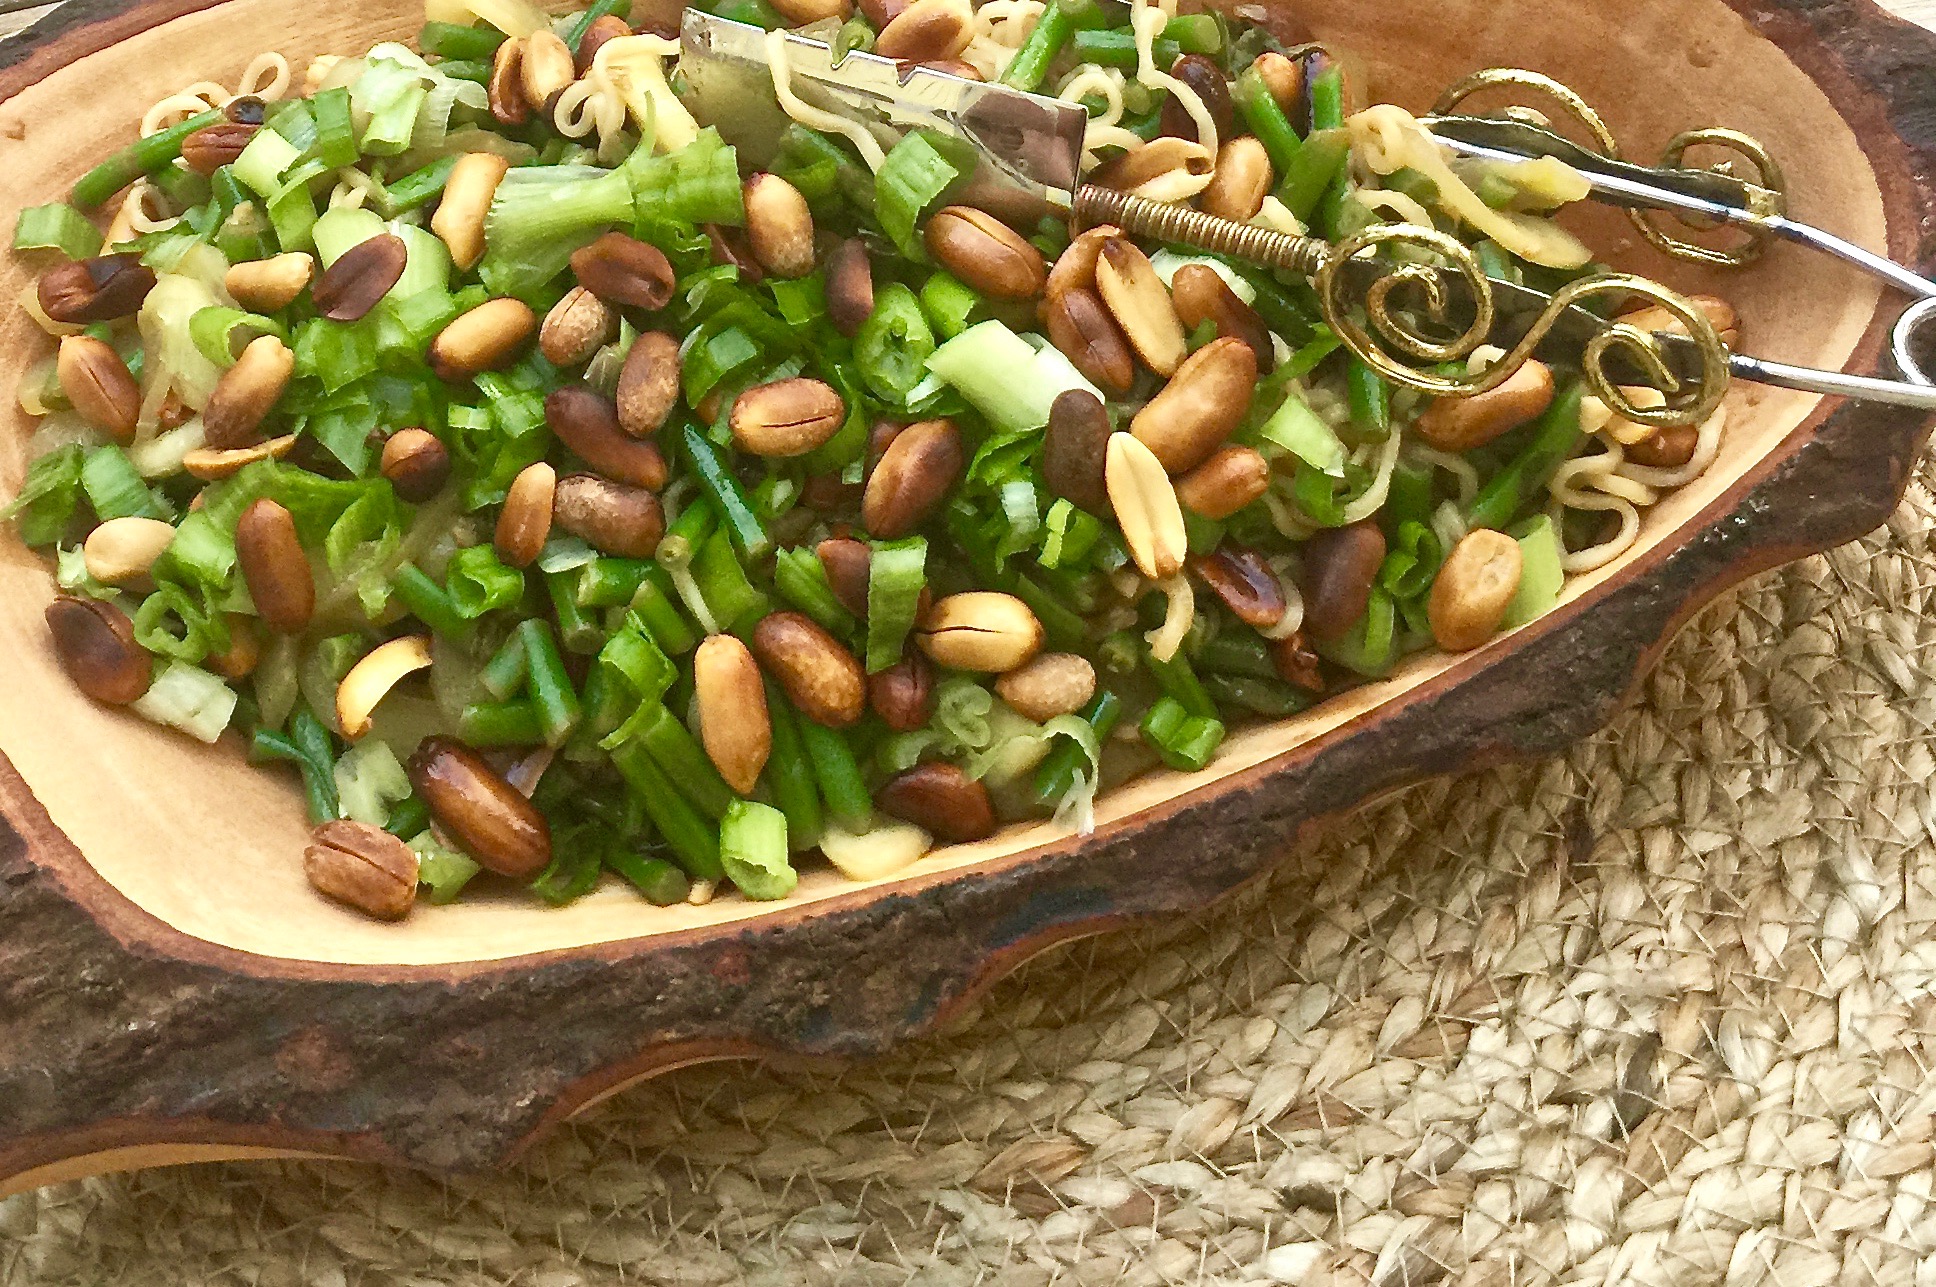
Serve, topped with green scallions and fried peanuts on top.

It’s that simple!

signature

[recaptcha]