Ramen has become all the rage in recent years. I probably don’t have to tell you this, but ramen is a dish of pulled wheat noodles usually served in broth and flavored with soy sauce or miso. It has gone from pre-packaged staples of college students everywhere to restaurant menus all over the world. My kids lived on ramen noodles when they were in college, as did their roommates. I would buy the packages by the dozen, and they loved them. Thankfully, these noodles are very versatile. They are easy to make and can easily be changed to your tastes with spices of your choice. If you can’t find ramen noodles, you can easily substitute angel hair pasta or thin spaghetti in the recipe below.

Ramen has become a new favorite in global market trends. Japan is the birthplace of instant noodles, and China is the biggest consumer of ramen noodles in the world. In the United States, there has been a huge increase in competition of global market brands who are competing to win the hearts and minds of consumers, so you’ll find many different brands on the shelves these days.

These noodles have become immensely popular during the long cold days of winter. The warm, satisfying broth offers that blissful wintery feeling while it’s cold outside.  This is a one bowl meal that can be garnished with meat or vegetables that simmer in a delicious flavorful broth. All across the US, people are learning to love this flavorful dish and many restaurants have adopted ramen, or ramen-like offerings into their menus.

Although ramen alone is not necessarily the healthiest food, it does contain iron which is necessary for moving oxygen throughout the body and preventing fatigue and anemia (iron deficiency).  You can make your dish healthier by adding meats, poultry, or vegetables.  They also add volume to the meal and can increase feelings of fullness.

Even if you just use the noodles and not the seasoning, you can make these delightful noodles into something comforting and healthy. Are you a ramen lover? I would love to hear from you. Please send me an email and don’t forget to like or follow me on Facebook. Of course, do not forget to subscribe to my newsletter so you never miss a thing!

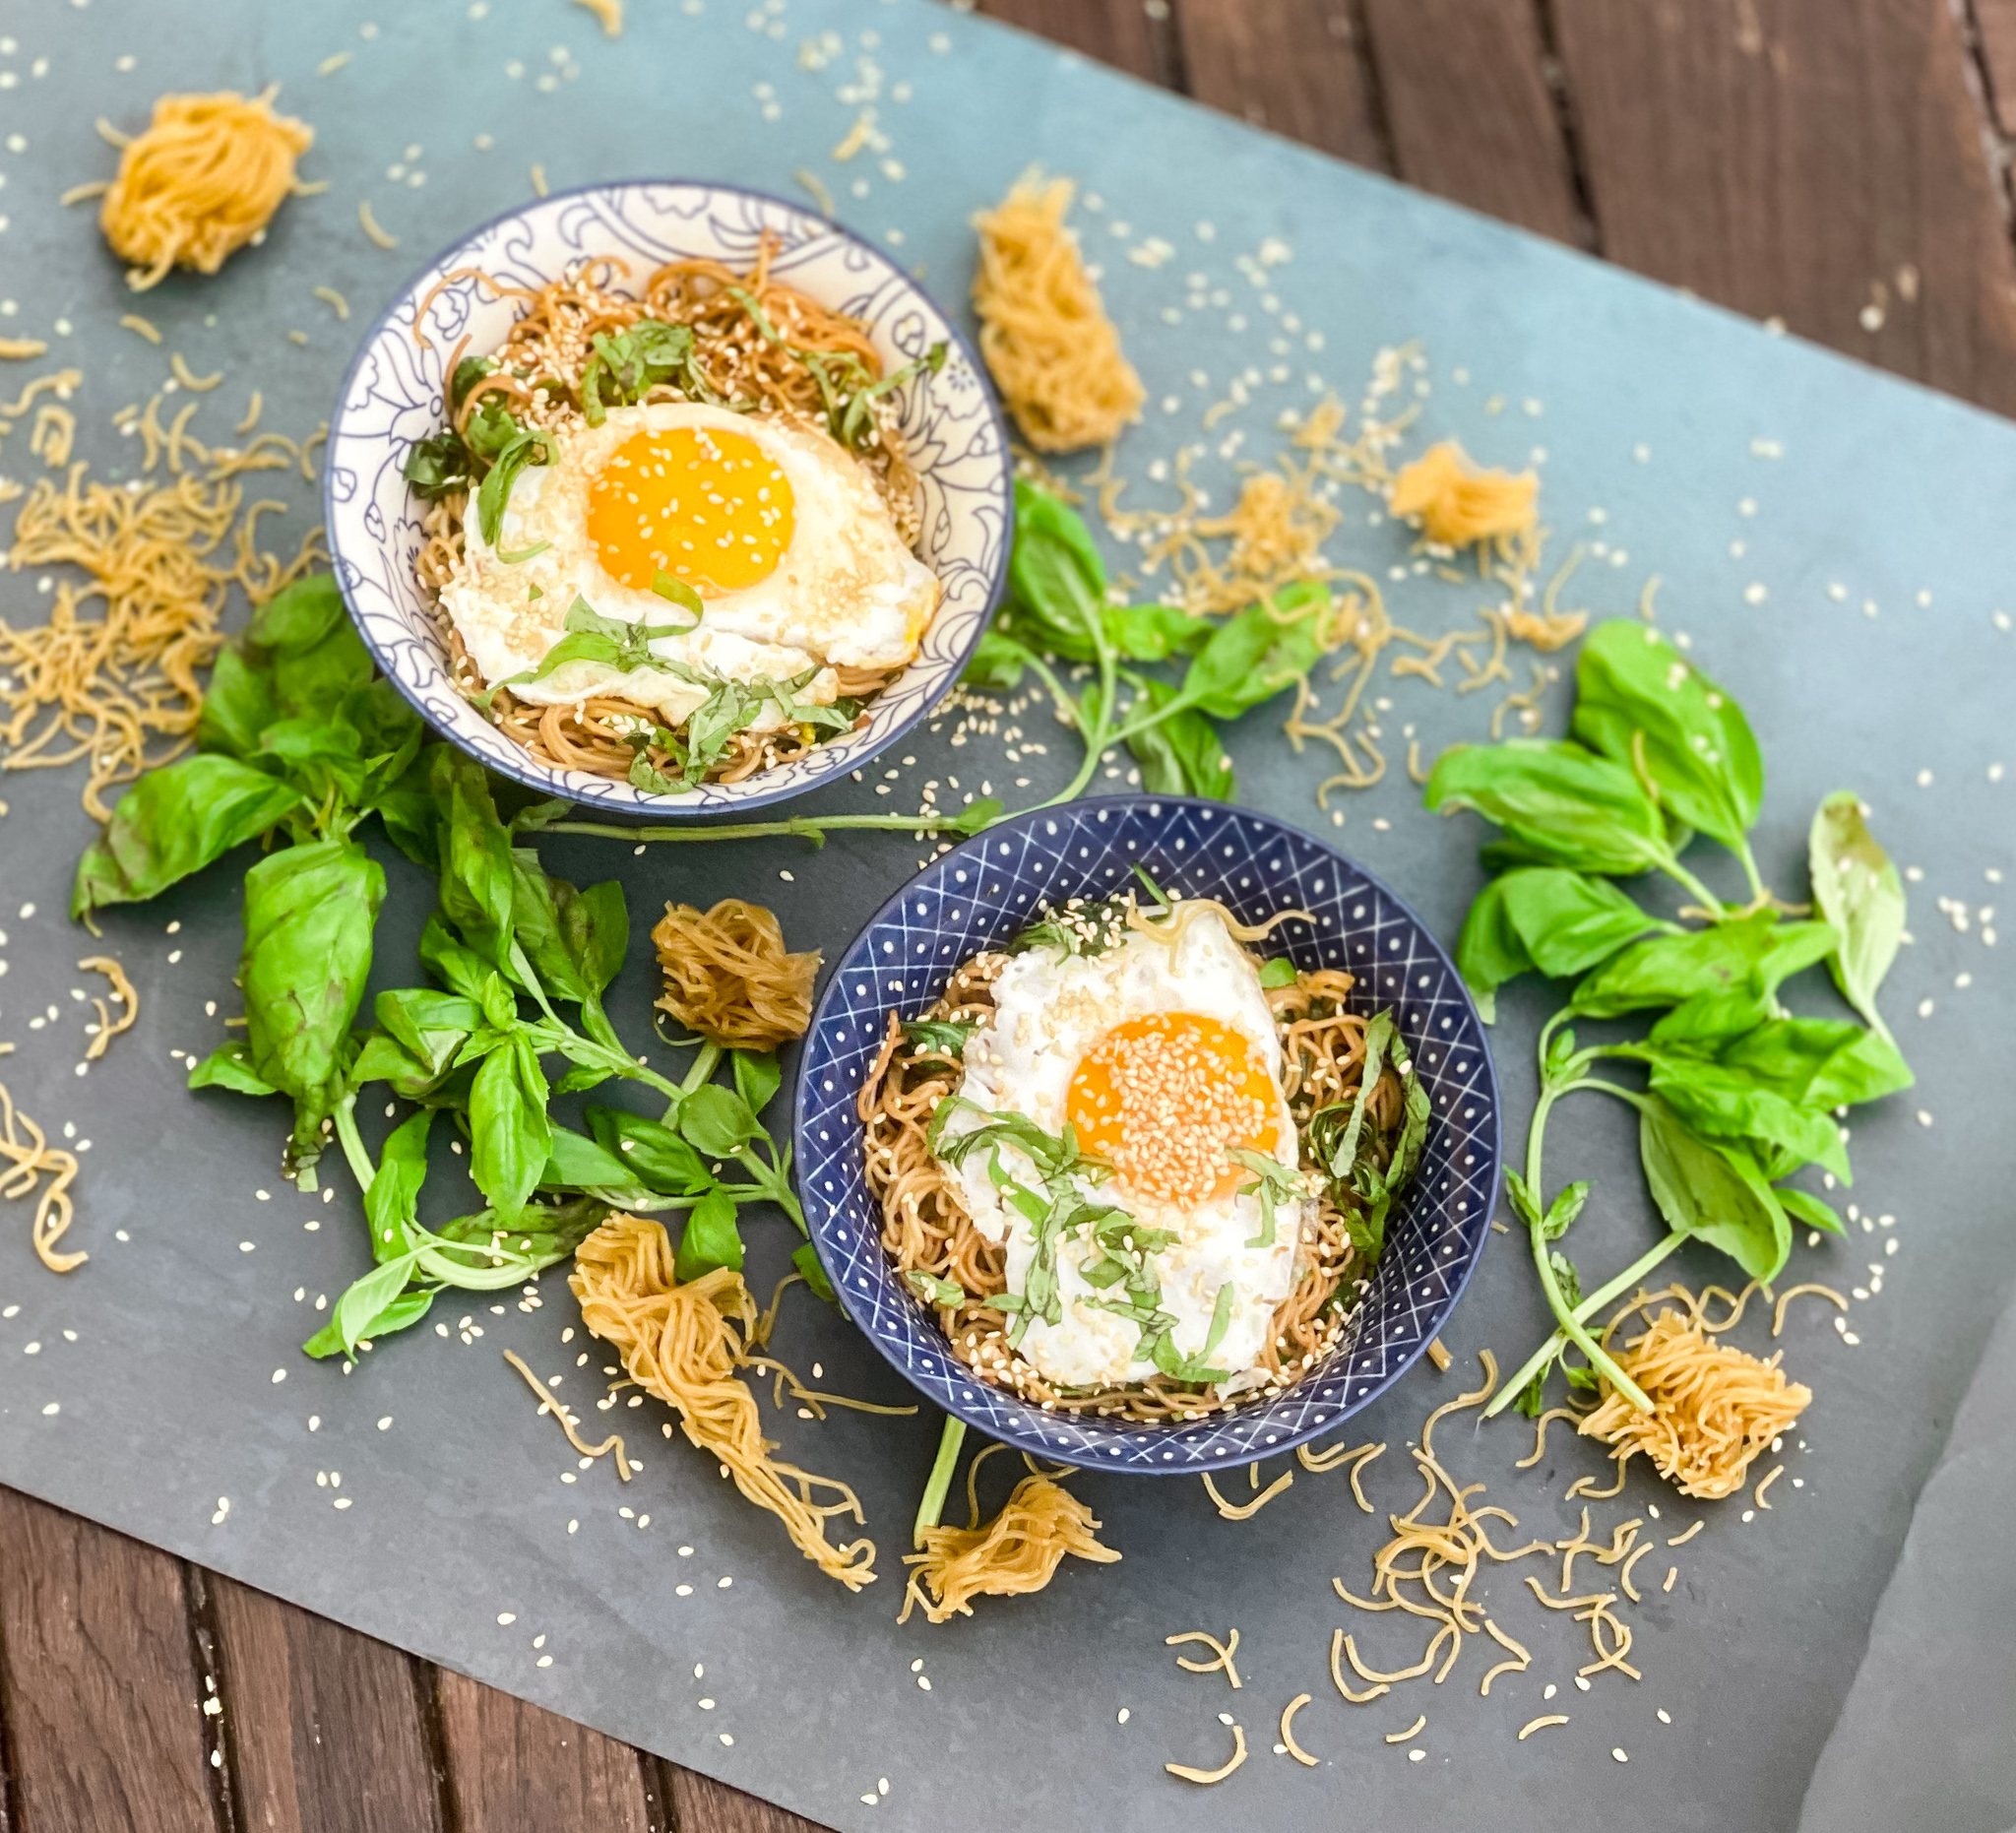
I just love this dish. It takes very little time and effort to make. The butter gives it a smooth creamy taste. The garlic and ginger are the savory here, and cooking them before adding the noodles is sure to make your house smell amazing. The greens add additional flavor and texture, so don’t leave them out. The soy sauce gives it a little tang and the basil gives it a smooth piquant flavor. Please add the egg! They are the perfect topping for this delightful, cozy dish.

This recipe is courtesy of Super Simple by Tieghan Gerard and will serve 2 people who will absolutely love to cozy up with this savory winter meal.

Ingredients for Garlic Butter Ramen:

2 packs brown rice ramen noodles, seasonings discarded
6 tablespoons salted butter
4 cloves garlic, minced or grated
2 teaspoons fresh grated ginger
2 to 3 cups chopped leafy greens, such as spinach or kale
3 tablespoons low-sodium soy sauce
1/4 cup fresh basil, roughly chopped 
2 soft boiled or fried eggs (optional) 
Toasted sesame seeds for serving

In a large skillet over medium heat, melt the butter, then add the garlic and ginger, stirring constantly.

Cook until the garlic is fragrant and beginning to caramelize, 3 to 4 minutes.

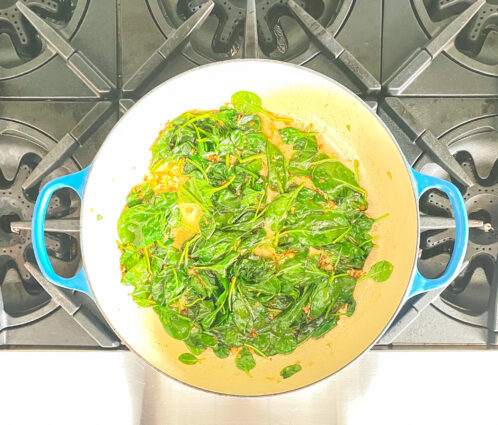
Add the greens and cook until wilted, 2 to 3 minutes more.
Meanwhile, cook the noodles according to the packet instructions.

Drain.

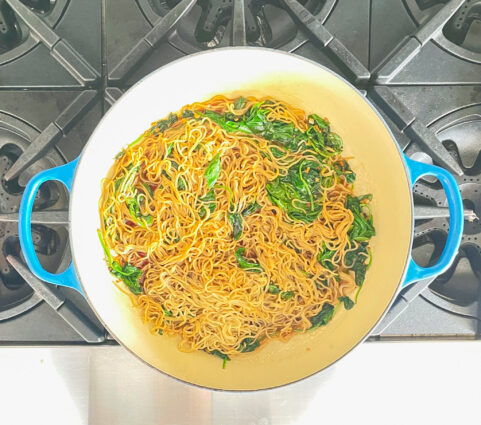
Add the noodles and soy sauce to the skillet, tossing with the garlic and butter.

Remove from the heat and add the basil, tossing to combine.
Divide the noodles between two bowls and top each with a fried egg, sesame seed, and more basil if desired.

Season with pepper.

It’s that simple!

signature

[recaptcha]


2020 is finally gone!  Hooray! The holidays here were very quiet, just me, the hubby, and my two sons. I was not happy: I missed the festive celebrations with my family and friends. I had no tables to decorate, no menus to plan, no invitations to send. It was very weird for me, and very sad. Sure, it was nice to be with my sons on New Year’s Eve, as all of us usually go our separate ways, but as we rang in 2021, it was unusually quiet. As we watched the ball drop in New York, we remarked that it was strange not to see the crowds of people. All the same, I was glad to say goodbye to the old year and bring in the new one.  I hope that this year will be good and prosperous for all.

Quinoa (pronounced keen-wah) is an ancient crop that has been eaten by the South American people for 5,000 years. It means “mother grain” in the Inca language. While some people refer to it as a grain, it is actually a seed. It is gluten-free, comes in different colors and is just plain delicious!

This hardy little seed looks a little bit like couscous, but is smaller in size and crunchier in texture. Quinoa is rich in lysine, which promotes tissue growth throughout the body, has a very high range of anti-inflammatory benefits and is rich in nutrients such as iron, magnesium, vitamin-E, potassium and fiber. Have I convinced you to try it yet?

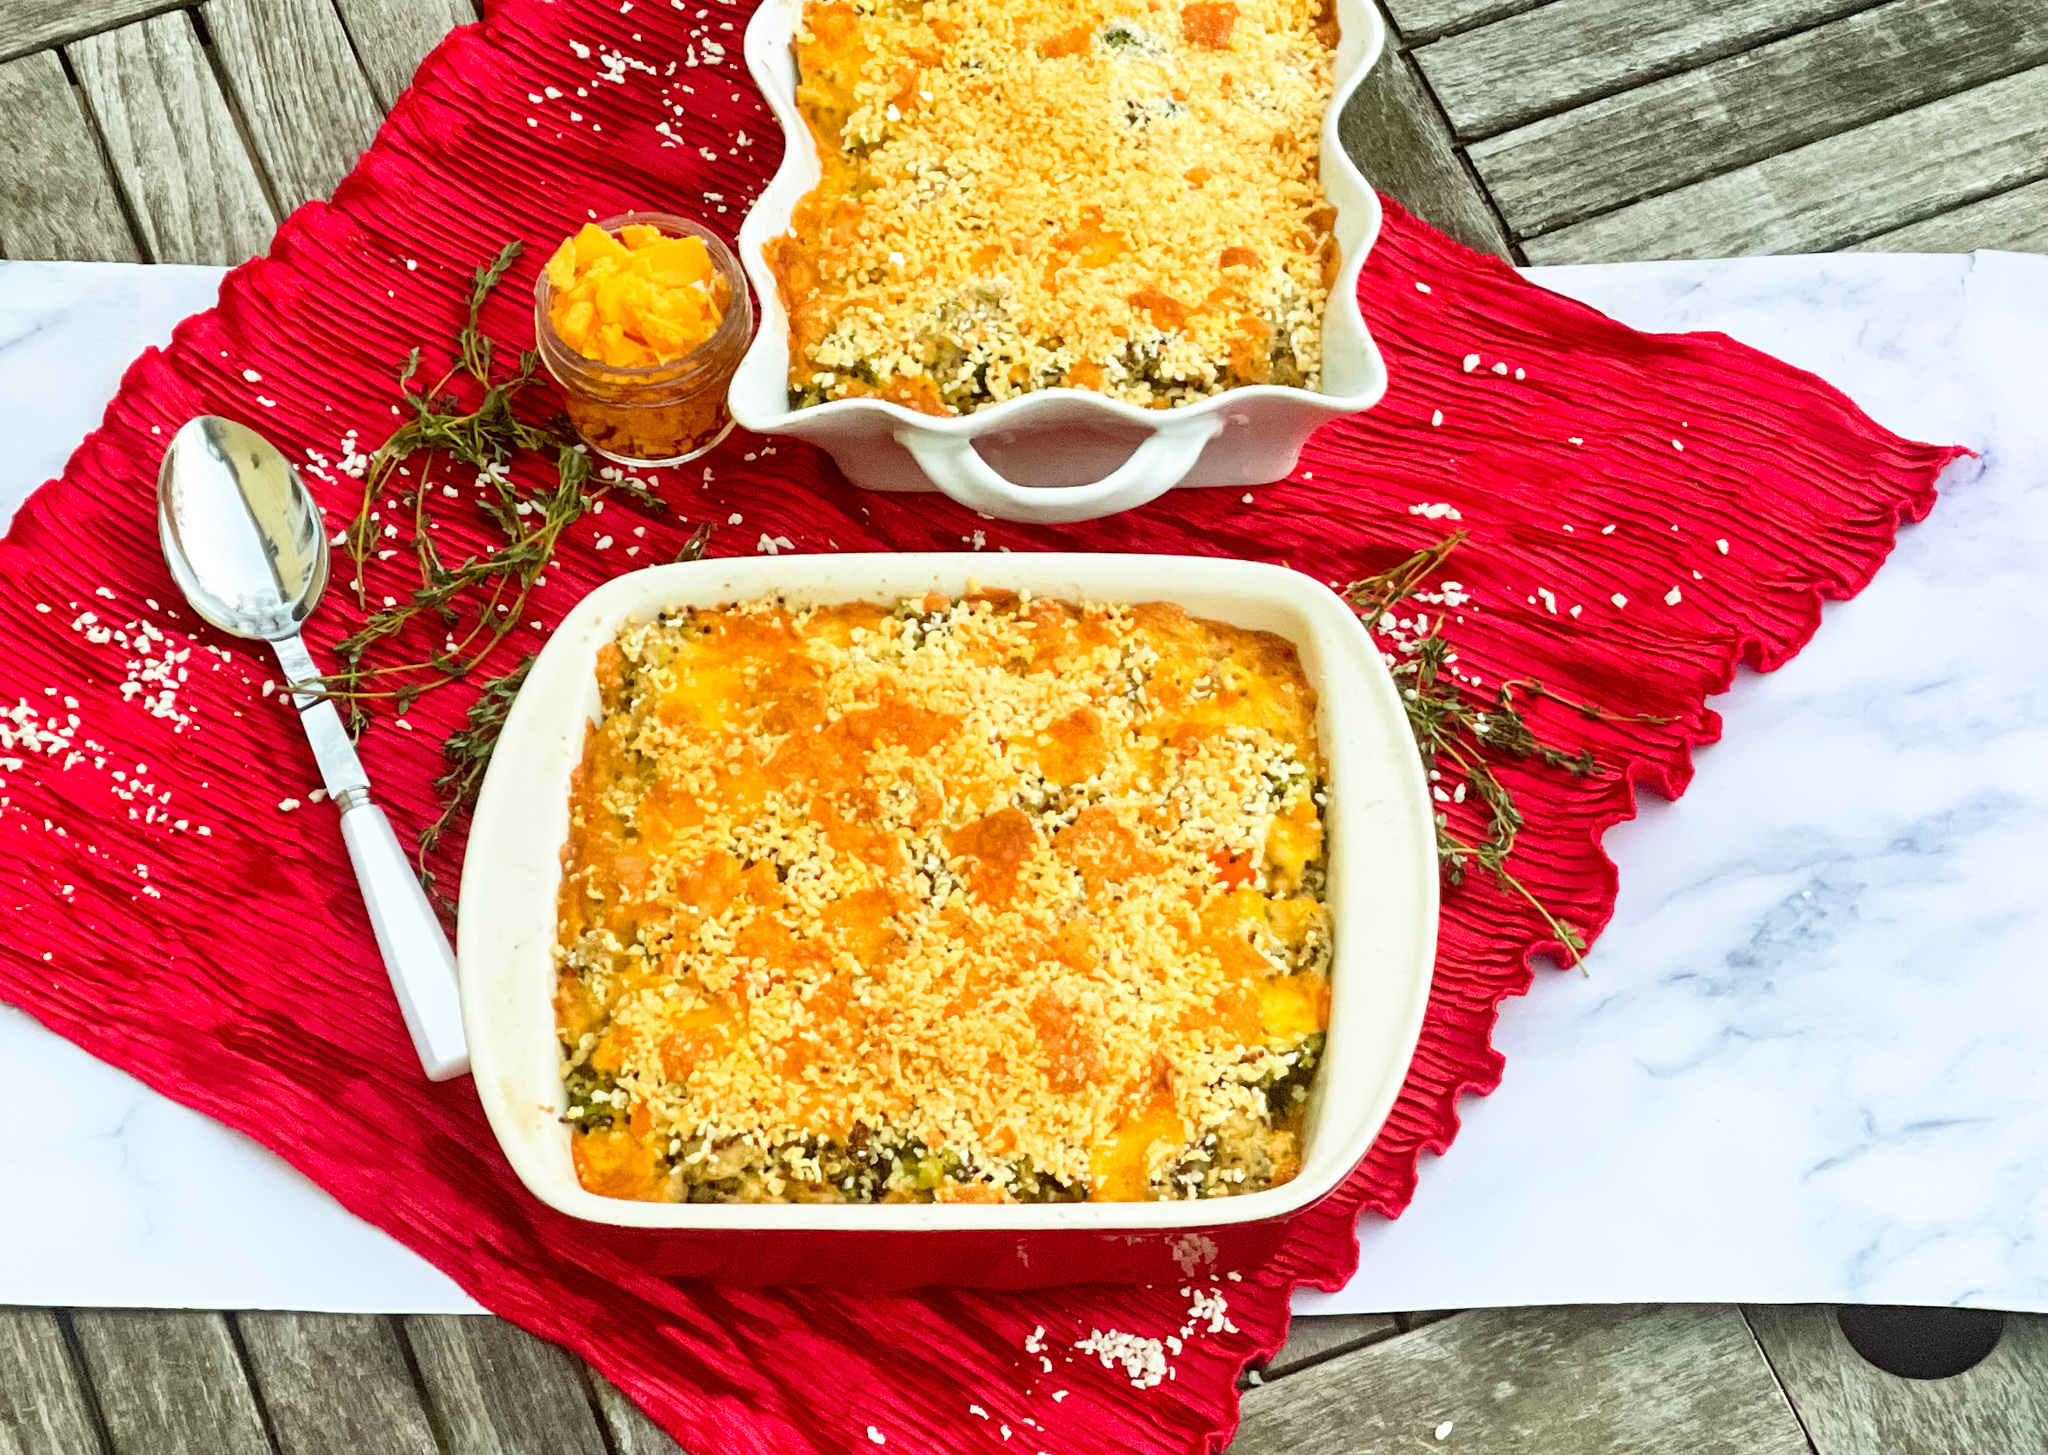
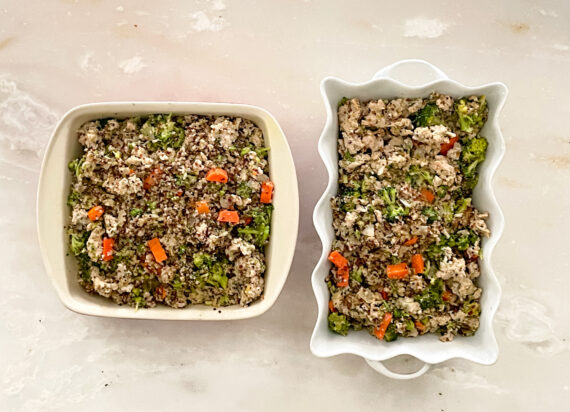
Quinoa is also a very versatile food. It can be used in soups, salads, side dishes, and stuffing. I loved this recipe for so many reasons, foremost because it offers a healthy dish after all the heavily holiday food you may have eaten.  This dish is perfect as a main or side dish. The quinoa flavor is a cross between brown rice and oatmeal, and it is deeeelicious. It is fluffy, creamy (and a little crunchy), and nutty. The broccoli, carrots, and sausage add additional depth, and will leave you happy and satiated if you cook this up as a main course. The thyme gives this dish a mild minty flavor that is savory with a little bit of sweet and peppery at the same time. The crushed red pepper flakes bring it a nice hot kick. It is then topped off with panko crumbs for delightful crunch, and cheddar that adds gooey cheesy goodness. This is the perfect modern comfort food, and I’m sure you and your family will love it!

This recipe is courtesy of Cooking Light and makes 12 servings for all to enjoy.

Ingredients for Cheesy Sausage, Broccoli and Quinoa:

2 ½ cups water 
2 cups uncooked quinoa, rinsed and drained 
1 ½ tablespoons olive oil, divided 
½ cup chopped yellow onion 
½ cup chopped carrot 
4 (4-oz.) links sweet chicken Italian sausage, casings removed 
¼ cup all-purpose flour 
2 tablespoons unsalted butter 
2 garlic cloves, finely chopped 
2 cups whole milk 
2 cups unsalted chicken stock (such as Swanson) 
6 cups chopped fresh broccoli florets 
1 tablespoon chopped fresh thyme, divided 
½ teaspoon kosher salt, divided 
½ teaspoon freshly ground black pepper, divided 
¼ teaspoon crushed red pepper 
½ cup whole-wheat panko (Japanese breadcrumbs) 
4 ounces cheddar cheese, shredded (about 1 cup)

Preheat oven to 400°F.

Bring 2 1/2 cups water and quinoa to a boil in a large saucepan.

Reduce heat; cover and simmer 12 to 14 minutes or until liquid is absorbed.

Remove pan from heat; let stand 5 minutes.

Heat a large Dutch oven over medium-high.

Add 1 tablespoon oil to pan; swirl to coat.

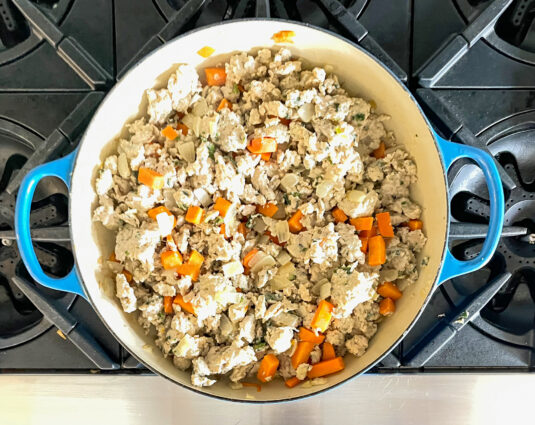
Add onion, carrot, and sausage; cook 7 minutes, stirring to crumble sausage.

Remove sausage mixture to a bowl with a slotted spoon.

Add flour, butter, and garlic to drippings in pan; cook 2 minutes, stirring frequently.

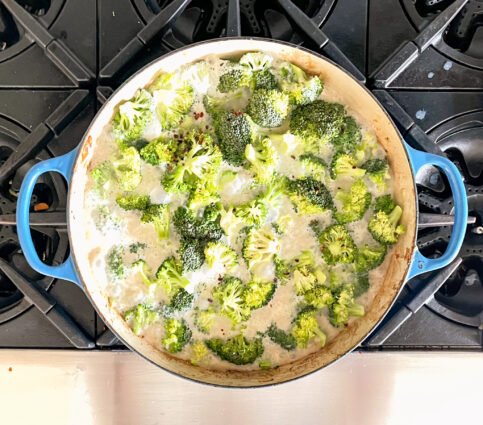
Add milk and stock; bring to a boil.

Cook 2 minutes, stirring constantly with a whisk.

Reduce heat to medium; stir in broccoli, 2 teaspoons thyme, 3/8 teaspoon salt, 3/8 teaspoon black pepper, and red pepper.

Cover and cook 2 minutes.

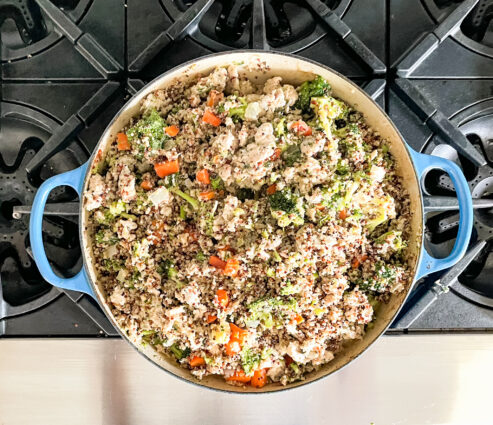
Stir in quinoa and sausage mixture.

Coat 2 (8-inch) square microwave-safe glass or ceramic baking dishes with cooking spray.

Divide quinoa mixture between dishes.

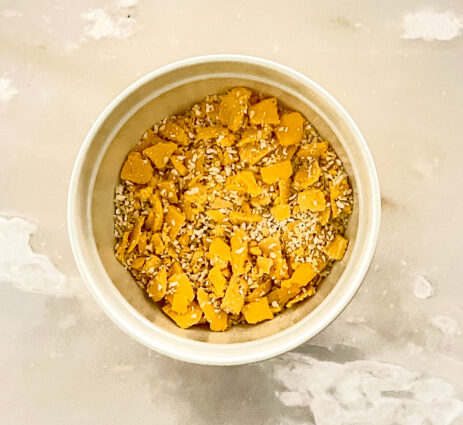
Combine remaining 1 1/2 teaspoons oil and panko in a bowl; add remaining 1 teaspoon thyme, remaining 1/8 teaspoon salt, remaining 1/8 teaspoon black pepper, and cheddar.

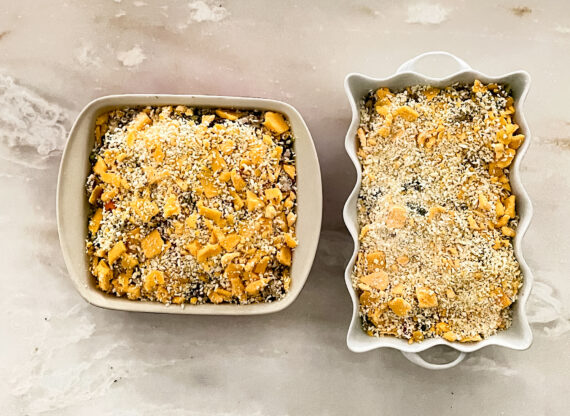
Sprinkle cheese mixture evenly over casseroles.

Bake at 400°F for 18 minutes or until browned, or follow freezing instructions.

FREEZE: Cool unbaked casseroles completely; cover tightly with aluminum foil. Freeze up to 2 months. THAW: Remove foil. Microwave at HIGH 20 minutes or until thawed. REHEAT: Cover with foil and bake at 375°F for 25 minutes; then broil 5 minutes or until golden brown.

It’s that simple!
signature

[recaptcha]


If you ask my husband, winter lasts forever. I keep telling him that winter lasts only three, maybe four months. For the most part, in the past years, there has not been much snow, and even though I do not like the cold weather, it reminds me that summer is on its way.

Getting through the winter months can be very difficult for some people. The shortened daylight hours and the cold can alter our mood significantly. The bright sun on a warm summer day only has positive effects on the way we feel. As winter forges ahead, we can use it to try to get in tune with our feelings. The holiday season is one reason to put aside the blues and, in spite of the cold, come together for a celebration. But for many of us, winter months look bleak. Here are some tips on how to feel more positive during the cold, winter months.

Exercise: Stop groaning. It really does help. If you are a runner, it is hard to run when the temperature drops significantly. Invest in good quality gear, or try classes for yoga, pilates, boxing, or indoor cycling.  One of the upsides of having to quarantine is that many classes are online these days– there is no shortage of options for you.

Revamp your look: Buy some new sweaters, pants, and scarves. Better yet, how about a new hairstyle that is easy to manage? Try some new clothing styles and see if you like enough to put into your wardrobe repertoire. Buy yourself a new luxury item and put it to good use.

Moisturize: The cold can wreak havoc on your skin, leaving it dry and itchy. Find a good moisturizer and use it regularly so your skin stays saturated and soft.  Bonus: You’ll look radiant on those Zoom meetings.

Catch Up on Your Sleep: The long, dark hours of winter makes it easy to sleep, so you should take advantage and catch up on lost sleep. We all know how great we feel after a good night’s sleep. 

Try some winter sports: For the athletes among us, the fun doesn’t have to stop when the warm weather does.  Try skiing, snowboarding, cross country skiing, snowshoeing, or dog sledding.  Ice skating, hiking, or just taking a walk around your neighborhood  are also wonderful ways to get outside and get active.

Embrace the Danish Art of Hygge.  Simply put, Hygge, (pronounced hoo-gah), means coziness, and creating a warm environment with people you love. You can practice the art of hygge by lighting some candles, wearing wooly socks, and cooking a nice meal. Other ways to practice hygge might include taking a long walk or hike during the winter when the sun is out and you can really benefit from it. Play board games with your friends, or read a book under a warm blanket with your kids. No matter how you choose to do it, adding hygge to your life can help you get more happiness out of your winter.

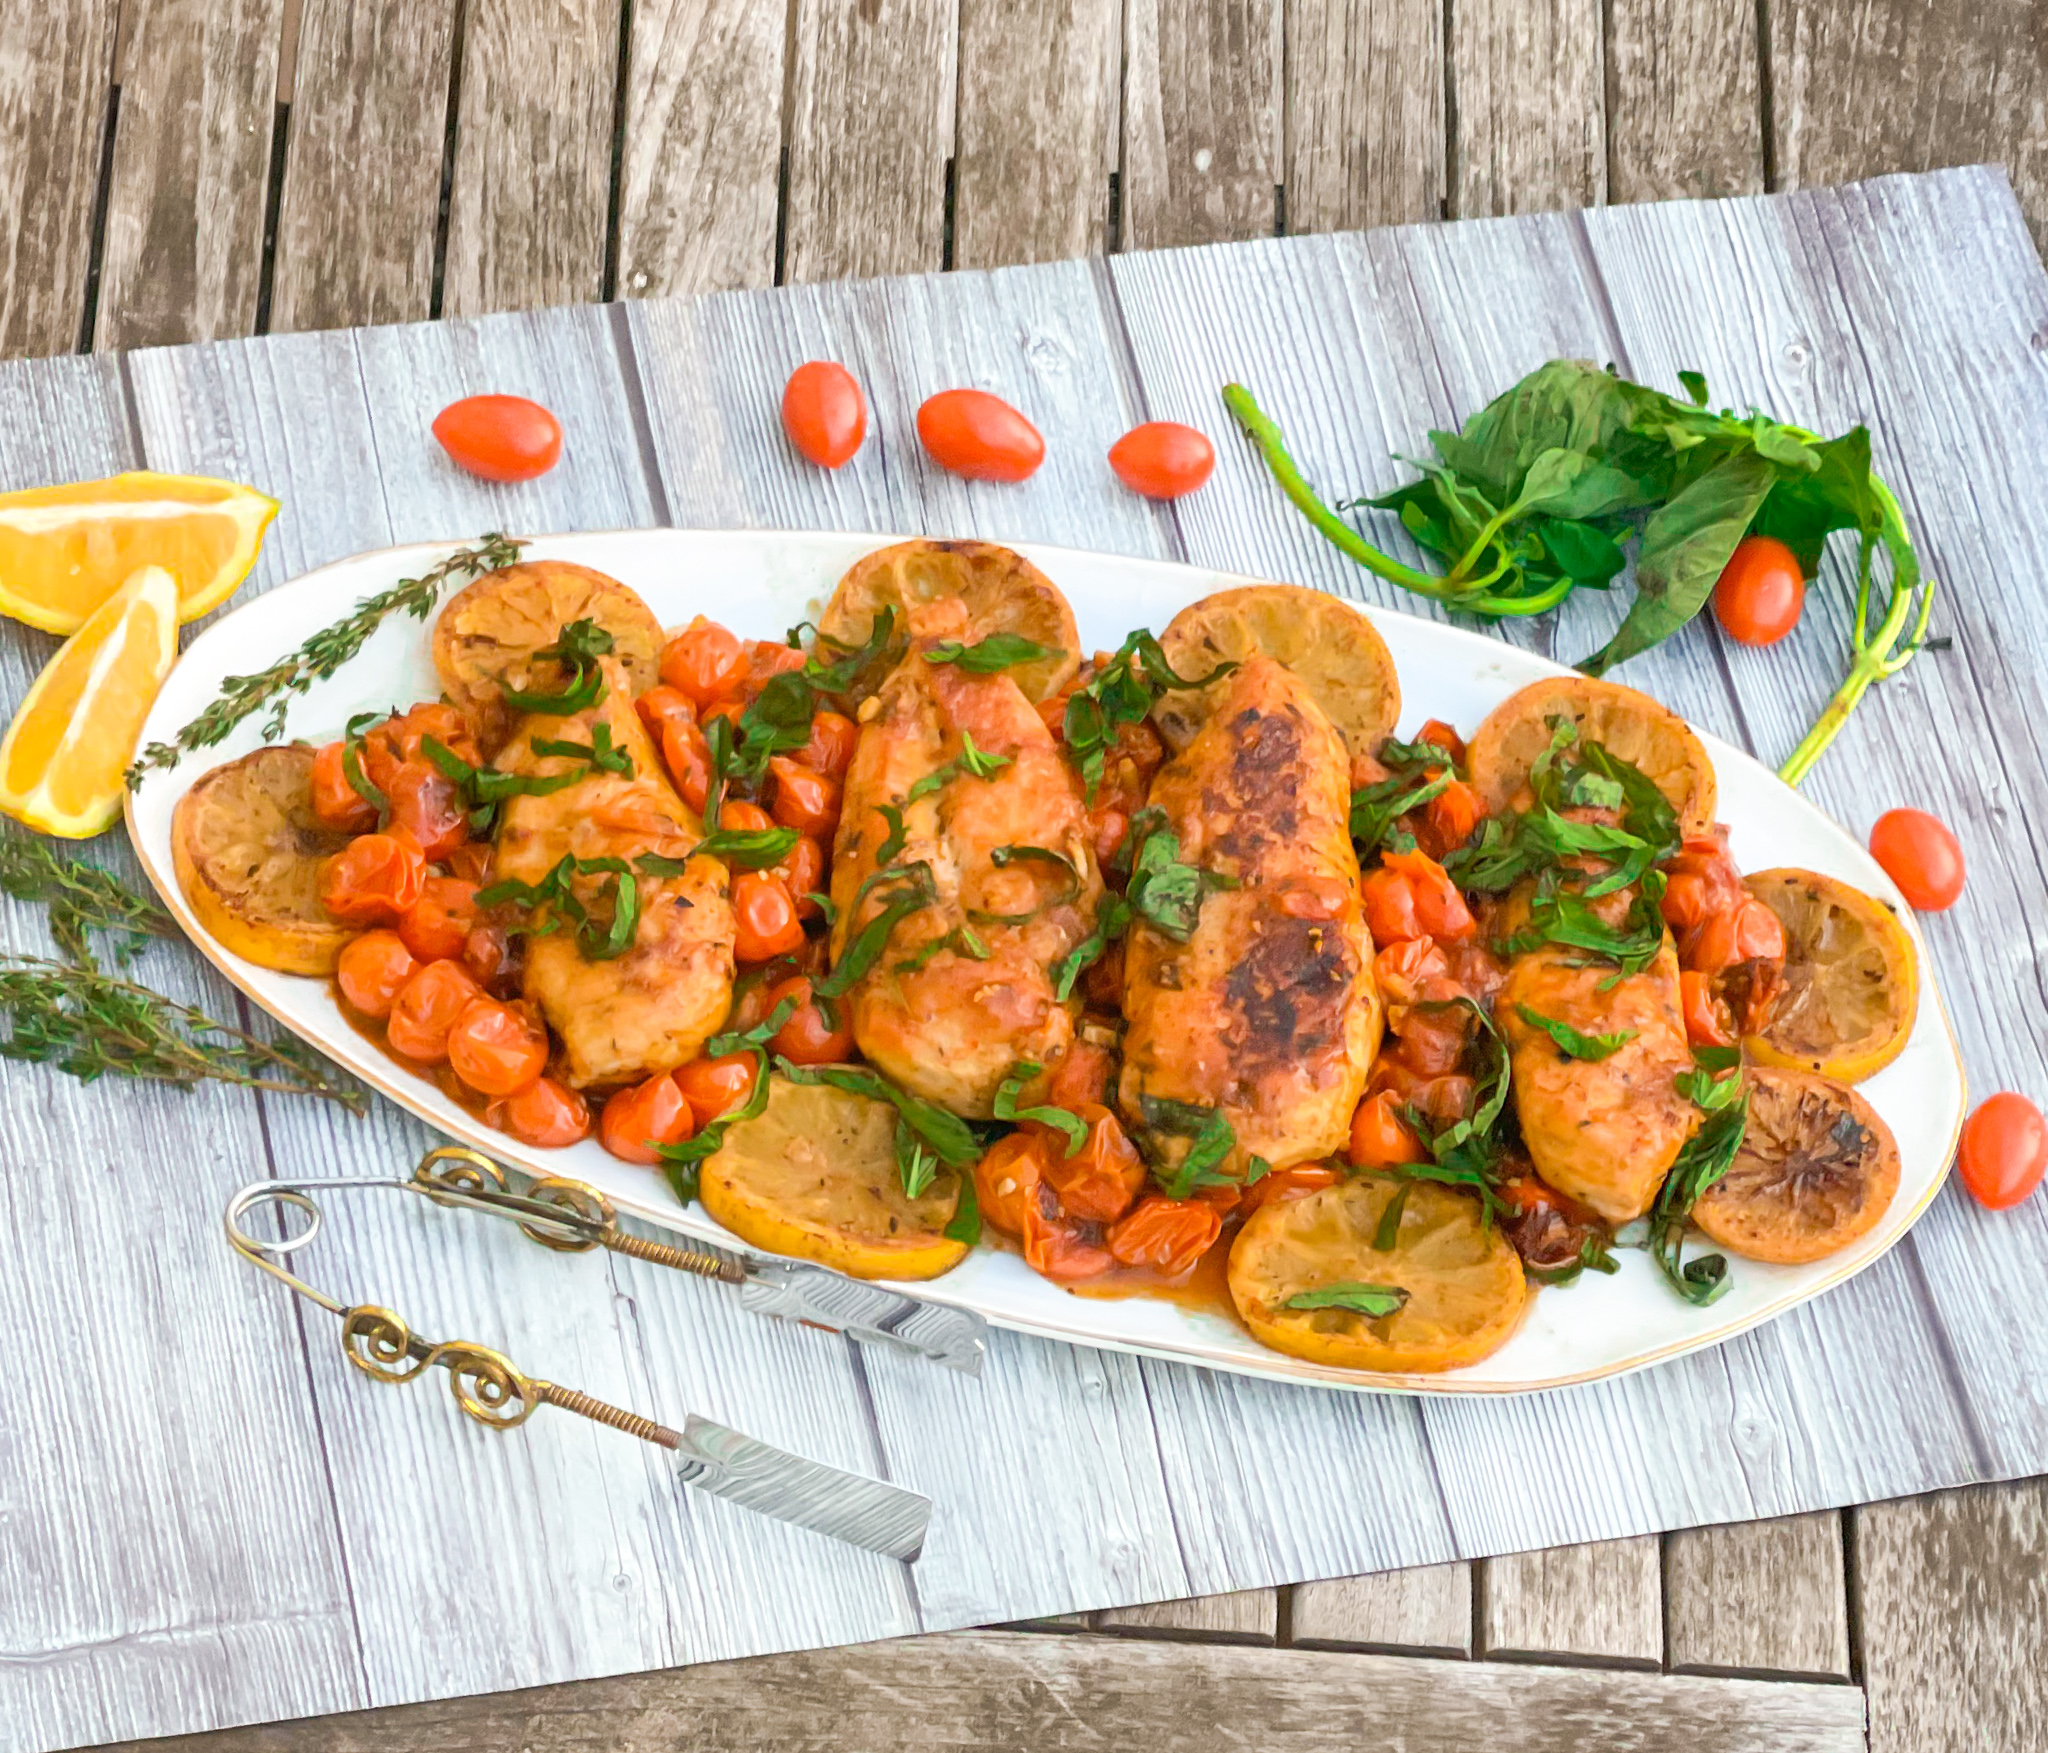
If you decide to cook a warm, comforting dinner, then this is the recipe for you. As you know, I am a huge lemon lover, so I just had to try this. The chicken is lightly breaded and sautéed with salt, butter, and lemon zest, giving it a silky coating with a little tang. The basil, thyme, and garlic are the savory here, along with the white wine, which gives this dish added flavor. The tomatoes are the star of this dish, with tiny bursts of goodness in every bite. You also get a little kick and heat from the crushed red pepper flakes. Top it off with some Parmesan cheese and this main dish is perfection, any time of the year.

This recipe is courtesy of Super Simple, by Tieghan Gerard and will serve 4 people seated for an intimate winter supper.

Ingredients for Breaded Lemon Chicken:

1-1/2 boneless, skinless chicken breasts
3 tablespoons extra-virgin olive oil
Zest and juice of 1 lemon
Kosher salt and freshly ground pepper
1/2 cup all-purpose flour
3 tablespoons salted butter
1/2 lemon, sliced
3 cups cherry tomatoes
4 garlic cloves, smashed
2 tablespoons fresh thyme leaves
Crushed red pepper flakes
1/2 cup dry white wine (such as pinot grigio or sauvignon blanc)
1 large handful fresh basil leaves, roughly torn

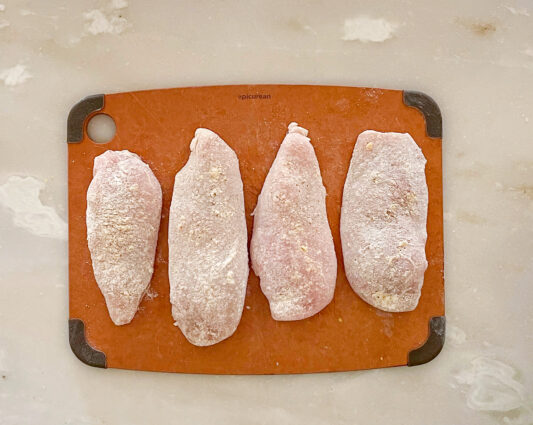
Rub chicken all over with 1 tablespoon olive oil and the lemon zest.

Season generously with salt and pepper.

Sprinkle flour evenly over the chicken, pressing it to adhere.

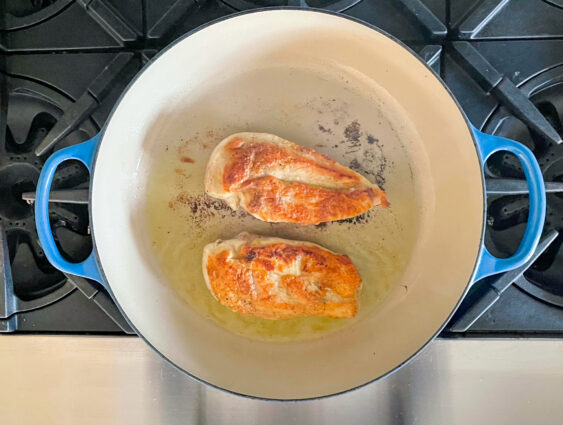
Heat remaining 2 tablespoons olive oil in large skillet over medium-high heat.

When oil shimmers, add chicken and sear until golden, about 5 minutes per side.

Remove chicken from skillet and set aside.

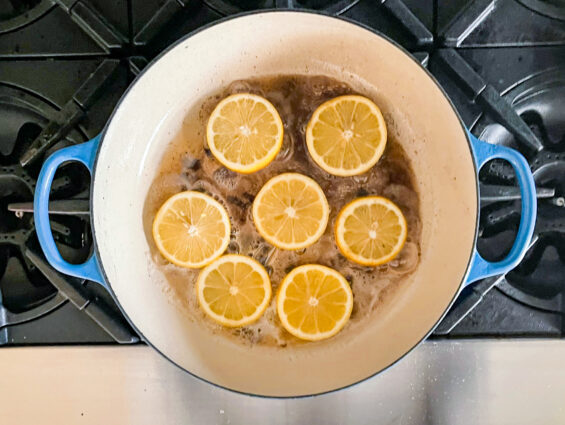
In same skillet, combine butter and lemon slices.

Sear the lemon until caramelized, about 30 seconds per side.

Remove lemon from skillet and set aside with chicken.

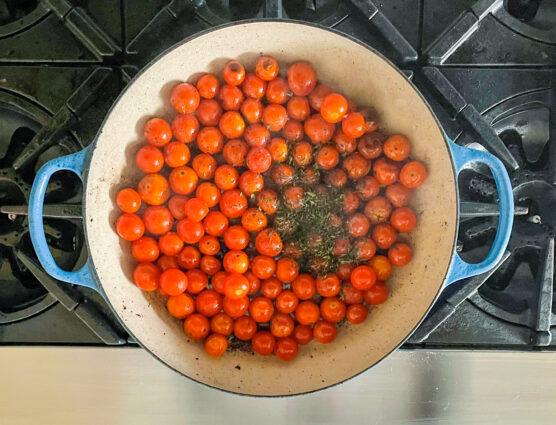
Increase heat under same skillet to high and add tomatoes, garlic, thyme and a pinch of salt, pepper and red pepper flakes.

Cook until tomatoes begin to burst, 4-6 minutes.

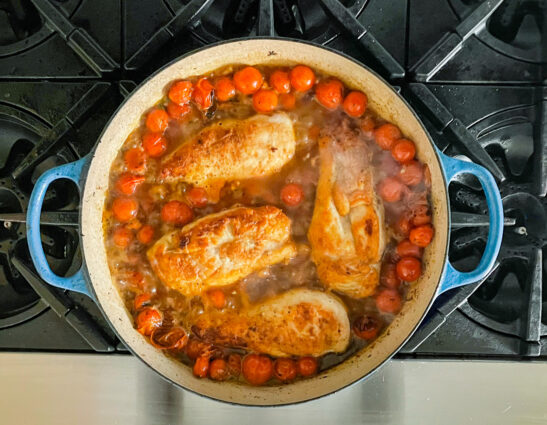
Reduce heat to medium low, stir in wine and lemon juice, scraping up any browned bits from bottom of skillet.

Return chicken to skillet, increase heat to medium and simmer until chicken is cooked through, 10-15 minutes.

Transfer chicken to serving platter and top with basil and lemon slices.

Spoon the sauce over top and scatter tomatoes all around.

It’s that simple!


signature

[recaptcha]


Unfortunately for me, I was sick this Thanksgiving. Like so many of you, our holiday guest list this year was reduced to only our immediate family, but even still, I wasn’t sure if I would be able to make it downstairs to the kitchen, let alone make some semblance of a Thanksgiving meal for my family.

I am writing to tell you all this, because I made mistakes making the turkey (I’ll blame it on the illness) and I think we all can learn something from it. I usually make two 20 pound turkeys, but this year, I only needed to make one, and boy did I mess it up.

Thankfully, I had a nearby relative come and dress the turkey the night before so it was ready to take out and place in the oven on Thanksgiving. Thursday morning, I slowly (very slowly) made my way downstairs to finish dressing the turkey and put it in the oven. I am going to share with you how I usually make my turkey, and more importantly, where I went wrong.

Usually, I place the turkey in a snug roasting pan. I put it in the oven at 425 degrees F. for 40 minutes uncovered so it browns up beautifully. Then I take it out, cover it very, very tightly with aluminum foil, and turn the oven down to 350 to continue the cooking.  Covering it so snugly lets the turkey steam, and not cook, so you are more likely to have a nice, juicy turkey. 

I followed my instructions, but after I covered the turkey, I forgot to turn the oven down. I placed a meat thermometer in the turkey so I could follow the cooking process and take it out at the temperature I usually do. As I watched the thermometer, the temperature began to accelerate at a very fast rate. Not remembering that I did not turn down the temperature, I was truly baffled as to why this was happening. I took the bird out when it hit 150 degrees. The recommendation is 165 degrees, but remember, the turkey will continue to cook when you remove it from the oven, so you have to take it out, (as you do with any poultry or meat), ten degrees sooner than the recommendation.

I really was bewildered that the turkey cooked so rapidly. After I removed the turkey from the oven, it did not continue to cook as it usually does. The temperature was the same as when I took it out of the oven. When my husband began to carve the turkey, it was slightly raw. I told him to continue to carve it. We then placed all the meat back into the pan with all the juice that it had made when it was cooking. That’s when I realized the oven was still at 425 degrees. I turned it down, and placed the carved turkey back into the oven for 30 more minutes, hoping that it might be fully cooked after that.

To my surprise, the turkey was cooked perfectly. It was the best turkey I think I have ever made. We all make mistakes in the kitchen, and, as I have told you before, it is singularly the best way to learn. It reminds me of learning to ride a bicycle– how many times do we have to fall before we master it? When I learned to ride a bike, I knocked out my two front teeth but I didn’t let it stop me. Soon I was riding with no hands and loving every minute of it. When I fell, I just picked myself up and got back on. Learning takes time, patience and lots of bumps.  

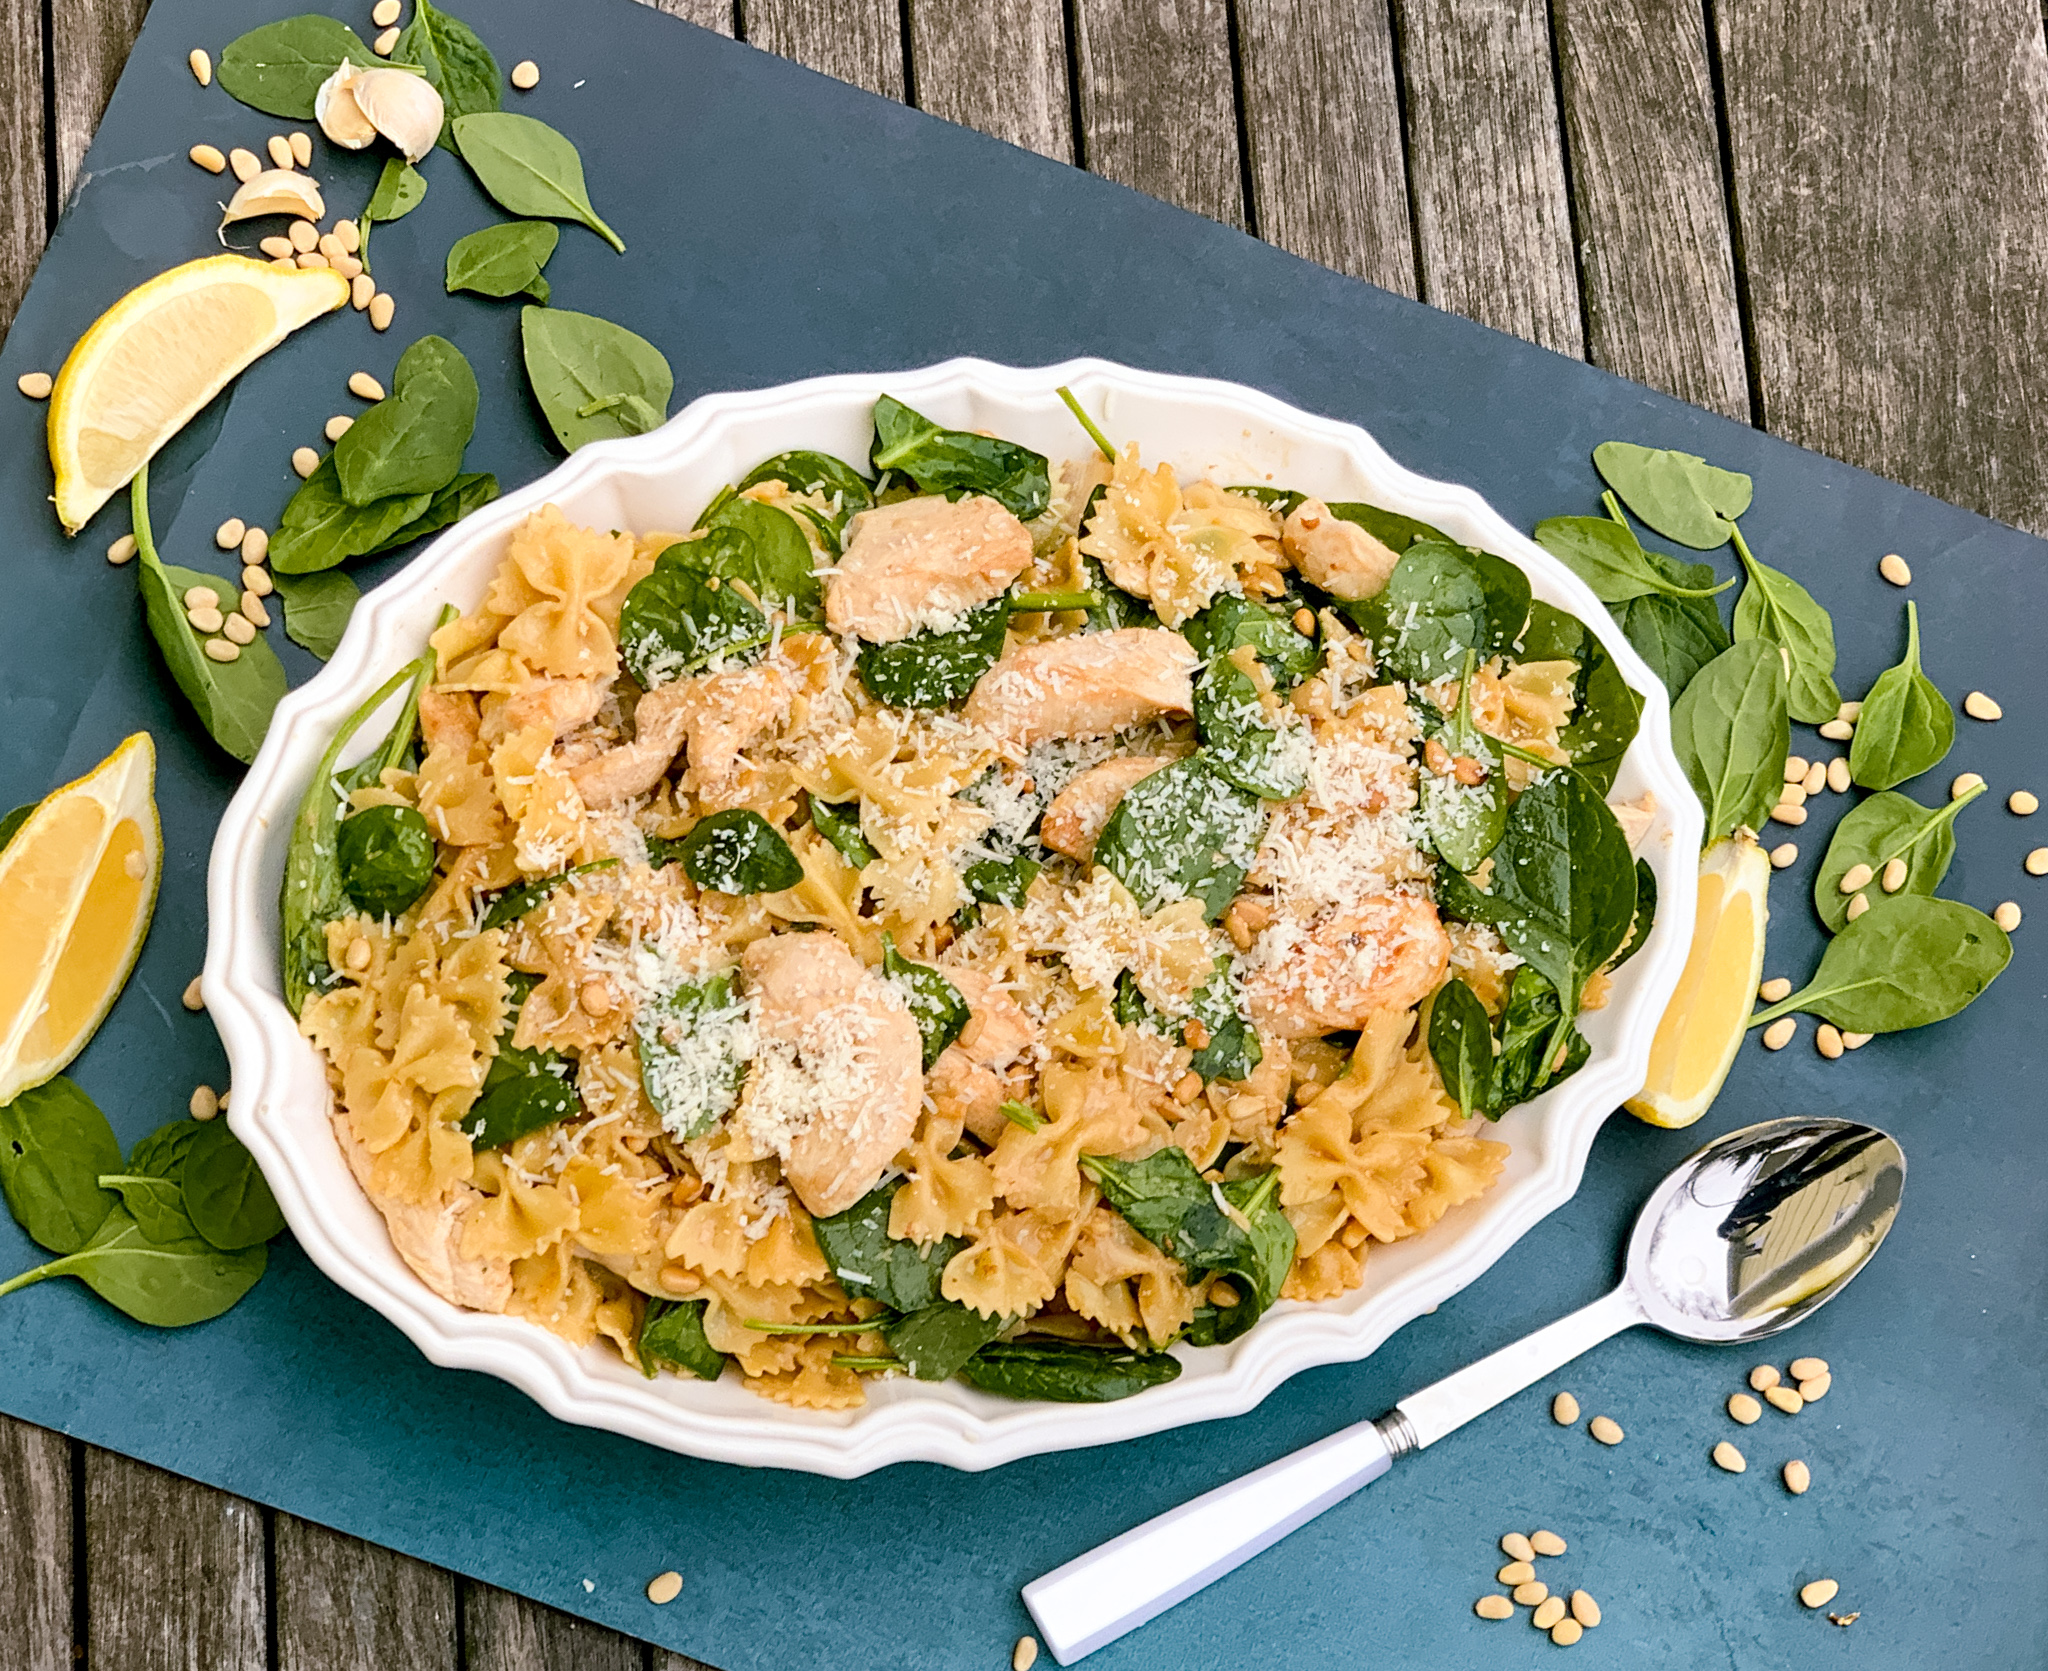
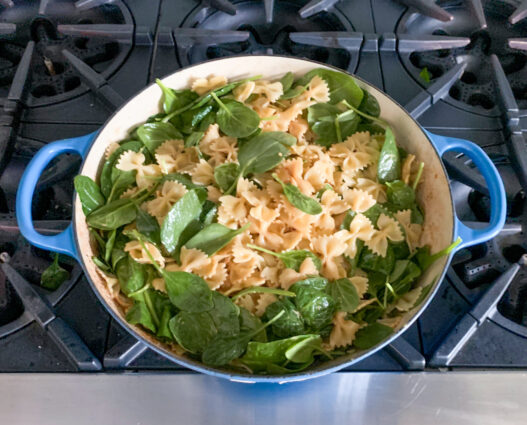
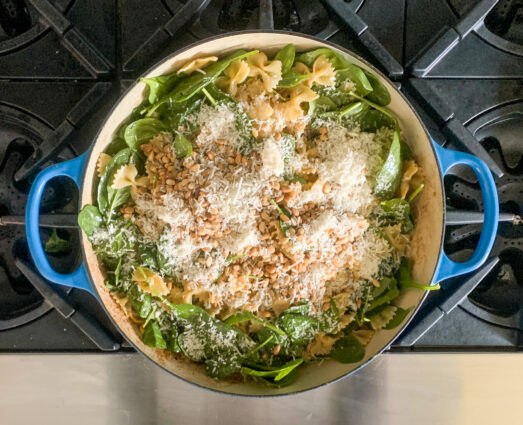
This is one recipe you won’t have to worry about messing up. It is so easy to make, and is packed with delicious, home cooked flavor. The chicken breasts are cooked in butter, giving them a delightful sweet flavor. It is then combined with heavy cream, which adds a creamy, delicate sauce. The sauce is flavored with garlic, pine nuts, and spinach which provide the savory goodness to this dish. The lemon juice and zest delivers a nice tang and the Parmesan cheese makes this dish perfection.

This recipe is courtesy of America’s Test Kitchen and will make a beautiful main dish for 6 to 8 people.

Ingredients for Chicken and Spinach Farfalle:

2 boneless, skinless chicken breasts (about 3/4 lb.), cut crosswise into 1/4″ thick pieces.
Salt and pepper
2 tablespoons unsalted butter
2 garlic cloves, minced
1/2 cup heavy cream 
2 tsp. grated zest and 3 tablespoons juice from 1 lemon
1 lb. farfalle pasta (Bowtie)
1 6oz bag baby spinach
1/2 cup grated Parmesan cheese
1/3 cup pine nuts, toasted

Bring 4 quarts. of water to a boil in a large pot. 

Meanwhile, pat chicken dry with paper towels and season with salt and pepper. 

Melt 1 tablespoon butter in large skillet over medium-high heat. 

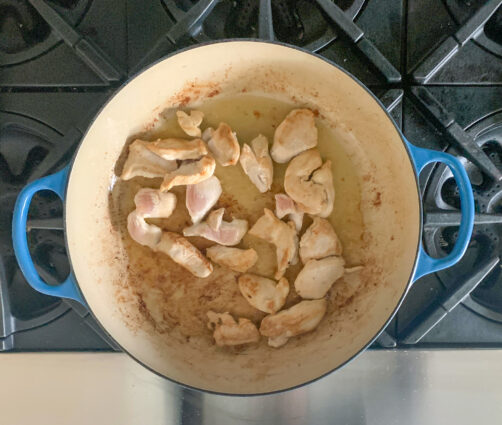
Cook half of chicken until no longer pink, about 3 minutes, transfer to plate. 

Repeat with remaining butter and chicken. 

Add garlic to empty skillet and cook until fragrant, about 30 seconds. 

Stir in cream, lemon zest and juice, and simmer until sauce is slightly thickened, about 5 minutes. 

Remove from heat and cover. 

Meanwhile, add 1 tablespoon salt and farfalle to boiling water and cook until al dente. 

Reserve 1/2 cup cooking water, drain pasta, return to pot. 

Toss in spinach.

Add Parmesan, pine nuts, and cooked chicken to pot and toss to combine, adding reserved pasta water as needed.


Season with salt and pepper. 

Serve. 

It’s that Simple!


signature

[recaptcha]


I know I already wrote a blog post about household chores, but stick with me here.  In writing that, I kept thinking about how versatile vinegar is, so consider this part two– all about vinegar From shower heads to windows to microwaves, vinegar is a resourceful cleaner (especially distilled white vinegar) and will save you money as well. Good to know, right? Here are some uses for you.

Microwave: Bring 1/4 cup of vinegar and 1 cup of water to a boil in your microwave. Heat it until you see steam forming on the window. Then carefully take the solution out of the microwave and wipe clean.  The gunk should come off easily.

Automatic coffee makers: Fill the reservoir with white vinegar and run your coffee maker through a full cycle. Pour out the vinegar and refill the pot with plain water and run it through another cycle. Now you will have a fresh clean pot with no bad tasting residue.

Flowers: Yes, you read that correctly. Fresh flowers will last much longer if you add 2 tablespoons of vinegar and 2 tablespoons of sugar to the water. Be sure to change the water as it gets cloudy, and cut the stems too.

Use it as an all-purpose cleaner: Ditch your chemically-based cleaners and fill a spray bottle with one part vinegar and one part water. You can eliminate the vinegar smell if you don’t like it by adding a drop or two of your favorite scented oil. Fresh lemon works well, and it, too is a cleaner because it helps to cut grease and odors.

Stainless Steel: Forget about those expensive cleaners for your stainless-steel appliances. Spray some vinegar straight-up (no water), and then buff with a soft cloth. Your stainless steel will shine like new.

Showerhead cleaner: Put some undiluted vinegar in a plastic bag, and wrap it around your showered. Leave it on for two hours or more, then remove it and run the shower for a minute or two.  Good as new!

Vinegar as a weed killer: I did not know about this, but I am definitely going to try it in my garden next spring. You need to use vinegar with a high acidity (about 20 percent). Apply to areas that weeds grow. Forget about the chemical weed killers, especially if you have pets that go outside near the area that you need to kill the weeds.

Oh, I could go on and on about vinegar and it’s many resourceful uses. it is truly one of the best all-purpose items out there. From cooking to cleaning to personal use, there really are endless uses for vinegar. Of course, balsamic and red wine vinegar, as with all mixed vinegars, are not to be used for cleaning purposes. High acidity vinegar should only be used for cleaning purposes. Apple cider vinegar can be used for both cleaning and cooking, and it has health benefits too.

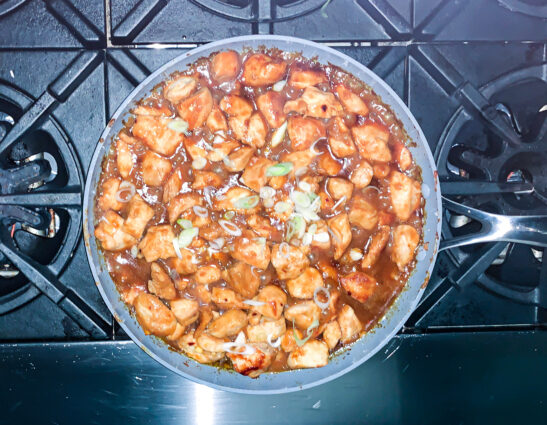
For this dish, we are using rice vinegar, which is a sweet, delicate vinegar that adds a nice tang to any recipe. Rice vinegar is usually found in Asian cuisine. I know we all like our Chinese take-out, but this is a made-at home fresh version, which I recommend highly.  This dish will stand up to even the most delicious take out, and it’s probably healthier too! The soy sauce, hoisin sauce, and rice vinegar give this dish a tangy and sweet flavor. The sesame seeds and oil add authentic seasoning. The chicken is transformed into orange, zesty goodness. The crushed red pepper flakes and garlic give it enough heat to be tasty, but not so much as to overwhelm picky eaters. This dish is so much better than anything you can get in a restaurant. Trust me.

This dish is courtesy of Super Simple, by  Tieghan Gerard and will serve 4 to 6 people who will never order orange chicken again.

Ingredients for Kai’s Favorite Sesame Orange Chicken:

1.5 lbs boneless, skinless chicken breasts cut into bite size pieces. I used chicken breast tenderloins 
4 Tablespoons of Soy Sauce
1/4 Cup of all purpose flour 
1 inch of ginger 
2 garlic cloves, grated (I used minced)
Juice of 1/2 orange
2 Tablespoons of hoisin sauce 
2 Tablespoons of rice vinegar 
1-2 Tablespoons of crushed red pepper flakes 
1 Tablespoon of toasted sesame oil 
2 Tablespoons of olive oil 
2 green onions chopped 
White Rice 
2 Tablespoons of toasted sesame seeds

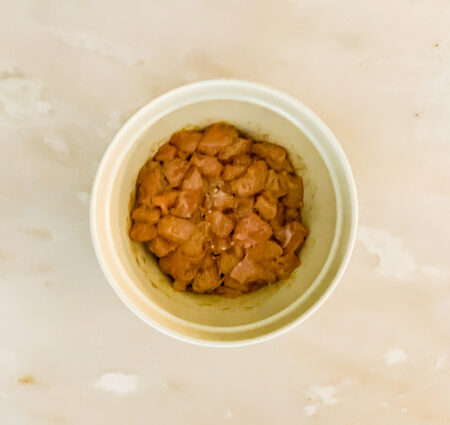
In a medium bowl, combine the chicken, 2 tablespoons of the soy sauce, and the flour.


Toss, making sure the flour had evenly coated the chicken.

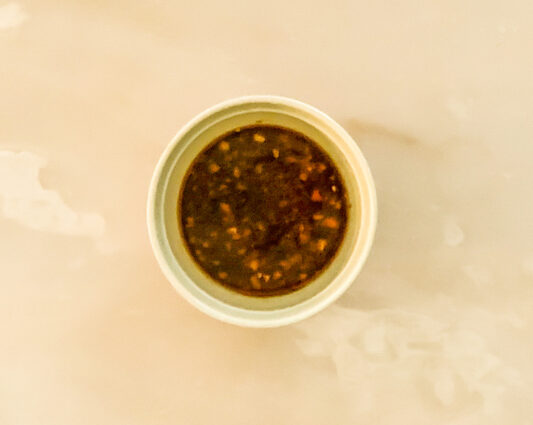
In a small bowl or glass measuring cup, whisk together the remaining 2 tablespoons of soy sauce and the ginger, garlic, orange zest, orange juice, hoisin sauce, vinegar and red pepper flakes, and toasted sesame oil.

Heat the olive oil in a large skillet over medium-high heat.

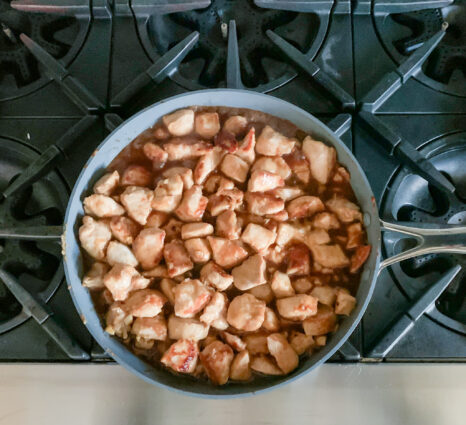
When the oil shimmers, add the chicken in an even layer and cook, stirring until browned all over, about 5 minutes.

Pour in the sauce and bring to a boil, then reduce the heat to medium-low and simmer, stirring occasionally, until the sauce thickens and the chicken is coated, 5 to 10 minutes.

Remove the skillet from the heat and stir in the green onions.

Serve the chicken over rice and top with more green onions and toasted sesame seeds.

It’s that simple!

signature

[recaptcha]