Looking for an easy dinner that will impress your guests?

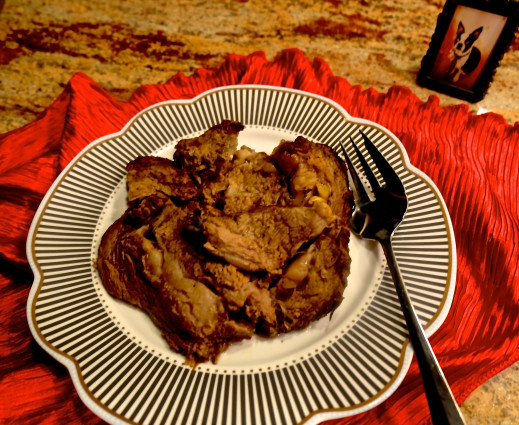
This standing rib-roast is a delicious main course that will surely make any dinner guest wishing for more.

Another “Shelley” recipe, this is one of my favorites. My family and holiday dinner guests have been enjoying it for many years.

The trick is in the timing, of course! You will have to carefully set your timer, so the meat is medium to medium rare. I will give you a guide for the cooking time, but you have to keep in mind that many ovens cook differently.

You do not want to overcook this! You will have to keep checking the meat and remember to take it out when it is still a bit rare. Remember, it will continue to cook when you take it out of the oven.

I hope you try this one! It is a crowd-pleaser for sure!

Ingredients for the Rib Roast

1 Standing Rib Roast ( 7 bones)
8 cloves garlic, peeled and cut into large slivers
2 tsp. salt
1 tsp. fresh pepper
3 tbsp. olive oil

Using your fingers, poke small holes into rib roast and insert the garlic slivers.

Make sure to place garlic on all sides of roast, including under the bones and in the sides.

Sprinkle liberally with salt and pepper.

Pre- heat oven to 350.

Place olive oil on grill pan on top of your stove top over medium heat. When hot place roast on grill pan. Leave it there for approximately 5-7 minutes. Turn over to brown other side. Make sure to get all sides of meat browned.
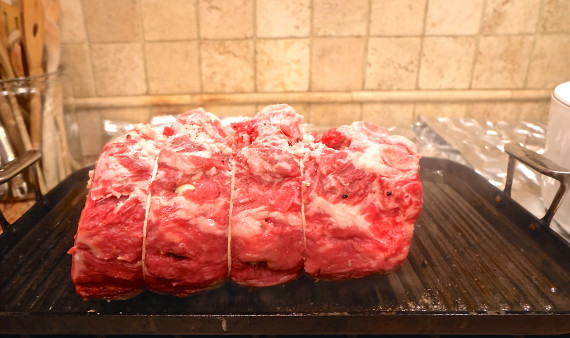
standing rib roast browning

As the grill becomes very hot, it may take less time for some of the sides to brown, so you have to watch it very carefully!

NOTE: You can crunch aluminum foil into balls to hold the meat up so you can brown each side.

Brown each side (about 5-6 minutes).

Place the Rib Roast in the oven.

Roast for 16 minutes per pound for medium rare meat.

If you like your meat more on the medium side, adjust the temperature to 18 minutes more per pound.

Remember, the meat will continue to cook after you have taken it out of the oven, so be careful.

Set your timer and check the meat often!

Enjoy. Your guests will love it!

Promise!

It’s that simple!
signature

[recaptcha]


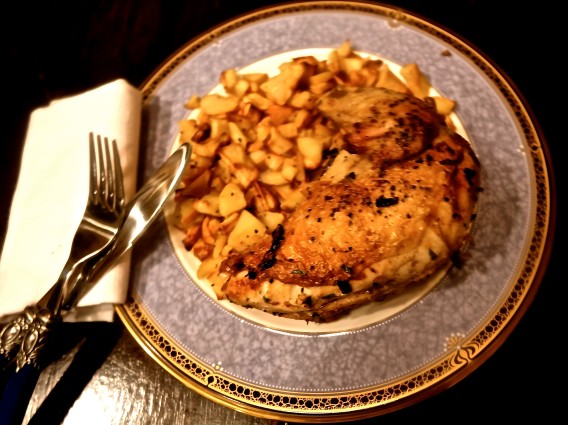
When most people think of cooking chicken, they usually imagine it roasted, grilled or fried.

 Alternatively, braising is a way to gently cook meat, poultry or vegetables. It involves a four-part process. First you brown the chicken or meat, take it out and deglaze the pan. Next you add some of your favorite ingredients and lastly you cook it slowly in the flavorful liquid.

Most often, braising is done with the dark meat of a chicken. Today I chose the breast meat for you white meat lovers out there. Both come out equally soft and juicy. (I have also included a braising recipe for the dark meat in one of my previous blogs).

Feel free to add any ingredient of your choice; there are many possibilities. You can use a white wine vinegar, olives or any combination of herbs.

The result will be a succulent, tender chicken that your family and friends will adore.

Ingredients for the Chicken Braise

2 pieces white or dark meat chicken (one for each member of your family)

3 tbsp. olive oil
2 tbsp. butter or margerine
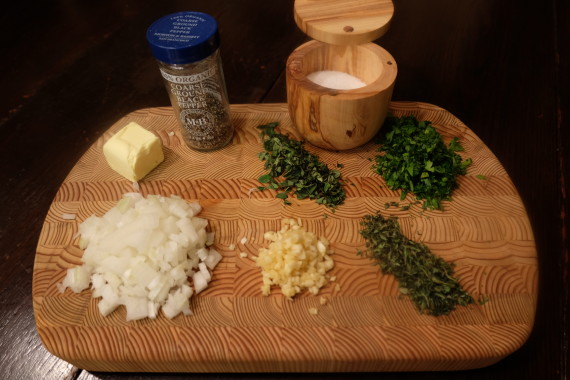
1 small white onion (or 1/2 large), chopped
4 cloves of garlic, chopped
4 sprigs of fresh oregano, (or 2 tbsp. dried)
4 sprigs of thyme, (or 2 tbsp. dried)
1 1/4 cups of good white wine
2 cups of chicken broth
Juice of 1/2 lemon
1 tsp. kosher salt
1 tsp. pepper

DSCF1458

Preheat oven to 350.

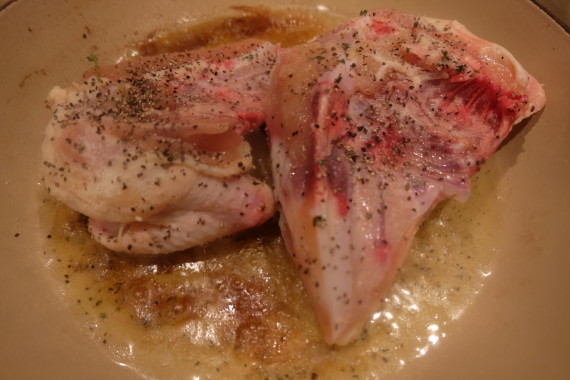
Pat chicken dry with paper towels. Sprinkle both sides with salt and pepper.

In a Dutch oven or skillet that can also be used in the oven, heat olive oil and butter.

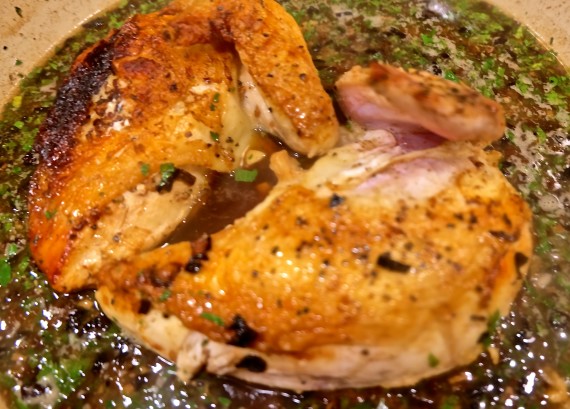
Place chicken skin-side down in the pan. SET YOUR TIMER for 7 minutes. Do not touch chicken or move it around. Also, do not crowd chicken in pan. This is important to brown correctly.

DSCF1462


When timer goes off, turn chicken over and brown for another 7 minutes.

Take chicken out of the pot and set aside.

Pour off all but 2 tablespoons of oil. Place back on stove and add onions. Cook for about 5 minutes.     

Add garlic and cook for 1 more minute.

Pour in white wine and deglaze pan for about 5 minutes. Be sure to scrape up all the brown bits stuck to the pan.

Add in the chicken broth, lemon juice, and herbs. Bring to a boil.

Place chicken back in the pot. The liquid should cover chicken half-way up.

DSCF1478

Transfer the pan to the oven and bake the chicken for 25 minutes.

Serve with any vegetable of your choice ( I served it with my roasted parsnips).

It may seem like a lot of steps, but if you prepare all your ingredients first, it it a very quick and easy process.

Perfect for the fall weather! Enjoy!

It’s that simple!

signature

[recaptcha]


I have so many recipes from my sister-in-law Shelley this blog should be called Simple By Cindy and Shelley! This is one of the recipes she gave me when I first got married and I have been making it ever since.

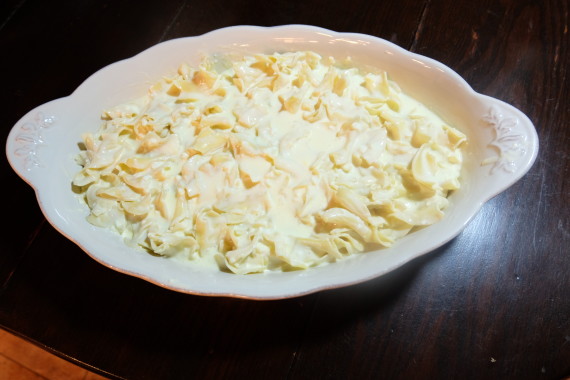
I know this is another noodle pudding recipe, but I promised to share all of my favorites and this one is near the top of my list! During the holidays, three of my friends made it and told me it got rave reviews!

The combination of these ingredients is scrumptious! It is great for a brunch or as a  dessert! Another great recipe that you can prepare the night before and heat it up the day you are going to serve it!

Ingredients for the Noodle Pudding

6 eggs
1/1/2 cups sugar
1 lb. creme cheese (2 8 0z. packages)
1-pint sour cream
1/2 lb. cottage cheese (8 oz.)
1/2 lb sweet butter (2 sticks)
1 pkg. wide noodles
1/2 cup of sugar and 1 cup of cornflake crumbs combined

Soften butter and cream cheese. (You can put each of them in the microwave for 25 seconds).

Boil noodles 3 minutes less than the time suggested on the package. Drain.

Using a blender, beat eggs, sugar, cream cheese, butter, sour cream and cottage cheese. Transfer to a bowl.

Mix in noodles.

DSCF1077

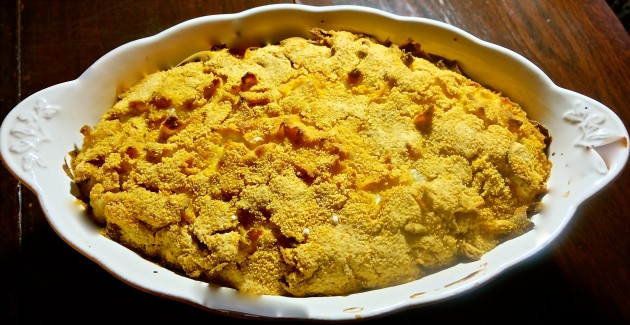
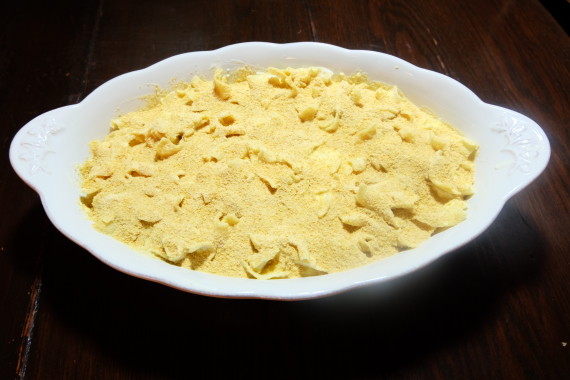
Place in a baking pan. Sprinkle with cornflake crumb and sugar mixture. (use all of it).

DSCF1080

Refrigerate overnight.

The next day preheat oven to 350.

Uncover and bake for 1 1/2 hours.

It’s that simple!

IMG_0230
signature

[recaptcha]


I have been making this dish for many years. It has become a staple in my go-to recipes. This is a dish that is easy to prepare (you make it the night before) yet will look and taste as if you have been cooking it all day!

This recipe is courtesy of the beloved Silver Palate Cookbook. It is deserving of a post as I hope to pass it on to those of you who have not tried it yet.

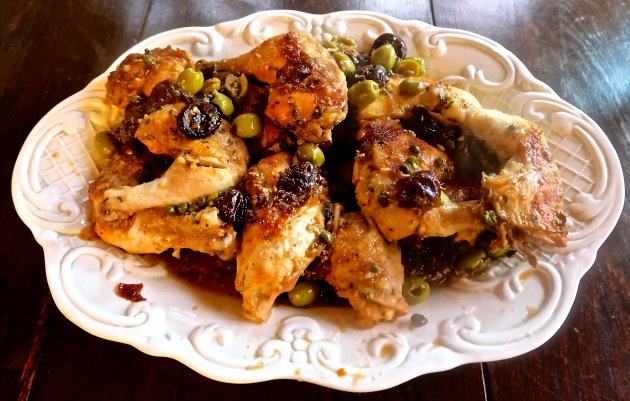
The marinade for this dish is extraordinary. The combination of the olives, prunes and capers give it a Spanish style flavor and helps the chicken to come out moist, tender and juicy. It also provides a unique texture that will be a delight to your guests!

This recipe is a must try! 

Today’s Hint: Always read the entire recipe before you start cooking. This will help you organize your preparation plan and remember details you might miss along the way. Measure, chop and prepare all the ingredients first. Set them aside until you need them. This will make the actual process of cooking your recipe more efficient with less mistakes. It will also prevent you from discovering missing ingredients at the last minute.

Ingredients for Chicken Marbella

1/2 cup olive oil
1/2 cup red wine vinegar
1 cup pitted prunes
1/2 cup pitted Spanish green olives
1/2 cup capers with a bit of juice
6 bay leaves
1 head of garlic, peeled and finely chopped
1/4 cup dried oregano
3 tbsp. Kosher salt
1/2 tbsp pepper
2 chickens, cut into eighths
1 cup dark brown sugar
1 cup of good, dry white wine
1/4 cup fresh Italian (flat-leaf) parsley or fresh cilantro, finely chopped

Combine the olive oil, vinegar, prunes, olives, capers and their juice, bay leaves, garlic, oregano, salt and pepper into a flat pan. Cover the chicken with the mixture, rubbing it well onto the chicken.

Cover the pan and refrigerate overnight.

Preheat 350.

Spoon mixture over top of the chicken again.

Sprinkle the brown sugar over the chicken and pour the white wine around them.

Bake, basting frequently with the pan juices, for 50 minutes up to 1 hour. Prick the thigh, the juice should run clear, not pink.

Transfer chicken to a serving platter. Spoon pan juice over the chicken and sprinkle generously with the parsley.

It’s that simple! I promise you will love this recipe!

signature

[recaptcha]


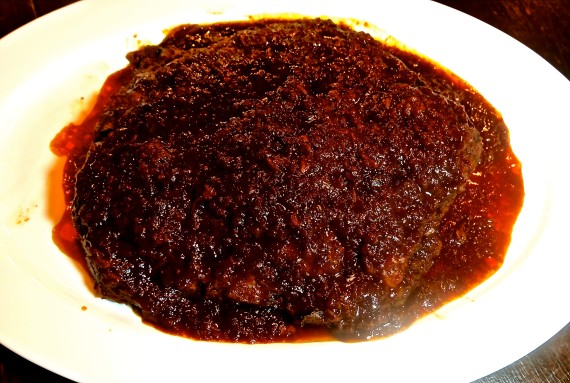
There are so many ways to make brisket. Everyone I ask has their own method.

Some people make it on top of the stove, while others bake it at a low temperature for hours in the oven. 

So many choices! I have tried many of these recipes, and only one has stood the test of time. And that award goes to my sister-in-law, Shelley’s recipe!

I know a lot of people say they hate the ketchup-onion soup mixture. This method is one both my family and I enjoy the most.

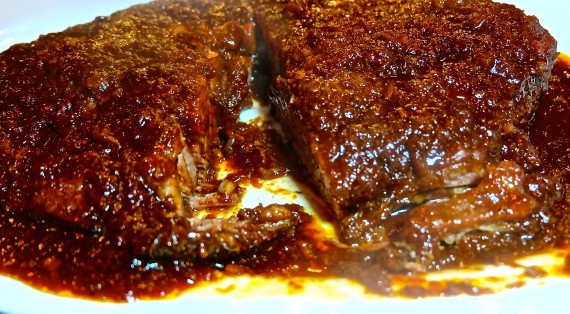
No question about it, this recipe is our favorite! It makes it’s own delicious gravy and comes out soft and delicious every time.

You can use the leftovers to make pulled brisket sandwiches! I have even made it on Super-bowl Sunday as the main dish – pulled brisket on Italian rolls!

It is simple and crazy easy! A great crowd pleaser every time! 

Try this brisket; you won’t be sorry! It is fantastic I promise!

Ingredients for the Brisket

5 pound first cut Brisket
1 tbsp. garlic powder
1 tbsp. onion powder
1 tsp. kosher salt
1 tsp. pepper
2 packages Knorrs French onion soup mix
1 cup ketchup
1/2 cup dark brown sugar

Preheat oven to 325.

Mix garlic powder, onion powder salt and pepper. Rub on both sides of brisket.

Mix onion soup mix, ketchup, and dark brown sugar together. Place brisket into baking pan and cover with onion soup mixture. Make sure both sides of brisket are well coated.

Cover pan tightly with aluminum foil.

Bake for 1 1/2 hours. Take out brisket and turn it over. You may need to add a little water if the pan is browning too much. Place back in the oven for another 2 hours.

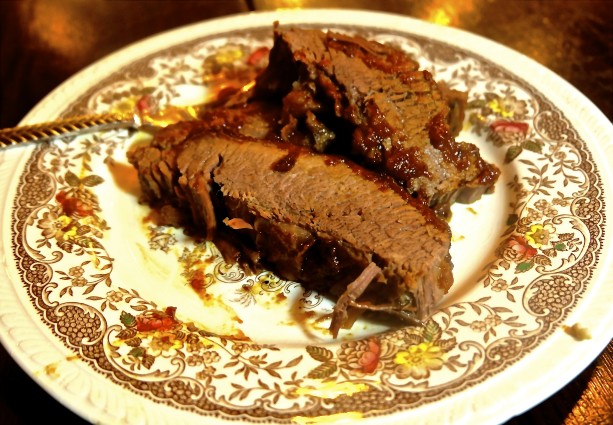
It will make its own gravy.

DSCF0953

When done, cut brisket against the grain of the meat. It should be very soft and easy to cut.

DSCF0958

It’s that simple!  Enjoy! This one is a” keeper”!

IMG_1420
signature

[recaptcha]