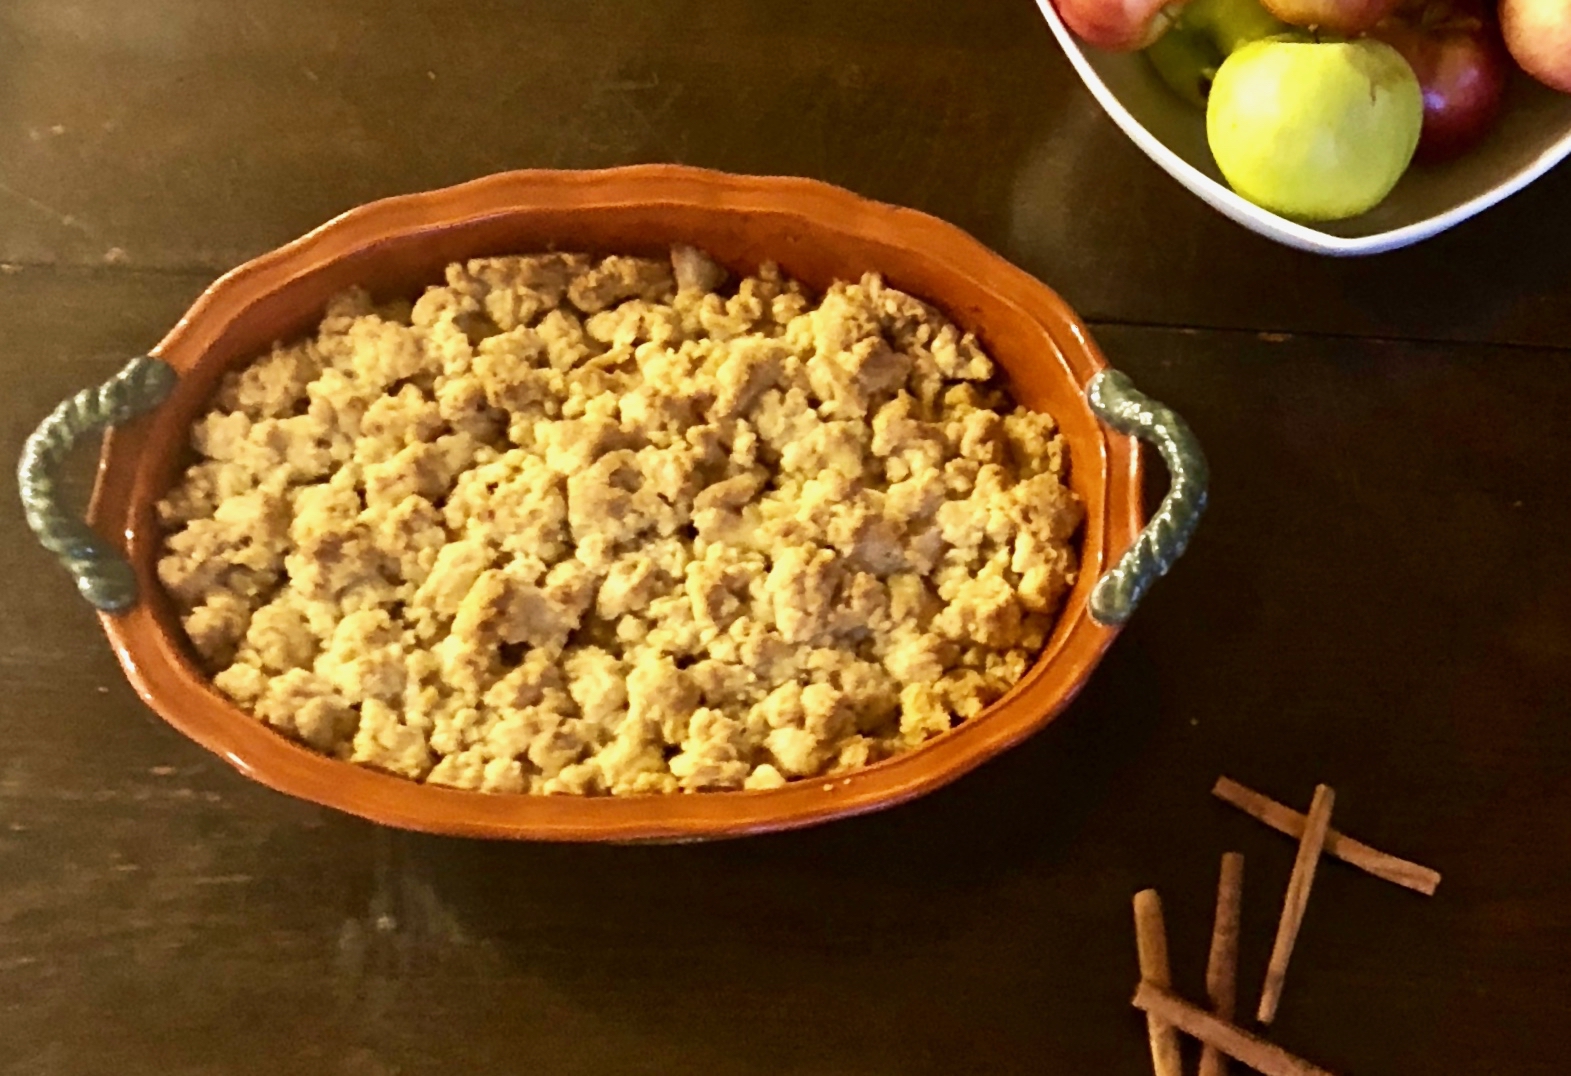
One of the things I love about Autumn is that it is apple season. When my sons were young we used to take them apple picking on one of the most beautiful farms. The farm also had a hay-ride, which my boys looked forward to every year. It would take us up these long steep hills, where we could enjoy the vibrant colors of the leaves that had turned yellow, red, golden brown and orange. 

I grew up in a town in New York that was very flat, with no hills or mountains. When I first moved to New Jersey, I remember being mesmerized my first fall. One weekend, I took my parents out on a highway with winding roads so they could enjoy the amazing autumn colors that I fell in love with. It quickly became my favorite season.

I love baking with apples. When we would bring freshly picked apples home from that farm, I would bake away! I wasn’t much of an apple dessert fan until I started baking with the freshly picked ones. Combine the apples or pears with cinnamon, butter, brown sugar, and ice cream and it is nothing short of magical. 

I know it is pear season as, well, which is why I thought this recipe is perfect.

The combination of the apples and pears with the orange and lemon juice and zest is perfection. It gives them a nice tart flavor that blends beautifully. The nutmeg and cinnamon provide that savory goodness that is always in harmony with apples and pears. The oatmeal, butter and brown sugar are the perfect topping for this delectable treat. As always, Ina’s recipe is impeccable.

This recipe is courtesy of Ina Garten and its mouthwatering goodness will immerse 8 people into the autumn spirit.

Ingredients for Apple and Pear Crisp:

2 pounds Bosc pears (4 pears)
2 pounds firm Macoun apples (6 apples)
1 tsp. grated orange zest
1 tsp. grated lemon zest
2 tbsp. freshly squeezed orange juice
2 tbsp. freshly squeezed lemon juice
1/2 cup granulated sugar
1/4 cup all-purpose flour
1 tsp. ground cinnamon
1/2 tsp. ground nutmeg

For the topping:

1 1/2 cups all-purpose flour
3/4 cup granulated sugar
3/4 cup light brown sugar, lightly packed
1/2 tsp. kosher salt
1 cup old-fashioned oatmeal
1/2 pound (2 sticks) cold unsalted butter, diced

Preheat oven to 350F.

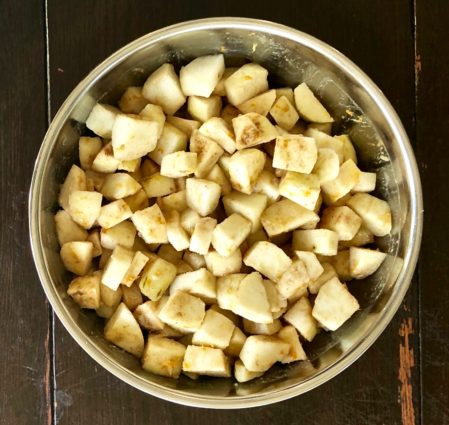
Peel, core and cut the pears and apples into large chunks.

Place fruit in a large bowl and add the zests, juices, sugar, flour, cinnamon, and the nutmeg.
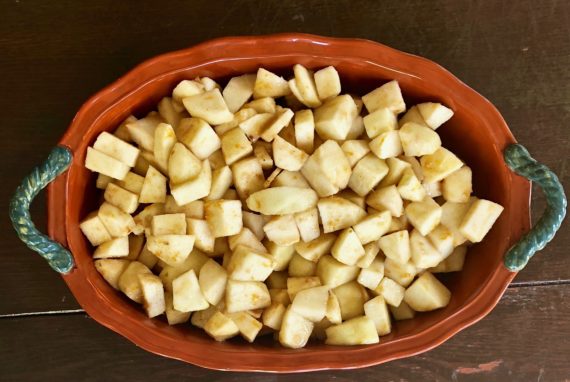
Pour into a 9 x 12 by 2-inch oval baking dish.
For the topping:

Combine the flour, sugars. salt, oatmeal, and butter in the bowl of an electric mixer fitted with the paddle attachment.

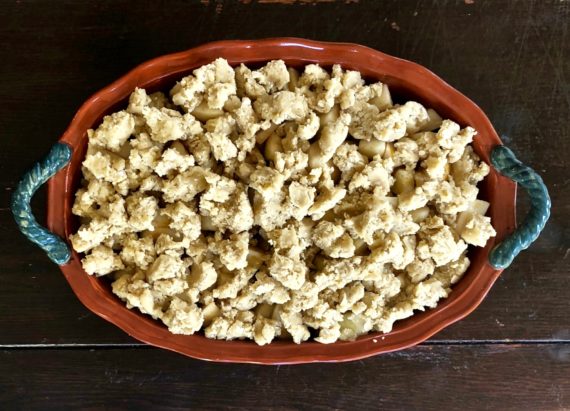
Mix on low speed for 1 minute, until the mixture is in large crumbles.

Sprinkle evenly over the fruit, covering the fruit completely.
Serve warm.

It’s that simple!

signature

[recaptcha]


I keep a journal of cooking tips for my nieces. In all the years I have been cooking, I certainly have learned a few things that I would love to share. Remember, no matter how long you do something, whether it be professionally, or at home, there is always something to be learned. Here are some tips from my journal to help you become a better cook.

Prepare all your ingredients first. This is called a “mis en place”. It makes the cooking time go by faster, allows you to be in the moment and enjoy the fun of cooking.

When following a recipe for cooking meat, never cook the meat for as long as the recipe says. Most cookbooks are required to give you a certain time or temperature for health reasons. Always cook your meat ten minutes less and ten degrees less than they tell you. If you feel it is too undercooked, keep it in longer and check it at 1 or 2-minute increments. And remember, the meat will continue to cook when you take it off the heat, so be sure to factor that in as well.

Don’t skimp on the mixing process. Take your time and mix ingredients well. This is a very important step.

When boiling water for pasta, add a hearty palmful of salt. This will be the only time you get to season it. Cook the pasta 2-4 minutes less than the package instructions if you are going to place it in the oven. Always save 1 cup of pasta water. This can be used to thicken the sauce you are preparing the pasta in. Never rinse pasta!

When preparing grains cooking times can vary. When in doubt, taste them. If the grain is not as tender as you would like, add some more broth or water and continue cooking. If they seem fine before the liquid is done, simply drain it. Also, cooking them in chicken or vegetable broth will add flavor to them. Most grains soak up these flavors beautifully.

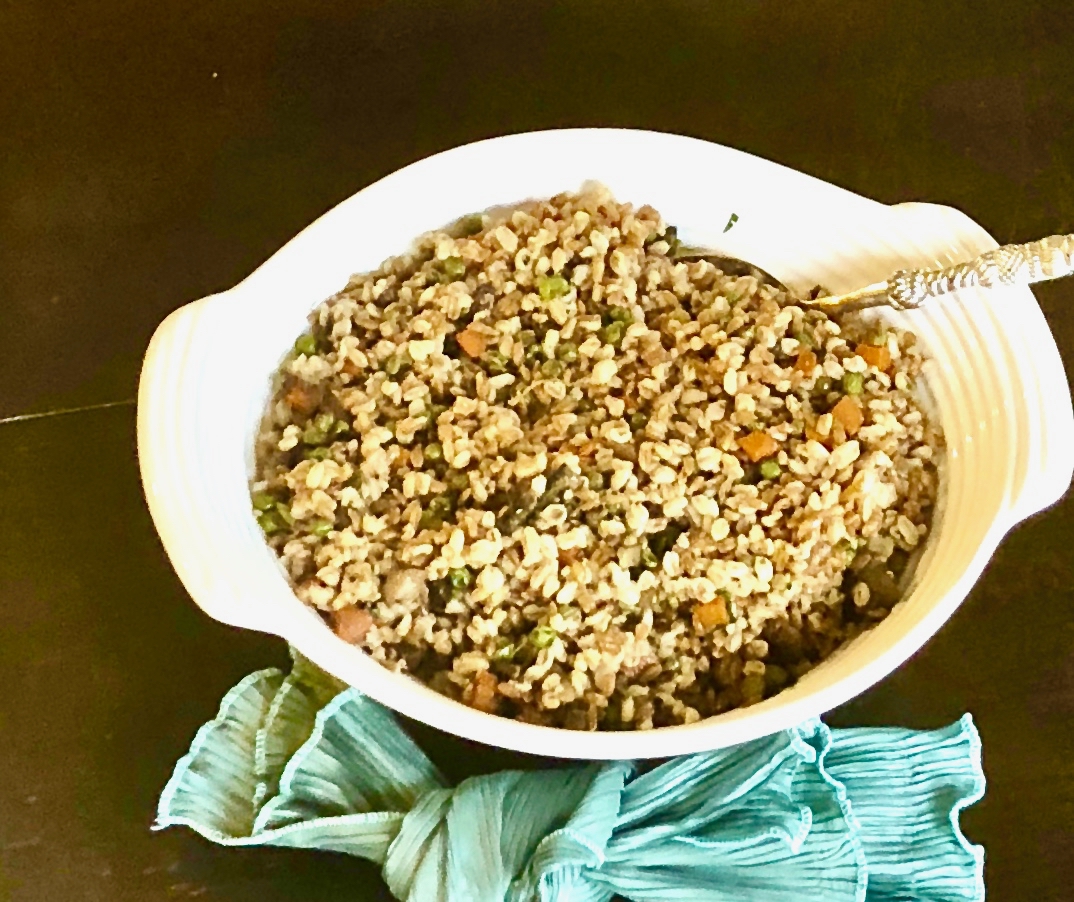
You do not have to follow a recipe exactly. Like this farro recipe for example, if you don’t like mushrooms, just leave them out. Add a little more garlic if you want. Don’t be afraid to make it your own!

When it comes to grains, this recipe is about as easy as it gets. The farro does not take a long time to prepare, and it adds a wonderful texture and flavor to this dish. The mushrooms and carrots are extremely well-paired. The peas provide beautiful color and tiny little bursts of sweetness. The dressing for this dish has a creamy, yet sharp zing to it.

This recipe will serve 4-6 people who will be delightfully surprised with the depth of flavor this simple dish provides.

Ingredients for Farro with Mushrooms and Peas

1 cup organic cooked farro
8 ounces baby bella mushrooms, cleaned trimmed and sliced
1 cup frozen peas
1 cup carrots, diced
2 garlic cloves, chopped
1/4 cup fresh basil leaves, julienned or chopped
2 1/4 cup of chicken broth
2 tbsp. olive oil
1/2 tsp kosher salt
1/4 tsp. freshly ground black pepper

Ingredients for the dressing

3 – 4 tbsp. cup good-quality red or white wine vinegar.
1 tbsp. Dijon mustard
1 1/2 tbsp. maple syrup
1/2 tsp. kosher salt
1/4 tsp. freshly ground black pepper
1/4 cup good extra-virgin olive oil

Cook farro according to package in instructions, but use the chicken broth instead of water.

Drain farro and set aside.

In a large, deep skillet, heat 2 tablespoons olive oil.

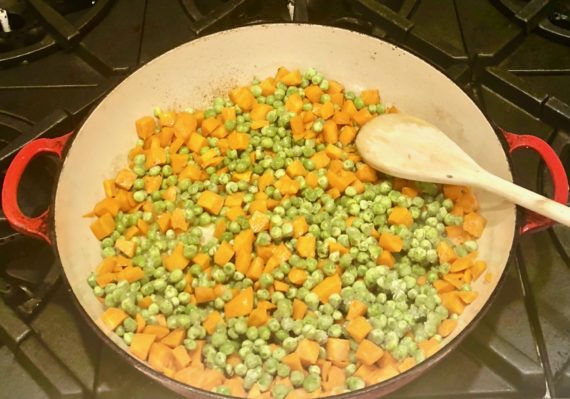
Add carrots and peas; sauté for 5 minutes, or until carrots are soft.

Add garlic, cook for 1 minute.

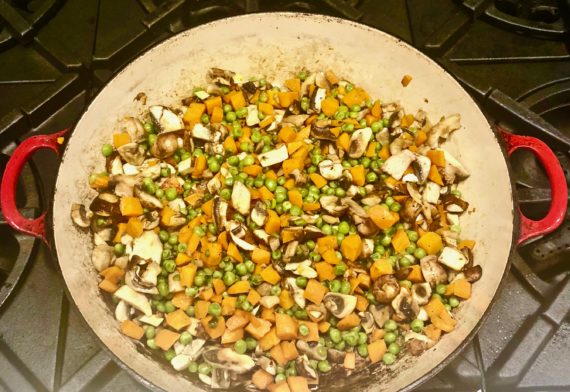
Toss in mushrooms, continue to sauté for 4-5 minutes.

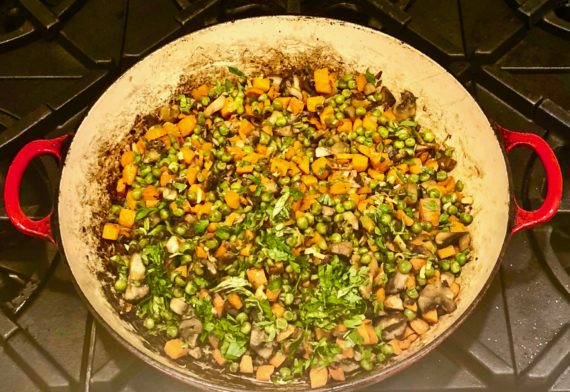
Now add the basil, salt, and pepper. Cook for 1 minute.

Remove from the heat, and toss in the farro.

Mix gently to combine.

Make the dressing:

Mix first 5 ingredients in a small bowl.

Slowly whisk in olive oil.

Pour over farro mixture and gently mix together.

It’s that simple!
signature

[recaptcha]


Whoa! Summer has come and gone so fast! Just as you get used to having the warmth of the sun on your skin, it’s gone and it is September already. September and October are now usually rather warm months. Although many future brides still prefer May and June, I think September and October are perfect wedding months. When my boys were growing up, May and June were beautiful. Spring these past few years have been colder. You wait in excitement for the beginning of spring to bring warmth, but it seldom has. 

These past couple of years the return to school months have beautiful days and nights. Of course, we don’t get to enjoy them as much. I used to tell everyone that September through June is a roller coaster ride. Then you get off the roller coaster and absorb the beautiful days of summer, never wanting it to end. I remember my mother and aunts telling me time goes by so much faster as you age. How right they were. 

Fall and winter brings back school and holidays. Getting the kids up, shopping, entertaining, and cleaning up is a lot of work. I have some advice for the young mothers out there. Try to be in the moment. See the laughter and joy in every minute with your children. Before you know it, they are off to college. You will look back to their younger days and wish you could have it all back. Then, you make peace with it. But time races on, faster than it did before.

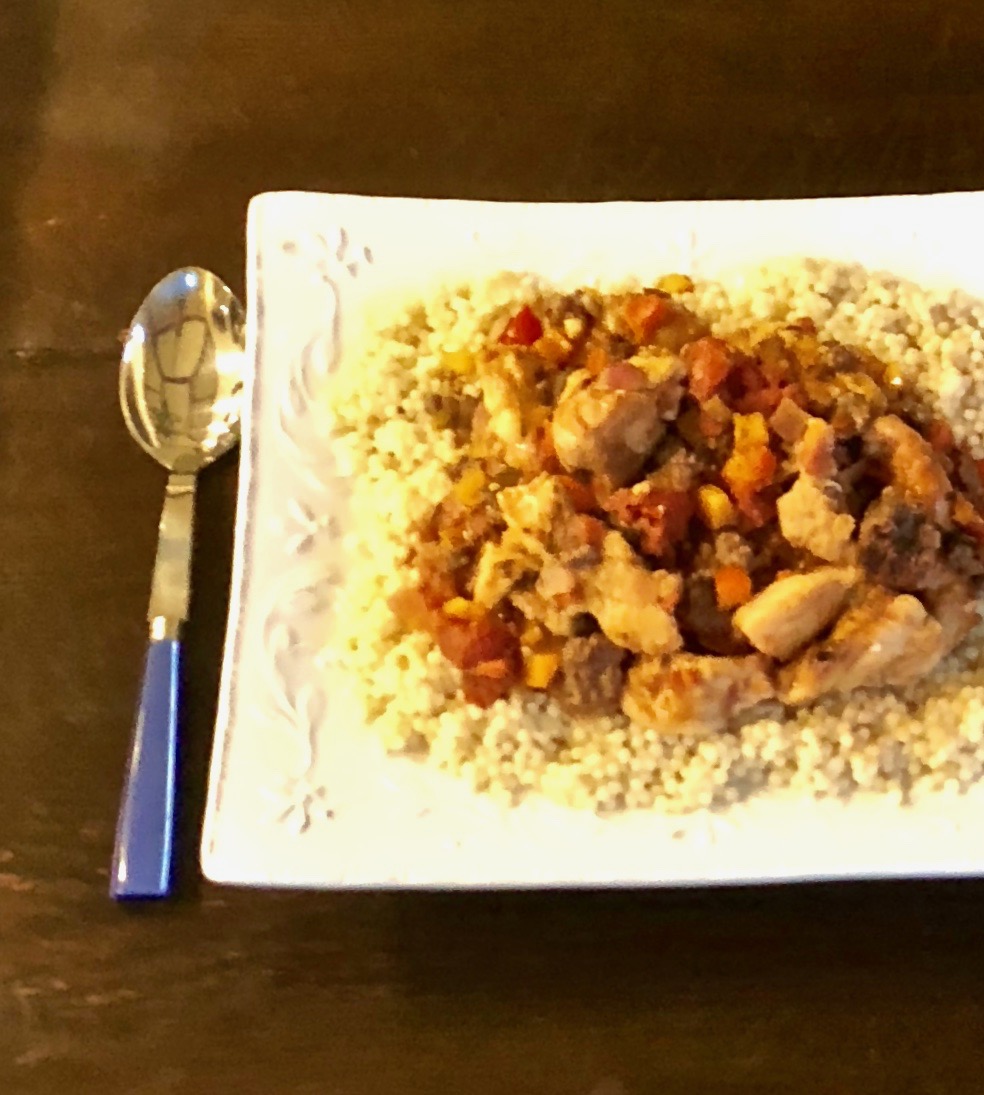
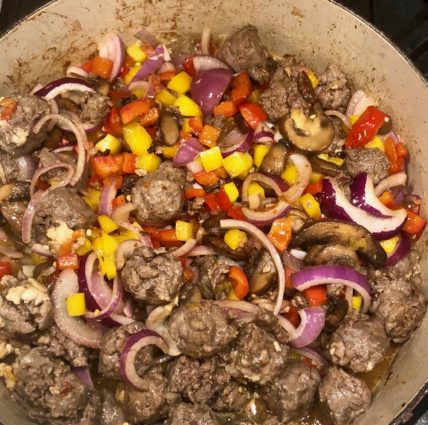
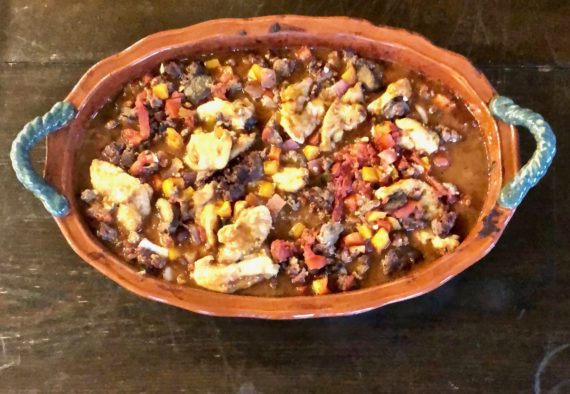
Speaking of the holiday season, I thought this recipe would be perfect for a main course. If you do your mise-en-place (prep) it doesn’t take that long to do. The chicken and sausages are browned and caramelized which lends a blissful sweetness to it. The cherry peppers pack the perfect amount of heat to contrast it without overpowering the other flavors. I love this recipe and will be making it for the holidays this year.

This recipe is loosely adapted from another recipe. I researched to find the author, but I couldn’t. If anyone recognizes this, please let me know. I would love to give them the credit they deserve. This lovely main dish will serve 10-12 people who will relish in its unique combination of flavors.

Ingredients for Chicken Scarpariello:

8 boneless, skinless chicken thighs, sliced
2 tsp. kosher salt, divided
1 tsp. freshly ground black pepper, divided
1 cup all-purpose flour
1/4 cup good extra-virgin olive oil, divided
4 garlic cloves, chopped
4 ounces (about 3) portabella mushrooms, roughly chopped
4 beef sausages, casing removed and sliced into 1-inch slices
1 red bell pepper, chopped
1 yellow bell pepper, chopped
1 red onion, chopped
3 hot cherry peppers from a jar, drained and chopped
8 fresh basil leaves, julienned or chopped, plus. 4 for garnish
3/4 cup good white wine
1 (28-ounce) can tomatoes
1 pound orzo, or couscous, cooked according to package directions

Preheat oven to 350F.

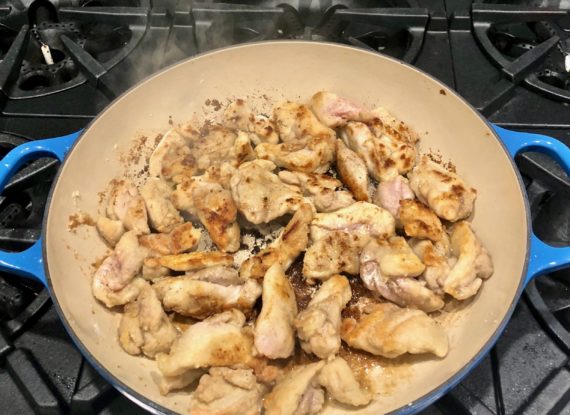
In a medium bowl, mix flour with 1 teaspoon of salt and 1/2 teaspoon pepper. Place chicken slices into the flour and toss to coat.

In a large skillet, heat half of the olive oil.

Place chicken slices in and cook over medium-high heat until just browned on both sides.

Take off heat and place in cast iron pot or extra-large baking dish.

Add remaining olive oil to the skillet and heat.

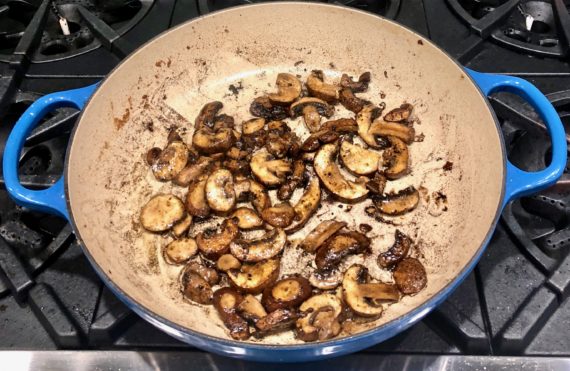
Add the mushrooms and cook until they have released their liquid and all the liquid has cooked out, about 5 minutes.

Stir in garlic.

Cook for 1 minute.

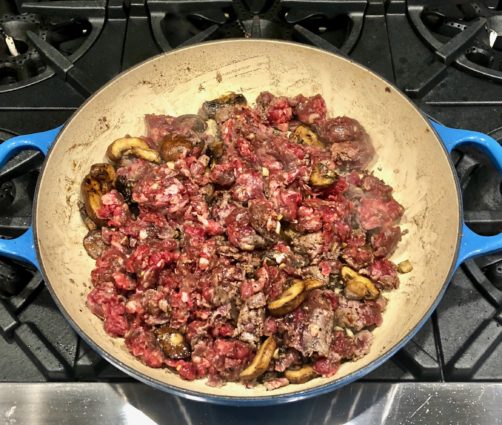
Place the sausage slices into the skillet and saute for 4-5 minutes, or until you see them just turning brown.

Season with remaining salt and pepper.

Toss in the red and yellow pepper, onion, cherry peppers.

Saute for 5 minutes until the vegetables start to wilt.

Stir in chopped basil.

Pour in the wine and let it cook down, about 5 minutes.

Stir in the canned tomato.

Take off heat and add mixture to the chicken.

Place in oven and let it bake, uncovered for 25 minutes.

Serve over couscous.

Garnish with basil leaves.

It’s that simple!
signature

[recaptcha]


This past Father’s Day I entertained 15 people at my home. The usual guest list is about 20 plus, so this was a rather small gathering for me. Regardless of the size of the party, it takes time to plan a menu, although my blog really helps. My husband usually lets me do my own thing, but this year he wanted to plan it with me.

When it came time to pick the entree, I made some suggestions, like london broil, chicken, salmon or steak. His idea: hot dogs and hamburgers. I laughed and said, “surely you don’t want to have to grill on Father’s Day…let me make some london broil and you can relax”. But he insisted on a classic BBQ. I let it go, knowing I would bring it up again the next day.

I asked him again, and he was firm. I guess when a man wants a hot dog and a hamburger he’s gotta have it! And who am I to deny him on a day to celebrate him as a father? So we had them, and although I had something less conventional in mind, I must say he did a great job.

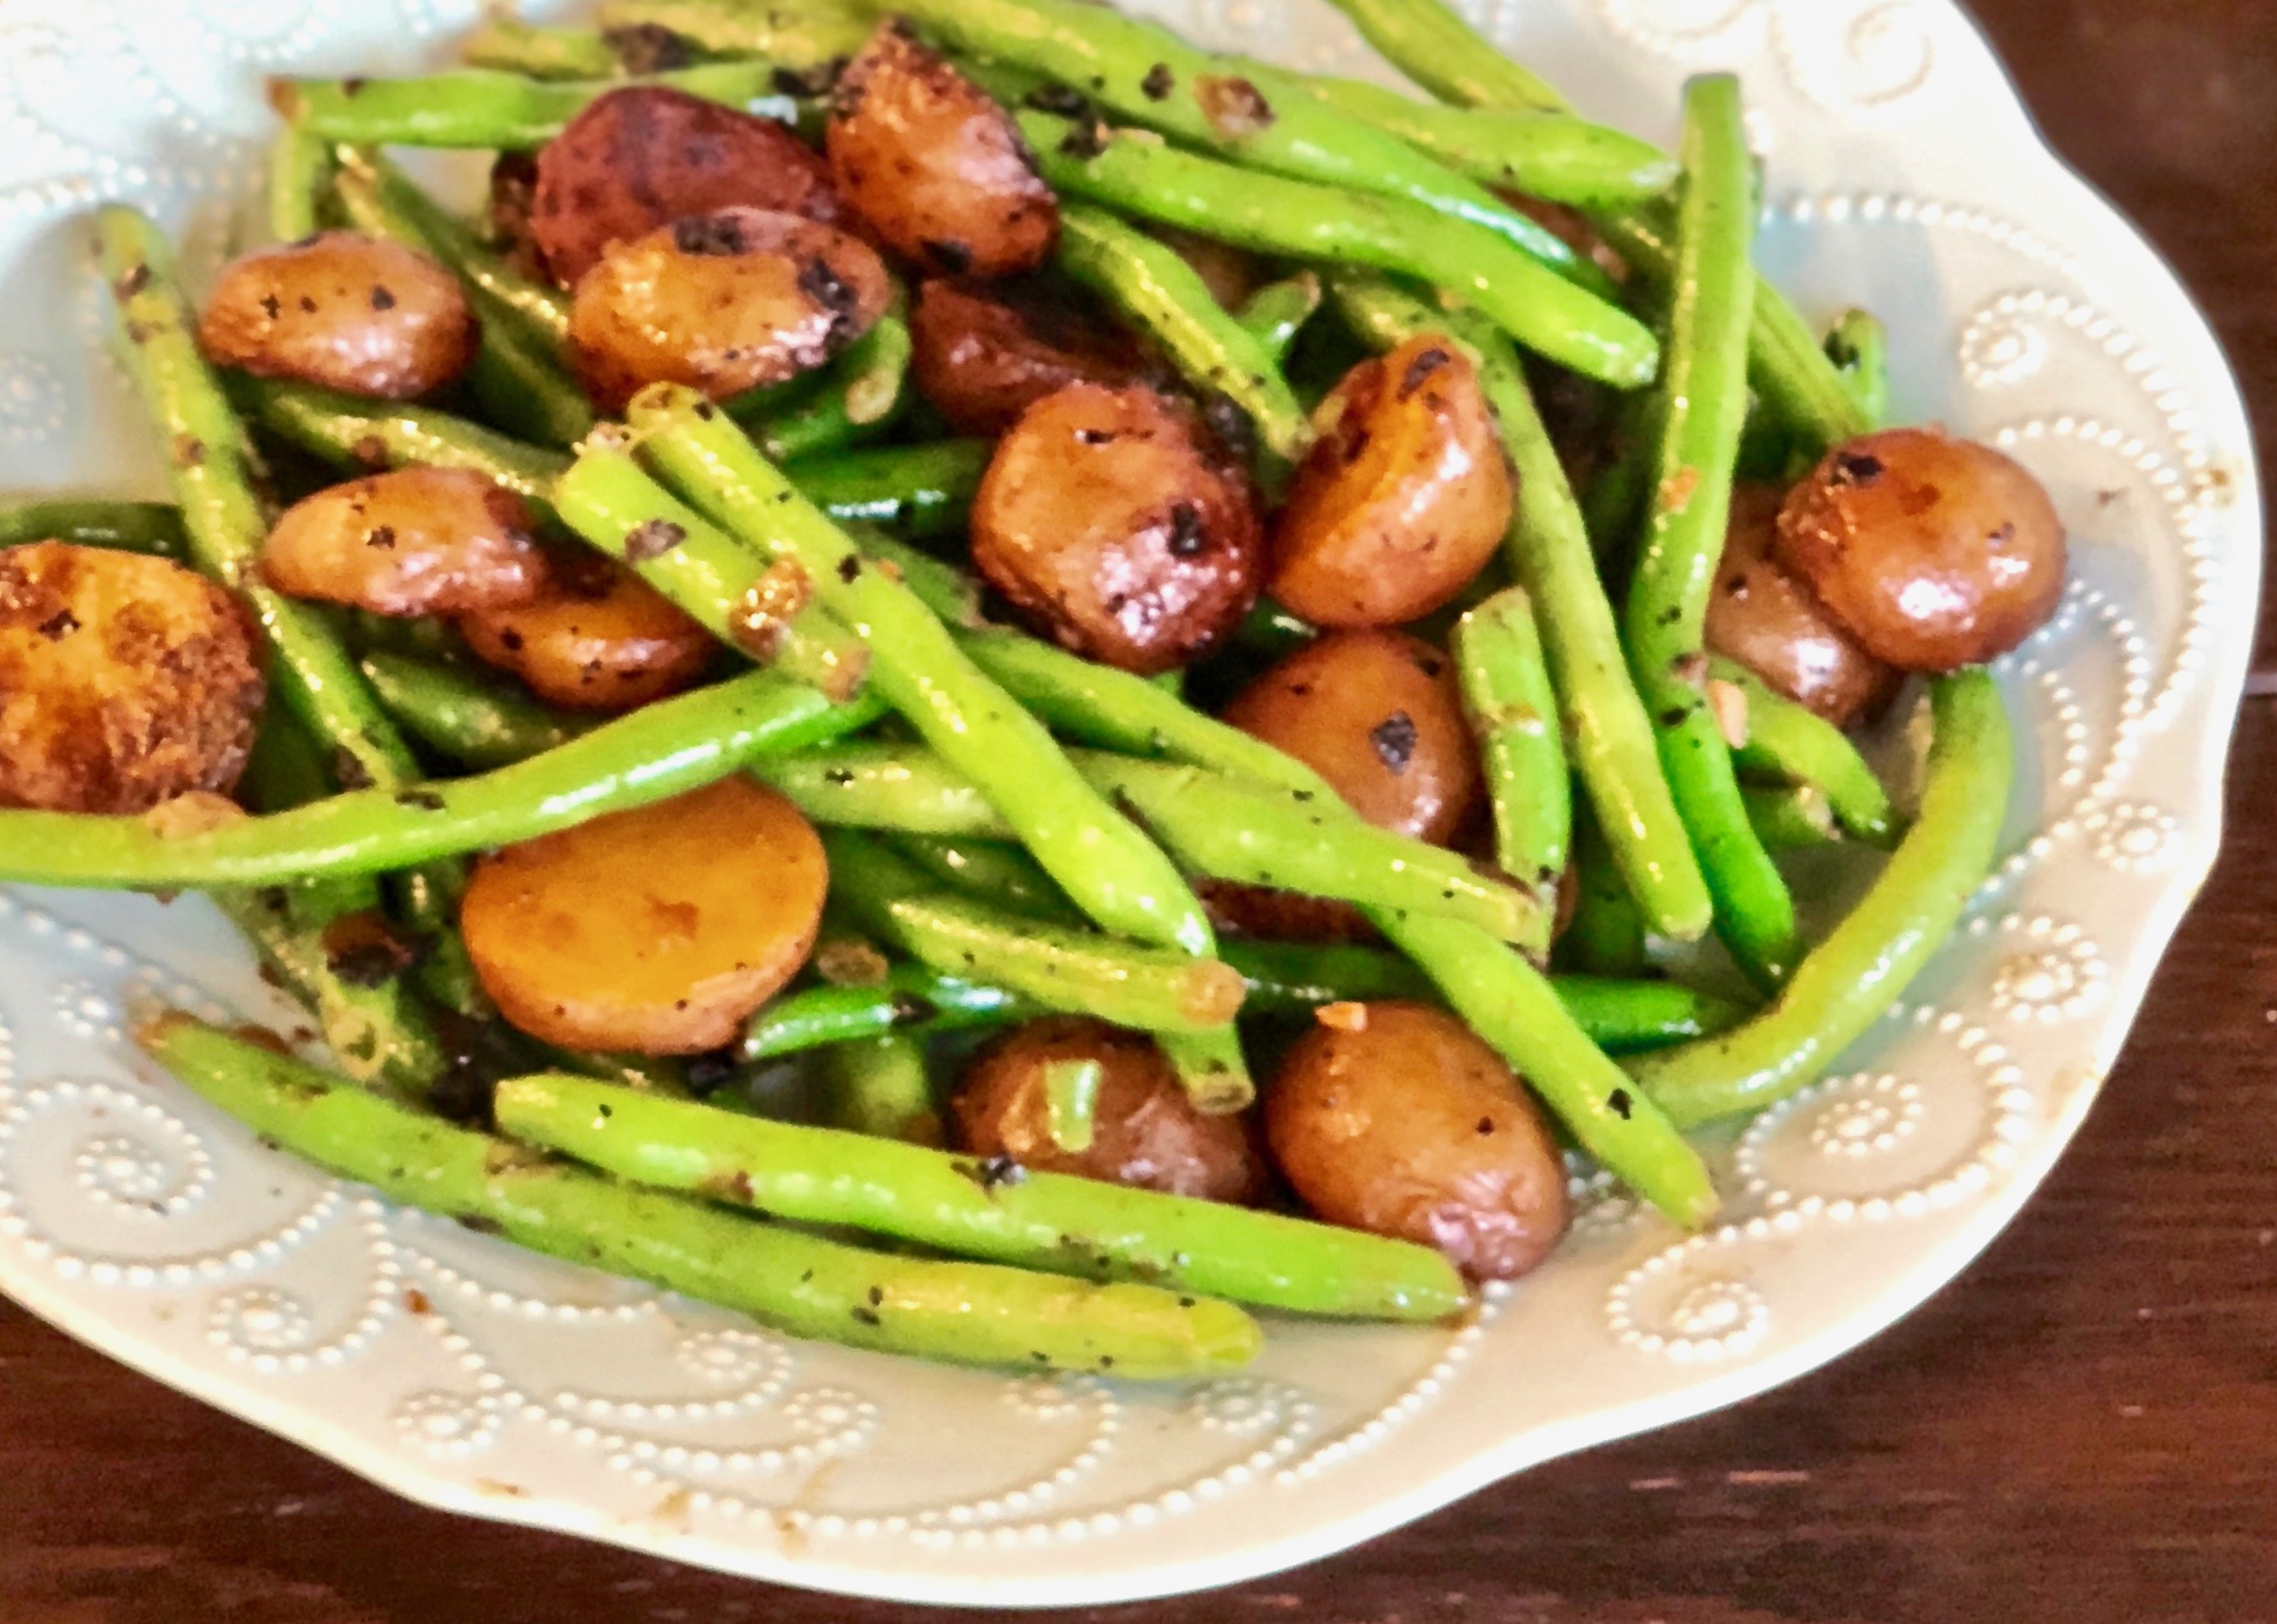
The sides are always the hardest to choose. If you remember, my rule is to never to prepare a dish you have never made before when you are expecting company. I really wanted to try the garlicky green beans and potatoes, but I didn’t get a chance to try making them in advance, so I took my chances. 

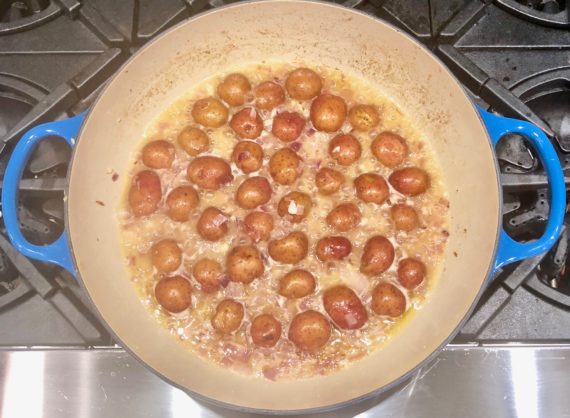
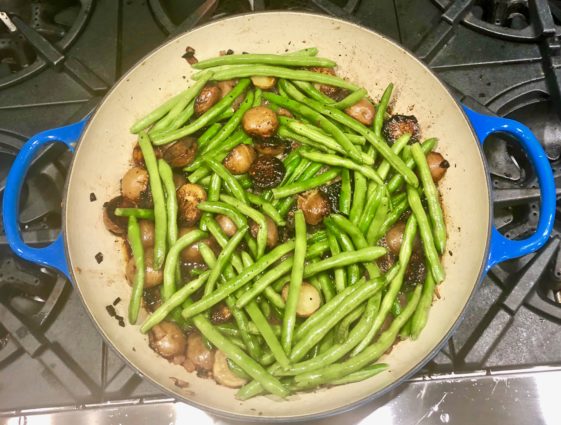
They turned out beautifully, and this dish was a big hit! It was easy to make, but your guests will think you had been cooking all day. Just a few notes, I used 3 cloves of garlic, but you can cut it down to two if you prefer. You must watch the potatoes carefully, even if you are setting your timer. If there is not enough liquid they will easily burn (some of mine did, but I was able to save most of it, and leave the badly burned ones out of the picture). If you need more liquid just add a little in. Also, watch the green beans carefully, and take them immediately off the heat when they turn bright green. They will continue to cook after you have removed them from the heat and you don’t want mushy, unappealing, green beans.

This one is definitely a keeper. The potatoes are caramelized until they are irresistibly flavorful and the green beans are crisp and prepared superbly.  The chicken broth is absorbed beautifully and the wine adds a hint of sophistication to the taste. I know you are going to love this one!

This recipe will serve 6-8 people who will want to leave extra room on their plate for a huge helping of this perfect side dish.

Ingredients for Garlicky Green Beans and Potatoes

2 tbsp. olive oil
3 tbsp. butter
1/2 large red onion, chopped
2 pounds green beans
15 small red potatoes, cut into halves
2 or 3 large garlic cloves, chopped
1/4 cup chicken broth
1/4 cup of wine, plus 1/4 set aside
1 tsp. kosher salt
1/2 tsp. freshly ground black pepper

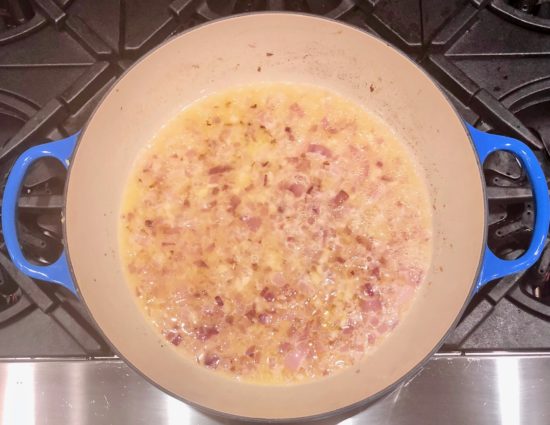
Heat olive oil and butter in a medium skillet over medium heat.

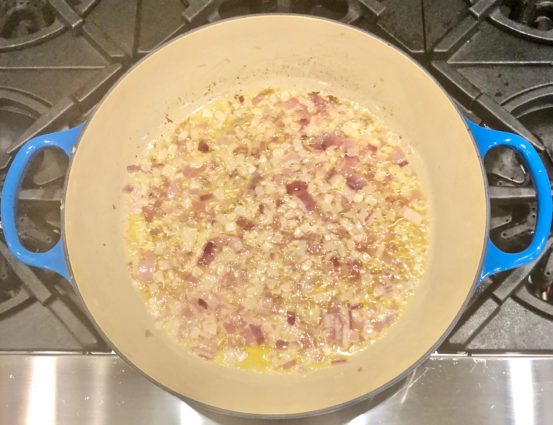
Add onions and cook until translucent, about 4-5 minutes.

Stir in garlic and cook for 1 minute.

Pour in chicken broth and 1/4 cup of wine, and heat until wine has reduced, about 2-3 minutes.

Add potatoes, cut side down, and let cook about 5 minutes, or until the cut side has turned golden brown.

Add in 1/4 cup of wine and green beans.

Cook until green beans have turned bright green and immediately remove from heat.

Serve hot.

It’s that simple!
signature

[recaptcha]


I know it is summer and you might not think you want another sweet potato dish. As I was cleaning out my pantry I noticed that I had some sweet potatoes that were in urgent need of cooking, or they would go bad. The result was so incredible, I knew I needed to share it with you.

If you ever find yourself in that position, you’re going to want to have this recipe on hand. One upside of the weather not fully agreeing with the season yet, turning on the oven to roast these wasn’t so bad! 

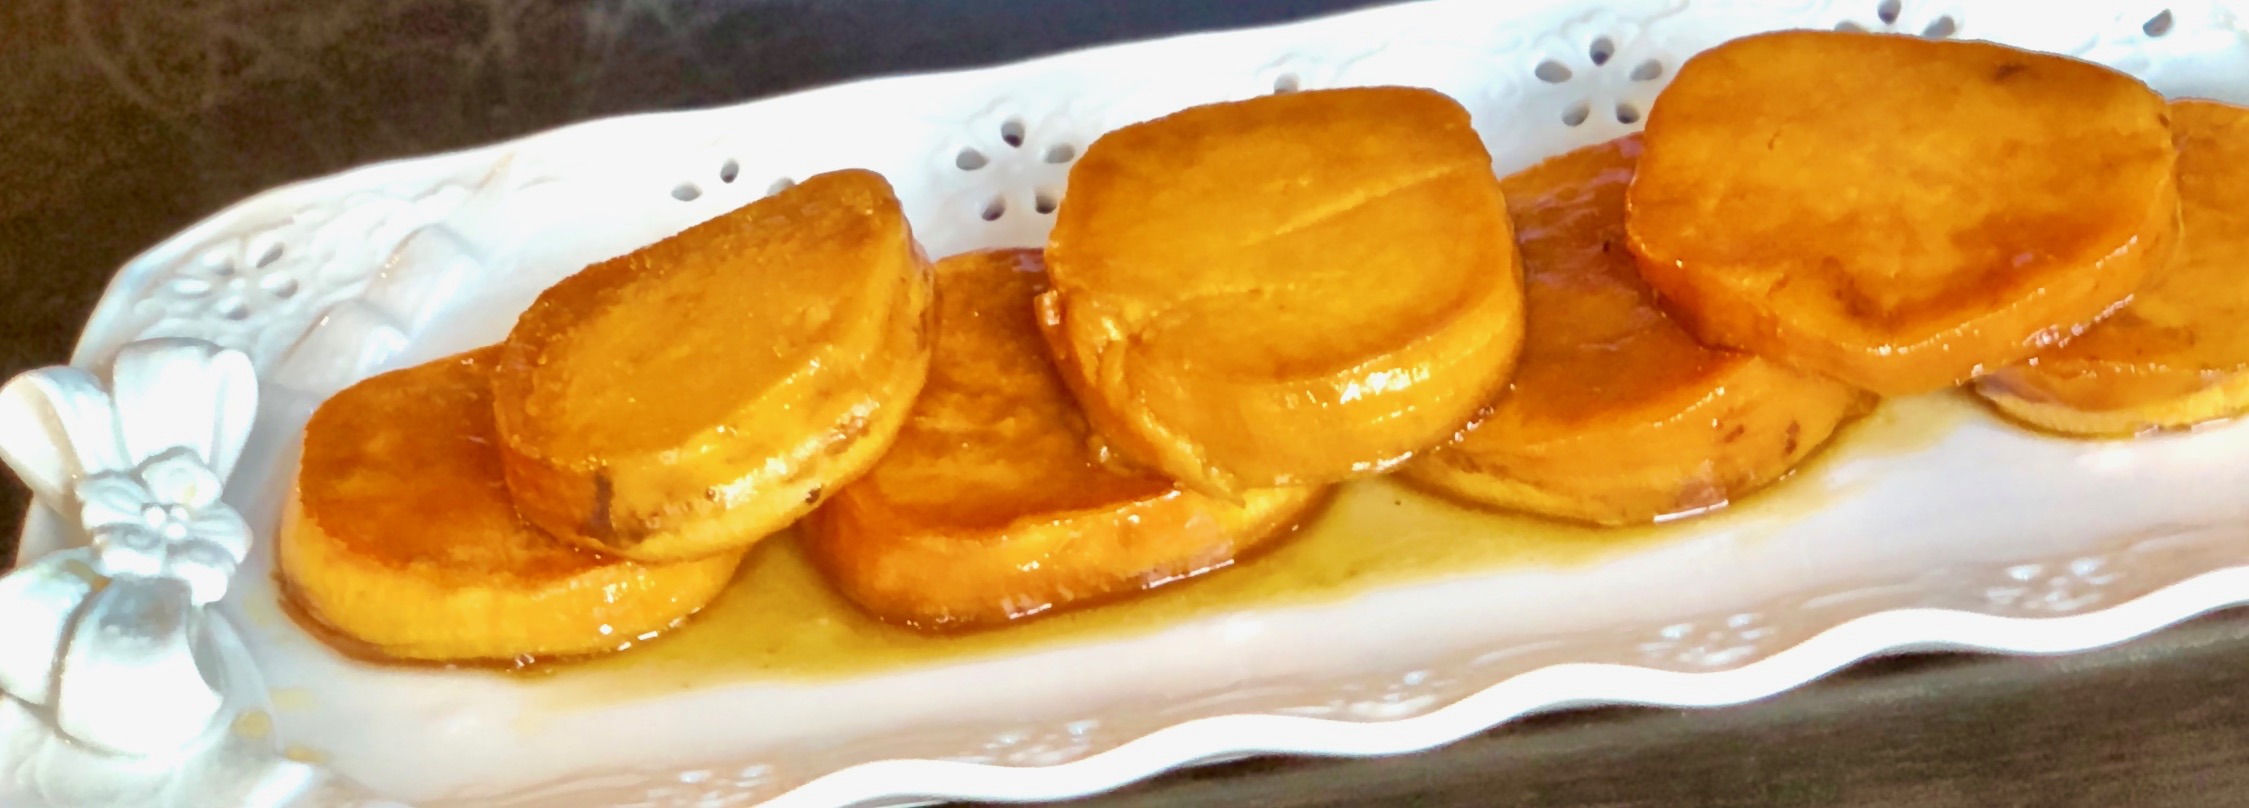
As it turns out, this is one of the best sweet potato recipes I have ever made. This dish will definitely be on my Thanksgiving menu, it was just that fabulous. Usually, I can never get my sons to eat sweet potatoes. They gave it a try, and they loved them so much they even asked that I make it again. (WHAT?!)

I have come to the conclusion that sweet potatoes should always be eaten in tandem with brown sugar and maple syrup. They go together like peanut butter and jelly. For this recipe, I used bourbon and it gave the sauce an additional depth of flavor that is as dramatic as it is amazing. Of course, the vanilla extract topped it off to make it just perfect.

This is an absolutely superb side dish. It is courtesy of Kosher By Design and will serve 8-10 people who will be delighted by this sweet potato dish even if it is summer!

Ingredients for Glazed Sweet Potatoes

4-5 pounds sweet potatoes, peeled
4 tbsp. (1/2 stick) margarine or butter
1 cup dark brown sugar
1 tbsp. vanilla extract
1/4 tsp. salt
1/4 cup whiskey or bourbon

Preheat oven to 375°F.

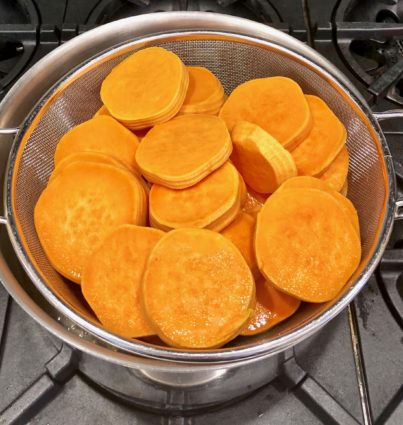
Cut the sweet potatoes into 1/2-inch slices.

Steam the sweet potatoes for 10 minutes or until soft but not mushy.

Remove potatoes from steamer and set aside.

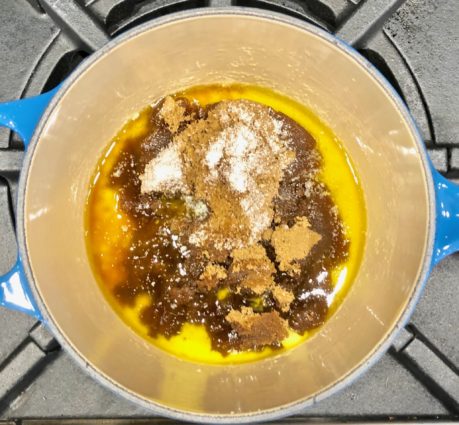
In a small saucepan, melt the butter over medium heat.

Add the brown sugar, vanilla, and salt, stirring until the sugar is dissolved.

Stir in the whiskey or bourbon and cook for 5-10 minutes or until slightly thickened, stirring occasionally.

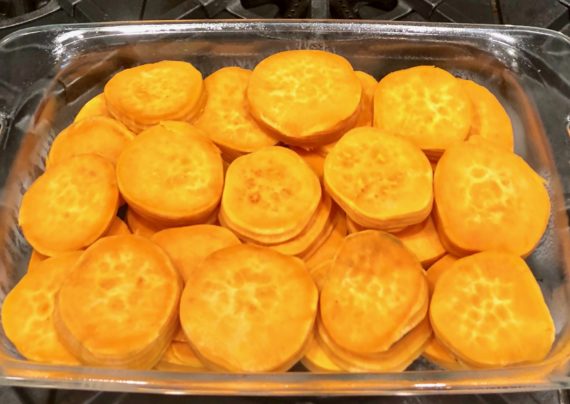
Spray a 9 x 13-inch glass baking dish with nonstick cooking spray.

Place the sweet potatoes in the pan.

Drizzle the sauce over the top.

Bake uncovered for 1 hour. 

Baste with the sauce every 10 minutes to keep the potatoes from drying out.

It’s that simple!

signature

[recaptcha]