I was never a fan of dressing up for Halloween, even as a kid. I looked forward to seeing what everyone else dressed up as, but I never enjoyed it myself. 

When my kids were growing up and they had a Halloween day parade at their school, I used to marvel at some of the costumes the other kids would wear. Some mothers were so creative, I still remember them today. Children were dressed up as dice, m&m’s, old men or women, and lollipops, to name a few. These costumes were all made by hand and they amazed me! I would admire creative mothers because my kids were not so fortunate in that way. My boys got store-bought costumes, but I know they were just as happy.

My kids have not celebrated Halloween in a very long time, so I miss those days. It was fun to watch all the kids parade around so proudly in their costumes. I live on a short street, nestled between two larger ones, so some years we would get a lot of trick or treaters, other years not so much. Lately, I am sorry to say if I just get a handful if I am lucky. Despite this, I still have that bowl of candy ready just in case, and I always will.

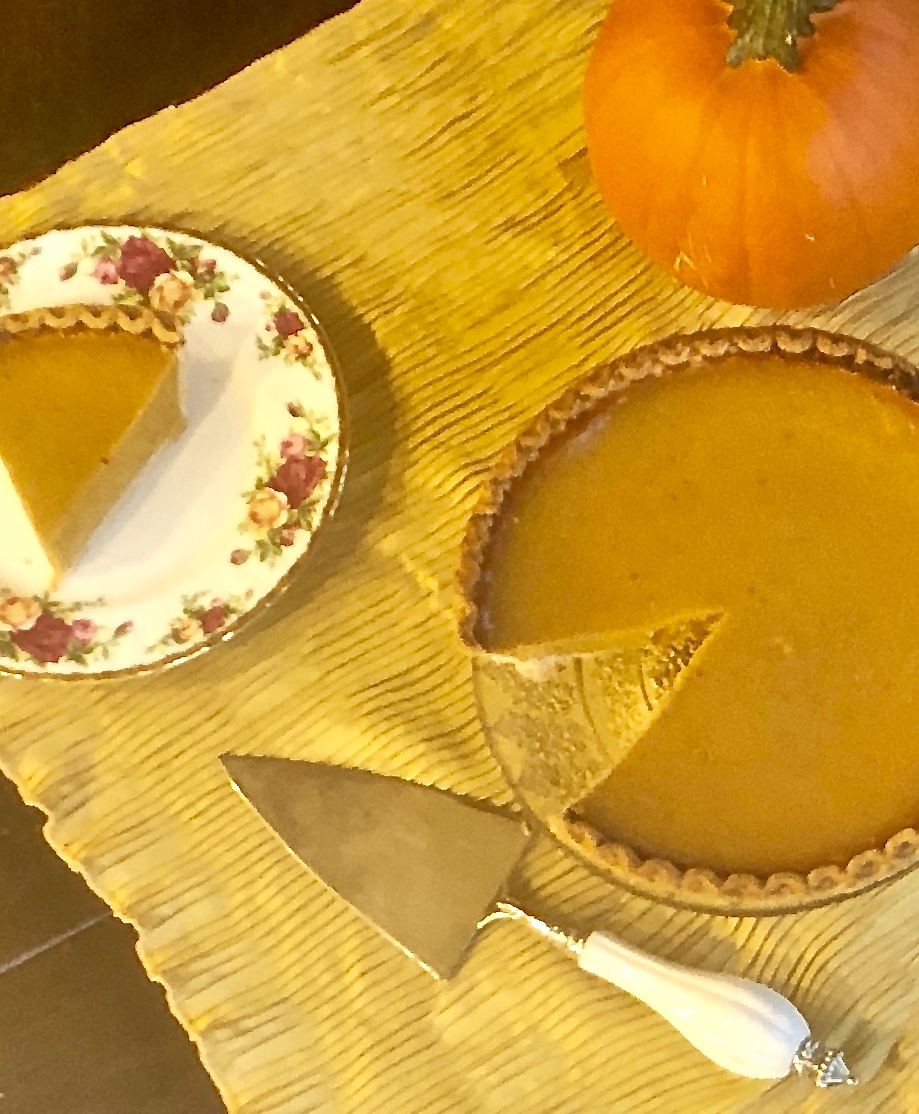
Even when we grow older, we crave sweets around halloween time. Pumpkin pie is my husband’s absolute favorite sweet treat. I never made him one, because all the recipes I came across used canned pumpkin. I rarely use anything in a can unless I have to. Using canned pumpkin just wasn’t going to happen, so I told him he would never get pumpkin pie from me. I don’t know why it has taken me this long to figure out that you can roast a pumpkin like you would butternut squash. Now that I have come up with this recipe, he is ecstatic. When I finally made one, he had a slice for breakfast and dessert almost every day.

In keeping with Halloween tradition, I decided to make one with fresh pumpkin. I am really happy with the results. This pie has a beautiful consistency. It is creamy, with all those savory fall spices: nutmeg, cinnamon, and ginger. They complement the roasted pumpkin perfectly. The reason I roasted the pumpkin flesh side up was to give it a caramelized flavor that is rich in sweetness.

This recipe will serve 8 people who will want to treat themselves to this perfect pumpkin pie year-round!

FYI: I doubled the recipe to make 2 pies, that is why there is so much batter in the pictures!

Ingredients for Homemade Fresh Pumpkin Pie:

1 deep dish pie shell

2 cups mashed, cooked pumpkin
1 (12 fluid ounce) can evaporated milk
2 eggs, beaten
3/4 cup packed brown sugar
1/2 tsp. ground cinnamon
1 tsp. ground nutmeg
1/2 tsp. ground ginger
1/2 tsp. salt

Preheat oven to 400°F

Cut a medium sized pumpkin in half and scoop out the seeds.

Lay the pumpkin halves flesh side up on a baking sheet lined with parchment paper.

Cook pumpkin for 35-45 minutes.

Scoop out flesh, enough for 2 cups.
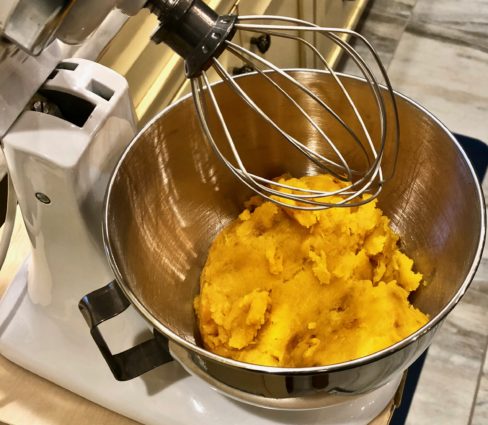
In a large bowl, beat the pumpkin, evaporated milk, and eggs.
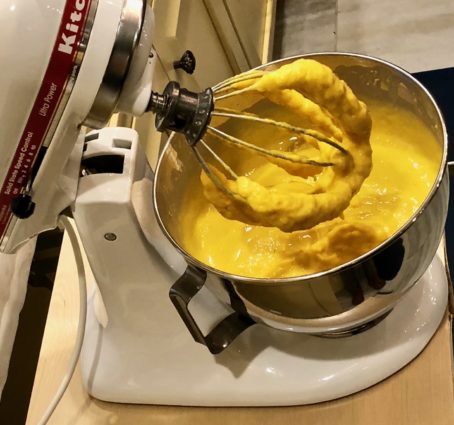
Add the brown sugar, cinnamon, nutmeg, ginger and salt.
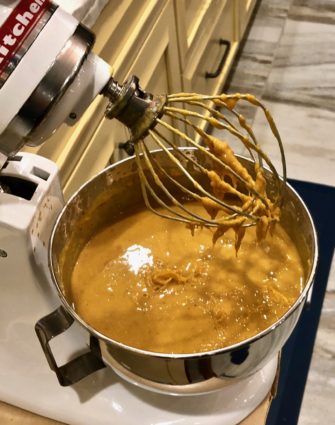
Pour into pie crust and bake for 40 minutes or until a knife inserted about 1 inch comes out clean.
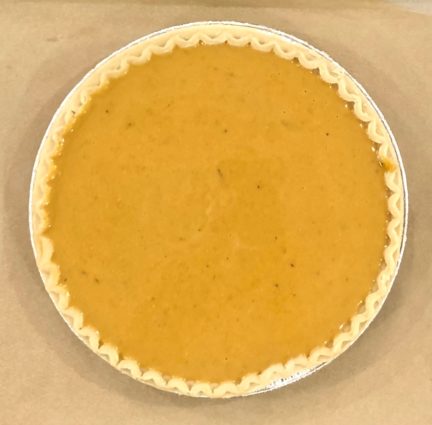
It’s that simple!
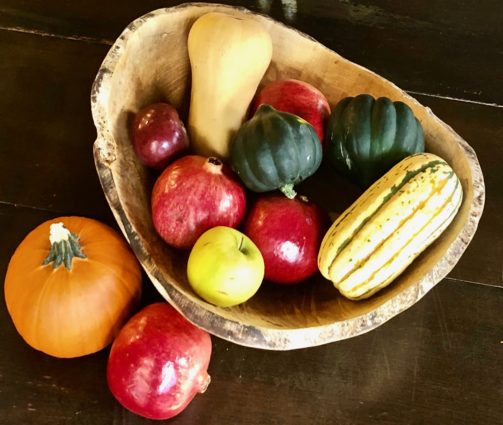
Happy Halloween!
signature

[recaptcha]


We have all had one of those days in the kitchen, where just about everything goes wrong. I am not a stranger to this. In fact, my mistakes have served me well and I have learned a lot from them. Here are some common cooking mistakes that myself and many others have made before.

Soggy salads. Even more of a pet peeve of mine than overdressing a salad, are you surprised? It is important to wash all of your greens, and it is just as important to dry them. I usually wrap them in paper towels to dry to get the best outcome, however, you could also use a salad spinner. I just find that it doesn’t dry the greens enough for me. They must be dried thoroughly or leafy greens will sit droopily in the bowl.

Overcooking hard-boiled eggs. Yes, it’s possible, and most people are probably guilty of this. After you boil an egg, check out the yellow part. If it is at all green around the edges, you have overcooked it! I have tried many methods and find this to work the best; place eggs uncovered in the pot emerged in water (about 1 1/2-inches over the eggs). Bring water to a boil, (you have to watch it) and take off the heat, cover them and set aside for 12 minutes. Pour them into the ice bath to stop the cooking process, then allow to cool for 15 minutes before peeling.

Cutting meat too soon. If you don’t let your meat sit for a bit before slicing, all the delicious juices will run out, leaving it dry. It is best to allow cooked meat a bit of downtime after removing it from the heat. This helps to re-disperse the juices so they stay inside. For smaller meat, like steak or chicken, give it about 5 minutes. For larger meats, such as a rib-roast or turkey, let stand for about 20 minutes. Loosely cover them with tin foil to keep it warm.

Overcooked turkey/roast. There is a simple solution for this. Use a meat thermometer. This takes all the guesswork out of the cooking process. Remember, always cook meat no less than 10 minutes of cooking time in instructions. The instructions usually do not allow for cooking time once you remove it from the oven.

Now on to our recipe for today!

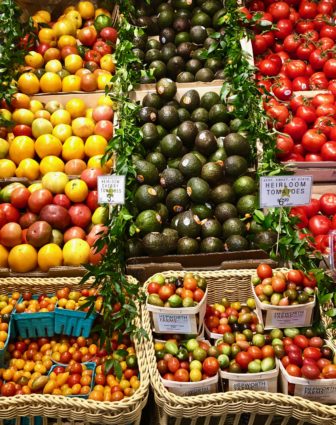
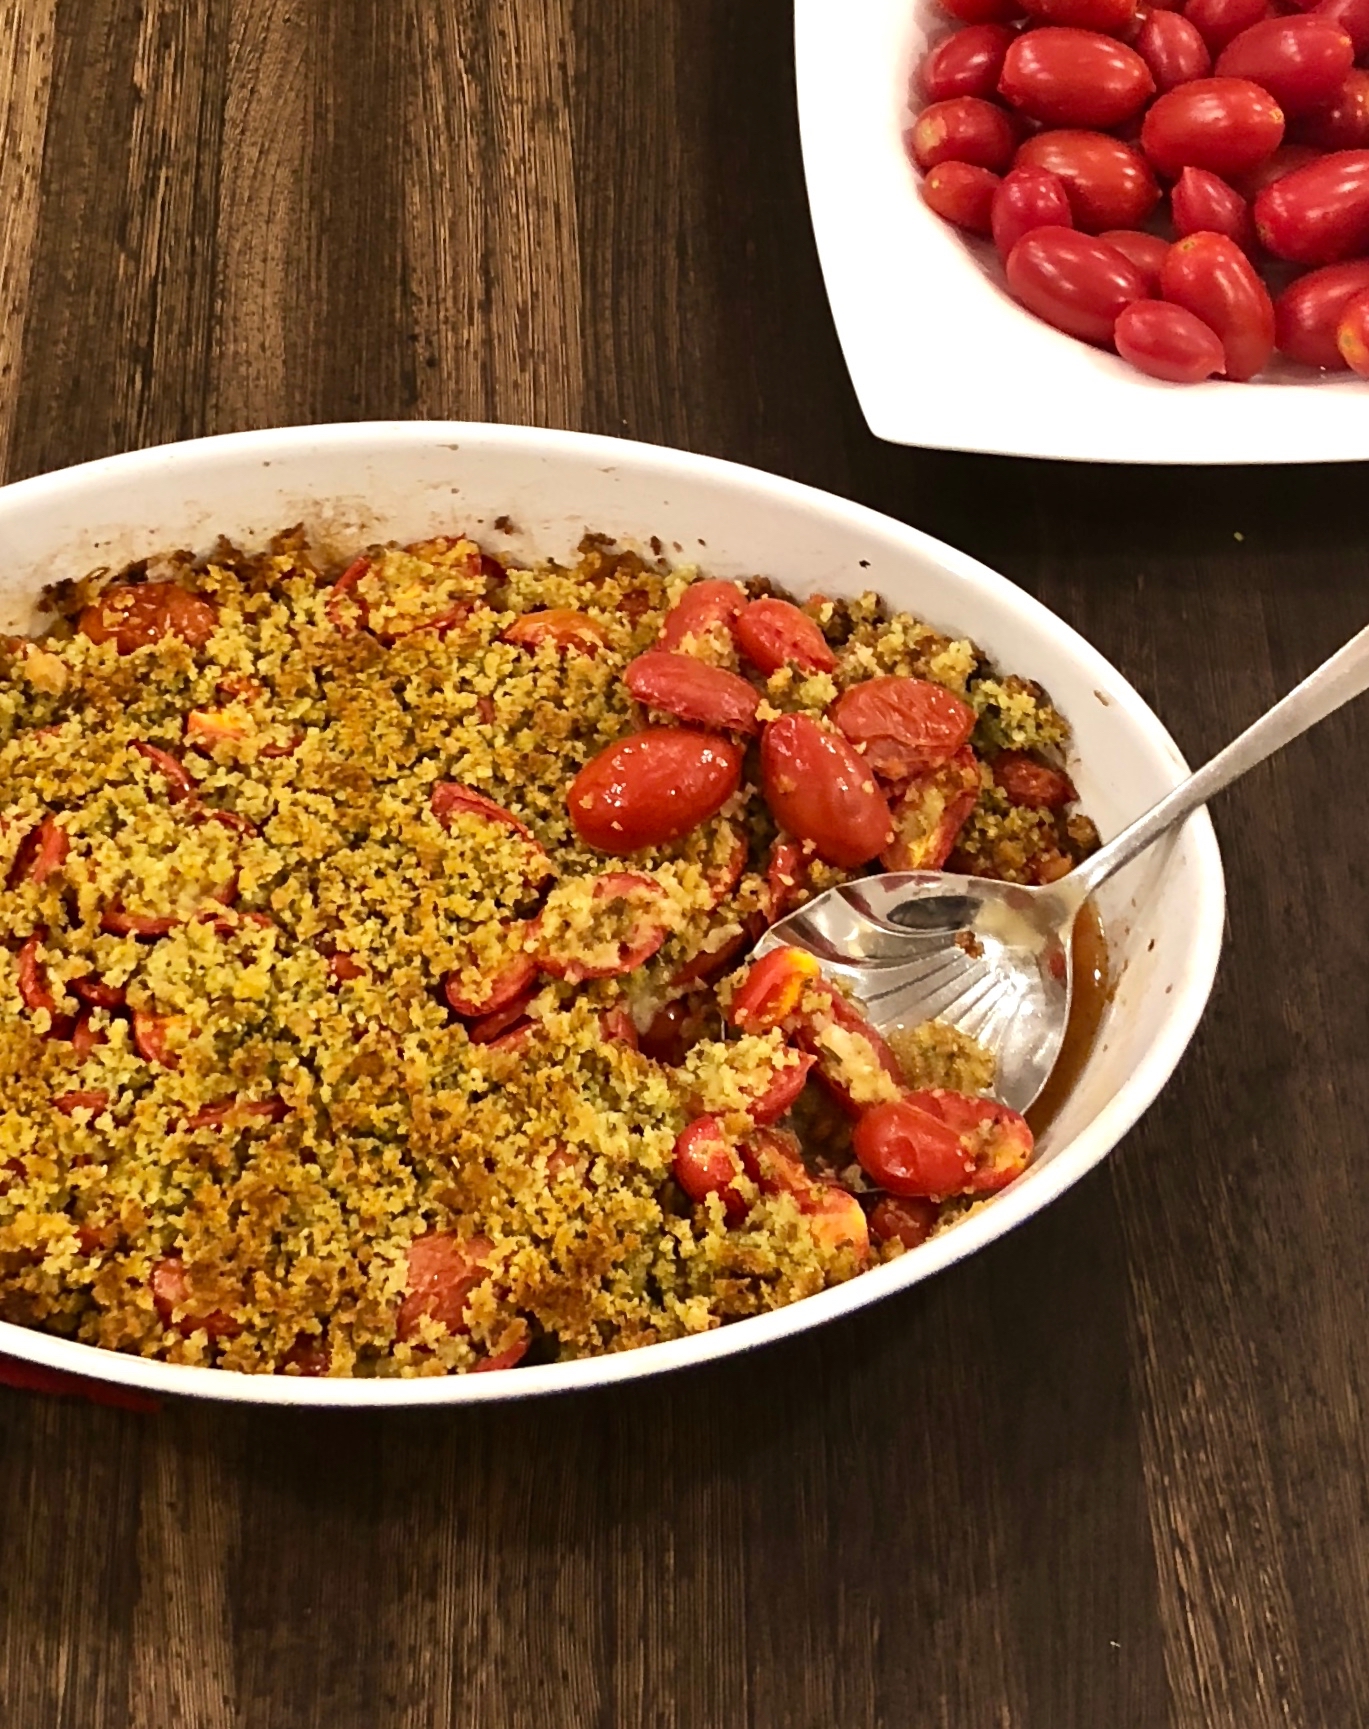
As promised, this is another great recipe to make for Thanksgiving. Whenever I want something easy that I know will also be special, I turn to Ina Garten. She comes through every time. This is something you can get to the table in no time. Roasted tomatoes are so yummy, and here Ina combines them with thyme and parsley giving it a savory aroma. This is spot on, easy and delicious. There is no reason not to make it.

This recipe will serve 6 people who will praise you for introducing them to this simply delectable dish!

Ingredients for Cherry Tomato Gratin

3 pints cherry or grape tomatoes, halved
1 1/2 tbsp. plus 1/4 cup olive oil
1 tsp. dried thyme
Kosher salt and freshly ground black pepper
3 large garlic cloves, peeled
1/3 cup chopped fresh flat-leaf parsley
2 cups coarse bread cubes from a country bread (crusts removed)

Preheat oven to 400°F.

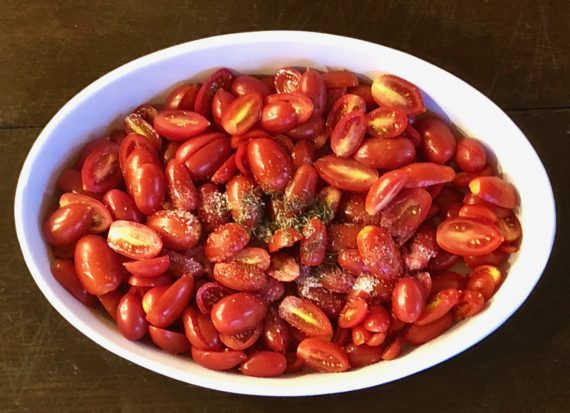
Place the tomatoes in a 9 x 13-inch ceramic dish.

Add the 1 1/2 tablespoons of olive oil, thyme, 1 teaspoon salt, and 1/2 teaspoon pepper and toss together.

Spread the tomatoes evenly in the pan.

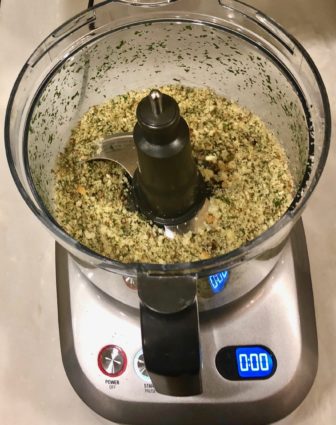
Place the garlic, parsley, and 1/2 teaspoon of salt in the bowl of a food processor fitted with the steel blade and process until the garlic is finely chopped.

Add the bread cubes and process until the bread is in crumbs.

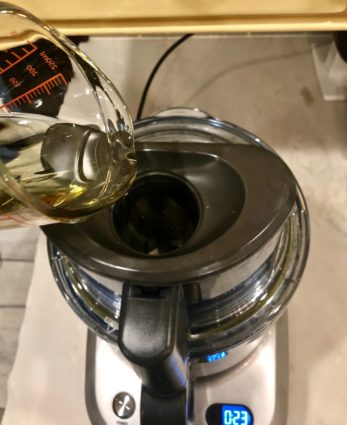
Add the 1/4 cup of olive oil and pulse a few times to blend.

Sprinkle the crumbs evenly over the tomatoes.

Bake the gratin for 40 to 45 minutes, until the crumbs are golden and the tomato juices are bubbling.

Serve hot or warm.

It’s that simple!

signature

[recaptcha]


Across all seasons, one of my favorite activities is antiquing. My husband and I go quite frequently, and throughout the years have collected antique china plates. When we got married, we did not have a registry, and fine china was out of the question for me. I never regretted it, and in all probability my taste would have changed and I would not have ended up using it. Also, I wouldn’t have had enough pieces to feed my ever-growing family anyway. I have my mother’s china but I am too afraid to use it. It is beautifully displayed in my glass door cabinets in my kitchen. For years I used glass plates to serve during Thanksgiving because it was affordable and I could easily add on when I needed to.

One day I decided I wanted good china, but I did not want it all to have the same pattern. How was I to afford a 60-piece place setting?  There was no replacement.coms where I could buy only one piece. So, whenever my husband and I went antiquing, we would look for one-piece dinner and salad plates, looking for ones that did not have to match. It was fun (and yes, my husband really enjoyed finding them with me) and it took us several years to buy enough so I could use them for holiday dinners. Because I was looking for only one plate, I often got really good deals on expensive plates, because not too many people were out there looking for one piece and not a “set” of plates.

Several years ago, we finally had enough to set our Thanksgiving table with. What a great accomplishment! My husband and I are proud of our china now because we handpicked every plate with love. 

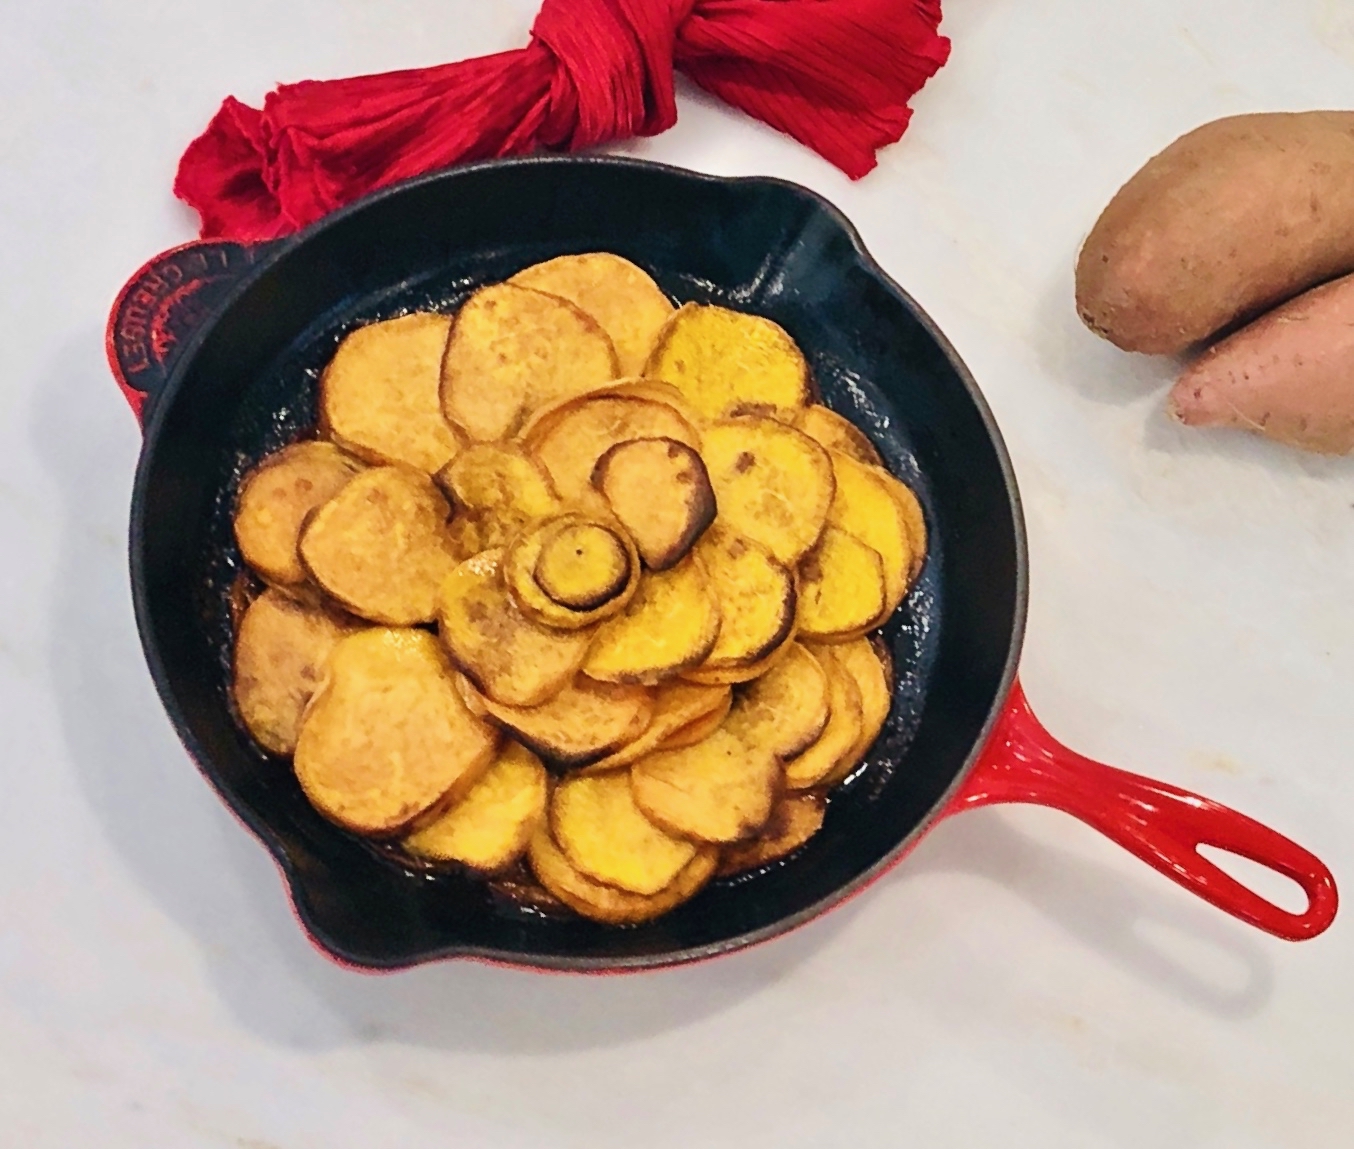
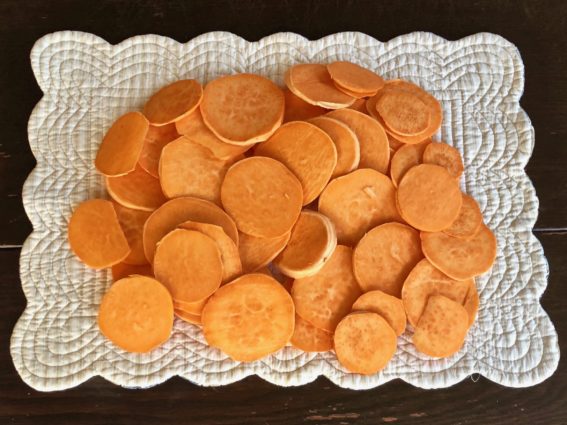
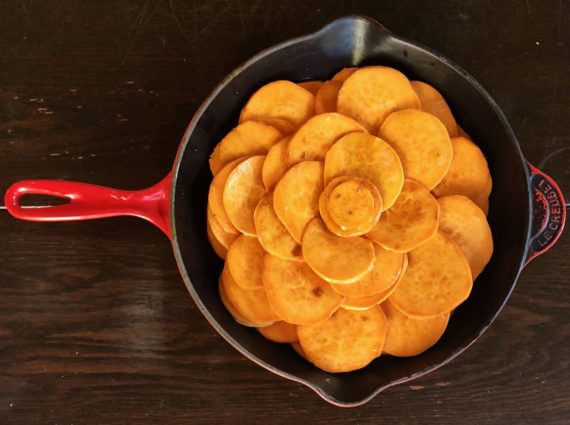
As I promised you, this is another great recipe to make for Thanksgiving. This sweet potato dish is so easy to make, and it makes a beautiful presentation. The author notes, “this is a casserole that is elevated by a nineteenth-century French recipe”. The thinly sliced potatoes become crunchy on the outside and tender on the inside. The five-spice powder combined with the butter and brown sugar enhance the flavor of the sweet potatoes perfectly. Of course, I did not have an oval cast-iron pan, so I used a round one and it came out just as delicious. I also recommend that you use 3-4 sweet potatoes to really make it beautiful. I used two, and it wasn’t enough. I love this recipe for any holiday or Sunday dinner.

This recipe is courtesy of the book Staub, which is chock full of wonderful recipes. It will serve 4 to 6 people who will want to emulate this beautiful dish everytime they entertain.

Ingredients for Sweet Potatoes Pomme Anna:

2 pounds sweet potatoes, peeled and thinly sliced
1/2 cup unsalted butter
2 tbsp. brown sugar
1/2 tsp. five spice powder
1 tsp. salt, plus more for sprinkling
Pinch of freshly ground black pepper

Using a knife or a mandoline, thinly slice the sweet potatoes 1/8-inch thick.

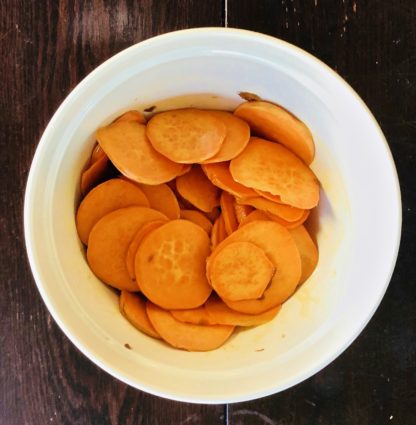
Place slices in a large bowl.

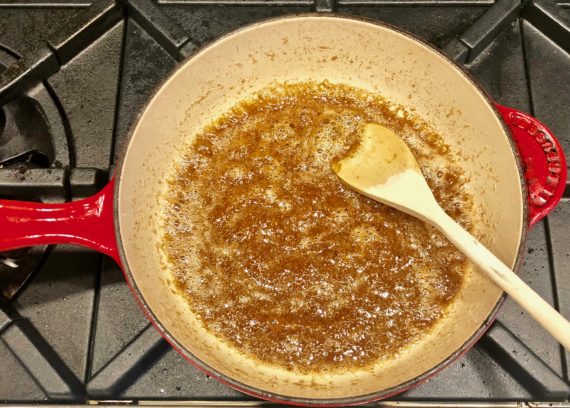
In a small cast-iron fry pan, combine the butter, brown sugar, five-spice powder, salt, and pepper.

Place over medium heat and stir until the butter is completely melted.

Toss the butter mixture with the sweet potatoes, making sure the sweet potatoes are evenly coated.

Arrange the sweet potatoes in a single layer in a medium oval cast-iron roasting pan or fry pan, overlapping the slices slightly.

Sprinkle with salt.

Bake for 40 to 45 minutes, until the potatoes are fork tender and the edges are golden brown.

Serve warm.

It’s that simple!

My Mom’s china

signature

[recaptcha]


One of the things I love about Autumn is that it is apple season. When my sons were young we used to take them apple picking on one of the most beautiful farms. The farm also had a hay-ride, which my boys looked forward to every year. It would take us up these long steep hills, where we could enjoy the vibrant colors of the leaves that had turned yellow, red, golden brown and orange. 

I grew up in a town in New York that was very flat, with no hills or mountains. When I first moved to New Jersey, I remember being mesmerized my first fall. One weekend, I took my parents out on a highway with winding roads so they could enjoy the amazing autumn colors that I fell in love with. It quickly became my favorite season.

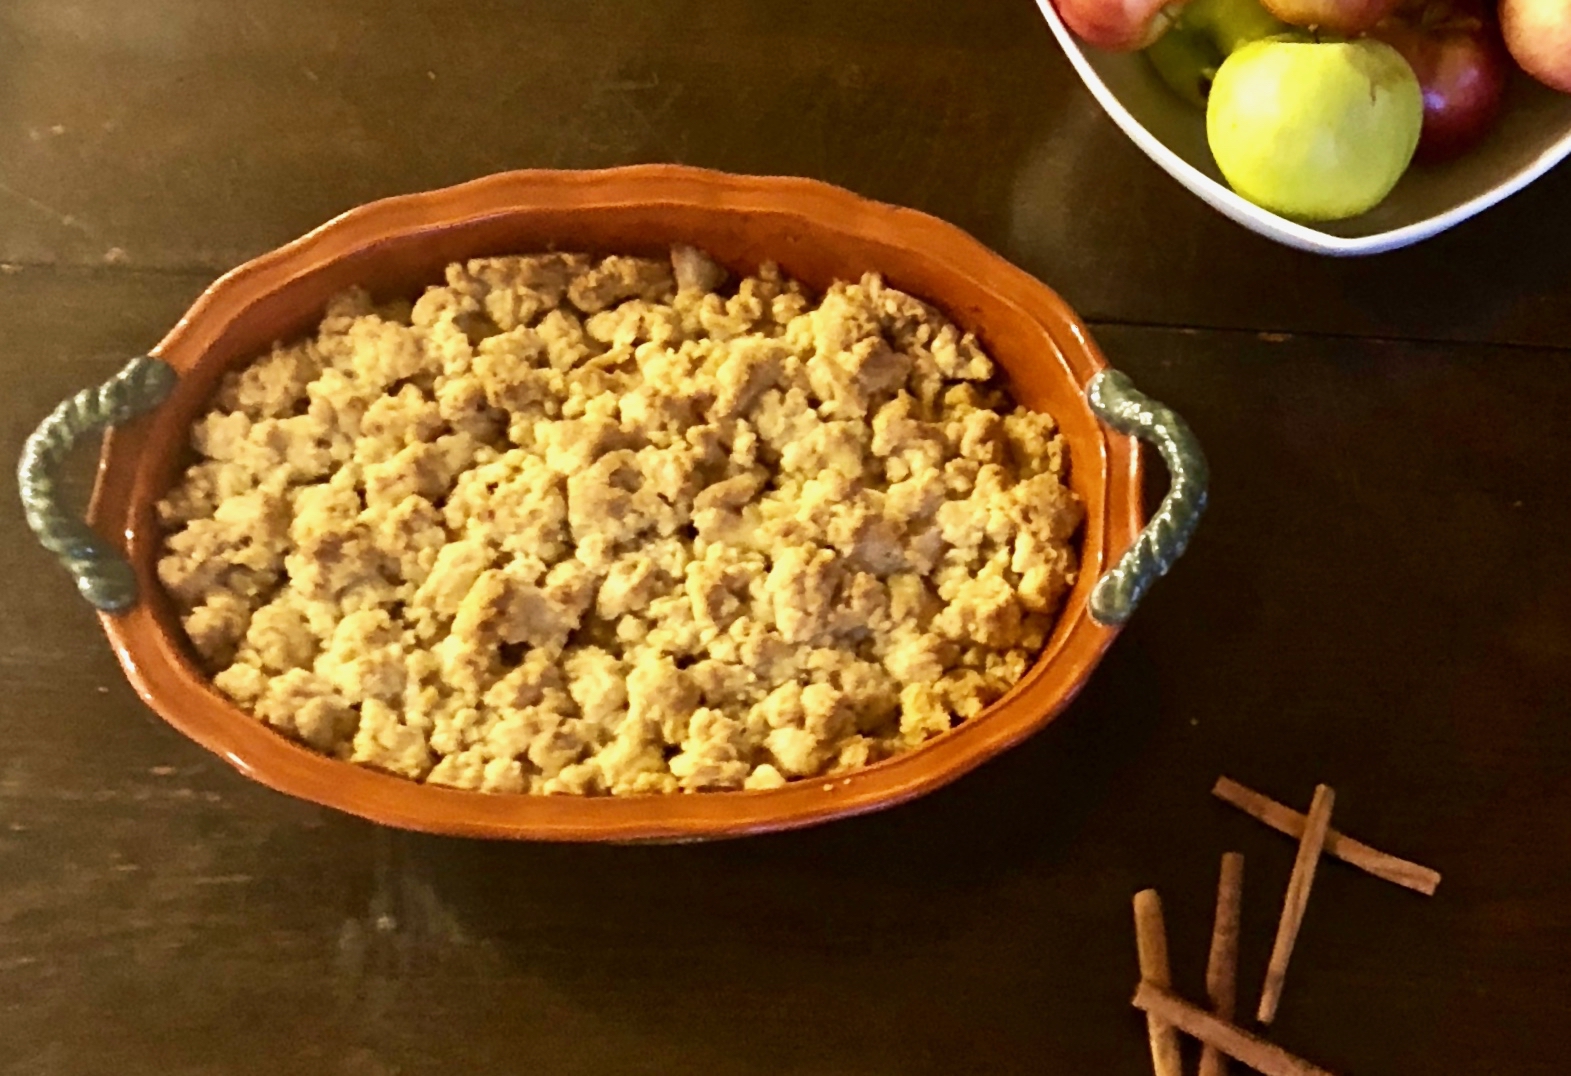
I love baking with apples. When we would bring freshly picked apples home from that farm, I would bake away! I wasn’t much of an apple dessert fan until I started baking with the freshly picked ones. Combine the apples or pears with cinnamon, butter, brown sugar, and ice cream and it is nothing short of magical. 

I know it is pear season as, well, which is why I thought this recipe is perfect.

The combination of the apples and pears with the orange and lemon juice and zest is perfection. It gives them a nice tart flavor that blends beautifully. The nutmeg and cinnamon provide that savory goodness that is always in harmony with apples and pears. The oatmeal, butter and brown sugar are the perfect topping for this delectable treat. As always, Ina’s recipe is impeccable.

This recipe is courtesy of Ina Garten and its mouthwatering goodness will immerse 8 people into the autumn spirit.

Ingredients for Apple and Pear Crisp:

2 pounds Bosc pears (4 pears)
2 pounds firm Macoun apples (6 apples)
1 tsp. grated orange zest
1 tsp. grated lemon zest
2 tbsp. freshly squeezed orange juice
2 tbsp. freshly squeezed lemon juice
1/2 cup granulated sugar
1/4 cup all-purpose flour
1 tsp. ground cinnamon
1/2 tsp. ground nutmeg

For the topping:

1 1/2 cups all-purpose flour
3/4 cup granulated sugar
3/4 cup light brown sugar, lightly packed
1/2 tsp. kosher salt
1 cup old-fashioned oatmeal
1/2 pound (2 sticks) cold unsalted butter, diced

Preheat oven to 350F.

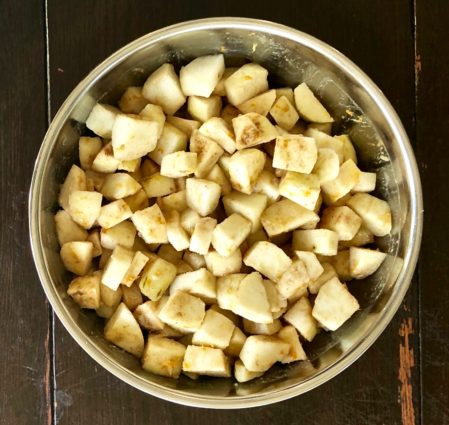
Peel, core and cut the pears and apples into large chunks.

Place fruit in a large bowl and add the zests, juices, sugar, flour, cinnamon, and the nutmeg.

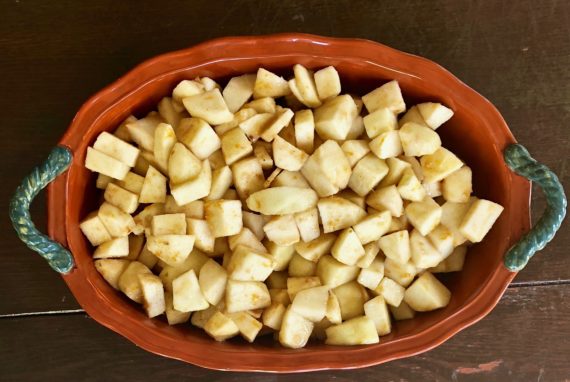
Pour into a 9 x 12 by 2-inch oval baking dish.

For the topping:

Combine the flour, sugars. salt, oatmeal, and butter in the bowl of an electric mixer fitted with the paddle attachment.

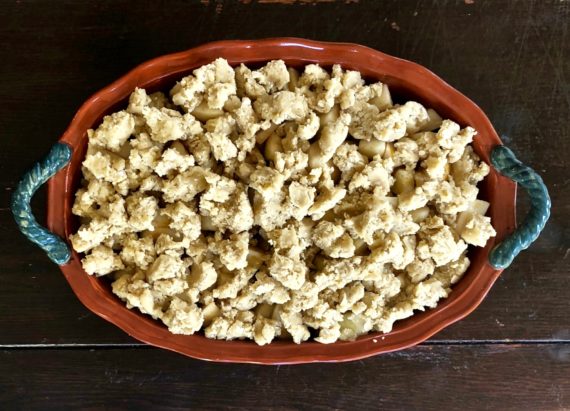
Mix on low speed for 1 minute, until the mixture is in large crumbles.

Sprinkle evenly over the fruit, covering the fruit completely.

Serve warm.

It’s that simple!

signature

[recaptcha]


I am always looking for a good recipe to use my fresh, locally grown produce. This one met all of my requirements and exceeded all of my expectations.

Corn pudding, for those of you who do not know, is a traditional Southern side dish. I personally love southern cooking and have a whole bunch of cookbooks that I use regularly. I had so much corn I decided to try this recipe immediately, but in the South corn pudding is usually served at Thanksgiving.

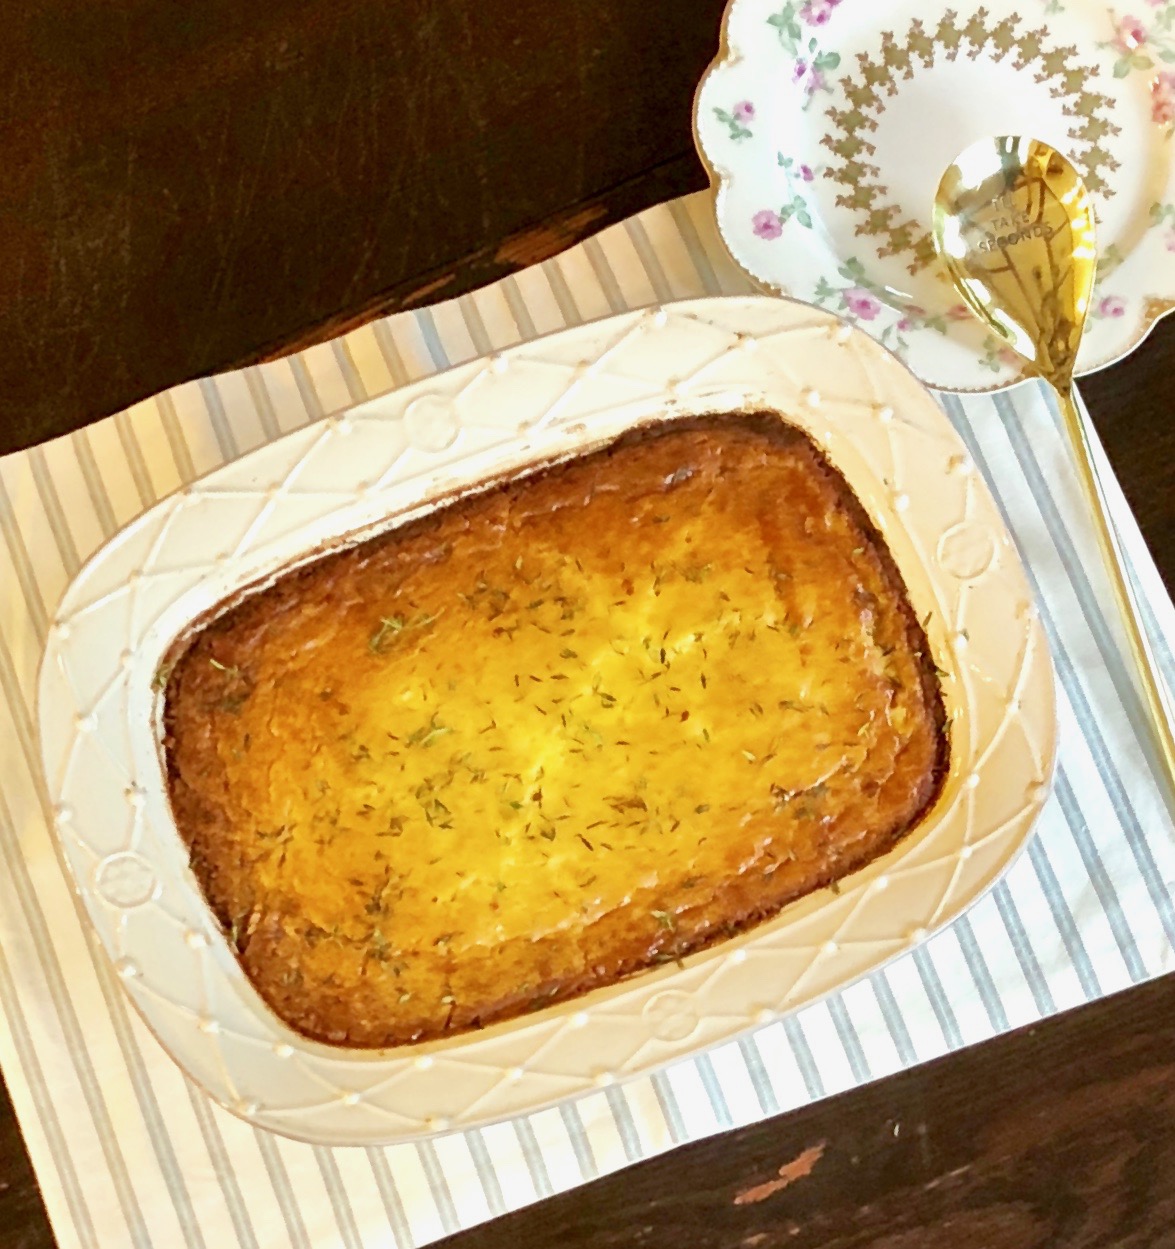
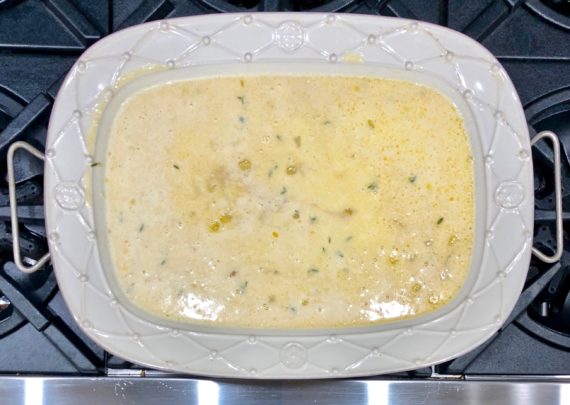
The author of this recipe notes, “although corn pudding is considered to be a casserole, this one has a rich, soft texture that is almost dessert-like”. Truer words have never been written. I was licking the spoon to save calories, but I really wanted another piece! The author also instructs you to make sure the top is golden brown around the edges and jiggly in the center. That is exactly how mine came out. This corn pudding has a creamy, soft texture that makes it taste like a soufflé without all the work!

The reason why I loved this recipe is that it didn’t call for the usual cast of characters, such as cornmeal, nutmeg, creamed corn, or cheese. It is made with all fresh ingredients, including onions and thyme which make it wonderfully aromatic and savory in taste. You can even make it 2 days ahead and keep it chilled. To reheat, just cover with foil.

You may not be ready to start planning out your holiday meals yet, but I would make sure to keep this one in the back of your mind, I know I will. This delightful corn pudding was very light yet creamy, making it the perfect comfort food. Each bite will leave you wanting more. Why not give it a try now, just to see if you will want it to be included on your holiday menu?

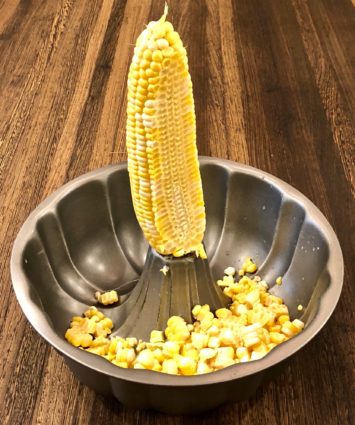
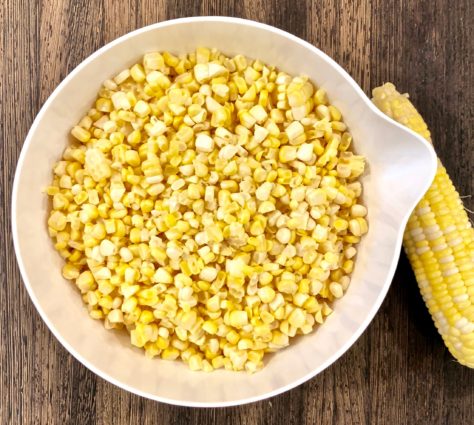
Today’s Hint: To cut the kernels off of the cob, stand the corn on the middle part of a bundt pan. The hole in the middle will allow you to support the corn cob securely. Using a sharp knife, cut the kernels off from the top down. Cut all the way around the cob. The kernels will fall right into the pan. Easy cleanup!

This recipe is courtesy of SouthernLiving and will serve 12 people who will be licking their plates clean just as I did!

Ingredients for Savory Corn Pudding:

3 tbsp. all-purpose flour
2 tbsp. granulated sugar
2 tsp. baking powder
2 tsp. salt
6 large eggs
2 cups heavy cream
1/2 cup salted butter, melted and cooled
2 tbsp. canola oil
6 cups fresh corn kernels (about 8 ears)
1/2 cup chopped sweet onion (about 1 onion)
2 tbsp. fresh thyme, divided and chopped

Preheat oven to 350°F.

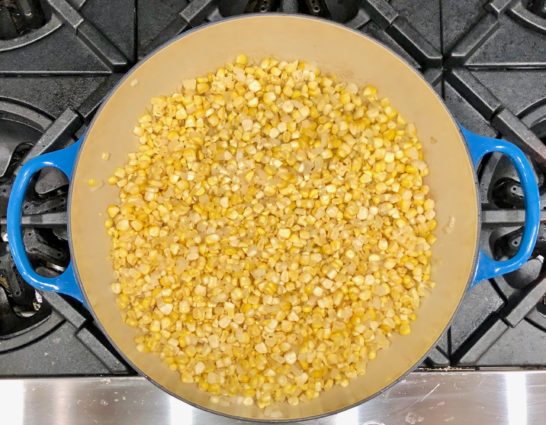
Cut kernels off of the corn. 

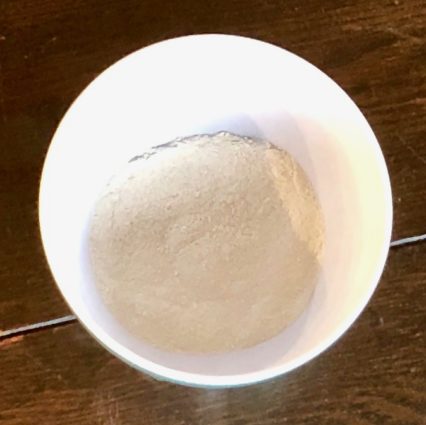
Stir together flour, sugar, baking powder, and salt in a small bowl until blended.

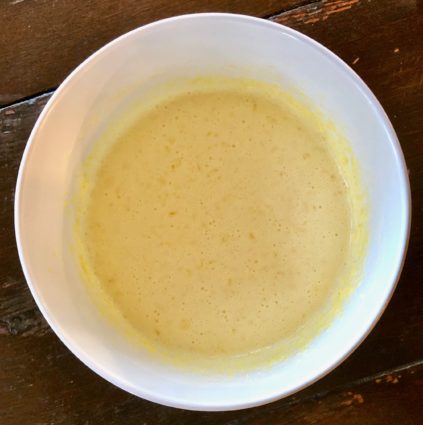
Whisk together eggs, cream, and melted butter in a medium bowl until blended.

Heat canola oil in a large skillet over medium-high heat.

Add the corn and onion, and cook, stirring often, until onion is softened, about 15 minutes.

Stir in 1 tablespoon thyme.

Remove from heat, and let cool slightly, about 5 minutes.

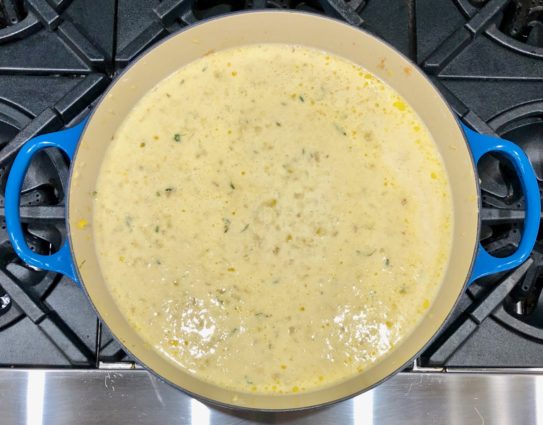
Stir flour mixture and egg mixture into corn mixture. 

Spoon into a 13-x 9-inch (3-quart) baking dish and bake in preheated oven until set and golden brown, about 40 minutes.

Let stand 5 minutes before serving.

Sprinkle with remaining 1 tablespoon thyme.

It’s that simple!

signature

[recaptcha]