It’s important to do something you enjoy every day. For some of you, it might be meditating, yoga, knitting or sitting down with a good book. All of us need to learn how to indulge in more “me” time. Allowing ourselves to have self-care routines is so important for our health and happiness! I would like to share with you why I get so much joy out of cooking. It gives me the chance to be creative and have some “me time”. Chopping, stirring, mixing, and tasting are pretty much my therapy. It relaxes me and helps me unwind. All of the little steps are like meditation for me and clear my mind quickly.

Cooking is fun to do together as well. Preparing meals with my sister-in-law, my nieces, nephews, and cousins have become both mine and their favorite way of spending time together. We share some of our best memories and laughs during holiday cooking.

Dinner time at my house was always sacred. Everyone knew they had to be present. Even my husband, who has a demanding schedule would make sure he was home for dinner every night. When he knew he would be late, we waited for him. Why? Eating brings people together. It focuses on being with the people you love, and in the company of food, what can be more important than that?!

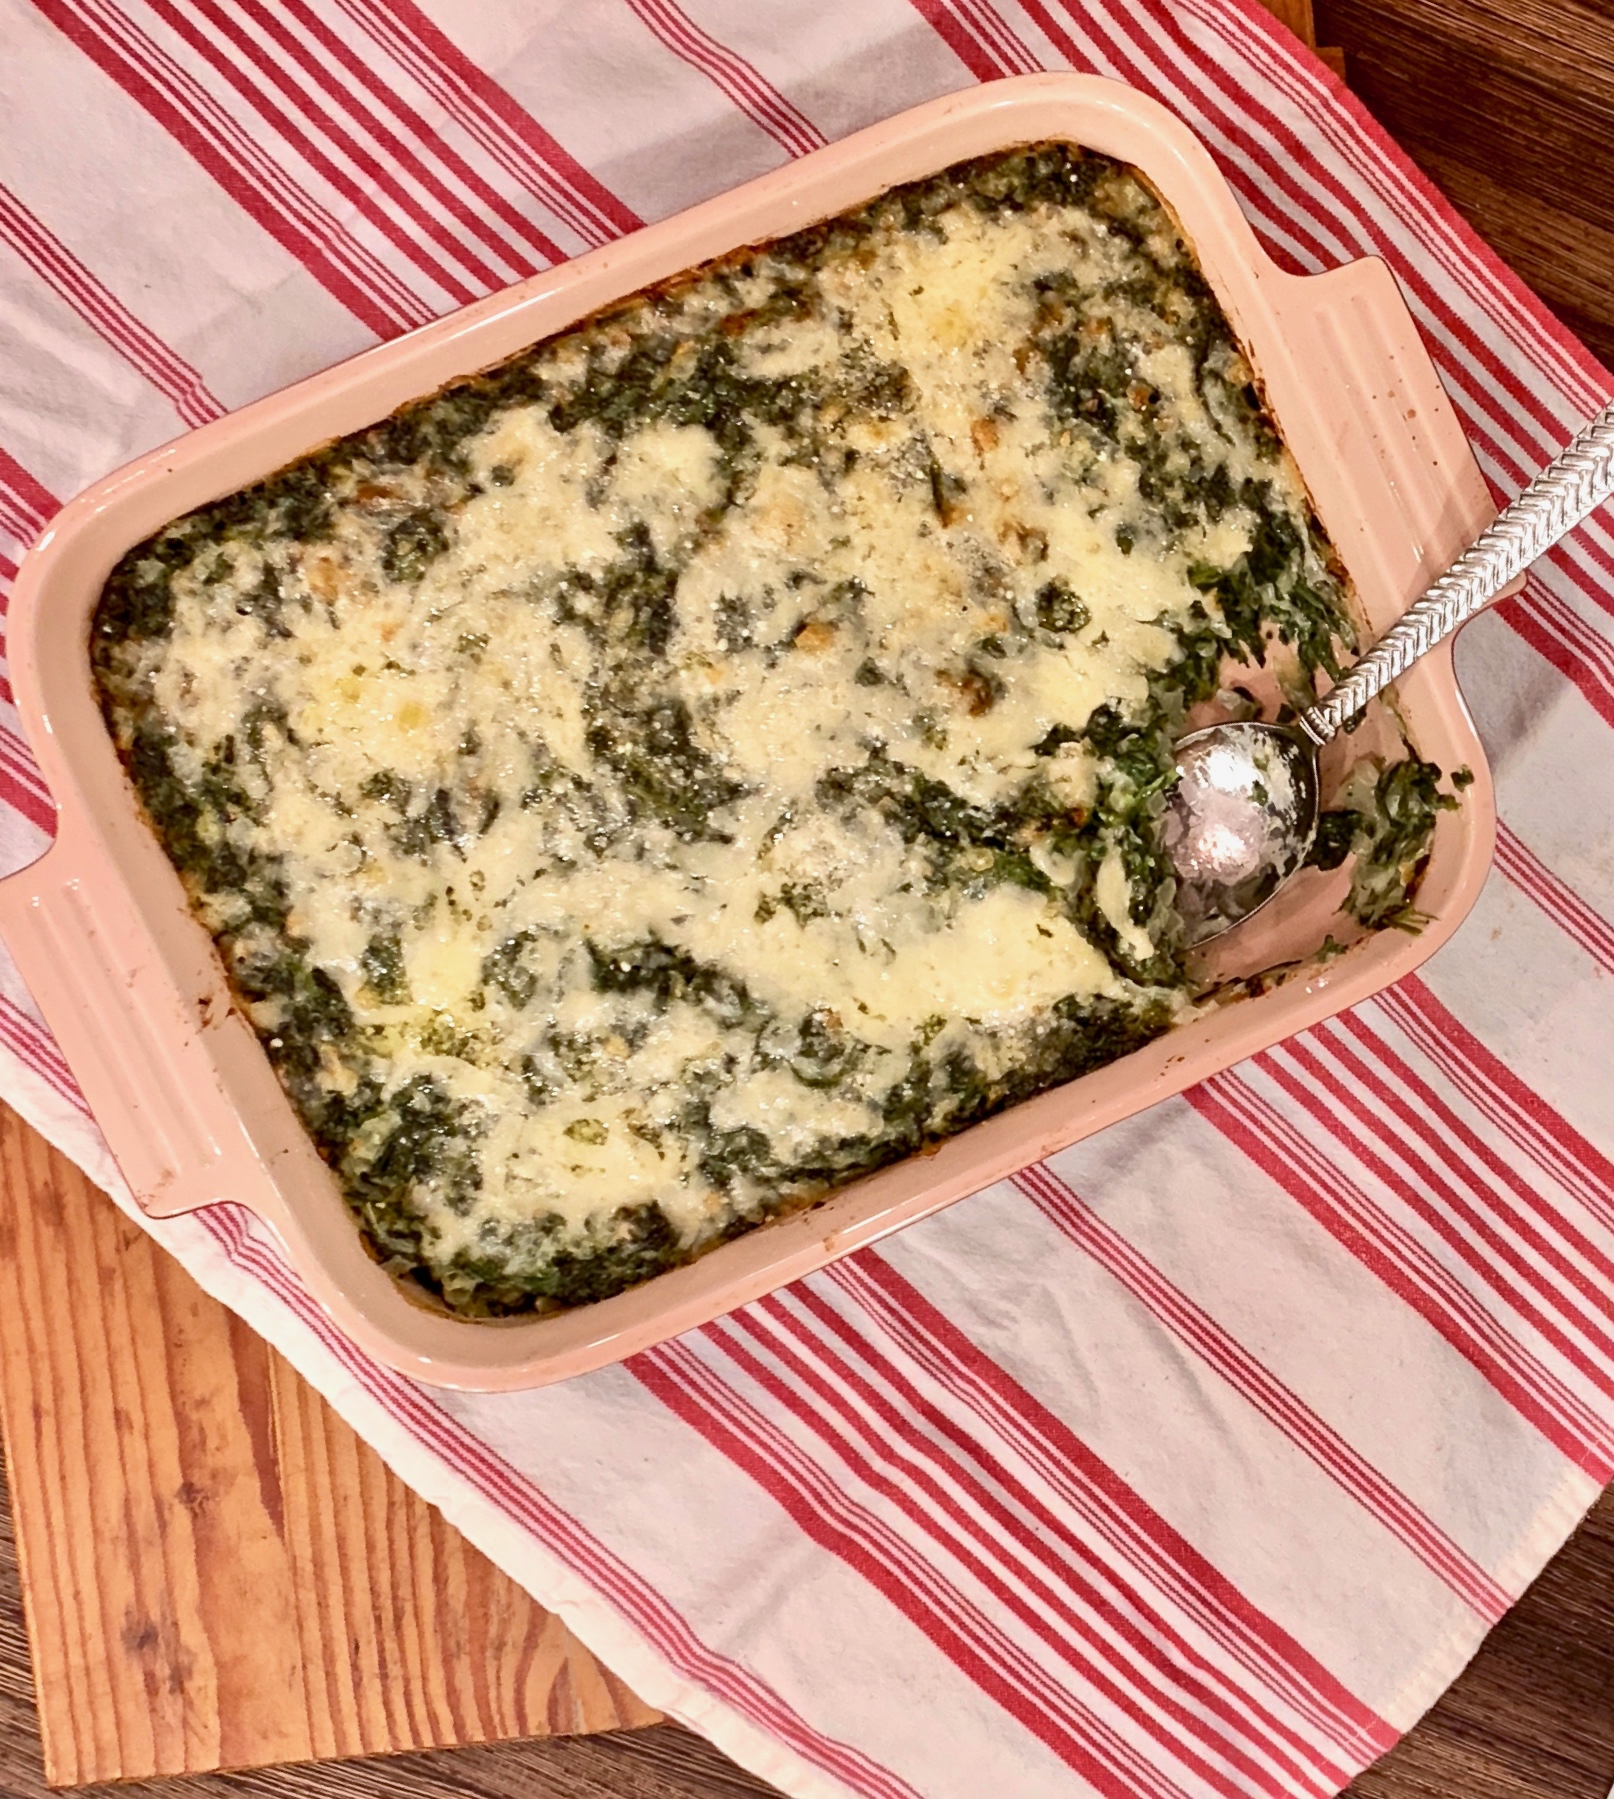
I am pretty sure this recipe is a no-stressor for the holidays. It is a “short-on-time” or “make-ahead” that will please anyone who is at your table. The cream and milk provide that cozy comfort food feeling. The cheeses add a scrumptious gooey goodness and the nutmeg gives it a wonderful savory flavor. This going to make your holiday meal truly special.

This recipe is another great one courtesy of Ina Garten, and will feed 8 people who will never want to leave the table.

Ingredients for Spinach Gratin:

4 tablespoon (1/2 stick) unsalted butter
4 cups chopped yellow onions (2 large)
1/4 cup flour
1/4 teaspoon grated nutmeg
1 cup heavy cream
2 cups milk
3 pounds frozen chopped spinach, defrosted (5 (10-ounce) packages)
1 cup freshly grated Parmesan cheese
1 tablespoon kosher salt
1/2 teaspoon freshly ground black pepper
1/2 cup grated Gruyere cheese

Preheat oven to 425°F.

Melt the butter in a heavy-bottomed sauté pan over medium heat.

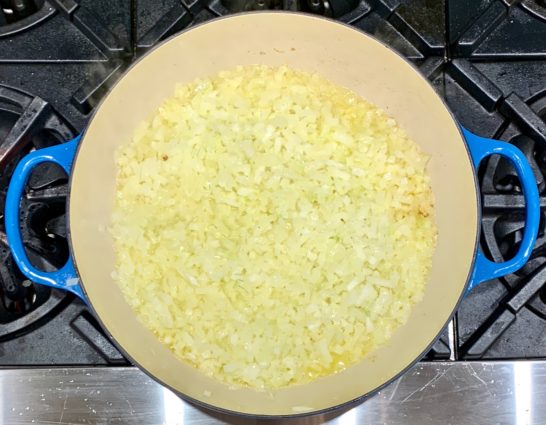
Add the onions and sauté until translucent, about 15 minutes.
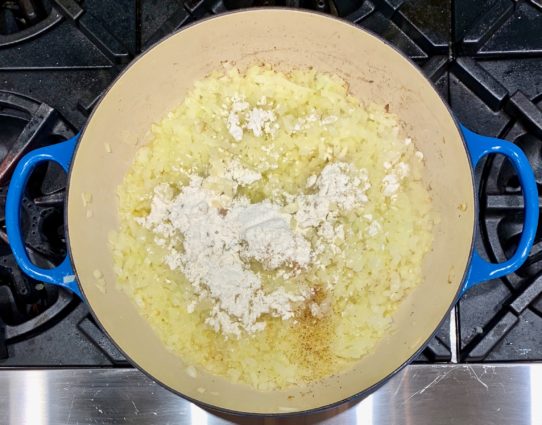
Add the flour and nutmeg and cook, stirring, for 2 more minutes.
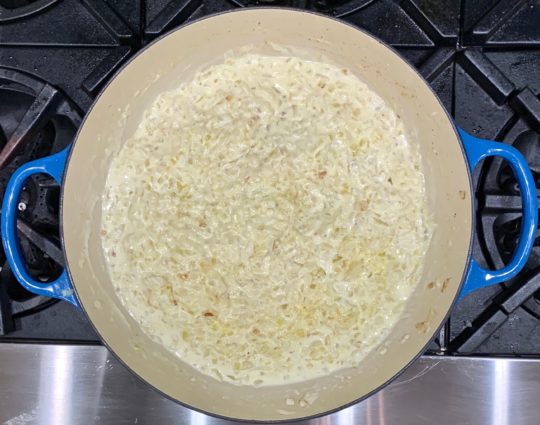
Add the cream and milk and cook until thickened.
Squeeze as much liquid as possible from the spinach and add the spinach to the sauce.
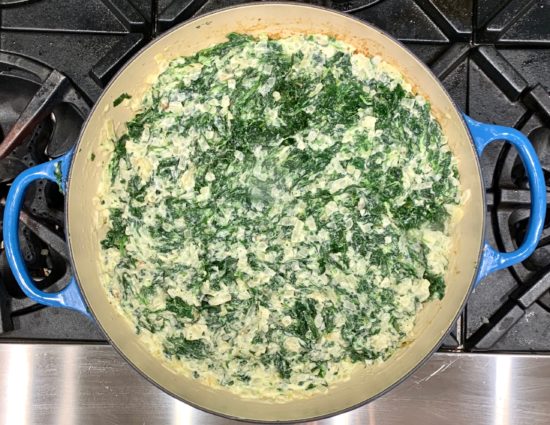
Add 1/2 cup of the Parmesan cheese and mix well.

Season to taste, with salt and pepper.

Transfer the spinach to a baking dish and sprinkle the remaining 1/2 cup Parmesan and the Gruyere on top. 
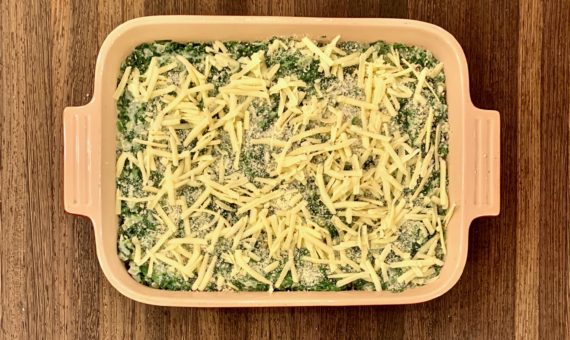
Bake for 20 minutes until hot and bubbly.

Serve hot.

It’s that simple!

Mazel
signature

[recaptcha]


I am always reading cooking magazines and blogs looking for some inspiration. This holiday season will have many of us doing a lot of cooking. When you are the host (or hostess) you are planning menus, decorations and music. Holidays are stressful enough without the added stress of wanting everyone to enjoy themselves. Luckily, good planning can get you through them. 

Here are a few tips that I think will help you in the kitchen.

  1. Set up your kitchen by gathering the bowls, tools, and machines you will be using, (i.e. food processor, blender, KitchenAid) and set a trashcan right below you, or set a bowl up on the counter to throw garbage in.
  2. Wear clothes that you won’t be heartsick if you ruin them and wear an apron if you have one. 
  3. Always read and re-read your recipes before starting them.
  4. Use gloves for cooking. This will prevent your hands from smelling like garlic (which you can never get rid of) or onions. 
  5. Be sure to ignore the cooking time on the recipe. Always cook meat and poultry at least 10 degrees below the time it gives you. Take it out of the oven and set a thermometer in it to check how much more it has cooked. If it reads five degrees higher, your set to go. 
  6. Indulge in a very good knife. It will cut your cooking time by a lot (pun intended). 
  7. Taste as you go and season your food as needed.
  8. Pat food dry with a paper towel before cooking. This ensures your food will be crispy and golden.
  9. Slice your food on the grain. Look for long strings running across it. Slice perpendicular to it. It will make your meat more tender. 
  10. Keep a second thermometer in your oven to ensure proper heating temperature (your oven may not be calibrated correctly).
  11. Resist the urge to turn your food as it cooks. It will not be able to sear, or you will lose the breading. If it is sticking to the pan when you try to turn it, it is not ready to turn.
  12. KEEP THINGS SIMPLE! Now you’ve earned that glass of wine.

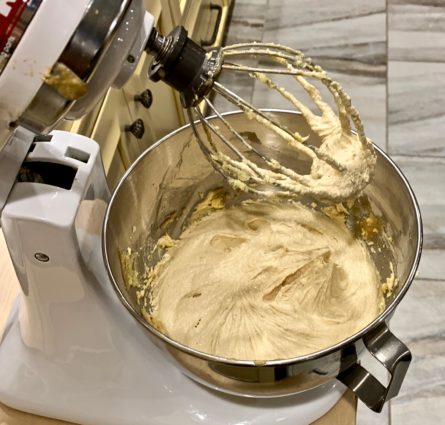
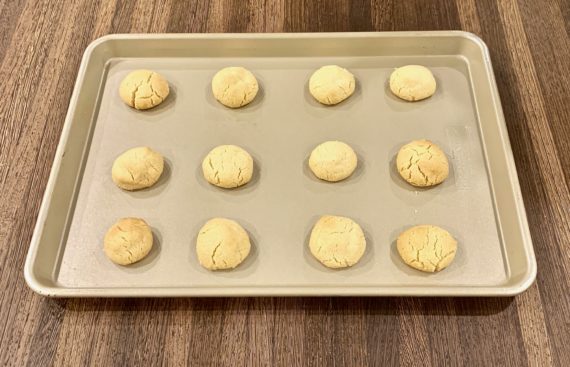
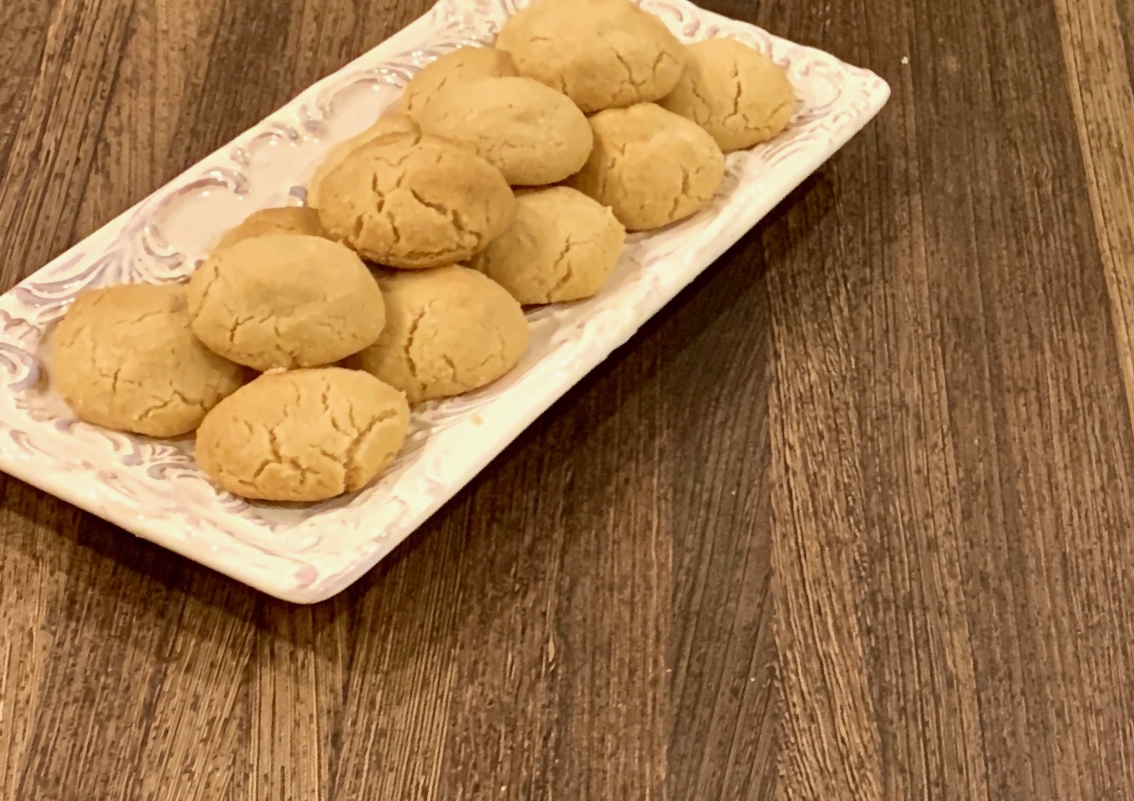
This recipe will keep things simple as well. There are very few ingredients in it and it whips up in no time. If you like tahini, you will love this recipe. Basically, this is a shortbread cookie with tahini in it. I love anything with tahini in it, dressings, salads, or dips. Tahini is a paste, similar to peanut butter, but it is made from ground sesame seeds, and it is an acquired taste. These cookies are really delicious and highlight the taste of tahini perfectly. There is no reason not to make these cookies. Just do it!

This recipe is courtesy of Zahav, and will make about 30 cookies that will turn your friends into tahini fanatics in no time!

Ingredients for Tahini Shortbread Cookies:

1 3/4 sticks (7 ounces) unsalted butter, at room temperature
1 cup sugar
1 cup tahini
2 cups all-purpose flour
1 teaspoon baking powder
Pinch Kosher salt

Combine the butter and sugar in a stand mixer on medium speed or in a large bowl with a hand mixer and mix until light and fluffy, about 2 minutes.

Add the tahini and continue to mix until well incorporated.

Combine the flour, baking powder and salt in a mixing bowl and whisk together.

Transfer to the tahini mixture and beat until just incorporated. 

Cover the bowl with plastic wrap and refrigerate for at least 1 hour or overnight. (The dough keeps well in the freezer for a few months.

Preheat the oven to 350°F.

Line two baking sheets with parchment paper.

Drop the batter by heaping tablespoons onto the prepared sheets.

Bake until the cookies are set, about 15 minutes.

Let cool on the baking sheets for 10 minutes, then transfer to a wire rack to cool completely.

The cookies can be stored at room temperature in an airtight container for 1 week.

It’s that simple!

signature

[recaptcha]


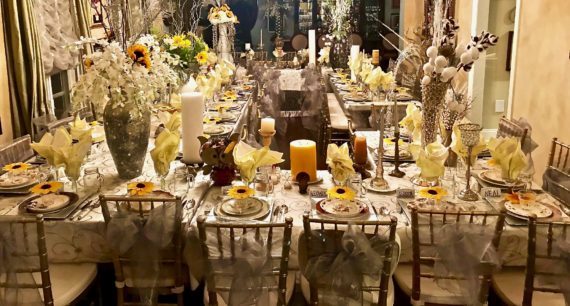
Another wonderful Thanksgiving has passed. It is definitely my favorite holiday. Although I entertain around 50 people each year, it has become a labor of love. Setting the table is always overwhelming, but I take much pride in my intense preparation. It literally takes me an entire day to do it, and I have come to enjoy every minute. There will be pictures in a future post that will include all the steps I use along the way!

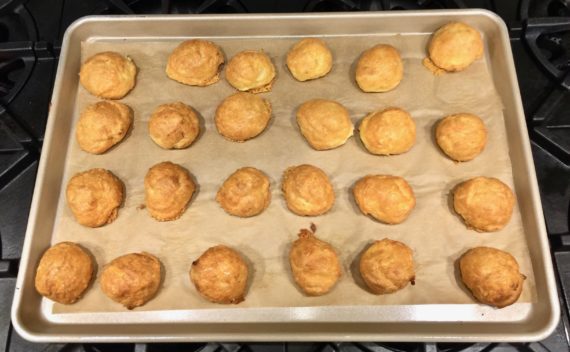
Because I change the menu every year, I often find myself hunting for appetizers. It can be difficult at times and as the holiday gets nearer I get frustrated. I think I will try to find more great appetizers so you and I will have them when we need them. I try to find appetizers that I can freeze, because I am always so busy cooking the main dishes and sides the day of Thanksgiving. My friend, Mike, passed this one on to me and the cheese puffs came out beautiful and delicious.

P.S. this one is so easy!

I do not consider myself a baker. I have improved since I started this blog, but I always try to find recipes that are relatively simple. This one is just that. There are so few ingredients and steps, yet the outcome will make people think you worked much harder than you did. 

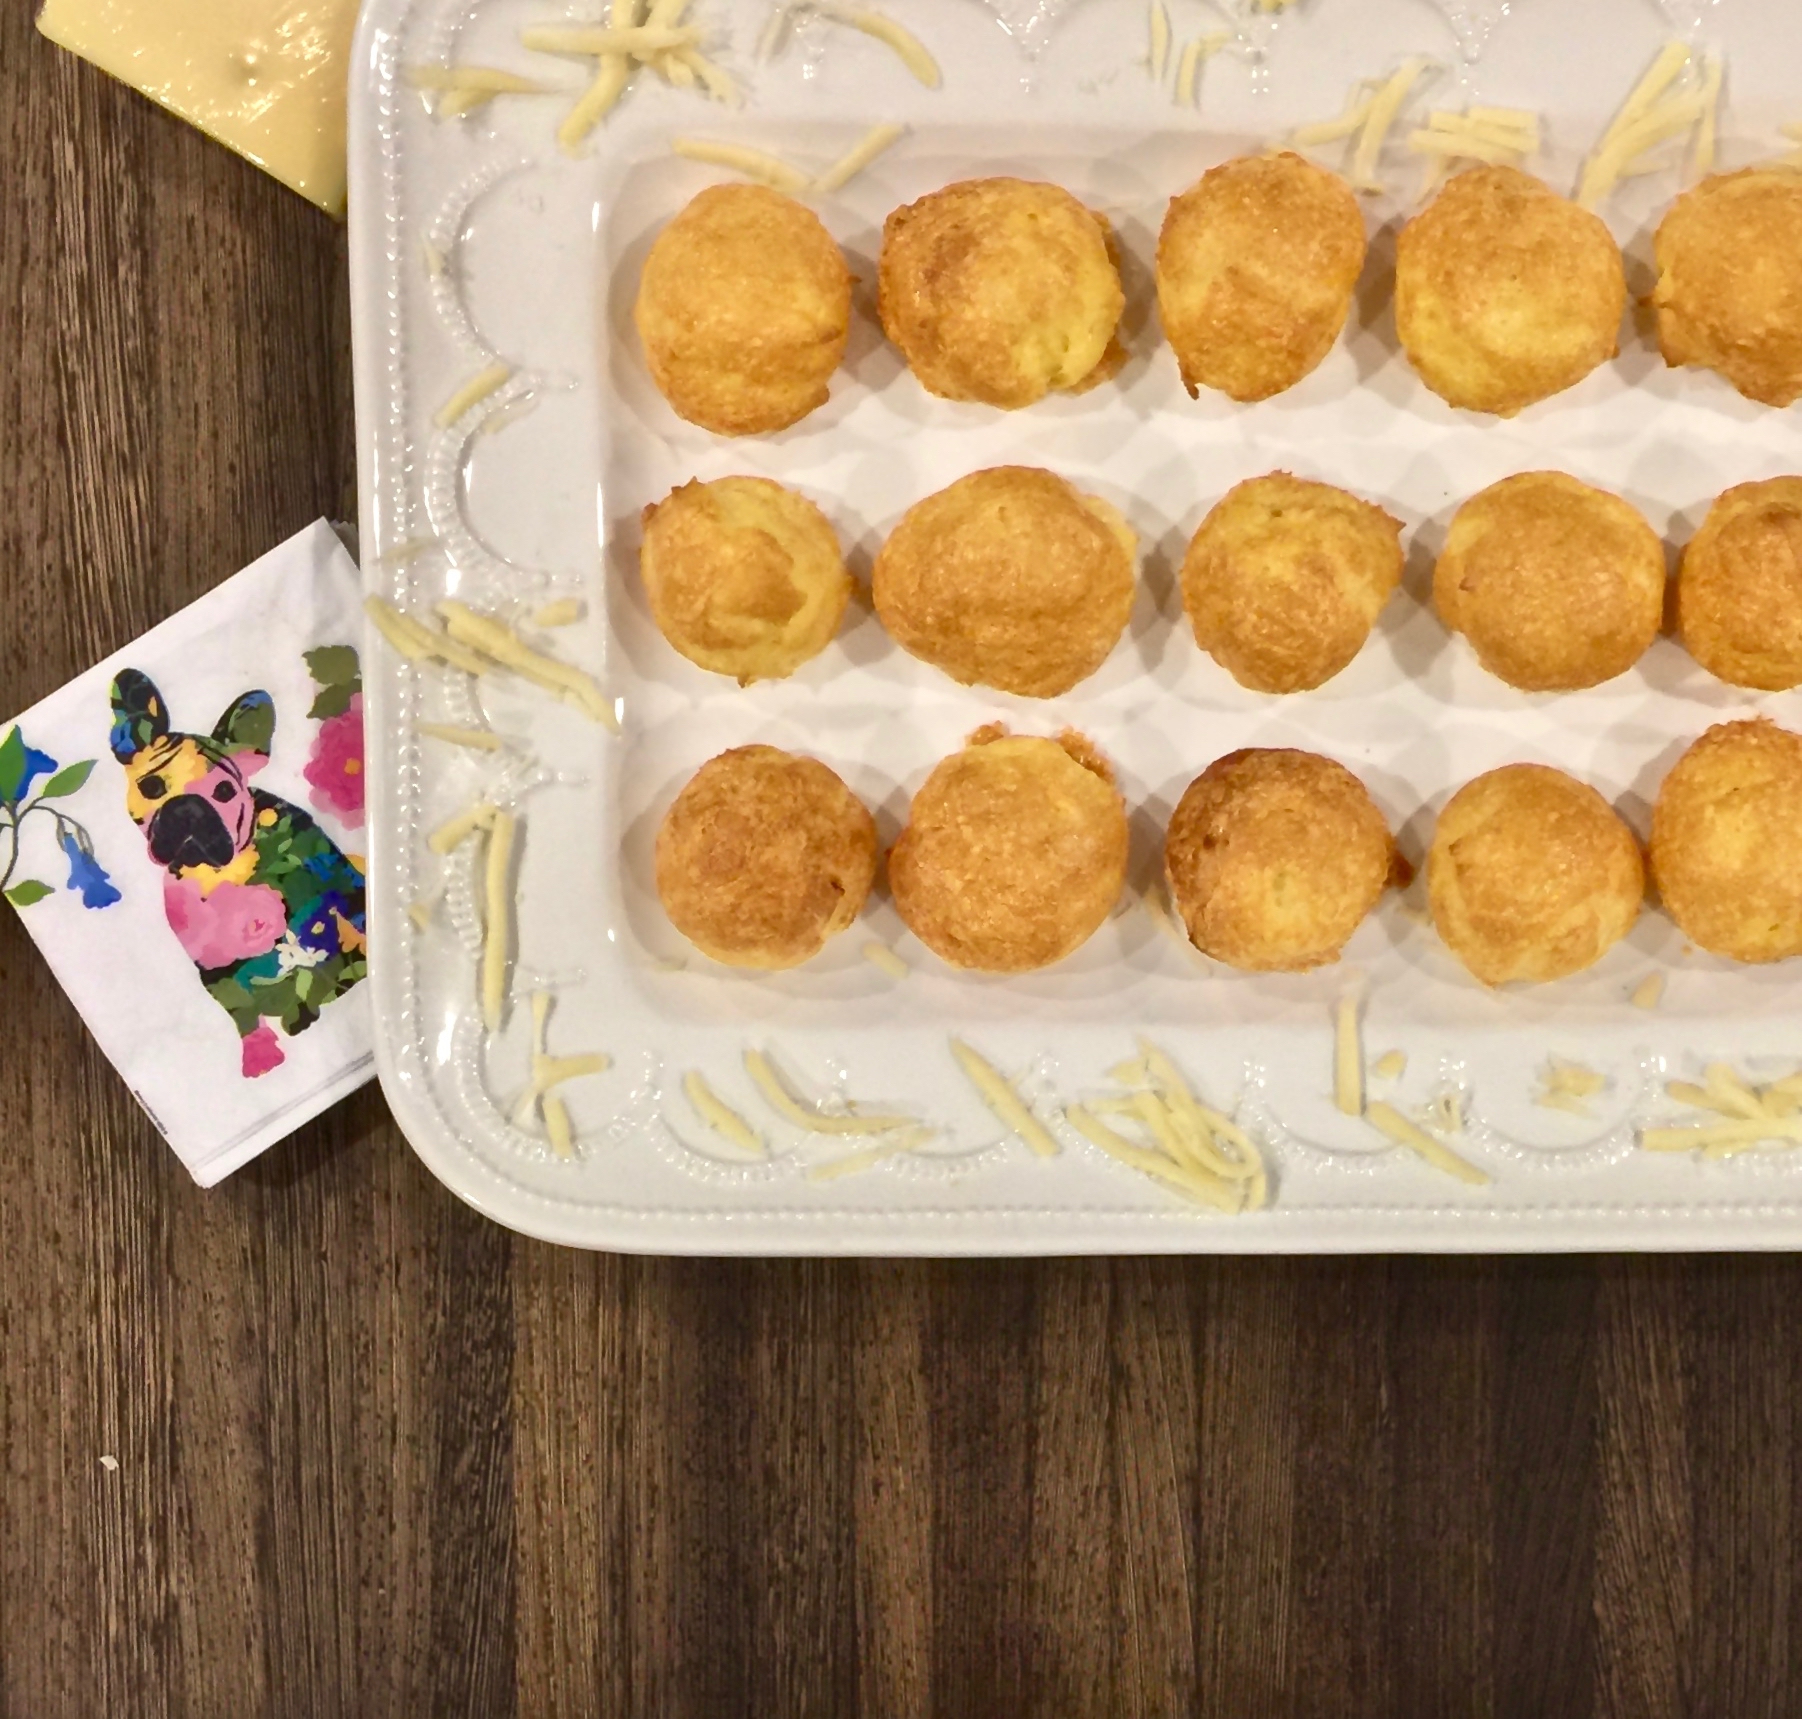
These cheese puffs are exquisite. They are gorgeously browned on the outside and light and fluffy on the inside. This is a “must make” whether or not you are entertaining. I made them for Thanksgiving this year and it was effortless, with extravagant results. My family went nuts over them. They freeze perfectly.

This recipe is courtesy of French Culinary Art cookbook and will make about 48 cheese puffs. Your family will be praising your efforts, and what they don’t know certainly won’t hurt them!

Ingredients for Gougere Cheese Puffs:

2 cups water
1 cup (2 sticks) butter
1/4 teaspoon salt
2 cups sifted all-purpose flour
8 large eggs
2/3 cup very finely diced Gruyere cheese
Small thin slices Gruyere cheese

Preheat oven to 425°F.

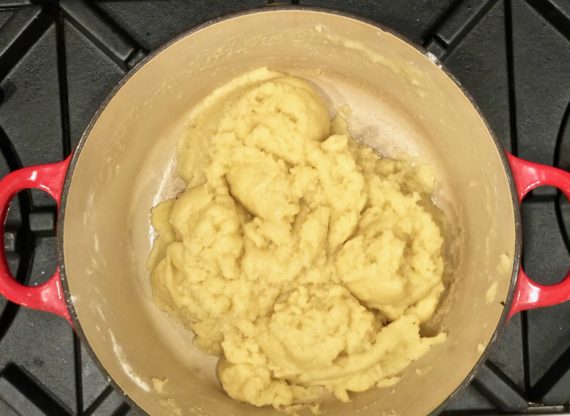
Mix the first 3 ingredients together in a 1 1/2-quart sauce pan. 

Bring to a boil.

Remove from heat and stir in all the flour at one time, using a wooden spoon. (Turn heat off.)

Beat vigorously.

Return to heat and cook until the mixture leaves the sides of the pan and forms a very stiff ball.

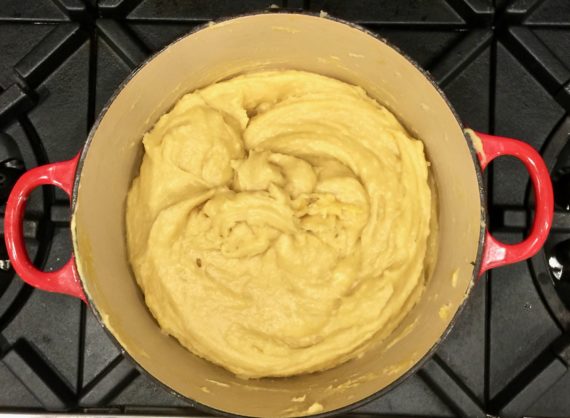
Remove from heat and. Beat in eggs one at a time, beating until it is completely absorbed before adding another.

Do not overbeat, as this reduces the volume and the consistency for piping purposes.

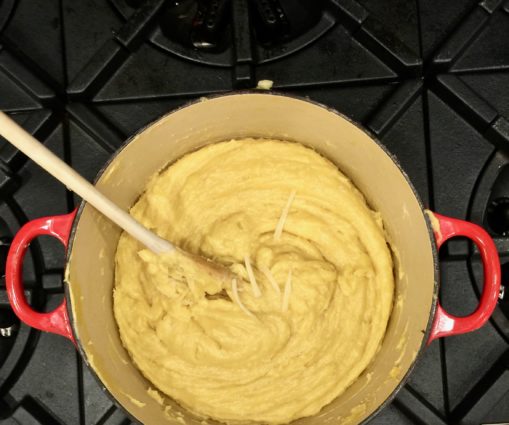
Mix paste with diced Gruyere cheese.

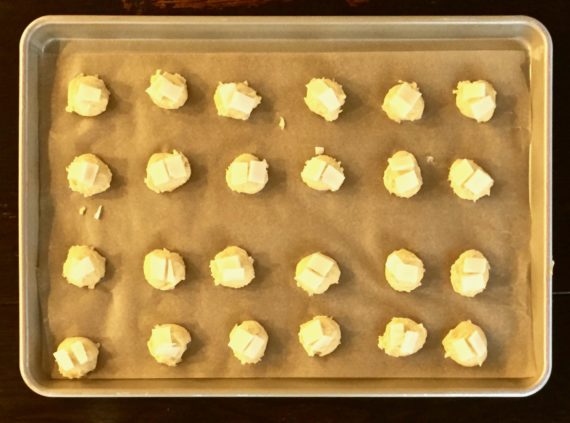
Squeeze paste form a pastry bag or drop from a tablespoon 2-inches apart onto ungreased baking sheets. (I covered pan with parchment paper).

Cover each drop with the thin slices of Gruyere cheese.

Bake in preheated oven 20 to 25 minutes.

Serve warm.

It’s that simple!

A sneak peek!

signature

[recaptcha]


When my husband and I were only married a few years we decided to move to Miami, Florida with our young son. We thought it would be a wonderful way of life, having beautiful sunny days. We also made the move because my brother and sister-in-law lived there with my two nieces. Since we are so close with them, I was excited to do holidays with them and watch my nieces grow up.

When we first moved down there, my sister-in-law Shelley,(the same Shelley famous for her brisket, chicken, and barley on my blog) told me that I should host Thanksgiving, and she would host the other holidays. I think I went into shock. My husband and I had lived in New York city for 5 years. I worked three jobs and he worked full time as well. Who had time to cook? I think I used my oven one time during those five years. Seriously. I knew nothing about cooking!

Further than that, Shelley and her mom, Julia, were amazing cooks. Julia also lived in Florida and would be celebrating all the holidays with us. I was in a full panic. How could I possibly prepare a meal for the two best cooks I know, when I had never cooked one before?

I am not sure how I did it. Maybe Shelley and her mom were merely being nice (they are always lovely), but I got high praises from them, and they made feel like they really enjoyed it. Little did we know that cooking would become a passion of mine!

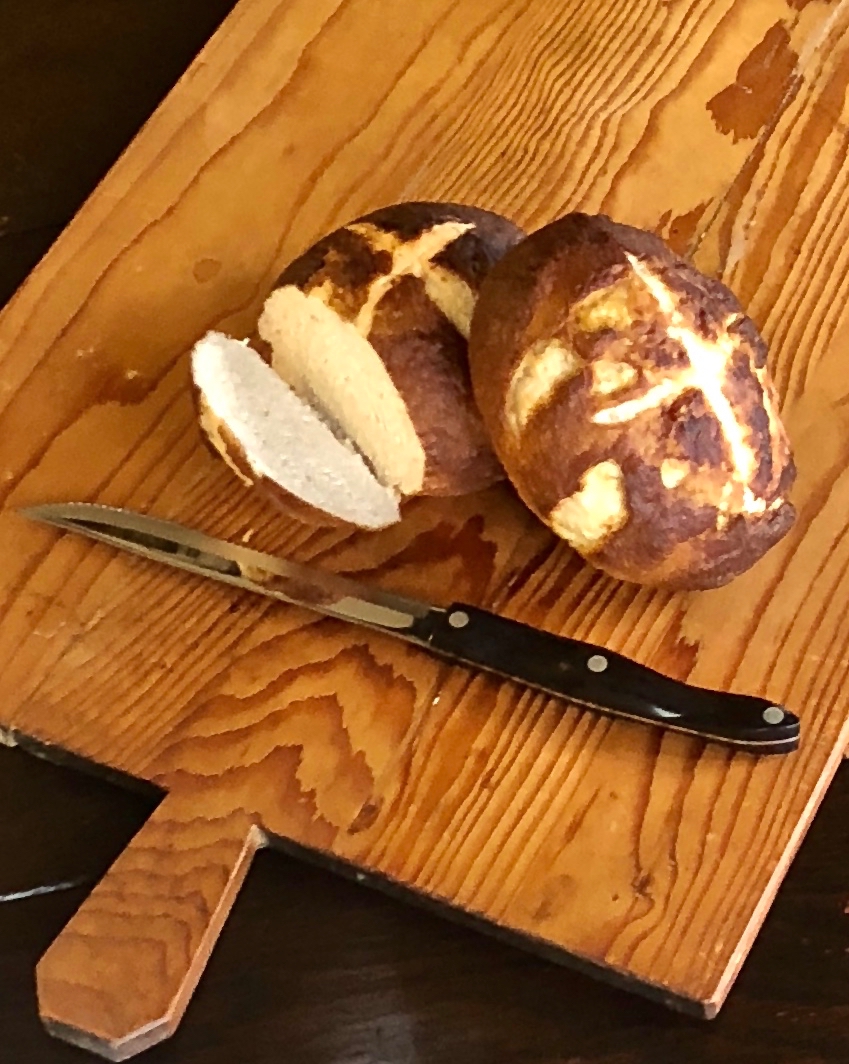
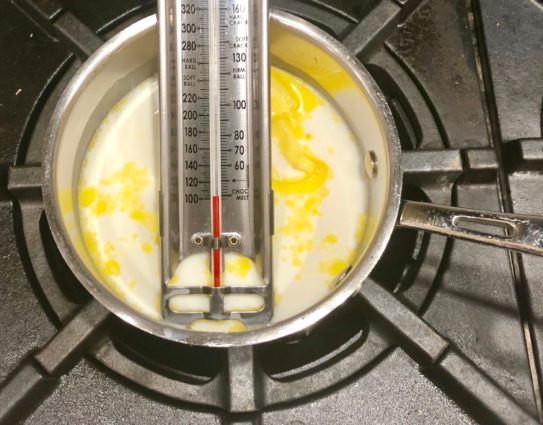
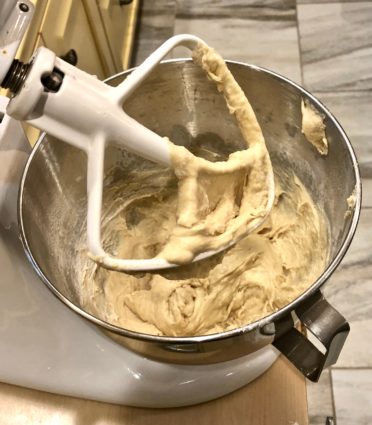
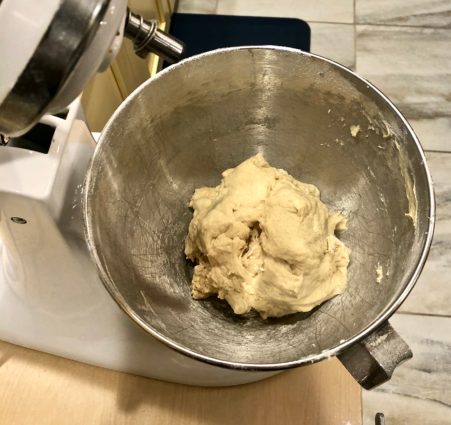
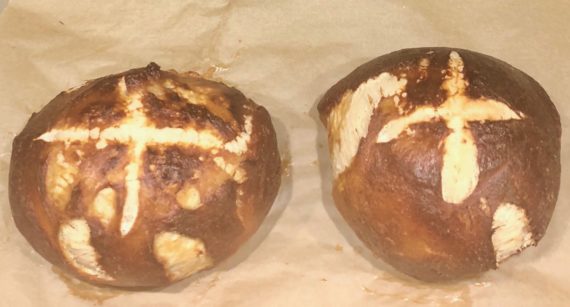
It just goes to show, there is a first time for everything. Which brings me to this recipe, which was another first for me. I have never made bread before. Why? Because it just seems so intimidating.I didn’t think this recipe would be so hard, so I gave it a try. As it turns out, it was fairly easy. I had a candy thermometer to make sure the water-yeast mix was heated correctly which worked perfectly. You have to knead it for 8 to 10 minutes, but that really wasn’t bad, and it went by pretty fast (I used a timer for this). The result? A beautiful, loaf of pretzel bread!

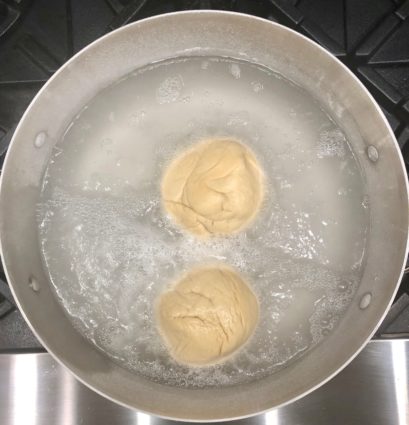
Pretzel bread is different from regular bread because you boil it before baking it. Once it makes contact with the hot water, the starches on the surface of the dough gelatinize, forming a protective crust. It comes out browned and shiny, making your mouth water for a piece. The inside is soft, with just the right amount of sweetness to it. Get your big boy pants on and try this. You will never want to eat store-bought pretzel bread again!

This recipe is courtesy of All Recipes and will serve 12 people who will be amazed at your talents.

Ingredients for Pretzel Bread:

Dough:

1 cup milk
2 tbsp. butter or margarine
2 tbsp. brown sugar
1 envelope rapid rise yeast
2 tsp. salt
3 cups all-purpose flour, or more as needed

Boiling Solution:

3 quarts water
3/4 cup baking soda

Egg Wash:

1 egg
1 tsp. water

Heat milk and butter until warm (100° to 110°); the butter will not completely melt.

Combine with undissolved yeast and brown sugar in a large mixer bowl.

Stir in salt and 2 cups flour, beat for 3 minutes.

Gradually add enough remaining flour to make a soft dough.

Knead on a floured surface until smooth and elastic, about 8 to 10 minutes.

Place in a greased bowl, cover and let rise for 1 hour, or until doubled in size.

Preheat oven to 400°F.

Combine boiling solutions and bring to a boil.

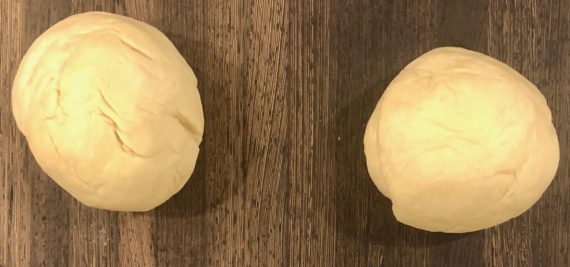
Punch dough down and divide into 2 equal pieces.

Form each piece into a tight, smooth ball.

Boil each loaf in the solution for 2 minutes, turning after 1 minute.

Remove loaves from pot using a slotted spoon and place on a greased baking sheet.

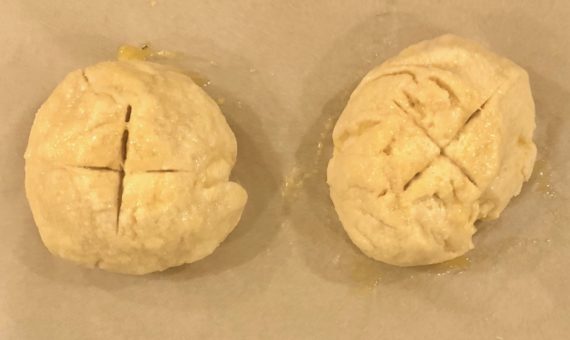
Brush with egg wash and cut a cross in the top.

Bake for 15 minutes then reduce the temperature to 350°F.

Bake an additional 10 to 12 minutes until the loaves are evenly browned.

Remove from the pan and cool on a wire rack.

It’s that simple! 

signature

[recaptcha]


I have commenced my countdown to Thanksgiving. Readying a house for a 50 guest sit-down dinner is really like preparing for an event. Having done it for so many years, I have this process down to a science. I have to-do lists which include deadlines for each individual task (there are a lot)! I keep a large notebook for each year, documenting my progress, this way I can refer to last year’s book to make sure I am on pace.

I give out tee-shirts each year that are themed by the charity we are giving to. I am grateful I have a close friend who can help me create the design we email to the company that prints on the shirts. My guest list is always changing, usually up to the week of Thanksgiving, which makes it difficult to order the correct amount each year. 

Like the ever-changing guest list, table colors and flower arrangements change, so I begin thinking about the layouts very early. Believe it or not, the menu is the last thing I plan for Thanksgiving.Because the menu is most important, I save it for last. I need time to really think about what I am going to prepare, so I try to get the other things done first. Of course, my blog comes in handy for picking out recipes. I hope it helps all of you too.

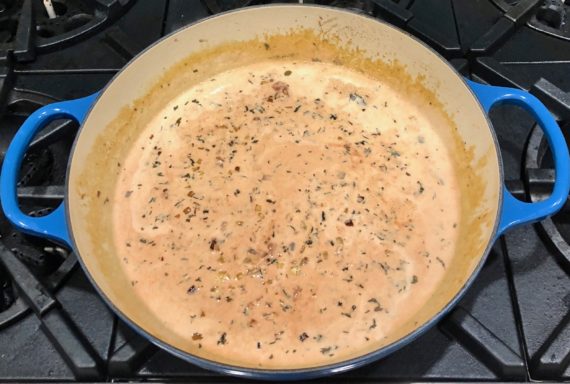
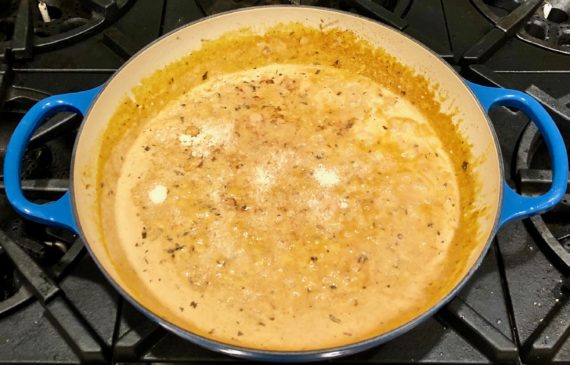
This is a recipe I would love to prepare for Thanksgiving, but I just have way too many people, and I would have to make so much pasta! I don’t even think I own enough pots to make all of it. If you are expecting a reasonable amount of guests, I would definitely add this to your menu.

This pasta is accompanied with a heavenly sauce that is thickened with flour, creating a “roux” and a creamy texture. The herbs and Parmigiano-Reggiano cheese add a savory perfection. This is one lip-smacking good dish!

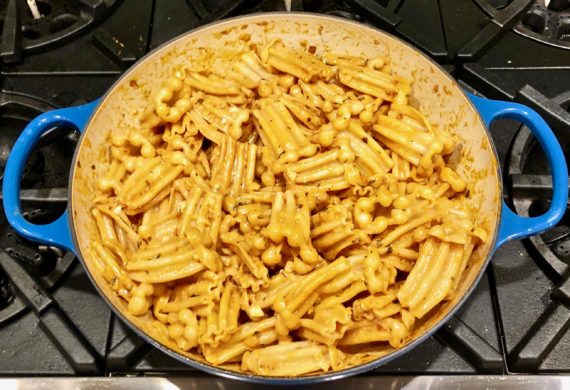
By the way, I obviously did not use penne pasta. It was some other shape, and I forgot to write down the name of it. If anyone recognizes this shape, please let me know. So, feel free to use whatever shape you would like, just make sure it has ridges that the delicious sauce can creep into.

This recipe is courtesy of Taste of Home and will serve 8 people who will want you to prepare it for Thanksgiving year after year.

Ingredients for Blushing Penne Pasta:

1 package (16 ounces) penne pasta
2 tbsp. butter
1 medium onion, halved or thinly sliced
2 tbsp. minced fresh thyme or 2 tsp. dried thyme
2 tbsp. minced fresh basil or 2 tsp. dried basil
1 tsp. salt
1 1/2 cups half-and-half cream, divided
1/2 cup white wine or reduced-sodium chicken broth
1 tbsp. tomato paste
2 tbsp. all-purpose flour
1/2 cup shredded Parmigiano-Reggiano cheese, divided

In a 6-qt. stockpot, cook the pasta according to the package directions.

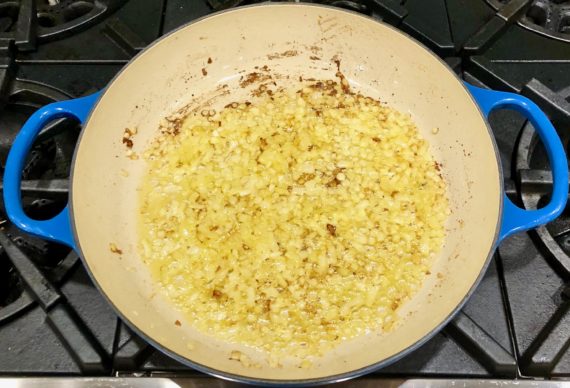
Meanwhile, in a large nonstick skillet, heat butter over medium heat; sauté onion until lightly browned, 8-10 minutes.

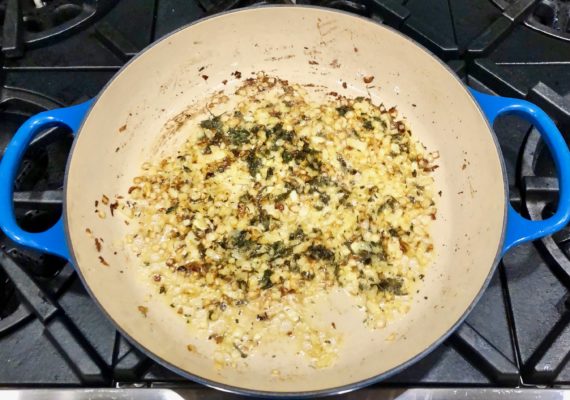
Add herbs and salt; cook and stir 1 minute.

Add 1 cup cream, wine and tomato paste; cook and stir until blended.

Mix flour and remaining cream until smooth; gradually stir into onion mixture.

Bring to a boil; cook and stir until thickened, about 2 minutes.

Stir in 1/4 cup of cheese.

Add pasta.

Serve with remaining cheese.

It’s that simple!

Macy and Mitzie

signature

[recaptcha]