I really enjoy trying to find recipes that are different and unusual for my blog. Although the blog highlights simplicity in many recipes, the more intricate ones are always more fun. Sure, there are some that are not really that difficult, but I mostly post those for my readers that are still beginners.

My niece told me a long time ago (before youtube became so popular) that I should write a blog on how to properly cut an onion, because many of her friends did not know how. I honestly don’t remember learning how to cut an onion, I thought everyone just somehow knew. My friend was over when I was preparing dinner one evening and when she saw me peeling garlic, she was surprised to see how it was done. I was shocked myself when I realized it was not general knowledge.

Maybe someday I will start a series of “how to” posts. I have a few tricks up my sleeve that are unique to experienced cooks. In the meantime, I promise to keep doing my research and find recipes that I know you will enjoy.

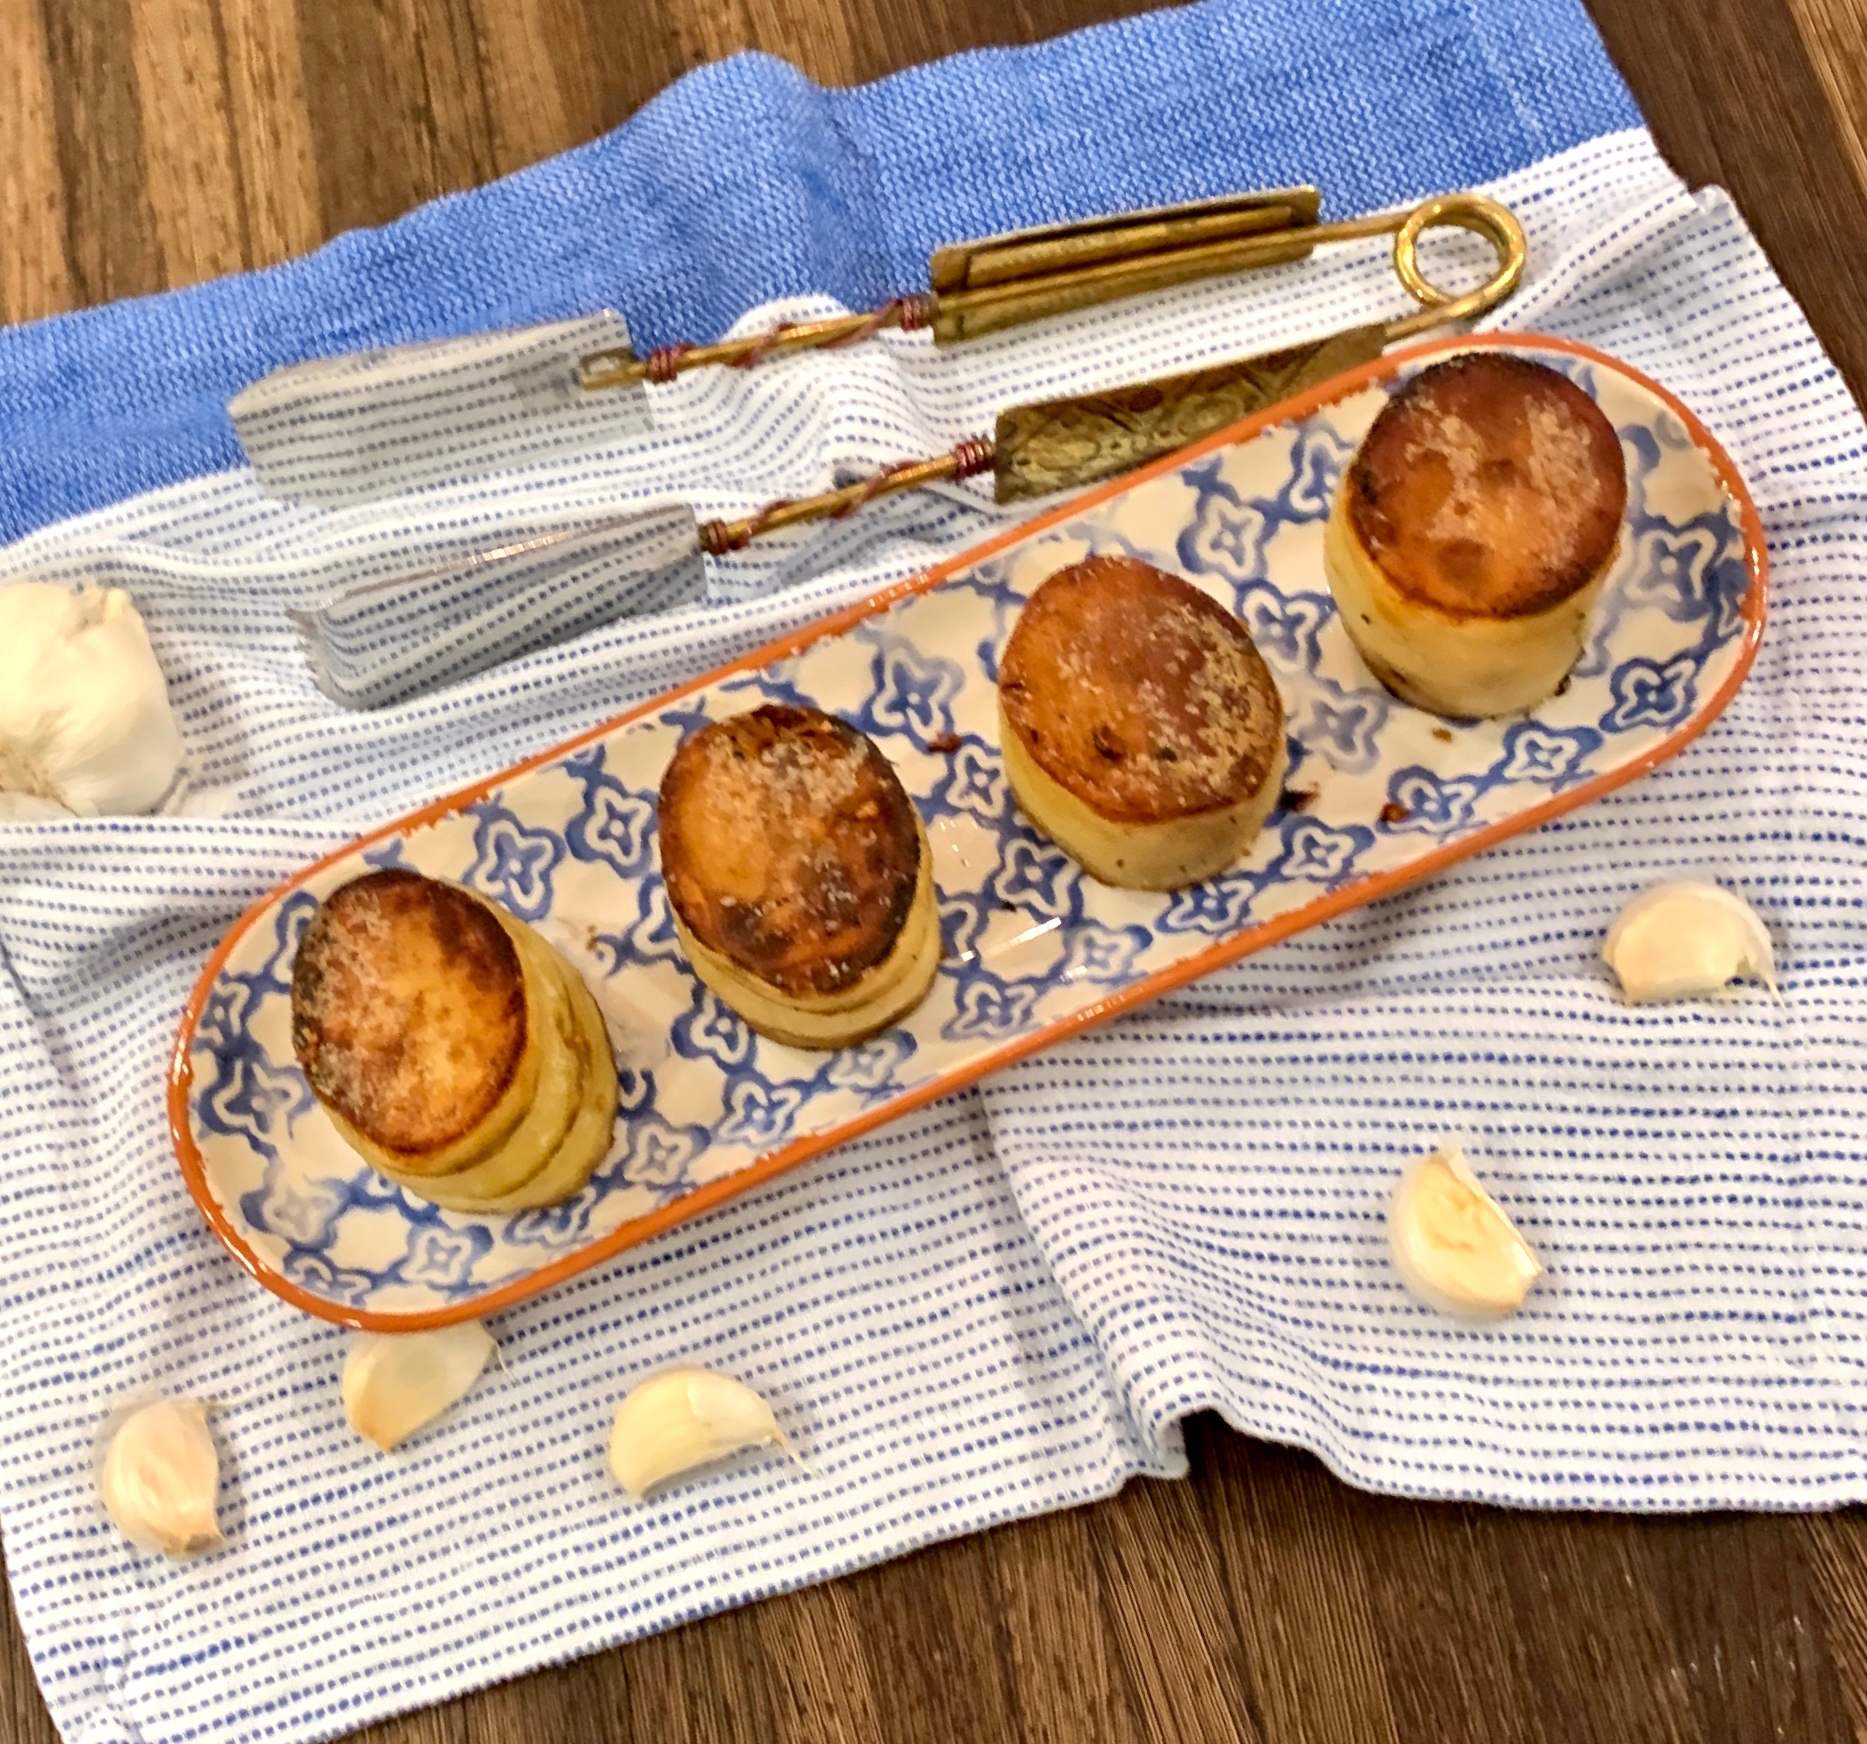
This dish was a first for me. I have never seen potatoes made like this and I was eager to take a shot at it. I was more than ecstatic with the results. The potatoes are browned and caramelized beautifully on both sides, bringing a sweet crispness to them. The garlic infused oil intensifies their flavor even more.  The chicken stock ensures that they are softened to perfection while baking them in the oven. My family just loved these extraordinary potatoes. These are perfect to serve for any holiday or family dinner.

This recipe is courtesy of Rockrecipes by Barry Parsons and will serve as many as you wish to impress!

Ingredients for Garlic Thyme Fondant Potatoes:

6-7 medium-sized russet potatoes
4 tablespoons butter
2 tablespoons olive oil
Salt and pepper to taste
3 garlic cloves, sliced
3 sprigs fresh thyme
1 1/2 cups low sodium chicken stock (boiling hot)
2 additional tablespoons butter

Choose a pan that will be the right size for the potatoes. You can use a 9×9 glass pan and peel and chop the perfect amount of potato to fit into it. 

Once you have determined what pan you will be using, remove the potatoes and heat the baking dish in a 400° oven while you brown the potatoes.

Peel the potatoes and cut them into about 2-inch thick cylinders.

Cut off the rounded ends and try to keep all the potatoes pieces the same size.

Heat the butter and olive oil over medium heat in a cast iron skillet or non-stick saute pan.

Add the sliced garlic and sprigs of thyme.

Cook for just a minute or so to soften the garlic, then remove it from the pan along with the thyme. 
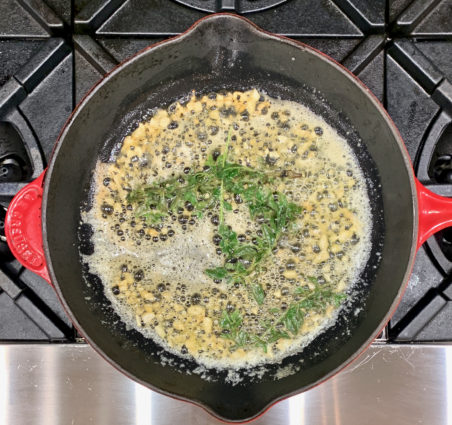
Set aside.

Season the potatoes on both sides with salt and pepper and brown both ends of the potatoes until golden, about 3-4 minutes per side over medium to medium-high heat.
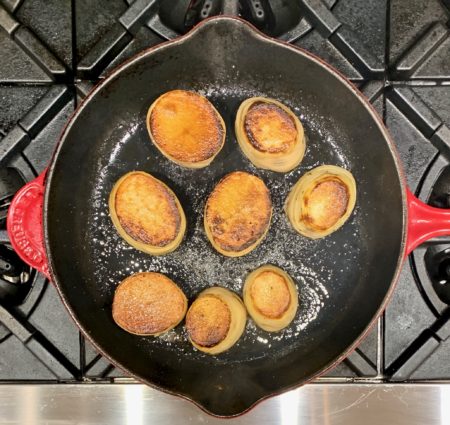
While you are doing this, heat the chicken stock to boiling.

Remove the heated pan from the oven.

Place the potatoes from the cast iron pan and fit them into the heated baking dish from the oven.

Tuck the garlic slices and thyme sprigs used to flavor the oil and butter between the potatoes.

Pour in the hot chicken stock just until the potatoes are half submerged.

Dot the top of the potatoes with a little bit of butter, then return the pan to the oven for about a half hour or until the potatoes are fork tender.
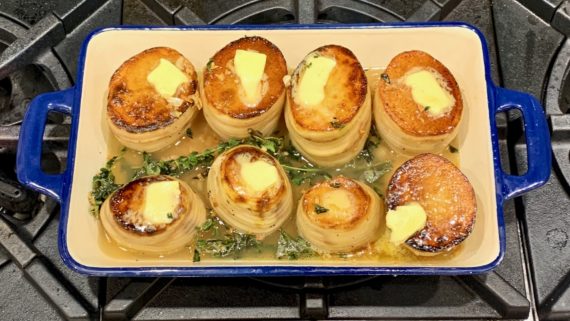
Serve immediately.

It’s that simple!

 

signature

[recaptcha]


I share my love of cooking with my sister-in-law, Shelley, and her two girls, Leslie and Lara (that’s who the bridal shower in my last post was for). I have been cooking for the holidays with them for so many years now, so it has become a shared passion for all of us. As I told you before, my cooking has evolved since the first time Shelley told me I would be the one to make Thanksgiving one year, many moons ago. One of the reasons I started this blog was so that my nieces would have it all the recipes written down in one place.

Shelley has always been a great cook. She inherited that talent from her mother, Julia, as she was growing up. Not only was Julia an amazing cook, but she was an even better baker. It would be hard for me to remember Julia’s baking, but luckily Shelley has all of her mom’s recipes and can flawlessly replicate each one. Shelley takes after her mother, she is an amazing cook, but her baking is impeccable.

You know how some people do not want to share their most coveted recipes? Shelly is not like that at all. She has given me so many recipes to blog and loves to share them. I feel very grateful that she is letting me share this one with you today. This is one recipe I do remember Julia making. When I was young, I always hated cheesecake, until I tasted Julia’s of course. 

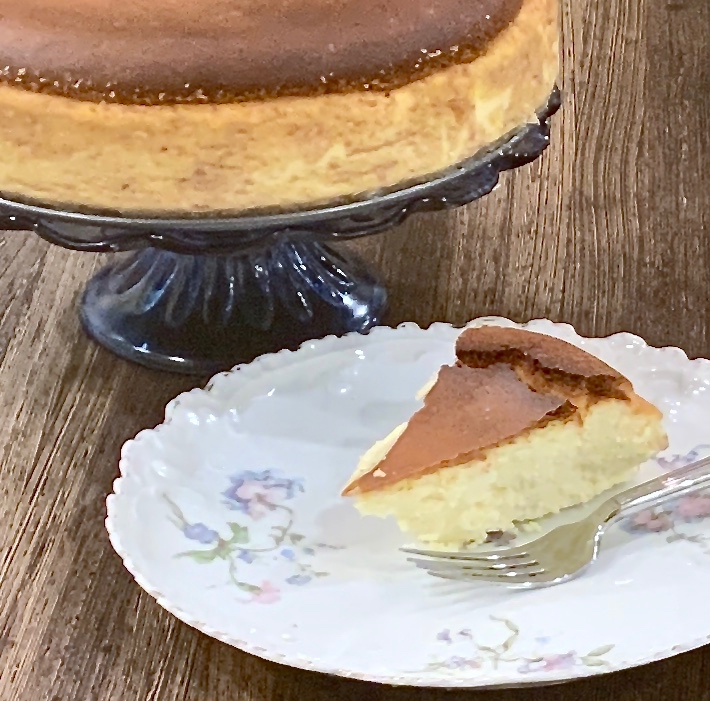
This cheesecake is crazy good. It is so smooth and creamy, with just a hint of vanilla. Every bite is even better than the last. The graham cracker crust is always perfect for cheesecake. You should definitely make this decadent dessert, but before you do here are some baking tips

Bring the ingredients to room temperature before mixing them.

Do not overbeat the filling, it will let air in the batter which will cause cracking.

—Generously grease the sides of the pan.

Now that you have all my helpful hints, let’s get baking!

This recipe is courtesy of Grandma Julia and Shelley and will serve 8 people who will always come back begging for more.

Ingredients for Grandma Julia’s Cheese Cake

For the crust:

1 1/2 cups graham cracker crumbs
1/2 tablespoon shortening to grease springform pan

For the filling:

2 pounds cream cheese (4×8 0z.) packages, room temperature
1 cup sugar
6 eggs
1 tablespoon flour
1 tsp. vanilla
1/2 pint (1/2 cup) heavy cream

Preheat oven to 350°F.

Brush shortening all around a springform pan.

Place graham crackers in pan and swirl pan so graham crackers adhere thinly to the sides.

Pat down crumbs gently into bottom of pan.

Place aluminum foil all around the bottom and bottom edges of the pan.

Separate eggs.

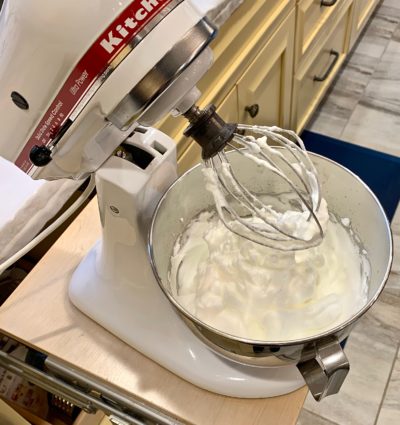
Beat egg whites until stiff.


Place in the refrigerator.

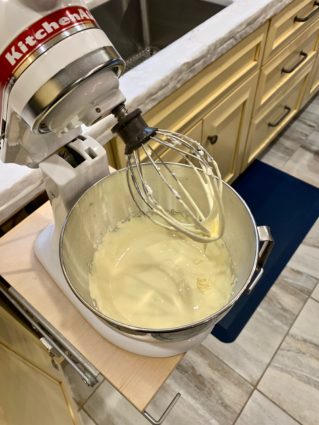
Beat egg yolks and sugar until they are creamy and smooth.

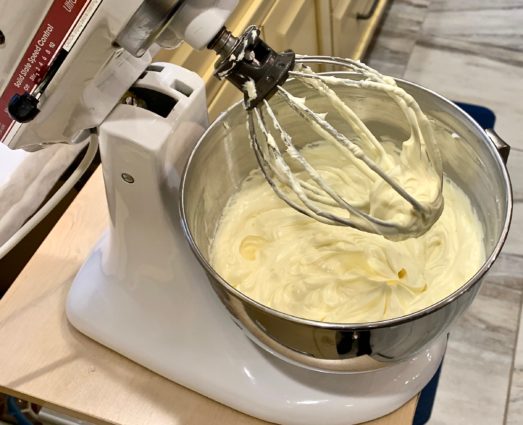
Add cream cheese in small amounts at a time.

Add flour, heavy cream and vanilla.

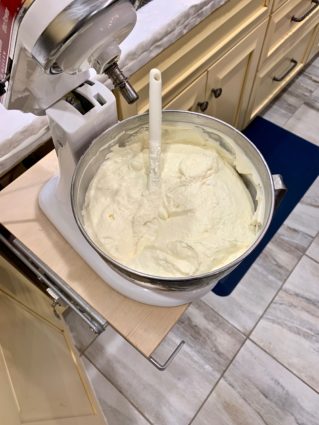
Fold in egg whites until well incorporated.

Pour batter into springform pan.

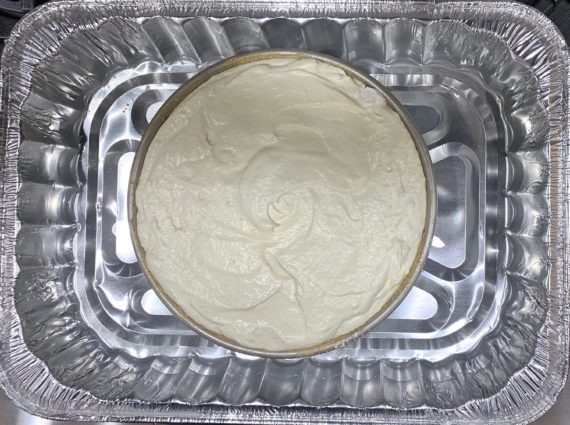
Place pan in another pan filled with water halfway up the sides.

Bake for 1 1/2 hours.

Turn the oven off and leave the pan in the oven for an additional 15 minutes.

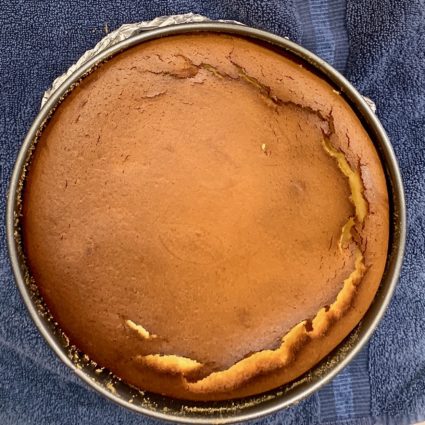
Now, the key is to learn to make it with no cracks, like Shelley does, but hey who’s perfect? It tasted heavenly!


It’s that simple!

signature

[recaptcha]


Many of us make resolutions for the new year. Many of us also make them and never follow through. Even if we don’t follow through, the resolutions are always on our minds.

Maybe if we make a resolution about something we are passionate about, then we are more likely to carry it out. I set cooking goals for myself all the time. Not unobtainable ones, just small ones! If you are passionate about cooking I have some thoughts for you for this new year.

Ordering in: try to be prepared for your meals so you order less take-out. I recommend buying fresh meat from a butcher so you can freeze it and take it out when you need it. I will take out a steak from the freezer the night before I am going to cook it and place it in the refrigerator. Then, I quickly sauté or roast a vegetable with it. That’s it! Dinner is done and it is fresh and healthy.

Cookbooks: go through your cookbook collection and pick out some new, interesting recipes you want to make in the new year. Make a copy of it and take it with you so you have the ingredients on hand the next time you are at the grocery store.

Spices: be honest, how old are they? Are you keeping them in a dark, dry cabinet? The shelf life for spices is about eight months. If it is New Years, and you haven’t used it since this time last year, then it is time to throw it out and get a new one. Try to remember to put the date on them when you buy them. (I am guilty of not doing this too!)

Chicken: teach yourself how to roast one. It just needs a few spices. Throw some salt and pepper on it and some lemons or oranges and herbs in the cavity. Roast it at 350°F for about 1 1/2 hours. Then you have some free time to prepare a side or relax and read a book. It doesn’t get any easier than that.

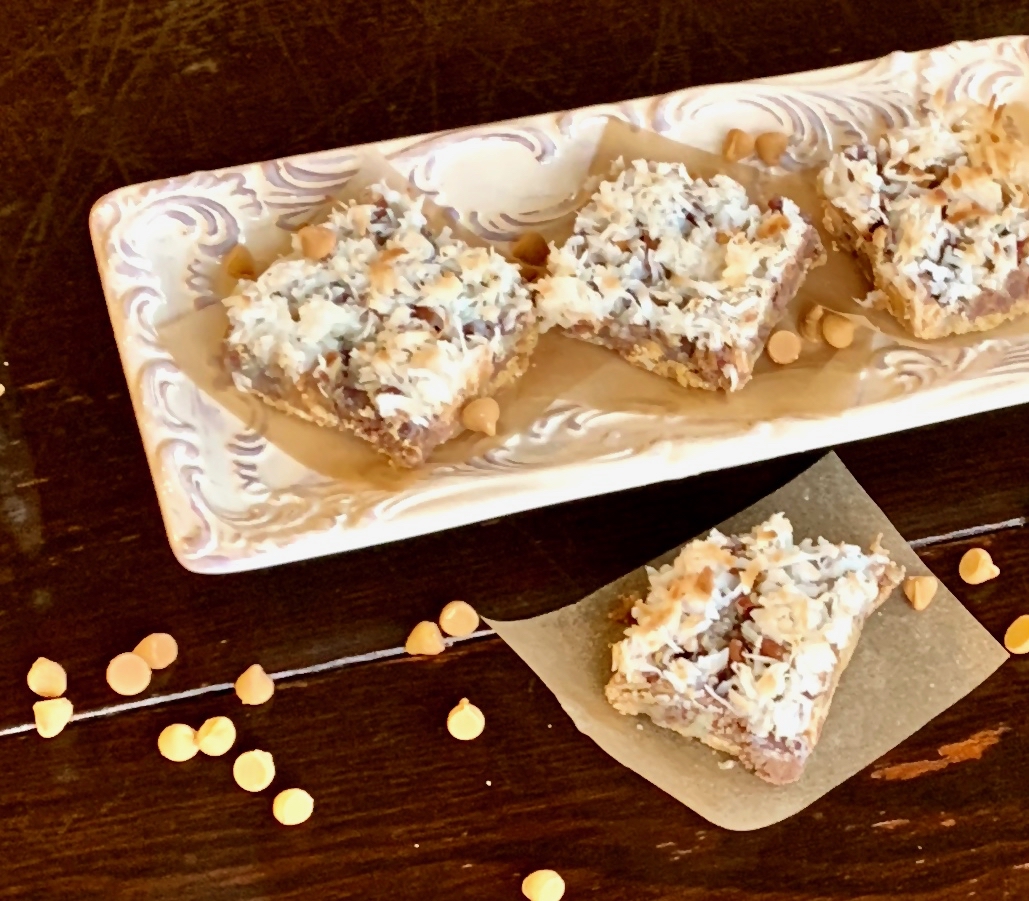
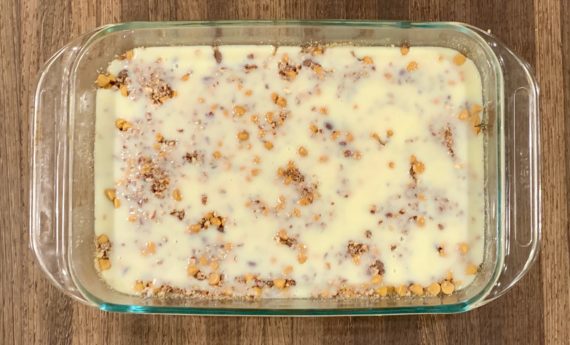
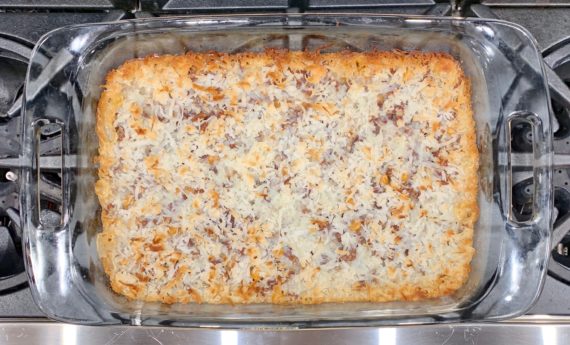
Now that you have made some resolutions, here is an easy, sinfully delicious recipe to make in the New Year. I tasted one at a Christmas party and knew I had to try to make them. It has a buttery graham cracker crust that is covered in layers of chocolate chips, butterscotch chips, and chopped nuts. It is then filled with a coating of sweetened condensed milk that is topped off with coconut. You can substitute any kind of chips such as peanut butter or semisweet, to make it perfect for you. It has become my all-time favorite bar, and I will be making it often. So should you! Perfect to bring to any New Year celebration, these bars will be the hit of the party!

I want to wish all of you a very happy and healthy New Year, and thank you all for support and wonderful comments. I have been lucky I have such kind followers like you.

This recipe will make about 12 bars that will captivate each lucky person who dives in.

Ingredients for Seven Layer Bars:

1/2 cup unsalted butter
1 1/2 cups graham crackers crumbs
1 cup milk chocolate chips
1 cup butterscotch chips
1 cup chopped pecans
1 (14-ounce) can sweetened condensed milk
1 1/2 cups shredded sweet coconut

Preheat oven to 350°F.

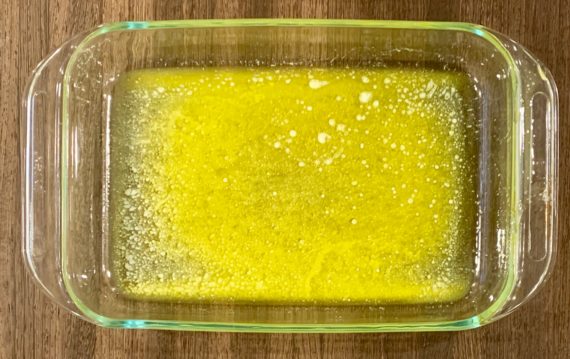
Place butter in a bowl in microwave oven until melted (about 1 minute).

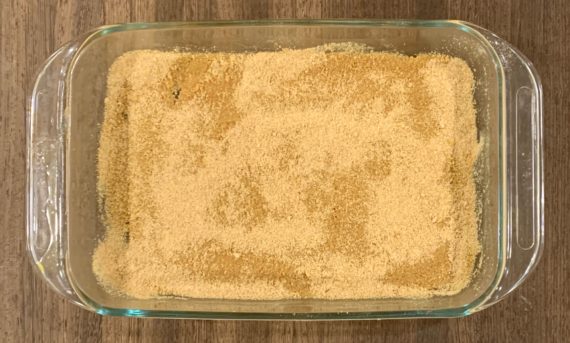
Pour butter into 13 x 9-inch baking pan and swirl it around to coat bottom and sides with butter.

Spread graham cracker crumbs evenly over bottom of pan.

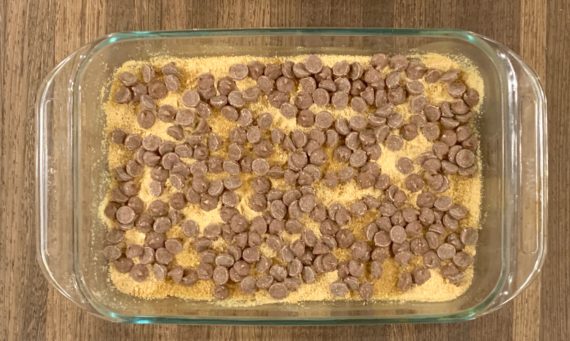
Spread milk chocolate chips over graham cracker crumbs.

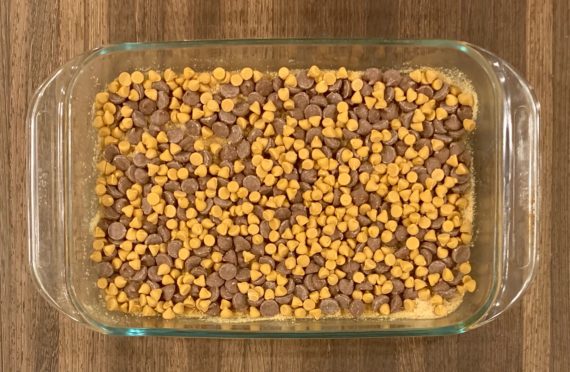
Layer butterscotch chips over milk chocolate chips.

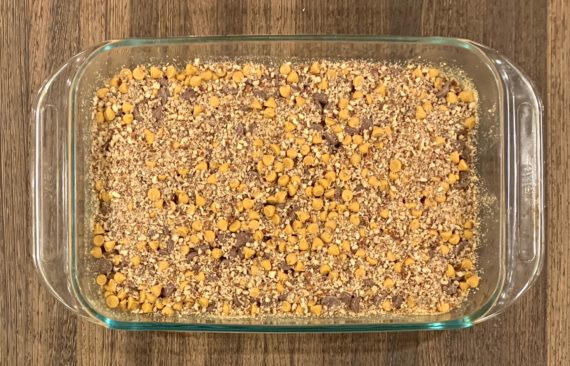
Sprinkle in chopped pecans.

Pour condensed milk over mixture.

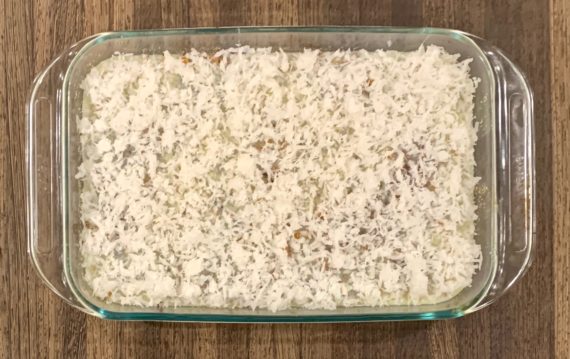
Spread coconut over condensed milk.

Bake until edges are golden brown, about 25 minutes.

Let cool before cutting into squares.

It’s that simple!
 

signature

[recaptcha]


This Christmas marked my 10th annual Christmas dinner for all my friends and local family. I basically do the same decor as Thanksgiving (pictures to come!) and the same kind of menu, it’s just for half the amount of people. It may seem like a lot to do two large dinners so close together. The truth is, I get to invite all the friends that I love so much and shower them with the same warmth I give my family. They are very important to me as well and most of us have shared our friendship 15 plus years. Dinners are easy to do when they are done from the heart.

I just realized that this is my first quiche recipe. For those of you who do not know, a quiche is a dish made up of custard-like mixture usually filled with eggs, milk or cream, cheese, and combined with vegetables, meat or seafood, all surrounded by a pastry dough. When I was first learning to cook, I stayed away from making a quiche as I wanted to wait until I was more experienced. As it turns out, it is not as difficult to make as I thought!

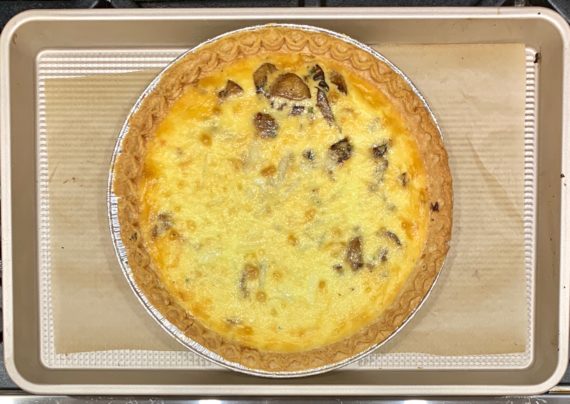
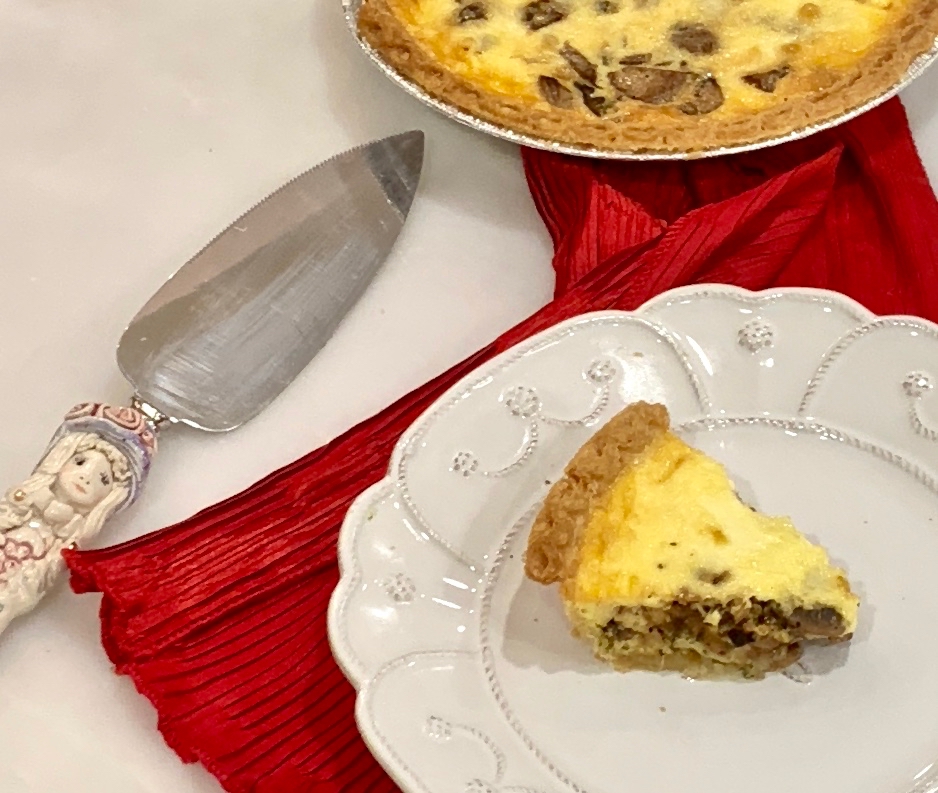
This easy mushroom quiche is out of this world. The recipe starts off with a premade pie crust (which I usually keep a secret, although it is quite clear in the pictures).

When the crust is baked, it is the perfect pouch for this creamy delight. It is a perfectly baked combination of fluffy eggs surrounding mushrooms and cheesy deliciousness. I couldn’t resist more than one helping, it is just that good. Put this one way up on your “must try” list if not first!

Please like or follow me on Facebook, and subscribe to my newsletter so you don’t miss anything!

This recipe is another great one courtesy of Southern Cooking and will serve 8 to 10 people who will beg you to make it again next year.

Ingredients for Mushroom Quiche:

1 1/2 tablespoons unsalted butter
1 small onion finely chopped
Salt and freshly ground black pepper
1/2 to 3/4 pounds mushrooms, trimmed, wiped clean with a damp towel, and sliced 1/4-inch thick
3 tablespoon white wine or vermouth (optional)
3 tablespoons finely minced fresh herbs such as parsley, thyme, rosemary, and/or basil
1 9- to 9 1/2-inch partially baked crust (place in oven at 350°F for 8 minutes) 
1/4 cup grated Gruyere, Swiss or sharp white cheddar cheese
3/4 cup heavy cream
2 large eggs
2 scallions, white and pale green parts only, thinly sliced (optional)

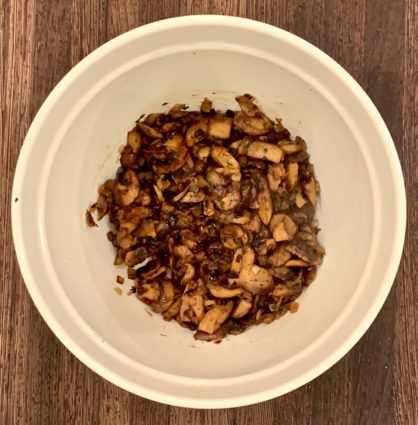
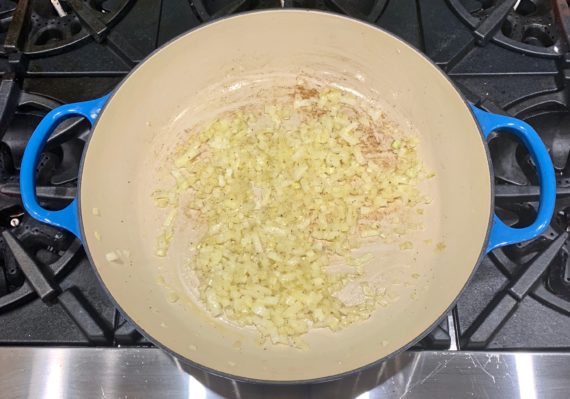
In a large skillet (preferably one that is nonstick) melt the butter and toss in the chopped onion.

Season with salt and pepper; cook and stir over medium-low heat until the onion is translucent, about 2 minutes.

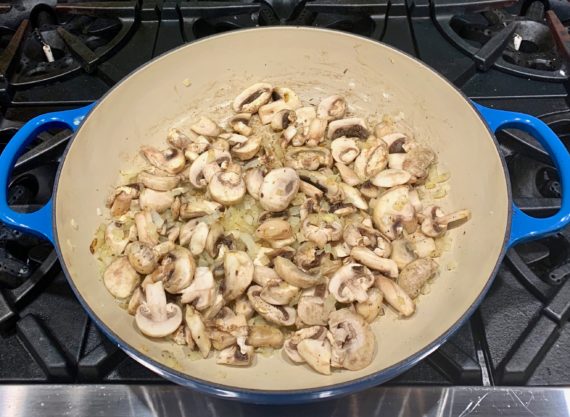
Add the mushrooms; season again with salt and pepper.

Turn the heat up to high and cook, stirring, until the mushrooms are softened and browned here and there, 5 to 8 minutes.

At first, the mushrooms will sop up all the liquid in the pan, then they’ll exude it, then take it up again.

Add the wine (if you are using it); bring to a boil and cook until wine disappears.

Sprinkle mushrooms with 1 tablespoon of the mixed herbs and cook 30 seconds more.

Turn mushrooms into a bowl to cool at least 15 minutes.

When you are ready to make the quiche, center a rack in the oven; preheat oven to 350°F.

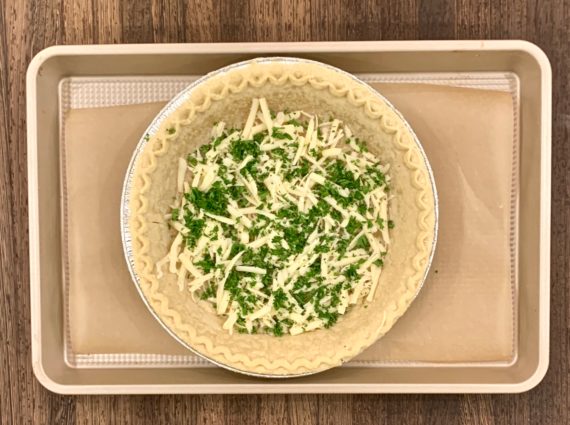
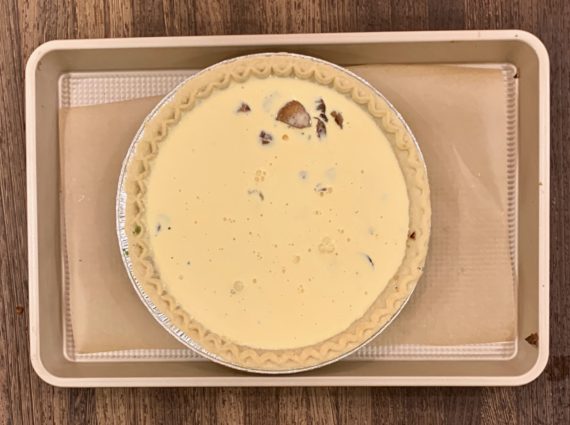
Put the partially baked pie crust on a foil-lined baking sheet.

Sprinkle half the grated cheese evenly over the bottom of the crust and top with the remaining herbs.

(No guessing this pie crust isn’t home-made!)

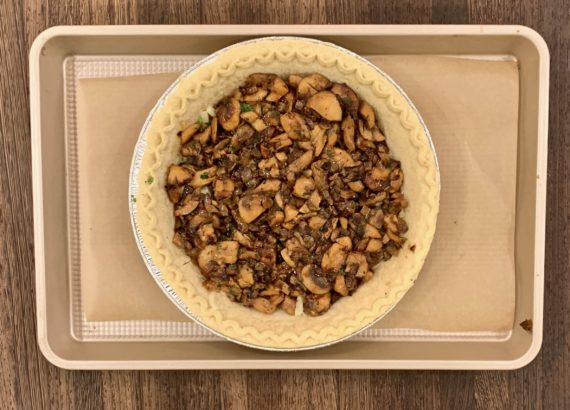
Spoon the mushrooms over, avoiding any liquid that may have accumulated in the bowl.

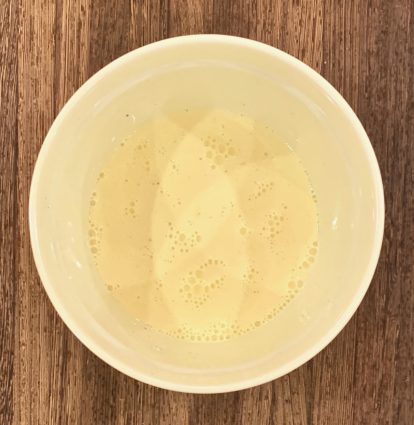
Lightly beat together the heavy cream and eggs just until well blended; season with salt and pepper.

Pour over the mushrooms.

Top evenly with the sliced scallions ( if you are using them) and the remaining cheese.

Carefully slide the baking sheet with the quiche into the oven; bake for 30 to 35 minutes or until the custard is uniformly puffed (wait for the center to puff) light golden, and set.

Transfer quiche to a rack, cool until it is just warm or at room temperature before serving.

It’s that simple!
signature

[recaptcha]


When I was a child, I always wanted to celebrate Christmas and Chanukah. I loved the beautiful holiday lights on all the homes in my neighborhood. I would be invited by my friends, to help decorate their tree and went to midnight mass with them. I always kind of celebrated both holidays.

I still celebrate both holidays. Every year, I make Christmas dinner for all my friends and local family. My husband invites some of his work colleagues and we all gather to enjoy the holiday spirit. It is a chance to bring together people that mean the most to me. It focuses on being with the friends I love, and to let them know how important they are to me.

It is also a great excuse for my husband, to have a bourbon tasting with the guys. He is the bartender for the cocktail hour and he loves every minute of it. We really enjoy entertaining people at our home and making them feel welcome. 

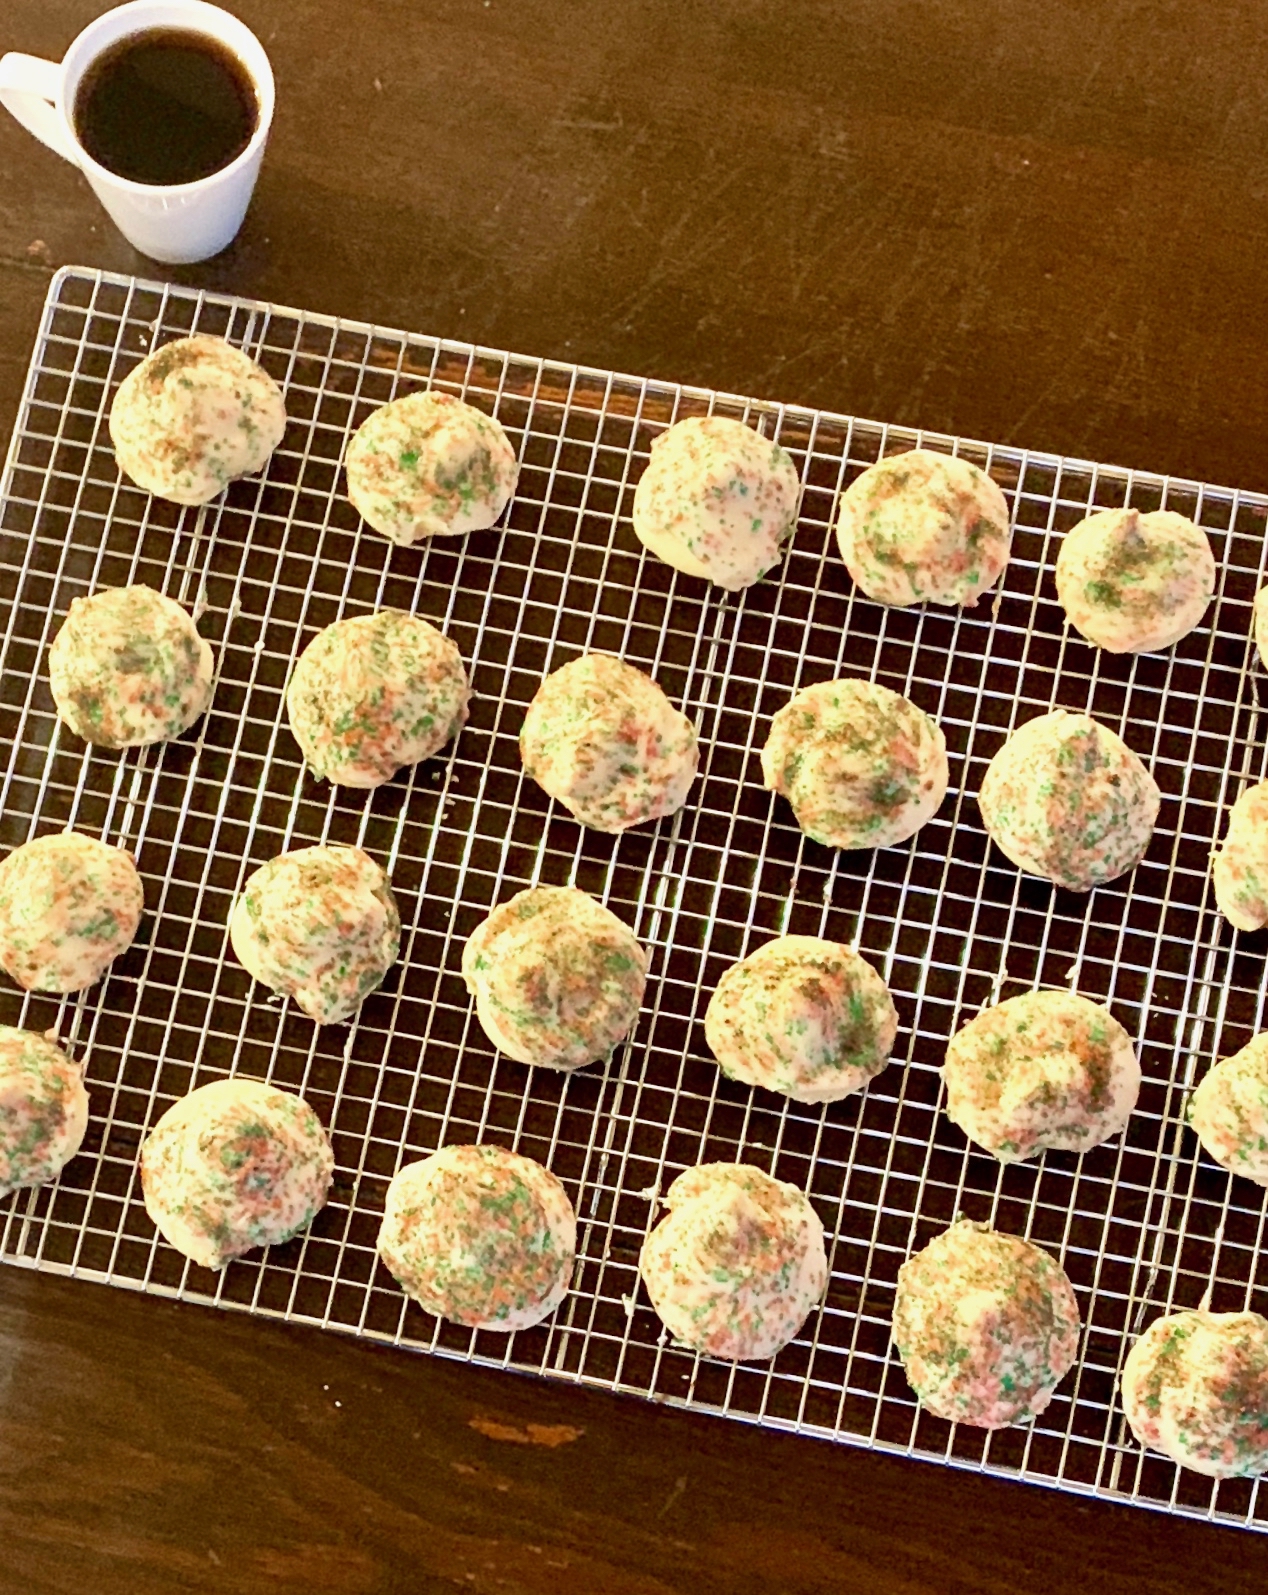
I know cookies are a very important part of Christmas, which is why I chose this recipe. Maybe you don’t need another, but just in case, I thought these cookies are really special. You probably have all the ingredients in your pantry anyway, and these are pretty easy to make. FYI – I substituted fresh lemon juice for the water when I made the icing. They come out soft on the inside and crisp on the outside. Topped off with a lemony-vanilla icing, this may soon become your go-to sugar cookie for Christmas. 

This recipe is courtesy of CakesCottage and will make about 25 to 30 cookies that will make all your guests feel merry and bright.

Ingredients for Italian Christmas Cookies:

For the cookies:

4 eggs
1 cup sugar
1/2 cup butter (1/2 stick)
2 teaspoon vanilla
3 1/2 cup flour
4 teaspoons baking powder

For the icing:

2 cups sifted confectioners sugar
2 teaspoon vanilla
6 teaspoons water

To make the cookies:

In a bowl, sift together the flour and baking powder, set aside.

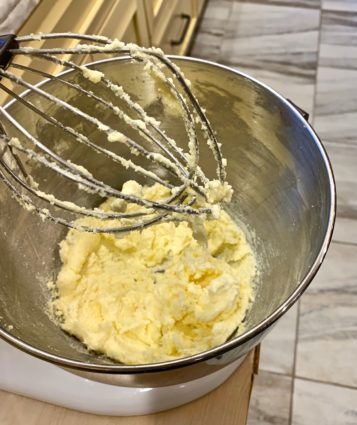
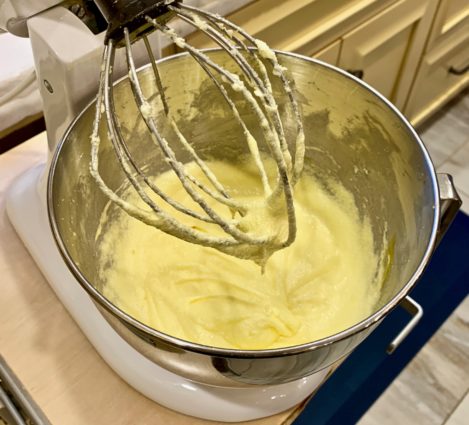
In the mixing bowl of a standing blender, cream together the butter and sugar.

Add the eggs, one at a time, mixing well.

Mix in the vanilla.

Add in the flour mixture.

Take out of bowl, and knead until dough is firm and not sticky, adding more flour if necessary.

Refrigerate for 1 hour.

Preheat oven to 365°F.

You could just roll the dough into 1-inch balls or you can do the following:

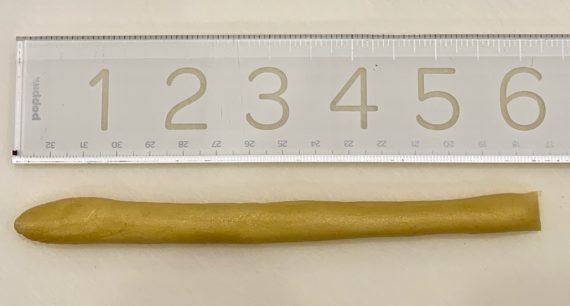
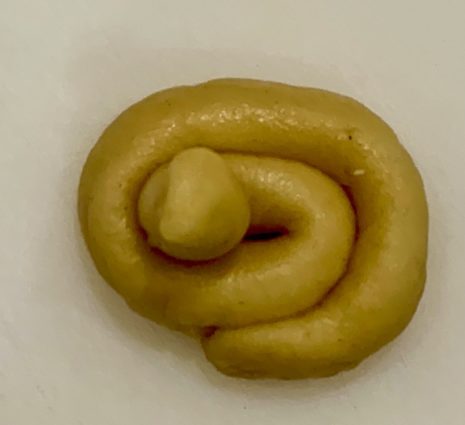
Cut off small amount of dough and roll on floured surface into 6-inch strips.

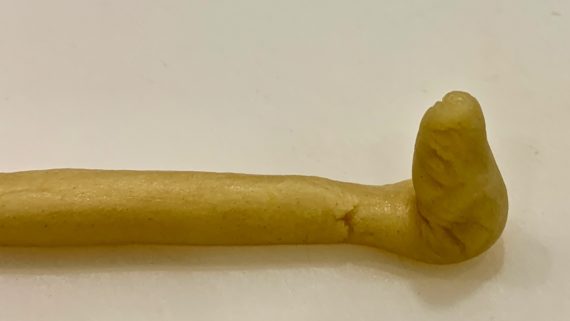
Take one end of cookie and turn it up.

Twirl the rest of the cookie dough around the tip.

Place on cookies sheets lined with parchment paper.

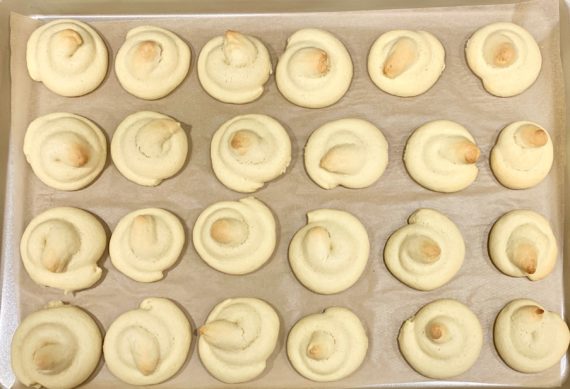
Bake for 8 to 10 minutes (the bottom should be slightly browned, but the tops should remain light).

Remove cookies to wire rack and cool completely before glazing.

To make the icing:

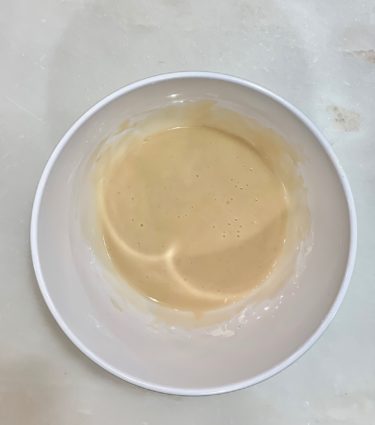
Combine the icing ingredients in a bowl and mix until smooth. (you want it more thick than thin, but still runny).

Dip the tops of the cookies into the glaze, then return to the wire rack, allowing the glaze to drip down the sides of the cookie.

Top with sprinkles, while glaze is wet.

It’s that simple.


signature

[recaptcha]