If you’ve been following my blog for any period of time, you know that I love to entertain. Making people feel comfortable and wanted in my home is how I show love to friends and family. These days, I miss being able to have people over.  This pandemic has been miserable for me. I am a people-person: I need people in my life to help me feel normal and even keeled, and that kind of interaction is hard to come by these days. I can only hope that I will be able to have Thanksgiving this year.  No matter what, “normal” will have an entirely new meaning for us after this all settles down.

That said, in case we are having holidays again and gatherings in our house, I figured I might as well take a page from Miss Manners, and let you in on some do’s and don’ts.  Let’s start with my pet peeves first.  

When I have a lot of guests, like my fifty person Thanksgiving dinner, some of the guests do not come and greet me or even say hello. I am usually very busy and may not be able to make the rounds. Greeting your host will make them feel like you are happy to be in their home. It is just as important as saying “goodbye” and “thank you.”  Make it a point to seek out your host or hostess.  If they are busy, a quick greeting will suffice, then get out of their hair!

Always arrive with a gift. It doesn’t have to be fancy, but you should bring something.  Your hostess has spent a lot of money on food, a lot of time preparing the house, and perhaps your bedroom. It’s a show of appreciation and gratitude.  In a pinch, go to a local grocer and pick up a pie or cake, or a bottle of local wine.

If you are staying over, do not forget that your host’s house is their home, not a hotel. Don’t leave your bed unmade, towels on the floor or dirty dishes in the sink. Pick up after yourself. No one should think that the host should have to do all these things. It’s rude, and will certainly not get you a repeat invitation.

Don’t expect the host to make all your food and clean it up too. If you want a cup of coffee, get it yourself and make one for them too. Bonus points if you make some for other guests too!

Ask them if they need help. We all know that hosting a party is a lot of work.Whether they are preparing a meal or cleaning the dishes – always offer to help. Personally, I never leave a friend or family home without helping them do most of the cleanup.  Cleaning up is the worst part of it, and an extra pair of hands makes it easier. Pick some good music, put on some rubber gloves, and get scrubbin’.

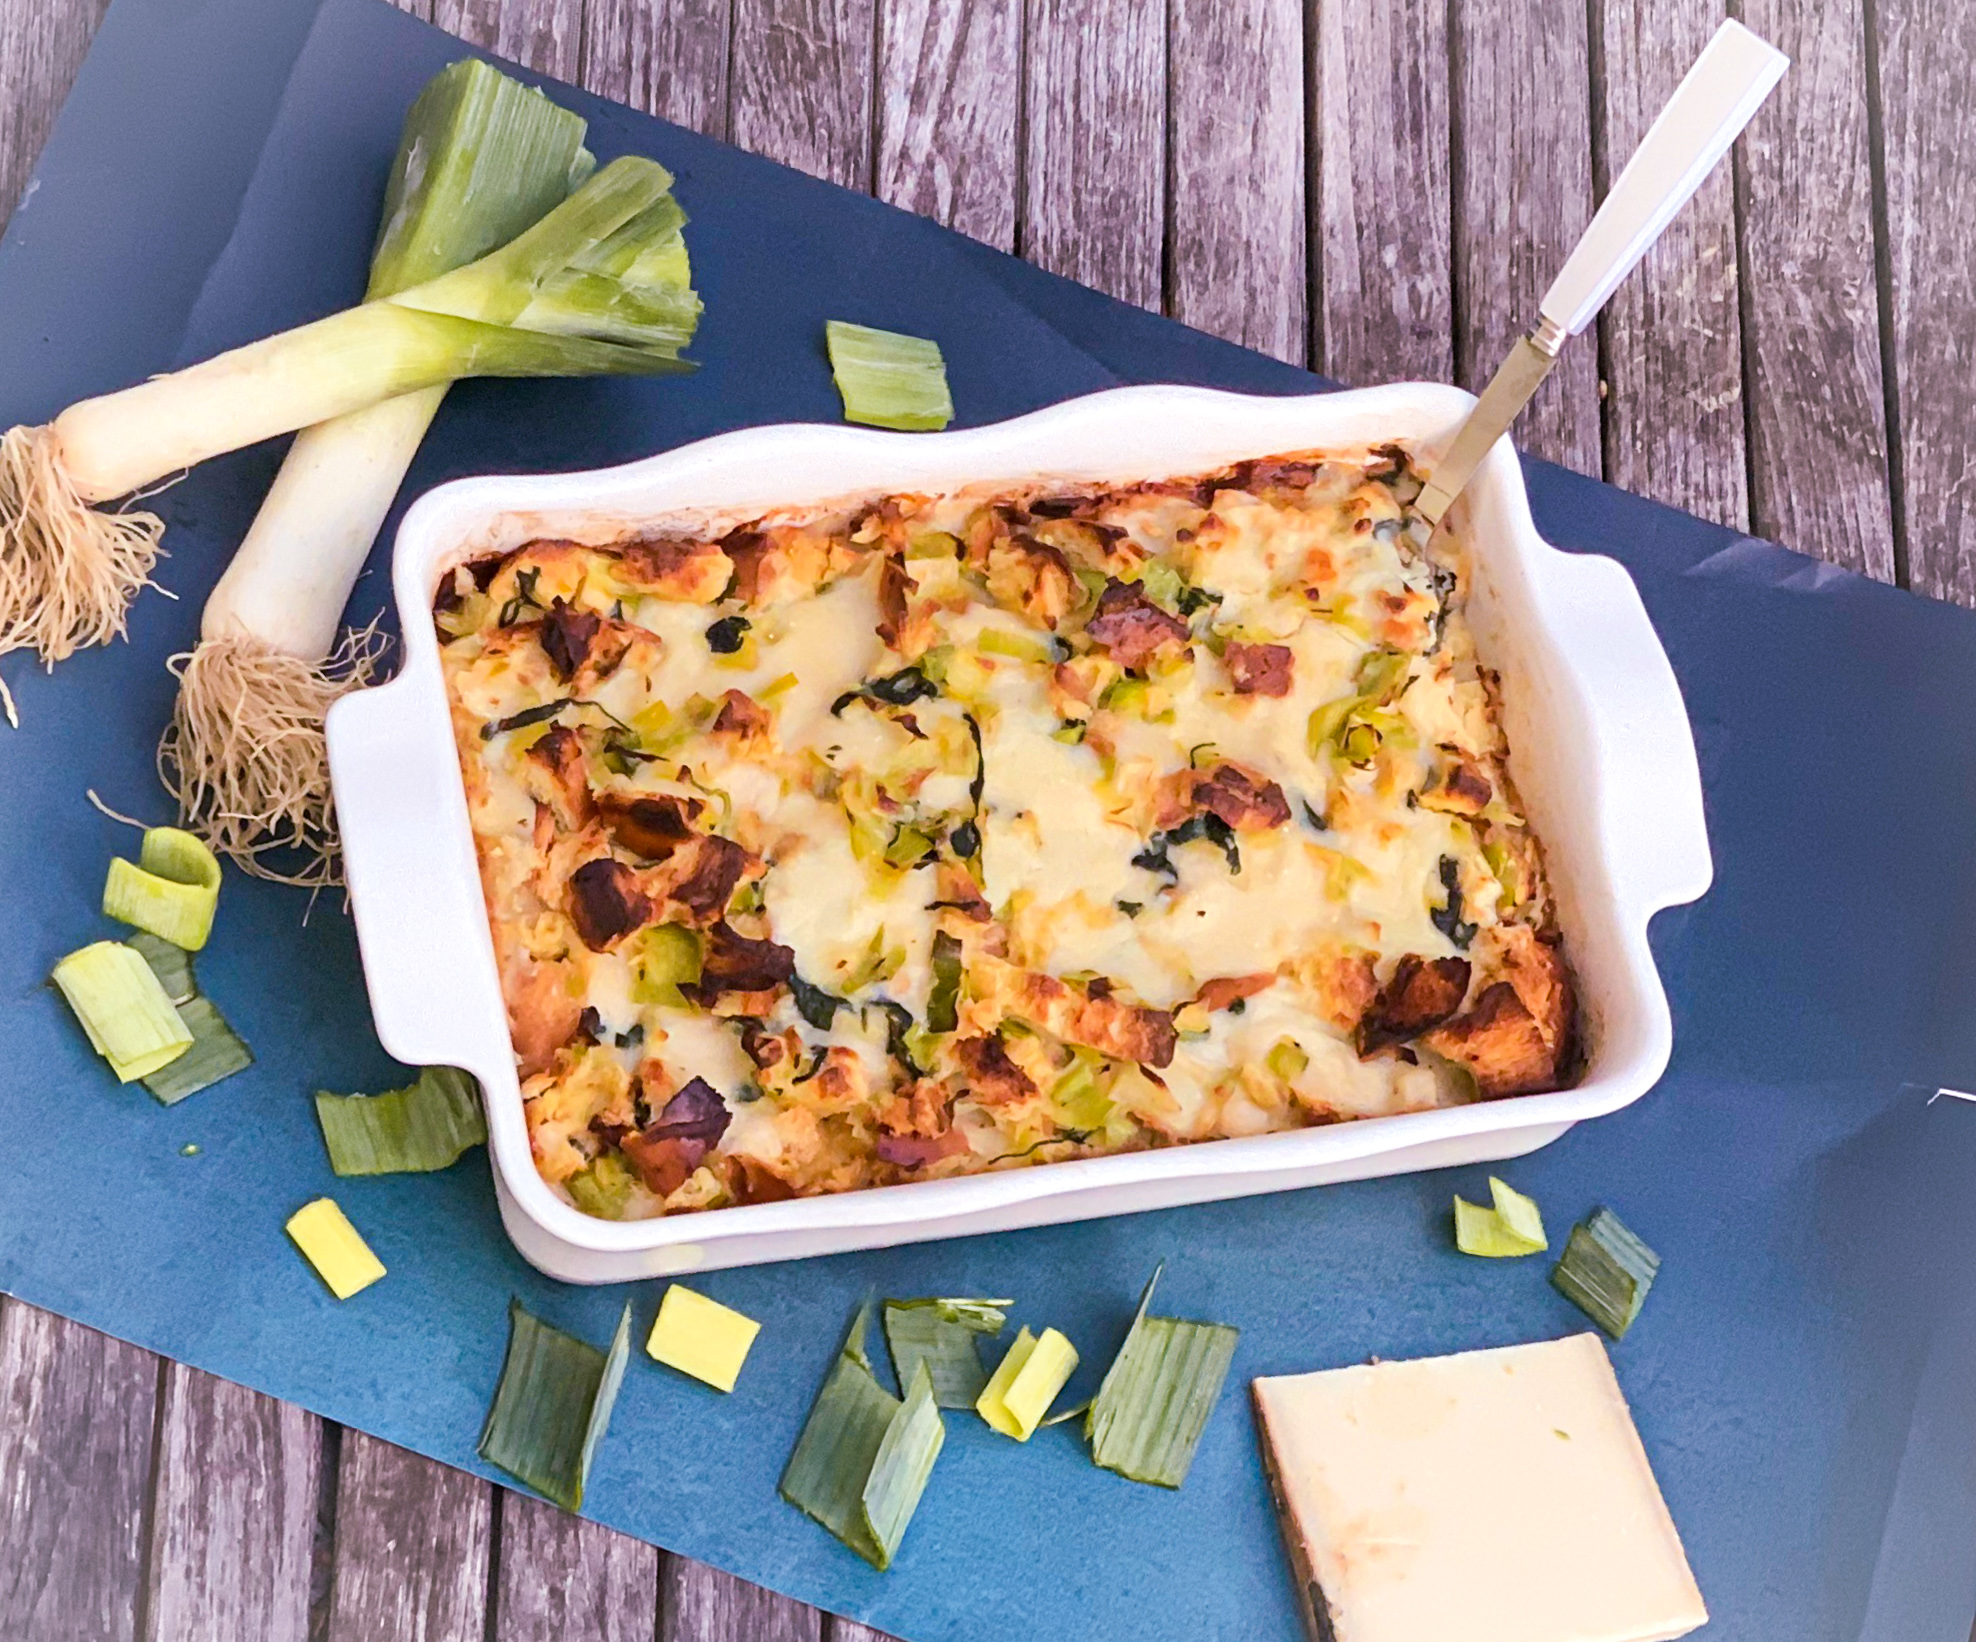
Now that I have filled you in on a few etiquette tips, this is one dish that would delight any host. The leeks and the spinach couple perfectly. The Gruyere adds cheesy goodness. It is all combined in a creamy, custardy sauce with just a little bit of tang from the Dijon mustard. The bread makes this sheer perfection.

This recipe is my own and will serve 8 to 10 people who will all be invited back to the party.

Ingredients for Baby Spinach, Leek and Gruyere Cheese Strata:

2 tablespoons butter, at room temperature
1 tablespoon extra-virgin olive oil
3 leeks leeks, thinly sliced
5 ounces baby spinach
1 loaf of bread, ( I used challah, but brioche or French bread would work well) cut into 1-inch cubes
6 ounces Gruyere cheese
9 eggs
1 cup milk
½ cup heavy cream
1 tablespoon Dijon mustard
1 teaspoon salt
¾ teaspoon freshly ground black pepper

Grease a 9-by-13-inch casserole dish with the room-temperature butter.

 In a large sauté pan, heat the oil over medium heat.

Add the leeks to the pan and sauté until tender, 2 to 3 minutes.
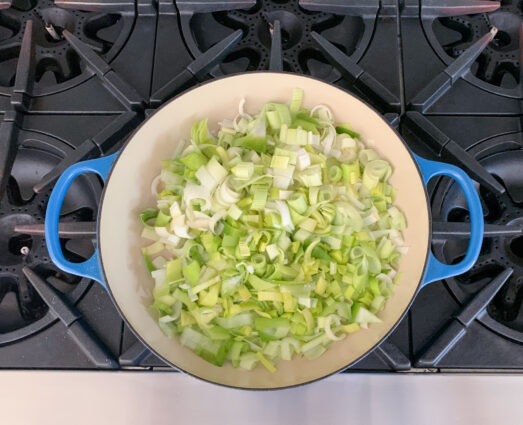
Add the spinach in handfuls and cook until it wilts, 2 to 3 minutes more.
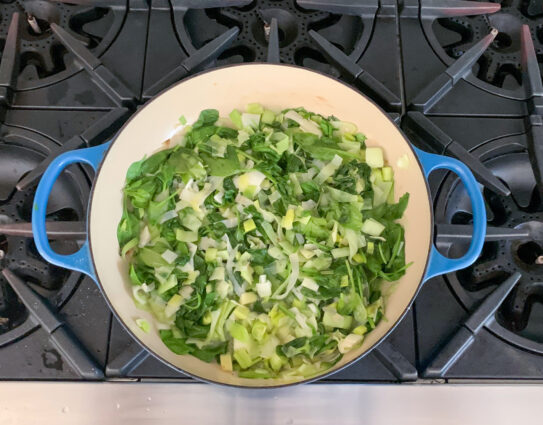
Set aside and let cool a bit.

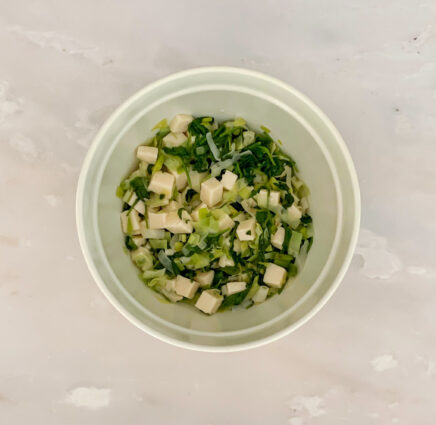
In a large bowl, toss the vegetable mixture with the bread and Gruyere cheese, and then transfer to the prepared casserole dish.
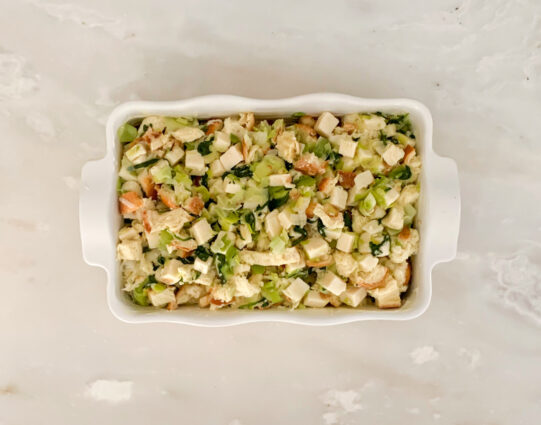
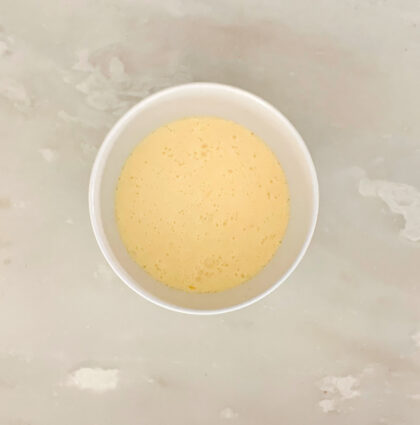
In a large bowl, whisk the eggs with the milk, cream, mustard, salt and pepper to combine. Carefully pour the custard evenly over the bread mixture.
Cover the dish with plastic wrap and refrigerate overnight.

Preheat the oven to 375°F.

Bake the strata until the custard is set and the surface is golden brown, 25 to 30 minutes.
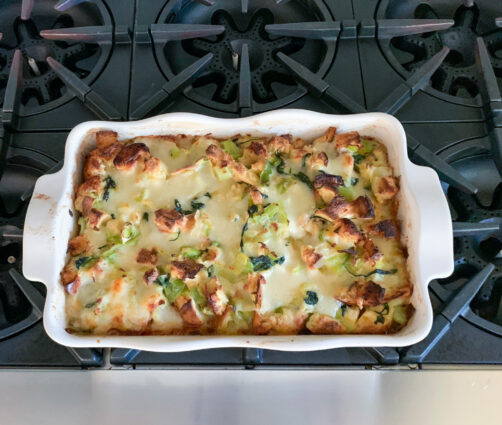
Serve warm or at room temperature.

It’s that simple!

signature

[recaptcha]


Finally, summer is on full blast. I love waking up to the bright mornings these days, and taking a sunset walk along the beach. The weather makes me want to be outside all day. Lately I have been working on my garden and tending to my herbs. They all grew back this year, which was a wonderful surprise; I usually have to rebuy them every year. 

The best thing is that our local farmer’s market opened up. 

Visiting my local farmer’s market is one of my favorite things to do. There is nothing better than walking through the market knowing everything there was freshly grown. You know you are getting the highest quality food at a very fair price, as well as helping out your local economy.

There are some things you should know before going to your local market. It can be intimidating so here are a few tips to help you navigate it easier.  Things are different this year, so I’ve amended my usual tips with COVID-19 in mind.

Before you go, look online to see if vendors are listed.  This is a great way to plan out your route before you get there.  

Prepare a clean mask to wear, and bring hand sanitizer.  Many markets are requiring shoppers to wear a mask, so it’s best to have one ready to go.

Bring cash.  Small vendors may not take cards due to fees from credit card companies.  

Take a walk through the market before you buy anything. Make a mental or written note of the vendors you want to return to.

Bring your own bags.  This is environmentally friendly, convenient, and safe!

Do not be afraid to ask questions. I have found that most vendors enjoy talking about the way they grow the food and operate their farm. They will be able to tell you what’s in season, what tastes best, and how to store it.

Pick up your largest purchases last so you don’t have to carry it around.

Don’t forget to pick up the items you will need for your 4th of July celebration!

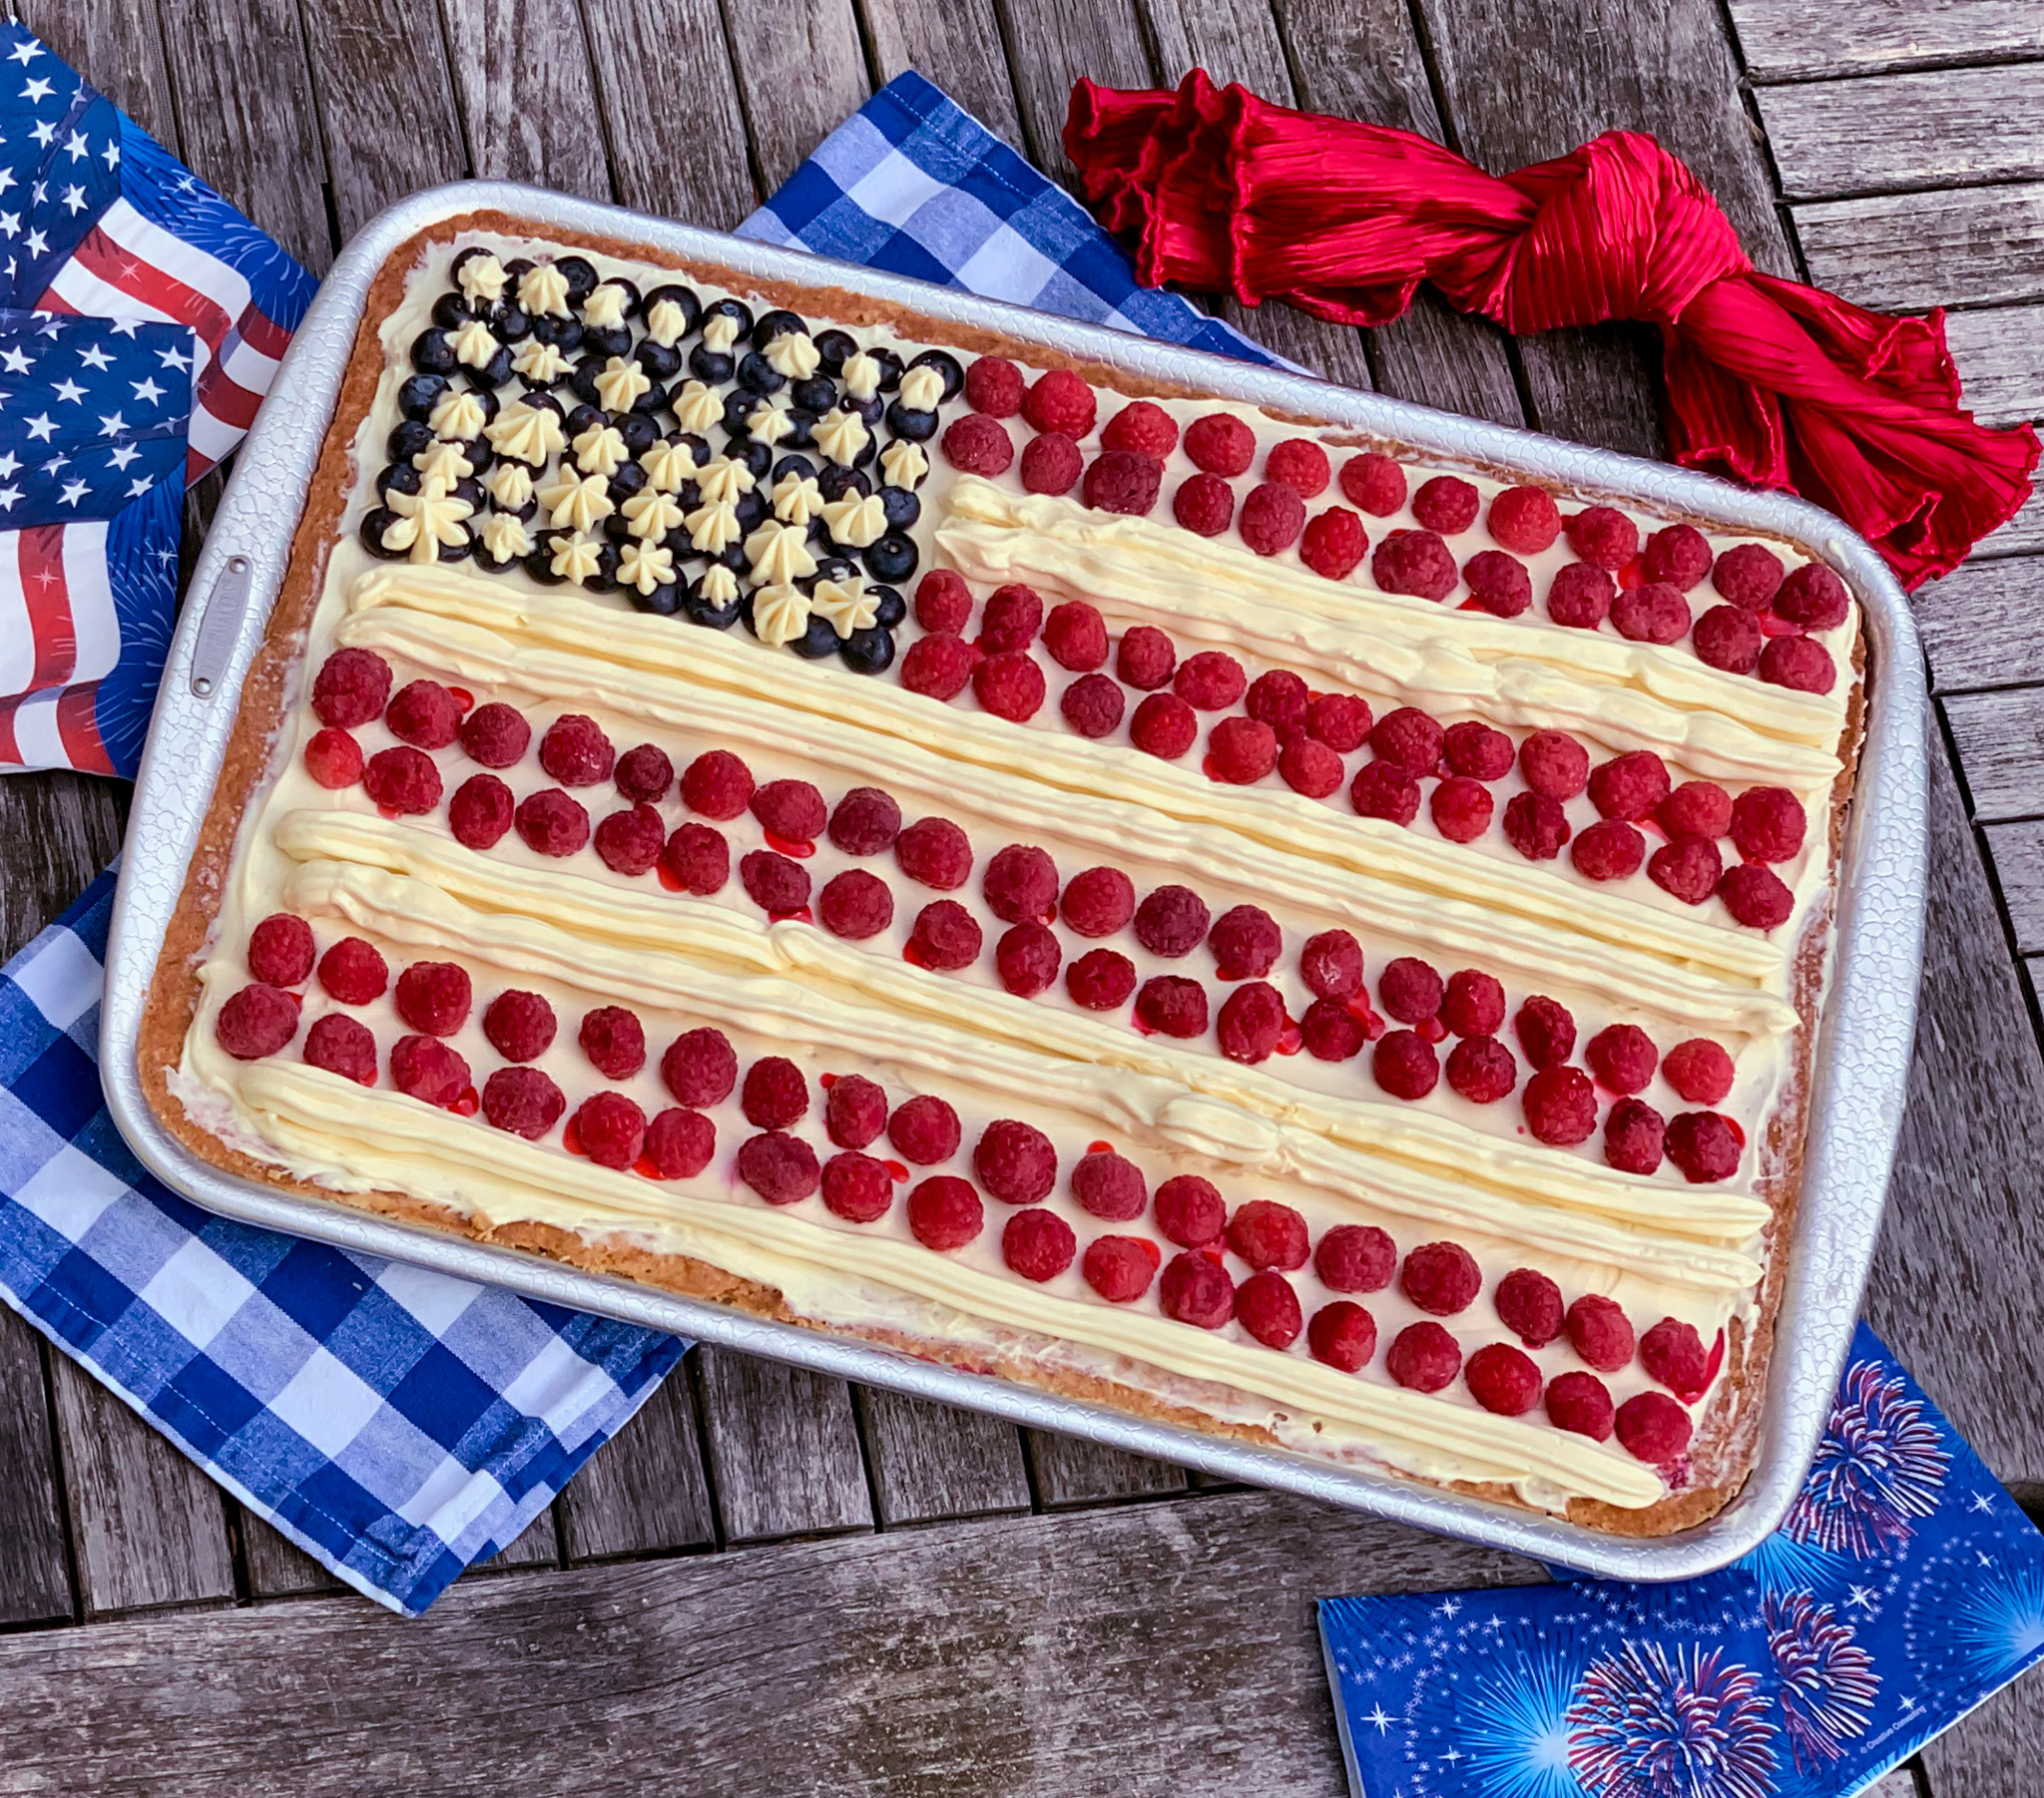
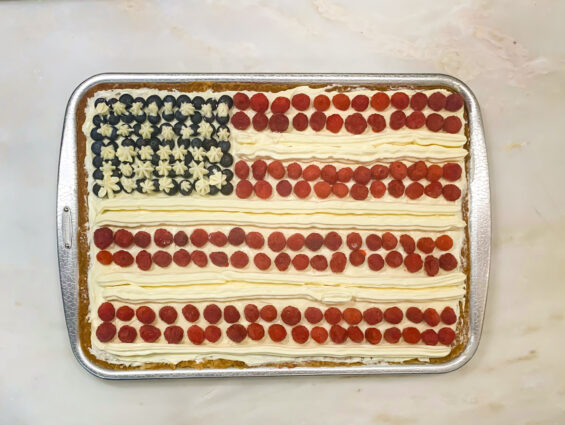
Now this dessert really does say 4th of July. I was hesitant to make it, because I am not good with food decorations, but I decided to give it a try and I was so glad I did. Of course, my cake is not as beautiful as Ina’s but I find all of her recipes and directions to be spot on and delicious. This cake was so easy to make. The sour cream ensures it is nice and moist. It is just the right amount of sweet with hints of vanilla. Thanks to the cream cheese, the icing is wonderfully smooth. Fresh fruit is the perfect topping for this delightful and beautiful dessert.

This recipe is courtesy of Ina Garten and will serve 20 to 24 people who will surely want seconds!

Ingredients for Flag Cake:

18 tablespoons (2-1/4 sticks) unsalted butter, at room temperature
3 cups sugar
6 extra-large eggs, at room temperature
1 cup sour cream, at room temperature
1-1/2 teaspoons pure vanilla extract
3 cups all-purpose flour
1/3 cup cornstarch
1 teaspoon kosher salt
1 teaspoon baking soda

For the Icing:

1 pound (4 sticks) unsalted butter, at room temperature
1-1/2 pounds cream cheese, at room temperature
1 pound confectioners’ sugar, sifted
1-1/2 teaspoons pure vanilla extract

To Assemble:

2 half-pints blueberries
3 half-pints raspberries

Heat the oven to 350 degrees. Butter and flour an 18 x 12 x 1-1/2-inch sheet pan (see note).

Cream the butter and sugar in the bowl of an electric mixer fitted with the paddle attachment for 3 minutes on medium speed, until light and fluffy. (If the butter is too cool to be light and fluffy, add a teaspoon or two of warm water,)

On medium-low speed, add the eggs, 2 at a time, then add the sour cream and vanilla.

Scrape down the sides and stir until smooth.

Sift together the flour, cornstarch, salt, and baking soda in a bowl.

With the mixer on low, add the flour mixture and mix until just combined.

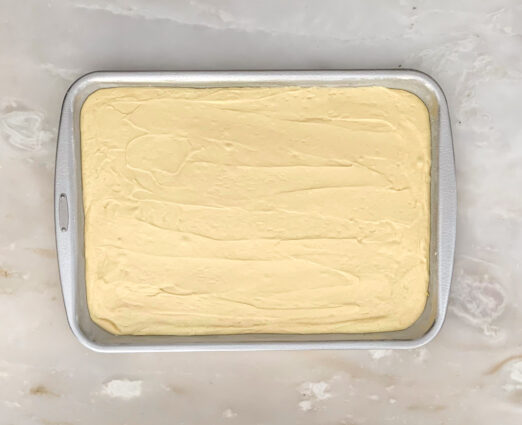
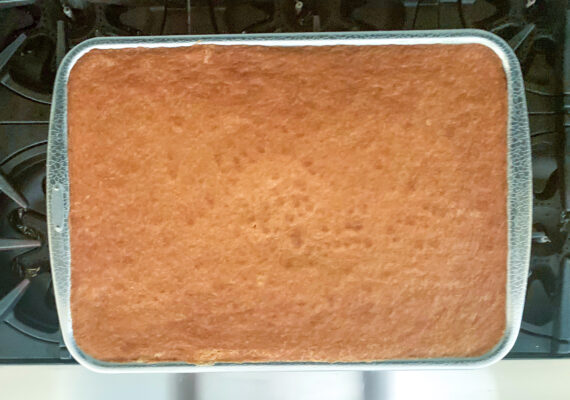
Stir the batter with a rubber spatula and pour into the prepared pan and smooth the top.

Bake in the center of the oven for 20 to 30 minutes, until a toothpick comes out clean.

Cool to room temperature.

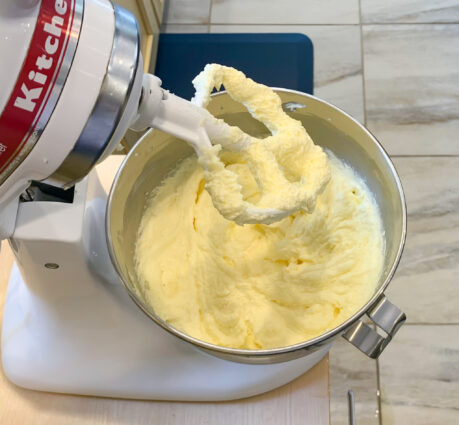
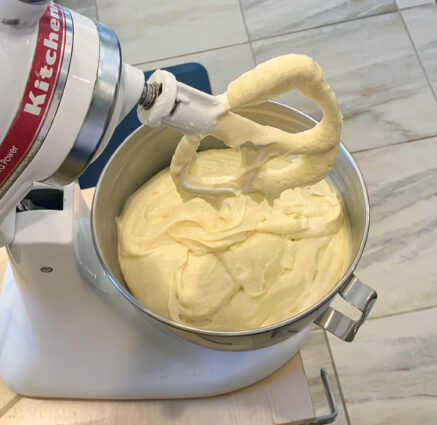
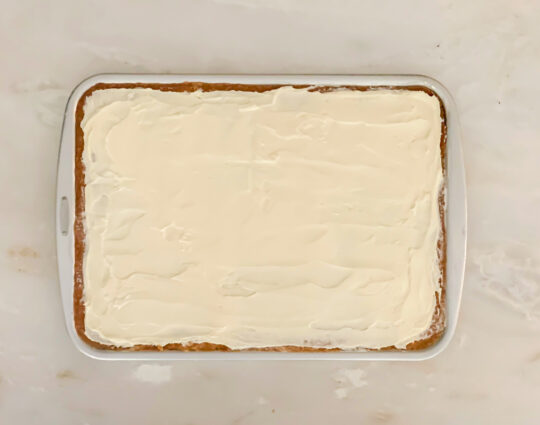
For the icing, combine the butter, cream cheese, and vanilla in the bowl of an electric mixer fitted with the paddle attachment and mix on medium speed until very smooth. 

Add the confectioners’ sugar and mix on low speed.

Stir with a rubber spatula to be sure the icing is well mixed.

Spread three quarters of the icing on the cake.

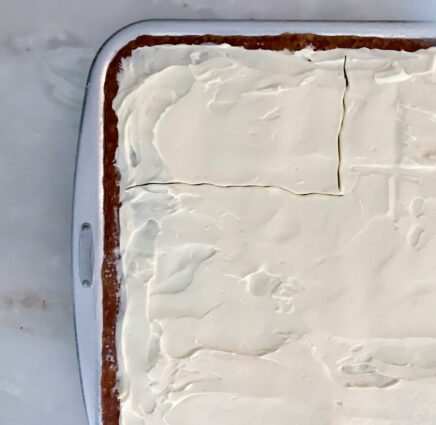
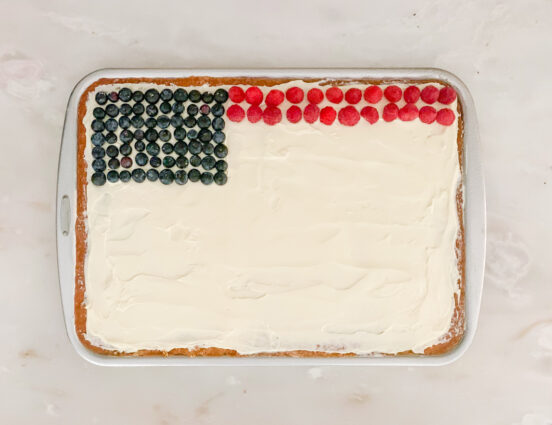
Using a toothpick, outline a flag on the cake.

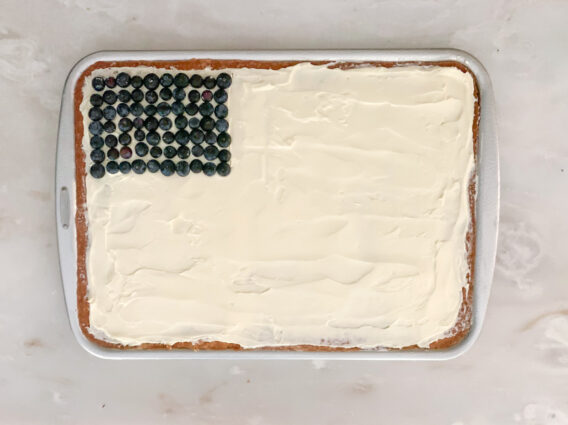
Fill in the upper left corner with blueberries.

Place 2 rows of raspberries across the top of the cake like the red stripes.

Put the remaining icing in a pastry bag fitted with a star tip and pipe two rows of white stripes below the raspberries.

Alternately add 2 rows of raspberries and 2 rows of icing until the flag is completed. Pipe stars on top of the blueberries.

Note: If you don’t want to serve your cake from the pan, line the pan with parchment paper and turn it out into a board before you ice and decorate it.

It’s that simple!
 

signature

[recaptcha]


Despite what you may think, I wasn’t born knowing how to host a big party. When my husband and I lived in Florida, Shelley, my sister-in-law, made me host Thanksgiving one year. With an 8 month old baby in the house and a full time job, I was terrified.  Honestly, I don’t know how it came together, but it did. Even after we’d moved back up north, I didn’t host anything for years.  

Through that time, I was slowly learning to cook. My mother taught me some of her recipes, although she did not have a very big repertoire. I especially loved the way she made mushrooms. She would take onions, garlic, and mushrooms and put them in a big pot, which she would cook low and slow on the stove. The mushrooms cooked in their own juices are so delicious.

Once my family had really settled and bought a home, I began to host Thanksgiving. The first couple of years, it was a small crowd, but that grew as quickly as my cooking skills. My cousin moved around the block from me, and my niece moved to New York City. Because of her work schedule, she couldn’t go to Florida for Thanksgiving, so my brother and his family decided to come up north for the holiday. See where I’m going here? You guessed it– the spots around my table filled quickly, and I had to learn how to cook for a crowd.

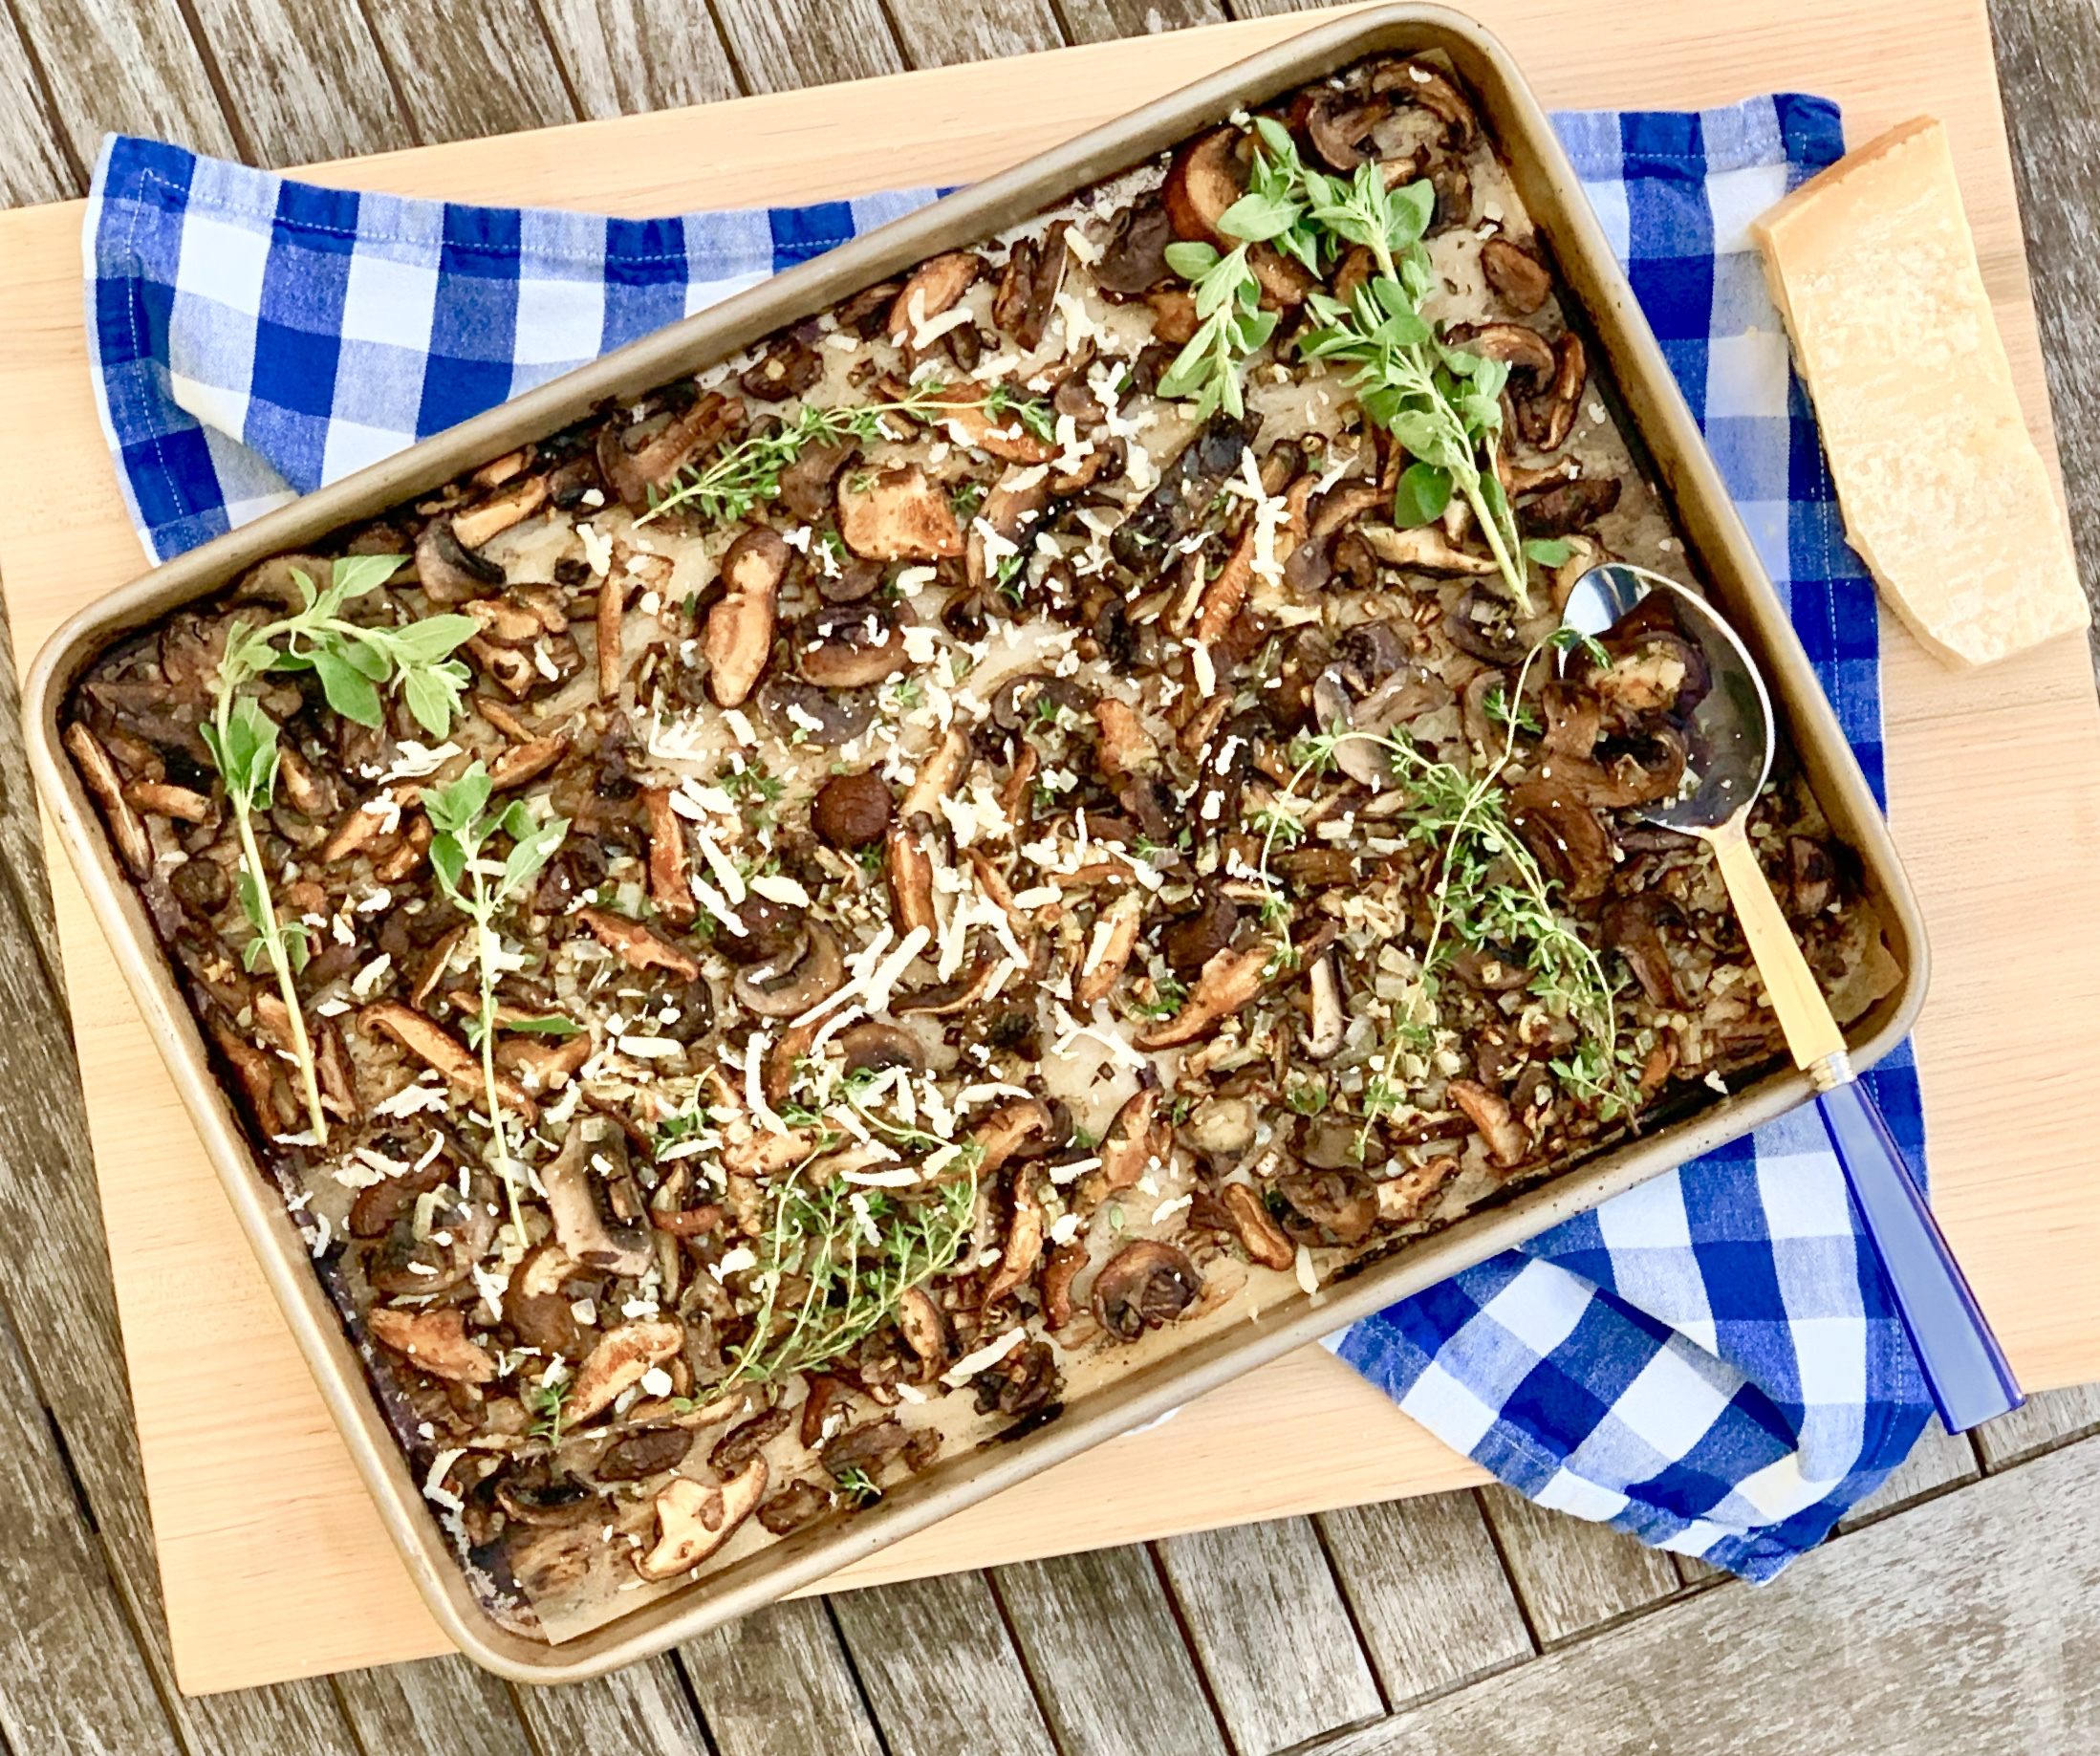
I always made my mother’s mushroom dish for holiday gatherings. That is, until I realized I could make some improvements. After learning how to caramelize vegetables, I pan roasted them until they were glistening with all those brown bits of goodness. As my crowd grew bigger, pan-roasting just took too long. That is how I came to make this recipe. It is really so simple, yet people think you were slaving over them all day. I made them for Thanksgiving AND Christmas, and when nobody complained about the repeat servings, I knew I had to share. I think my mother would have loved them, and I hope you do too!

This recipe is my own and will serve 4 people who will welcome the delicious preparation of simple ingredients.

Ingredients for Roasted Mushrooms:

4 (6-ounce packages) assorted mushrooms, such as crimini, chanterelle, portobello, or white button.
3 tablespoons melted butter
1 small onion, diced
3 cloves garlic, diced
2 tablespoons fresh thyme
1 tablespoon fresh oregano
1 teaspoon kosher salt
1/2 teaspoon freshly ground black pepper
½ cup Parmesan-Reggiano Cheese


Preheat oven to 450 degrees F.

Cover a baking pan with parchment paper.

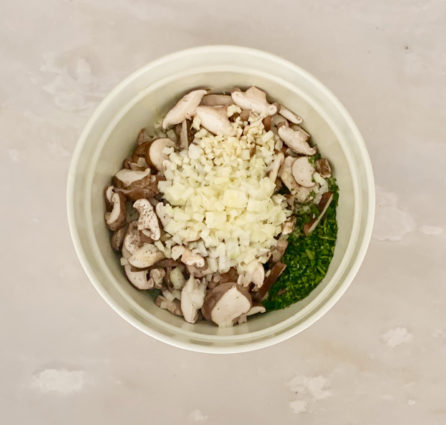
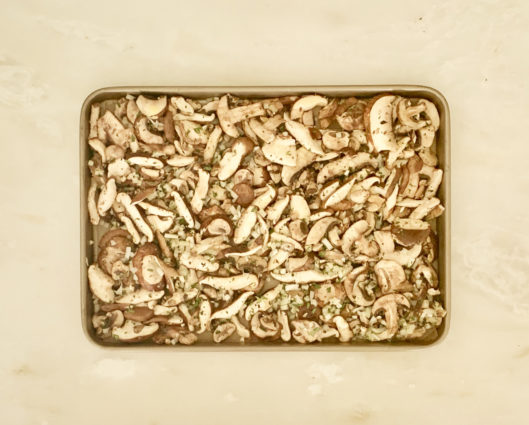
If your mushrooms are not already cut, remove stems and cut into slices.

Place mushrooms in a large bowl. 

Add onion, garlic, thyme, oregano, salt and pepper.

Mix until well combined.

Stir melted butter into mushroom mixture. 

Place on baking sheet in single layer.

Roast for 20 minutes or until mushrooms are very browned.

Sprinkle with Parmesan-Reggiano cheese.

Serve warm.

It’s that simple!
Wish I was back there!

signature

[recaptcha]


As a child, my immediate family celebrated Chanukah, but my friends taught me about the Christmas spirit. They would invite me to decorate their trees, and I would go to midnight mass with them. I always thought the lights on the homes in my neighborhood were so beautiful and festive. The Christmas trees were enchanting, and I knew all the words to every Christmas song. How lucky I was to relive that this year on our vacation, when our hotel lit up the trees that lined their long driveway. What a magical enchanted forest it was!

I really felt like I celebrated both holidays growing up. I still do. Every Christmas I make dinner for my friends and family. My husband invites some colleagues from work and we all get together and celebrate. It’s kind of my Friendsgiving too. I use all the decorations from Thanksgiving and try to make it festive and beautiful. It gives me a chance to show them how much I love them and how important they are.  It also gives my husband his chance at a very important job– bartender!

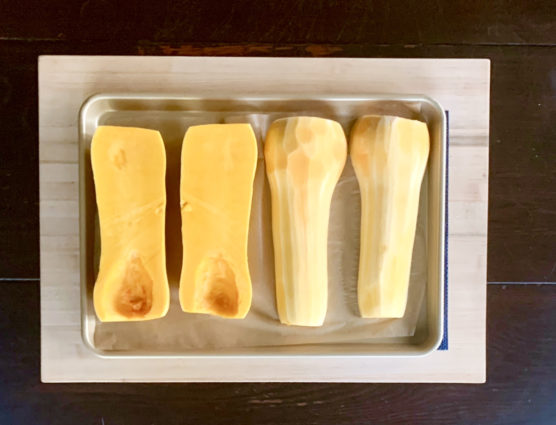
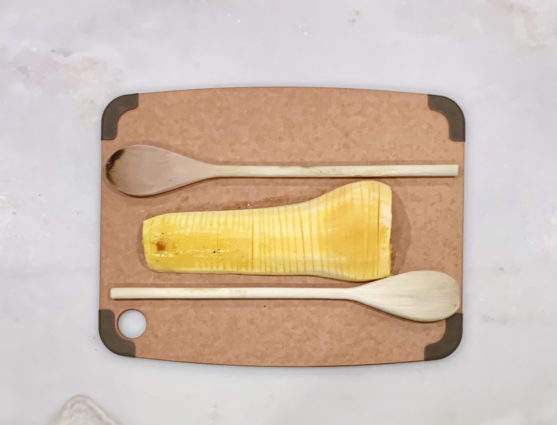
Working on my menu, I found this terrific side dish that looks much harder to prepare than it actually is. Lucky you!  Half Baked Harvest suggests that if you cut the butternut squash in half and take out the seeds, each side will be easier to peel. She also recommends that you put two wooden spoons on each side of the squash so you do not cut through it.

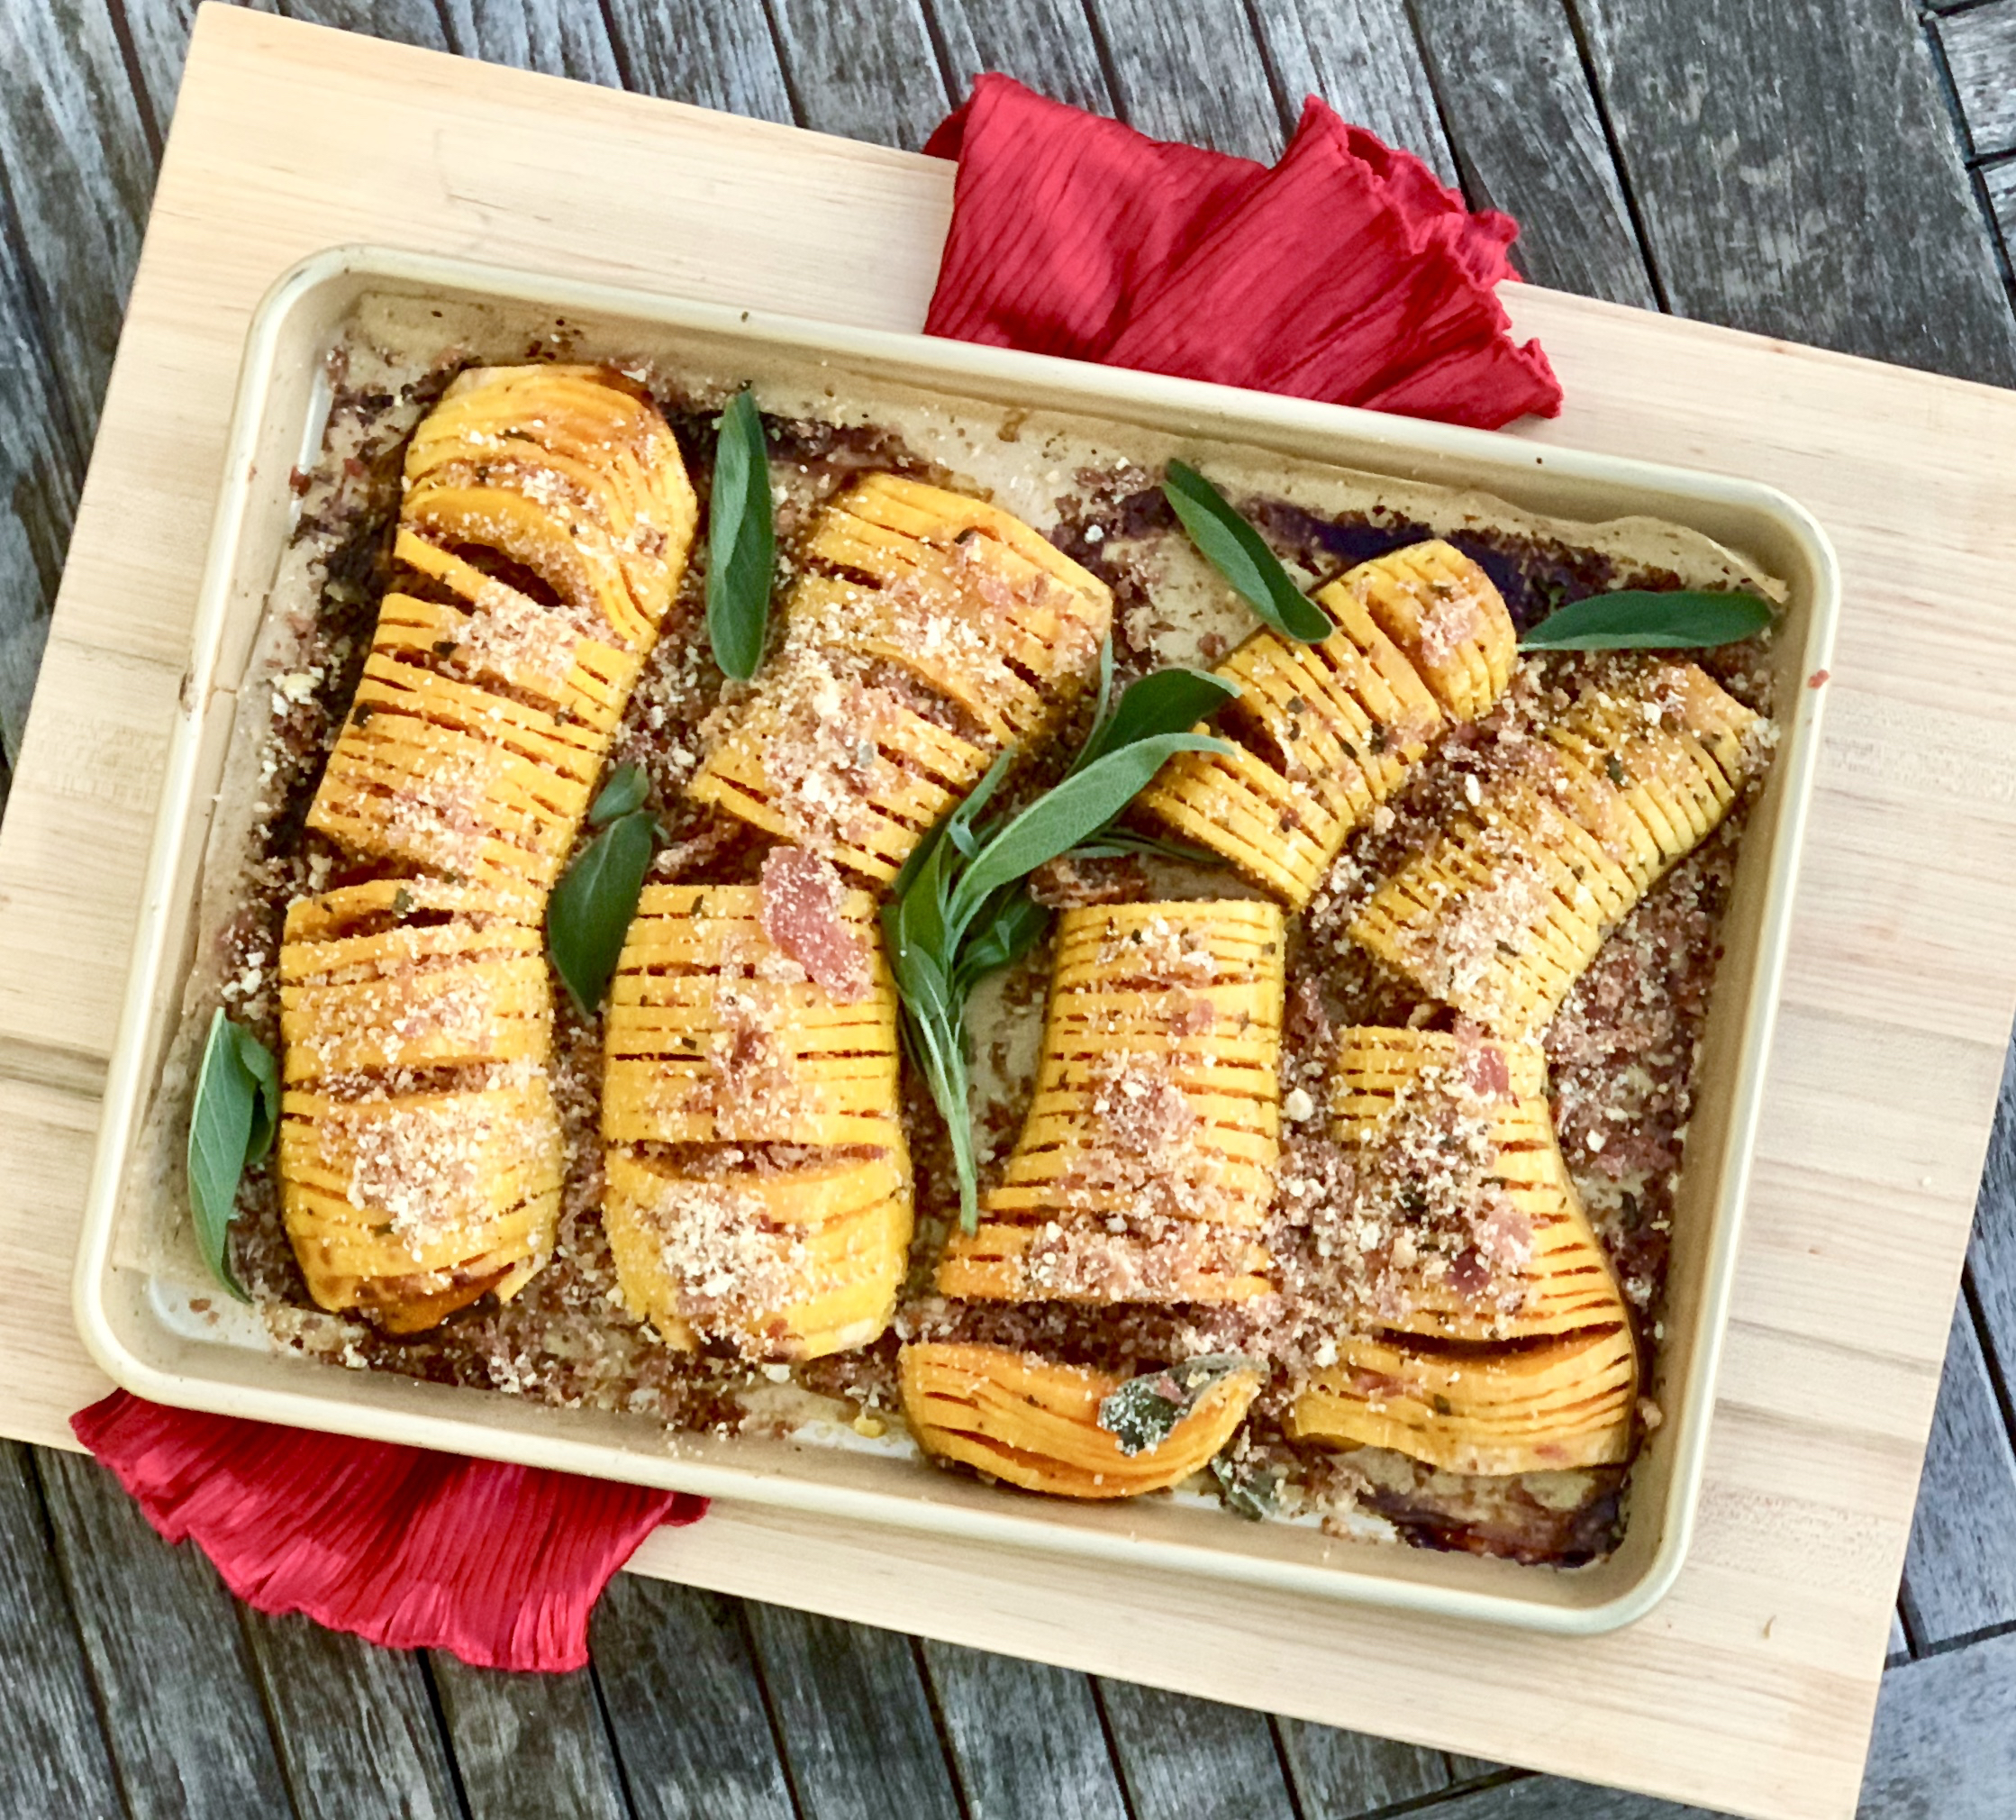
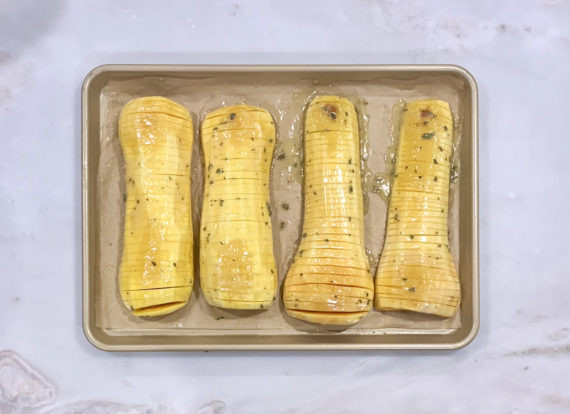
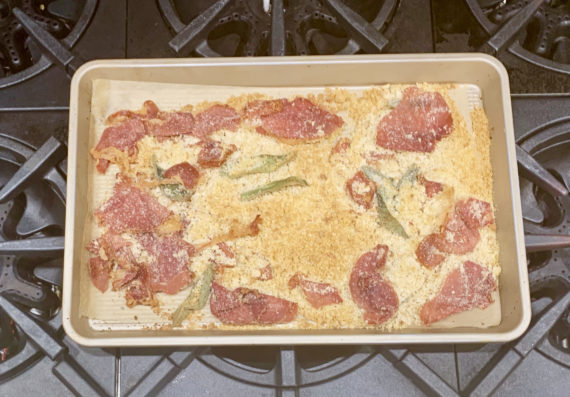
This dish would be perfect for any holiday meal. The squash is roasted to perfection. The butter, maple syrup and chopped sage make a luscious dressing for the squash. Then it is topped off with a perfection combination baked breadcrumbs, sage and prosciutto which give an umami flavor that makes each bite perfection. It makes a beautiful presentation and tastes as good as it looks. 

This recipe is courtesy of Half Baked Harvest and will serve 8 people who will of course want to compliment the chef on this festive and beautiful dish.

Ingredients for Hasselback Butternut Squash Potatoes:

2 small to medium butternut squash
4 tablespoons extra-virgin olive oil
kosher salt and black pepper
1 stick (8 tablespoons) butter, at room temperature
3 tablespoons maple syrup
2 teaspoons chopped fresh sage + 8 sage leaves
1 cup finely torn ciabatta bread (I used fresh breadcrumbs)
3 ounces prosciutto

Preheat the oven to 425 degrees F.

Halve the squash lengthwise and scoop out the seeds with a large spoon. Using a peeler, remove the skin.

Rub with 2 tablespoons olive oil, season with salt and pepper.

Place on a large baking sheet and roast until the squash begins to soften, 15 minutes.

Meanwhile, in a small bowl, stir together the butter, maple syrup, and chopped sage until combined.

Grab the squash from the oven and transfer to a cutting board.

Using a sharp knife, slice through the rounded sides of squash halves, crosswise, going as deep as possible but without cutting all the way through.

Half baked Harvest suggests to position 2 spoons on either side of the squash to help prevent cutting all the way through (see above photo). It worked perfectly!

Return the squash to the baking sheet, scored sides up.

Spread half the maple butter over the squash, allowing it to drip into the slices.

Season with salt and pepper.

Roast the squash for 30 minutes, then spread with the remaining maple butter, spooning any melted butter in the pan over the squash.

Return to the oven and roast another 15-20 minutes, until the squash is tender.

At the same time, toss together the bread, 2 tablespoons olive oil, the sage leaves, and a pinch of salt and pepper on a separate baking sheet.

Lay the prosciutto around the bread.

Transfer to the oven and bake for 10-15 minutes or until toasted.

Crumble the prosciutto into fine crumbs or pulse the mix in a food processor.

Remove the squash from the oven and transfer to a serving plate.

Drizzle over any maple butter left on the pan.

Top with breadcrumbs and sage.

Serve warm!

It’s that simple!
 

signature

[recaptcha]


Fall has ended and Winter is now here… for most of us. Every year after Thanksgiving, my husband and I fly to our go-to island in the Caribbean for some much-needed rest and relaxation. 

With many regrets, we arrived home just this week. We always try to take as many days as we can, but how many exactly depends on my husband’s work. This time we got to take eight days. When you take two travel days off, it is not much time, but we make the most of it. The island we go to is so beautiful and the people are just lovely. Many know us personally, which makes the week even nicer.

We had an exciting run in with Mother Nature while we were there.  We took a sail on a very, very small catamaran, piloted by the water sports specialist at our hotel. It was beautiful and sunny when we first left. The catamaran only had a sail, no motor, and the wind was perfect. After about 20 minutes, the sun had gone in and as our guide pointed out, it started raining where we left off. We stayed out an extra 15 minutes, thinking the rain had passed, before making our way back.

We actually sailed right into a huge rainstorm! That was not even the worst part. There was no wind at all, so there we were for about 30 minutes, sitting in a huge Caribbean rainstorm in the middle of the ocean! The wind started to come back slowly, but were barely moving. A 20-minute trip turned into an hour and a half nightmare. We were soaked from head to toe and freezing too. Have you ever heard how it rains for 5 minutes in the islands, then the sun comes out? Not this time. We were laughing about it the whole time, even though we were cold and wet. This was definitely an experience we will never forget.

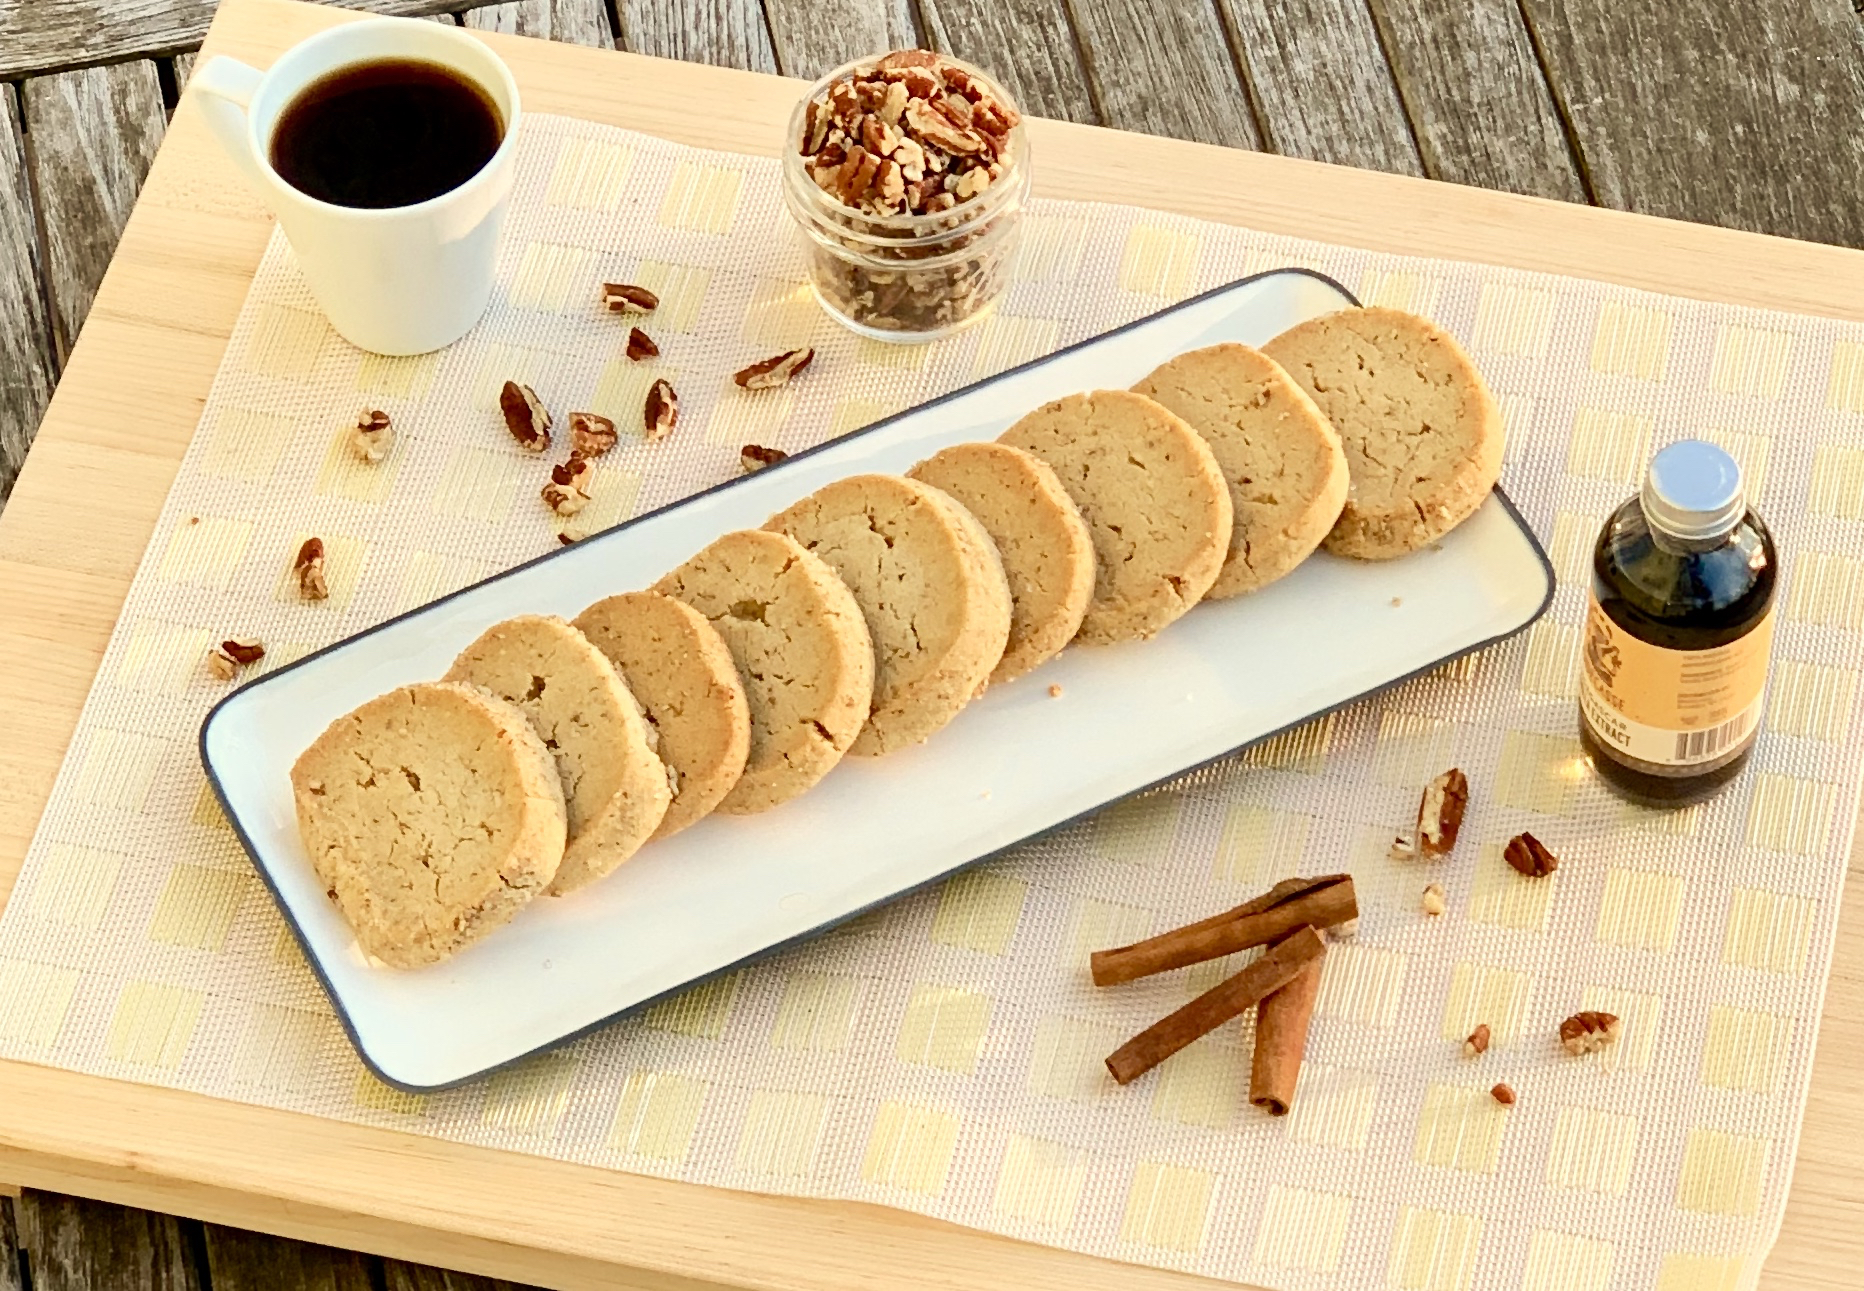
Now our vacation has ended, and my thoughts are on Christmas and menus and shopping lists. This is one dessert that will be on my menu this year. It is a simple recipe that packs a huge amount of flavor. The shortbread has such perfect crumbly edges. The sugars make it sweet (but not too sweet), and the vanilla, cinnamon and salt are savory perfection. The pecans offer a welcome crunch and a different texture. I hope you add them to your holiday menu, your guests will be delighted.

Note:  Baked cookies freeze well up to 3 months. Thaw overnight in the refrigerator and bring to room temperature before serving.

The recipe is courtesy of Sally’s Baking Addiction and will make about 24 pieces of shortbread that will offer your guests the perfect holiday morsel.

Ingredients for Pecan Shortbread Cookies:

1 cup unsalted butter, softened to room temperature
3/4 cup packed light or dark brown sugar
1/2 cup granulated sugar 
1 and 1/2 teaspoons pure vanilla extract 
2 and 1/4 cups all-purpose flour
1/2 teaspoon ground cinnamon
1/4 teaspoon salt
3/4 cup (100g) finely chopped pecans

For rolling:

1/4 cup coarse sugar 
1/4 cup finely chopped pecans

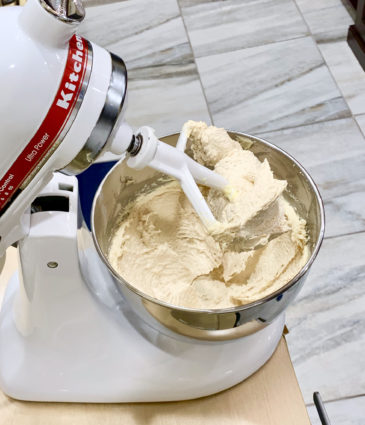
In a large bowl using a hand-held mixer or stand mixer fitted with a paddle attachment, beat the butter, brown sugar, and granulated sugar together on medium-high speed until combined and creamy, about 2 minutes.

Beat in the vanilla extract on high speed.

Scrape down the sides and bottom of the bowl as needed.

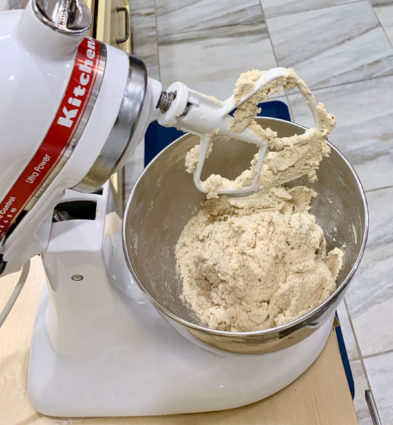
Add the flour, cinnamon, and salt, then beat on low speed until combined.

Beat in the chopped pecans.

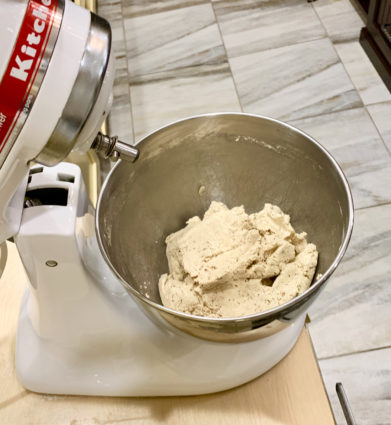
The cookie dough may look like it won’t come together, but keep beating, it will come together.

The cookie dough will be thick.

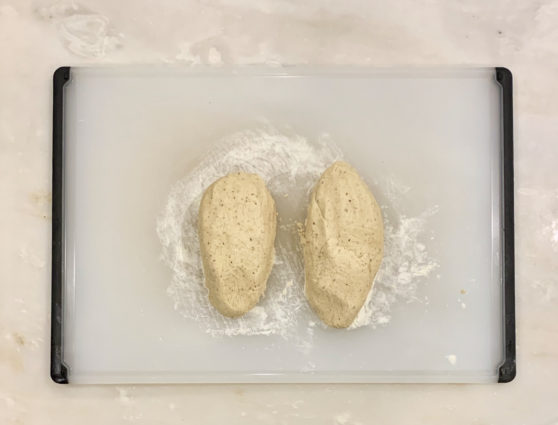
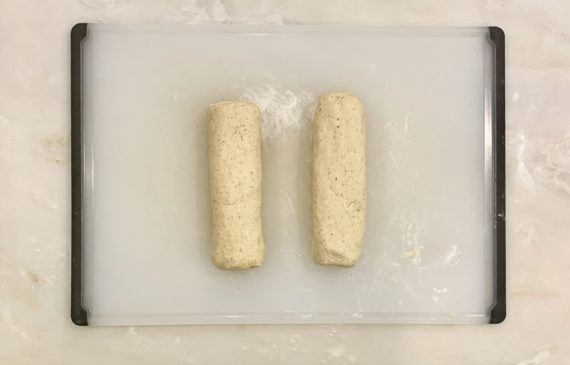
Turn the dough out onto a floured work surface and, with floured hands, divide or cut into two.

Shape each half into an 8-inch log, about 2.5 inches in diameter.

The measurements don’t have to be exact.

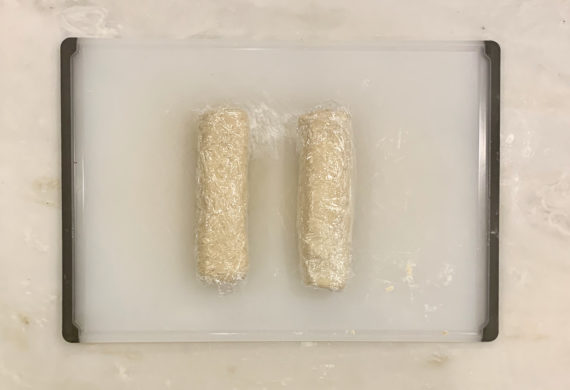
Tightly wrap the logs in plastic wrap and chill in the refrigerator for at least 3-4 hours and up to 5 days.

Chilling is mandatory for this cookie dough. The author prefers to chill hers for 4 hours or even overnight– the colder the dough, the thicker the cookies. (I would also roll the dough into the pecan-sugar mixture before I chilled it. It was hard to get it to stick after it was chilled.)

Preheat oven to 350°F.

Line two large baking sheets with parchment paper or silicone baking mats. 

Set aside.

For Rolling:

You can actually roll the logs before or after chilling them.

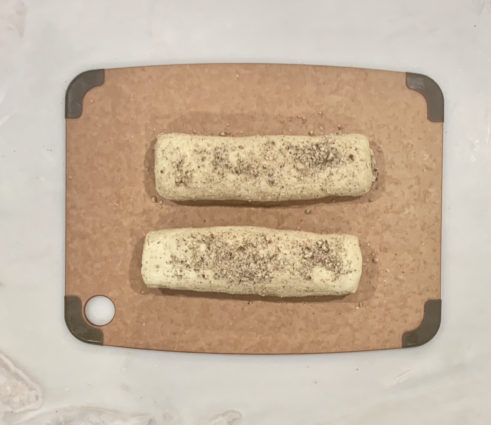
Mix the coarse sugar and chopped pecans together on a large plate.

One at a time, roll the log into the mixture.

Press it down so the nuts and sugar stick to all sides.

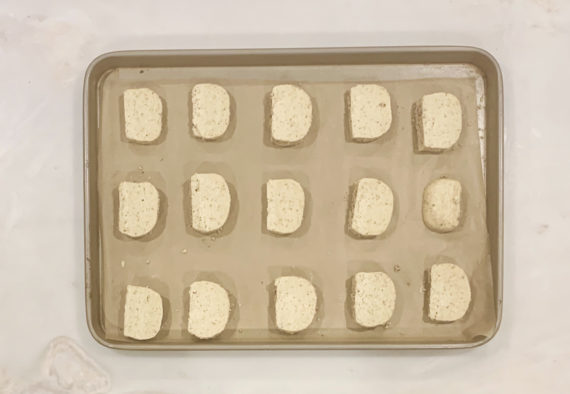
Slice each log into 12 equally thick cookies and place cookies on baking sheets about 2 inches apart.

Bake the cookies for 12-14 minutes or until brown around the edges. 

Remove from the oven and allow cookies to cool on the baking sheet for 5 minutes before transferring to a wire rack to cool completely.

These cookies come out of the oven very soft. Don’t be fooled, they are cooked through and will harden as they cool.

Cookies will stay fresh covered at room temperature for 1 week.

It’s that simple!
I wish you all a very

signature

[recaptcha]