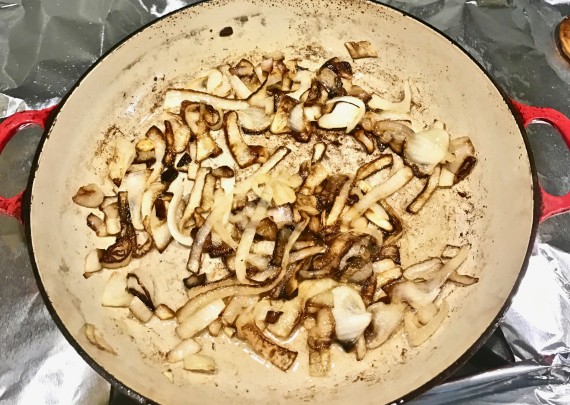
While dining at one of our favorite restaurants, I was looking at all the desserts I knew their pastry chef had created. There seemed to be so many wonderful choices. Which one should I have? I decided to ask our waiter, and he suggested the butter cake. With all the other exciting options, I hesitated. Then, I decided to trust him and I ordered it. 

Wow! The cake was absolutely divine. I always try to take only one or two bites of dessert, but I just couldn’t control myself, it was just that sensational.

I thought, “how hard can it be to prepare this cake?” I did my research, and found this butter cake recipe. The author said she found it in an old recipe book and the page was very worn and yellowed. She had a feeling this was once a favorite cake of the owner of the book. As it turns out, she was right. 

One bitter cold afternoon, I attempted to make this butter cake. This is one of the easiest cakes I have ever prepared. And one of the most delicious as well as beautiful.  The cake is light and fluffy, despite the heavy ingredients. I was worried about poking holes in the cake, but if you use a very flat knife, (like a steak knife) and insert it into the cake, you will not notice it. You will definitely need a round cake pan or bundt pan, as there is a lot of batter. So much so that mine overflowed while it was baking. Be sure to place an aluminum pan or foil under the cake in case this happens to you. If it does, just cut off the bottom of the cake so it sits straight.

I will be making this heavenly cake again and again. It is perfect to bring to a holiday or family dinner, because it looks like you put a lot more effort into it then you really did. It is a crowd pleaser for sure! A “must try”.

This recipe is courtesy of Taste of Home and will serve 16 (yes it is that big), happy butter cake lovers and may create some new ones too!

Ingredients for Butter Cake

1 cup butter, softened
2 cups sugar
4 large eggs
2 tsp. vanilla extract
3 cups all-purpose flour
1 tsp. baking powder
1/2 tsp. baking soda
1/2 tsp. salt
1 cup buttermilk

For the Butter Sauce:

1 cup sugar
1/2 cup butter, cubed
1/4 cup water
1 1/2 tsp. almond extract
1 1/2 tsp. vanilla extract

Preheat oven to 350F.

Grease and flour a round cake pan or bundt pan.

In a large bowl, cream butter and sugar until light and fluffy.
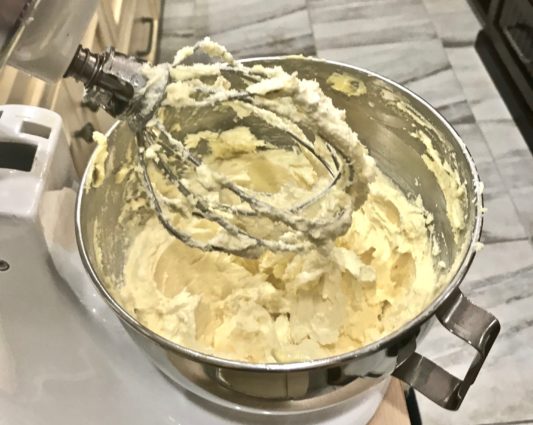
Add eggs, one at a time, beating well after each addition.

Beat in vanilla.

Combine the flour, baking powder, baking soda and salt.
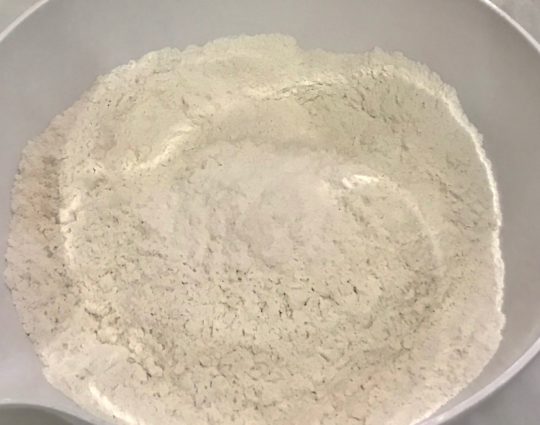
Add to creamed mixture alternately with buttermilk, beating well after each addition.
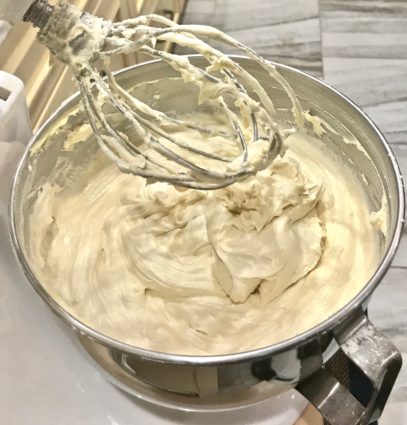
Pour into prepared pan.
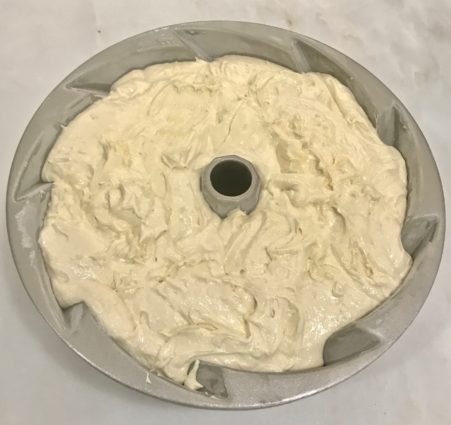
Bake for 65-70 minutes or until a toothpick inserted in the center comes out clean.

Cool 10 minutes. Invert cake onto a wire rack over waxed paper.

For the sauce:

Combine the sugar, butter and water in a small saucepan.

Cook over medium heat just until butter is melted and sugar is dissolved.

Remove from the heat.

Stir in extracts.
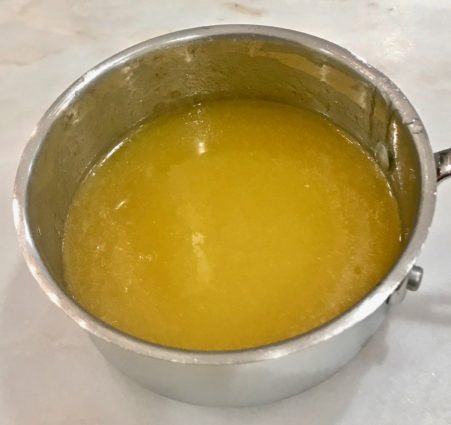
Poke holes in the cake using a sharp knife.

Spoon 1/4 cup of the sauce over cake.

Let stand until it is absorbed.

Repeat twice. 

Poke holes into the sides of the cake. 

Brush with remaining sauce. 

Let cool completely.
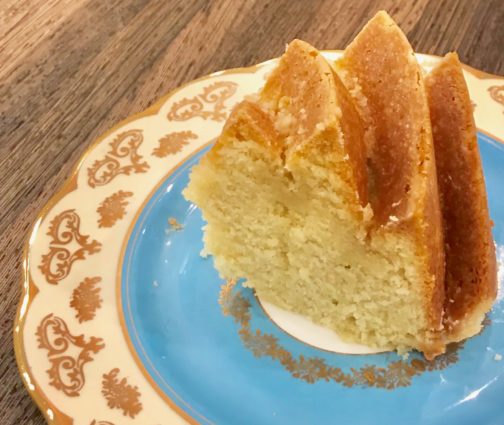
It’s that simple!
signature

[recaptcha]


This is an elegant side dish that caught my eye because, (of course), the lemon sauce. Do not be intimidated by the ingredients or the directions . When you break them down, they are really quite simple to follow.

I was originally uncertain how the lemon sauce would taste. I had never used lemon peel to prepare a lemon dressing. But I trusted Lydia, and I ended up loving this fragrant, savory sauce.

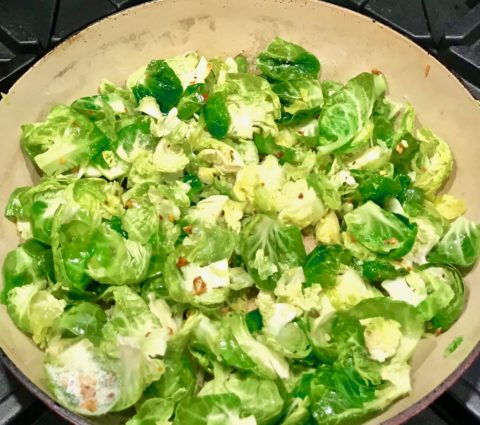
The Brussels sprouts combine beautifully with the garlic and red pepper flakes. Be careful when heating the Brussels sprouts. The leaves are very delicate, and therefore, easy to overcook. Immediately take them off the heat when they become a beautiful bright green color. Remember, they will continue to cook for a short time after you remove them from the heat, so allow time for that.

Lydia writes in her notes that the lemon sauce can be made earlier in the day and reheated. The Brussels sprouts can be prepped ahead as well.

The addition of the lemon sauce gives this dish a tangy flavor that will delight your taste buds! This recipe is perfect for company or any week-night dinner (when you have a little extra time).

This recipe is courtesy of Lydia Bastianich, from her book, Celebrate Like an Italian, and will serve 4-6 who will relish the taste of this beautiful vegetable and luscious sauce.

Ingredients for Brussels Sprouts with Lemon Sauce

Lemon Sauce:

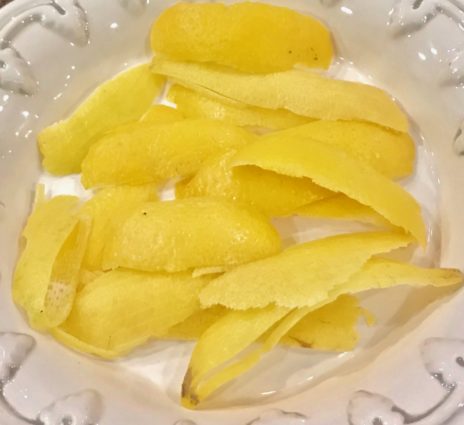
Peel of two lemons, removed with a vegetable peeler
1/3 cup of lemon juice
5 cloves garlic, crushed and peeled
2 medium onions, cut into 1-inch chunks
1/2 tsp. kosher salt, plus more to taste
1/4 tsp. crushed red pepper flakes
2 tbsp. extra- virgin olive oil

Brussels Sprouts:

1 1/2 pounds firm, unblemished Brussels sprouts
3 tbsp. extra-virgin olive oil
4 cloves garlic, sliced
1/2 tsp. kosher salt
1/4 tsp. crushed red pepper flakes

For the lemon sauce:

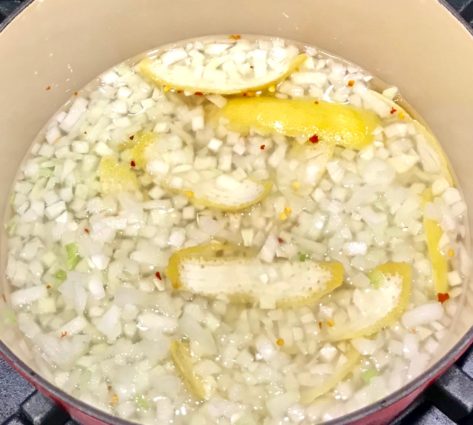
In a medium saucepan, combine the lemon peels and juice, garlic, onions, salt, red pepper flakes and 1 1/2 cups of water.

Cover and cook it at a gentle simmer for 20 minutes.

Uncover, and simmer a bit more rapidly until the onions are very tender and barely covered in liquid, about 20 to 30 minutes more.

Scrape the contents of the pot into a blender, and carefully blend as you drizzle in the olive oil through the hole in the top, until smooth.

Return to the sauce pan, season with salt if necessary, and keep warm.

For the Brussels sprouts:

Trim any rough or yellowed outer leaves. 

Seperate the leaves from the base of the sprouts, cutting the base as needed to free the leaves.

Heat the olive oil in a large skillet over medium heat.

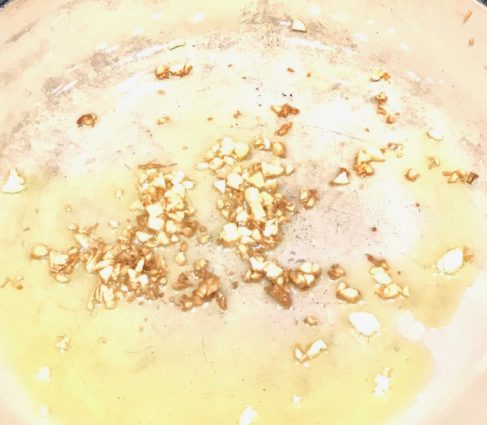
When the oil is hot, add the garlic, and let it sizzle until just golden brown around the edges, about 1 to 2 minutes.

Add the sprout leaves, and season with the salt and crushed red pepper flakes.

Toss to coat in the oil, cover, and cook, shaking the pan occasionally, until the leaves begin to wilt, about 4 minutes.

Toss with tongs and cover the skillet again.

Cook until the leaves are wilted and tender, but not falling apart, about 4 to 5 minutes.

Increase heat to boil away any liquid in the pan.

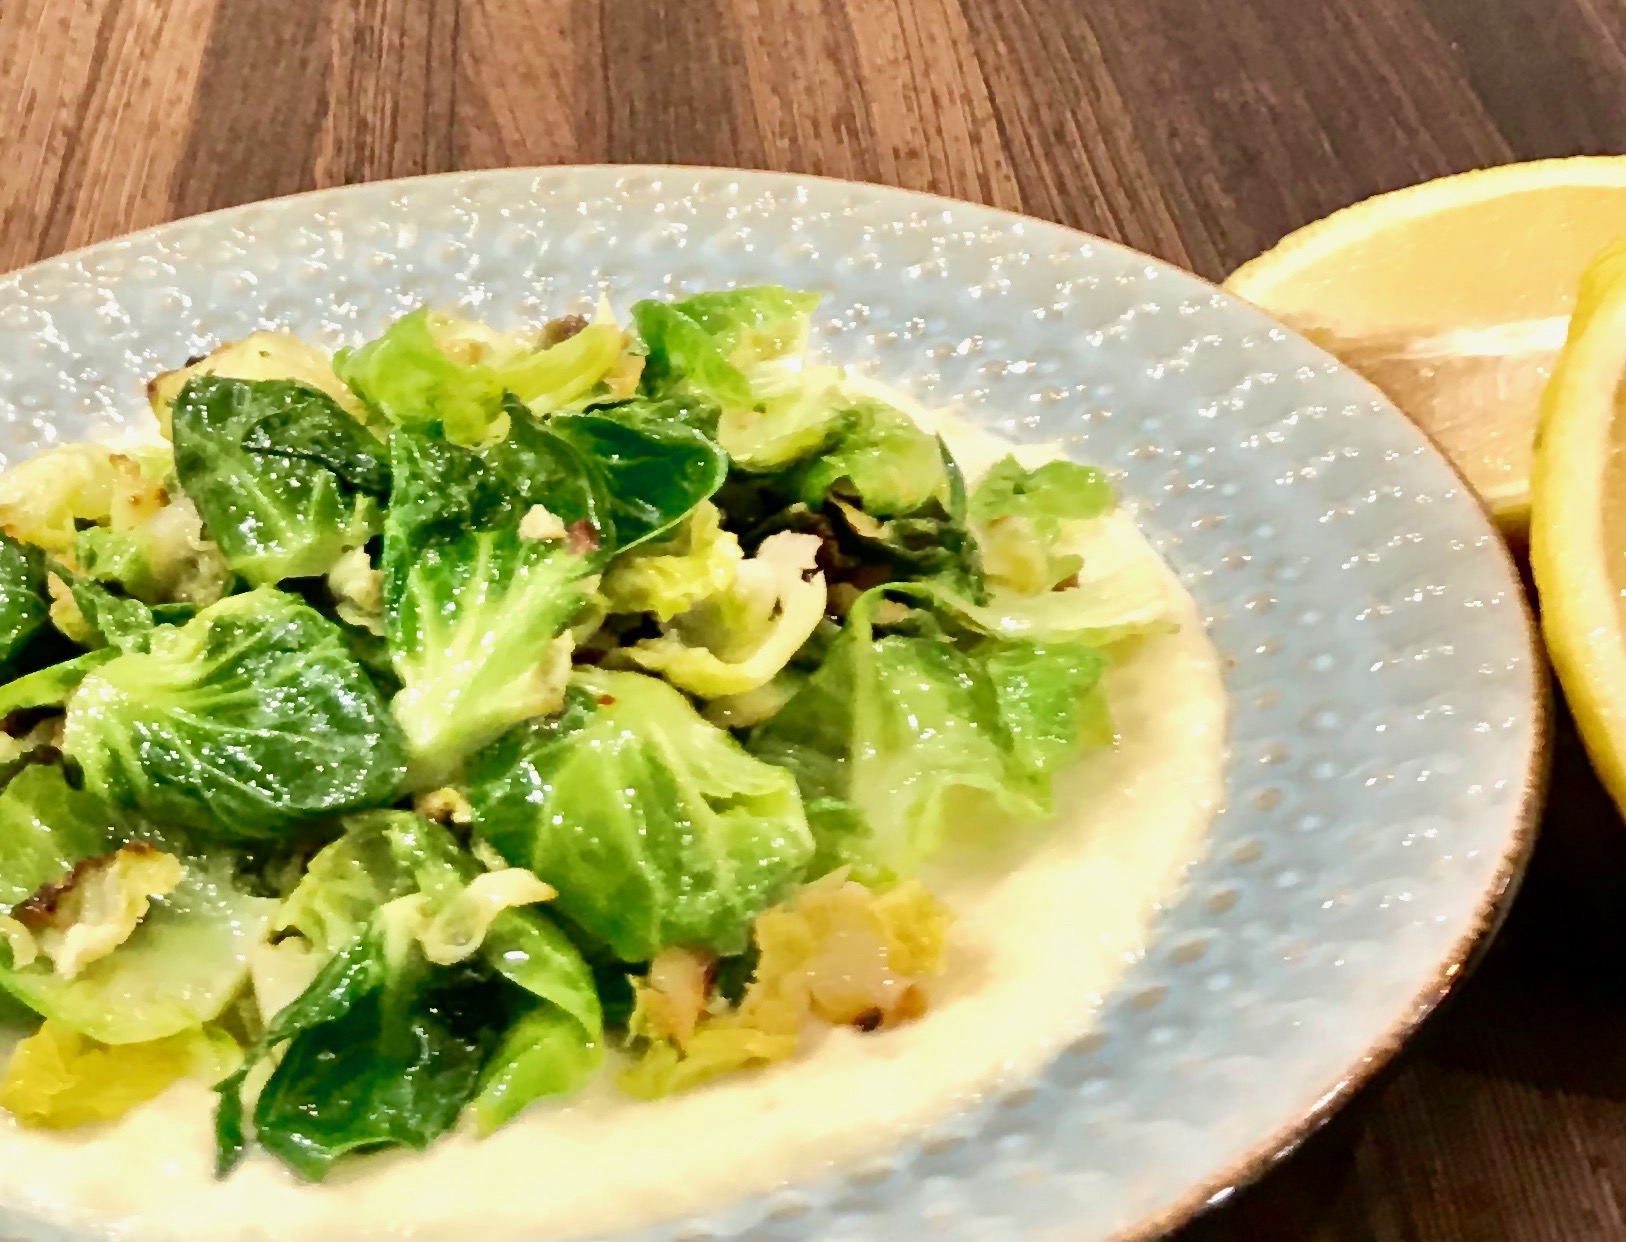
To serve, spread 1/2 cup of the lemon sauce on a platter and mound the Brussels sprouts on top.

It’s that simple!

signature

[recaptcha]


Like many people, I am a huge fan of apple pie. When I saw this recipe for apple pie bars that can be eaten for breakfast or for a snack, I knew I was going to make them immediately. 

Words can’t accurately describe this scrumptious, decadent dessert. The delicious, sweet crust is a perfect container for the apples. It is then topped with two kinds of apples that are a wonderful combination of tart, sweet and savory. The topping adds a mixture of walnuts and cinnamon. 

Each bite is better than the first. I’ll bet you can’t eat just one. Feel free to add any ice cream of your choice, or some gooey caramel. These bars are going to be delicious any way you choose to eat them.

This is a perfect dessert to bring to any holiday celebration. Don’t let all the steps intimidate you.  It may seem like a lot of work, but in reality, these bars are pretty easy to make. Perhaps you should make two of them, because these dreamy little bars are going to go quickly.

This recipe is courtesy of Ina’s, from her book, Cooking for Jeffery. This recipe will make 12 bars. Be sure to save a couple for yourself, because everyone is going to want seconds!

Ingredients for Apple Pie Bars

For the crust:

1 pound (4 sticks) unsalted butter, at room temperature
3/4 cup granulated sugar
1/2 cup light brown sugar, tightly packed
2 tsp. pure vanilla extract
4 cups all-purpose flour
1 1/2 tsp. kosher salt
1/2 cup chopped walnuts
1 tsp. ground cinnamon

For the apple filling:

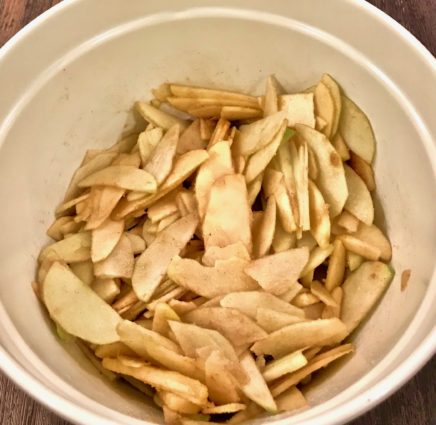
1 1/2 pounds Granny Smith apples, peeled, quartered, cored and sliced 1/8 inch thick (3 large)
1 1/2 pounds Golden Delicious apples, peeled, quartered, cored and slice 1/8 inch thick (3 large)
2 tbsp. freshly squeezed lemon juice
1/4 cup granulated sugar
1 tsp. ground cinnamon
1/8 tsp. ground nutmeg
4 tbsp. (1/2 stick) unsalted butter

Preheat the oven to 375 degrees.

For the crust:

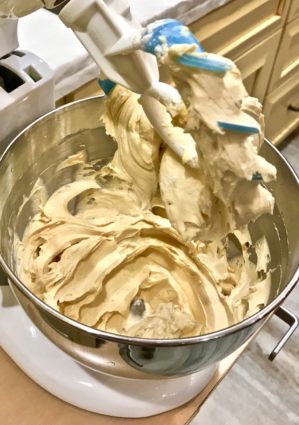
Place the butter, granulated sugar, brown sugar, and vanilla in the bowl of an electric mixer fitted with the paddle attachment and beat on medium speed for 2 minutes, until light and creamy.

Sift the flour and the salt together and, with the mixer on low, slowly add it to the butter-sugar mixture, being until combined.

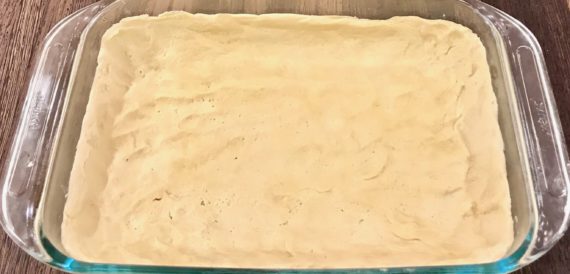
Scatter two-thirds of the dough in clumps in a 9 x 13-inch baking pan and press it lightly with floured hands on the bottom and 1/2 inch up the sides.

Refrigerate for 20 minutes.

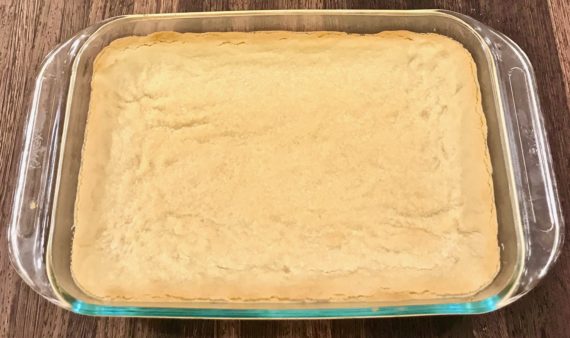
Bake for 18-20 minutes, until the crust is golden brown, and set aside to cool.

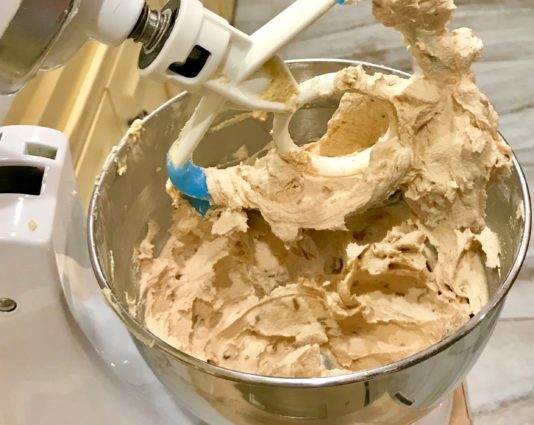
Meanwhile, put the mixing bowl with the remaining dough back on the mixer, add the walnuts and cinnamon, and mix on low speed to combine.

Reduce oven to 350 degrees.

For the filling:

Combine the Granny Smith and Golden Delicious apples and the lemon juice in a very large bowl.

Add the granulated sugar, cinnamon, and nutmeg and mix well.

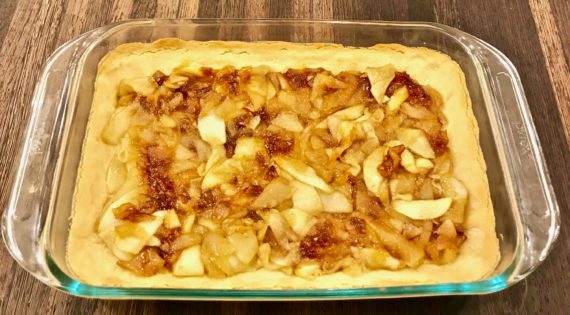
Melt the butter in a large (10-inch-diameter) pot, add the apples, and simmer over medium to medium-low heat, stirring often, for 12 to 15 minutes, until the apples are tender and the liquid has mostly evaporated.

Spread the apples evenly over the crust, leaving a 1/2-inch border.

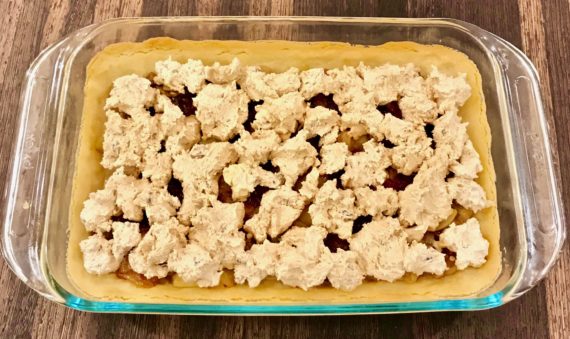
Pinch medium pieces of  the remaining dough with your fingers and drop them evenly on top of the apples (they will not be covered).

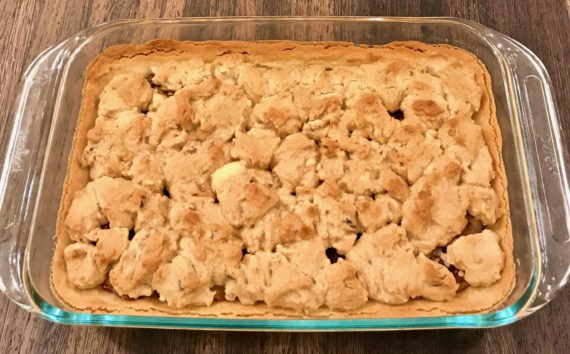
Bake for 25 to 30 minutes, until the topping is browned.

Cool completely and cut into bars.

It’s that simple!

signature

[recaptcha]


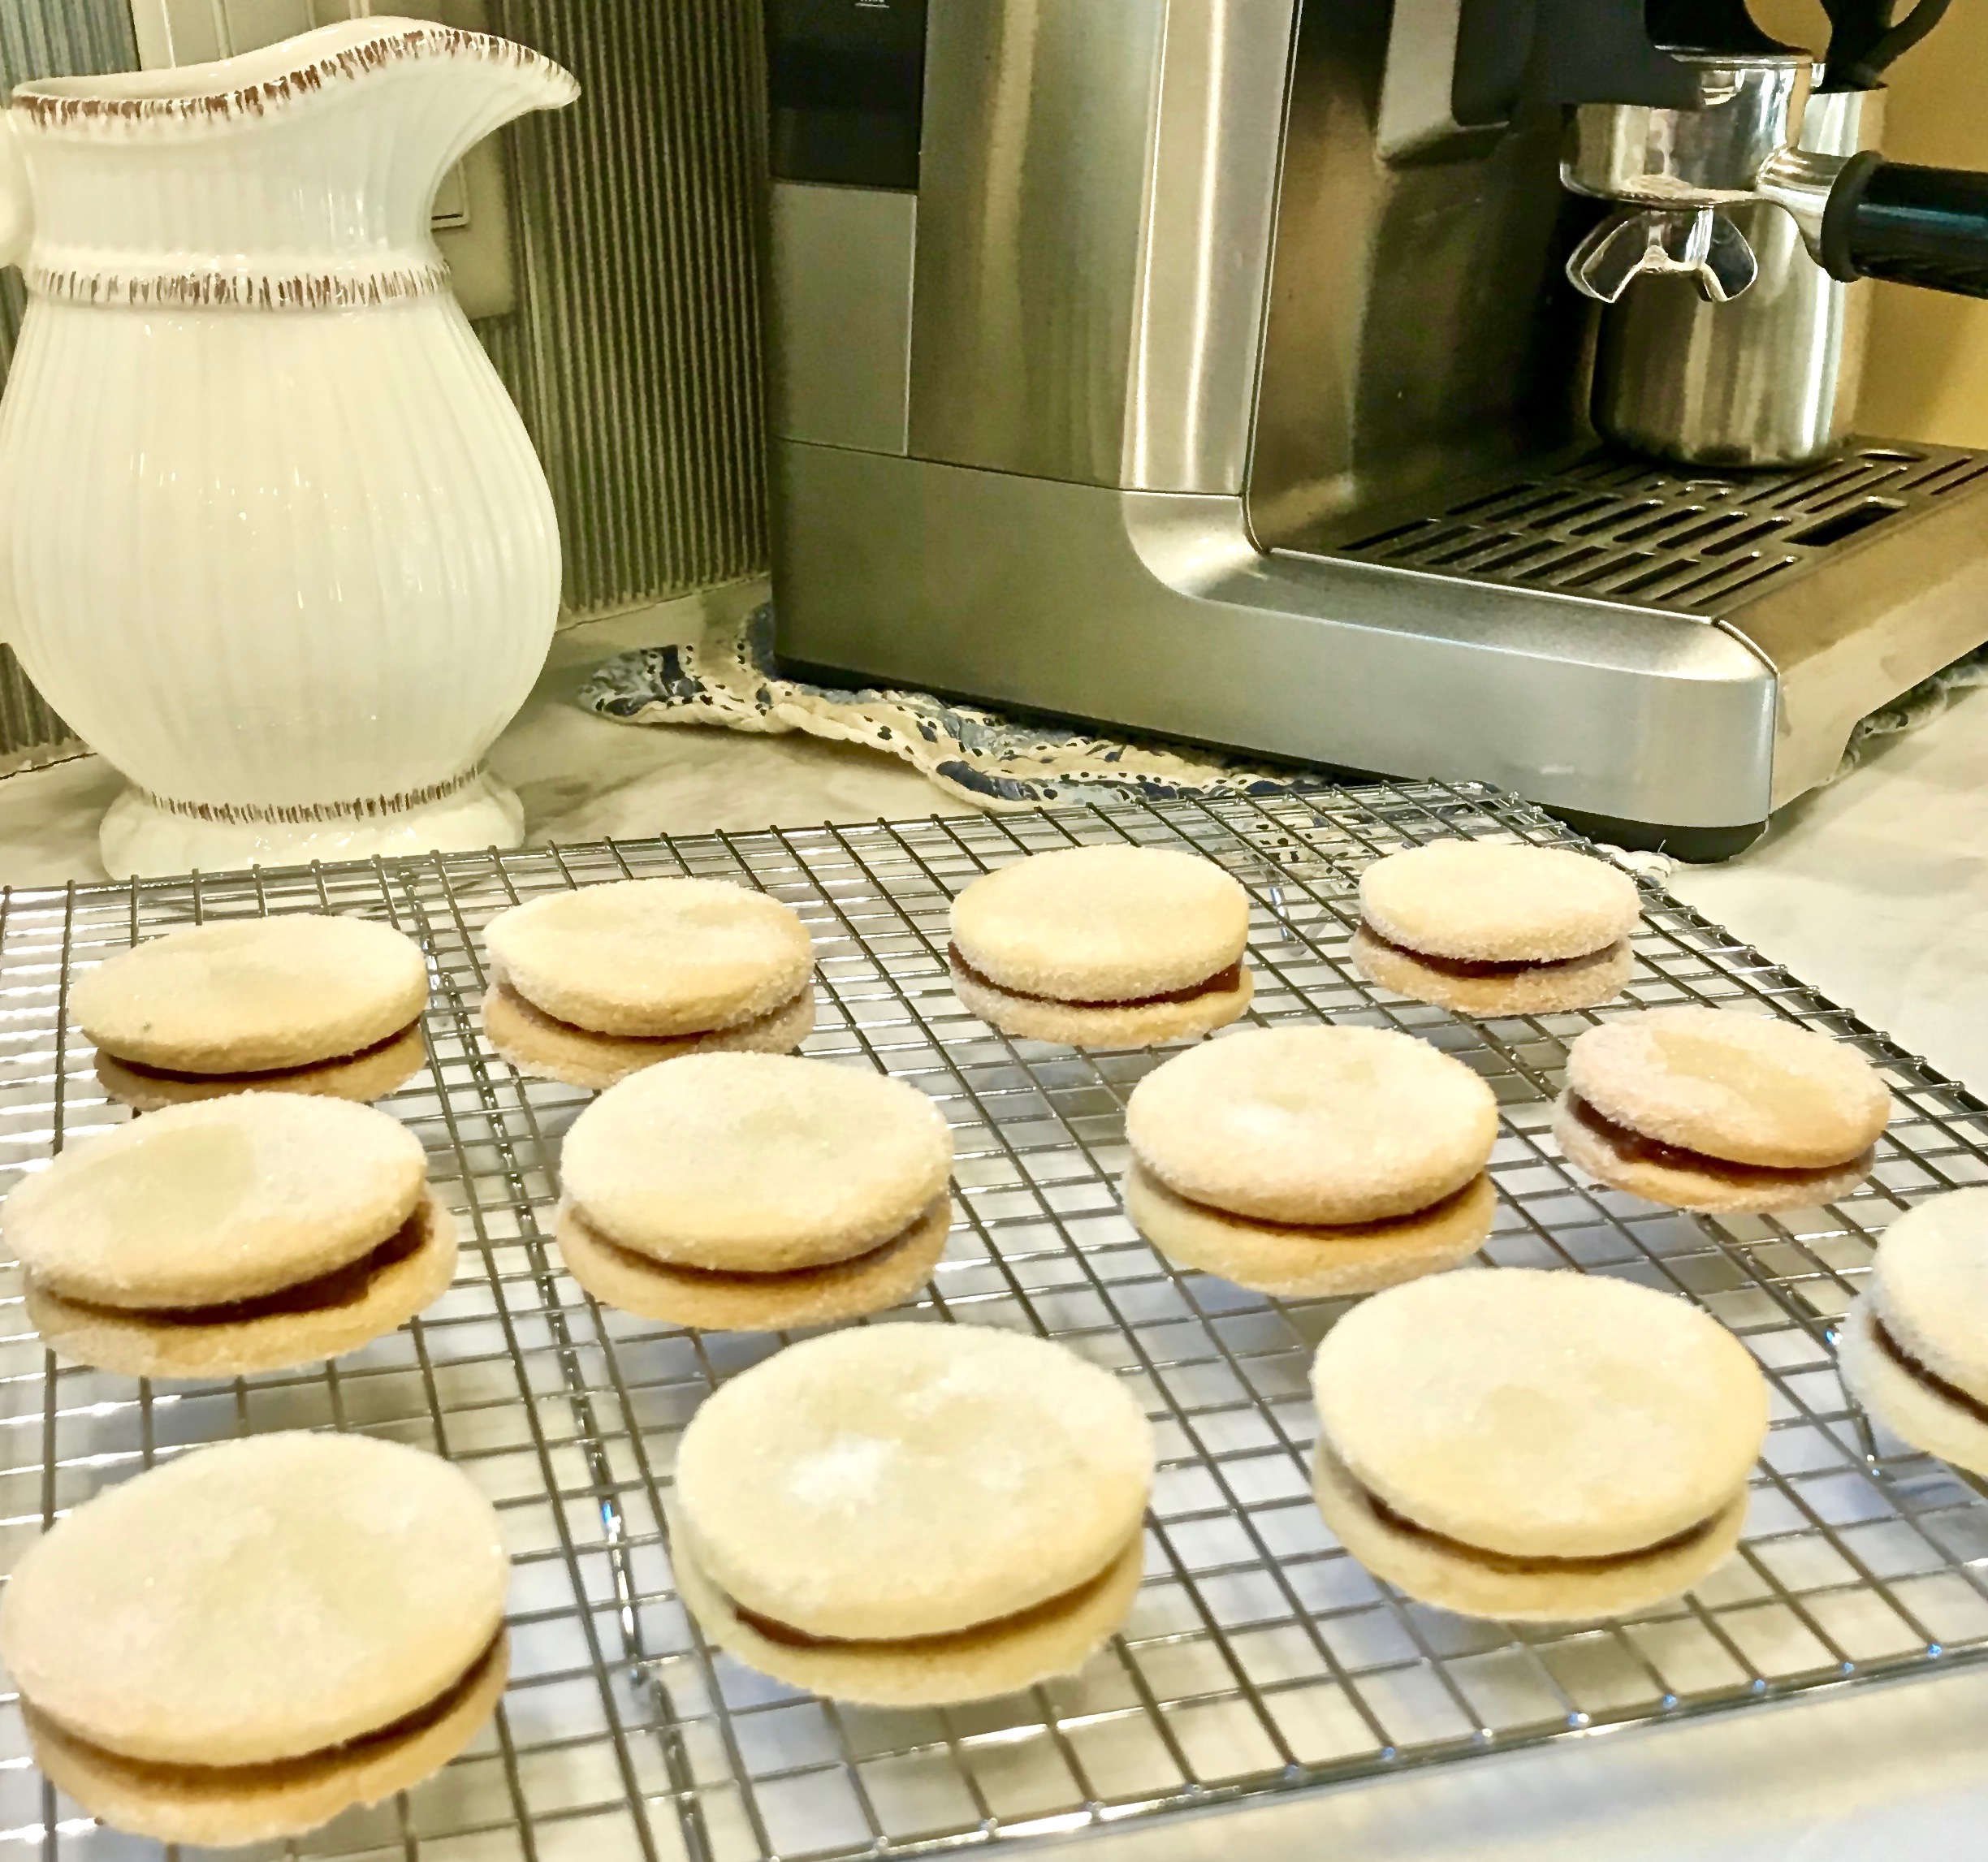
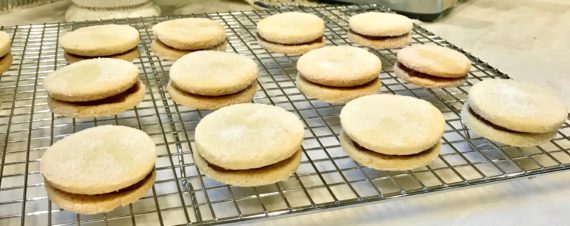
There are no words that can accurately describe how amazing these cookies are!

Although everyone’s definition of the “perfect cookie” is different, I challenge anyone to disagree with my assessment. They are “that good!” And, for all you cookie enthusiasts, these cookies are a portable meal. After all, they are a “sandwich”. 

Most of us love a good sugar cookie.  This recipe takes the sugar cookie to a whole new level. With the addition of the almonds and raspberry preserves, another dimension of flavor and texture emerges, making them truly addicting. As the author notes, “it gives them a rich melt-in-the-mouth texture.” These cookies are easy to prepare and should definitely be on your “must try” list. They are perfect to make for the upcoming holidays. Just remember to leave some for everyone else.

This recipe is courtesy of The Perfect Cookie, by America’s Test Kitchen. It will make about 24 sandwich cookies that your family and friends will quickly devour.

Ingredients for Almond-Raspberry Sandwich Cookies

2 cups (10 ounces) all-purpose flour
1 1/4 cups slivered almonds
1/2 cup (3 1/2 ounces) granulated sugar, plus 1/2 cup for coating
16 tbsp. unsalted butter, cut into 1/2-inch pieces and chilled
1 tsp. vanilla extract
1/2 cup raspberry jam

Adjust oven racks to upper-middle and lower-middle positions.

Preheat oven to 350.

Line 2 baking sheets with parchment paper.

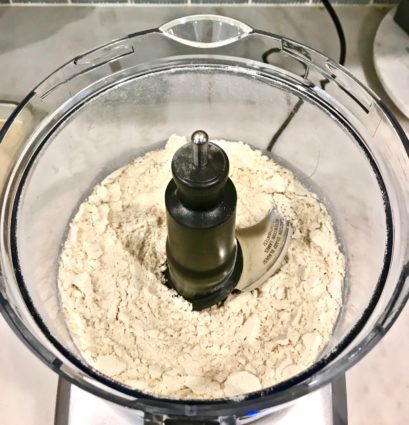
Process 1 cup of flour and almonds in a food processor until almonds are finely ground, about 1 minute.

Add 1/2 cup of sugar and remaining 1 cup of flour and process until combined.

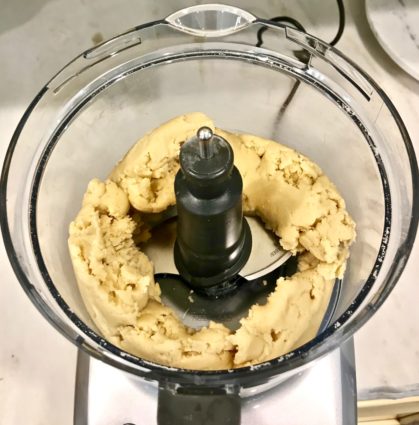
Add butter and vanilla and pulse until dough forms.

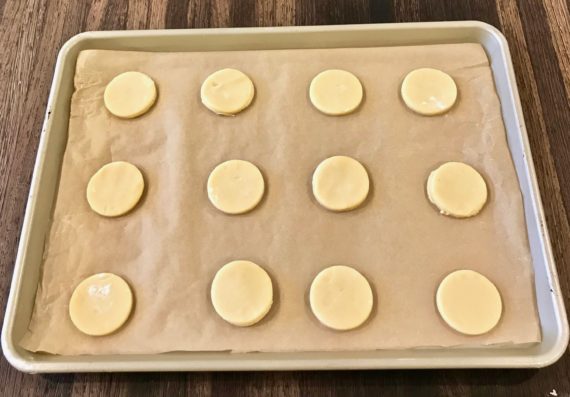
Transfer dough to lightly floured counter and roll into 1 inch thickness.

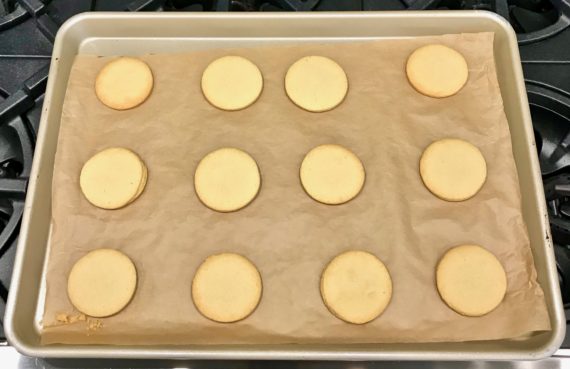
Using a 2-inch round cookie cutter, cut dough into circles; space circles 2 inches apart on prepared sheets.

Gently preroll scraps, cut into circles, and transfer to prepared sheets.

Bake until edges are light brown, about 15 minutes, switching and rotating sheets halfway through baking.

Let cookies cool on sheets for 5 minutes, then transfer to a wire rack.

Place remaining 1/2 cup of sugar in a bowl.

Working quickly, spread 1 teaspoon of jam over bottom half of warm cookies, then top with remaining cookies, pressing lightly to adhere.

Gently toss cookies in sugar to coat then transfer to a wire rack.

Let cookies cool completely before serving.

It’s that simple! 

signature

[recaptcha]


My blog has really become my go-to site for side dishes. Before I started writing it, I was always at a loss for a good side dish, especially on Thanksgiving! Now, when I am preparing for Thanksgiving, or for any other holiday, I search my blog for menu ideas. I hope you are all using my blog for menu suggestions as well. I only post the ones I know you will enjoy.

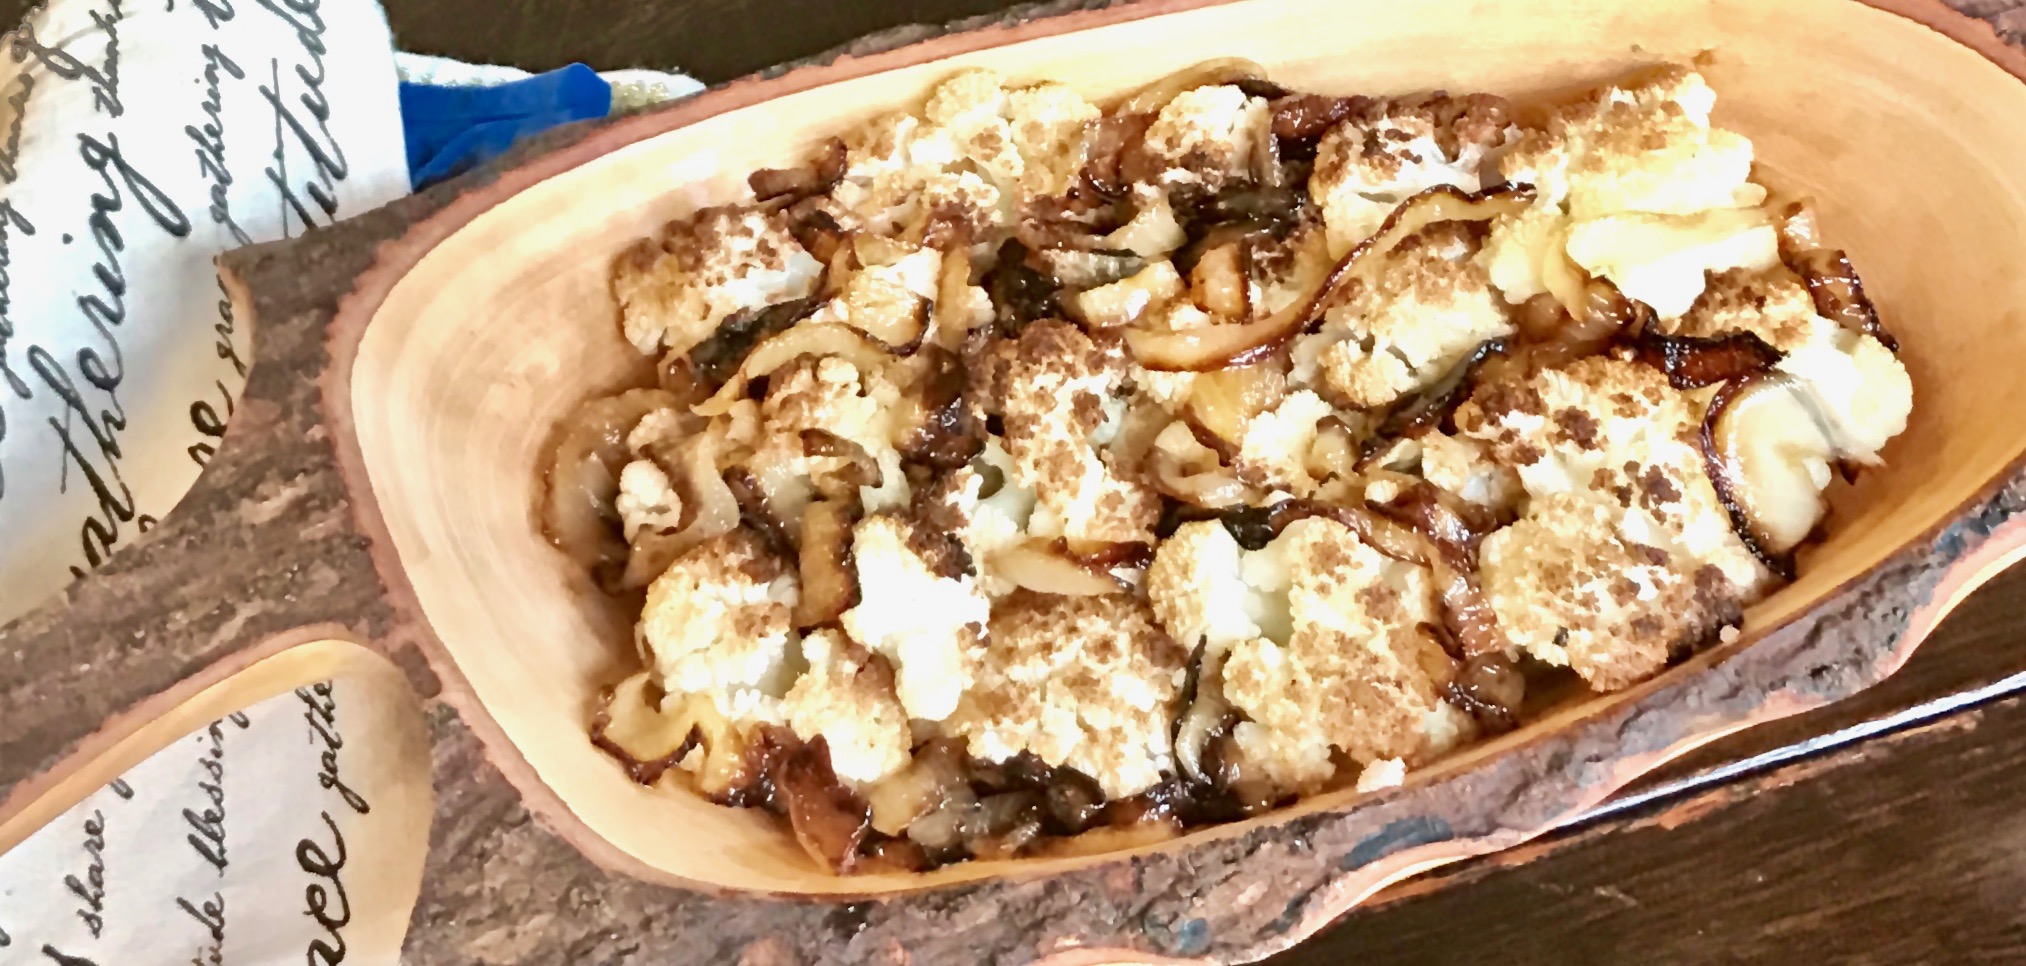
That being said, this cauliflower recipe is really special. It makes your taste buds waltz with delight! The caramelization of the onions, combined with the cauliflower, create a unique, bold flavor and a wonderful crispy texture. The depth of flavor in this dish is amazing. I can’t say enough about this recipe except that I hope you try it and experience it for yourself. This is a “keeper” and I will be making this repeatedly in the future. It is so simple and quick to make. Just cut up your vegetables, add the other ingredients, place them on a baking sheet and you have a luscious side dish to accompany with any weeknight meal.

This recipe will serve 4-5 lucky people who will thoroughly enjoy this dish.

Ingredients for Roasted Cauliflower with Caramelized Onions

3 tbsp. extra-virgin olive oil
1 large yellow onion, thinly sliced (about 2 cups)
1/2 tsp. kosher salt, plus 1/2 more set aside
1/4 tsp. freshly ground black pepper, plus 1/4 more set aside
3 tbsp. fresh lemon juice (from about 1 lemon)
1/2 tsp. lemon zest
1 garlic clove, finely chopped
1 head cauliflower, (about 1 1/2 to 2 pounds), cut into 1-inch florets
1/4 cup fresh parsley, chopped (optional)

Preheat the oven to 450.

In a skillet, warm 1 tbsp of the olive oil over medium heat.

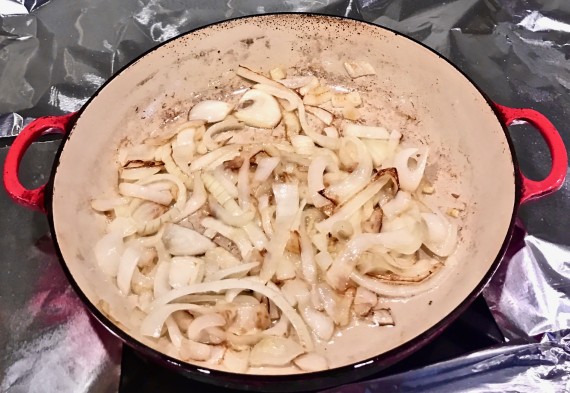
Add the onions, salt and pepper. Stir to coat with oil.

cauliflower oinions salt and pepper

Cook,  stirring frequently until the onions are soft, and golden brown, (about 25-30 minutes).

cauliflower onions browned

Meanwhile, in a large bowl, mix together the cauliflower, garlic, lemon juice and zest, and extra salt and pepper. Stir to combine.

On a baking sheet covered with foil, spread the cauliflower evenly so there is one layer. Roast until the tops of the florets are browned, but not burned, about 10-15 minutes.

Combine the cauliflower and the onion mixture.

Place on serving platter and garnish with parsley. 

It’s that simple!
Julie's welcome frog
signature

[recaptcha]