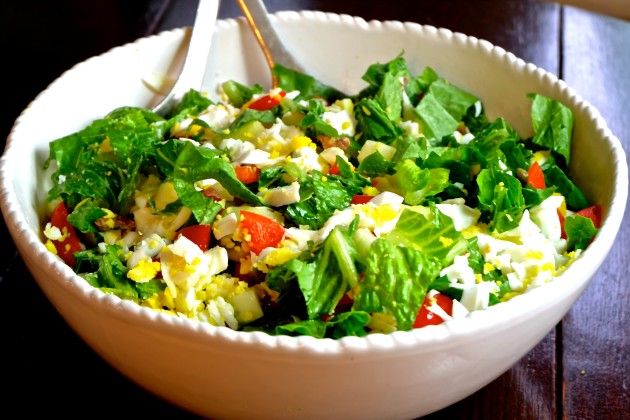
What makes a great salad? One that everyone asks for over and over again, of course! This salad stands out because of the ingredients I use. They compliment each other perfectly! 

This one has my “go to” staple; anchovies! It also includes other flavors that blend with the anchovies to make each bite both satisfying and enjoyable.   My family loves it and I often serve it when hosting a dinner or holiday get-together. 

The dressing is like icing on a cake… you can use it on any salad and it is very easy to prepare! I make all my salad dressings fresh, and you should too. However, that discussion is for another blog post that you will get to see very soon!

Try this one! It will soon be a favorite for your family, as well!

Ingredients for the Salad

1-2 heads romaine lettuce, chopped
3 red bell peppers, cut into cubes
2 english cucumbers, seeded and cut into cubes
2 (1) pint grape tomatoes, cut in half
6 eggs, hard boiled, grated
8 anchovies, chopped (feel free to use as much as you want)
2 tbsp. capers

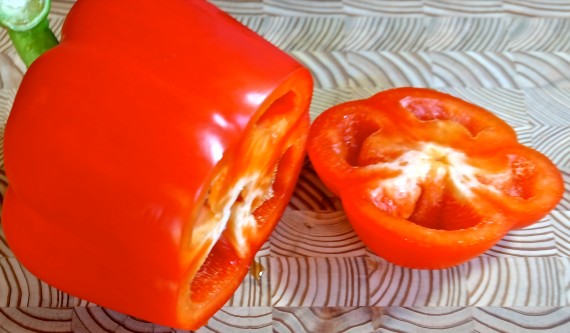
Today’s Hint: An easy way to cut a red pepper!

First, cut off the bottom of the pepper.
DSCF0688

Now cut off each side the pepper, trying to cut between the white parts.
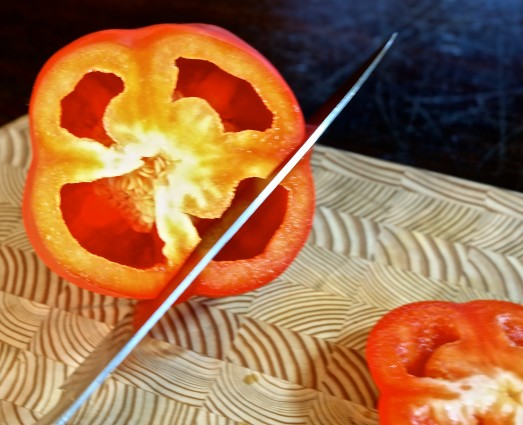
DSCF0689


Now you have separated the seeds and stem and can just throw it away! No washing all the seeds off the pepper!
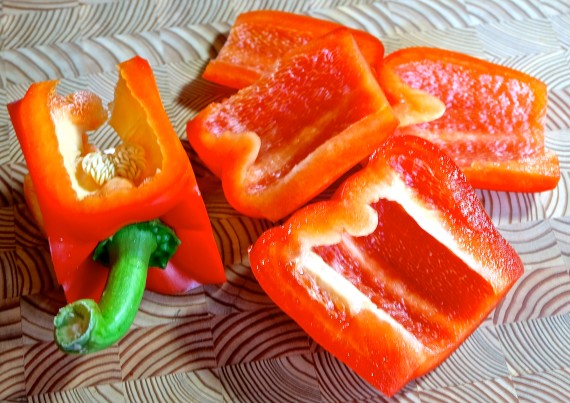
DSCF0694

If needed, cut off any remaining white parts.

DSCF0695

Just cut the red pepper into cubes- it’s easy and makes no mess!

Make sure all ingredients are dry and place them into a large serving bowl.
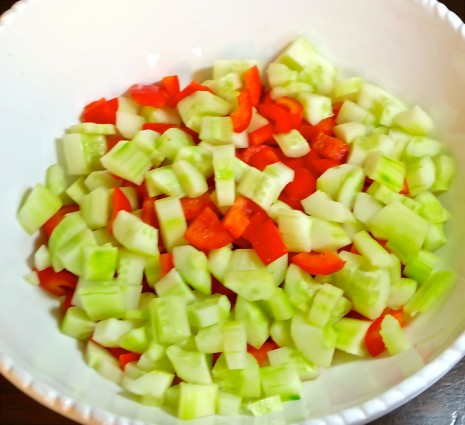
DSCF0703

Don’t forget those delicious anchovies. When you chop them up, people won’t even know they are there!
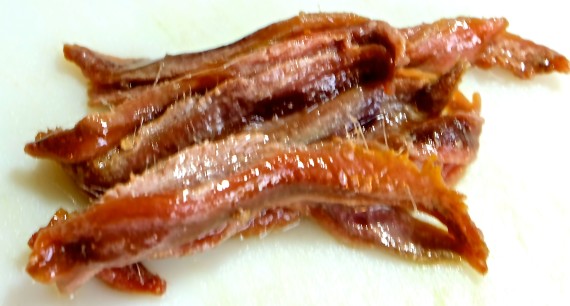
DSCF0705

Ingredients for the Dressing

3 tbsp. mayonaise
1 clove garlic, minced
3 tbsp. balsamic vinegar
Juice of 1/2 lemon
2 tsp. dry mustard
1 1/2 tsp. Kosher salt
1/2 tsp. pepper
1/4 cup of olive oil

Mix all ingredients into a bowl, with the exception of the olive oil.

Very slowly, while still whisking, add olive oil.
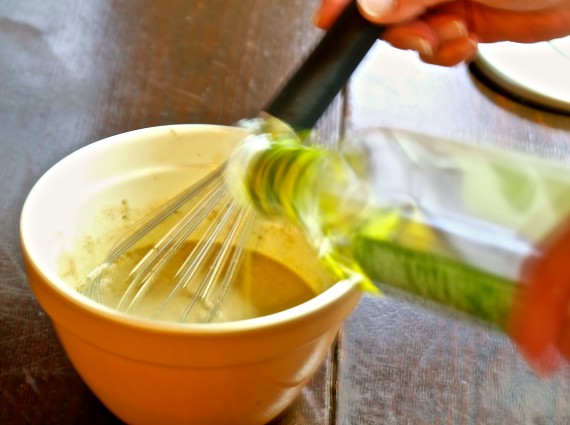
DSCF0720

I do not like to dress the entire salad, unless I am serving it for a large crowd. If you do, add dressing very slowly, mixing each time you pour in some of the dressing. When salad has a little glisten to it, STOP!

Nothing is worse than an overdressed, soggy salad! So be mindful when you add the dressing.

You can also place the dressing in a small pitcher and have each person dress their own portion.

This is great for lunch, brunch or dinner.

I hope you enjoy it as much as my family does!

Please drop me a message and let me know!

It’s that simple!
signature

[recaptcha]


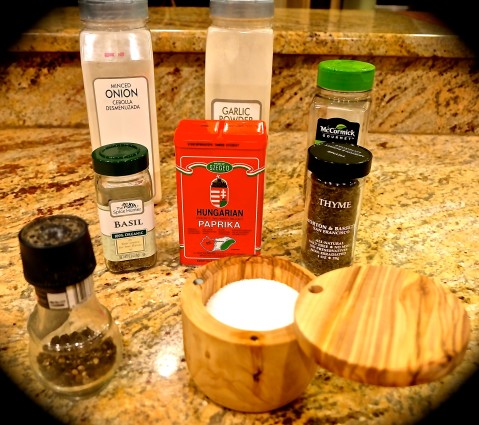
I always have “My Essence” ready to go anytime I need it.  This is a combination of my favorite ingredients. You can make your own “Essence”. Just take a combination of your favorite ingredients, mix them all together and save it for when you need it. Now you have it ready when you want to get a meal on the table fast! Instant “dry rub”! Here is my formula:

Ingredients for “My Essence”
5 tbsp garlic powder
8 tbsp onion powder
4 tbsp paprika
4 tbsp oregano
4 tbsp thyme
2 tsp Kosher salt (you can add more if you taste it and think it may need it)
2 tsp pepper

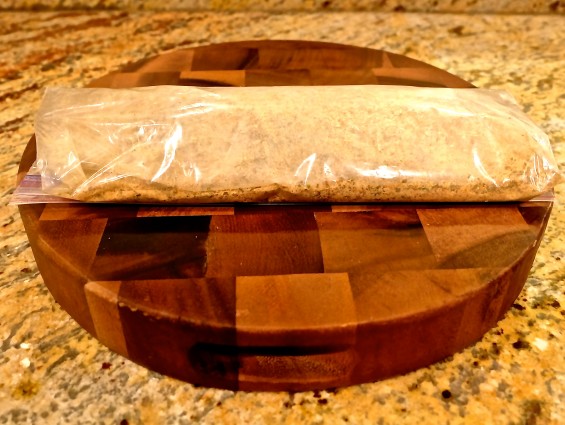
DSCF0135Put all the ingredients in a ziploc bag.  Shake it and mix it well.  You can even keep it in the ziplock bag, though I find that pouring it from the bag is difficult.DSCF0139

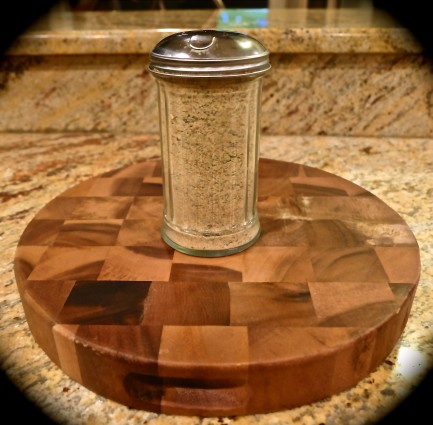
Transfer the ingredients to a sugar shaker. You can keep any extra in the ziploc bag for storage.DSCF0138Use it on any meat or poultry you are preparing. If you don’t have time to marinade, then just shake this onto whatever you are cooking. It always tastes great!

It acts as a dry rub and is delicious every time. Use any ingredient that you like.  Just sprinkle on and it is ready!

What’s your “Essence”?

I would love to know!

When cooking, just remember to “Set your timer“!

IMG_0071


It’s that simple!

signature

[recaptcha]


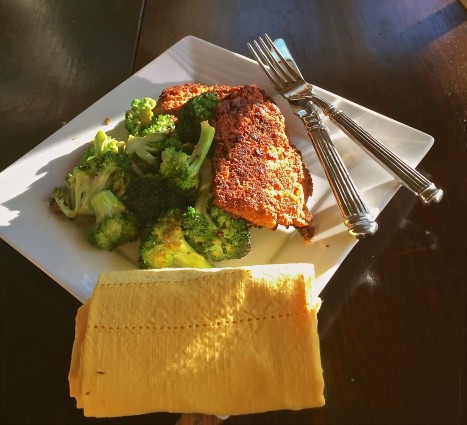
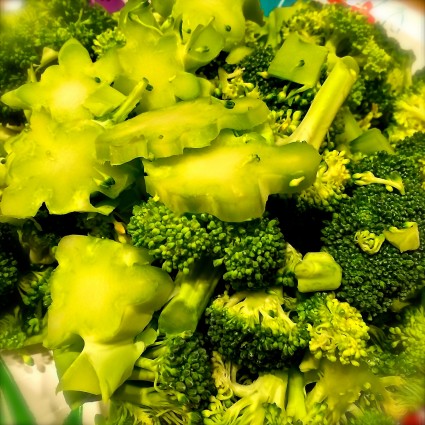
This is about as easy as it gets!  The chicken cutlets don’t take a lot of time to cook and the broccoli is ready in minutes!  I love the way broccoli looks after it cooked.  If it is sautéed correctly, this beautiful bright green vegetable looks scrumptious!

You have to be very careful with the timing!

Take it off the heat as soon as it turns that radiant color because it will continue to cook after you take it off the stove.  Nothing is more unappetizing to me than dark green, sad looking broccoli, so be careful and follow the directions!

IMG_0162

Ingredients for Broccoli
Rinse broccoli and dry it very well. Drying thoroughly helps to keep it crisp.
1 bunch broccoli, chopped
¼ tsp. crushed red pepper flakes
5 cloves garlic, chopped very small
1/2 onion, chopped
Juice of 1 small lemon
4 tbsp. olive oil
1 1/2 tsp. Kosher salt
1/2 tsp. pepper

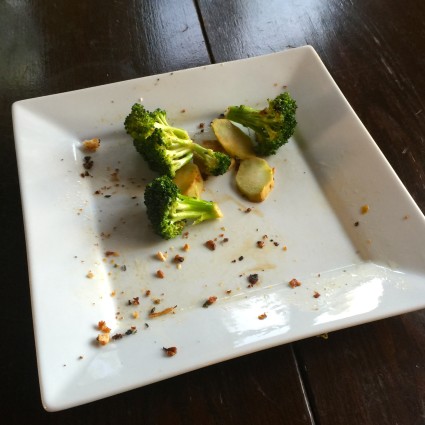
Todays Hint:  Just to let those of you who do not like the stems of the broccoli, I have a suggestion.  Peel the stems like you would peel a carrot. Taste!!  It is amazing how different the stems taste when they are peeled!  They are sweet and delicious!  You might change your mind and use them from now on!  Maybe even use them as a snack!

Add olive oil to pan. When heated, add onions, a little salt and pepper (save some for later).

Cook onions until they are translucent about 8 minutes.

Add lemon, red pepper flakes and garlic.

Cook garlic only one minute. It is important that you do not burn the garlic.  Remember you have other ingredients to add and the garlic will continue to cook.

Now add the broccoli, and some more salt and pepper.

Mix ingredients well.

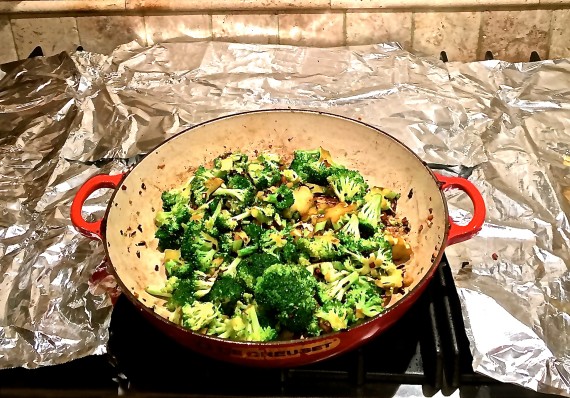
Cook until broccoli turns bright green about 10 minutes. Immediately take the pan off the heat. The broccoli will continue to cook after you take it off the heat. You want the broccoli to be crunchy, not soft and mushy. Taking it off the heat when it turns bright green will ensure that you have the perfect consistency and a beautiful side dish.

IMG_0166

Ingredients for Chicken Cutlets
6 small boneless chicken thighs
2 cups flour
2 tbsp. garlic powder
2 tbsp. onion powder
2 tbsp. oregano
1 tbsp. basil
2 tbsp. Kosher salt
2 tbsp. pepper
3 cups bread crumbs
3 eggs
1/2-cup olive oil.
Set oven to 350.

Mix flour, garlic powder onion powder, oregano, basil salt and pepper together in a plastic bag. Shake well to mix.

Make sure chicken cutlets are dry.  Drop them into bag and shake well.

Beat eggs into bowl.

Place bread crumbs onto a paper plate.

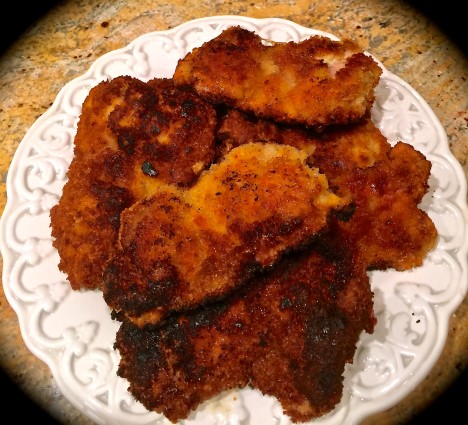
Drop each cutlet into egg bowl, then into breadcrumb mixture. Make sure cutlets are evenly coated with bread crumbs

Heat olive oil in pan medium heat until sizzling. Drop cutlets into pan.

Each cutlet should take about 5-7 minutes to brown.  Set your timer.

Do not crowd cutlets in pan. Do it in batches if you need to.

When you get to the second batch watch carefully.  The oil is very hot the second time around, and the cutlets may take only 3-4 minutes to brown. You need to watch them so they do not burn.

Take chicken cutlets out of pan and place them on paper plate or board covered with paper towels. Let them sit a while to absorb the oil.

Place in aluminum pan and put in oven for 20 minutes. Set your timer!!

IMG_0172

IMG_0684

It’s that simple!

signature

[recaptcha]


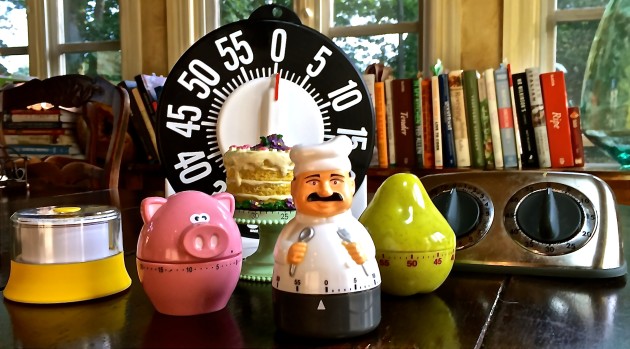
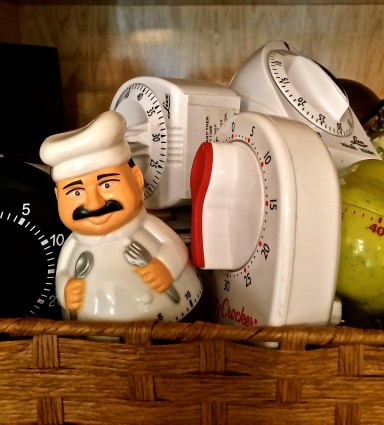
The most important cooking skill to have is timing! I have acquired many timers throughout the years to make sure that nothing is over or under cooked. The timers with the long ring are my favorite because the ring continues long enough to redirect my attention back to the meal I am preparing. When you are preparing 4-5 dishes at once, you find that it’s easy to forget!

My kitchen is especially busy during Thanksgiving because I host 40-45 guests at my home. Timing and organization are critical and I frequently use 4-5 timers simultaneously during those insane days leading up to any family get-together. I always set the timer with a piece of paper under it that says specifically what the timer is for to organize the preparation process.

To avoid overcooking your meals, there are two things you must remember!

1. When cooking meat and especially fish, if the recipe tells you to take it out at a specific temperature, do not wait until it reaches that temperature in the oven. Take the meat or fish out when it reads 10 degrees below what the recipe directs. The recipe tells you the temperature it should be when fully cooked. However, it will continue to cook outside of the oven and your dinner will be dry if you follow the recipe instructions verbatim!

2. If a recipe calls for a specific time to cook any meat/poultry/fish, always set your timer for 1/2 hour or 20 minutes less. If it needs more cooking, set your timer to 5 minutes increments to make sure that you do not overcook! Remember to take it out before the meat/fish is fully cooked and give it time to cook outside of the oven.

IMG_1016

It’s that simple! Thank you Simone!


signature

[recaptcha]


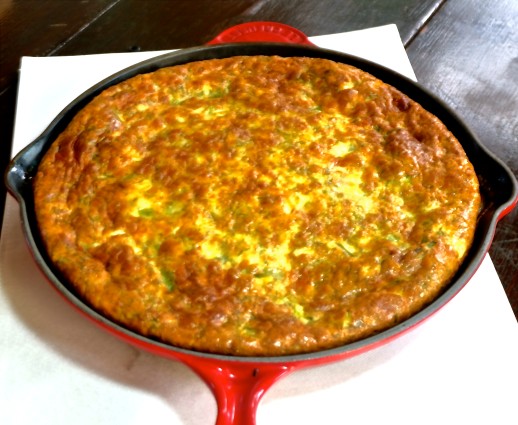
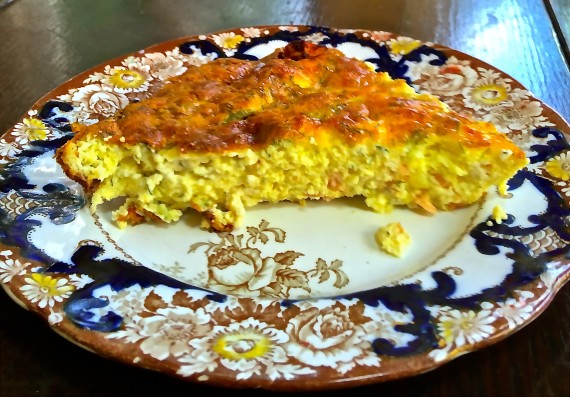
This recipe is courtesy of Ina Garten. What a gift! It is great for any brunch or it can be used a a side dish. I made it for Fathers Day this year as a side because I wanted to take pictures and prepare it for my blog. It worked just as well! I had also used it for my Mother’s Day brunch but no one complained! Everything about it is scrumptious! When it is finished it looks light and fluffy. This is so easy and a crowd pleaser every time. You really must try it!

Today’s hint: When cracking eggs, I tap them lightly on the counter into a separate bowl first. This way if any egg shells fall into the bowl you can scoop them out easily. If the egg shell is difficult to remove, try using a larger piece of egg shell to remove it. Works every time!

Ingredients for Smoked Salmon Frittata
1 medium onion, diced
1 tbsp. unsalted butter
12 extra-large eggs
1 cup heavy cream
4 ounces fresh goat cheese, such a Montrachet, crumbled
1/2 pound fresh smoked salmon, chopped
3 scallions, chopped, white and green parts
3 tbsp. chopped fresh dill
1 tsp. kosher salt
1/2 tsp. freshly ground black pepper

Preheat oven to 350.

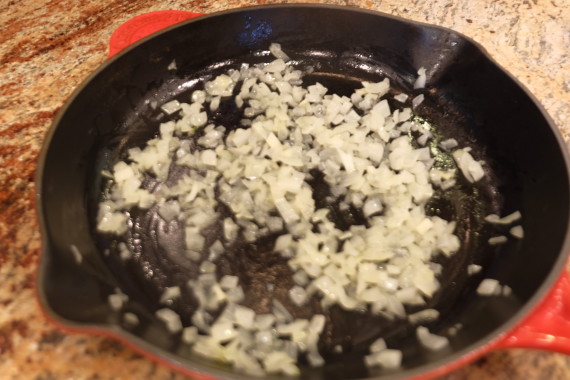
Sauté the onion in the butter in a 10 inch oven proof omelet pan over medium-low heat until translucent, about 5 minutes.

DSCF0549

In a large bowl, beat the eggs.

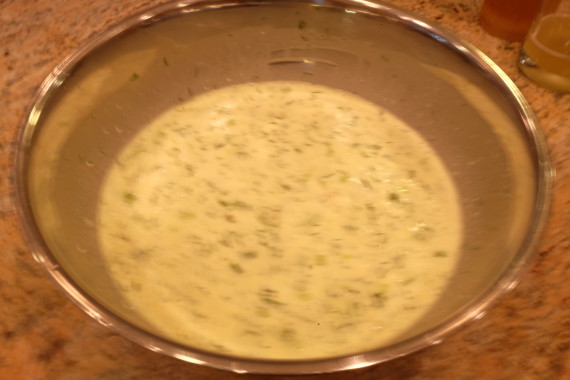
Add the heavy cream,  goat cheese smoked salmon, scallions, dill, salt and pepper and combine.

DSCF0546

Pour the mixture over the onions and place the omelet pan in the center of the oven.

Bake the frittata for about 50 minutes, until it puffs up and a knife inserted in the middle of the frittata come out clean.  Serve hot directly from the pan.

IMG_0083

It’s that simple! Enjoy!


signature

[recaptcha]