I keep a journal of cooking tips for my nieces. In all the years I have been cooking, I certainly have learned a few things that I would love to share. Remember, no matter how long you do something, whether it be professionally, or at home, there is always something to be learned. Here are some tips from my journal to help you become a better cook.

Prepare all your ingredients first. This is called a “mis en place”. It makes the cooking time go by faster, allows you to be in the moment and enjoy the fun of cooking.

When following a recipe for cooking meat, never cook the meat for as long as the recipe says. Most cookbooks are required to give you a certain time or temperature for health reasons. Always cook your meat ten minutes less and ten degrees less than they tell you. If you feel it is too undercooked, keep it in longer and check it at 1 or 2-minute increments. And remember, the meat will continue to cook when you take it off the heat, so be sure to factor that in as well.

Don’t skimp on the mixing process. Take your time and mix ingredients well. This is a very important step.

When boiling water for pasta, add a hearty palmful of salt. This will be the only time you get to season it. Cook the pasta 2-4 minutes less than the package instructions if you are going to place it in the oven. Always save 1 cup of pasta water. This can be used to thicken the sauce you are preparing the pasta in. Never rinse pasta!

When preparing grains cooking times can vary. When in doubt, taste them. If the grain is not as tender as you would like, add some more broth or water and continue cooking. If they seem fine before the liquid is done, simply drain it. Also, cooking them in chicken or vegetable broth will add flavor to them. Most grains soak up these flavors beautifully.

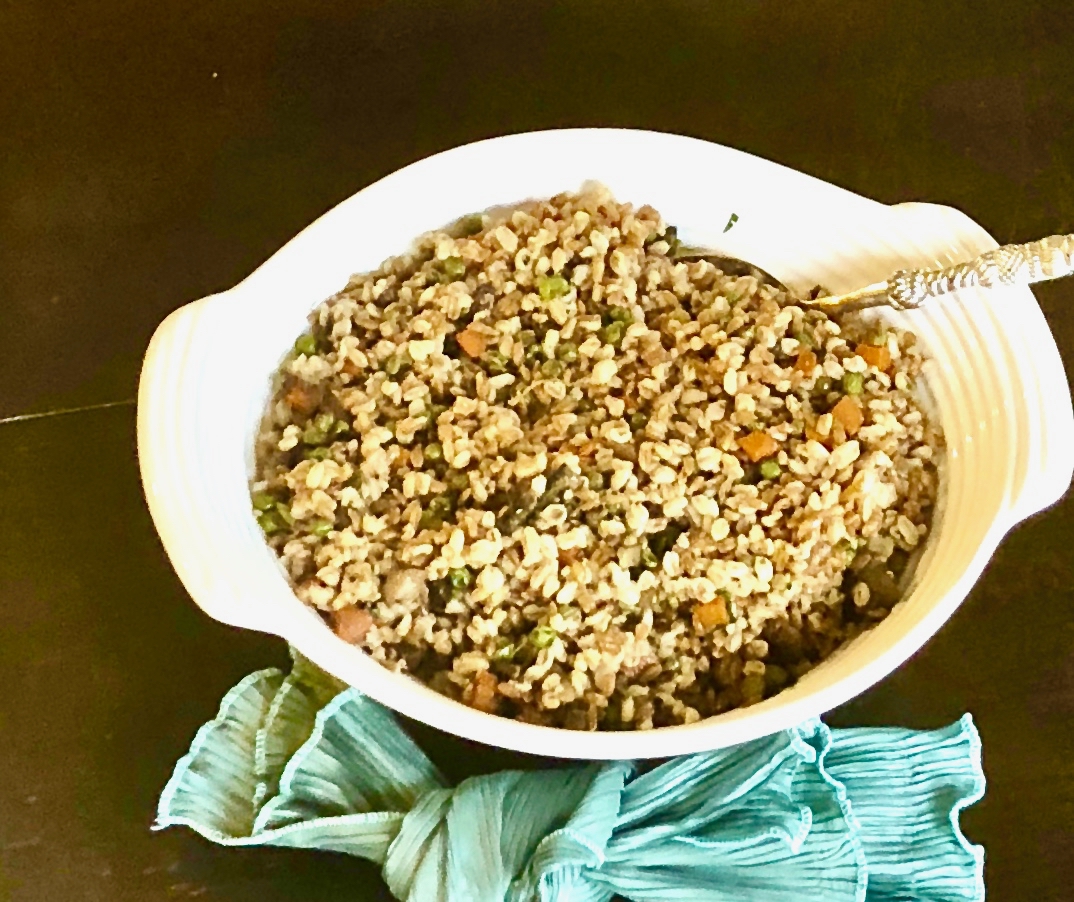
You do not have to follow a recipe exactly. Like this farro recipe for example, if you don’t like mushrooms, just leave them out. Add a little more garlic if you want. Don’t be afraid to make it your own!

When it comes to grains, this recipe is about as easy as it gets. The farro does not take a long time to prepare, and it adds a wonderful texture and flavor to this dish. The mushrooms and carrots are extremely well-paired. The peas provide beautiful color and tiny little bursts of sweetness. The dressing for this dish has a creamy, yet sharp zing to it.

This recipe will serve 4-6 people who will be delightfully surprised with the depth of flavor this simple dish provides.

Ingredients for Farro with Mushrooms and Peas

1 cup organic cooked farro
8 ounces baby bella mushrooms, cleaned trimmed and sliced
1 cup frozen peas
1 cup carrots, diced
2 garlic cloves, chopped
1/4 cup fresh basil leaves, julienned or chopped
2 1/4 cup of chicken broth
2 tbsp. olive oil
1/2 tsp kosher salt
1/4 tsp. freshly ground black pepper

Ingredients for the dressing

3 – 4 tbsp. cup good-quality red or white wine vinegar.
1 tbsp. Dijon mustard
1 1/2 tbsp. maple syrup
1/2 tsp. kosher salt
1/4 tsp. freshly ground black pepper
1/4 cup good extra-virgin olive oil

Cook farro according to package in instructions, but use the chicken broth instead of water.

Drain farro and set aside.

In a large, deep skillet, heat 2 tablespoons olive oil.

Add carrots and peas; sauté for 5 minutes, or until carrots are soft.
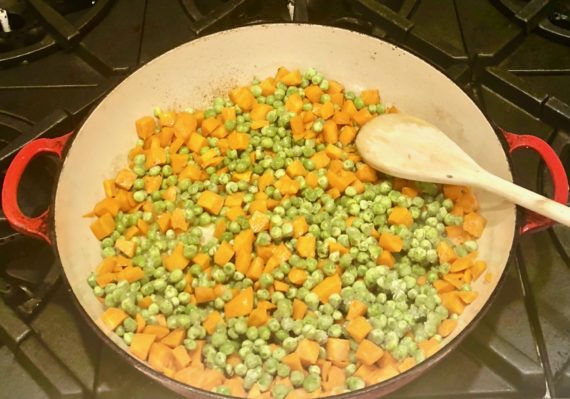
Add garlic, cook for 1 minute.

Toss in mushrooms, continue to sauté for 4-5 minutes.
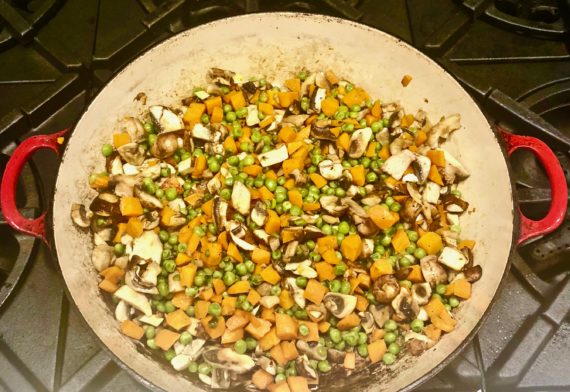
Now add the basil, salt, and pepper. Cook for 1 minute.
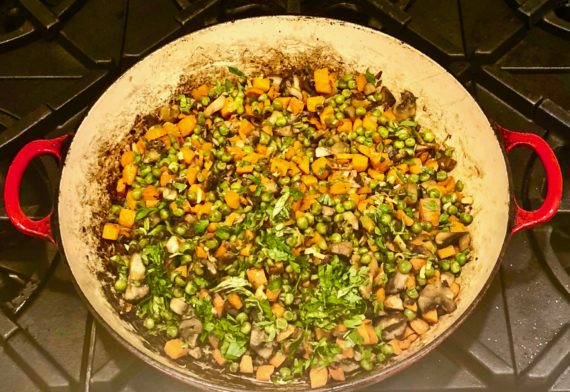
Remove from the heat, and toss in the farro.

Mix gently to combine.

Make the dressing:

Mix first 5 ingredients in a small bowl.

Slowly whisk in olive oil.

Pour over farro mixture and gently mix together.

It’s that simple!

signature

[recaptcha]


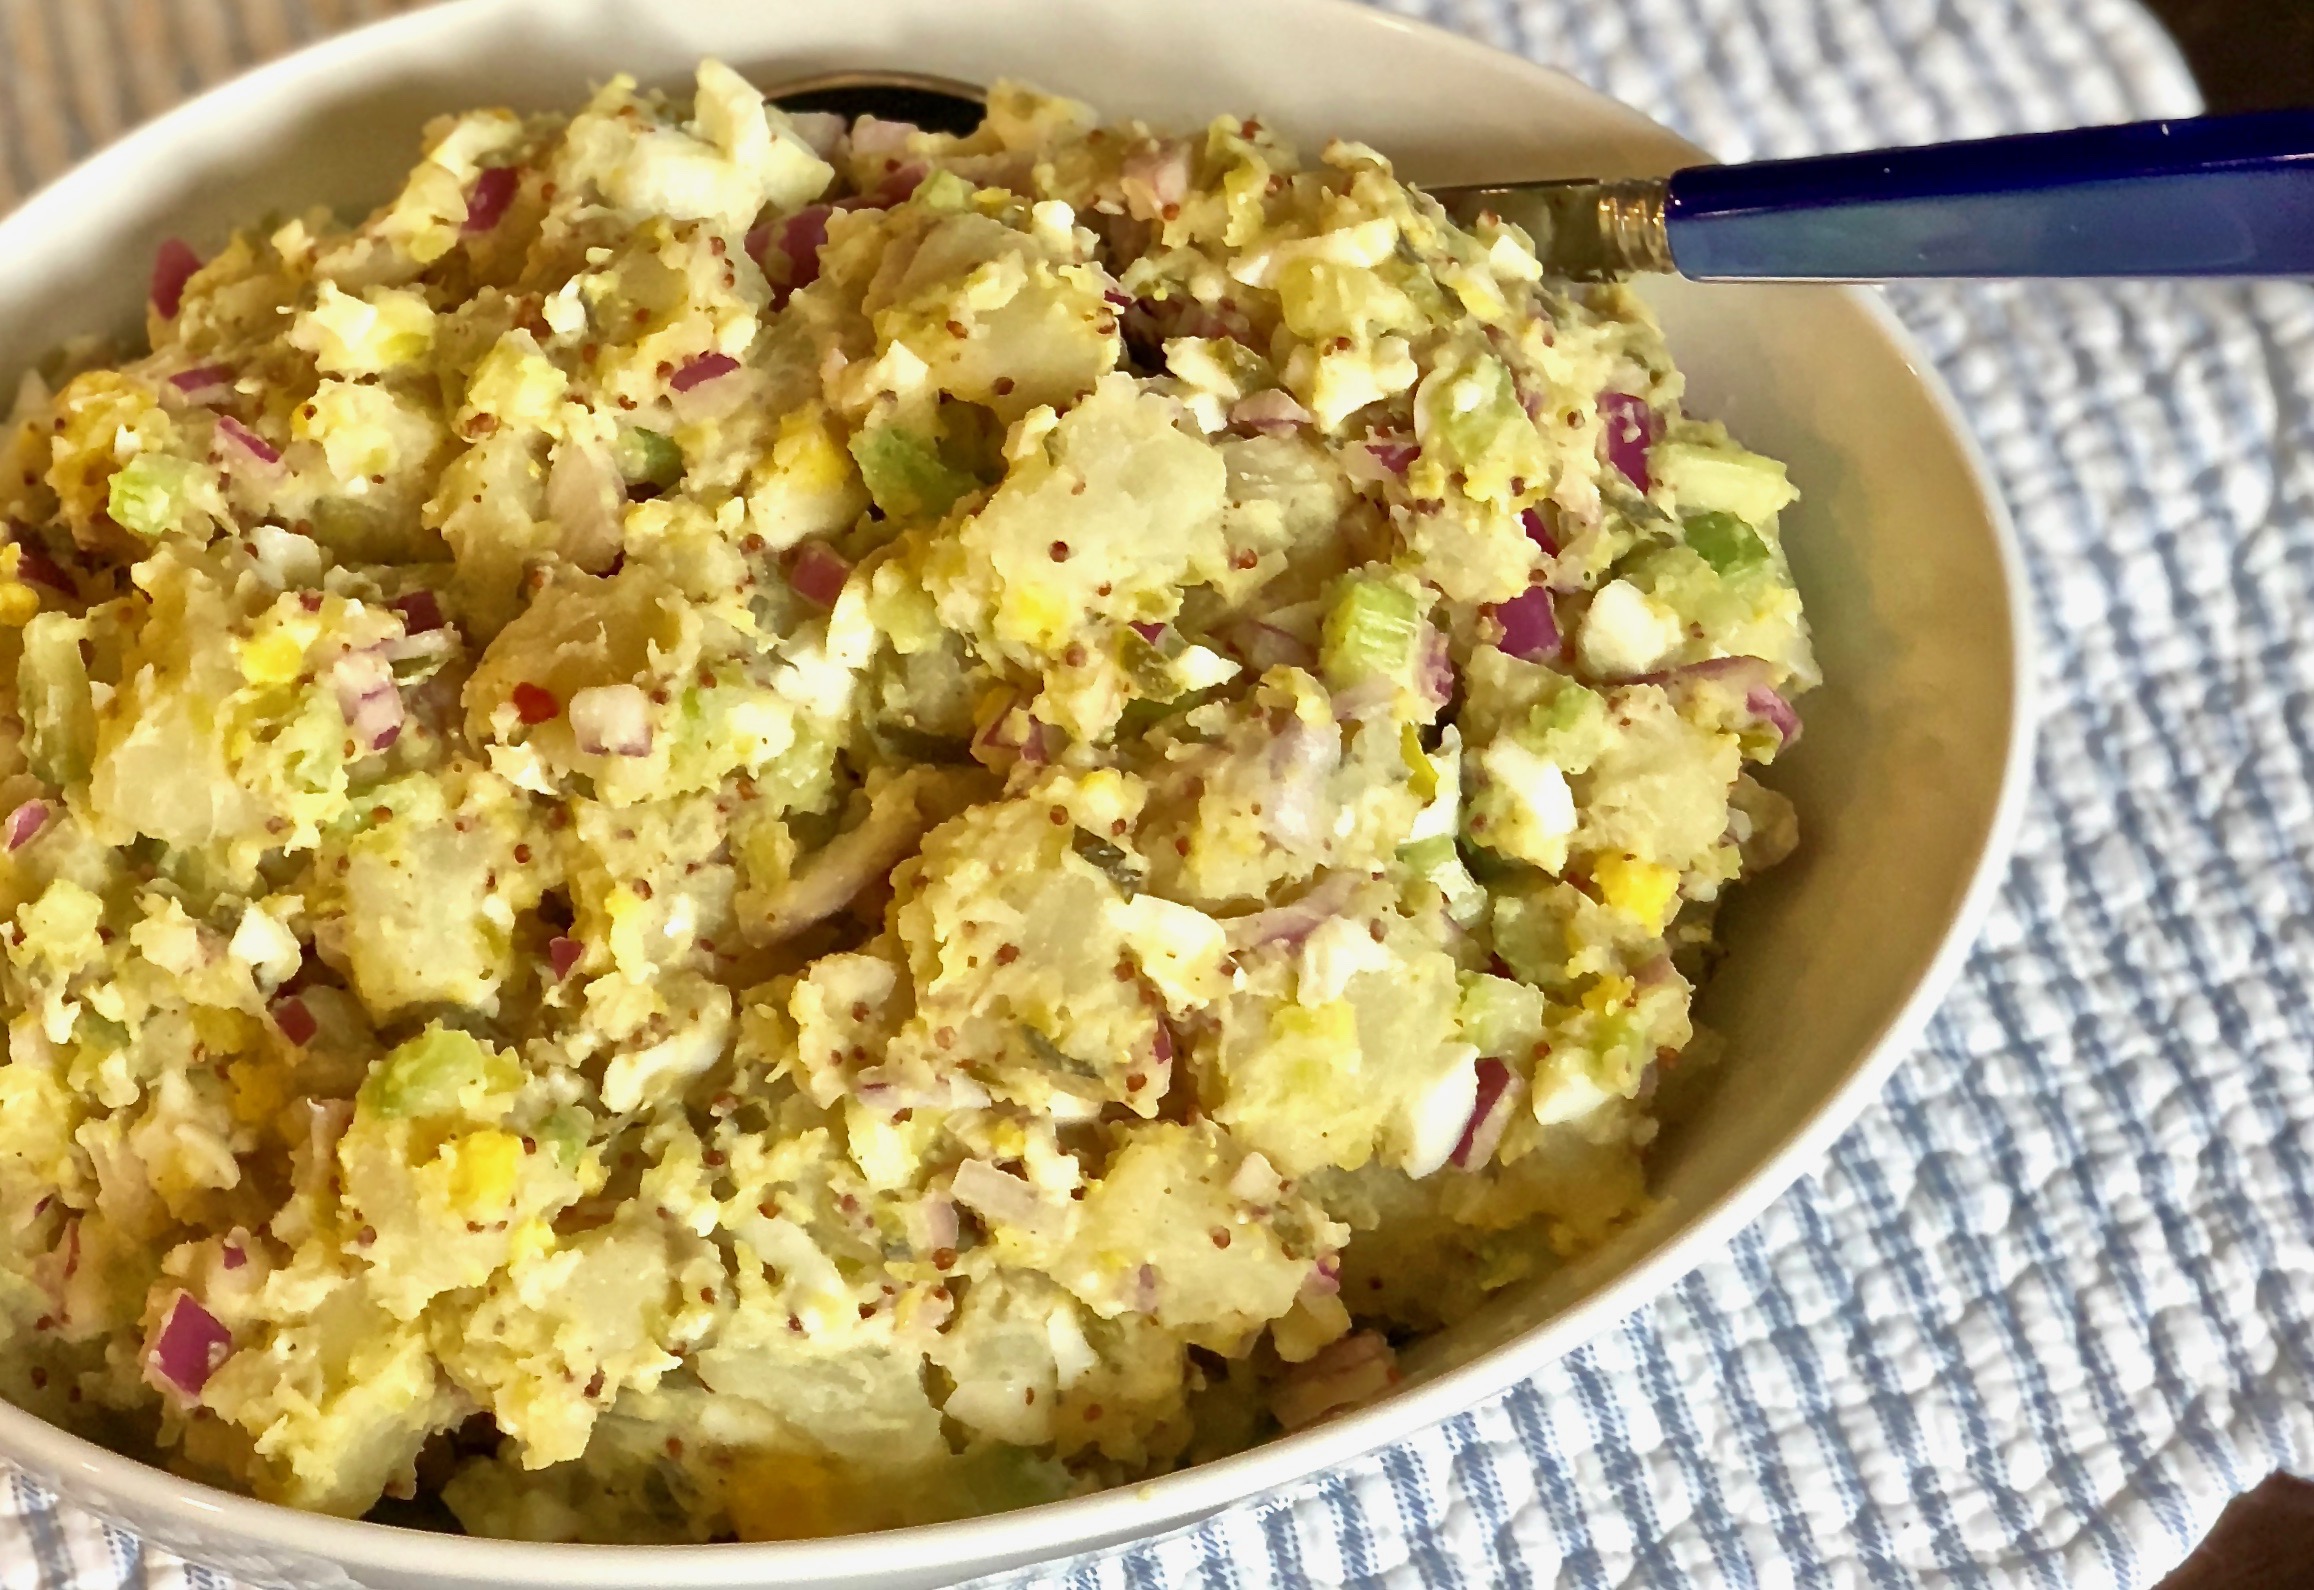
I promised to give you all my potato salad recipe… and here it is. Just in time for your July 4th celebration!

There are so many different kinds of salad recipes out there. Salads are wonderful year-round, but I have one pet peeve that will ruin any salad for me. When it comes to salad dressing, it is important to remember that there is such thing as too much of a good thing. My nieces come and cook with me often, and one of the first things I taught them is how to dress a salad without overdoing it. This is a very important thing to know.

Most restaurants, even the best of them, will overdress a salad. Often, too much mayonnaise, sour cream, mustard, or buttermilk is added. I recognize that these ingredients are important, however, they should be used with great restraint. Let’s face it, a soggy, overdressed salad is just not appealing!

Here are a few tips for dressing your salad:

You don’t have to prepare the recipe for the salad dressing exactly as it is written. Add the heavier ingredients slowly, just until you get the creamy consistency you prefer. The lighter the consistency, the better your salad will look and taste. 

When you dress the salad, add the dressing a little bit at a time. When the salad is just glistening, stop! Do not add more. Lastly, taste it. Even if you think you should add more at first, wait. Once you take a few bites, you will realize it is perfectly dressed as is.

This recipe was such a hit on Father’s Day, and I was so surprised. Personally, I am not a fan of potato salad. I went to my supermarket to purchase it, looked at the ingredients, and just couldn’t buy it because some of them are so bad for you. I decided I would make it myself. I looked at a few recipes, took all the ingredients I thought would be good together, and I served it, not really giving it a second thought. To my surprise, everyone loved it, even me! Now I am happy to share it with you.

When you take a bite of this salad, the flavor practically shouts at you from the mustard grains. The sweet pickle relish adds sweet and tang at the same time. The eggs complete the taste sensation with a hardy texture. This is perfect for your July 4th barbeque. Try it for yourself and share it with friends, just like I am!

Don’t forget to sign up for my weekly newsletter so you don’t miss any recipes!

This recipe will serve 6-8 people who will smile in between bites of this well-seasoned salad!

Ingredients for Fabulous Potato Salad

5 potatoes
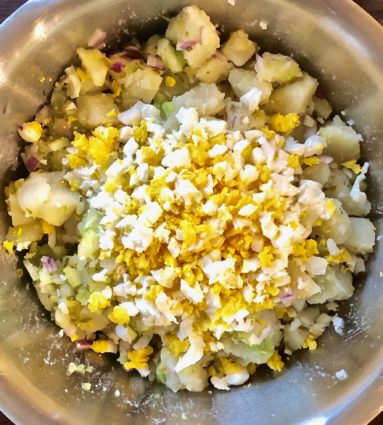
5 eggs, hard-boiled, cut into medium-sized chunks
2 cups chopped celery (about 3 stalks)
3/4 cup red onion, chopped
1 1/2 cup (or more) sweet pickle relish
2 large garlic cloves, minced
1/4 tsp. garlic salt
1/2 tsp. celery salt
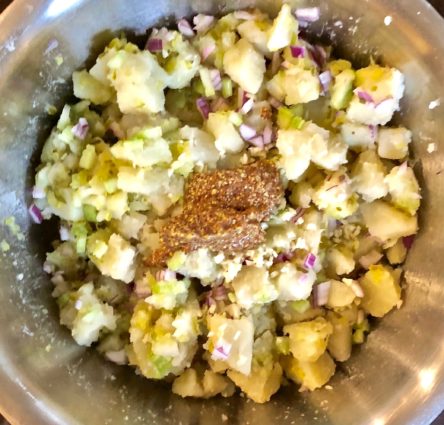
2 (or more) tbsp. whole grain mustard
1/4 cup mayonnaise
1 tsp. kosher salt (or more to taste)
1/2 tsp. freshly ground black pepper (or more to taste)

Today’s Hint: To make an egg easier to peel, crack the top and bottom parts of the eggs first. Then roll the eggs gently on the countertop. The shells should peel away easily!

Bring a large pot of salted water to a boil. 

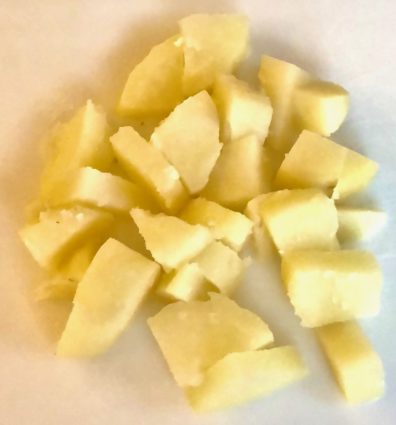
Add potatoes and cook until tender but still firm, about 15- 20 minutes. 

Drain, cool and peel.

Chop into 1 -1 1/2-inch pieces.

Place eggs into saucepan. 

Cover with water 1-inch above eggs.

Bring to a boil.

Remove eggs from heat, cover and set a timer for 12 minutes.

Drain and immediately place eggs in ice water.

Peel and cut into 1-inch pieces.

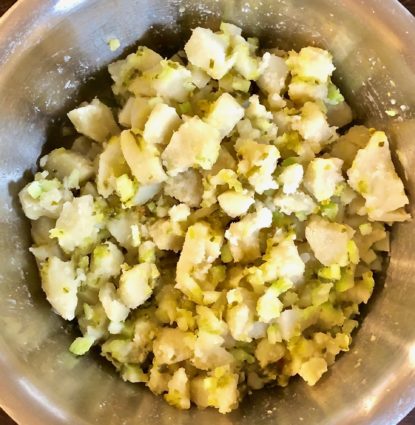
In an extra large bowl, combine the potatoes, celery.

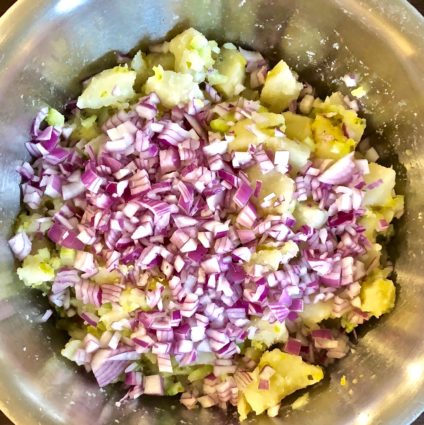
Add the onion.

Mix carefully to combine. You do not want the potatoes to become smaller and mushy.

Add the mustard.

 Carefully fold in the pickle relish, garlic, garlic salt, celery salt, mayonnaise, salt and pepper.

Add the eggs. Fold in gently.

Taste and add more of your favorites ingredients, if needed!

Transfer to serving platter and refrigerate until chilled.

It’s that simple!
 

signature

[recaptcha]


Visiting my local farmer’s market is one of my favorite pastimes in the summer. There is nothing better than walking through and knowing that everything you buy was freshly grown. You know you are getting the highest quality food at an affordable price, as well as doing your part to help the local economy!

On my most recent visit, I got a few tomatoes, a bagful of fresh corn and some delicious treats from a baking vendor. Then I headed home to cook it all to my heart’s content. It is a wonderful way to spend a warm, sunny day in the summer.

There are some things you should know before going to a farmer’s market. It can be intimidating so here are some tips to help you get through it and thoroughly enjoy it.

Bring cash. Very few vendors I know take credit cards, and cash is always much easier.

Take a walk through the entire market before you buy anything. Take mental notes (or written if you prefer) of the booths you will want to return to. 

Bring your own large tote bag to throw all of the items you buy in. This will make them much easier to carry. 

Try something new. Last year I was visiting a vendor that had several foods I did not recognize. He let me try them. Sure enough, minutes later I was buying sea asparagus. It is a smaller version of asparagus that has several stalks emanating from the main one. It has a crunchy texture and a salty flavor. I bought it and made a delicious salad with it. Just goes to show, you never know! I will be looking for it again this year. 

Don’t be afraid to ask questions. The vendors know how the food was grown, if any pesticides were used and how is best to store them.

Pick up your big purchases last so you do not have to carry them with you the entire time of your visit.

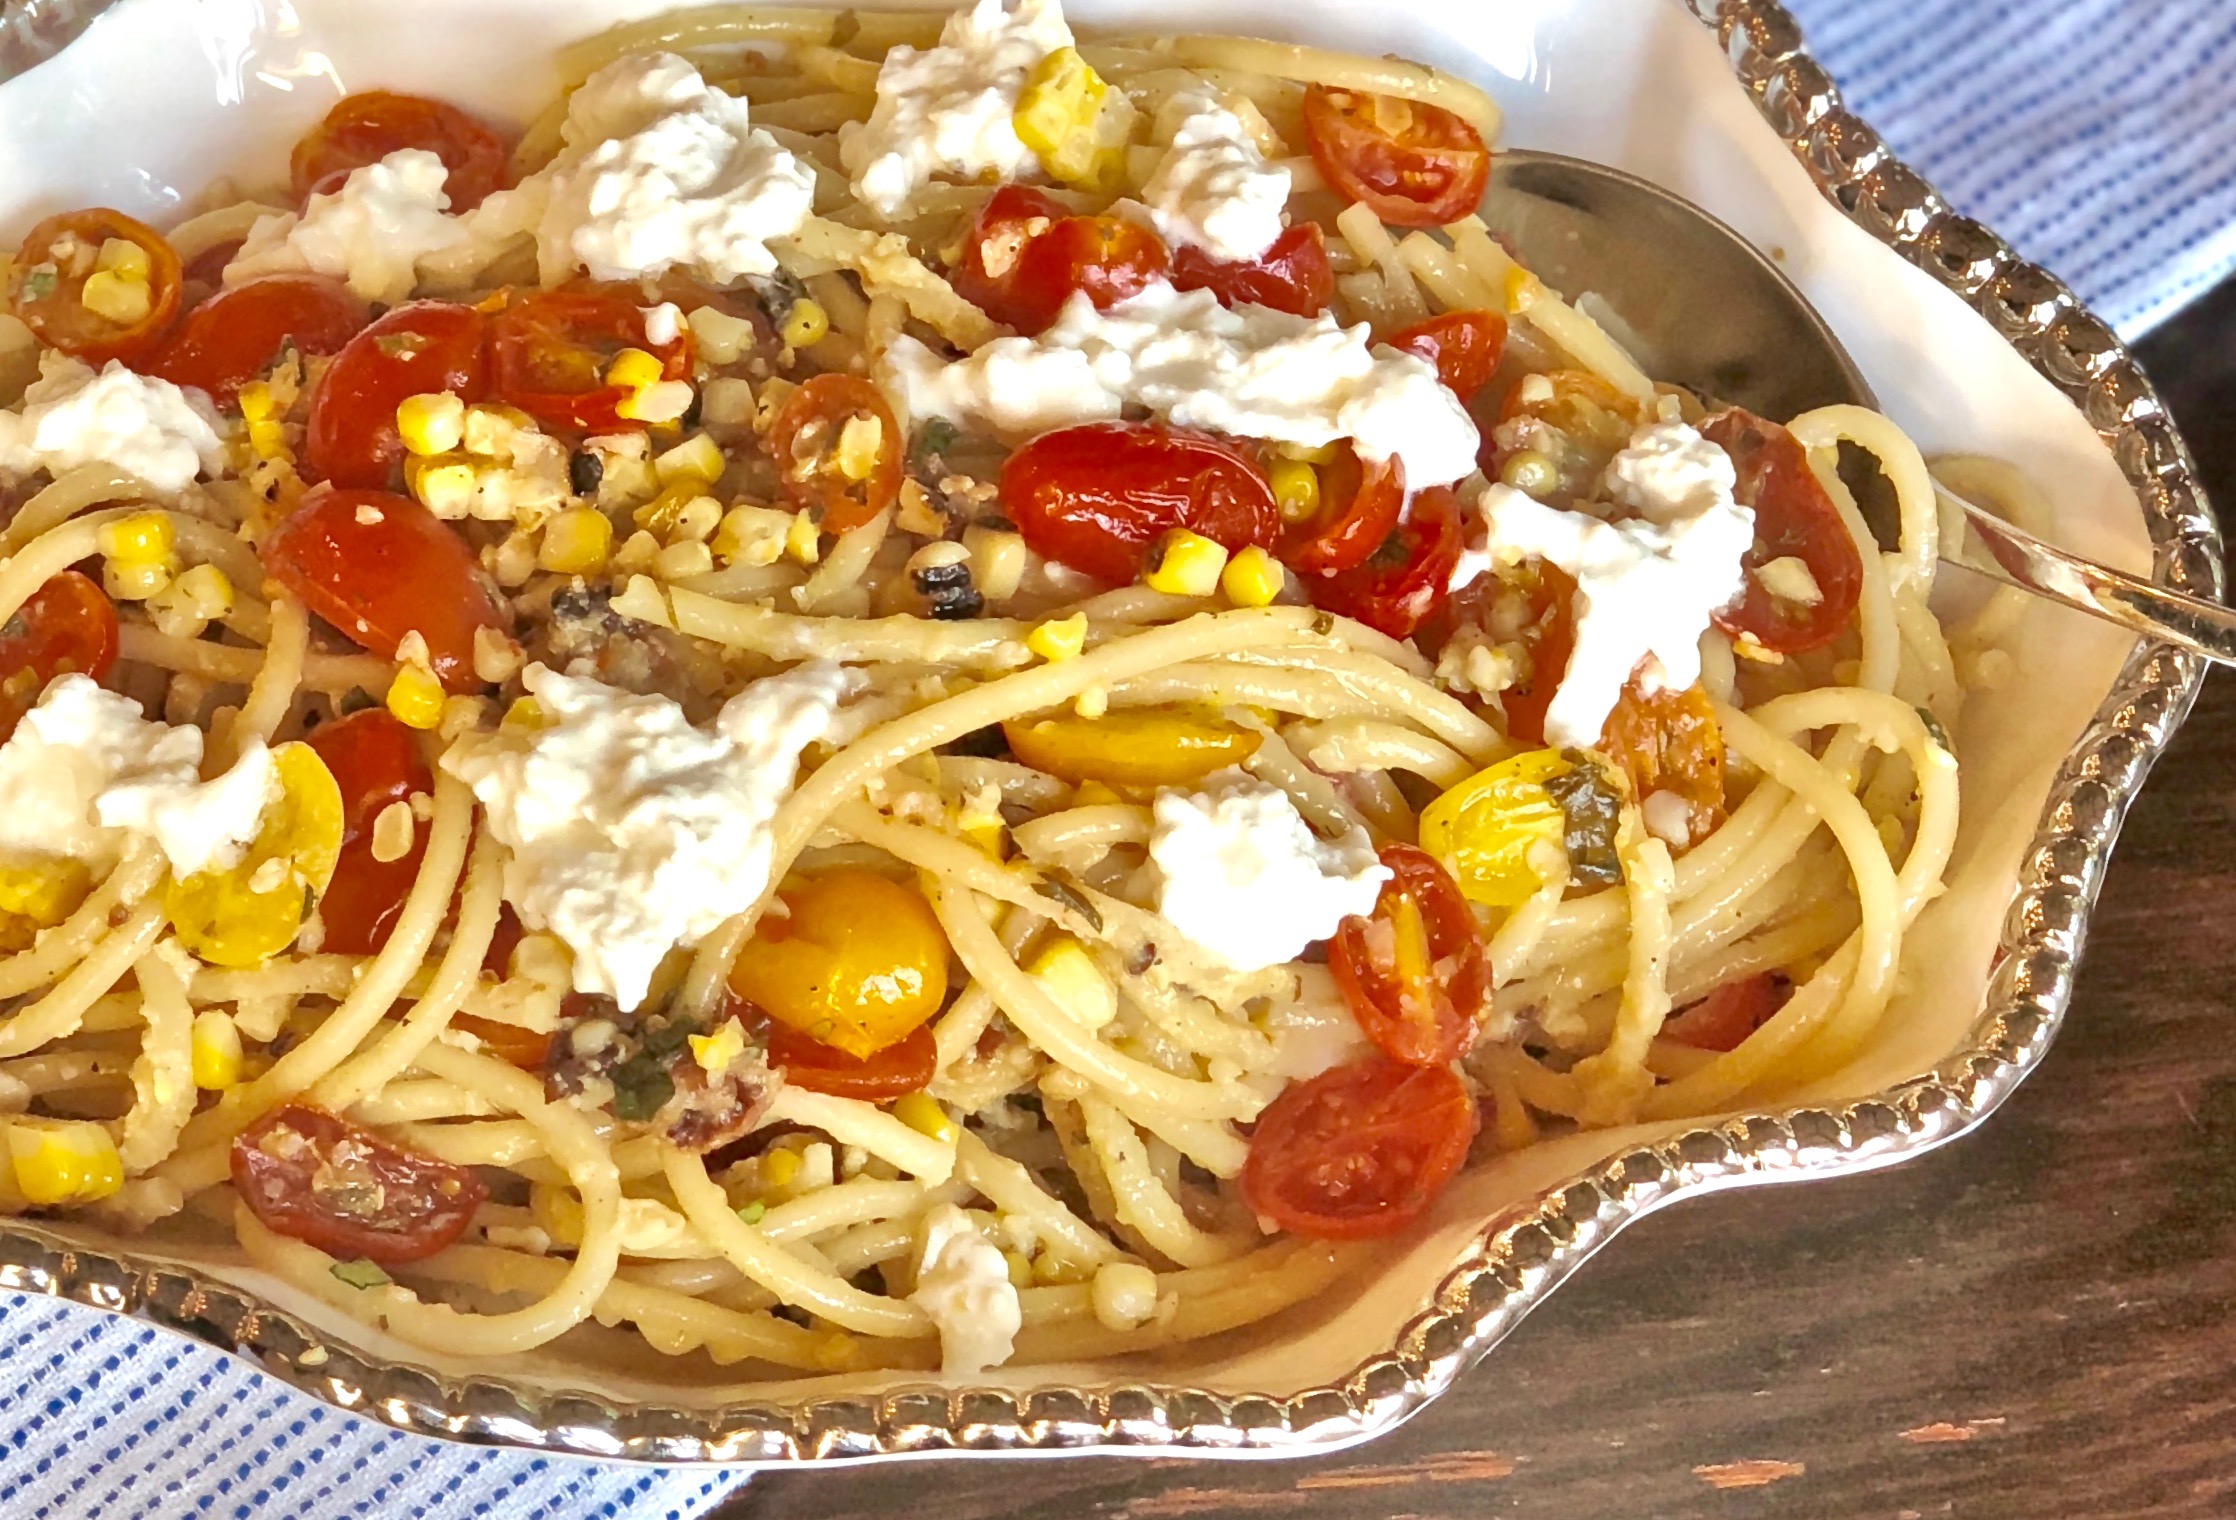
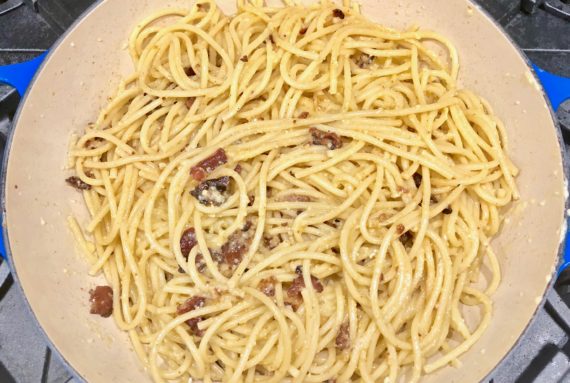
Now that you know some things about a farmer’s market, next time you visit make sure to pick up the ingredients for this recipe! It is an amazing version of a carbonara. It requires all the same ingredients plus extra veggies and a wonderful mix of aromatic herbs.

The bacon adds a nice, smoky flavor, while the cheese and corn lends a sweet and creamy texture. The crushed red pepper is a spicy surprise. This dish is finger licking good. I wouldn’t put it on your short on time list, but I would put it on your “must try” list.

This dish is courtesy of Half Baked Harvest, by Tieghan Gerard. All of her recipes are amazing, and I will be trying many more of hers in the future. It didn’t say how many people it will serve so I am going to say about 4-6 people who will relish this savory, sweet and spicy version of a summer carbonara!

Ingredients for. Summer Carbonara

2 pints heirloom or cherry tomatoes
2 tbsp. extra-virgin olive oil, plus more for serving
1/2 cup chopped fresh herbs (such as basil, oregano, and dill)
4 garlic cloves, minced or grated
Kosher salt and freshly ground black pepper
1 pound bucatini pasta
4 thick-cut bacon slices, chopped
3 large eggs, beaten
3/4 cup freshly grated Parmesan cheese
3 ears corn, grilled, roasted or boiled and kernels sliced from the cob
Zest and juice of 1/2 lemon
1/4 cup chopped fresh thyme or oregano, plus more for serving
Pinch of crushed red pepper flakes
8 ounces burrata cheese (optional)

Preheat the oven to 400°F.

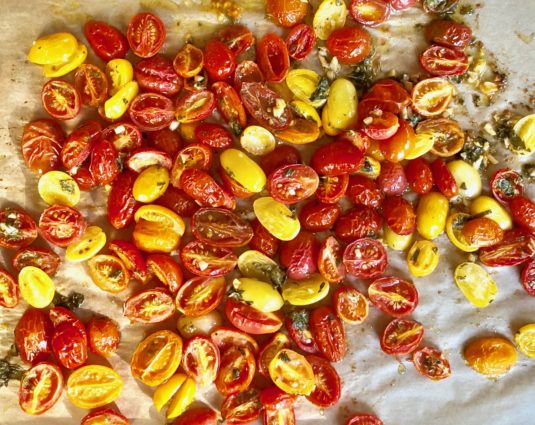
In a 9 x 13-inch baking dish, combine the cherry tomatoes, olive oil, 1/4 cup of the fresh herbs, half the garlic, and a generous sprinkle of salt and black pepper.

Toss well to coat.

Roast for 10 to 15 minutes, or until the tomatoes collapse.

Remove from oven and add the remaining 1/4 cup fresh herbs.

Meanwhile, bring a large pot of salted water to a boil over high heat.

Cook the pasta until al dente according to the package directions.

While the pasta cooks, in a large skillet, cook the bacon over medium heat until the fat renders and the bacon is crispy, 2 to 3 minutes.

Add the remaining garlic and cook 30 seconds to 1 minute, or until fragrant.

Reserve 1/4 cup of the pasta cooking water, then drain the pasta and add it to the skillet with the bacon.

Give it a good toss and cook for about 2 minutes, until warmed through.

Beat together the egg and Parmesan in a medium bowl.

Remove the pasta from the heat and pour over the egg-cheese mixture, tossing quickly to ensure the eggs do not scramble until the sauce thickens.

Thin out the sauce with just a little bit of the reserved pasta water, adding it slowly until the sauce reaches your desired consistency.

Add the tomatoes and all the juices from the baking dish, the corn, lemon zest, lemon juice, and thyme or oregano.

Gently toss to combine.

Season with black pepper, salt, and the red pepper flakes.

Divide the pasta among plates and top with a drizzle of olive oil, freshly torn burrata cheese, if desired, and fresh herbs.

It’s that simple!
signature

[recaptcha]


There are so many wonderful cooking tips out there that will help you become a better cook. Throughout the years, I have always looked for those words of wisdom that will help make the process a little easier. As a result, I have collected quite an array of culinary tidbits. I would like to share several with you and hope you find them useful.

1. When making a salad, you know you should always wash your vegetables. What is equally important, in my opinion, is to dry them. Yup. Dry them really well. No one likes a wet salad. 

2. Always dress a salad right before you serve it. Dressing it too early will make it soggy and unappetizing.

3. Many of you store your spices in a shelf near the stove. Don’t! Spices need to be stored in a cool, dark space. Light and heat will cause them to lose their flavor.

4. After boiling vegetables, always plunge them in an ice bath to stop the cooking process. This will ensure you get crisp, beautiful vegetables every time.

5. Never put oil in pasta water. The oil will prevent the pasta sauce from sticking. Also, pasta with ridges or curves is the best to use with sauces because the sauce will stay in the curves. 

6. Remove your meat from the refrigerator one hour before cooking. It needs to come to room temperature in order to cook evenly.

7. And one from Ina Garten: For best results when baking, leave butter and eggs at room temperature overnight (yes, she said overnight) . I have always said, refrigeration is over-rated. You don’t need to refrigerate as much as the cookbooks suggest. The authors say it for their own safety reasons, just as they tell you to cook meat to a certain temperature.

8. Always cook your meat 10-15 degrees less than what your cookbook indicates. The meat will continue cooking after you take it out of the oven. If you don’t, you will have unpalatable, overcooked meat.

I will include many more cooking tips in future posts. I hope they help!

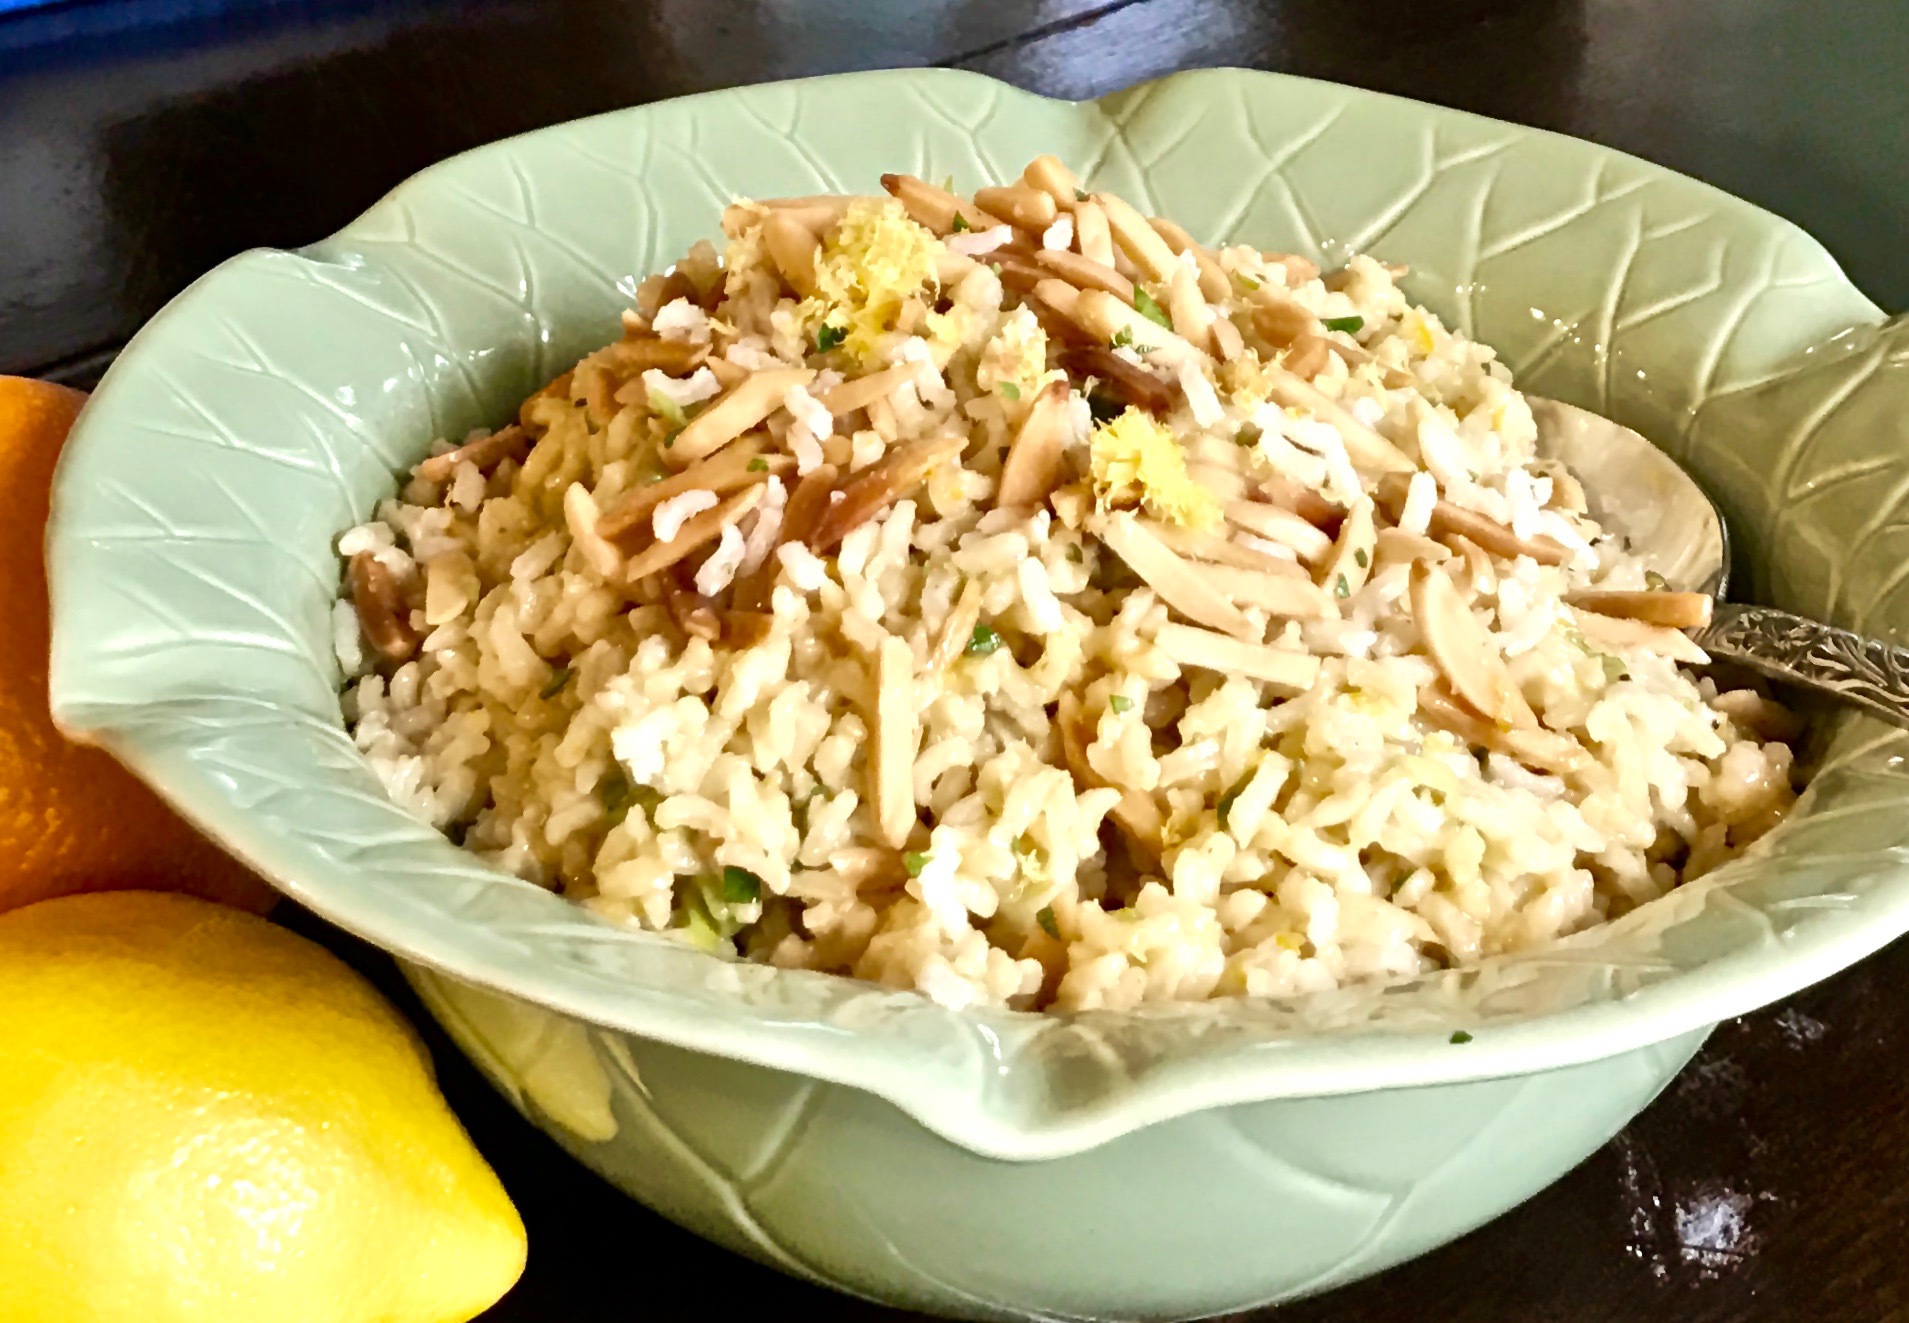
Today’s recipe provides an outstanding way to cook rice. It is so light and refreshing. The lemon zest, along with the orange zest, give the rice a bright, fresh citrus flavor that will titillate your taste buds, making them dance with happiness!

This is a must-try. It offers a wonderful start to summer with its natural citrus flavors. It is perfect as an accompaniment to any main dish or just as a snack. I did not use as many onions as the recipe called for, but it came out beautifully.

This recipe is courtesy of Giada DeLaurentis and will serve 4-6 people who will love it so much it may become a family favorite!

Ingredients for Citrus Rice

Rice Salad:

1/2 cup sliced almonds
4 cups low sodium chicken stock
1/2 tsp. kosher salt
2 tbsp. extra-virgin olive oil
2 cups basmati rice, rinsed
3/4 cup chopped fresh felt leaf parsley
1 medium orange, zested
1 lemon, zested
1 cup thinly sliced green onions

Vinaigrette:

1/2 cup extra virgin olive oil
1/4 cup freshly squeezed orange juice (about 1/2 orange)
3 tbsp. freshly squeezed lemon juice (about 1 lemon)
2 tbsp. soy sauce
1 tbsp. honey
1 1/2 tsp. ground cumin
Kosher salt 
Freshly ground black pepper

Heat oven to 350.

Place oven rack in the center of the oven.

Arrange the almonds in a single layer on a baking sheet. Bake for 5-6 minutes until golden brown.

Cool completely, about 15 minutes.

In a medium saucepan, bring the chicken stock, salt and oil to a boil over medium-high heat.

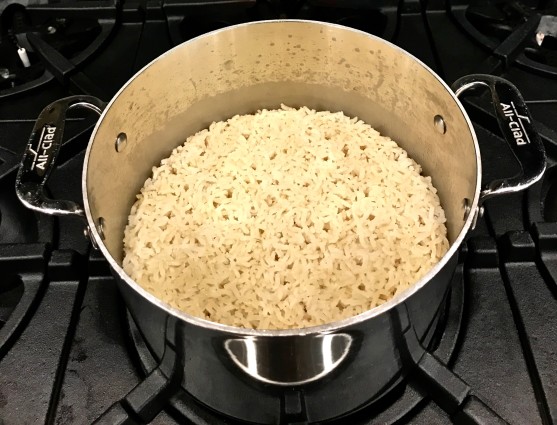
Stir in the rice. Cover the sauce pan, reduce the  heat, and simmer until all the liquid has been absorbed and the rice is tender, about 40 minutes.

Citrus rice rice

Remove the pan from the heat and let sit for 5 minutes.

Using a fork, fluff the rice and place in a large serving bowl.

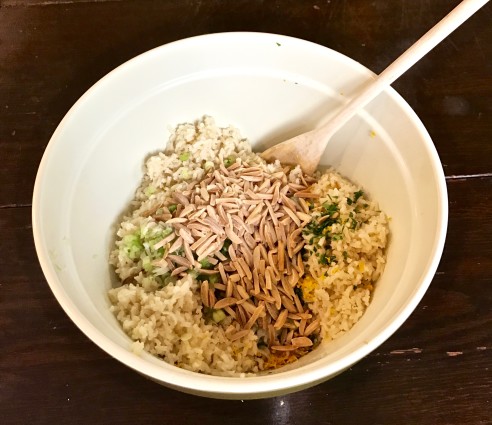
Add the parsley, orange zest, half the lemon zest, green onions, and 1/3 cup of the almonds

citrus rice rice parsley green onions lemon zest

Toss well.

In a blender, combine the olive oil, orange juice, lemon juice. soy sauce, honey and cumin.

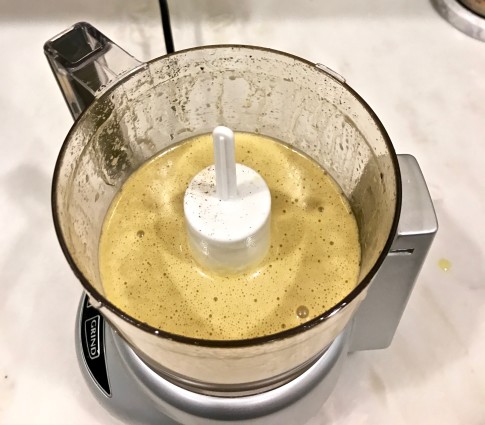
Blend until smooth. Season with salt and pepper to taste.

citrus rice food processor

Pour the vinaigrette over the rice mixture and stir well.

Garnish with the remaining lemon zest and almonds.

It’s that simple!
banana plant flower
signature

[recaptcha]


As the years progress, I have somehow inherited the role of hosting most of the holidays at my home. Don’t misunderstand me; that is NOT a complaint. In fact, I enjoy hosting the holidays at my home despite the work. My own family is growing so quickly. Nieces and nephews are getting married and having children. Ten guests have easily grown into 20 over the past ten years. I love having every one of them.

There are some ways that you can make hosting the holidays at your home easier. The most important thing is to be very organized. Plan your meal ahead. Find your recipes and make copies of them. This will keep your cookbook pages nice and clean! Organize your shopping list (read and reread so you do not omit anything) by the location of items in your grocery store (i.e., produce, baking goods). Bring the copies of the recipes with you just in case you need to refer to it while you are in the store.

You can easily shop for your non-perishables a week ahead and your produce 2-3 days ahead. This gives you ample time to run back to the store as needed. (Don’t we always forget something?).

Make what you can in advance. For example, soups, many appetizers and baked goods freeze really well, as does brisket. If you work, you might want to plan your menu around recipes that you can freeze. There are also those recipes that can be prepared the night before, so all you have to do is place them in the oven the next day. Any free time for you is the chance to spend more time with your guests. 

Throwing any holiday or family get-together does not have to be stressful. Create place cards for your guests. Turn off the bright lights and light candles, which will give your room a warm glow. Use cloth napkins and fold them in a special way. Don’t forget to plan the music. This will really help set the mood for your holiday. Do as much as you can in advance (i.e., set the table) and you will find yourself stress-free and enjoying every minute.

Onto the recipe for today. I wasn’t sure about the pecans. Then I thought why not?  I love almost any kind of oatmeal cookie. I love the texture and the chewy inside. It was worth a try.

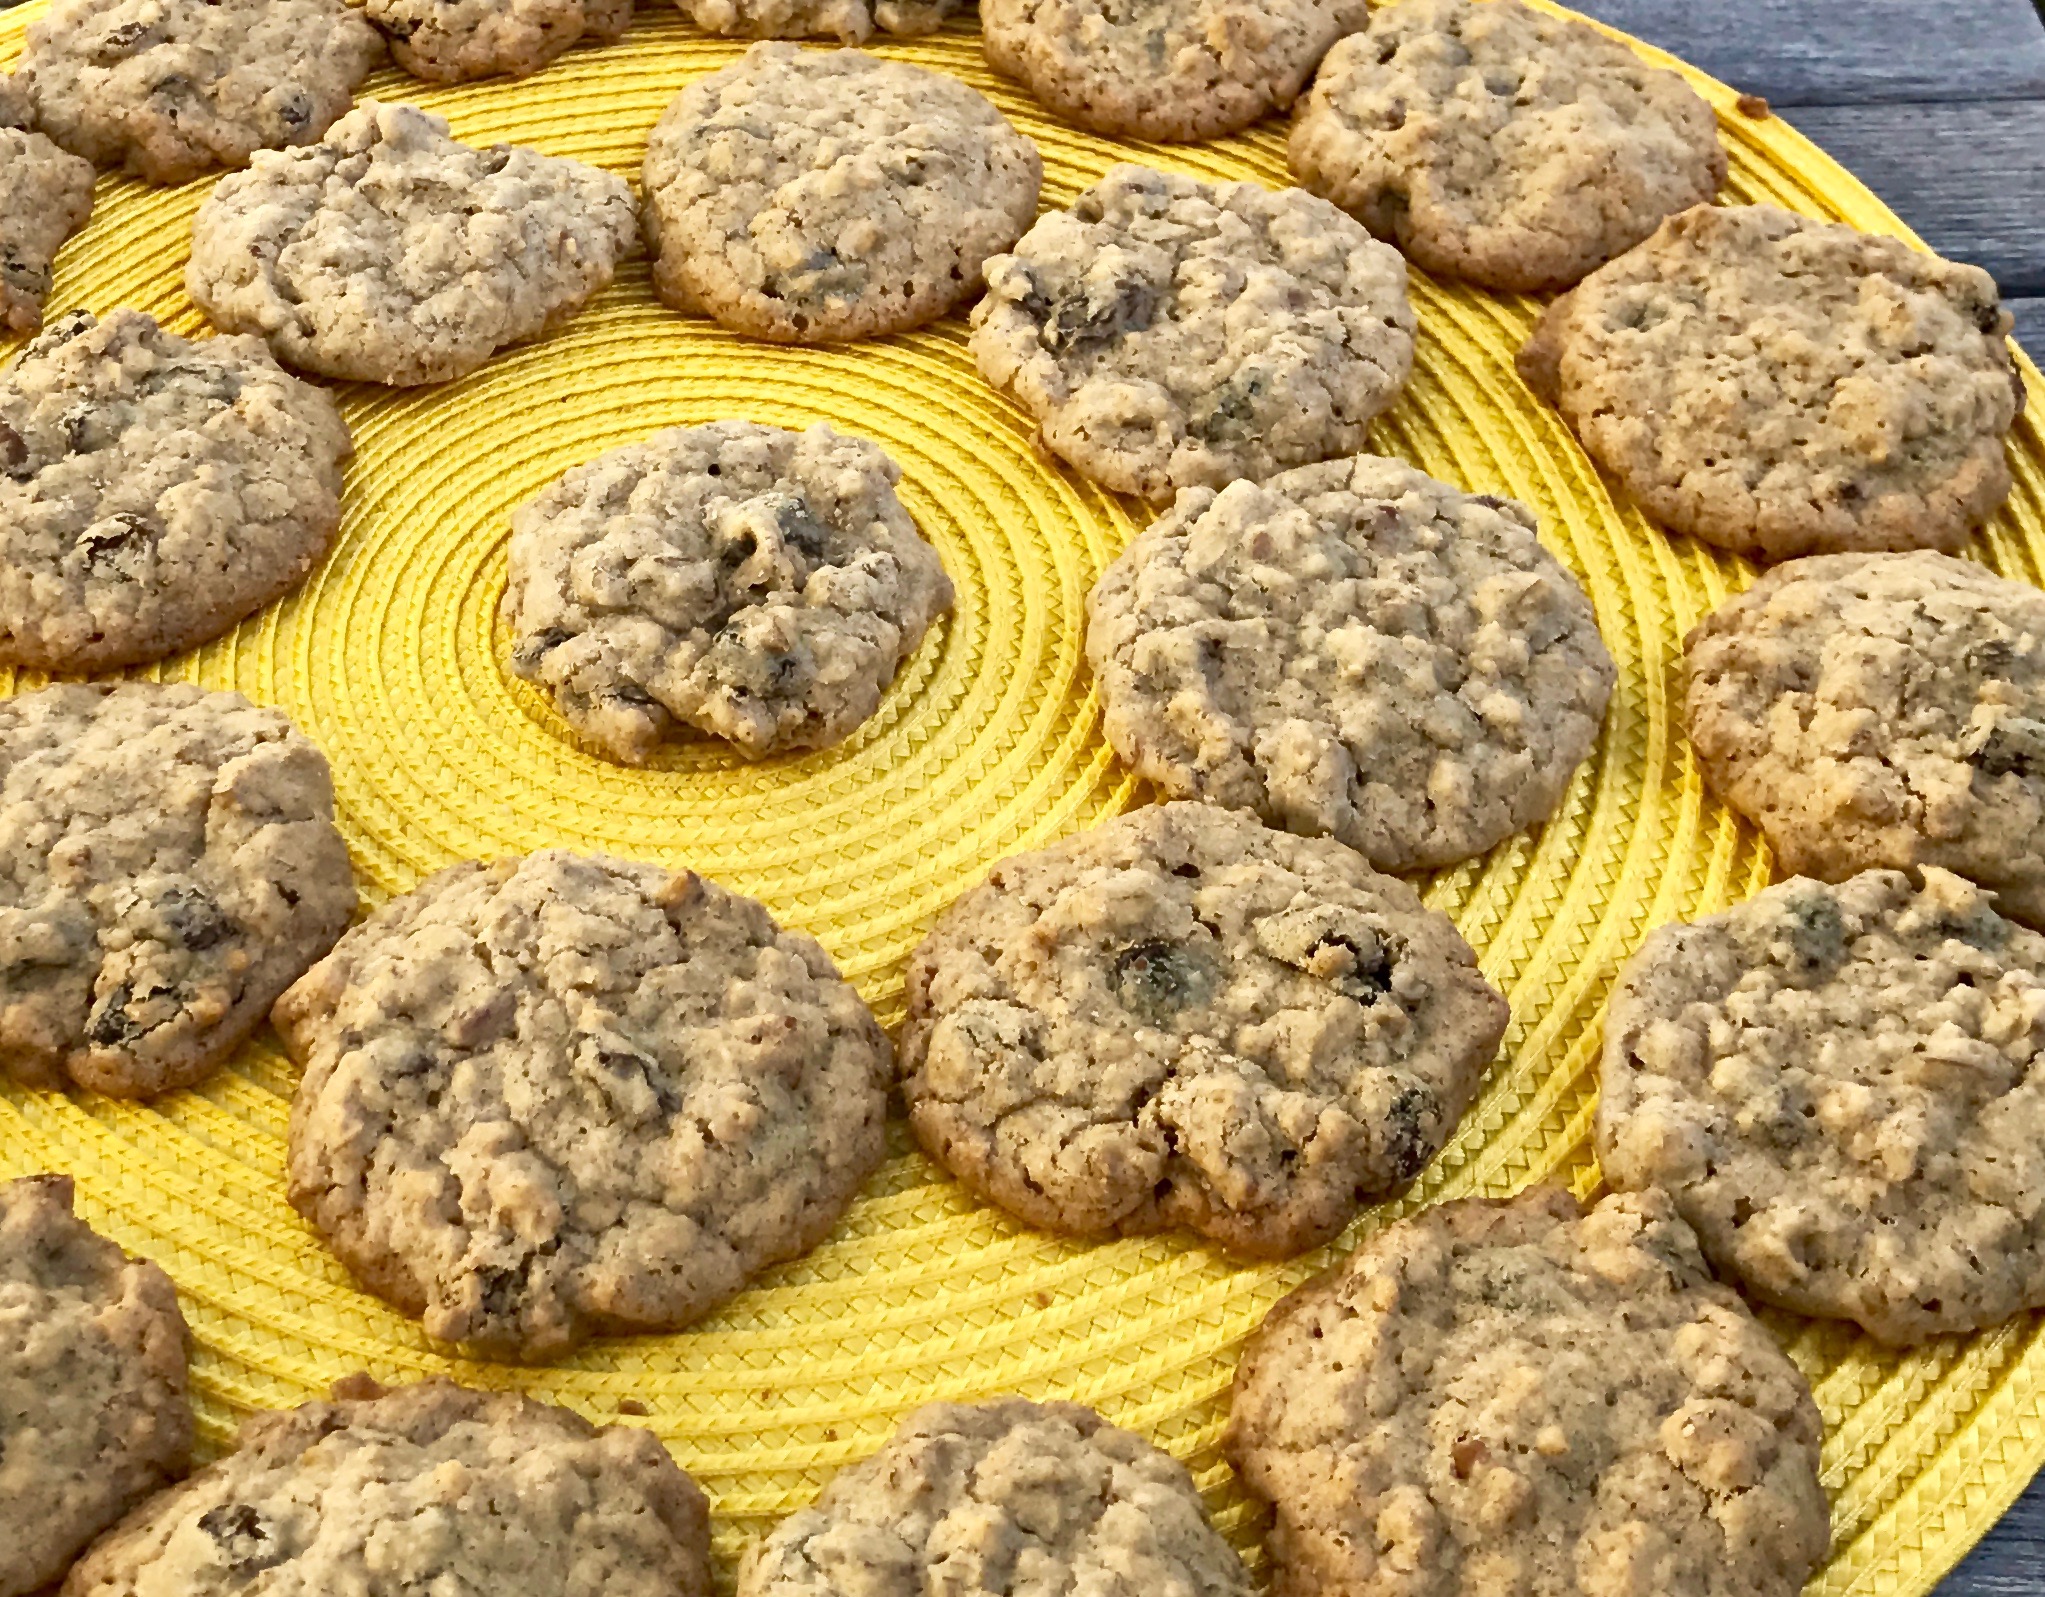
To my surprise, I loved these cookies. They were crunchy on the outside and chewy and soft in the middle. They are like eating soft, flavorful mounds bursting with all that crumbly goodness.

Again, Ina Garten’s recipe is spot on. This recipe made about 25-30 cookies. I would make the mounds a little larger than 2-inches, as the recipe calls for. But maybe that’s just me. I like my cookies big. However you make them I know you will love them. It made a pecan-raisin walnut cookie lover out of me!

Ingredients for Raisin Pecan Oatmeal Cookies

1 1/2 cups pecans
1/2 pound (2 sticks) unsalted butter, at room temperature
1 cup dark brown sugar, lightly packed
1 cup granulated sugar
2 extra-large eggs, at room temperature 
2 tsp. pure vanilla extract
1 1/2 cups all-purpose flour
1 tsp. baking powder
1 tsp. ground cinnamon
1 tsp. kosher salt
3 cups old-fashioned oatmeal
1 1/2 cups raisins

Preheat oven to 350.

Place the pecans on a sheet pan and bake for 5 minutes, until crisp. Set aside to cool.  Chop coarsely.

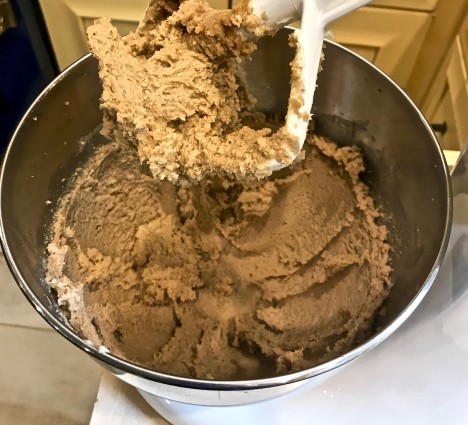
In a bowl of an electric mixer fitted with the paddle attachment, beat the butter, brown sugar, and granulated sugar together in a medium-high speed until light and fluffy.

With the mixer on low, add the eggs, one at a time, and the vanilla.

pecan oatmeal cookies butter, sugar eegs vanilla

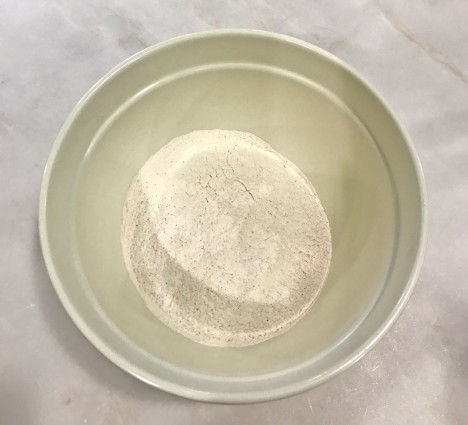
Sift the flour . baking powder, cinnamon, and salt together into a medium bowl. With the mixer n low, slowly add the dry ingredients to the butter mixture.

pecan oatmeal flour sifted

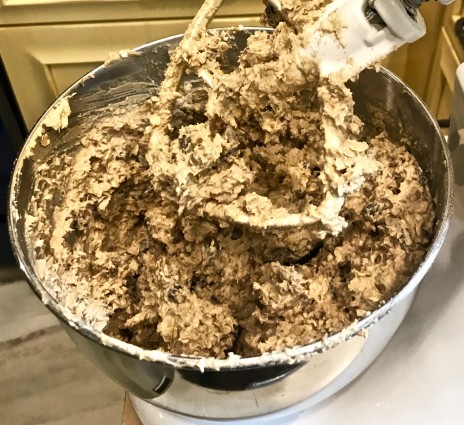
Add the oats, raisins, and the pecans and mix until just combined.

pecan oatmeal oats rasins pecans combined 2


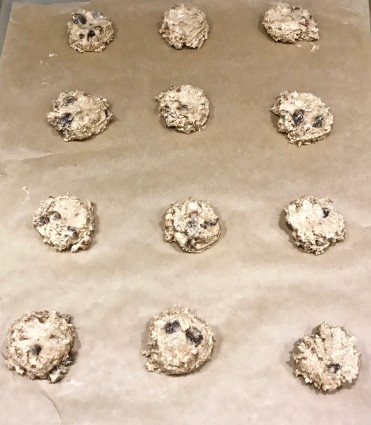
Using a small ice-cream scoop or a tablespoon, drop 2-inch mounds of dough onto sheet pans lined with parchment paper.

pecan oatmeal on baking sheet

Flatten slightly with a damp hand.

Bake for 12-15 minutes, until lightly browned.

Transfer the cookies to a baking rack and cool completely.

It’s that simple!
Hearts-Vortex-Heart
signature

[recaptcha]