I have never been a fan of dill. I dislike the smell, so forget the taste. For that reason, I seldom use it in my recipes, and even when I must, I keep it to a minimum. When I make chicken soup, I put it in right at the very end, securely wrapped up in cheesecloth so very little of it gets in the soup. And mind you, this is solely because most people expect dill in their chicken soup, not because I want it there.

With that said, I actually enjoy dill in this salad. When I first made it, I did not include any dill, and I loved the taste anyway. But I knew something was missing. Many people make this salad with dill, so I thought I would at least give it a try. You can imagine my surprise when I liked it even better!

Salads are a great addition to any meal, especially in the summer. There is no better way to appreciate the work of farmers (or your own handiwork if you have a garden!) than to use beautiful, fresh produce to create a cool salad. As a side dish or a main feature, salads of all varieties are appreciated and enjoyed by all.

This salad is so easy to throw together. It uses simple ingredients and stores really well. The key here is to start with English cucumbers. There are fewer seeds, making it easy to take them out (which you definitely should, and wipe the cucumbers dry). In my opinion, they also taste better than regular cucumbers.

Creamy cucumber salad is somewhat nostalgic – it has been around for ages and you have probably tasted it before at one gathering or another. The key to this particular recipe is the addition of lime juice, which gives it a different but wonderful citrus-y essence. It is packed with so much flavor you are going to be licking your spoon! Enjoy!

Please don’t forget to subscribe to my weekly newsletter and to like me on facebook. Please always check out my website, Simplebycindybog.com! 

The recipe will serve 4-6 people who will love this refreshing salad on a hot summer day.

Ingredients for Creamy Cucumber and Red Onion Salad:

2 English cucumbers, peeled, seeded and cut into 1/2-inch thick pieces
1/2 thinly sliced red onion
1/2 cup sour cream
2 teaspoons fresh lime juice
2 tablespoons white wine vinegar
2 teaspoons granulated sugar
1 to 2 tablespoons fresh dill
1/2 teaspoon salt

Peel and cut cucumbers in half lengthwise. 

Using a spoon, scrape the seeds out of the cucumber.

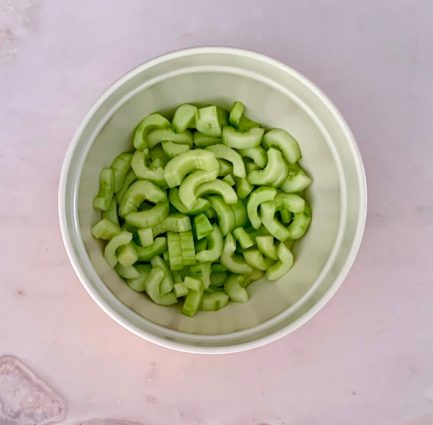
Cut cucumber into 1/2 pieces.

Place in medium bowl.
Slice a red onion in half and peel.

Cut the onion in half again, and then cut into thin slices.

Place onion in the bowl with the cucumber.
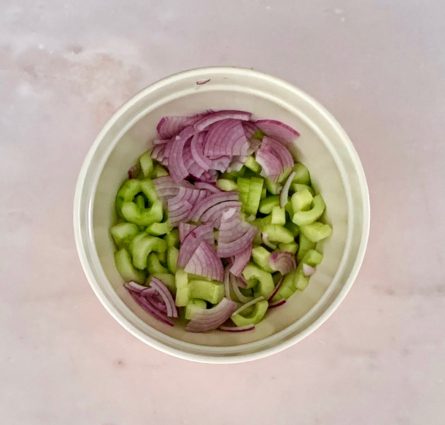
Add the dill.

Set aside.
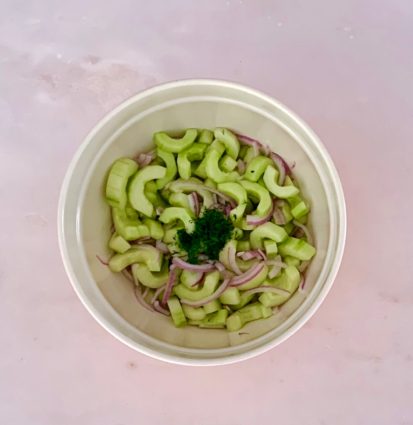
In a medium mixing bowl, combine the sour cream, lime juice, vinegar, sugar, and salt.
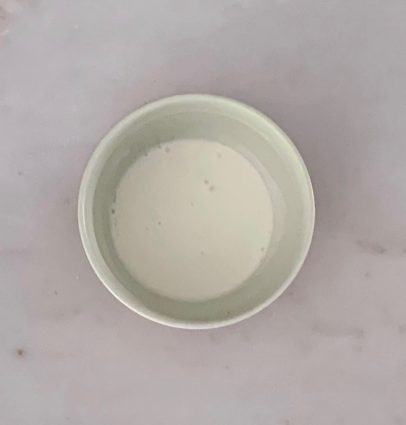
Pour 3/4 of the sour cream mixture into the cucumber mixture, toss to coat.

Taste, then add a little more of the sour cream mixture, if needed. Make sure not to overdress!

Cover and refrigerate 2 or more hours.

It’s that simple!

My leaf garden is starting to grow beautifully!
signature

[recaptcha]


If you haven’t cooked before, I am sure many of you are cooking a lot more now. It is so important for us to look for ways in which we can save money during this time, and keep ourselves and our families safe. Cooking at home will save you lots of money in comparison to eating out, and buying in bulk and eating leftovers will save you time too. I wonder how many of you never-cookers have learned and are now enjoying it much more? If you’re just at the start of your cooking journey, I am envious of you, since you get to learn from my mistakes.

As you begin, you must know that there are lots of bad days in the kitchen, and more these days than usual. I find I am forgetting how to spell some simple words, and I have to look up recipes that I used to know by heart. It’s shaken me a little bit, but self kindness is important, and I’m forgiving myself.

Anyway, now that I’m making more mistakes, I thought I would share a few common ones with you, in hopes that you can avoid them. I am pretty sure I have shared them before, so for many of you it will be (I hope) a welcome reminder.

Soggy Salads: It is so important to wash your produce, but it is just as important to dry them, and I mean thoroughly dry them, not just pat it once with a paper towel. I usually wrap them in a dish towel (or you could use paper towels, but I know they are scarce right now). If you don’t, you will have a wet, soggy salad with thinner dressing because the water will get into the dressing too. Yuck!

Overcooking hard-boiled eggs: The next time you boil an egg, see what color the yellow part is. If it is bright yellow, you are good. If it is green around the edge, you have grossly overcooked it. I now have a new, foolproof method that never fails to cook the egg perfectly and peel easily without any problem. Bring water to a boil, drop the eggs in it, and turn your timer on for 10 minutes. As soon as the timer goes off, drain the eggs, and have a bowl of cold water next to you. BEFORE you plunge them into the cold water, peel them while they are warm and the shells will come off beautifully and perfect. Once they are peeled, go ahead and place them in the cold water to stop the cooking process. I promise you, it works.

Cutting your meat too soon: You must let your meat sit for at least 5 minutes after it is done. Use a meat thermometer. This takes all the guesswork out of the cooking process. Remember, always cook your meat 10 to 15 degrees less than the cooking time instructions. The meat will continue to cook after it has come out of the oven, and I am sure you would prefer eating a juicy piece instead of shoe leather.

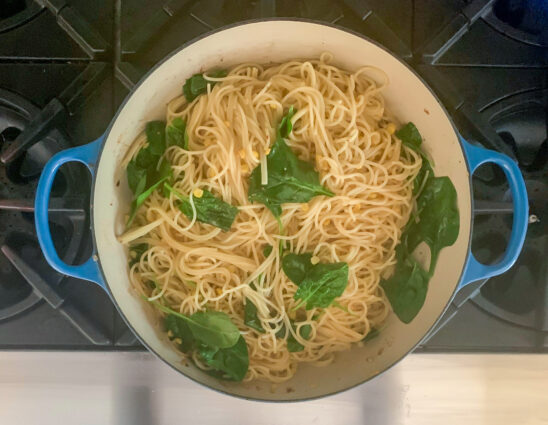
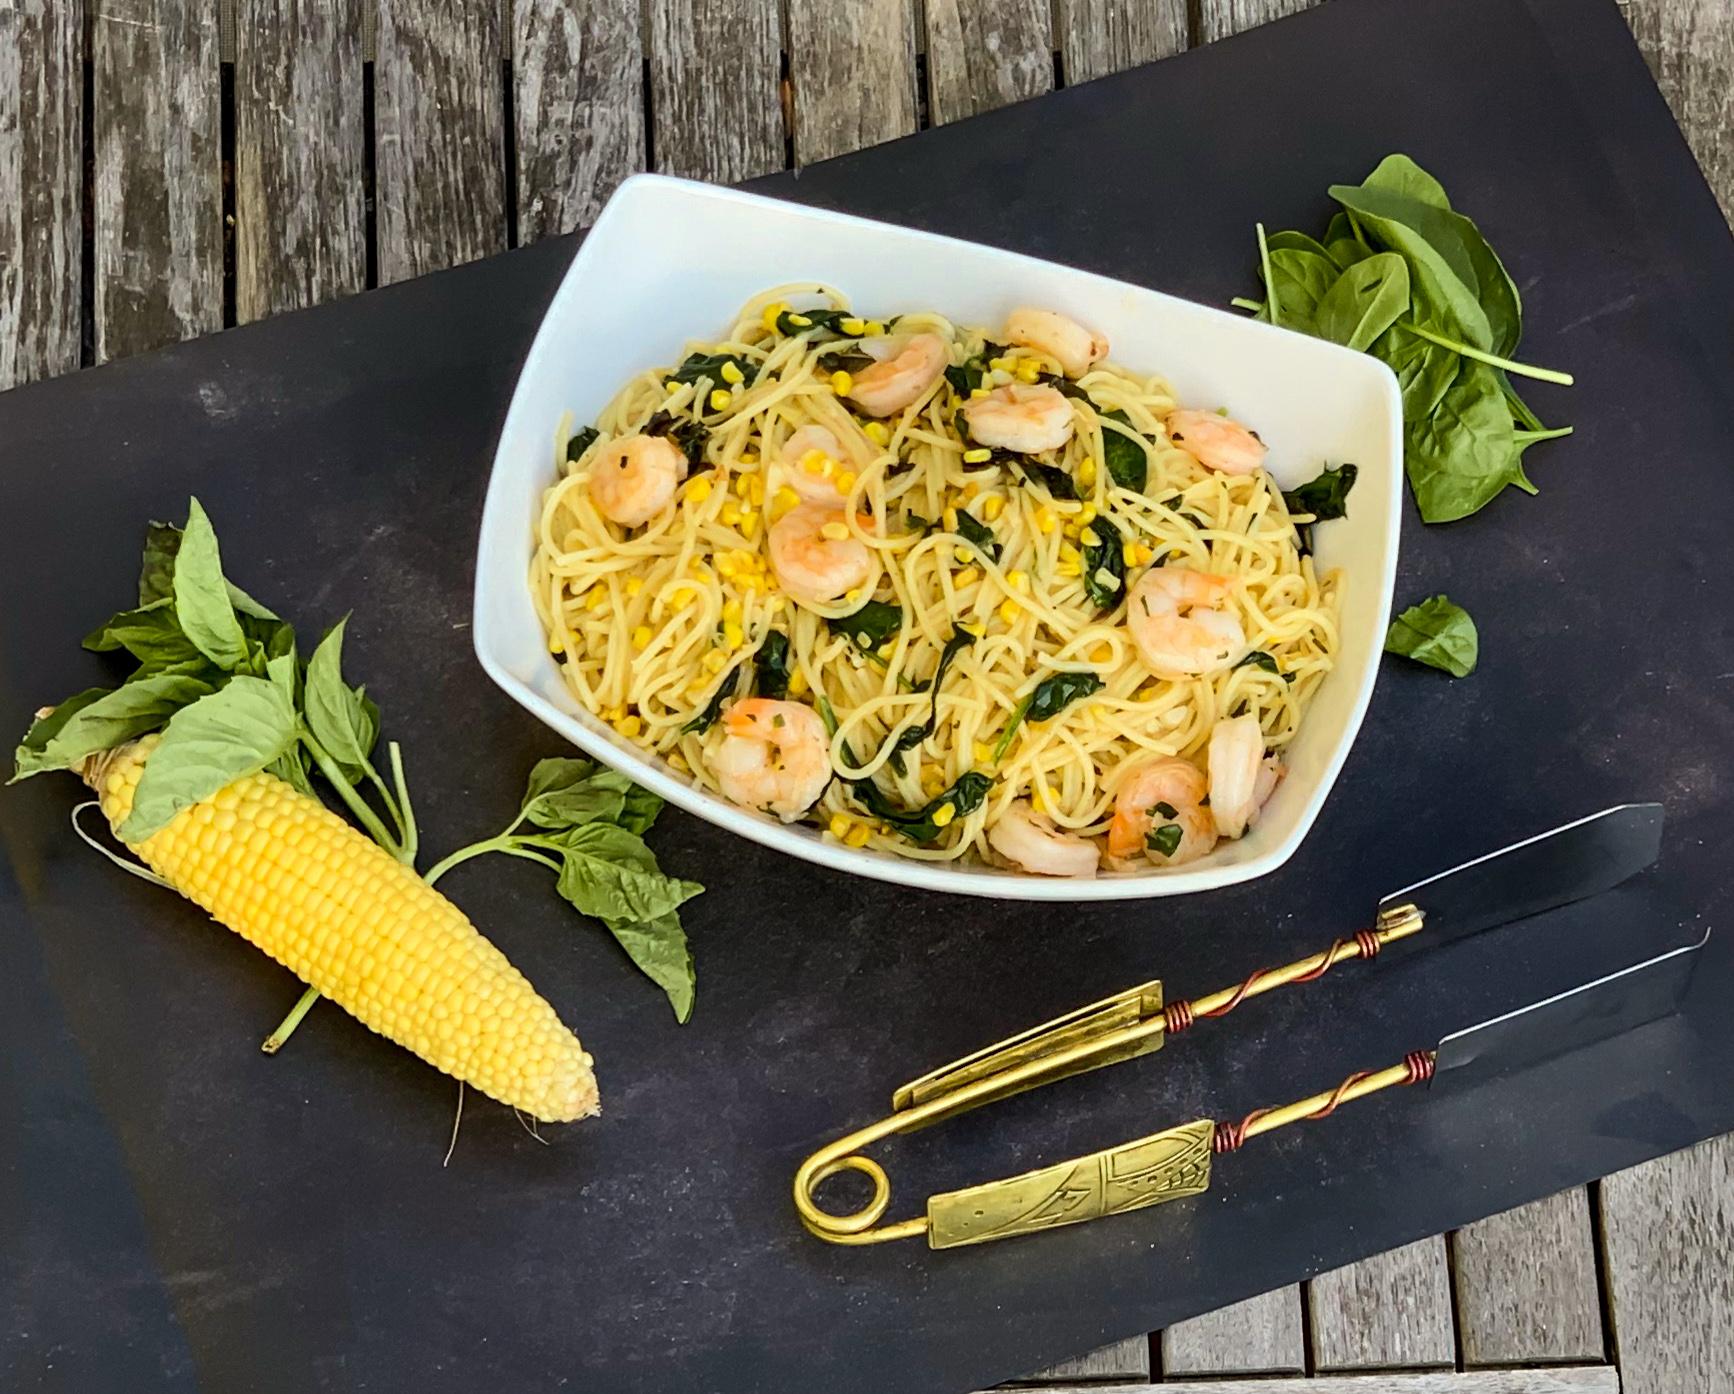
For this recipe, remember to wash and dry your herbs as described above.  It will make a difference here.  I love this recipe for many reasons, but first among them is that my family will eat it. Amazing! This one is just packed with all good ingredients too. The shrimp takes on a delicious, buttery flavor, the corn is caramelized to the perfect sweetness, and it all comes together in a wine sauce that has just the right amount of heat. 

This recipe is courtesy of Colu Henry and will serve 4 to 6 people.  You will certainly find this dish at home at a lovely dinner on the patio.

Ingredients for Shrimp Linguine with Herbs, Corn and Arugula:

Kosher salt
12 ounces linguine or spaghetti
1-pound large shrimp, peeled and deveined, tails removed, if you prefer
Black pepper
½ cup unsalted butter (1 stick)
2 cups fresh corn kernels (from 2 to 3 ears)
3 garlic cloves, thinly sliced
½ teaspoon red-pepper flakes
1 cup dry white wine
8 ounces baby arugula, spinach or other tender greens
2 cups loosely packed, roughly chopped tender herbs, such as basil and mint
Extra-virgin olive oil, for drizzling (optional)

Bring a large pot of well-salted water to a boil.

Add pasta and cook according to package instructions until it is just short of al dente.

Reserve 1 cup of the pasta cooking water, then drain pasta.

While the pasta cooks, season the shrimp well with salt and pepper.

Melt half the butter in a deep 12-inch skillet over medium heat.

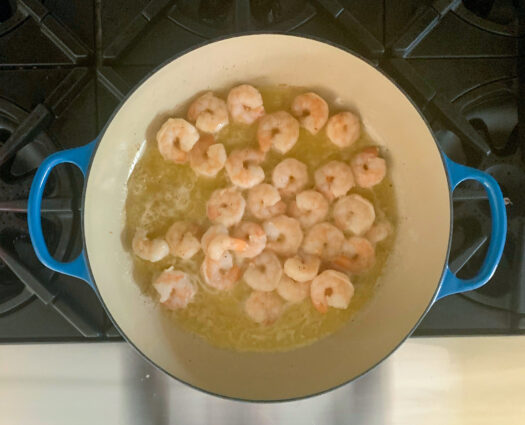
Add the shrimp and sauté until just cooked through, 1 to 2 minutes per side.

Remove and set aside.

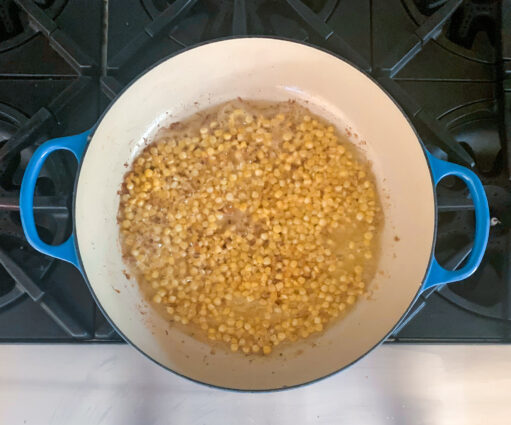
Add the corn to the pan and season with salt.

Cook, stirring frequently, until browned in spots, 4 to 5 minutes.

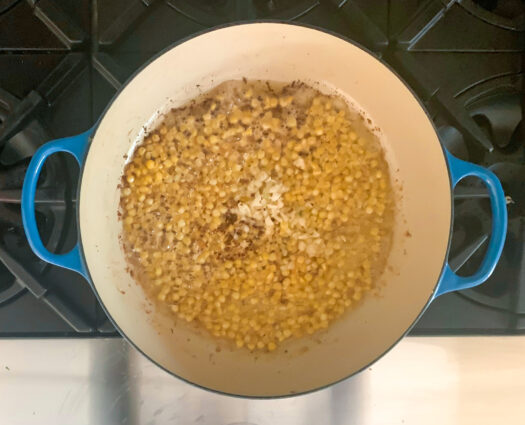
Add garlic and red-pepper flakes and cook, stirring frequently, 1 minute.

Add the wine, bring to a simmer and cook until it is reduced by about half, 3 to 4 minutes.

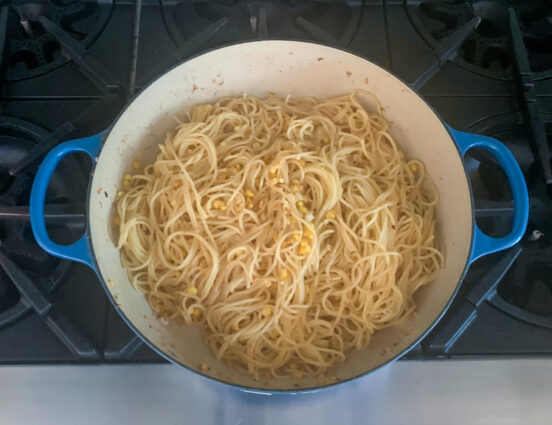
Add the cooked pasta to the skillet and toss to combine.

Add the arugula by the handful, stirring well between each addition, until wilted, adding some of the reserved pasta water as needed.

Add the remaining butter and the shrimp to the pasta and toss until the butter is melted and everything is coated with sauce.

Add more pasta water as needed.

It’s that simple!

signature

[recaptcha]


There are a few things I truly cherish about the summer. One of them is spending days on the beach. My hubby and I try to go at least once a week, as well as take a longer vacation on the beach. I love the smell of the ocean air. I love to marvel at the beauty of the coastline as it recedes into the distance. Feeling the warmth of the sun on my skin is comforting and calming. Walking on the beach to collect shells and sea rocks offers a chance to find beautiful little surprises. But truly, there is nothing better than listening to the waves breaking on the shore and feeling the cool sea breeze.

For all my love of the ocean, I must admit that I do not venture into any water (except the Carribean kind). I respect the power of the water on the East coast, and let’s face it, it’s just too cold. My feet barely make it into the water here, but I do love just being on the beach and looking out over the sea.

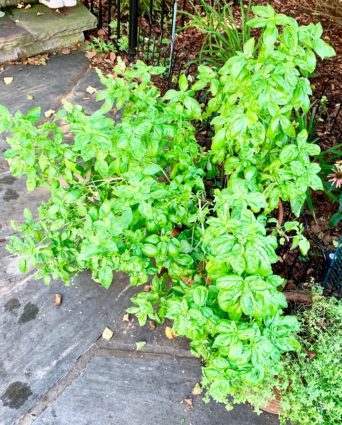
The other part of the summer that I love so much is my herb garden. I am so excited when I plant it in the spring and I nurture it carefully as it grows. I get so much gratification and enjoyment when I use the matured herbs in my recipes. In the past years, I have had to carefully tend to the basil which, for me was always the hardest to grow. 

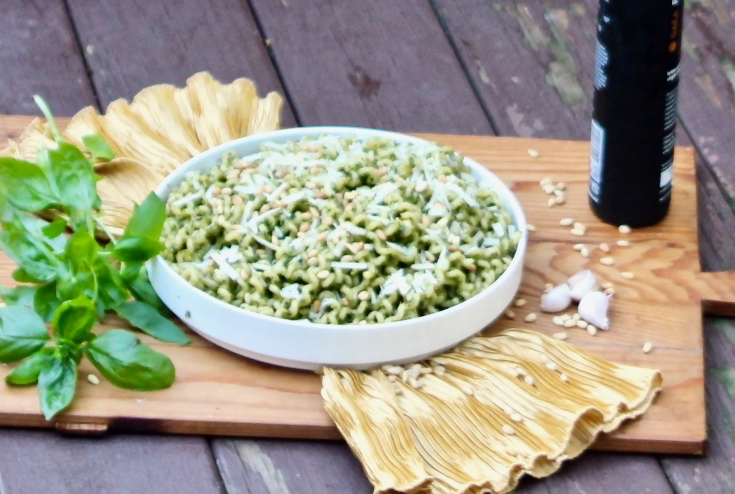
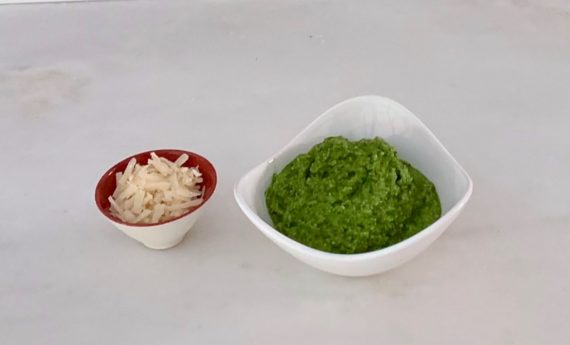
But this year was different. To my complete delight, my basil is big, exquisite and bountiful. It is growing like crazy and I am so thrilled! So what does one do with too much basil?  Well, pesto would be the easy answer. I wanted to change it up a bit, so my love of citrus kicked in and I tossed in some lime juice, and it came out great.

Is this crazy beautiful or what?

This dish really gives the pesto a new twist. The lime juice adds just a little bit of pucker and freshness. The pine nuts give it a crunchy texture and of course, the basil is the star of the show here. If you are growing your own herbs, make this recipe. If not go out and get yourself some freshly grown local basil and start cooking. This is such an easy recipe that has huge flavor and presents so elegantly.

This recipe will serve 4-6 people who will certainly want to plant their own herb gardens next year.

 Ingredients for Basil Pesto Pasta:

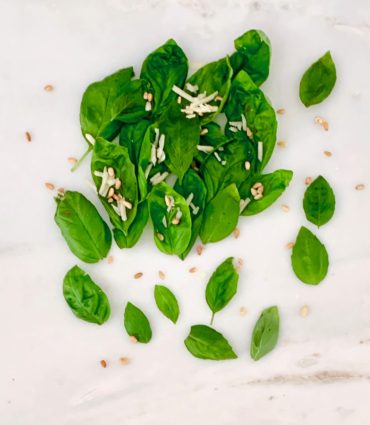
2 ½ cups fresh basil leaves, washed and dried thoroughly
2 Tablespoons grated Parmesan cheese
3 cloves garlic, roughly chopped
2 Tablespoons pine nuts, toasted and cooled
Juice of half a lime
½ teaspoon kosher salt
⅛ teaspoon black pepper
¼ cup very good extra virgin olive oil

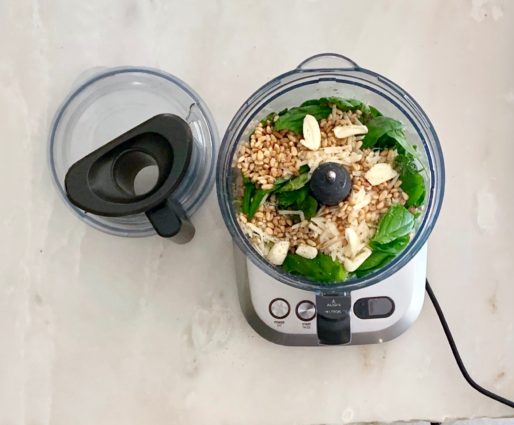
Place the basil leaves, Parmesan cheese, toasted pine nuts, garlic, lime juice, salt, and pepper into a food processor.

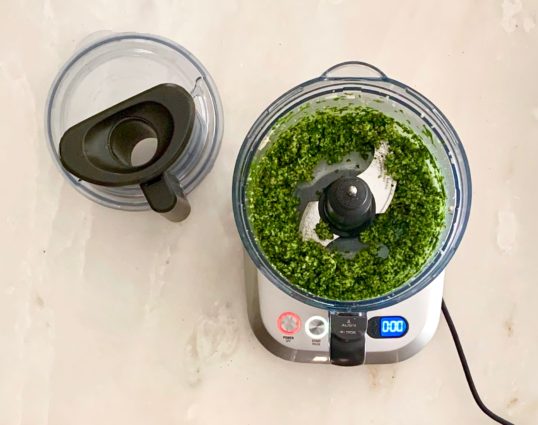
Pulse it about 10 times, until they are well blended.

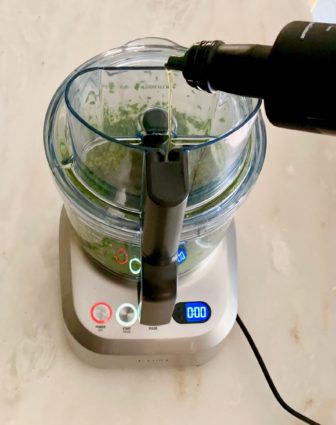
While the food processor is running, drizzle in the olive oil and continue to combine.

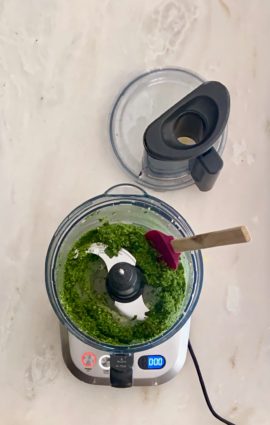
 You may need to stop and scrape down the sides a few times.

Keep running the processor until the pesto is pureed.

Taste it, make sure it is well seasoned and serve immediately or store it in an airtight container in the refrigerator until you are ready to serve it. 

It’s that simple!


signature

[recaptcha]


Looking back at which of my posts received the most likes, I notice that my readers tend to approve the heartier recipes.  The “healthier” recipes do not do as well. Surprising no one, the pasta and dessert recipes are always favored more than vegetables and lighter fare. I know there are a lot of health-conscious bloggers out there, but it seems like folks read my blog to find meals that will leave guests feeling truly satiated.

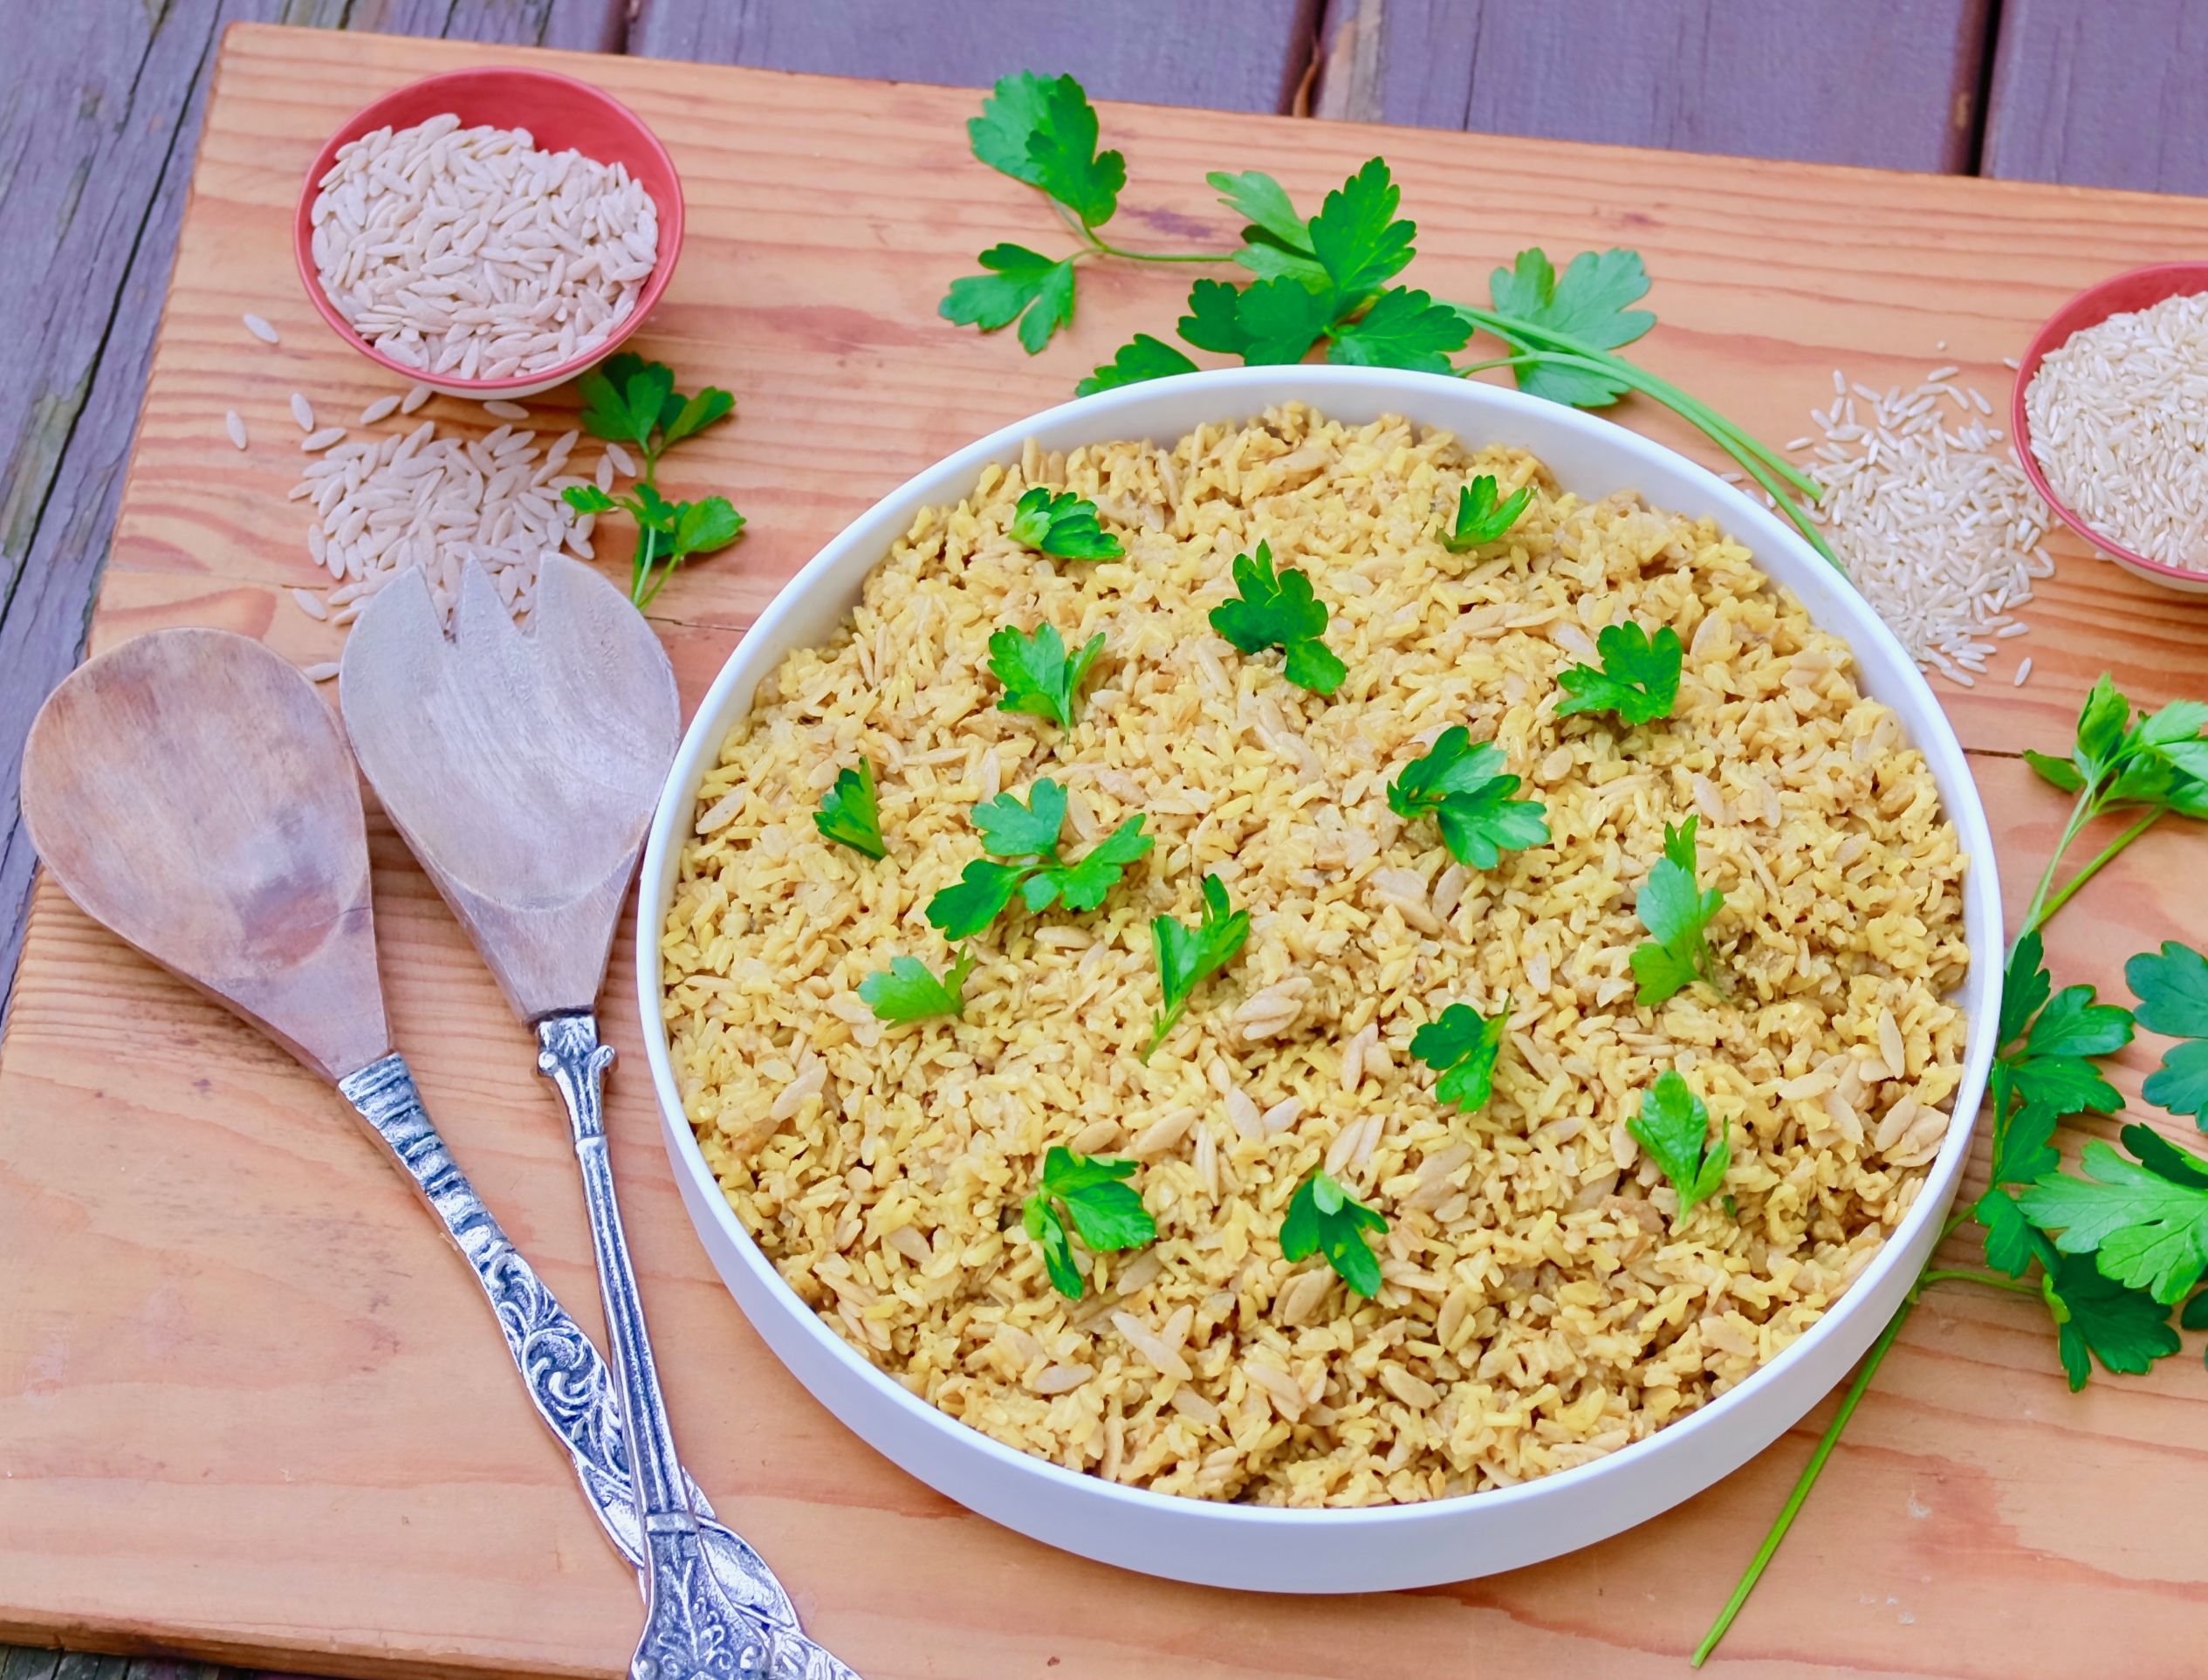
This is true in my own home as well. For example, when I prepared this pilaf dish, I made some corn on the cob “just in case.” Lo and behold, my family turned up their noses and went for the corn. Not many Moms would make two side dishes, but because of the blog, I have to make the recipe anyway. I usually end up sending the uneaten food to my husband’s office for lunch. They are happy to eat any leftovers, and I like to get their feedback. If they don’t approve, I don’t post the recipe.

If I get positive feedback there, I declare it a crowd pleaser and it belongs to a select group of recipes that I use when I’m entertaining.  Stick to the tried-and-true recipes for a party or gathering and I swear you’ll get rave reviews every time.

Last week, I hosted a friend visiting from Tennessee. When we went to the grocery store together, she was amazed at all the healthy choices available to us. In her hometown, there are very little healthy product choices and probably no one would buy them even if they were offered. I was absolutely gobsmacked, but given my readership, perhaps I shouldn’t have been so surprised that folks don’t go for what’s best for them. 

This recipe splits the difference.  If you’re going to have pasta, whole wheat makes it healthier and heartier too. The garlic, onion and parsley give a nice savory touch, but the turmeric is the wow factor in this dish. It adds a punch that makes you want a second helping.  I think this is a crowd pleaser and I would definitely prepare it for company– hope you do too!

This dish is courtesy of Taste of Home and will serve 10 people who will definitely add this to their list of “party worthy” dishes!

Please don’t forget to sign up for my weekly newsletter and “like” my page on Facebook!

Ingredients for Seasoned Brown Rice Pilaf:

1 tablespoon olive oil
2 cups uncooked brown rice
1 small onion, finely chopped
5 cups reduced-sodium beef broth
1 tablespoon dried parsley flakes
1 teaspoon garlic powder
1 teaspoon seasoned salt
1/2 teaspoon onion powder
1/2 teaspoon ground turmeric
1/2 teaspoon pepper
1/2 cup uncooked whole wheat orzo pasta

In a Dutch oven, heat the olive oil over medium heat.

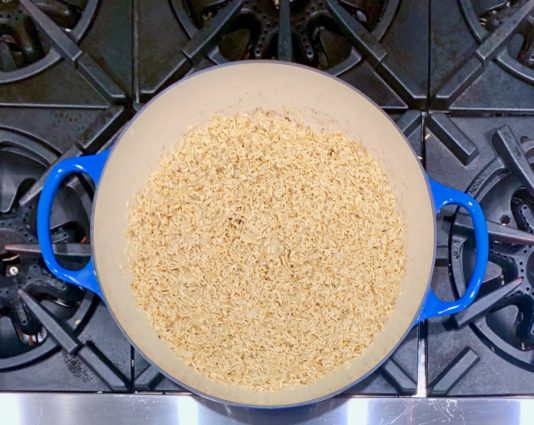
Add the rice and onion; saute until rice is lightly browned, 8 to 10 minutes.

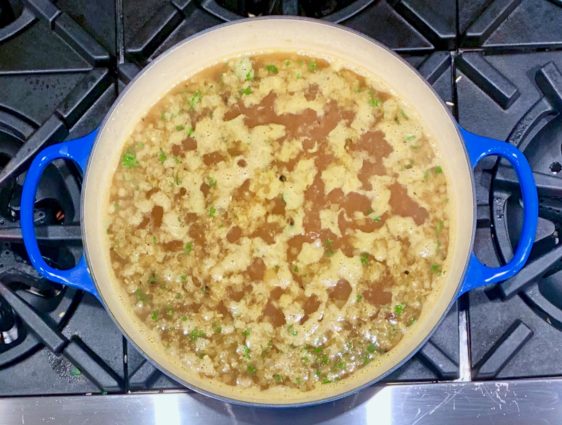
Add the broth; stir in the next six ingredients.

Bring to a boil.

Reduce heat; simmer, covered for 35 minutes.

Add the orzo.

Cook, covered, until orzo is tender, 10 to 15 minutes longer.

It’s that simple!

signature

[recaptcha]


I really enjoy trying to find recipes that are different and unusual for my blog. Although the blog highlights simplicity in many recipes, the more intricate ones are always more fun. Sure, there are some that are not really that difficult, but I mostly post those for my readers that are still beginners.

My niece told me a long time ago (before youtube became so popular) that I should write a blog on how to properly cut an onion, because many of her friends did not know how. I honestly don’t remember learning how to cut an onion, I thought everyone just somehow knew. My friend was over when I was preparing dinner one evening and when she saw me peeling garlic, she was surprised to see how it was done. I was shocked myself when I realized it was not general knowledge.

Maybe someday I will start a series of “how to” posts. I have a few tricks up my sleeve that are unique to experienced cooks. In the meantime, I promise to keep doing my research and find recipes that I know you will enjoy.

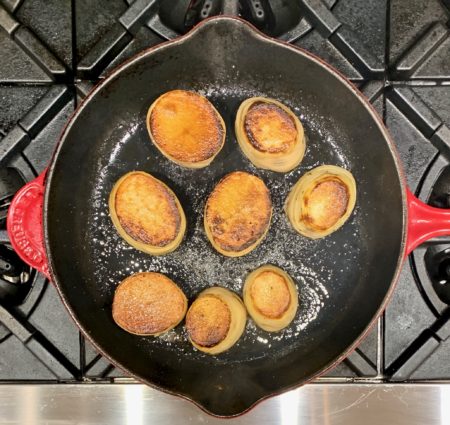
This dish was a first for me. I have never seen potatoes made like this and I was eager to take a shot at it. I was more than ecstatic with the results. The potatoes are browned and caramelized beautifully on both sides, bringing a sweet crispness to them. The garlic infused oil intensifies their flavor even more.  The chicken stock ensures that they are softened to perfection while baking them in the oven. My family just loved these extraordinary potatoes. These are perfect to serve for any holiday or family dinner.

This recipe is courtesy of Rockrecipes by Barry Parsons and will serve as many as you wish to impress!

Ingredients for Garlic Thyme Fondant Potatoes:

6-7 medium-sized russet potatoes
4 tablespoons butter
2 tablespoons olive oil
Salt and pepper to taste
3 garlic cloves, sliced
3 sprigs fresh thyme
1 1/2 cups low sodium chicken stock (boiling hot)
2 additional tablespoons butter

Choose a pan that will be the right size for the potatoes. You can use a 9×9 glass pan and peel and chop the perfect amount of potato to fit into it. 

Once you have determined what pan you will be using, remove the potatoes and heat the baking dish in a 400° oven while you brown the potatoes.

Peel the potatoes and cut them into about 2-inch thick cylinders.

Cut off the rounded ends and try to keep all the potatoes pieces the same size.

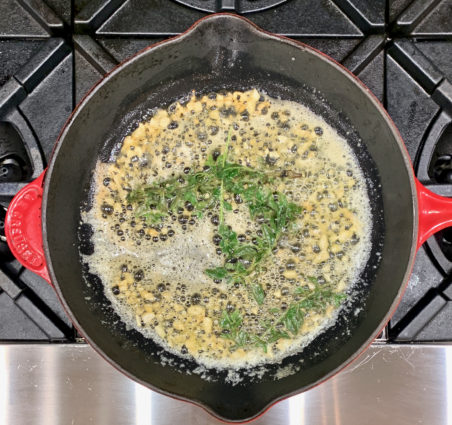
Heat the butter and olive oil over medium heat in a cast iron skillet or non-stick saute pan.

Add the sliced garlic and sprigs of thyme.

Cook for just a minute or so to soften the garlic, then remove it from the pan along with the thyme. 

Set aside.

Season the potatoes on both sides with salt and pepper and brown both ends of the potatoes until golden, about 3-4 minutes per side over medium to medium-high heat.

While you are doing this, heat the chicken stock to boiling.

Remove the heated pan from the oven.

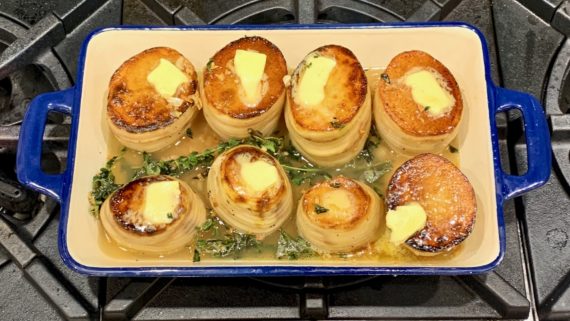
Place the potatoes from the cast iron pan and fit them into the heated baking dish from the oven.

Tuck the garlic slices and thyme sprigs used to flavor the oil and butter between the potatoes.

Pour in the hot chicken stock just until the potatoes are half submerged.

Dot the top of the potatoes with a little bit of butter, then return the pan to the oven for about a half hour or until the potatoes are fork tender.

Serve immediately.

It’s that simple!


signature

[recaptcha]