In the summer, I love to find local antique stores and take my time browsing. I enjoy going through beautiful old items that may seem past their prime for some. Old things have sentimental value, even for those like myself, who don’t like clutter. I’m always going through the things I have and discarding so many of them just to make room for the new (or old?) things. 

Of course, I’ve updated some really well-loved possessions with a new and updated version. But still, there is a certain mystique to old objects. Where did it come from? Who had used it before me? I like the feeling of making old things new again. I relish sifting through all the items in a store, looking for a piece of buried treasure. You can go in there, not expecting to find anything, yet maybe there is something valuable to be found. 

Collectables and vintage items connect you to a bygone era. I am guessing that many of the young adults today would not recognize many of the items in an antique store, though for us older people, it can be a trip down memory lane. Often, I come across items I remember having as a kid. I have seen a table and chairs so similar to the ones I grew up with, sending me right back to my family’s kitchen. Old pots and pans that my mother had are now considered collectibles now. It’s really fun to see items that could have been yours (or your parents’) that you had forgotten about long ago.

Antique furniture, lamps, and clocks often have a ruggedness that can’t be found in modern-day items. Let’s face it, so many things that are made now don’t last very long. Yet most of the things that were made many moons ago last forever. Antiques can give a nostalgic and romantic ambiance to your home, making them excellent for redecorating spaces. Vintage pieces can be adaptable to the latest trends, so even if you prefer a more modern aesthetic, you can enjoy antiquing as well. So take a walk to your nearest antique store and see what happens. You might find your next new piece!

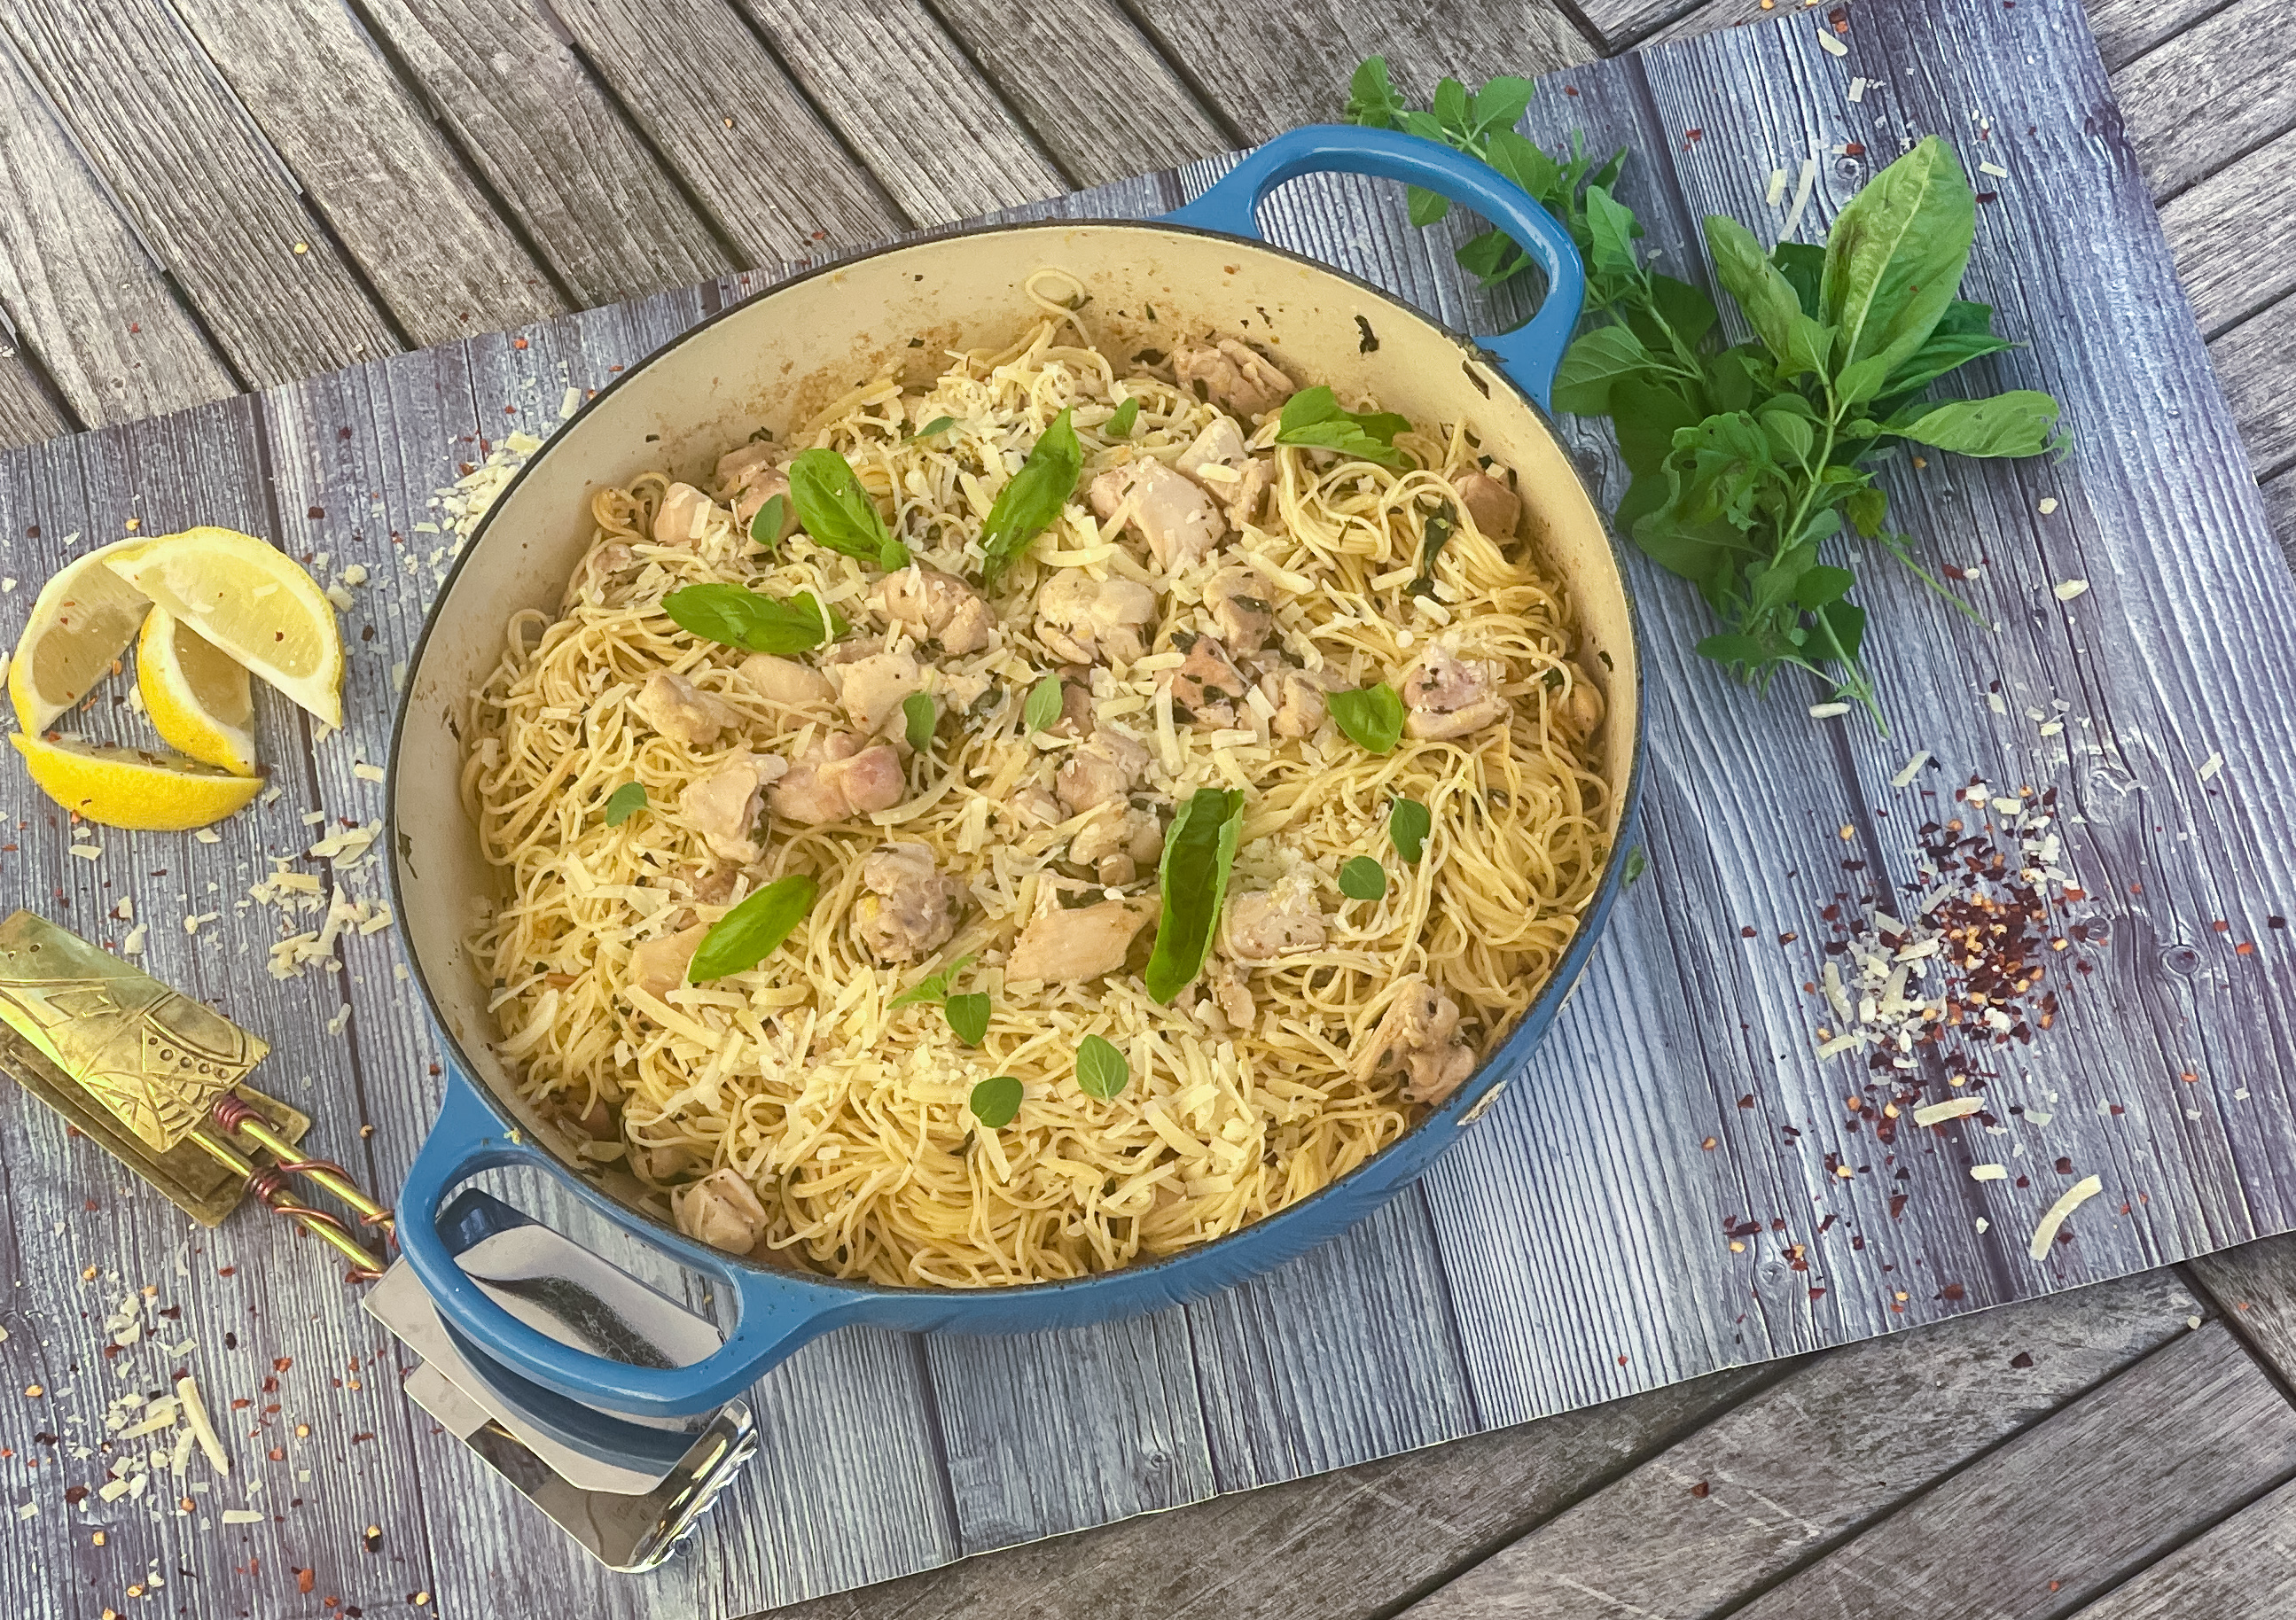
Onto the recipe. I love shrimp scampi, I think I’ve perfected my recipe through the years. I figured I could switch it up and make chicken scampi, something I knew my family would love as much as my original recipe. The chicken browns up to golden brown, delicious caramelization. The garlic and red pepper flakes are just the right amount of heat to bring to a family table. The wine, parsley and oregano are savory goodness, and the butter gives this dish creamy deliciousness. It is then topped off with Parmesan cheese, making this dish one you will want to make over and over.

This recipe is my own and makes 6 hearty servings for you and your family.

Ingredients for Chicken Scampi Pasta:

Kosher salt
1 pound thinly-sliced chicken cutlets, cut into 1/2-inch-thick strips 
3 tablespoons olive oil 
8 tablespoons unsalted butter, cubed 
6 cloves garlic, sliced 
A pinch of crushed red pepper flakes 
1/2 cup dry white wine 
1/2 cup chopped fresh thyme 
1/4 cup chopped fresh oregano
12 ounces angel hair pasta 
The juice and zest of 1 lemon 
1/2 cup freshly grated Parmesan  (plus more to taste)

Bring a large pot of salted water to a boil for the pasta.

Sprinkle the chicken with some salt.

Heat a large skillet over medium-high heat until hot, then add the oil.

Working in batches, brown the chicken until golden but not cooked through.
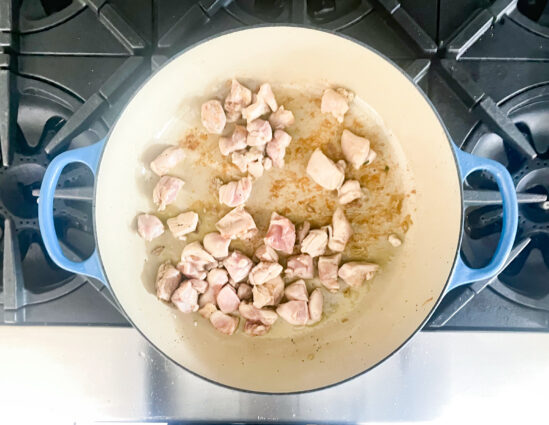
Remove the chicken to a plate.

Melt 4 tablespoons of the butter in the skillet.

Add the garlic and red pepper flakes and cook until the garlic just begins to turn golden at the edges, 30 seconds to 1 minute.

Add the wine, bring to a simmer and cook until reduced by half, about 2 minutes.
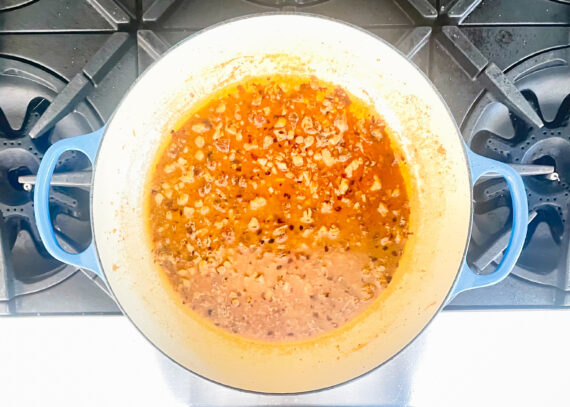
Remove from the heat.

Meanwhile, cook the pasta until very al dente, reserving 1 cup of the pasta water.

Add the pasta and 3/4 cup pasta water to the skillet along with the chicken, lemon zest and juice and the remaining 4 tablespoons butter, the oregano and the parsley.
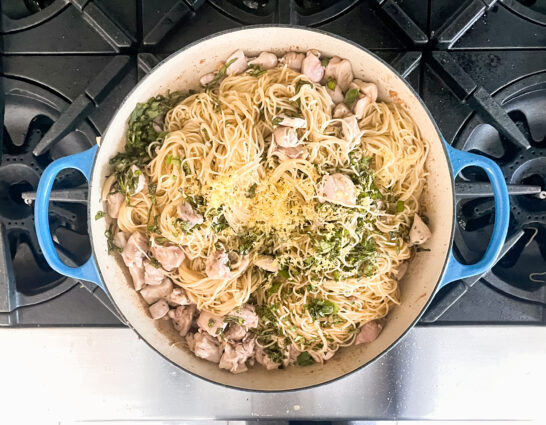
Return the skillet to medium-low heat and gently stir the pasta until the butter is melted, adding the remaining 1/4 pasta water if the pasta seems too dry.

Remove the skillet from the heat, sprinkle with the grated cheese and parsley and toss before serving.

It’s that simple!
signature

[recaptcha]


Believe it or not, I have not been on a bicycle since my children were very young. I have seen so many people outside biking, that I’ve been feeling that it’s time for my husband and I to get one too!  I was a little scared to get on a bike after so long, since I thought for sure there would be a learning curve that would involve falling repeatedly. We decided to keep the bikes at our beach home because the land there is very flat, making it easy to run, walk, or bike.

Off to the bike store we went. I had been searching the internet for bikes, so I had somewhat of an idea of the style I would like. Since we live so close to the beach, I wanted a basket on the front, and a basket that would attach to the back where I could put towels and other beach implements. Maybe I would look like the wicked witch of the west, but I don’t care– it’s useful, right?

I looked around, and there I saw what I thought was the perfect bike for me. It wasn’t my first choice of color, but it was a very pretty mint green with all the bells and whistles I wanted. The salesperson told me to get on the bike and give it a try. There were quite a few people in the store, and all I could think of was falling in front of them and making a total fool of myself. Even still, I put on my adult pants and took the bike for a ride. To my surprise, just as everyone says, riding came back naturally. In fact, I found the bike so easy to ride, and I even started to enjoy it right there in the parking lot.

When I got back to the store I told the salesperson how easy it was to ride the bike even though the parking lot had a small hill. She smiled and told me that it was actually a motorized bike. I was shocked. Motorized? I never even knew they existed! I told her to turn off the motor and took the bike back up the hill in the parking lot. Sure enough, it was as hard as I remember! I thought the motor on the bike was one of the best things I ever tried, and I told my husband as much. He purchased a regular bike, and I’m sure I will leave him in the dust on the way to the beach. 

They delivered the bikes the next day and although I did not get a chance to try it out, I can’t wait to go back and take it for a ride as soon as the weather cooperates.  I am looking forward to riding all around town in the summer. I am sure I will be using the bike with and without the motor. It will be fun to be with my husband and explore as we take on this new challenge together. 

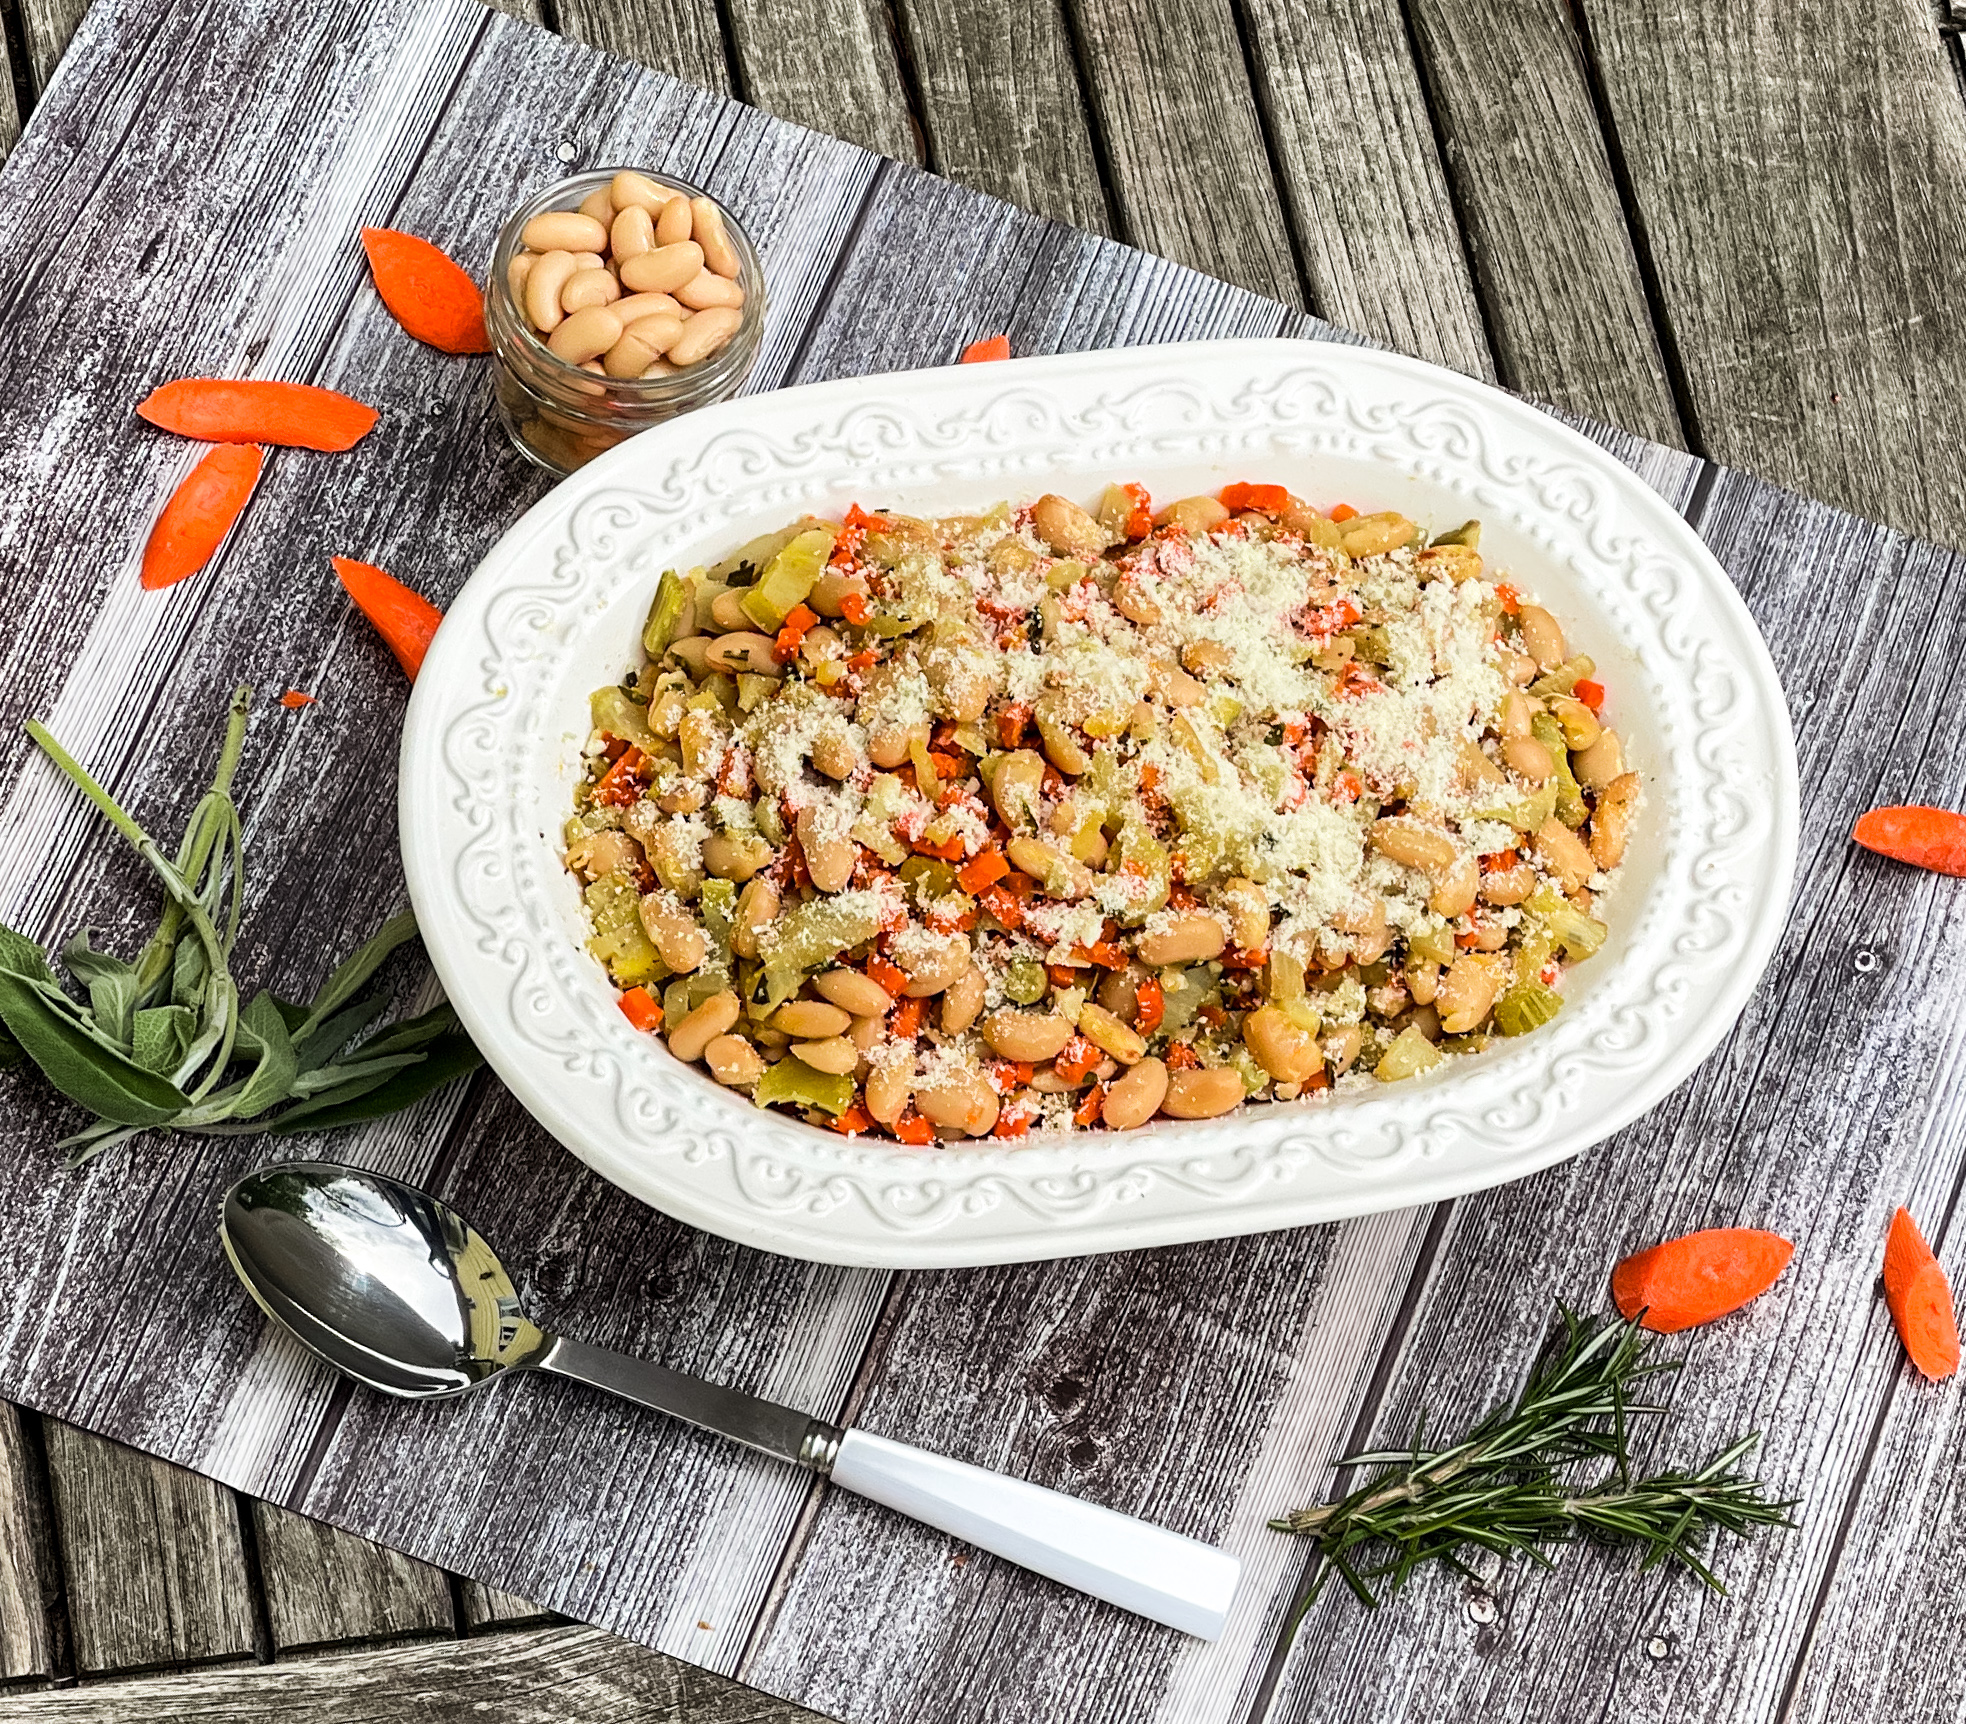
When I am not riding this summer, I am sure I will be cooking, and this is one recipe I will be happy to make. I love beans. Especially the fresh ones that you have to wash and soak overnight. I am not a bean snob, however, so if you don’t want to take the time to do this, I am sure canned beans will work fine, although Ina Garten would not be happy. This is such a refreshing recipe, and the fennel is the star. This licorice tasting vegetable adds a delightful flavor that is unexpected and so aromatic. The sage, garlic, and rosemary are the savory here, giving it rich, wholesome essence. The carrots give it sweetness, and the cheese is the perfect topping for this full-flavored side dish. One of my favorites for sure.

This recipe is courtesy of Ina Garten and will serve 6 people, hungry after a long bike ride.

Ingredients for Tuscan White Beans:

1 pound dried white cannellini beans
¼ cup good olive oil
4 cups chopped fennel, stalks, fronds, and core removed (2 large)
2 cups chopped carrots (4 carrots)
1 tablespoon minced garlic (3 cloves)
1 cup chicken stock, preferably homemade
1 tablespoon minced fresh sage leaves
1 tablespoon minced fresh rosemary leaves
2 teaspoons kosher salt
½ teaspoon freshly ground black pepper
½ cup freshly grated Pecorino Romano cheese

The night before, soak the beans in a large bowl with water to cover by at least 2 inches.

Cover and refrigerate overnight.

The next day, drain the beans, rinse them well, and place them in a large stockpot.

Add twice as much water as you have beans, bring to a boil, lower the heat, and simmer uncovered for about 45 minutes, until the beans are very tender.

Skim off any foam that accumulates.

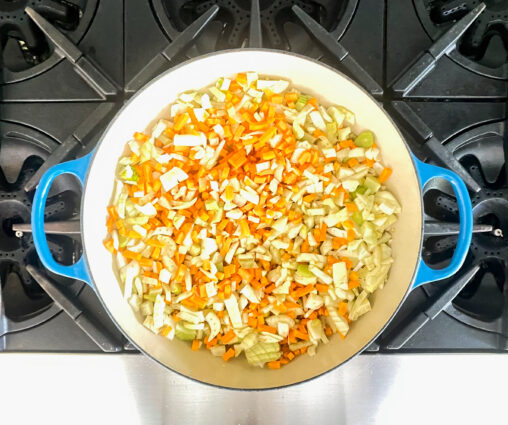
Meanwhile, heat the olive oil in a large pan or Dutch oven over medium heat.

Add the fennel and carrots and sauté for 8 to 10 minutes, stirring occasionally, until tender.

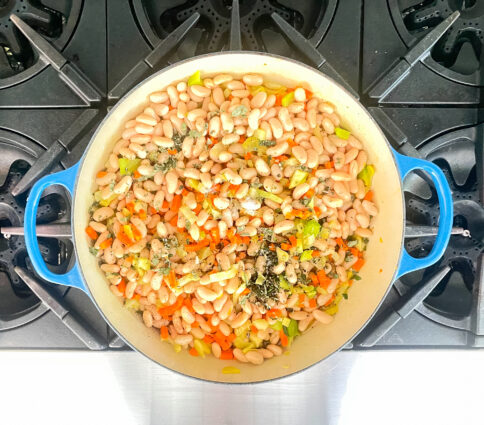
Add the garlic and cook for 1 minute more. Drain the beans and add them to the vegetables.

Add the chicken stock, sage, rosemary, salt, and pepper and simmer, stirring occasionally, for 12 to 15 minutes, until creamy.

Stir in the Pecorino, season to taste, and serve hot.

Don’t add salt or anything acidic to beans while they boil; it makes the skins tough.

It’s that simple!


signature

[recaptcha]


Even though we met after college, my husband and I were very athletic during our high school years. I was on two sports teams and my husband played football. While we were dating, I was an avid runner, and taught aerobics after work three nights a week. My husband, still extra-busy with school, would occasionally go for a run, but really had very little free time to work-out.

As it turned out, our first son took after his parents. He had no fear, and learned to ride a two-wheeler bicycle when he was two years old. At the time, we were living in Florida and we would take him to the boardwalk on the beach where he would tear around on his tiny bike. People would ask us how old he was, and they were astonished at his young age and riding ability. When he was a bit older, we placed him on several teams in our community, starting with our rather serious community baseball team.

For whatever reason, my son had no interest in baseball. He was totally bored standing around waiting for the ball to come to him, which didn’t happen very often. To put it gently, he was not one of the better players, and he rarely got time on the field. The coaches were very serious about coming to practice, and told us if the kids did not come, they would not play.  It really was not a team sport, and we just did not like the way the coach would handle the kids, so we hated going to the games anyway. But we were told that a team experience is so important for children, and they learn cooperation, which helps them adjust better when they are adults. Even still, it seemed silly that my son was spending time doing something he totally despised.  We were the only parents in my community that pulled their son out of Little League, and we were happy we did. Eventually, my son began rollerblading and joined a roller hockey team. And he loved it. He loved anything that gave him an adrenaline rush–the faster, the better. He also got into mountain biking, and later on, cars.

I think parents have to look at the bigger picture when placing their kids in activities. It is really not important whether your child is good or not good at something, but if they are finding meaning, enjoyment, and their way of expression, it’s fine. If that is the case, support your child to stay with it. However, if the child is miserable, it’s probably not a great fit, and there’s always another sport or activity out there. 

Turns out, my younger son was not a sports enthusiast. By this time, I had learned my lesson. I would not make him do something because all the other kids were doing it. He loved music, and began playing guitar at a very early age, and to this day, has excelled in it. Some days I would pass by his room, and hear the music playing. I thought he had music on from his favorite band. Nope. It was him playing, and my heart would swell. 

As a parent, you know what is best for your child. It may be different from what the other kids do, and you should embrace that your child is different. Hone in on the things that make him or her happy and feel proud of themselves, and encourage them down that road. Encourage and listen to them. They all find their way, even if they take a different path, and I guarantee that they will be so grateful for supportive parents.

Now if I could just get the boys to eat their vegetables, I will consider myself successful as a parent! 

Onto the recipe. This dish is so light and easy to make, it is a perfect dish for spring. I cooked the rice in chicken broth because I think it really enhances the flavor. The lemon zest and juice brighten up the rice, giving it a nice tang. The apricots add delicious summer sweetness. The almonds are roasted to perfection, giving a crunchy texture and irresistible taste. It takes plain white rice to a whole new level.

This recipe is courtesy of Bon Appetit and makes 4 servings of a simple, crunchy, and sweet take on a household staple.

Ingredients for Rice with Parsley, Almonds, and Apricots:

1 cup skin-on almonds
1 tablespoon olive oil
Kosher salt
1 cup basmati rice
1 3×1-inch strip lemon zest
⅓ cup chopped dried apricots
2 cups chopped parsley
1 tablespoon fresh lemon juice

Preheat oven to 300°.

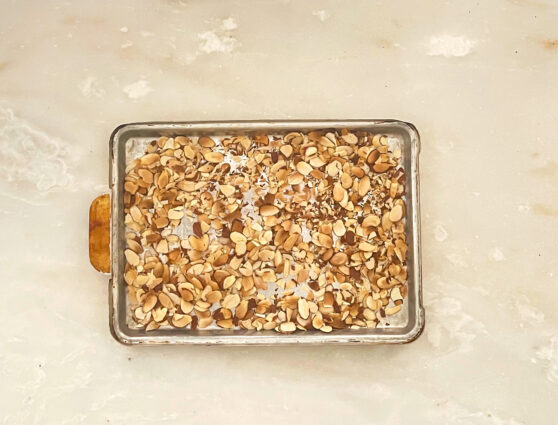
Toss almonds with oil on a small rimmed baking sheet; season with salt.

Roast, tossing occasionally, until golden brown, 10–12 minutes.

Let cool, then chop.

Meanwhile, rinse rice in several changes of water until water runs clear.

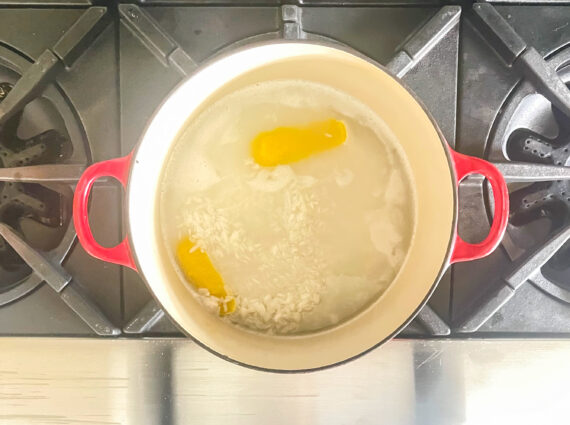
Bring rice, lemon zest, and 1½ cups water to a boil in a small saucepan; season with salt.

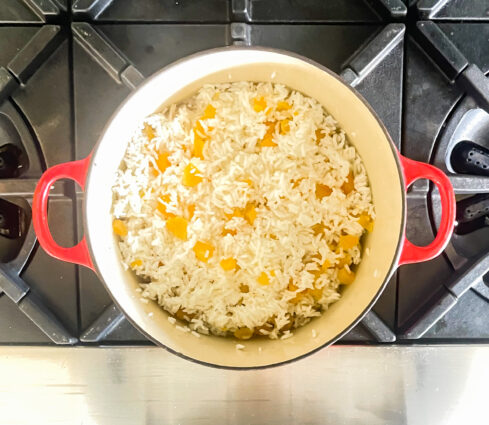
Reduce heat, cover pan, and simmer until rice is tender, 18–20 minutes.

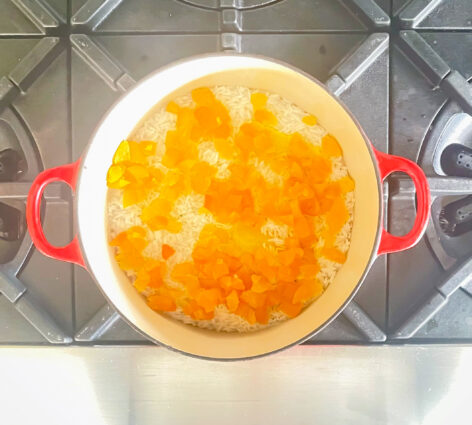
Remove from heat, uncover, and scatter apricots over rice.

Cover; let sit 10 minutes.

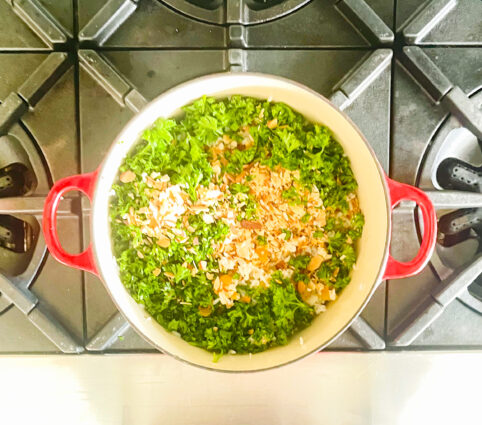
Fluff rice with a fork, then mix in almonds, parsley, and lemon juice.

Taste and season with more salt if needed.

It’s that simple!


signature

[recaptcha]


I can’t believe how fast this summer has gone. I had a whole list of things I wanted to do, and somehow, it just passed by…. along with half of what I wanted to get done. There were closets to clean, rugs that needed to be shaken out, and so many other things that I never got the chance to do.  I know we still have a little bit of summer left, so I am hoping I can accomplish something in the next month or so. 

Even still, there is a lot to look forward to–beautiful, warm days and cool, enjoyable evenings. September also brings changing leaves, the excitement of going apple picking, and never knowing what the weather will be.  Each day of the month feels like a different temperature, and that unpredictability allows us to wear our favorite fall clothes.

As the fall approaches, I find myself thinking forward to the holidays.  I imagine that so many things will be different.  The Jewish holidays will be held virtually, as it will not be safe to hold any formal synagogue meetings. Labor Day will be celebrated with small gatherings of family. Who knows what Halloween will bring? Will there be any trick-or-treaters? I do not think so, but I remain optimistic that things will be back to normal soon.

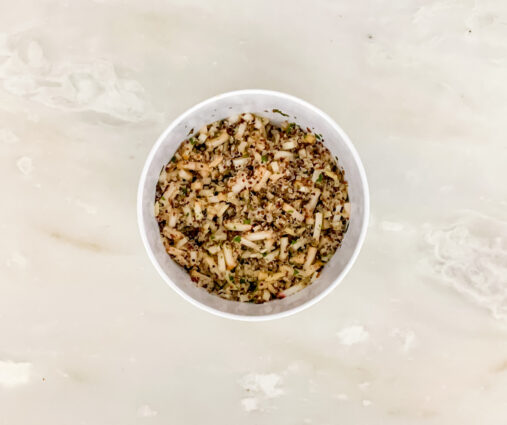
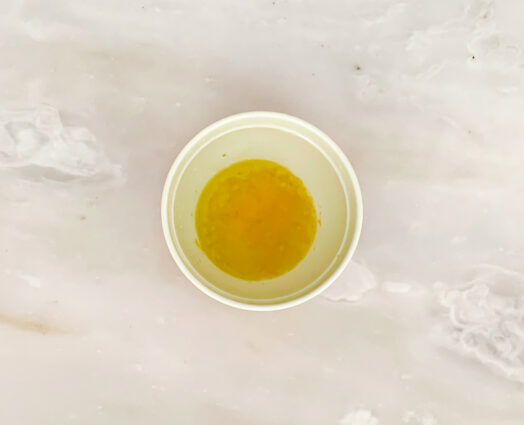
Anyway, I figured we might as well savor summer fruits while they’re still in season.  The delicious quinoa is combined with the summer fruit of your choice. Of course, the fruit is the star of this recipe, and it is enhanced by the addition of yummy nuts, (I used almonds, as I could not find hazelnuts), which gives it an additional depth of flavor, and a nice, crunchy texture. The parsley is the savory touch that this dish needs, and the lemon dressing is a bright finish. This is a side dish that will go with any main, though it is just as enjoyable by itself as a snack or lunch.

This recipe is courtesy of Good Food and will serve 4 people who will love every last bite of delicious summer fruit.

 Ingredients for Summer Fruit Quinoa Salad:

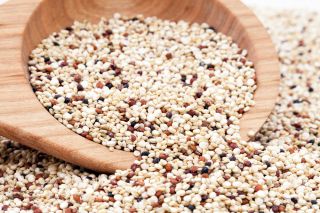
1/2 cup quinoa
3 peaches or nectarines, or 6 apricots, diced
3 1/2 tablespoons toasted hazelnut, roughly chopped (I used almonds, I couldn’t find hazelnuts)
Handful mint, roughly chopped
Handful parsley, roughly chopped
2 tablespoons olive oil
Zest and juice 1 lemon

Put the quinoa in a medium saucepan and cover with 1 1/4 cups water.

Bring to the boil and simmer for 20 mins or until the quinoa is tender.

Drain off any excess liquid and set aside to cool.

Add the fruit, almonds, herbs and seasoning to the cooled quinoa.

Whisk together the olive oil, lemon zest and juice.

Pour over the salad and mix thoroughly.

It’s that simple!


signature

[recaptcha]


Recipes are simple: a set of instructions you follow that detail how to make raw ingredients into a flavorful plate of food.  Even though most recipes have directions laid out step by step, you are not absolutely required to use all of them. There is plenty of room for improvisation based on availability, preference, or taste.  Humans’ sense of taste is extremely sensitive, and it’s beneficial to learn to describe those tastes, and figure out how to better tailor dishes to your personal preferences.

According to Kitchn, there are four main components to ingredients. First are the low notes; these are the deep lingering flavors in foods that form the base or the backdrop for other flavors. Second there are mid notes; flavors in this range are much more subtle. They’re not as immediately identifiable and don’t hang around as long as the low and high notes (think of vegetables and raw chicken). Third are the high notes; these flavors are the show stoppers. They fizz and zing and dance in your mouth. Think of a splash of citrus, a handful of fresh herbs, or a nice spicy pepper. 

As you cook, remember that you can add, omit, or replace ingredients to get the flavor profile you like. For example, today’s recipe calls for ginger, which is a “no way” ingredient in my book. Some people love it, but I cannot stand it.  Just eliminate it or replace it and the outcome will be exactly what you want, and you will love the dish you made.

If you’re just starting out or are used to following a recipe, cooking without instructions can seem like a daunting task. But honestly, once you get a few basic cooking rules down, you’ll be able to toss most of your recipe books in the recycling bin and start creating cookbook-worthy meals of your very own. Seriously — unlike baking, cooking does not require exact measurements, times, or temperatures for food to taste good. Be bold, mix it up, and try something new–you may be very happy with your outcome.

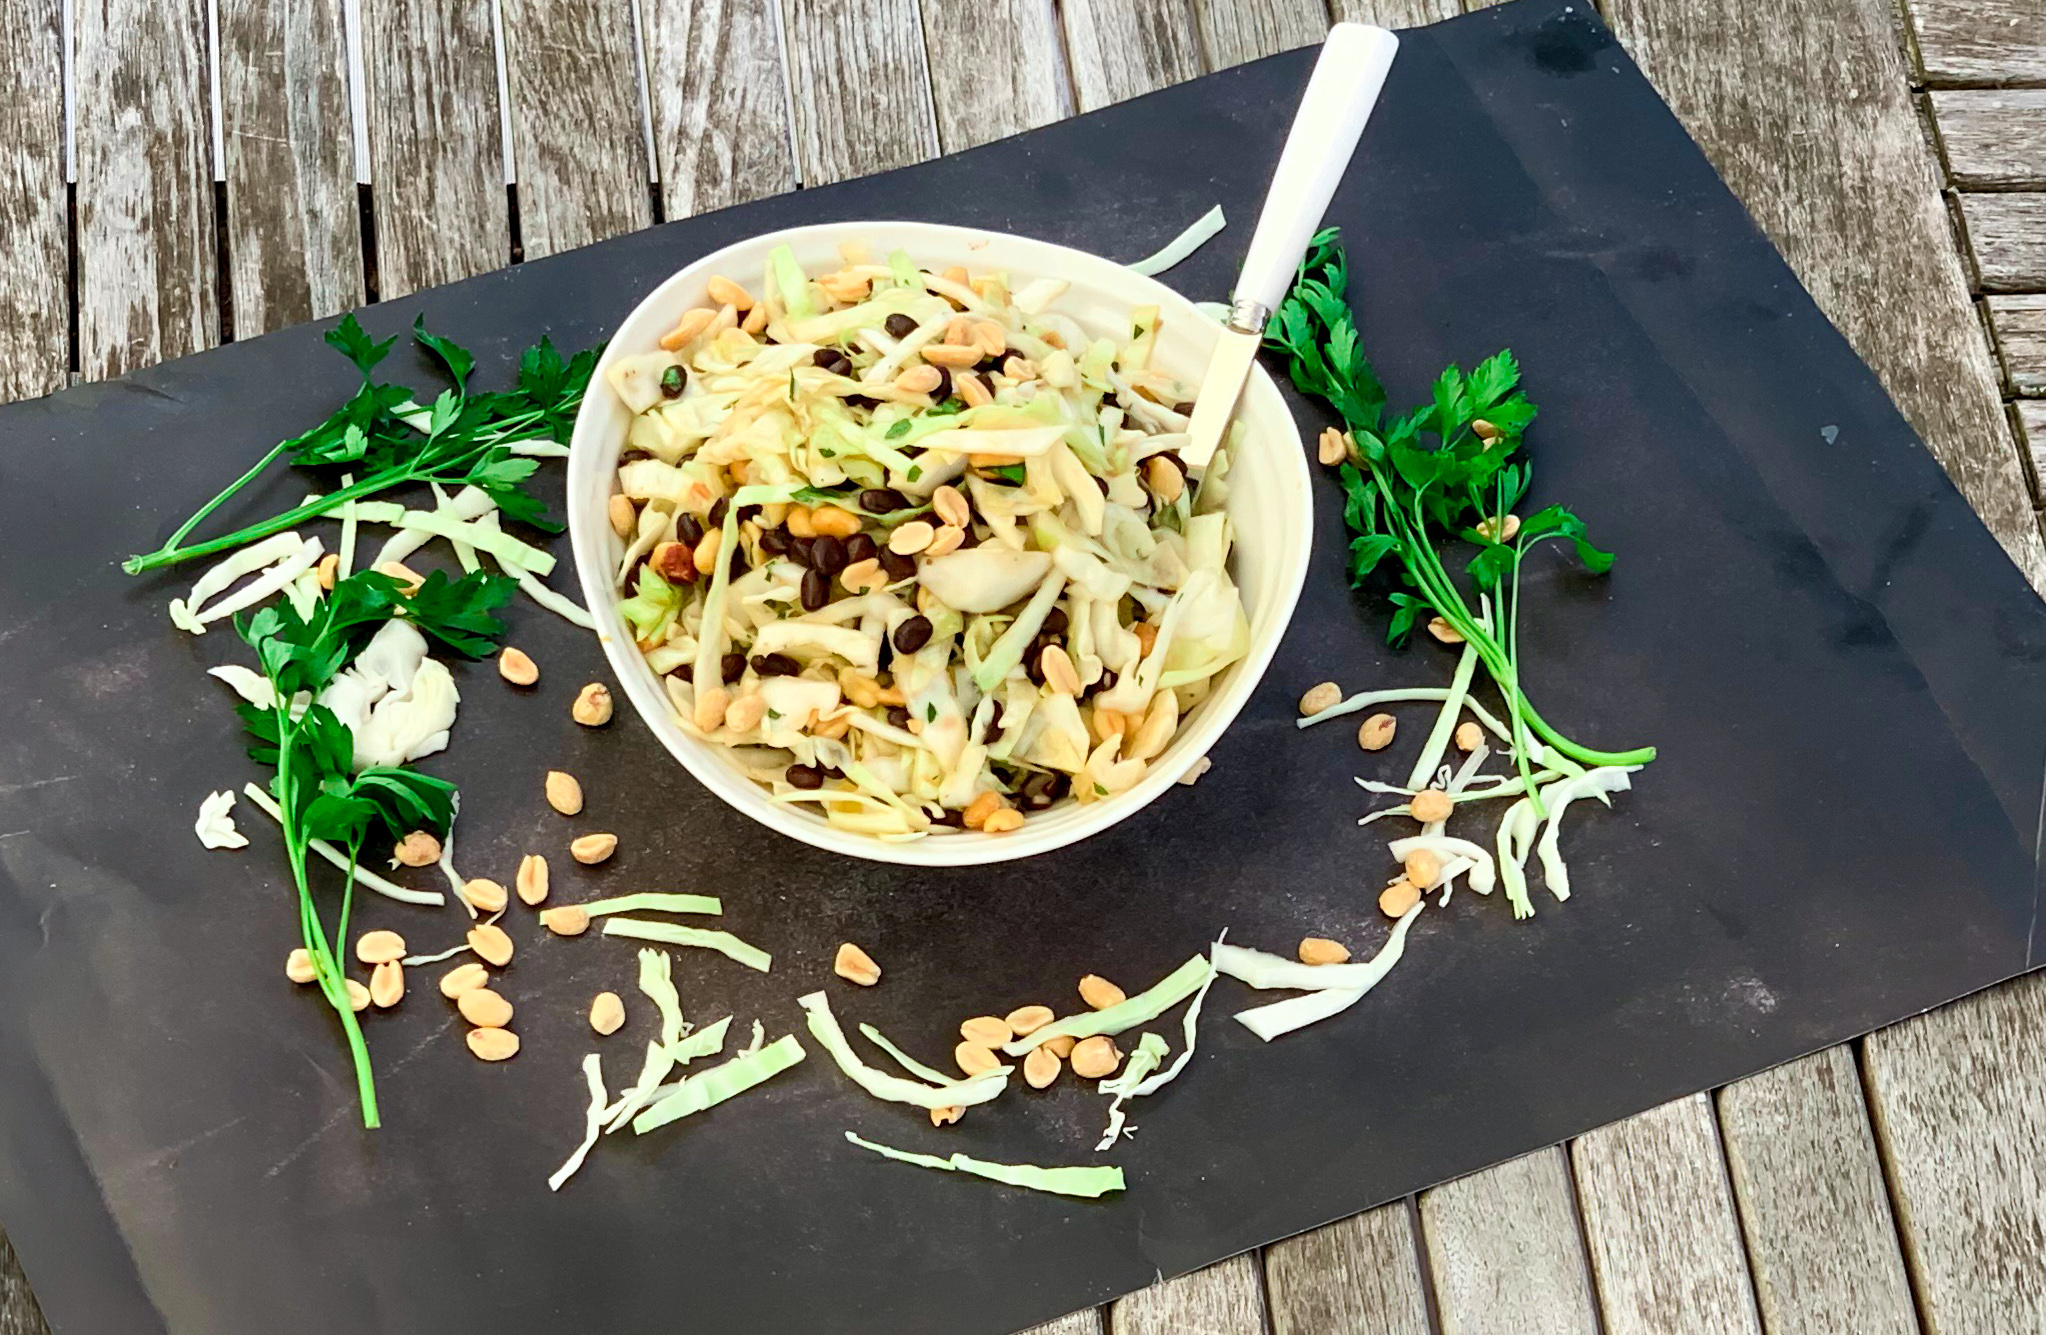
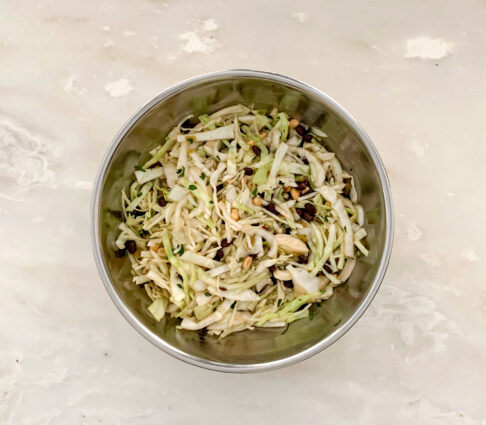
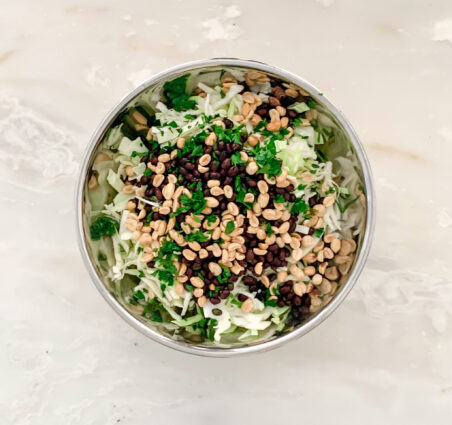
This dish caught my attention because of the peanuts. I love roasted peanuts. I thought putting them in a slaw would be perfect. The nuts are the highlight of this dish because of the crunch-roasted goodness it brings to the recipe. The dressing worked perfectly with this slaw too.  The jalapeños offer just the right amount of heat, and the soy sauce and rice wine vinegar is the perfect amount of salty and tang. I think you are going to love this recipe as much as I did. Be careful, it can be addicting!

This recipe is courtesy of Food 52 and will serve 4 to 6 people who will definitely want second and third helpings.

Ingredients for Leslie’s Peanut Slaw:

1 medium head of green cabbage (use half if you have a particularly large cabbage), cored and shredded
1/2 cup unsalted roasted peanuts (you can purchase them this way, or toast raw peanuts over medium heat in a dry heavy-bottomed pan until fragrant, about 5 minutes)
One 14-ounce can of unseasoned black-eyed peas, drained and rinsed
1/2 cup fresh cilantro leaves, roughly chopped (I used parsley, but mint or thyme might work well too).

For the sweet and spicy dressing:

1 teaspoon toasted sesame oil
2 pickled jalapeños/green chilies (cans may be found in the International Foods or Mexican Food aisle), finely minced
2 tablespoons grated fresh ginger (I did not use it, but if you are a ginger lover go for it).
2 cloves of garlic, grated
1 tablespoon brown sugar
3 tablespoons rice wine vinegar
1 tablespoon soy sauce
1/4 cup vegetable oil or other light unflavored oil such as grapeseed or canola
Salt and pepper, to taste

Combine all ingredients in a large bowl.

Mix well to combine.

Make the sweet and spicy dressing:

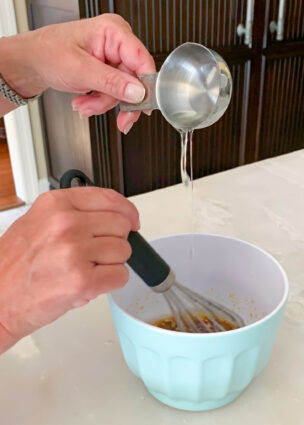
In a small bowl, use a whisk to combine all ingredients except for the oil.

Slowly drizzle in oil, continuing to whisk the mixture, until slightly thickened, as you would do with a vinaigrette.

Add salt and pepper to taste

Pour dressing over slaw mixture and toss to combine.

Let chill in the fridge for 2 or 3 hours prior to serving so that the flavors combine and the cabbage just slightly softens.

It’s that simple!

Jenna and her unicorn!

signature

[recaptcha]