There are so many wonderful cooking tips out there that will help you become a better cook. Throughout the years, I have always looked for those words of wisdom that will help make the process a little easier. As a result, I have collected quite an array of culinary tidbits. I would like to share several with you and hope you find them useful.

1. When making a salad, you know you should always wash your vegetables. What is equally important, in my opinion, is to dry them. Yup. Dry them really well. No one likes a wet salad. 

2. Always dress a salad right before you serve it. Dressing it too early will make it soggy and unappetizing.

3. Many of you store your spices in a shelf near the stove. Don’t! Spices need to be stored in a cool, dark space. Light and heat will cause them to lose their flavor.

4. After boiling vegetables, always plunge them in an ice bath to stop the cooking process. This will ensure you get crisp, beautiful vegetables every time.

5. Never put oil in pasta water. The oil will prevent the pasta sauce from sticking. Also, pasta with ridges or curves is the best to use with sauces because the sauce will stay in the curves. 

6. Remove your meat from the refrigerator one hour before cooking. It needs to come to room temperature in order to cook evenly.

7. And one from Ina Garten: For best results when baking, leave butter and eggs at room temperature overnight (yes, she said overnight) . I have always said, refrigeration is over-rated. You don’t need to refrigerate as much as the cookbooks suggest. The authors say it for their own safety reasons, just as they tell you to cook meat to a certain temperature.

8. Always cook your meat 10-15 degrees less than what your cookbook indicates. The meat will continue cooking after you take it out of the oven. If you don’t, you will have unpalatable, overcooked meat.

I will include many more cooking tips in future posts. I hope they help!

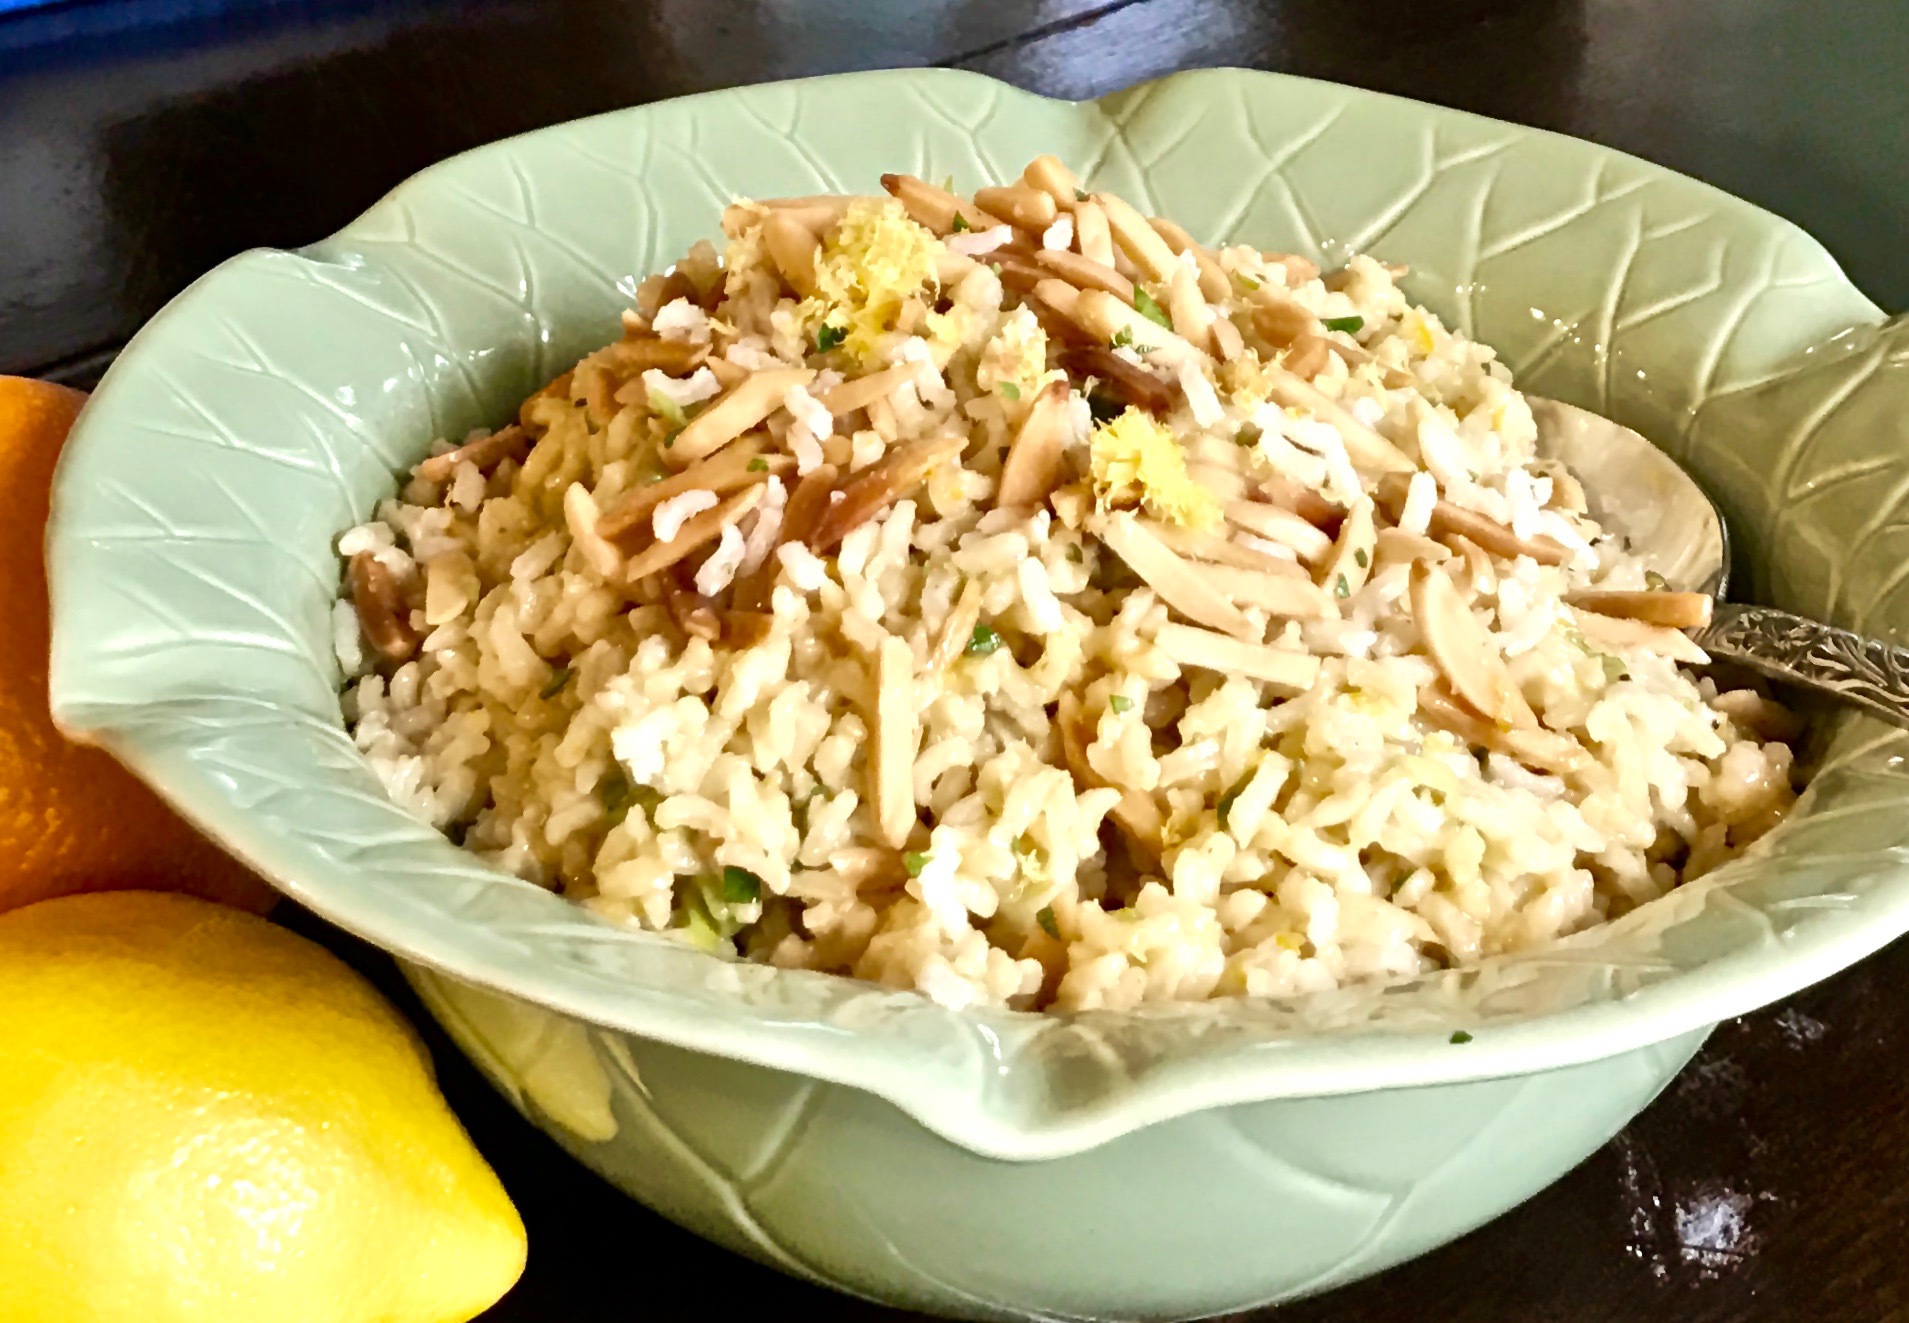
Today’s recipe provides an outstanding way to cook rice. It is so light and refreshing. The lemon zest, along with the orange zest, give the rice a bright, fresh citrus flavor that will titillate your taste buds, making them dance with happiness!

This is a must-try. It offers a wonderful start to summer with its natural citrus flavors. It is perfect as an accompaniment to any main dish or just as a snack. I did not use as many onions as the recipe called for, but it came out beautifully.

This recipe is courtesy of Giada DeLaurentis and will serve 4-6 people who will love it so much it may become a family favorite!

Ingredients for Citrus Rice

Rice Salad:

1/2 cup sliced almonds
4 cups low sodium chicken stock
1/2 tsp. kosher salt
2 tbsp. extra-virgin olive oil
2 cups basmati rice, rinsed
3/4 cup chopped fresh felt leaf parsley
1 medium orange, zested
1 lemon, zested
1 cup thinly sliced green onions

Vinaigrette:

1/2 cup extra virgin olive oil
1/4 cup freshly squeezed orange juice (about 1/2 orange)
3 tbsp. freshly squeezed lemon juice (about 1 lemon)
2 tbsp. soy sauce
1 tbsp. honey
1 1/2 tsp. ground cumin
Kosher salt 
Freshly ground black pepper

Heat oven to 350.

Place oven rack in the center of the oven.

Arrange the almonds in a single layer on a baking sheet. Bake for 5-6 minutes until golden brown.

Cool completely, about 15 minutes.

In a medium saucepan, bring the chicken stock, salt and oil to a boil over medium-high heat.

Stir in the rice. Cover the sauce pan, reduce the  heat, and simmer until all the liquid has been absorbed and the rice is tender, about 40 minutes.
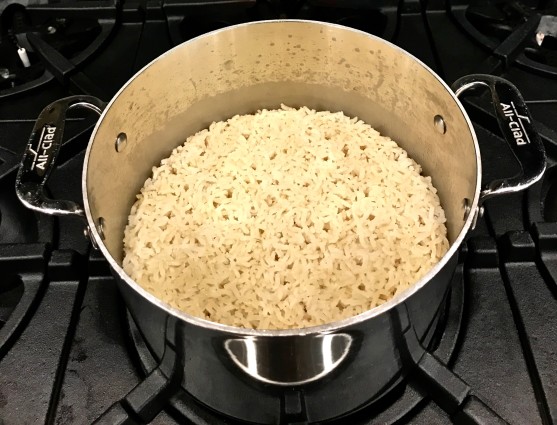
Citrus rice rice

Remove the pan from the heat and let sit for 5 minutes.

Using a fork, fluff the rice and place in a large serving bowl.

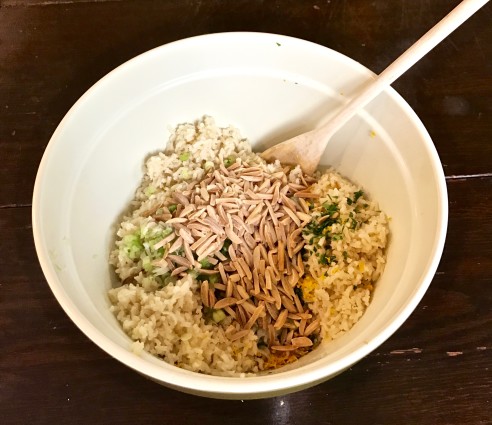
Add the parsley, orange zest, half the lemon zest, green onions, and 1/3 cup of the almonds

citrus rice rice parsley green onions lemon zest

Toss well.

In a blender, combine the olive oil, orange juice, lemon juice. soy sauce, honey and cumin.

Blend until smooth. Season with salt and pepper to taste.
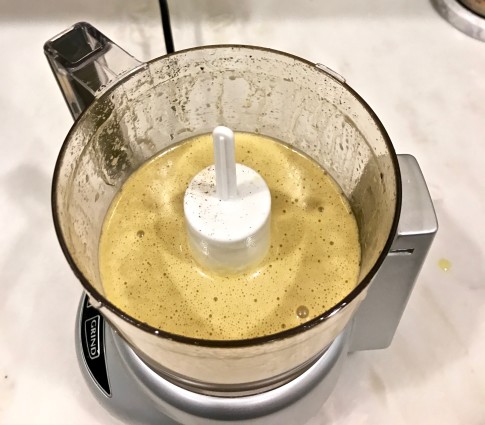
citrus rice food processor

Pour the vinaigrette over the rice mixture and stir well.

Garnish with the remaining lemon zest and almonds.

It’s that simple!

banana plant flower
signature

[recaptcha]


When I first got married, I did not know how to cook. I was working full time, and soon had a child. That’s enough to “squash” anyone’s desire to come home and first start cooking (as many of you working mom’s would agree). Five years after my husband and I were married, we moved to Florida, near my sister-in-law Shelley and my brother, Stan. Shelley told me she would make the Jewish holidays and I should make Thanksgiving. WHAT? I didn’t cook for myself, my husband and child; how could I possibly make a holiday that many people would attend?

That was not even the worst of it. Shelley and her mom Julia were the best cooks I knew! Ugh! Nervous did not come close to describing how I felt. I was working full time. I had a kid. Make a holiday? Panic set in quickly. 

I don’t remember how many people came, maybe around 10-12. I am sure I must have called my mom to ask for some recipes. I started preparing the night before, and woke up very early that day to begin cooking. It was a crazy day for me, but I got it all done.

Shelley and her mother were very gracious guests. They told me everything I made was wonderful. Maybe it was, or maybe it wasn’t. I still felt very accomplished and basked in the glow of their praise. I did it! And, as it turned out, I enjoyed cooking very much. 

Who knew that 27 years later, I would still be making Thanksgiving. My family, no matter where they live, travel to my home. I feel honored that they all come and try to make it special each year. 

So if you are new to cooking, don’t be afraid, you will learn as you go. You will make mistakes, and that will be okay. Each time you cook, you will get better.  It will get easier and your cooking skills will expand and flourish.

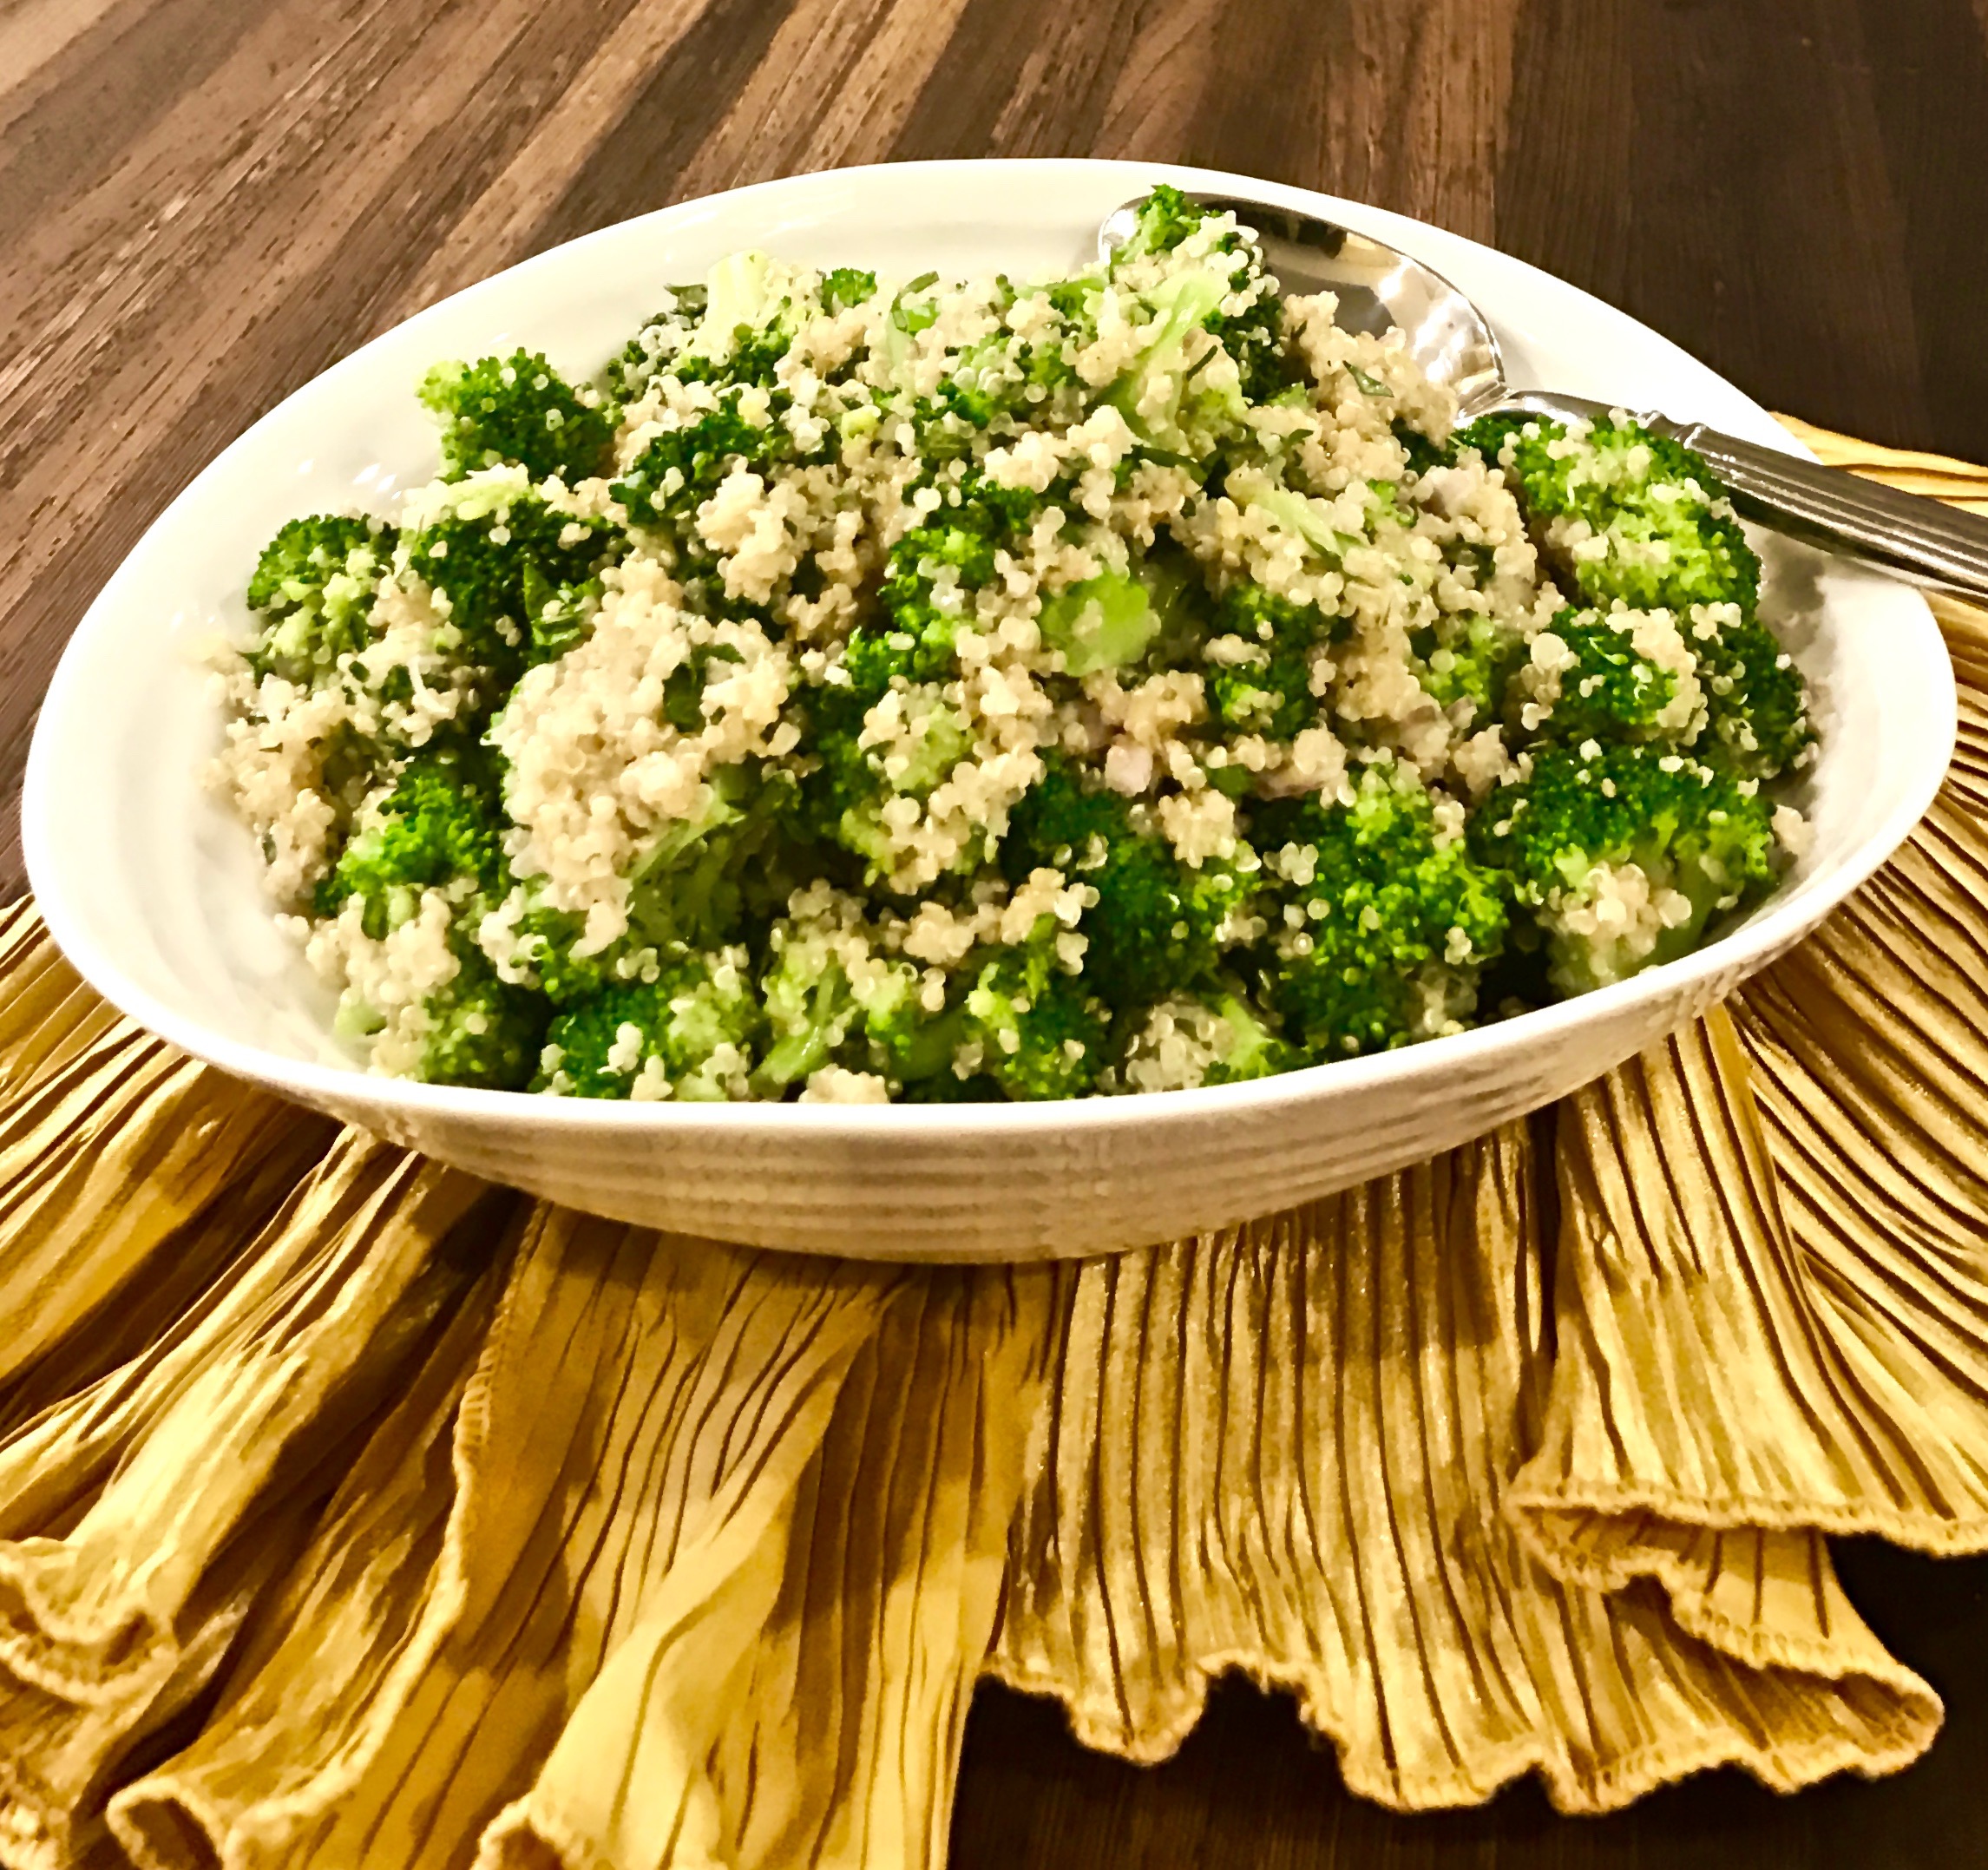
Now let’s get onto the recipe for today. This is a wonderful side dish that has an interesting combination of ingredients. Its pleasant texture and creamy dressing is a wonderful accompaniment to any main dish. The dressing can be made in advance, so it would be a great dish to make for company or a holiday.

This recipe is courtesy of Bon Appetit and will serve 4 people who will love this refreshing salad with the creamy, yummy dressing.

Ingredients For Broccoli-Quinoa Salad

Buttermilk Dressing

3/4 cup buttermilk
2 tbsp. olive oil
2 tbsp. vegetable oil (I omitted this)
1 tbsp. finely grated lemon zest
1 tbsp. fresh lemon juice
1 tsp. unseasoned rice vinegar
Pinch of freshly ground black pepper
1 tsp. fine sea salt (or more to preference)

Salad

1 shallot, finely chopped
2 small heads of broccoli, cut into bite-size florets
1 cup white, red, or black quinoa
1/2 cup coarsely chopped parsley ( I would use less, about 1/4 cup, this overpowered the salad)
1/4 cup coarsely chopped tarragon

For the buttermilk dressing:

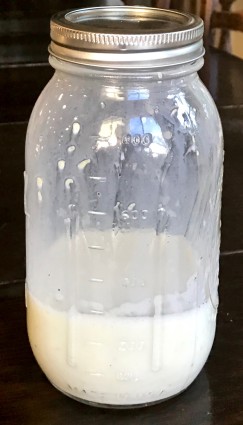
Whisk buttermilk, olive oil, vegetable oil, lemon zest, lemon juice, rice vinegar, pepper and 1 tsp. salt in a medium bowl. Taste and season with more salt if needed.

Broccoli quinoa dressing

(Dressing can be made 5 days ahead. Cover and chill).

For the salad:

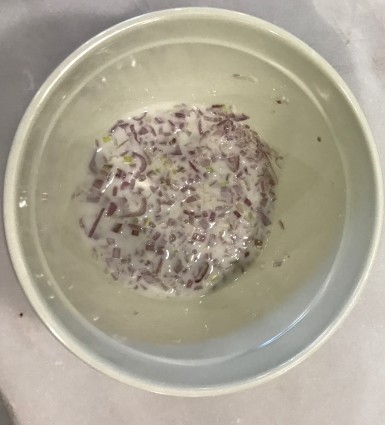
Stir together shallot and 2 tablespoons buttermilk dressing in a small bowl. Set aside.

broccoli quinoa shallots and dressing

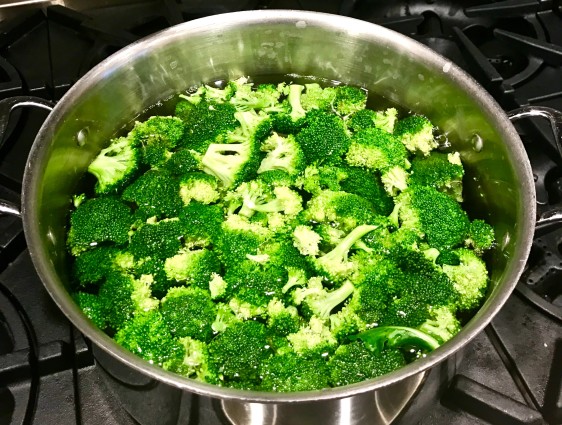
Cook broccoli in a large pot of boiling salted water until crisp-tender, about 1 minute. Using a slotted spoon, transfer broccoli to a bowl of ice water; let cool.

broccoli quinoa broccoli cooking

Drain and place on a kitchen towel-lined baking sheet.

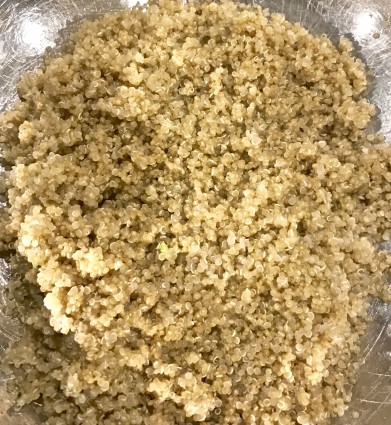
Meanwhile, return water in pot to a boil and cook quinoa until slightly al dente, about 12 minutes; drain.

Toss quinoa and 2 tablespoons buttermilk dressing in a large bowl to coat; season with salt. Let cool.

broccoli quinoa quinoa with dressing

Add dressed shallot, broccoli, parsley, tarragon, and 2 tablespoons buttermilk dressing to quinoa and toss to combine. Season with more salt if needed.

It’s that simple!
signature

[recaptcha]


My construction is finally over! It was a long 5 months, and I’m so glad to be back! My goal was to be back in business by Thanksgiving, and thankfully, all went fairly smoothly. Sure, there were a few glitches, but overall, I can’t complain.

A week before Thanksgiving, (a holiday at which I host 50 people), my house was still a construction site! It was challenging, but somehow we managed to get the house clean and ready for the holiday. Whew! Glad it is over! 

Enough of that, let’s talk about cooking. I missed writing my blog and I am so happy to be back!

I found this chicken recipe online, but made so many changes that I now consider it one of my own.

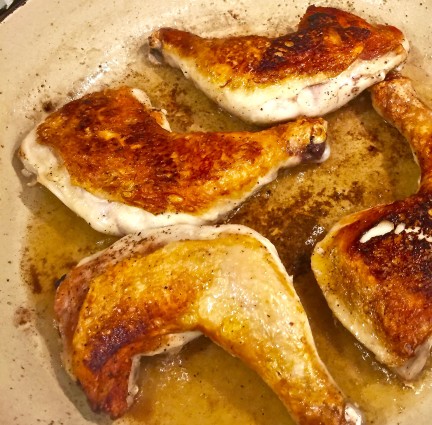
Many recipes do not call for browning or crisping the skin first. I think this is one of the most important steps in any chicken recipe. Nothing beats chicken with a crisp, caramelized skin. This will add only 10 minutes to the cooking time, yet yields  a wonderful texture and enticing flavor to any chicken dish. If you can, try to spend the extra time to brown it, it is so worth it.

Although this recipe is made with couscous, you can make the balsamic chicken with any grain such as barley or farro. I prefer to use chicken broth instead of water to prepare it. The chicken broth will add a nice dimension of flavor.

I love this recipe. The chicken thighs are so moist, accompanied by a delicious, uncomplicated sauce that makes this an easy go-to meal.

You can use this recipe with chicken breasts, but be sure to get bone-in breasts. They have much more flavor and will be tender and just as good.

This recipe will serve 4 people, but you want might to make a little extra. I am sure they will be asking for seconds!

Today’s Hint: For crispier skin on chicken, or for a better browning on meat, always pat them dry with a paper towel. If you leave any moisture on the chicken or meat, it will impede the browning process. Do not overcrowd the pan or your meat or poultry will steam and not brown! Remember, the brown part is always the best tasting part of the poultry or meat. It is also known as caramelizing, which ensures the best (and yummy) results.

Ingredients for Chicken

4 chicken thighs (or chicken bottoms (thigh and leg)
4 tbsp. olive oil
1/2 cup balsamic vinegar
1/2 cup chicken stock
1-2 tbsp. sugar (optional)
2 cloves garlic crushed

Ingredients for Couscous

1 1/2 cups couscous
2 1/4 cups chicken stock
3 tbsp. margarine or butter
4 cloves garlic, chopped
3 tbsp. fresh oregano, finely chopped

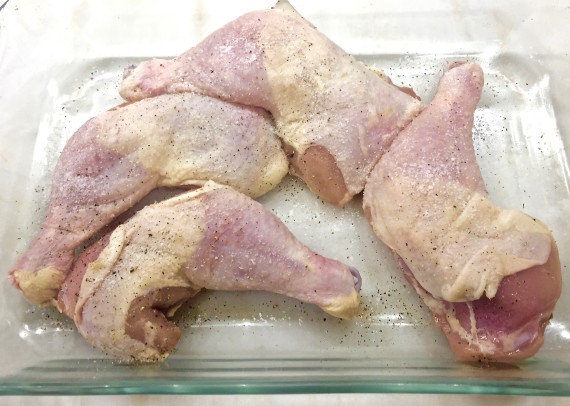
Pat the chicken bottoms dry with a paper towel. Sprinkle both sides with a good amount of salt and pepper.

balsamic chick cous with salt and pepper

Place skillet on stove, over medium heat. Add chicken, skin side down. Let cook, without moving it for 6-7 minutes. Turn the chicken over and repeat on the other side for about 4-5 minutes.

balsamic chic cous skin browned

*The pan becomes hotter as it cooks, so the browning time for the other side will be less.

Set pan aside.

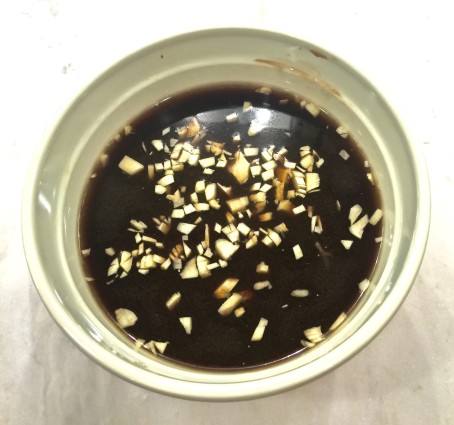
Prepare the marinade. Combine the vinegar, chicken stock, sugar and garlic in a shallow bowl. 

balsamic chic cous sauce

Place chicken in marinade 10 minutes for each side.

Prepare the couscous.

Boil chicken stock and pour over couscous in a medium bowl. Cover the bowl tightly with a plate or aluminum foil  and let it sit for 5-7 minutes, until all the liquid is absorbed. If you have any remaining liquid, just pour it out. Set aside.

Cut butter into small pieces (this will help it melt faster) and place in skillet (different than the one you used for the chicken) over medium-low heat.

Add the garlic and oregano and cook for 1-2 minutes. Be careful, you do not want the garlic to turn brown or burn.

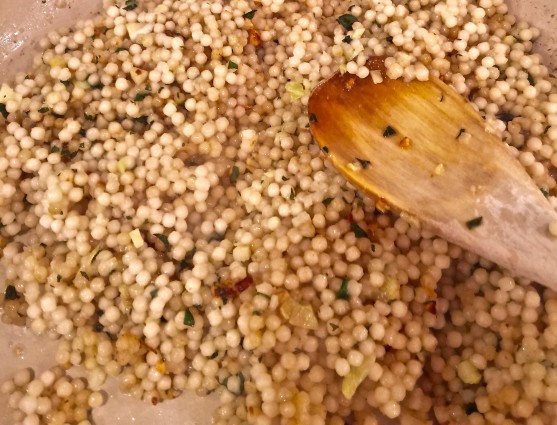
Add the couscous into the pan and stir it for about 3-4 minutes. Set aside.

balsmaic chic cous cous cous

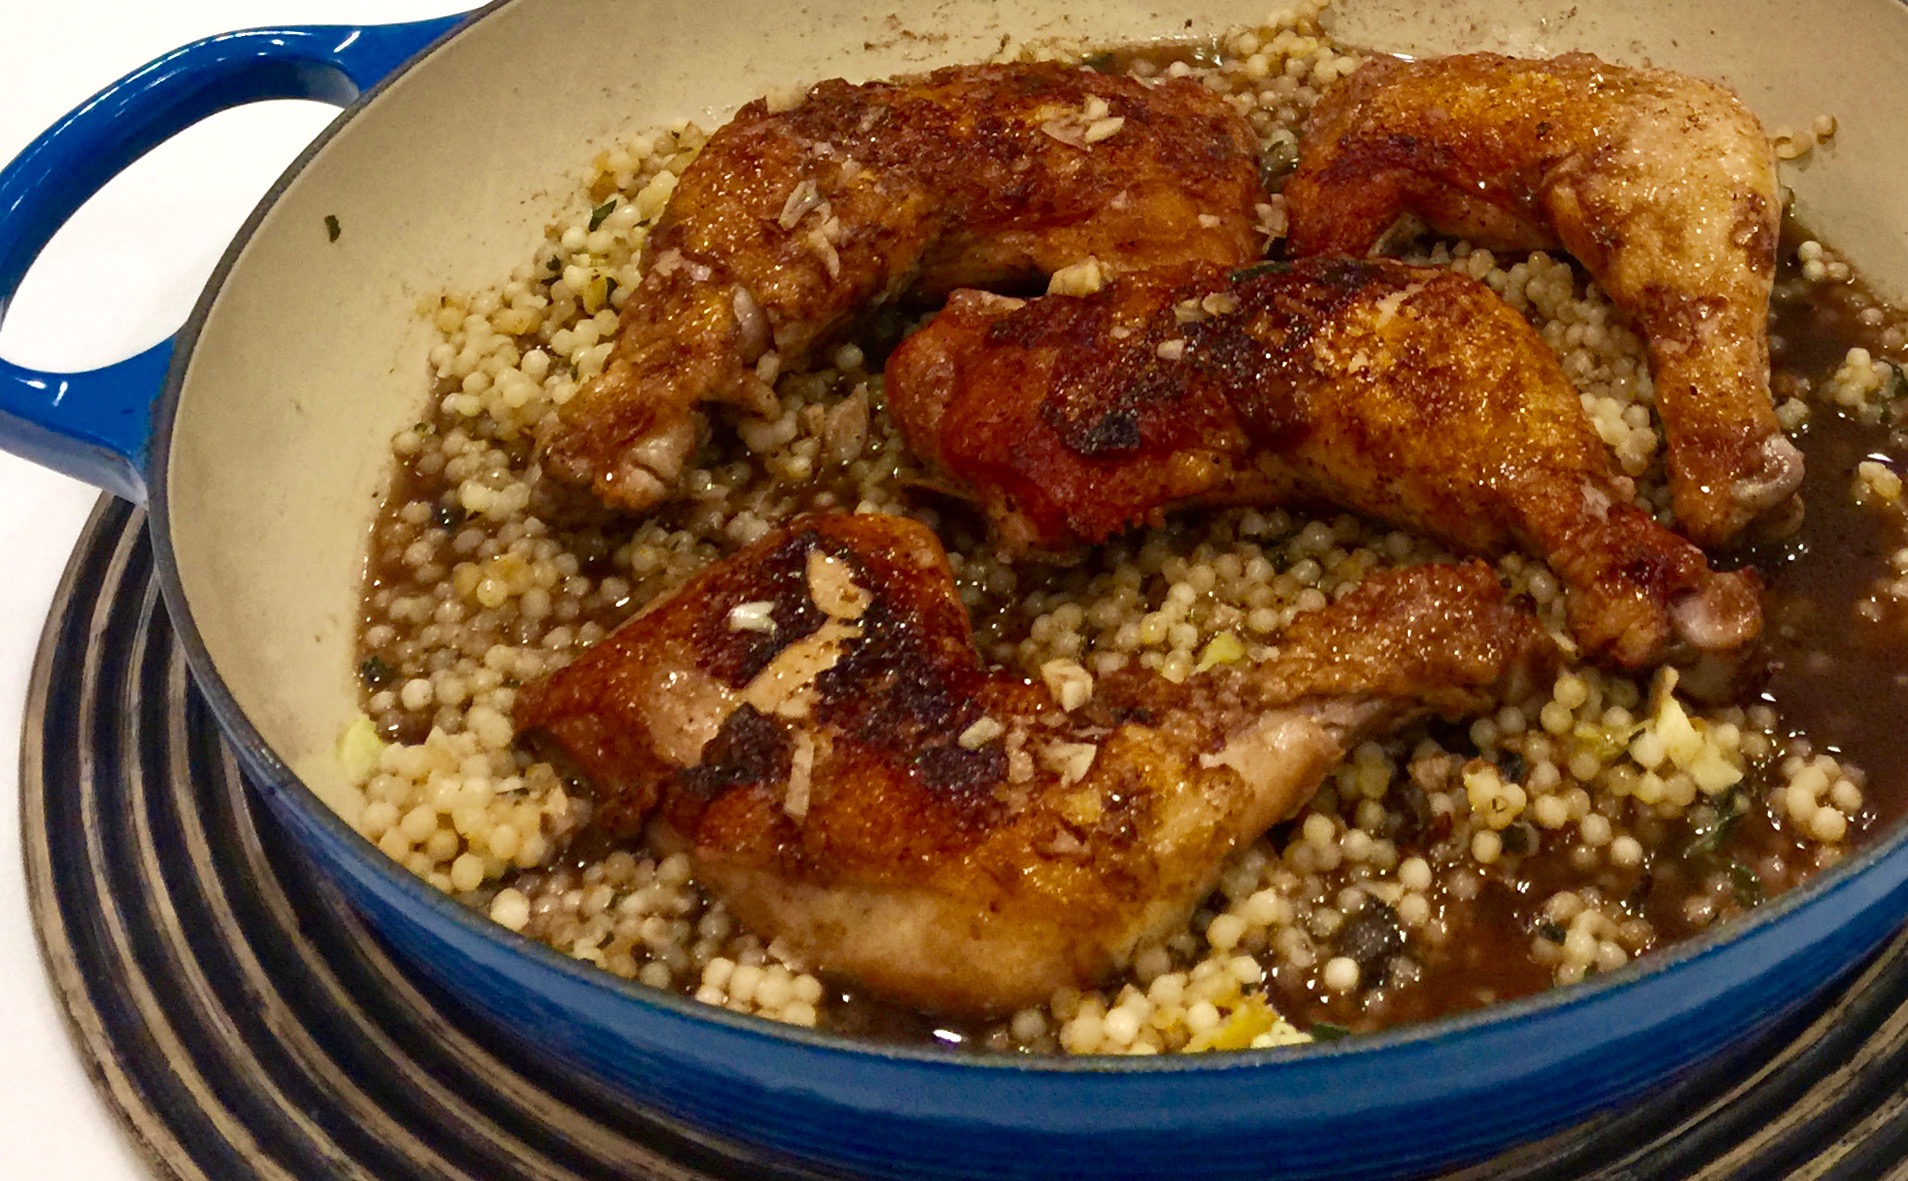
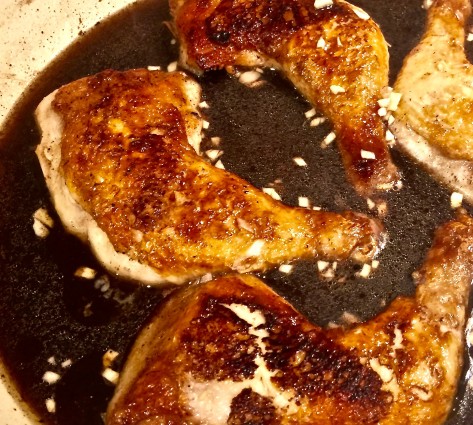
Add the chicken and the marinade back into the original pan and let it cook on medium-low for 10-15 minutes. The marinade will thicken.

balsamic chic cous chicken in sauce

Place couscous on a serving platter and pour the chicken and sauce over it.

Dinner served!

thanksgiving full table

It’s that simple!

signature

[recaptcha]


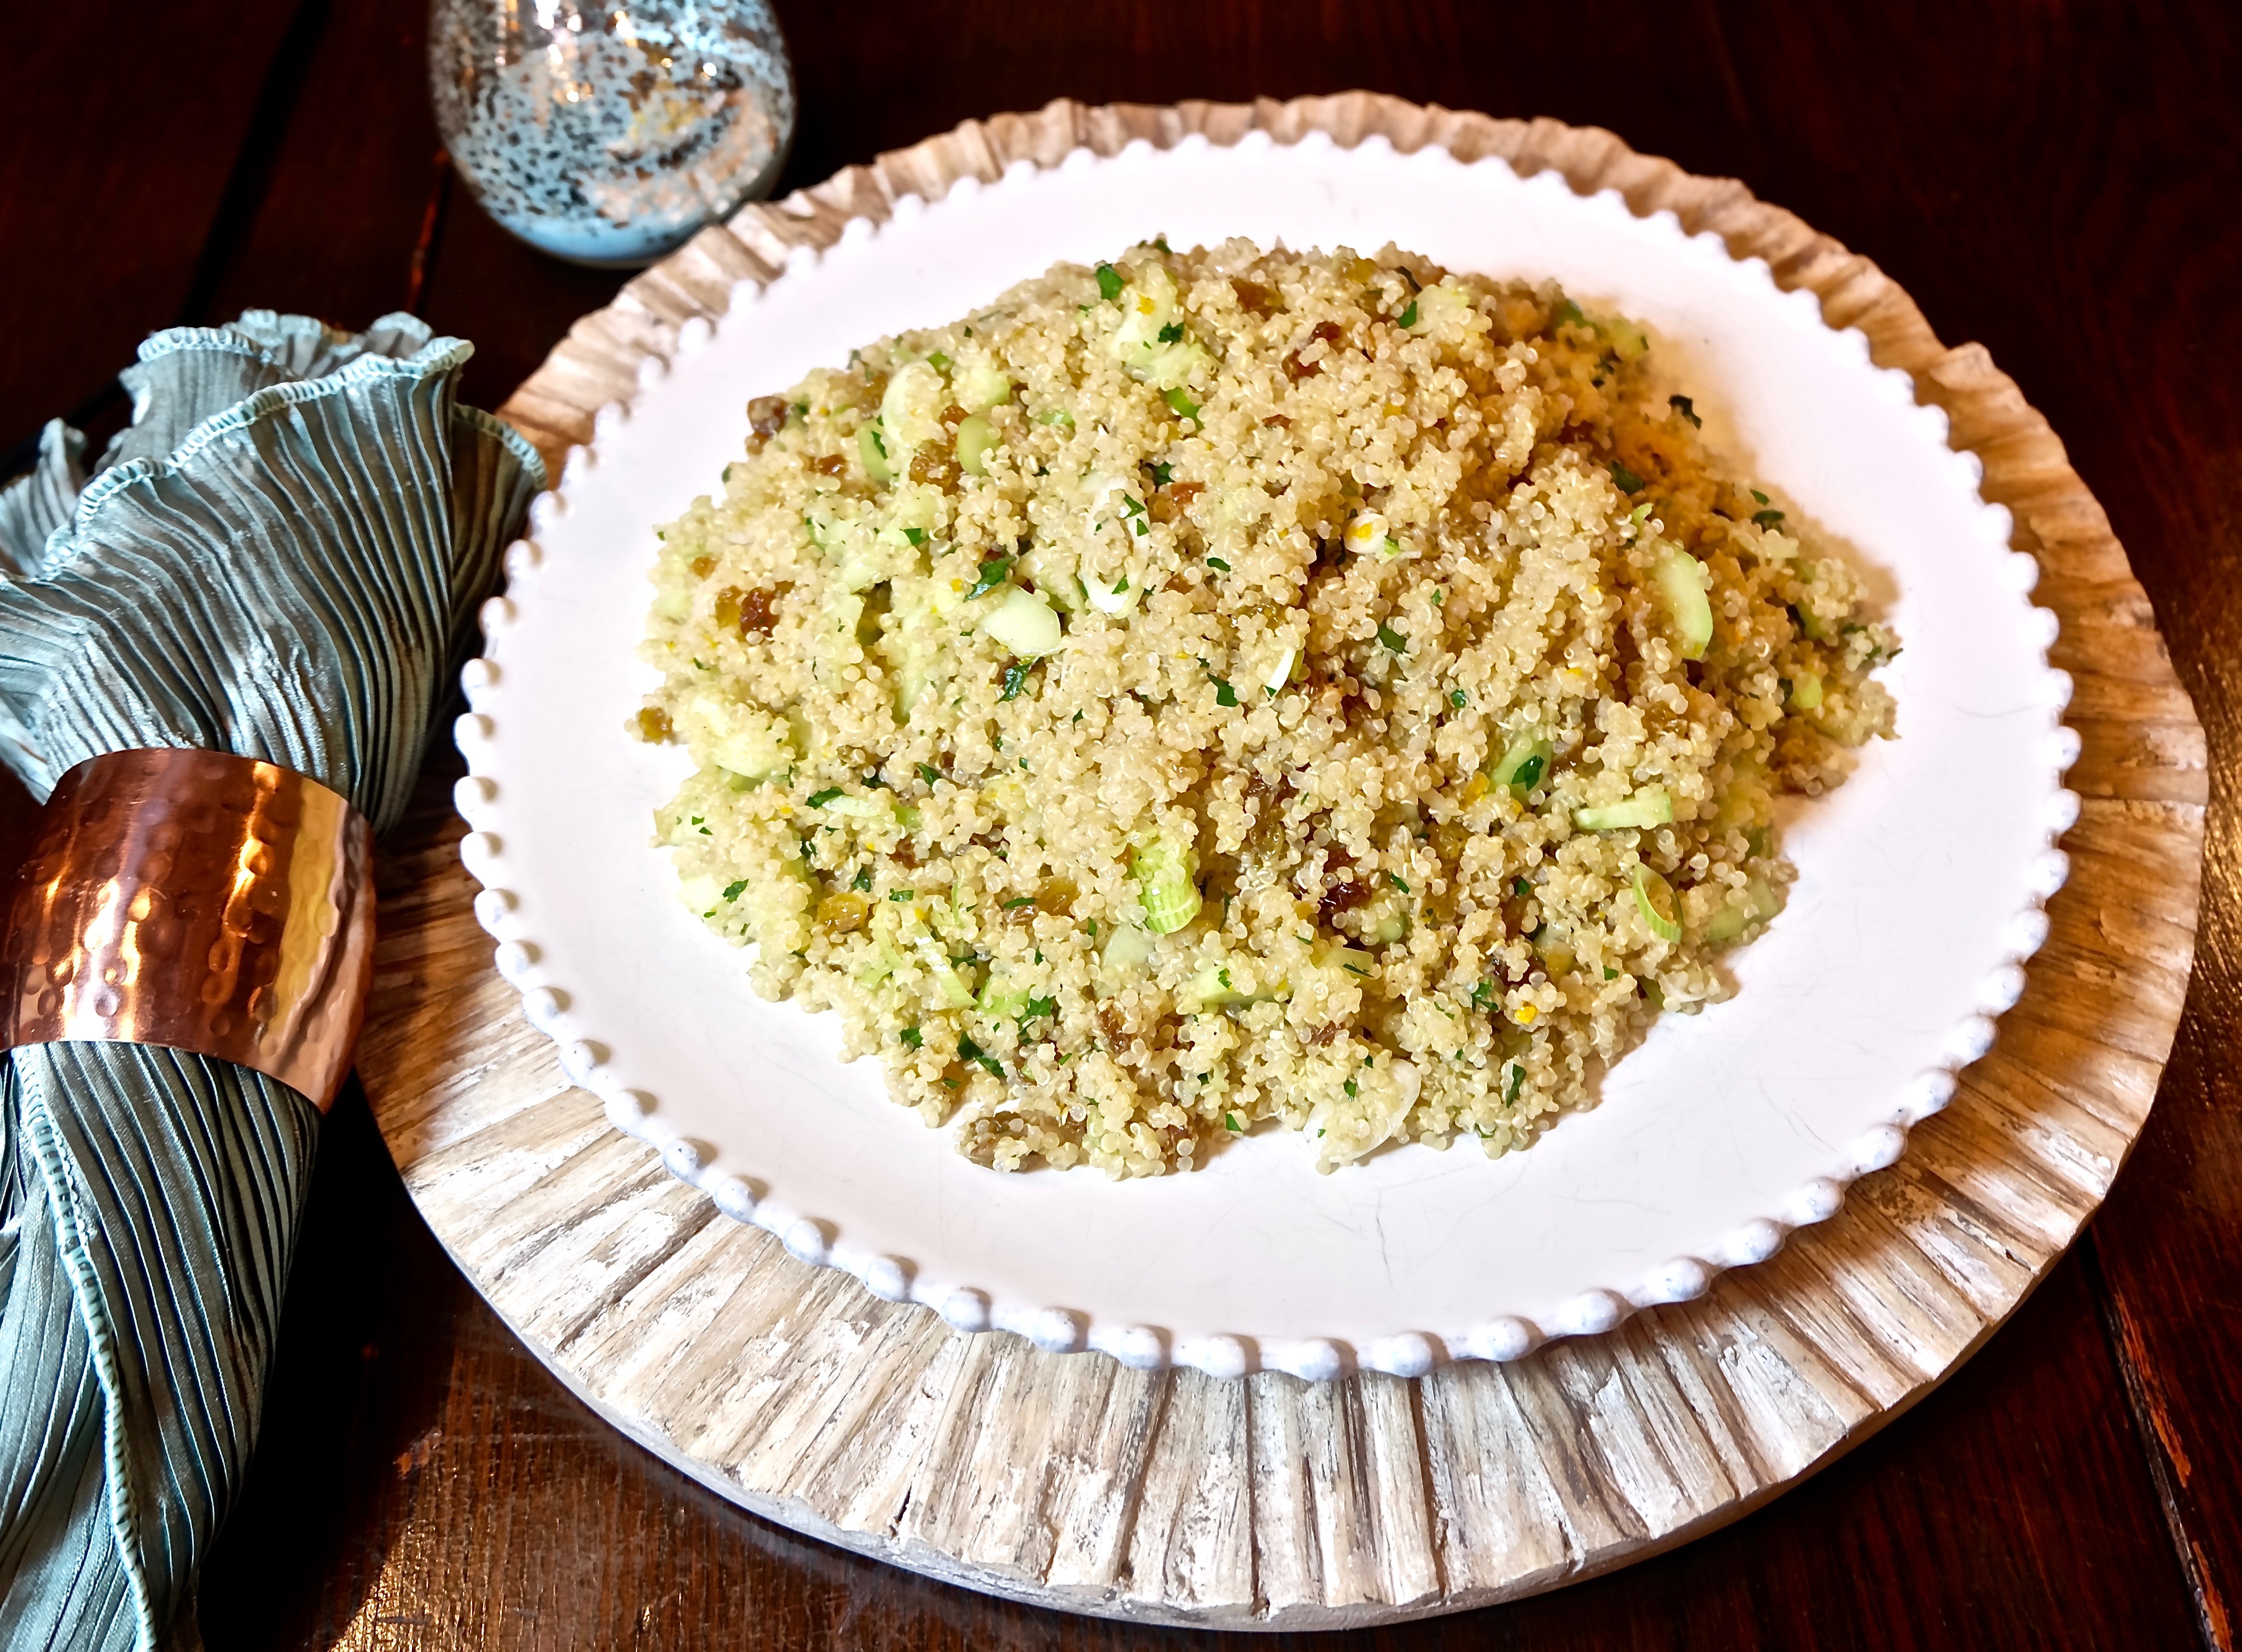
The ingredients in this recipe piqued my interest and I found them very appealing. Together with the quinoa, I knew they would be delicious.

I would save it for a side dish in the spring or summer. It just had a very, light, easiness to it that seemed like it would be great on a warm, sunny day.

The combination of the rice vinegar, orange zest and fresh orange juice give it an inviting mellow appeal. The quinoa completes this recipe with its healthy nutty taste. 

Quinoa has become a favorite among many cooks today, It is versatile and marries well with all kinds of ingredients.

This recipe is courtesy of Food Network Kitchen.

If you want something different, this dish is just for you.

Ingredients for the Quinoa

2 cups quinoa
2 1/2 cups chicken broth
4 scallions
1/2 cup chopped raisins
2 tbsp. rice vinegar
1/2 cup freshly squeezed orange juice
1 tsp. grated orange zest
2 tbsp. extra-virgin olive oil
1/4 tsp, ground cumin
1 cucumber, peeled, halved, seeded and chopped
1/2 cup fresh flat-leaf parsley, chopped
1  1/2 tsp. kosher salt
1/2 tsp. pepper

Today’s Hint: You should invest in one bottle of high quality olive oil. Use it only when making salads or for the finishing touch on pasta, fish or meat. It really brings out the flavor with just a small drizzle!

golden ingredients

Place the quinoa in a fine-mesh sieve and rinse under cold water until the water runs clear.

Bring chicken stock to a boil in a saucepan over medium-high heat.

Add the quinoa and return to a boil.

Reduce the heat to  low, cover, and simmer the quinoa until it has expanded fully, about 20 to 25 minutes.

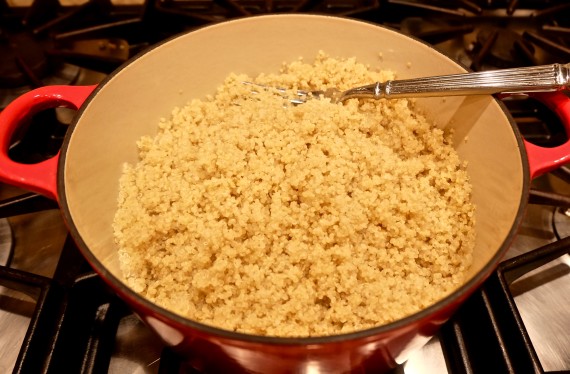
Uncover, fluff with a fork and set aside to cool.

golden sunshine quinoa fluff

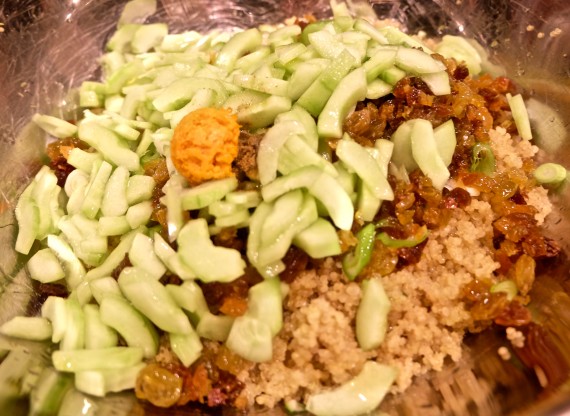
Place the cooled quinoa in a large bowl. Add the raisins, rice vinegar, scallions, orange juice and zest, olive oil, cumin, cucumber and parsley and toss to combine.

golden quinoa mix

Season with salt and pepper.

Cover with plastic wrap and refrigerate until cold, then serve.

It’s that simple!

signature

[recaptcha]


My niece, Leslie, gave me this recipe a long time ago. I was reluctant to try it as I wasn’t confident how all the ingredients would combine and taste.

How I wish I had made this recipe sooner! It is delicious and definitely a “keeper”. I am putting it on my Thanksgiving menu for this year.

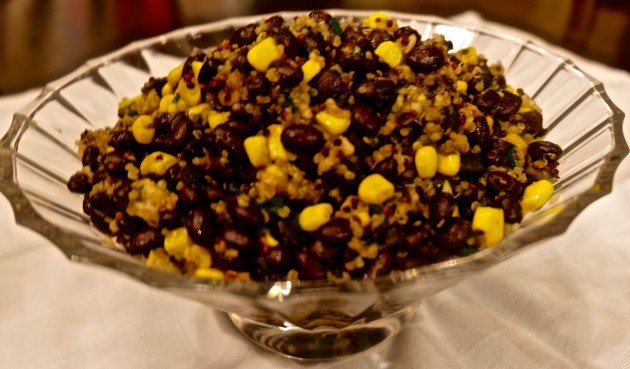
This is a healthy, yet hardy dish. The ingredients blend together to make a savory side dish that will leave your guests wanting more.

It has a little “kick” to it, so feel free to adjust the amount of the cayenne pepper to your liking.

We liked it exactly how it is.

This recipe is adapted from allrecipes.com. I substituted chicken broth for vegetable broth and added some extra garlic (the original recipe called for 3 cloves of garlic). You could certainly adjust it back to the original if you prefer.

Whatever you choose, this recipe is just plain scrumptious!

I just want you all to know that I will be on vacation until the 13th. I will not be posting while I am away.

Have a good week! I will be back soon!

Ingredients for Quinoa and Black Beans

3 tbsp. olive oil
1 onion, chopped
5 cloves of garlic, chopped
3/4 cup of uncooked tri-color quinoa
1 1/2 cups chicken broth
1 tsp. of ground cumin
1/4 tsp. cayenne pepper
1 tsp. kosher salt, plus 1 tsp. reserved
1/2 tsp. pepper, plus 1/2 tsp. reserved
1 cup frozen corn kettles
2 (15 ounce) cans black beans, drained and rinsed
1/2 cup chopped fresh parsley or cilantro

Heat the oil in a medium saucepan over medium heat. 

When hot, add in the onions and cook until slightly browned (about 6-8 minutes).

quinoa onoins

Add in the garlic and let cook for 1 minute.

Mix the quinoa into the saucepan and pour in the chicken broth. Season with the cumin, cayenne pepper, 1 tsp. kosher salt and 1/2 tsp. pepper.Bring the mixture to a boil.

quinoa quinoa and herbs

Cover, reduce heat to low and let simmer for 20 minutes.

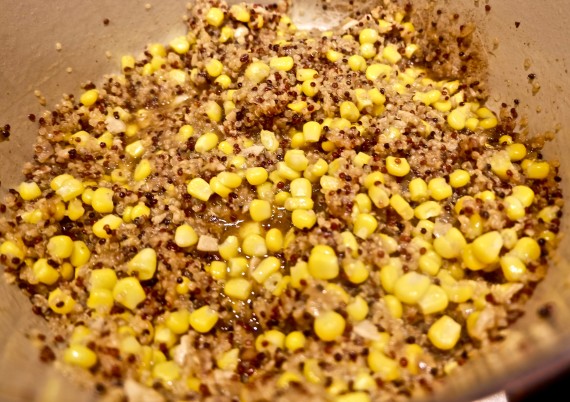
Stir the frozen corn into the saucepan, and continue to simmer for about 5 more minutes until heated through.

quinoa with corn

Mix in the black beans and parsley (or cilantro).

You are going to love this one! I hope you enjoy!

It’s that simple!

signature

[recaptcha]