I talk a lot about the benefits of vegetables, but I’d like to take a few moments today and talk about fruit.   Though we think of fruit as a treat, fruit is also extremely healthy.  Most of the fruits we eat are naturally low in fat, sodium, and calories, so they’re a great choice for a snack. None of them have cholesterol, so those with dietary restrictions around cholesterol can partake too.

We can also get a large amount of potassium from fruits like bananas, prunes, dried peaches or apricots, cantaloupe, honeydew melon, and orange juice. Be careful of the orange juice that you buy in the store. Some brands have a high level of sugar and preservatives. If you can, squeeze your own orange juice from fresh oranges, or look for fresh squeezed juice at your farmer’s market. This will give you a boost in potassium without the additives.

Fruit has loads of fiber, which we know is essential to dietary health. Fiber helps reduce blood cholesterol levels, and may lower risk of heart disease. It also helps to control constipation and other bowel related problems. When you eat a lot of fiber, it provides a feeling of fullness. Be aware that fiber comes from the actual material of the fruit, so fruit juices contain very little.

Fruits contain high levels of vitamin C. This vitamin helps in growing and repairing body tissues, healing cuts and wounds, and keeping our teeth and gums healthy.

Most important, eating these natural treats will set a good example for your friends and family. With kids especially, it is important to teach good, healthy eating habits when they are young. Start when they are babies and you will create healthy habits that will last a lifetime.  Even for picky adult eaters, there are ways  to incorporate fruits into your diet– including a delicious dessert like this one.

With this special treat, we can have fruit and dessert together. The cream cheese ensures that this treat is creamy and smooth. The pineapple is a sweet delight that combines beautifully with the cream cheese. It is not too sweet, and the graham cracker crust is the perfect home for delicious tidbit. The whipped cream adds even more lovely sweetness.  The perfect ending to any good meal.

This recipe is courtesy of I am Baker and will serve 12 lucky people.

Ingredients for Pineapple Upside Down Cake:

For the Topping:

1/4 cup unsalted butter, melted
1/2 cup packed light or dark brown sugar
810 pineapple slices if using canned pineapple, 3 to 4 slices if using fresh
1520 maraschino cherries

For the cake:

1 and 1/2 cups cake flour (spooned and leveled)
1 teaspoon baking powder
1/4 teaspoon baking soda
1/2 teaspoon salt
6 tablespoons unsalted butter, softened to room temperature
3/4 cup granulated sugar
2 large egg whites, at room temperature
1/3 cup sour cream, at room temperature
1 teaspoon pure vanilla extract
1/3 cup whole milk, at room temperature

 
For the Topping:
 
Pour 1/4 cup melted butter into an ungreased 9×2 inch pie dish or round cake pan. (Make sure the pan is 2 inches deep.
 
Sprinkle brown sugar evenly over butter.
 
Blot any excess liquid off the fruit with a clean towel or paper towel. (The wetter the fruit, the more likely the cake could overflow or the topping could seep over the sides when inverted.)
 
Arrange about 6-7 blotted pineapple slices and all the cherries on top of the brown sugar. 
 
If using fresh pineapple, 3 or 4 slices should do.
 
Place maraschino cherries in the center of pineapple rings.
 
 
Place pan in the refrigerator for a few minutes as you prepare the cake batter.
 
This helps solidify or “set” the topping’s arrangement.
 
Make the cake batter:
 
Whisk the cake flour, baking powder, baking soda, and salt together.
 
Set aside.
 
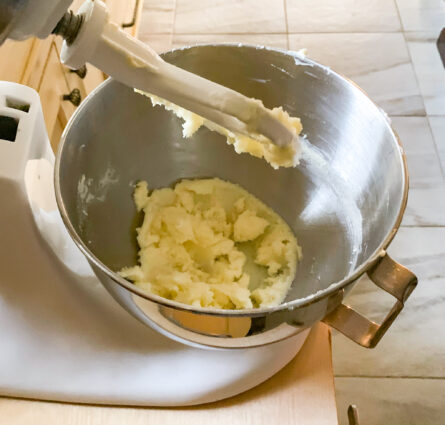
Using a handheld or stand mixer fitted with a paddle or whisk attachment, beat the butter on high speed until smooth and creamy, about 1 minute.
 
Add the sugar and beat on high speed until creamed together, about 1 minute.
 
Scrape down the sides and up the bottom of the bowl with a rubber spatula as needed.
 
 
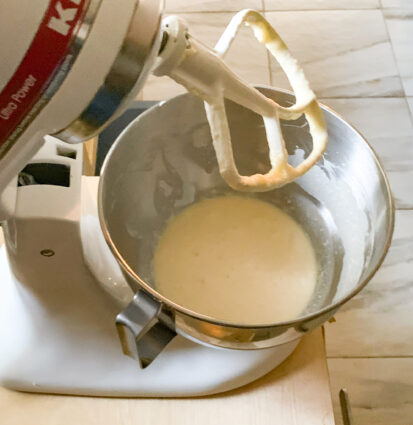
On high speed, beat in the egg whites until combined, then beat in the sour cream and vanilla extract.
 
Scrape down the sides and up the bottom of the bowl as needed.
 
 
Pour the dry ingredients into the wet ingredients.
 
Turn the mixer onto low speed and as the mixer runs, slowly pour in the milk.
 
Beat on low speed just until all of the ingredients are combined.
 
 
Do not over-mix.
 
You may need to whisk it all by hand to make sure there are no lumps at the bottom of the bowl.
 
The batter will be slightly thick.
 
Remove topping from the refrigerator.
 
Pour and spread cake batter evenly over topping.
 
 
Bake for 43-48 minutes, tenting foil on top of the cake halfway through bake time to prevent the top from over-browning before the center has a chance to fully cook.
 
The cake is done when a toothpick inserted into the center of the cake comes out mostly clean– a couple moist crumbs are OK.
 
Don’t be alarmed if your cake takes longer or if the cake rises up and sticks to the foil. (We serve the cake upside down anyway!)
 
Remove cake from the oven and cool on a wire rack for just 20 minutes.
 
 
Invert the slightly cooled cake onto a cake stand or serving plate.
 
Some of the juices from the topping will seep over the sides– that’s ok.
 
You can slice and serve the cake warm, but the slices will be messy.
 
The author finds it is best to cool the cake completely at room temperature before slicing and serving.
 
Do not refrigerate the cake to speed up the cooling process because it could end up tasting overly dense.
 
Cover leftover slices and store for up to 3 days in the refrigerator or 3 months in the freezer.
 
Thaw at room temperature.
 
The author does not  recommend freezing the cake as a whole because the topping arrangement doesn’t thaw very nicely. 
 
It’s that simple!
 
signature

[recaptcha]


Fall can only mean one thing: comfort food!  We get to go apple and pumpkin picking, which is great, but we get to make some amazing, sweet dishes: caramel apples, pumpkin pie, and the classic New England apple pie.  We also get to look forward to watching the leaves change, breaking out our scarves, boots, sweaters. and gloves. You know Christmas is just around the corner, and in the meantime, you have Halloween and Thanksgiving to look forward to. The whole world turns orange for a few lovely months: all the sweaters, scarves, pumpkins, gourds, and decorative household items– not to mention the leaves on the trees. 

Normally, the spring weather is unpredictable, it can be cold or rainy. The Summer brings us hot and humid weather, which leaves us scrambling for cool air-conditioning and outdoor pools. In the Fall, you wake up to beautiful, sunny days that are just perfect. The days are warm and the nights become deliciously cool. I look forward to the nights with just a bit of chill in the air. Personally, I love the contrast of the warm, sunny, clear days and the coolness of the nighttime.

It’s also time we get to light our fireplaces, soaking in the wonderful smell and beauty of the fire. I love curling up in a cozy chair by the fire and catching up on my favorite magazine or a good book. Though I do not like the cold weather at all, I deal with it much better with the warmth and coziness of the fire.  Outside, you can catch the smell of other fireplaces burning, and you know Fall has officially arrived. 

Some people think of the New Year as a time for beginnings, but for me it is the Autumn season. There are so many things to look forward to before the New Year even comes. Hopefully for all of us, it will bring in a new year of health, not having to think about covid, and doing all the things we love to do that have been put on hold. Here’s hoping.

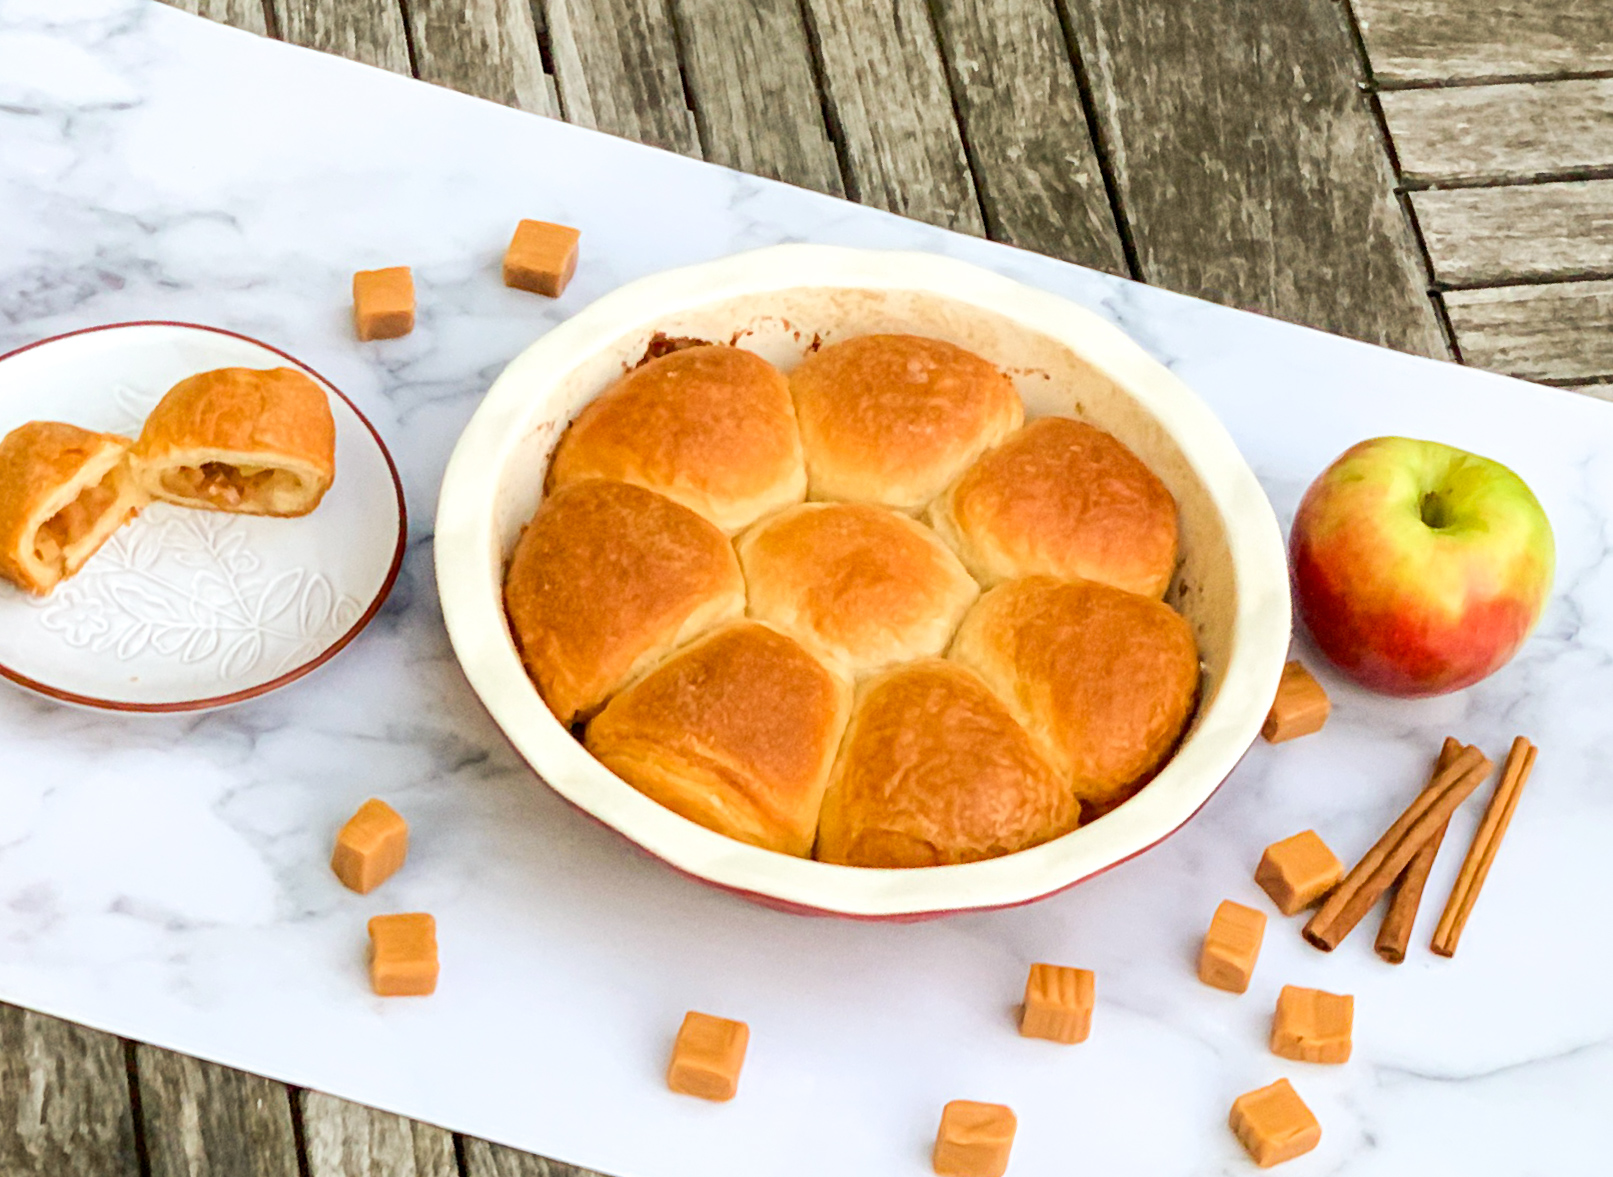
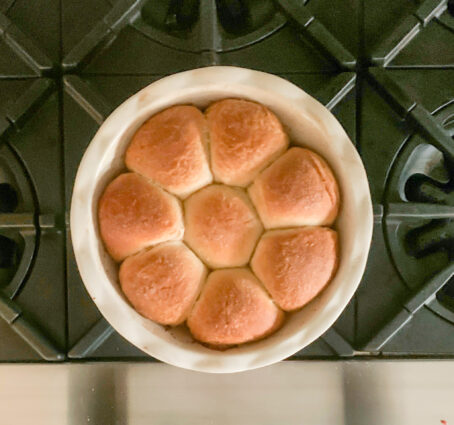
This is a perfect Autumn treat. Apples, cinnamon, and brown sugar shouts “Fall” in so many ways. I love the simplicity of this recipe. You probably have all the ingredients in your pantry, and if you don’t, they should be easy to find in stores. The apples are delicately prepared with the sweetness of brown sugar, cinnamon, and caramel. They are then housed with delectable biscuits, making each bite a wonderful mix of savory goodness, that screams autumn to all our senses. It is then topped with an amazing glaze, completing this snack and making us want just one more.

This recipe is courtesy of Delish and will make 8 biscuits– all perfect for eating around a fire.

Ingredients for Caramel Apple Bombs:

For the apples:

Cooking spray
1 tablespoon butter, plus 2 tbsp melted butter
2 apples, finely chopped
2 tablespoon brown sugar
1/2 teaspoon cinnamon
Pinch of kosher salt
1 (16.3-oz) can refrigerated biscuit dough
8 caramel candies
1/3 cup cinnamon sugar

For the glaze:

3/4 cup powdered sugar
2 tablespoons cream

Make the apples: 

Preheat oven to 350° and grease a medium cooking dish with cooking spray.

In a medium skillet over medium-high heat, melt 1 tbsp butter.

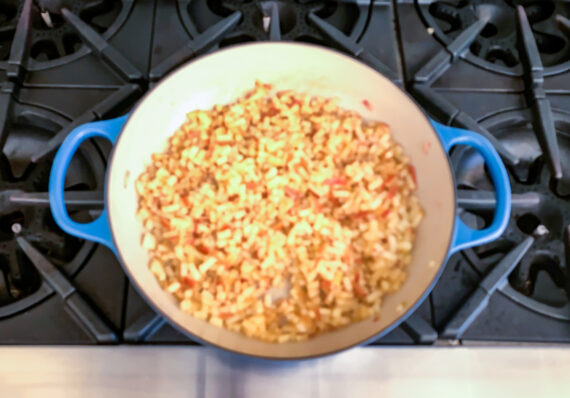
Add apples, brown sugar, cinnamon, and salt.

Cook until apples are tender, about 5 minutes.

Set aside.

Remove biscuits from can and stretch slightly.

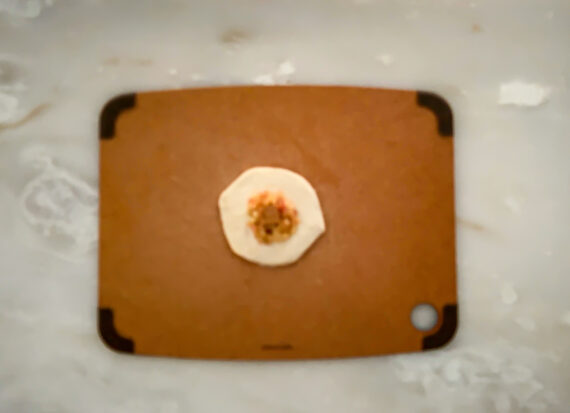
Add one caramel candy and a large scoop of apple mixture to the center of a biscuit.

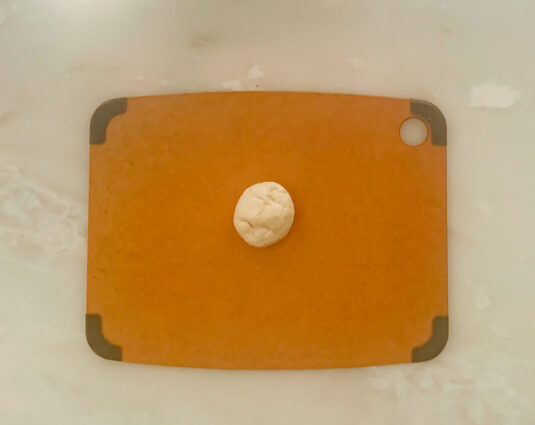
Create a ball, pinching together the loose ends of biscuit dough.

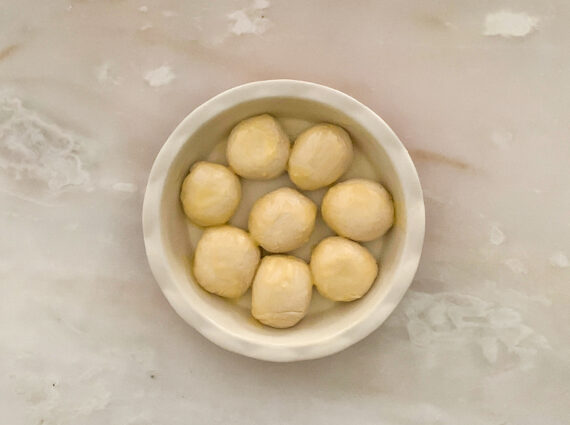
Place into a cooking dish and brush with melted butter.

Sprinkle with cinnamon sugar.

Bake until golden, 30 to 35 minutes.

Make the glaze:

Mix together powdered sugar and cream in a medium bowl.

When biscuits are out of the oven, drizzle with glaze and serve.

It’s that simple!

signature

[recaptcha]


A small act of kindness goes a long way.  You may not even remember what you did, but it probably meant something to the other person.  I’ve had people offer me coupons, pay for my Starbucks order, or give me a bag so I didn’t have to buy one at the store.  Whether you hold the door open, compliment somebody’s shoes, or pick up something dropped by a child in a stroller, your forgotten altruism could be remembered.

With the holidays right around the corner, it is easy to get caught up in the stress of trying to make a grand gesture.  A lot of people get so caught up in the hype, and don’t take time to understand that we need to think more about the meaning behind the action. I have learned through the years that the things that go wrong are sometimes the funniest moments. It all depends on how you look at it. Mistakes are inevitable, and someday, maybe not in that moment, you will look back and be able to laugh. 

What are some random acts of kindness you can pay forward? 

Say please and thank you when people help you out. It really is the politest thing to do and takes no energy to do. Everyone appreciates politeness.

Do one good deed a day. If someone drops something, pick it up for them. Help an elderly person carry their groceries and put them in their car. Hold the door for someone. Just do so safely and while wearing a mask and respecting social distance.

Pay for someone’s coffee or tea. That person may be having a bad day and you can brighten it up by treating a stranger.

Let someone who is in a rush or has very few groceries cut ahead of you in line. It will make their day for sure.

Be thoughtful. If someone is having a bad day, bring them some coffee or other treat to brighten their day a little.

While driving, let somebody merge in front of you.  We all know how frustrating that endless stream of cars can be.  Help somebody out a little bit and give them a spot in line. 

If you decide to prepare this cake, save some for someone you love or care about. I am sure it will make their day, and I will tell you why.

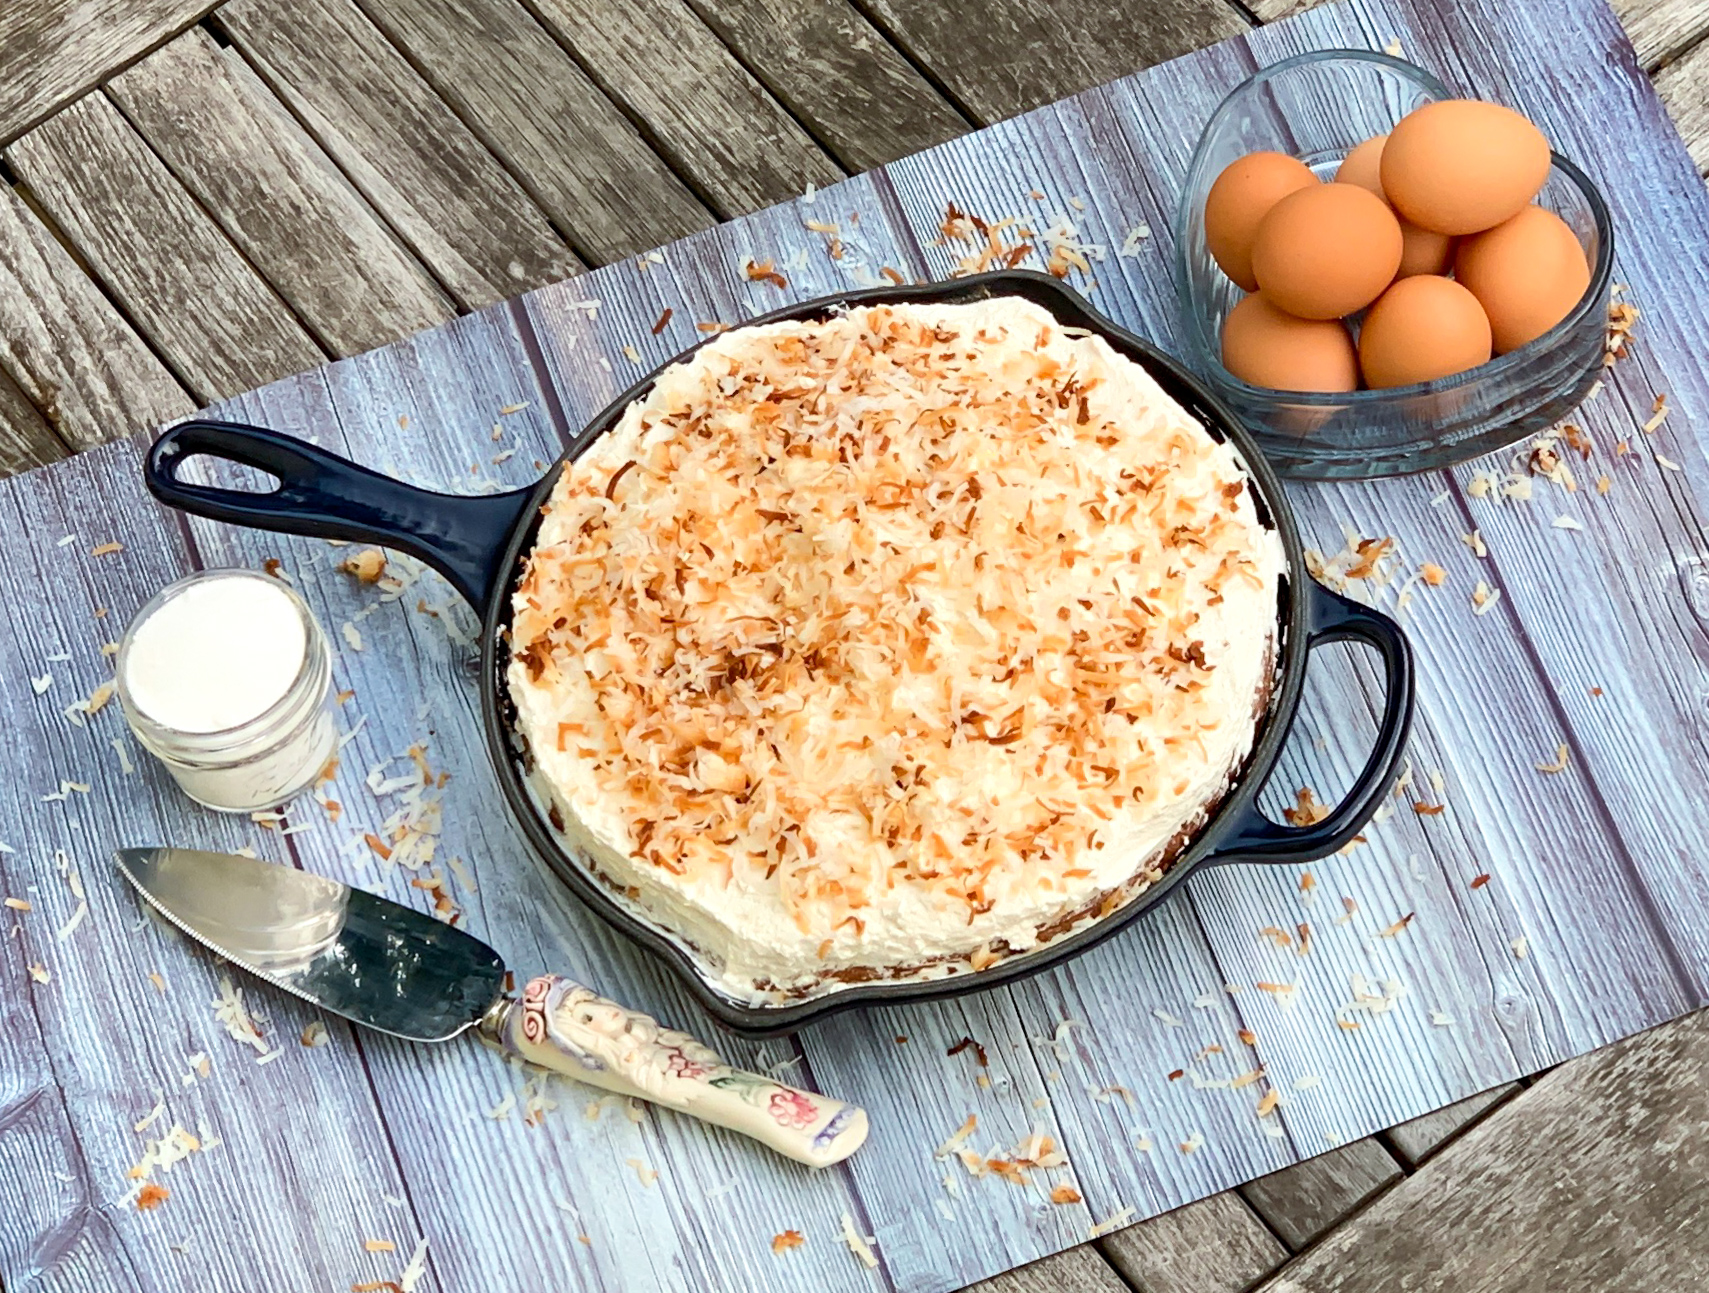
This cake is so delightful, it will cheer anyone up. The sour cream ensures that this cake is moist and delicious. It is fragrant with coconut extract and scattered with delicate coconut flakes, so every bite is heavenly. It is then topped off with delectable, sweet whipped cream and some more delightful coconut flakes. If you are a coconut lover, or know someone who is, make this cake. Think of it as being kind to yourself and someone else.

This recipe is courtesy of Bake from Scratch and will serve 6 to 8 people who will want to pass it on too.

Ingredients for Coconut Skillet Cake:

¾ cup unsalted butter, softened
1 cup granulated sugar
4 large egg yolks 
½ teaspoon coconut extract
2 cups all-purpose flour
½ teaspoon baking powder
½ teaspoon baking soda
¼ teaspoon kosher salt
⅔ cup sour cream
1½ cups sweetened flaked coconut
Sweetened Whipped Cream (recipe follows)
Garnish: toasted coconut flakes

For the Sweetened Whipped Cream:

2½ cups heavy whipping cream
½ cup confectioners’ sugar
1 teaspoon vanilla extract

Make the Cake:

Preheat oven to 375°F (190°C).

Spray a 10-inch cast-iron skillet with baking spray with flour.

In the bowl of a stand mixer fitted with the paddle attachment, beat butter and sugar at medium speed until fluffy, 3 to 4 minutes, stopping to scrape sides of bowl.

Add egg yolks, one at a time, beating well after each addition.

Beat in coconut extract.

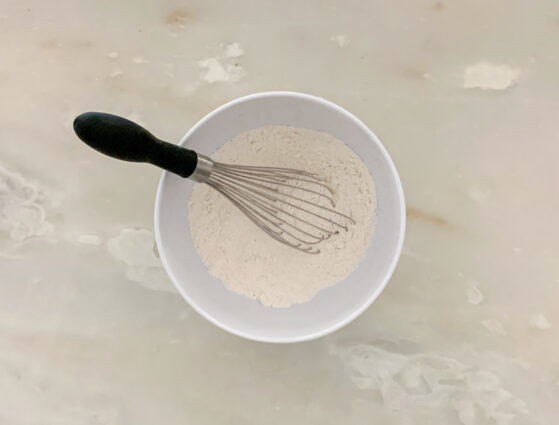
In a medium bowl, whisk together flour, baking powder, baking soda, and salt.

Reduce mixer speed to low.

Gradually add flour mixture to butter mixture alternately with sour cream, beginning and ending with flour mixture, beating just until combined after each addition.

Stir in coconut.

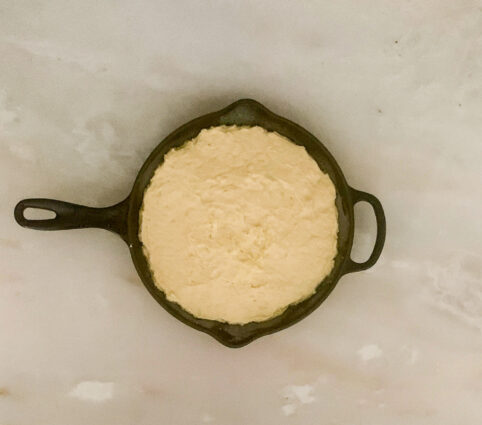
Spoon batter into prepared skillet.

Bake until a wooden pick inserted in center comes out clean, 30 to 35 minutes.

Let cool completely.

Make the Sweetened Whipped Cream:

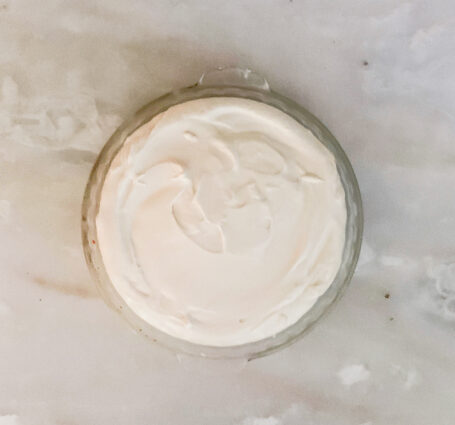
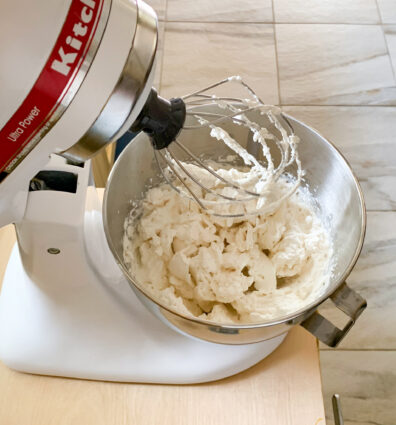
In the bowl of a stand mixer fitted with the whisk attachment, beat cream at medium speed until slightly thickened.

Increase mixer speed to medium-high, and gradually add confectioners’ sugar and vanilla, beating until stiff peaks form.

Spread Sweetened Whipped Cream onto cooled cake.

Garnish with coconut, if desired.

Cover and refrigerate for up to 5 days.

It’s that simple!

signature

[recaptcha]


How many of us have been making cookies for, like, forever? I have! Now how many of us have made perfect batches every time?  Well, that’s not me, and I doubt it’s you either.  While you may suspect that it’s bad kitchen juju that messes you up (even though you follow the directions to the letter), according to All Recipes, there are more legitimate reasons. 

If your cookies are not baking evenly, you are trusting your oven too much. All ovens have cold and hot spots– even yours. This will cause some of your cookies to come out perfectly, and others to burn. The simple solution is to rotate your cookies halfway through the cooking process to expose them to different temperatures.  The complicated solution is to get a new oven.

If you cook like me, you use eggs straight out of the refrigerator. Even if the directions do not tell you to use room-temperature eggs, you should. Cold eggs prevent the dough from aerating properly, so you won’t have air pockets to improve the texture of your cookies. If you don’t have time to allow your eggs to reach room temperature naturally, you can place them in a bowl of warm water for several minutes.

Learn to measure your flour correctly. The ole “scoop straight out of the bag” method could actually be packing way too much flour into your measuring cup. Instead, use the “spoon and level” method by spooning flour into a measuring cup and scraping off the excess with the flat side of a knife or straight edge.

You soften your butter too much or too little. Nuking the butter in the microwave can make the butter more liquid than soft. The best way to get perfectly softened butter is to let it sit out at room temperature for about 15 minutes. It should give a little when you press down on it, but it shouldn’t break, crack, or lose its shape.
You are using stale baking powder or baking soda. I’m fairly certain that the vast majority of you are guilty of this. Baking powder and baking soda act as leavening agents and give baked goods their rise. With time, they will become less and less potent, and using stale baking powder or soda will give you dense dough. A good rule of thumb is to switch out opened containers after six months, or check the expiration date before you use them.

You should chill the dough. This will get you cookies that are perfectly crisp on the outside and soft and gooey on the inside.  Chilling cookie dough in plastic wrap for up to 24 hours in the fridge allows the ingredients to mingle. It also keeps your dough from spreading in the oven. 

Your dark baking sheet is causing your cookies to burn. I once had two turkeys in the oven cooking. One in a dark pan, the other in a lighter color pan. I noticed the one in the dark pan was cooking much faster, and the top was burning even though I had it covered. This is true with cookies as well. Dark baking sheets are going to make your cookies bake faster, as they absorb more heat than light ones. So, while you don’t have to replace your baking sheets altogether, you will need to adjust the temperature if you’re using a dark colored baking sheet. Try lowering the temperature by about 25 degrees, and reducing the cooking time by about four minutes. 

Bake the cookies on the correct rack. Using the top rack of the oven (or placing your oven rack too close to the top or your oven) will result in burnt cookies. To get the most even bake, use the middle rack. This is where air is circulating, and heat is most evenly distributed. If you have more than one pan baking at once, be sure to switch them halfway through.

You overgrease your cookie sheet. Unless a recipe specifically calls for you to grease your cookie sheet, don’t do it. A greased pan can cause cookies to spread out even more, resulting in hard, thin cookies and shapeless blobs. Instead of greasing your cookie sheet, line the baking sheet with parchment paper for easy cleanup.

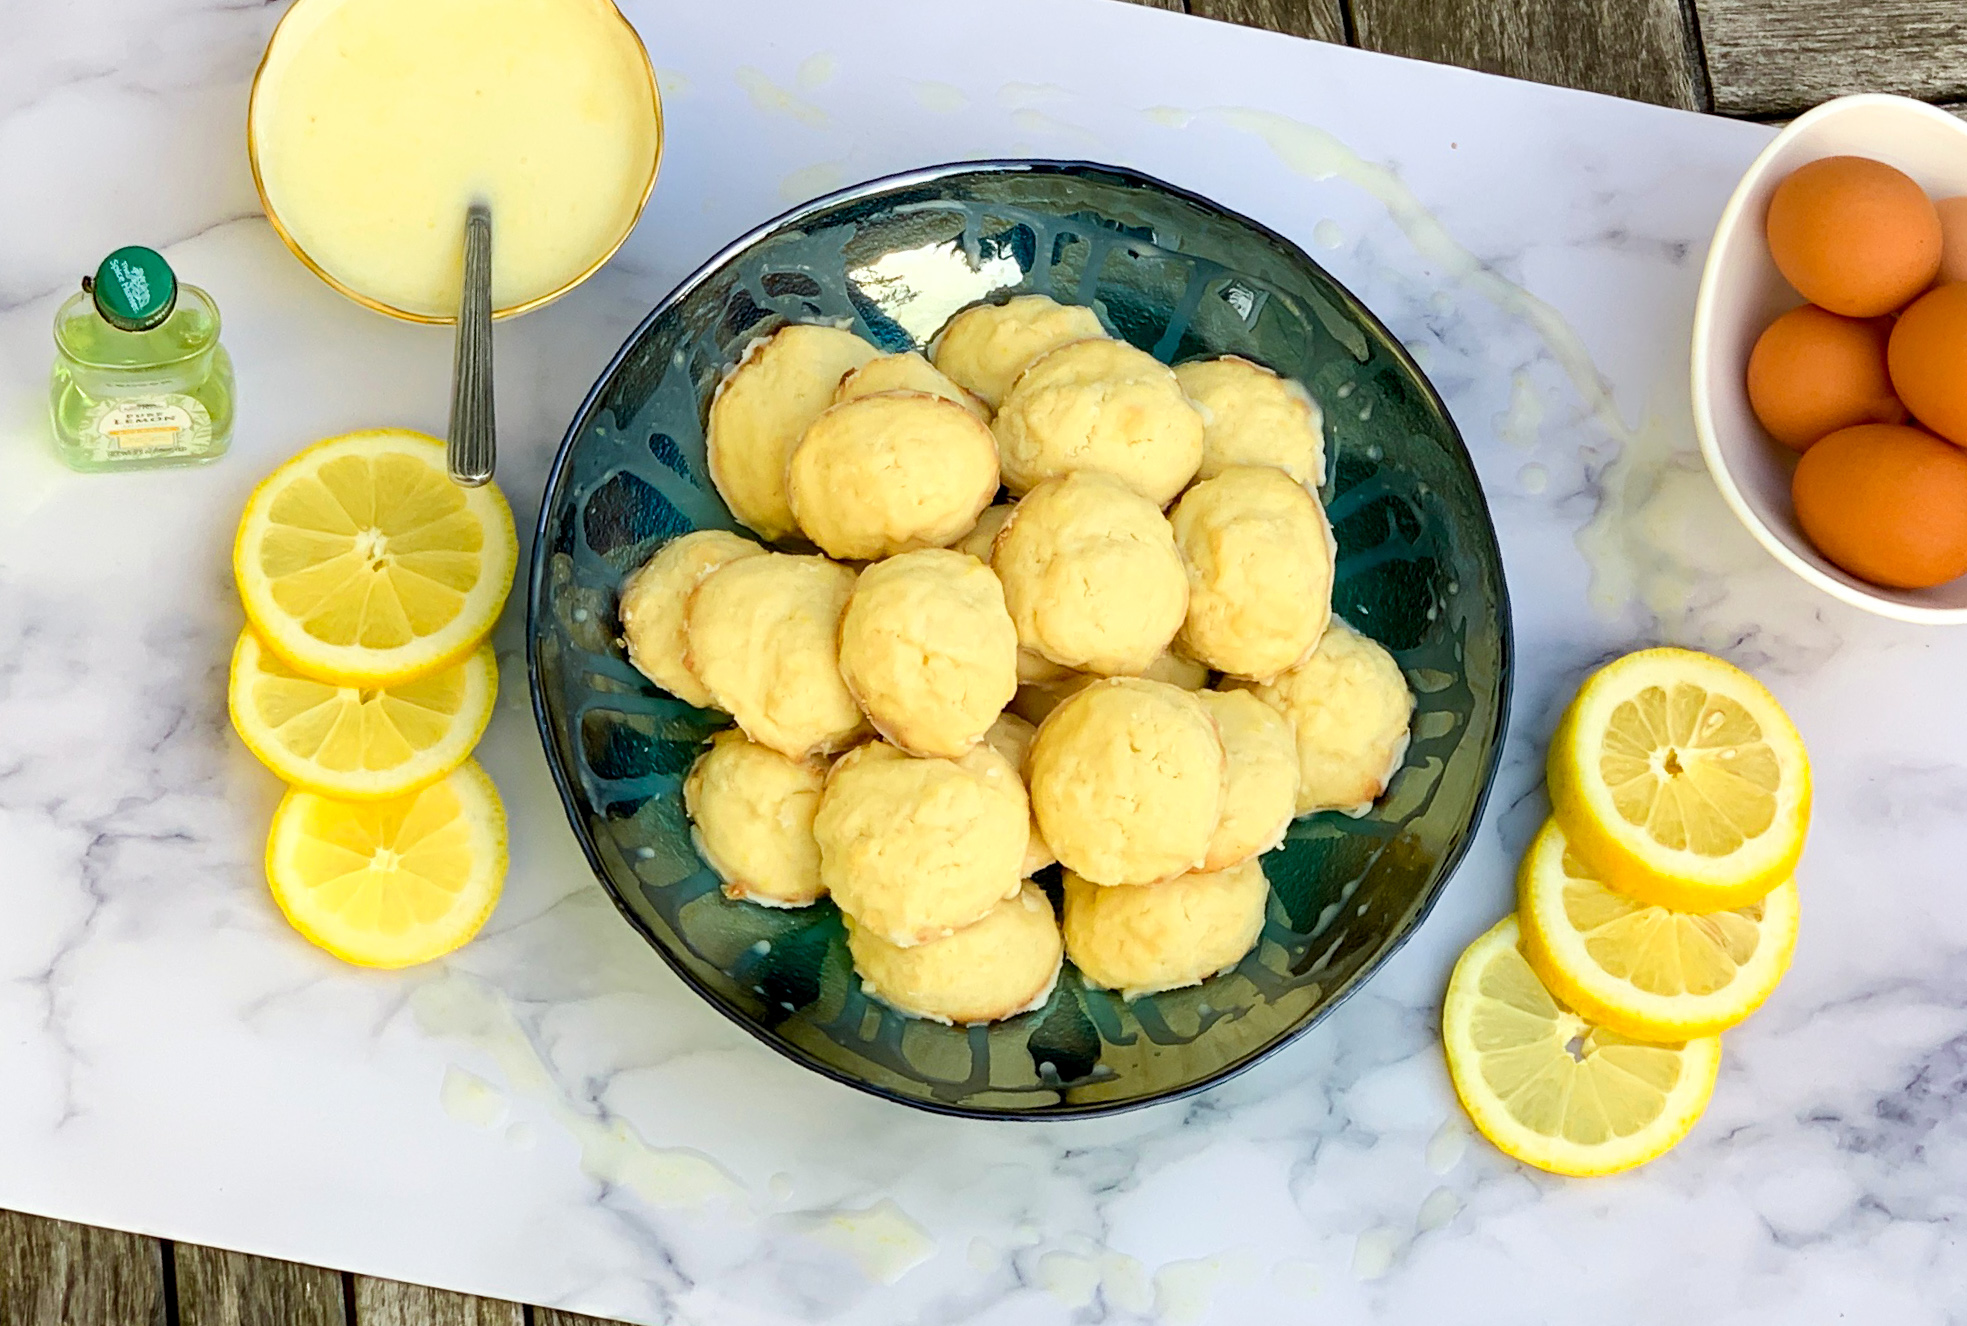
Now that we have cleared that up, let’s make a perfect batch of cookies. These cookies have ingredients you probably have in your pantry, so there is no reason not to make them. The result: deliciously baked buttery cookies with a burst of lemon flavor in every bite. They are crispy on the outside and soft and gooey on the inside. These cookies are a wonderful treat for any meal. They are also splendid for breakfast, a fast snack, or afternoon pick-me-up. They are so easy to make you can make an extra batch and give it to your friends or relatives. You will make everyone happy with these delicious little treats.

This recipe is courtesy of Allrecipes and will make 28 of the most perfect cookies you’ve ever had.

Ingredients for Lemon Cake Pound Cookies:

¾ cup white sugar
⅔ cup salted sweet cream butter, softened
2 cups all-purpose flour
2 teaspoons baking powder
2 large eggs
2 teaspoons lemon extract

For the Glaze:

1 3/4 cups of confectioners’ sugar
1/4 cup of lemon juice
Zest of one lemon (or more!)
1 tsp of salted butter

Make the cookies:

Preheat oven to 400 degrees F (200 degrees C).

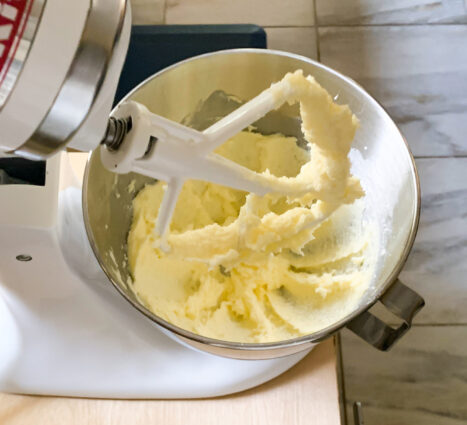
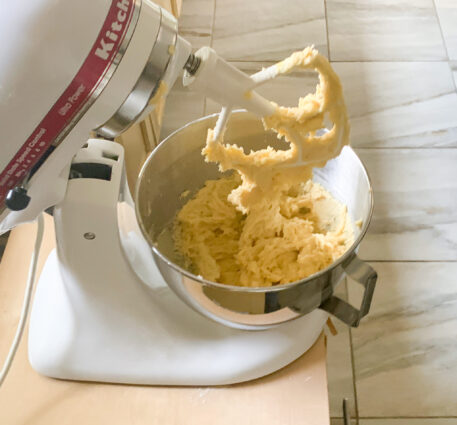
Cream sugar and butter together in a bowl using an electric mixer until light and fluffy.

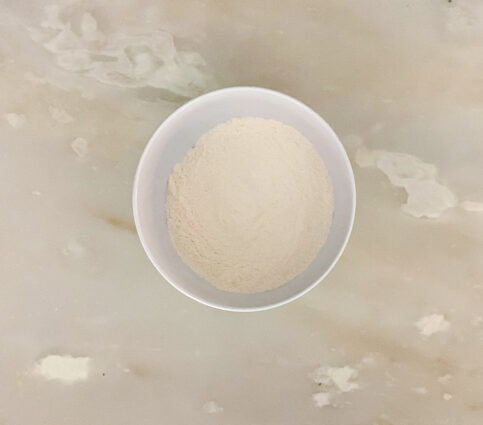
Whisk flour and baking powder together in a separate bowl.

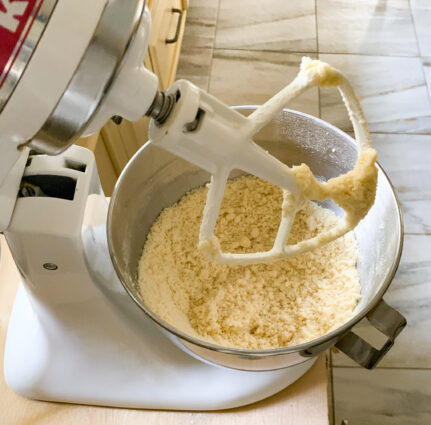
Gradually beat into creamed butter mixture until just combined.

Beat eggs, 1 at a time, into butter-flour mixture until dough is thoroughly mixed; stir in lemon extract.


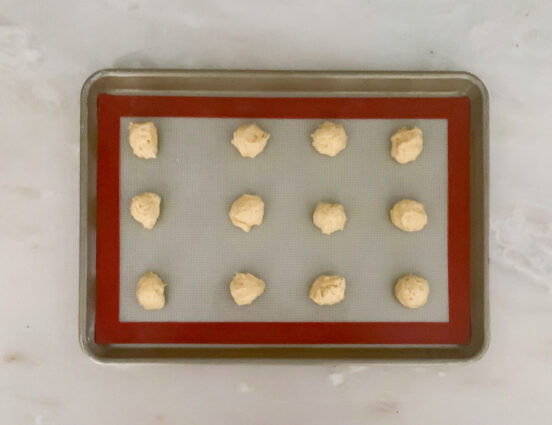
Drop small scoops of dough onto a baking sheet.

Bake in the preheated oven until cookies spring back when touched, 10 to 12 minutes.

Make the Glaze:

In a large Pyrex measuring cup, the 4 cup capacity ones are the best, combine the sugar, lemon juice and lemon zest.

Mix to combine and drizzle over cookies.

It’s that simple!

signature

[recaptcha]


One of the things I cherish most about the summer is all the wonderful, fresh fruit at our local farm stands. Fruit picked fresh from the farm just tastes so much better than the ones in our grocery stores. It smells fresher, and tastes much sweeter and more delicious.  Local orchards know their crops, which ensures that they are picked at their peak ripeness.  The flavors are noticeably better, and more true to the fruit.  They are then brought to the stand within a day or two, rather than being frozen for weeks before they arrive at the grocery store.  

When you buy locally, you get more than just better tasting fruit: the fruit is also better for you the sooner you buy it after it has been picked. When fruits are first picked, vitamins C, E, A and some B vitamins begin to deteriorate. Exposure to light and temperature changes during shipping can affect this as well, so purchasing fruit picked yesterday is better than fruit picked two weeks ago and shipped to your local store.  According to the BBC, there is not a whole lot of difference in nutrition between fresh and frozen produce, so it might well be to your advantage to freeze some summer blueberries.

Buying locally also helps to support the economy in your area and cut down on the use of fossil fuels. Instead of being paid off to your grocery store, the shipping company, and the fruit company, your money goes directly to a company in your area and supports local jobs.  And while it might take gasoline to get you over to your market (if you feel comfortable biking or walking, you can do that too, and make the whole venture even more environmentally friendly), buying from a local farm means that the produce was transported only regionally, rather than overseas.  So you get to eat good food and help to save the world– how cool is that?!

The best thing of all is that by going to the farmer’s market, you get to know your local growers.  They are some of the most kind, friendly, and knowledgeable people out there.  I encourage you to ask questions about the produce, their favorite preparations, and what might be good.  These people know the crops so well, and they can often direct you to a particular fruit or vegetable that is particularly tasty on that specific day, so keep an open mind.

 I hope I have convinced you to look for your local farmer’s market and spend your money there.  Now, when you are there, be sure to pick up some apples and blueberries for this recipe. It is worth every penny, I swear. The honey gives it a sweetness that compliments the blueberries and apples beautifully. The yogurt makes sure that this bread is moist and delicious. The cinnamon and nutmeg adds savory goodness, and you get a taste of the sweet, luscious fruit in every bite.

This recipe is courtesy of Sally’s Baking Addiction and will serve 8 people who will love enjoying the last of this summer’s blueberries.

Ingredients for Greek Yogurt Apple Blueberry Bread:

1/3 cup canola, vegetable, or melted coconut oil
6 tablespoons honey
1 large egg
1/2 cup (121g) plain Greek yogurt
1 and 1/2 teaspoons pure vanilla extract
1 cup shredded apple (about 1 apple)
1 and 1/2 cups all-purpose flour, spooned and leveled
1 teaspoon baking powder
1/2 teaspoon baking soda
1/2 teaspoon salt
1 teaspoon ground cinnamon
1/4 teaspoon ground nutmeg
1 cup  fresh or frozen blueberries (not thawed)

Preheat the oven to 350°F (177°C) and grease a 9×5 inch loaf pan. (I used parchment paper).

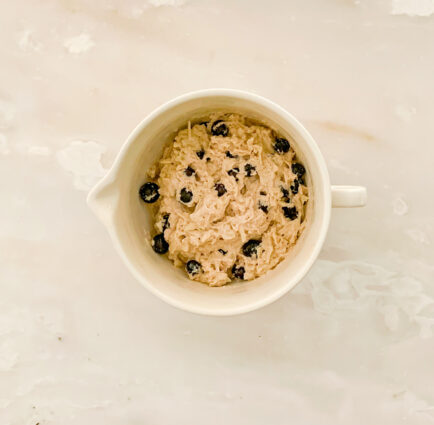
Whisk the oil, honey, egg, yogurt, vanilla, and apple together in a medium bowl until well combined.

In a large bowl, whisk the flour, baking powder, baking soda, salt, cinnamon, nutmeg, and blueberries together.

Pour the wet ingredients into the dry ingredients and mix with a large wooden spoon or rubber spatula until combined.

Avoid overmixing.

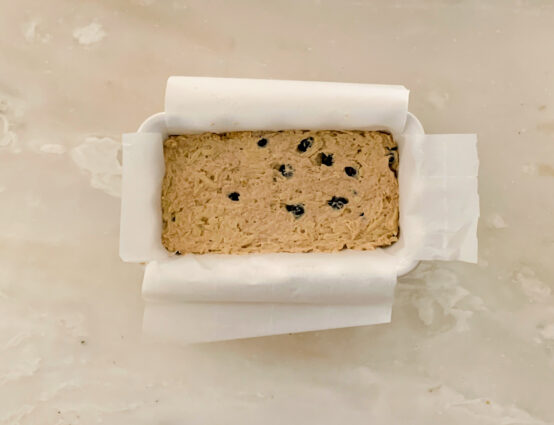
Spread batter into the prepared loaf pan.

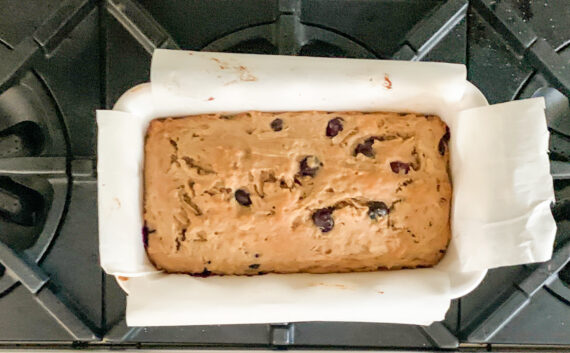
Bake for 40-50 minutes.

Baking times vary, so keep an eye on yours.

The bread is done when a toothpick inserted in the center comes out clean.

If you find the top of the bread is browning too quickly in the oven, loosely cover it with aluminum foil.

Remove the bread from the oven and set on a wire rack.

Allow to cool completely before slicing and serving.

Cover and store leftover bread at room temperature for up to 5 days.

It’s that simple!

signature
[recaptcha]