Now that the seasonal festivities are getting close, I thought it might be time to talk about how to throw a party that will leave your guests feeling happy, whether it’s a big bash, or a small family gathering.

One of my biggest pet peeves (and I am sure you all are going to agree with me) is when your guests arrive, and, though I’m sure they intend to be polite, come into the kitchen to greet me and end up lingering far too long. My guests would always gather in the kitchen while I prepared the dinner– it’s not that I disliked the company, but in a smaller kitchen, it was hard to move and work efficiently. My dining and living room are always decorated with lights, flowers, appetizers, and music, but for some reason, people drift back to the kitchen. 

You can remodel, make your kitchen bigger, try to change the space to accommodate them. For some reason, this does not really help– the kitchen has a strange gravity that is hard to escape.  People want to be someplace warm and inviting, and in most cases, that would be the kitchen. For a cook, the kitchen is a place where you can relax and focus. No fear of bumping into a table set with candles, and a place where you can put that glass of wine down, without worries of it spilling and staining anything.

Personally, for myself, I always end up in the kitchen during a dinner party or holiday that I have been invited to. The difference is that I roll up my sleeves and help, or I leave if I’m not wanted– I know how it goes, and I’m not offended. I can navigate pretty well in most kitchens, so I can assist in chopping, preparing, washing dishes, or even taking out the trash. Many of my friends are like that as well. If you’ve ever hosted a dinner, you know that no matter how organized you are, there is always room for an extra couple of hands. This is especially true for the clean-up. Don’t just sit there, get up and help! Cleaning up after a party is always a daunting task, so as many hands as you can get to help is a blessing, and it makes the work so much more enjoyable.

As for getting people out of your kitchen, I have no remedy for that. Maybe try turning up the music and putting appetizers in the living room where all the comfy seating and pillows are. You can enlist a friend to try to lure people out of the kitchen as they come in. Remove any comfort from the kitchen, like bar stools or chairs where people would tend to sit. I have a cousin, who, at every holiday would stand right in front of my ovens, which made it very difficult to maneuver my dinner in and out. 

Finally, I just had to ask, sometimes very loudly, to get everyone out of the kitchen. Most listened for a short time, but they were back in there within minutes. So, maybe we have to plan for this to happen at holidays because there doesn’t seem to be a nice way to prevent it. Maybe a sign on the door warning people that the cook bites? I really think most people want to help, so I always give them something to do, even if it’s just cutting up lemons and limes. Have them dress the salad or better yet, make the dressing themselves. Hey, if you can’t get rid of them, try to make them useful.

If you are invited as a guest to someone’s home for the holiday this year, this is one dessert I highly suggest that you make and bring over. It’s so rich and decadent– perfect for a holiday gathering. After you manage to get the crust edges to look pretty (this is not an easy task, trust me), the rest of the pie is easily whipped up. The sweetened condensed milk is always a welcome addition to any dessert. It adds a sweet flavor and a gooey texture.  The almond extract offers a rich, savory flavor that combines perfectly with the coconut. I think you’d better make two– it is easy enough to double, and there are definitely going to be people asking for seconds.

This recipe is courtesy of A Taste of Home and will serve 6 to 8 people who will want to be in the kitchen and make this with you.

Ingredients for Coconut Macaroon Pie:

1 sheet refrigerated pie crust
2 large eggs
1 can (14 ounces) sweetened condensed milk
1/4 cup butter, melted
1 teaspoon almond extract
1/4 teaspoon salt
1/4 cup all-purpose flour
1 package (14 ounces) sweetened shredded coconut

 Preheat oven to 350°.

Unroll crust into a 9-in. pie plate; flute edge.

Refrigerate while preparing filling.

In a large bowl, beat eggs, milk, melted butter, extract and salt until blended.
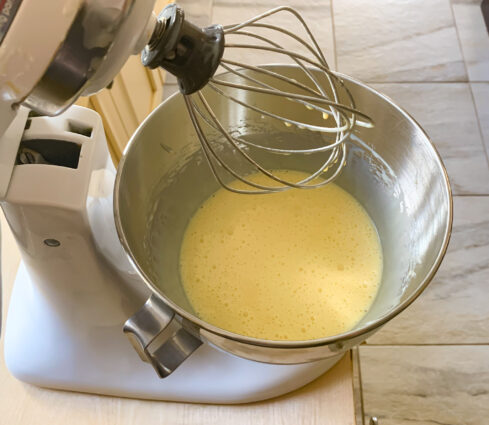
Stir in flour.
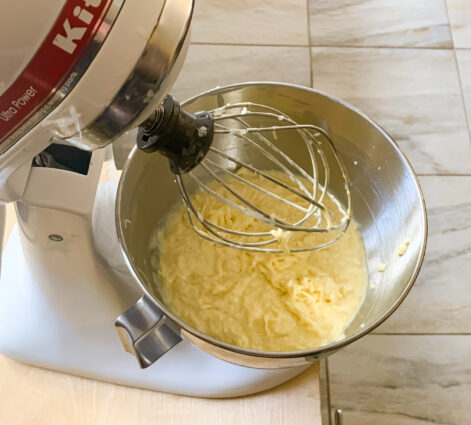
Reserve 1/2 cup coconut; stir remaining coconut into egg mixture.
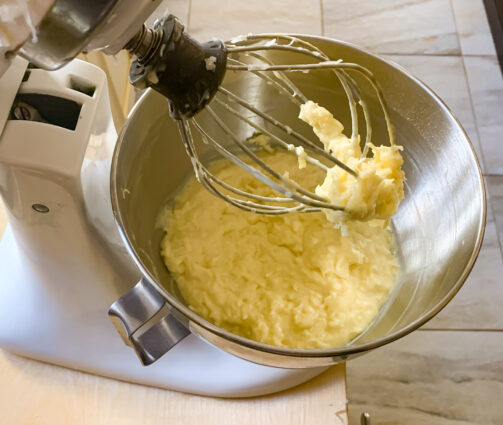
Transfer to pie crust.
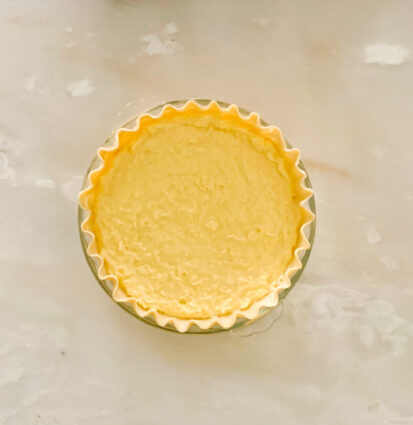
Sprinkle with reserved coconut.
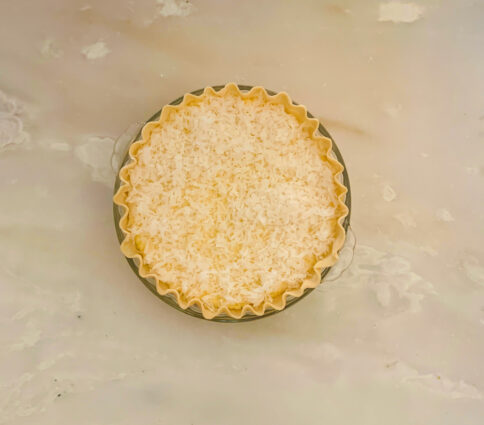
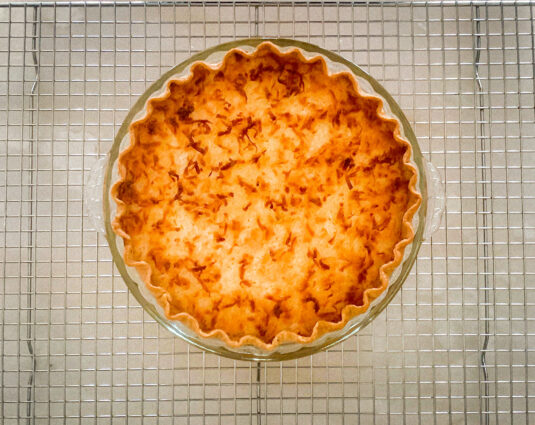
Bake on a lower oven rack until golden brown and filling is set, 35-45 minutes.

Cool on a wire rack.
Refrigerate leftovers.

It’s that simple!

signature

[recaptcha]


My mother was one of eight kids. When she was born, there was no name on her birth certificate, just “girl” Abend. It seems things were so different these days. I can’t even imagine a baby being born without a name on the birth certificate. Nowadays, married adults not only find out the sex of a child before it is born, they hold reveal parties and plan accordingly.

Even if I was giving birth now, I would not like to find out the sex of the baby before it is born. I had the chance to, with both of my kids, but I chose not to. I liked the element of surprise. When I had my first son, I desperately wanted a girl the second time. By accident, the doctor revealed the sex to my husband. When my husband told me I was having another boy, I was disappointed for a split second, but this feeling did not last long, and now I can’t imagine my family any other way.

My husband had two sisters, though he fiercely wanted a brother. I have a brother who is much older (eleven years), as well as a sister, who is five years older. By the time I was six, my brother was in college so I did not see him much. Now that we are in the same stage of life, my brother and I are very close. Because I had grown up with my sister, I assumed I would have a daughter. It never dawned on me that I wouldn’t. I knew what girls liked, but boys? I was in the dark about what their needs were.

Fortunately, because I had my first son, I was a quick learner and loved every minute of raising the second boy. My husband was secretly thrilled that my older son would have a brother. I, too, was happy, and hoped they would grow up to be close. So, while I may have accidentally found out I was having a second son, I quickly understood what a blessing it was. Finding out would not have made any difference in how I raised him. Every child is different, and I loved raising my boys (err…men). Once they put that child in your arms, it is pure love, no matter what the sex.

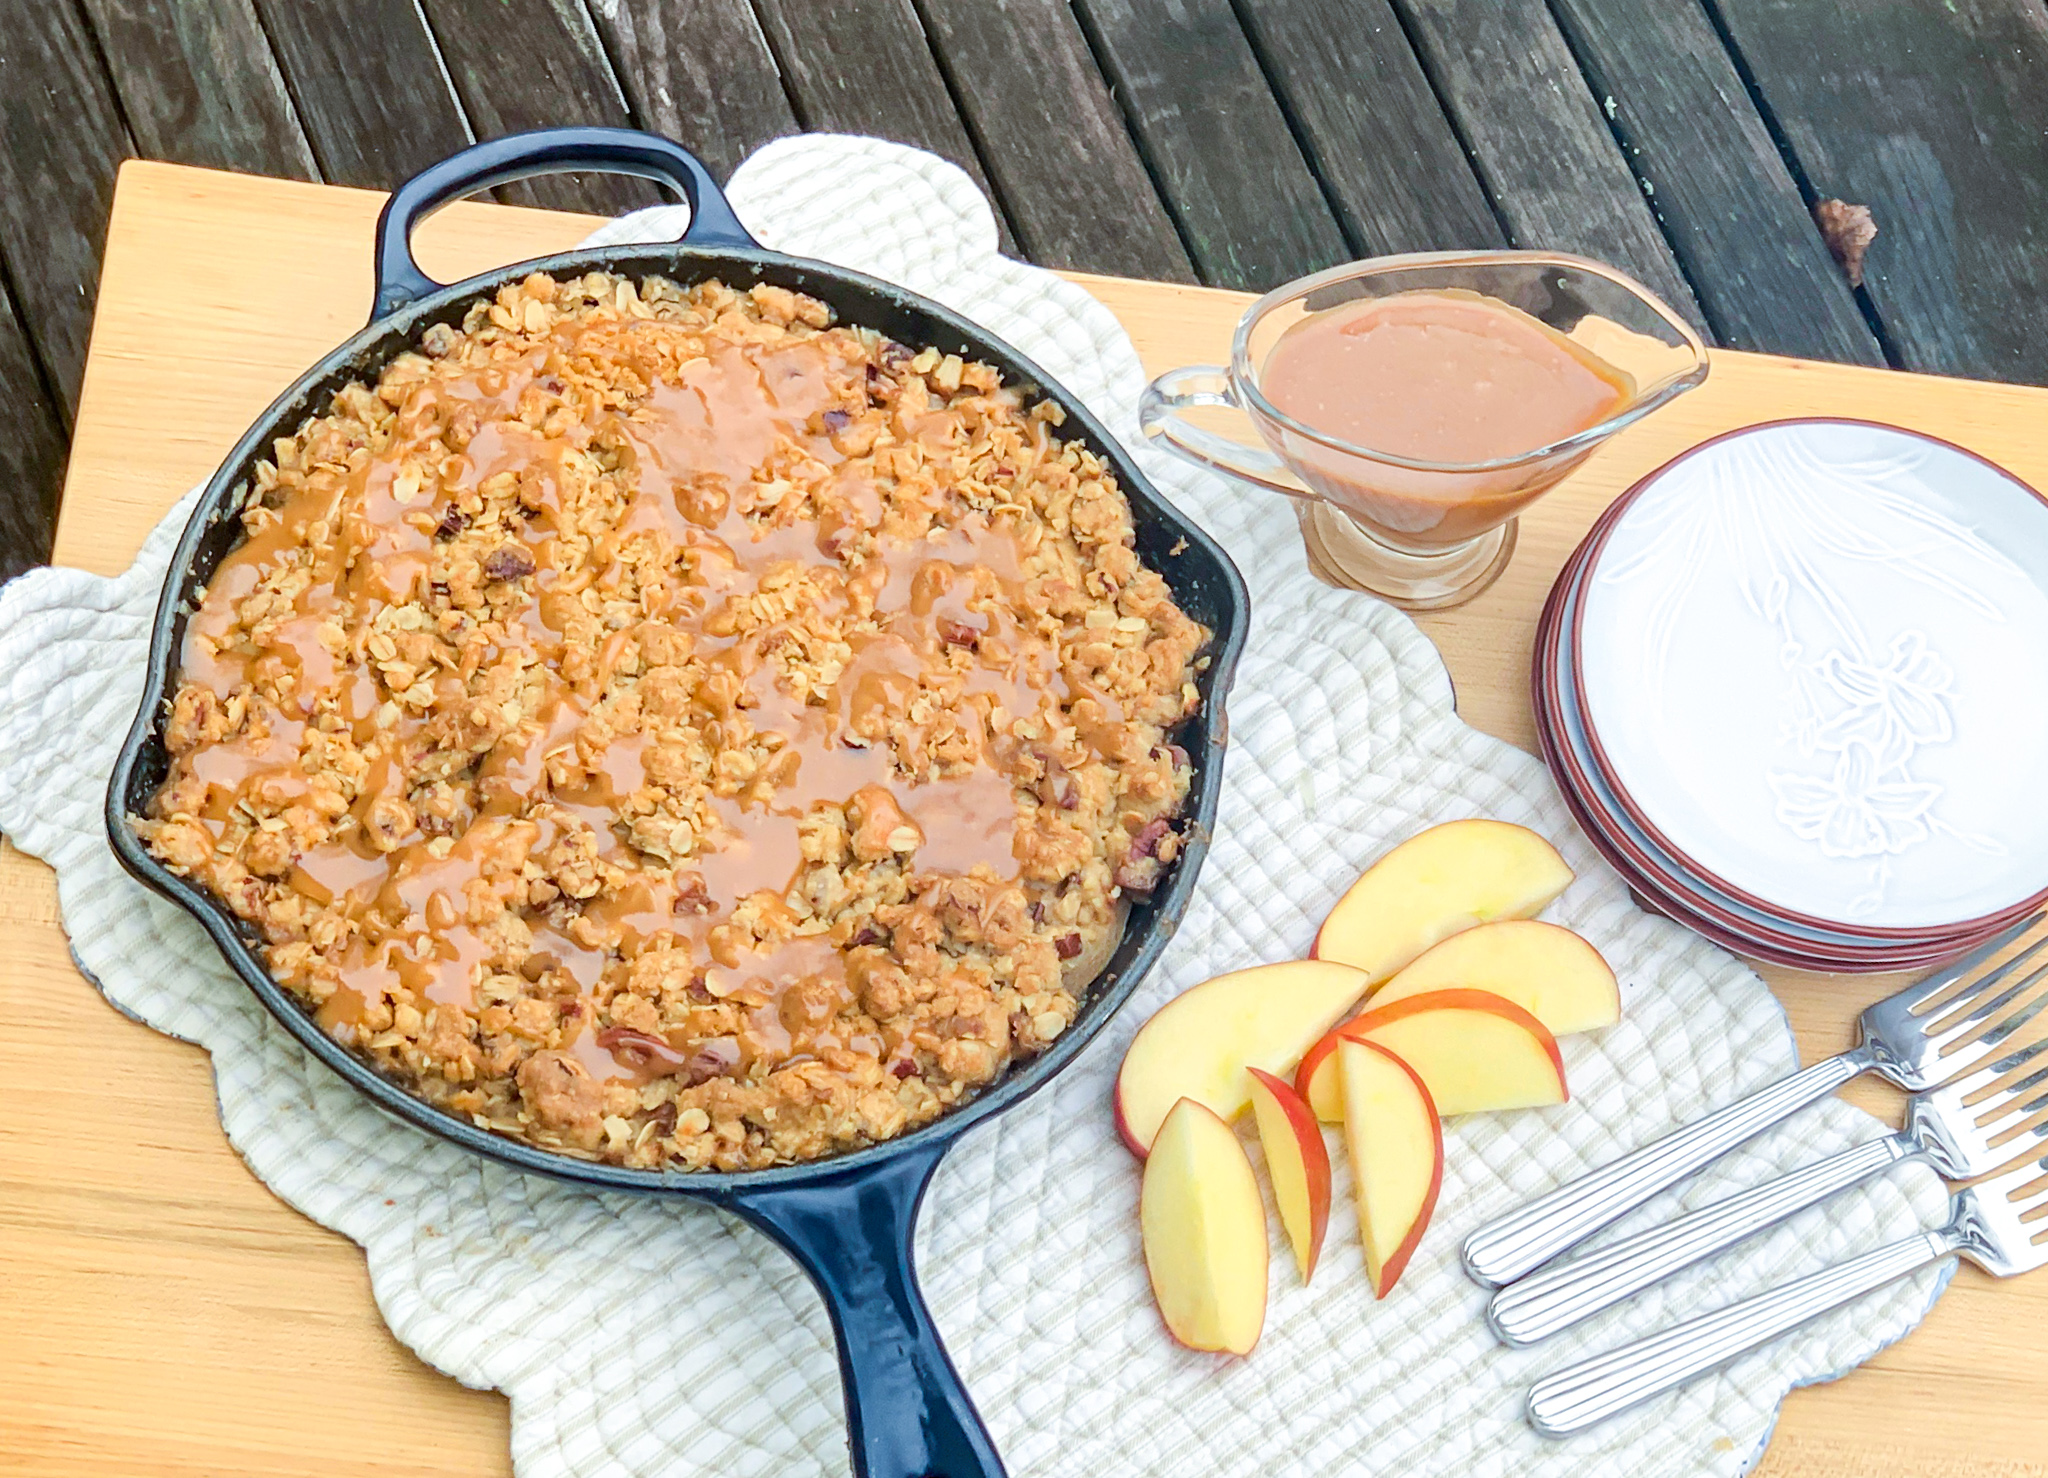
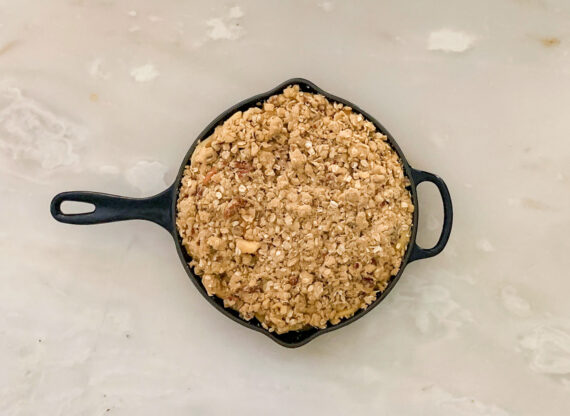
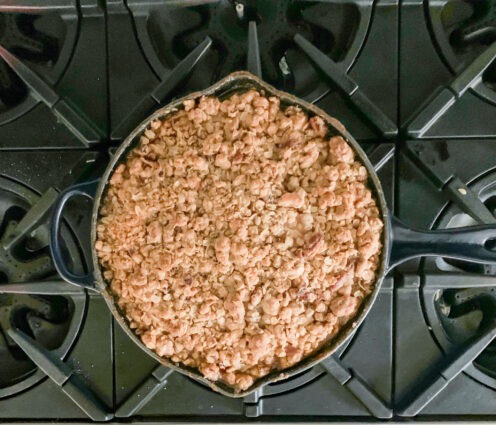
Though my boys may be very different, they both love desserts with apples. So, when the Fall comes, I really enjoy going apple picking and finding apple desserts to serve them. This one is really special because it is so very close to actually having a caramel apple, (OMG –  my mouth is watering just thinking about it). This cake screams fall in every bite. The apples are dressed with savory goodies, like cardamom, cloves, and cinnamon. It is topped with oats, (my favorite!) and brown sugar, and is just the right amount of sweet. The pecans add a nice crunchy texture. It is then topped with more caramel sauce, which is heavenly, because let’s face it, you just can’t have too much caramel on anything.

This recipe is courtesy of New York Times Cooking and makes 8 to 10 servings of the most sweet and delicious fall dessert you will ever taste.

Ingredients for Skillet Caramel Apple Crisp:

FOR THE CARAMEL SAUCE:

2 cups granulated sugar
¾ cup unsalted butter (1 1/2 sticks), diced
1 cup heavy cream
1 teaspoon vanilla bean paste or extract
1 teaspoon kosher salt

FOR THE FILLING:

3 pounds tart, firm apples such as Mutsu, Jonathan or Honeycrisp, (about 6 medium apples)
1 tablespoon fresh lemon juice
1 teaspoon ground cinnamon
½ teaspoon ground cardamom
⅛ teaspoon ground cloves
Pinch of kosher salt

FOR THE TOPPING:

1 cup all-purpose flour
1 cup old-fashioned oats
⅓ cup chopped pecans (optional)
⅓ cup light brown sugar
½ teaspoon kosher salt
½ cup/115 grams unsalted butter (1 stick), softened

Make the caramel sauce:

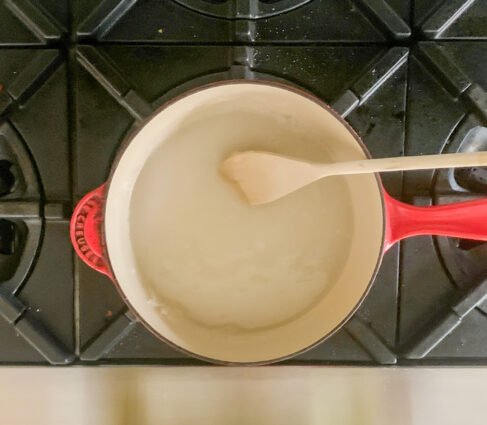
Add the granulated sugar and 1/4 cup water to a 3-quart saucepan and stir to combine.

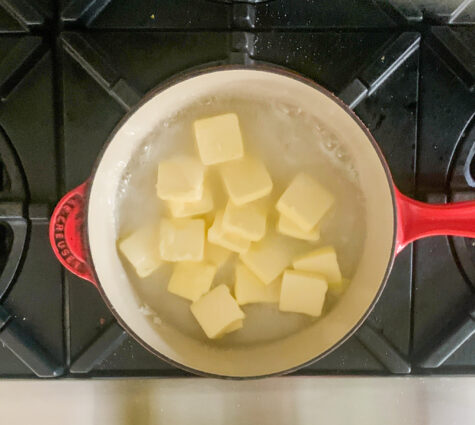
Add the butter and set it over medium-high heat, but do not stir.

Cook, without stirring, until the butter and sugar have completely melted and started to bubble, 4 to 5 minutes.

After the mixture has begun to brown at the edges, use a heatproof spatula to carefully stir it occasionally until it is deep golden brown and beginning to smoke just slightly, about 4 to 5 minutes.

Do not walk away from the pan during this process as the caramel will go from perfectly golden to burned in moments.

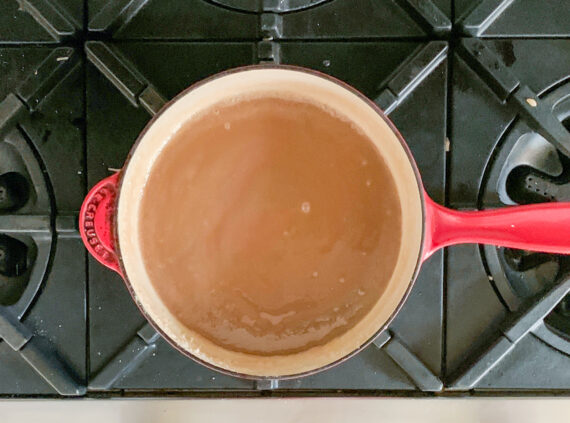
When the mixture is deep golden, remove the pan from the heat, and carefully whisk in the heavy cream.

The mixture will expand and sputter before turning into a smooth sauce.

Add the vanilla and salt.

If the caramel is at all lumpy, return the pan to the stove on low heat and whisk until smooth.

You should have about 2 cups.

Carefully pour the caramel into a heat-safe container to cool.

Prepare the filling:

Heat your oven to 350 degrees and set a rack in the center.

Peel, core and slice the apples into 1/2-inch slices, removing any bruised bits if necessary.

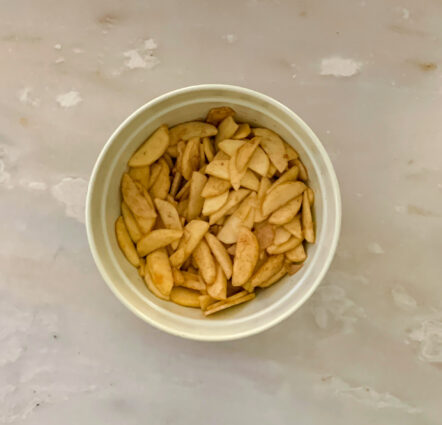
Combine the sliced apples, lemon juice, spices and salt in a large bowl, and stir to combine.

Drizzle 1/2 cup caramel sauce over the top and stir again.

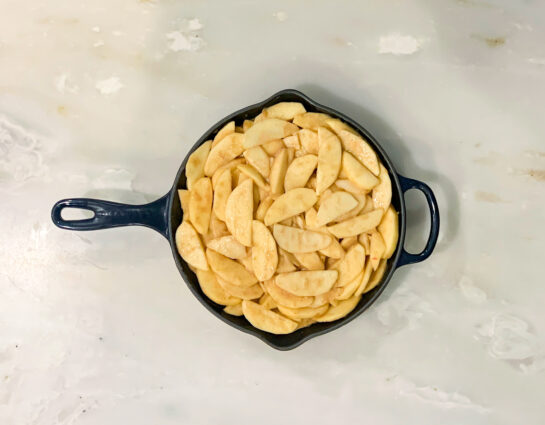
Scrape the apples and all of their juices into a 9- or 10-inch oven-safe skillet.

Make the topping:

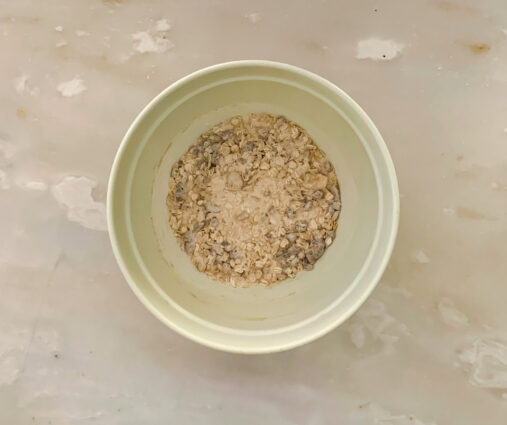
In the same bowl, combine the flour, oats, pecans, sugar and salt.

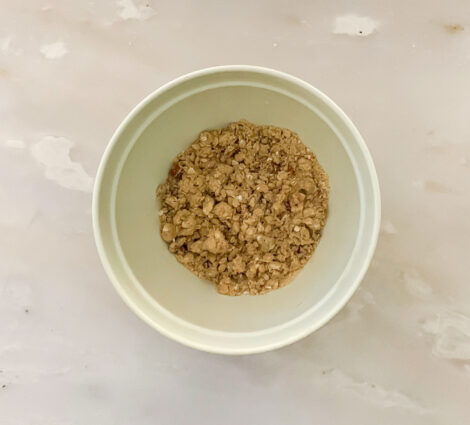
Stir until well combined, then add the butter and mash it into the dry ingredients with your fingers until crumbs form.

Pour the crumb topping evenly over the apples.

Bake the crisp until the topping is golden and the juices are bubbling, 40 to 50 minutes.

Serve warm with more warm caramel sauce and ice cream.

Store any remaining sauce in an airtight container in the refrigerator for about a week.

It can be rewarmed for later use in a saucepan over low heat.

It’s that simple!
 

signature

[recaptcha]


Strange as it may sound, I really love to do laundry.  Over the years, I have developed my own mixture of cleaning aids to make my laundry clean and smell good too, making the chore much better than it would usually be. Here are my tips and tricks, developed from many years of trial and error..

Should you wash new clothes before you wear them? The answer is absolutely yes. There are dyes in new clothes that are not fully absorbed and the dye can get onto your skin, potentially causing an uncomfortable rash. Washing your clothes before you wear them can eliminate this problem by loosening the dye and allowing it to wash out of the fibers.

Washing also eliminates any potential bacteria and insects that can linger on clothes. Folks who may have tried on the garment in the store could leave the item teeming with bacteria and lice. Wash the clothing in soapy hot water to get rid of these pesky creatures.

If your towel fibers are rough and are not absorbing, place them in the washing machine with a cup of vinegar, (no detergent) and put them through a wash cycle. The vinegar helps to set the colors and removes excess detergent that is lingering in the towels, which will make the towels softer. After washing with vinegar, run them through the wash again with baking soda and hot water, and again, no detergent.

Vinegar also works well for a shirt or pants that are very rough and hard to the touch. Soak the shirt or jeans in your sink with just vinegar in it overnight. Then use the vinegar again in the laundry (as above, no detergent) and I promise you will have clothes that are soft and easy to wear.

Every load I do, I put 1/2 cup to 1 cup of vinegar and a small amount of baking soda in with the clothing. Your clothes will not smell of vinegar, I promise. The vinegar gets absorbed in the water and there will be no lingering smell. I use it on sheets and bed blankets as well. If you have animals, this method also reduces any smell that they may leave on your sheets– imagine that!

Those of you with teenage boys might find this helpful: If your towels are still really smelly, just repeat this process and soon you will have fresh smelling towels that smell and feel like new.  

Always, always, hang your clothes to dry on a laundry rack. I know this is an extra step, but it really is important. It will make your clothes last longer, and they will feel and smell so good. It will also eliminate any shrinkage. After they are dry, place them in the dryer for 10 to 15 minutes. I use some lavender oil that I place on a towel and put in in the dryer. This leaves a nice scent on our all our clothes.

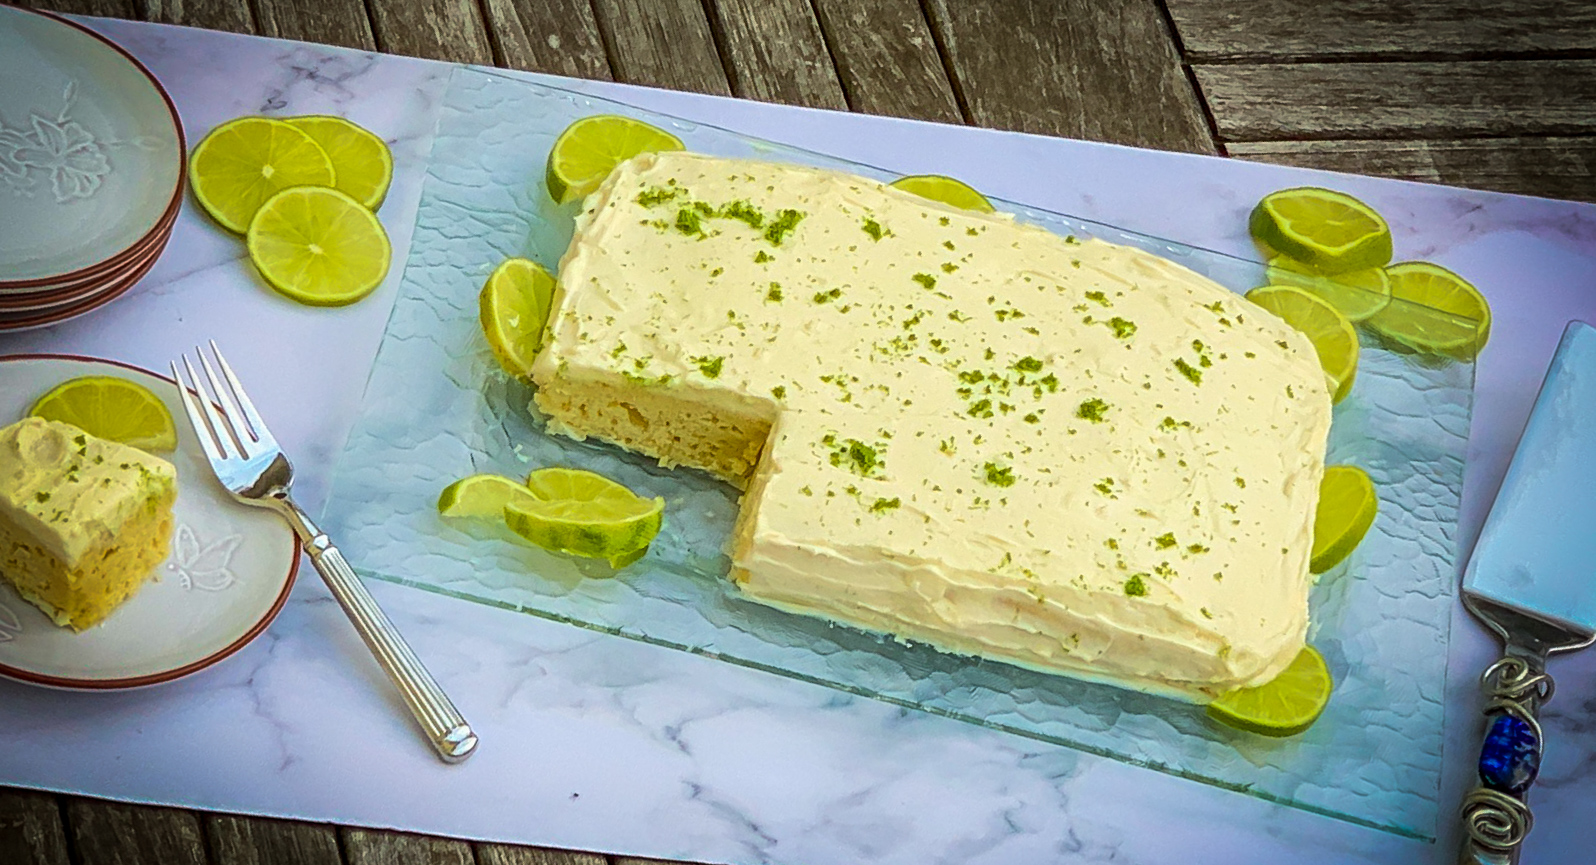
After you get done doing all this laundry, I highly suggest finding some time to make this incredible cake. The buttermilk and eggs ensure a moist, mouthwatering cake. The milk drench also makes this cake luscious. The heavy cream and the sweetened condensed milk assure a creamy consistency that makes this dessert filled with delicious taste. The icing is the perfect topping for this cake. The cream cheese, combined with the heavy cream, whips up a delightful frosting. The lime adds a nice tang and the vanilla is savory goodness.

This recipe is courtesy of 425 magazine and will serve 12 people who will love this decadent, luscious treat after finishing the laundry for the day.

Ingredients for Lime Tres Leches Cake:

1/2 cup, plus 2 tablespoons soft butter
1 cup granulated sugar
Zest of 1 lime
1 teaspoon vanilla
1/2 teaspoon kosher salt 
5 large eggs, or 4 extra-large eggs 
1 3/4 cup flour, scooped and leveled 
2 teaspoons baking powder 
1/4 cup buttermilk 

For the Milk Drench:

1 cup whole milk
1 cup heavy cream
Juice of 1 lime
1 14-ounce can sweetened condensed milk
Pinch of salt

For the Whipped Cream Cheese Frosting:

8 ounces soft cream cheese
1 1/2 cups heavy whipping cream
1/2 cup granulated sugar 
Zest one lime 
Pinch of salt
1/2 teaspoon vanilla extract

Preheat oven to 350 degrees.

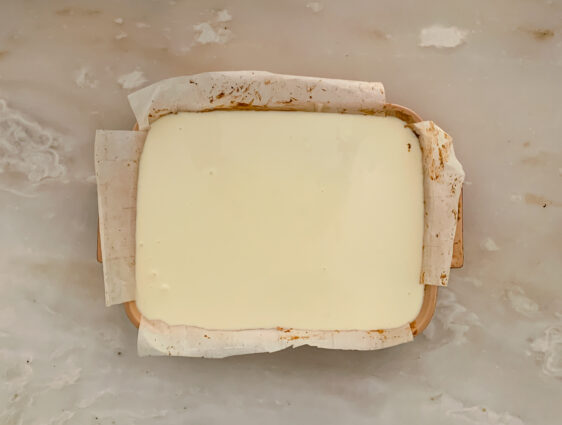
Line a 9-by-13 pan with parchment paper that’s been lightly buttered.

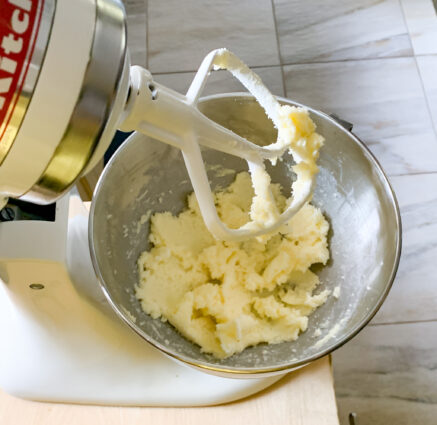
Cream butter and sugar, then add lime zest, salt, and vanilla.

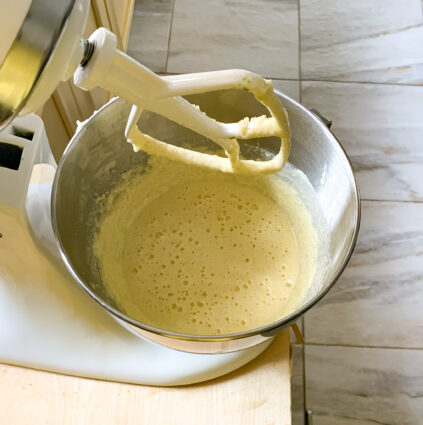
With mixer on low, add eggs.

Mix only until eggs are just incorporated, and do not overmix.

Slowly add flour and baking powder in 2 additions by hand.

Gently fold in flour, then add buttermilk.

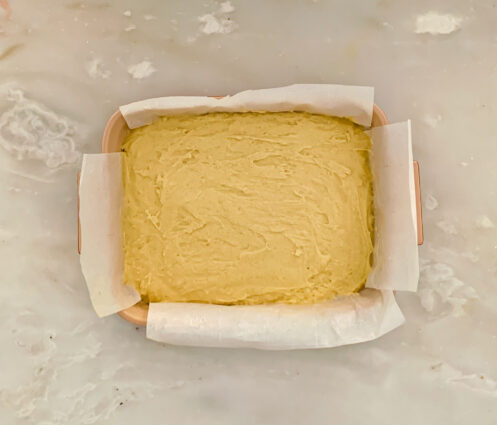
Spread the batter into your prepared pan, and bake for 22-28 minutes or until just baked.

Do not overbake, or cake will be dry even after the milk is poured over.

When cake is done, use a fork to poke dozens of holes all over the cake.

The more holes, the better opportunity you have to get milk drench into all parts of the sponge.

Make the milk drench:

Add all milk drench ingredients to a bowl and whisk.

Pour the milk drench evenly over the cake.

Allow to sit at room temperature for an hour before frosting.

Make the Frosting:

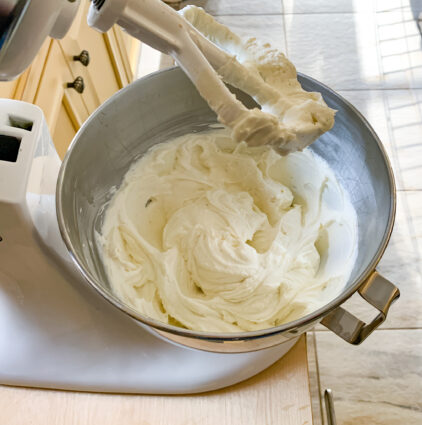
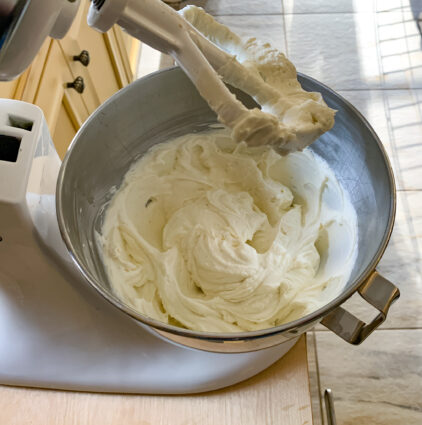
Whip the softened cream cheese in a stand mixer until light and fluffy on medium to low speed.

Slowly stream in heavy cream, sugar, vanilla, lime zest and slat.

Whip on medium speed until thickened, 4 to 5 minutes.

Frost the cake and refrigerate for at least 2 hours before serving.

Cake is amazing the next day.

It’s that simple!

signature

[recaptcha]


Happy Halloween!

The name Halloween comes from “All Hallows Eve,” and falls on the day before All Saints Day, a traditional holy day for Christians. People tried to appease the restless spirits on Halloween, and these practices led to many of today’s holiday traditions.  Parades, pumpkin carving, and trick or treating are the three beloved traditions of the day.

Anoka, Minnesota is believed to be the first city in the United States to put on a Halloween celebration to divert its youngsters from more devious Halloween pranks. When the people of Anoka awoke to find their cows roaming Main Street, windows soaped and outhouses tipped over, they decided something had to be done. But what could they do?

A block party, complete with costumes, food, fun, and parties seemed like the perfect idea.  Halloween became a wonderful distraction for the town for generations to come, and they wouldn’t have it any other way. The crispness of the season, the warmth of comfort food, and the creative costumes are just a few reasons to love the month of October. In 1920, George Green and other Anoka civic leaders suggested the idea of a huge, festive celebration. The idea was adopted by the Anoka Commercial Club and the Anoka Kiwanis Club; both giving their full support.

Anoka’s Halloween celebration continues to this day. Both the night parade and Grande Day parade have grown to include units from all over the Midwest. The original concept of having costumed students parade down Main Street continues on the Friday preceding the Grande Day parade. Anoka residents can watch their grandchildren or great-grandchildren continue what they started so many years ago. And, as you know, the entire country has taken up this tradition too.

Pumpkin carving is another traditional Halloween activity, but why do we carve pumpkins on Halloween? According to Britannica, the origin comes from an Irish myth about Stingy Jack, who tricked the Devil for his own monetary gain. When Jack died, God didn’t allow him into heaven, and the Devil didn’t let him into hell, so Jack was sentenced to roam the earth for eternity. In Ireland, people started to carve demonic faces out of turnips to frighten away Jack’s wandering soul. When Irish immigrants moved to the United States, they began carving jack-o’-lanterns from pumpkins, as these were native to the region.

The most cherished tradition is trick or treating.  Again, according to Britannica, it involved going door-to-door in costume, performing short scenes or parts of plays in exchange for food or drink. The custom of trick or treating on Halloween may come from the belief that supernatural beings, roamed the earth at this time and needed to be appeased.

Here is hoping you a spooky night of boos and chills. I hope you and your friends enjoy the most magical, spooky thrills! May you dance like a ghost and fly like a witch. May you find this year full of your favorite things and good health. It is not my favorite holiday, but if it is yours, I hope you have scary fun with lots of good treats. I just want to remind everyone to be careful and enjoy a safe holiday.

Now this is a perfect treat for your Halloween festivities. The oil, butter, eggs, and buttermilk ensure a rich, moist bread. The chocolate chips add a delicious chocolate flavor that combines beautifully with the pumpkin. The pumpkin puree screams (yes, pun intended) “Halloween” in every bite. The cinnamon and vanilla are the savory here, giving this bread a full depth of flavor. Baking it in a square pan allows the bread to cook evenly and ensures every bite is lusciously addicting. This is a “keeper,” and the best thing is that you do not need to wait for Halloween to make it.

This recipe is courtesy of Danielle Kartes, in her book, Meant to Share. It will serve 8 to 10 people who will love sharing in the spooky frights of the day.

Ingredients for Chocolate Chip Pumpkin Bread:

1/2 cup soft butter, plus more for the pan
3/4 cups all-purpose flour, plus more for the pan
3/4 cups brown sugar
2 tablespoons neutral oil (See Note)
3 eggs, at room temperature
1 cup pumpkin purée
2 teaspoons vanilla extract
1/2 teaspoon ground cinnamon
1 teaspoon kosher salt
1 tablespoon baking powder
1/2 tablespoon baking soda
1 (12 ounce) bag semisweet chocolate chips
1/2 cup full-fat buttermilk

Note: A neutral oil is a cooking oil that has a neutral flavor vegetable or grapeseed. This sets them apart from stronger flavored oils like olive oil and avocado oil. These oils often aren’t used in baking because of their strong flavor.

Heat oven to 350°F.

You can use a loaf pan or a square 9 x 9-inch baking pan. The author recommends the latter.

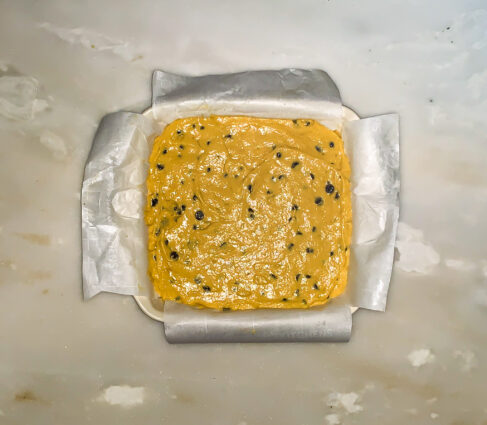
Generously butter and lightly flour a baking pan and set aside. ( I used parchment paper to line the pan)

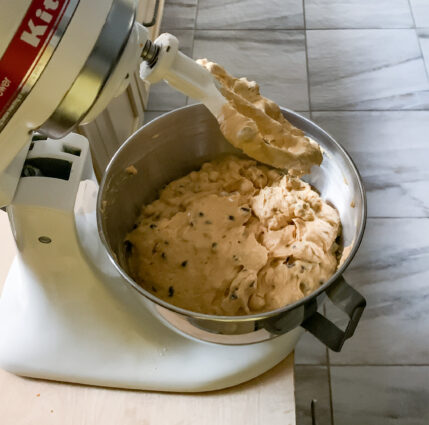
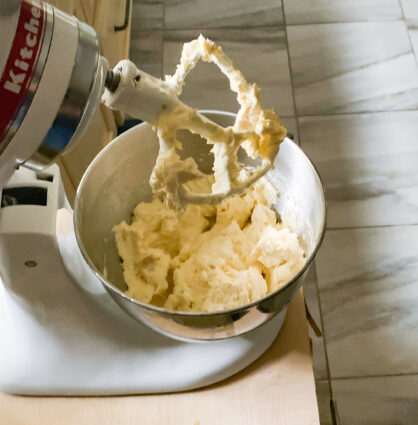
Cream butter and sugar on low speed using a hand or stand mixer.

Add the oil and eggs, one at a time, mixing on low speed after each addition.

Add the pumpkin, vanilla, cinnamon, and salt.

Mix until just combined.

Add the flour, baking powder, baking soda.

Add chocolate chips, then mix by hand gently until everything is just incorporated.

Add the buttermilk last and gently combine. Do not overmix.

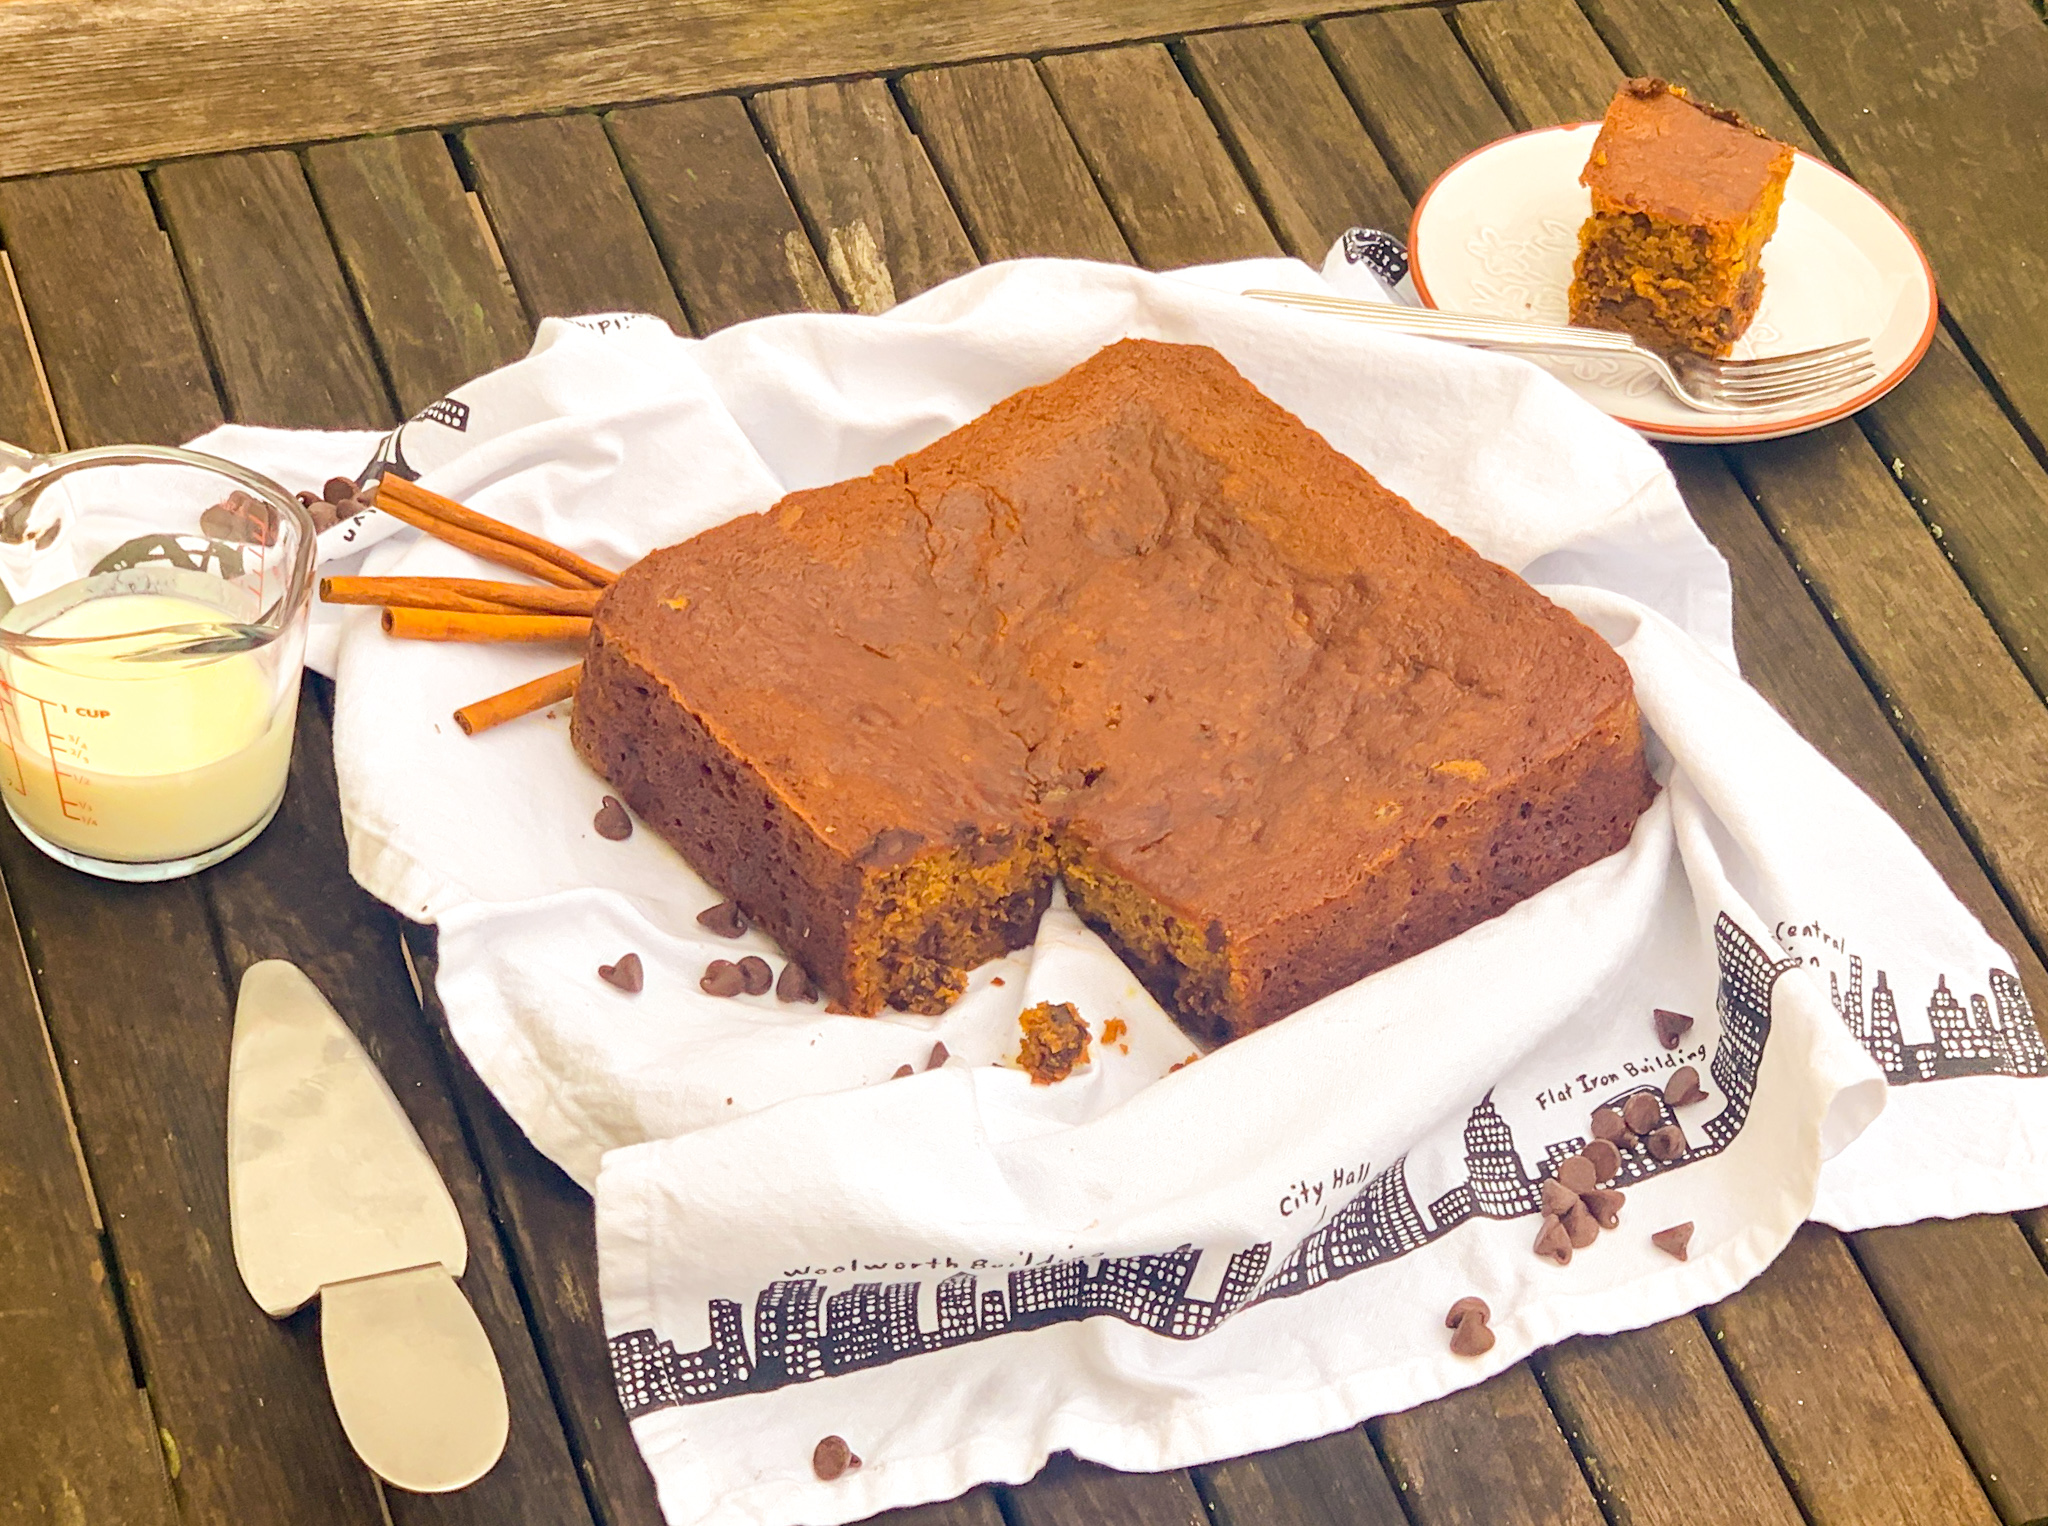
Pour the batter into the prepared baking pan and bake for 25 minutes, then check the cake.

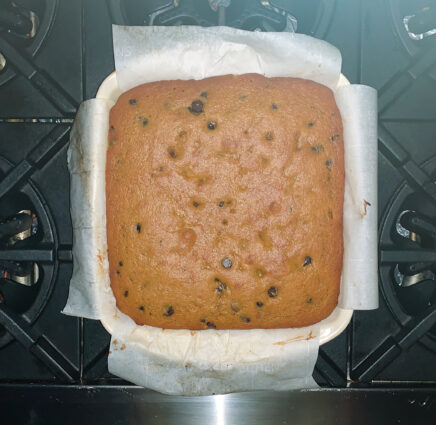
Bake an additional 5 to 10 minutes or until the cake is completely cooked but not overbaked.

Looks good, right? Wait for it…..

Then, after 10 minutes it will deflate!

No worries, it will taste just as good.

It’s that simple!
BOO!

signature

[recaptcha]


During this crazy health crisis, it is important that we all take care of each other.  Giving without the expectation of anything in return will elevate your happiness and sense of caring. It shows that you are thinking of someone, and will help you strengthen the bond that you have with them.

There is a social value to gift-giving as well. For thousands of years, people have engaged in “potlatch”, now an antiquated term, that was a happy ceremony that celebrates engaging in this custom. Many moons ago, the status of a family was dictated not by their wealth, but instead by those who gave away the most. The more lavish the potlatch, the more prestigious the family was.

Whether it is a gift of time, a meal, or a necklace, gift giving is one of the ways one can show a partner that they care. It can strengthen a bond or even signal that a relationship is likely to end. With many branches of social science weighing in, the New York Times wrote that giving gifts is “a surprisingly complex and important part of human interaction and will help define relationships and strengthen bonds with family and friends.” They also note that it is often the giver, rather than the recipient who reaps the most psychological gains from a gift.

This is a cue for all of us to go out of our way and make someone happy. By doing this, the biggest effect may be on ourselves. It reinforces our feelings for them, but also makes us feel effective and caring, and who could want anything more?

If you make this delicious treat, you may want to make another batch and give it to someone you care about. These perfect pecan bars will surely make their day. The heavy cream adds a depth of flavor that ensures these bars are delightfully rich. The honey makes it lip smacking, gooey, and sweet. The orange and lemon zest gives it savory tang, and of course the pecans add a smokey, nutty goodness. They are housed by an elegant crust, making each bite irresistible. These bars are a delightful treat, for dessert, breakfast, or a snack. It is love in every bite.

This recipe is courtesy of Ina Garten, who never, ever disappoints. It will serve 6 to 8 of the luckiest people.

Ingredients for Ina Garten’s Pecan Squares:

For the Crust:

2 1/2 cups Unsalted Butter, room temperature (this is 5 sticks of butter or 1.25 lbs)
3/4 cup Granulated Sugar
3 Eggs, large
3/4 teaspoon Pure Vanilla Extract
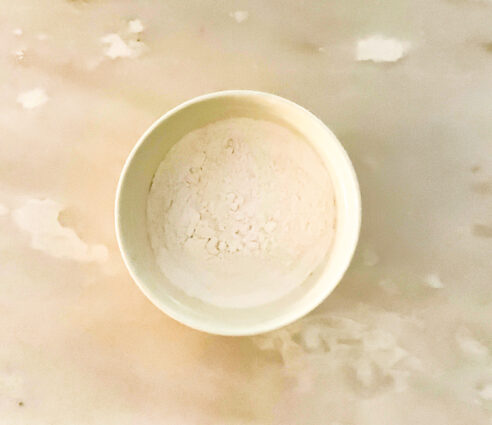
4 1/2 cups All-Purpose Flour
1/2 teaspoon Baking Powder
1/4 teaspoon Salt

For the Filling:

2 cups Unsalted Butter (this is 4 sticks of butter or 1 lb)
1 cup Honey
3 cups Light Brown Sugar, packed
1 teaspoon Grated Lemon Zest
1 teaspoon Grated Orange Zest
1/4 cup Heavy Cream
2 pounds Chopped Pecans

Preheat the oven to 350 degrees F.

Make the Crust:

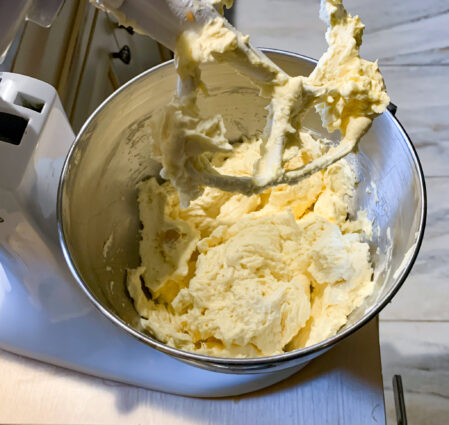
Beat the butter and granulated sugar in the bowl of an electric mixer fitted with a paddle attachment, until light, approximately 3 minutes.

Add the eggs and the vanilla and mix well.

In a separate bowl, sift together the flour, baking powder, and salt.

Mix the dry ingredients into the batter with the mixer on low speed until just combined.

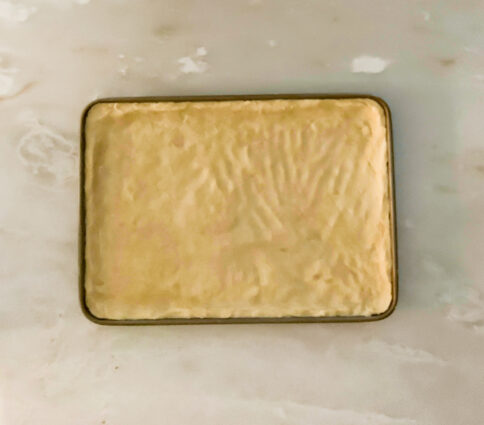
Press the dough evenly into an ungreased 18 by 12 by 1-inch baking sheet, making an edge around the outside.

(Note: The crust dough will be very sticky. To make it easier to work with, dust your hands and the dough with some flour as you work.)

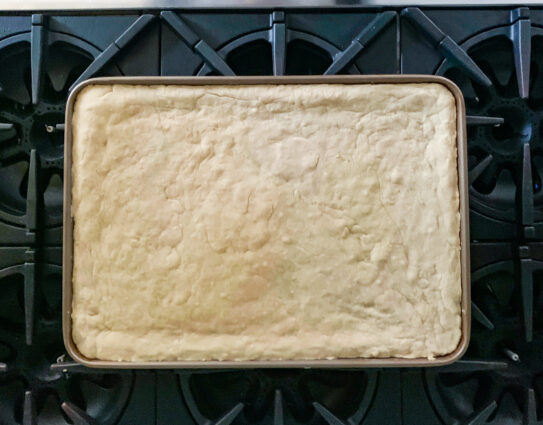
Bake for 15 minutes, until the crust is set but not browned. Allow to cool.

Make the filling:

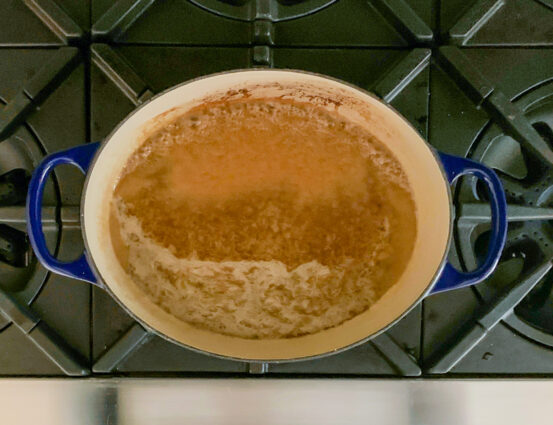
Combine the butter, honey, brown sugar, and zests in a large, heavy-bottomed saucepan.

Cook over low heat until the butter is melted, using a wooden spoon to stir.

Raise the heat and boil for 3 minutes.

Remove from the heat.

Stir in the heavy cream and pecans.

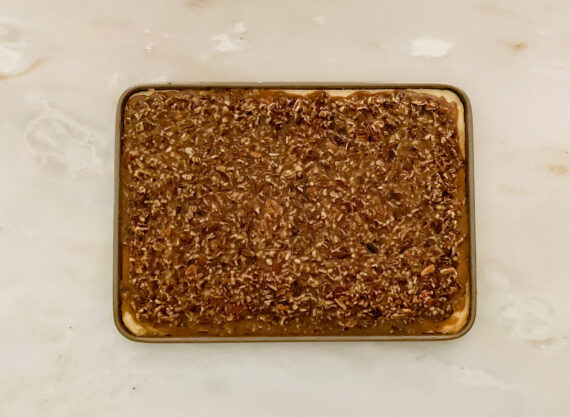
Pour the filling over the crust, trying not to get the filling between the crust and the pan.

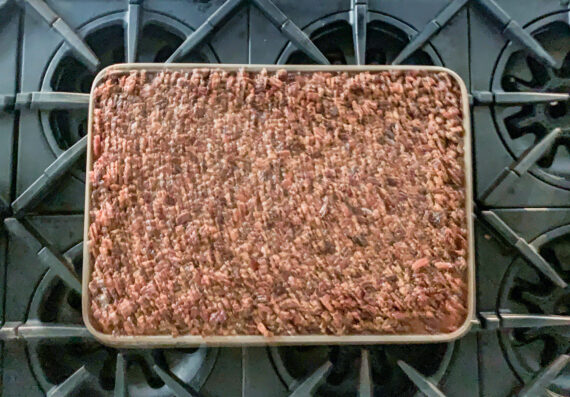
Bake for 25 to 30 minutes, until the filling is set.

Remove from the oven and allow to cool.

Wrap in plastic wrap and refrigerate until cold.

Cut into bars and serve.

It’s that simple!

signature

[recaptcha]