Well, just when I thought I was safe, I came down with COVID. (UGH, gross, I know). I was feeling pretty bad for over a week, and I was sure I had it, but I took four rapid tests that all came back negative. Intuitively, I isolated myself from my family and went for a fifth test, and sure enough, it came back positive. Even though I suspected it, it is always a shock when you confirm it.  Let that be a lesson: a negative test doesn’t mean you’re covid free.

In talking to my friends and relatives, I found that people have had very different symptoms. Since my symptoms didn’t match exactly what other people have reported, I thought maybe it was just the flu. No such luck. Boy, was I sick. Among other symptoms, the overall fatigue and weakness was the worst. Just getting out of bed and walking to my closet seemed like an insurmountable task. These symptoms lasted the longest, as well as a constant headache. It has been years since I even had a cold, so, needless to say, I was miserable. 

I couldn’t write and I couldn’t cook, so I thought I might have to put the blog on hold. Thank goodness, I am always somewhat ahead of myself for my blog, so I had some recipes that were written and ready to go.

The one thing I was happy about was that it was so cold outside, and I didn’t have to go anywhere. I cannot remember a time when I had no appointments on my calendar. As I got better, I was able to watch TV, but even that became ridiculous and boring. I had run out of shows, so I  started watching the Best British Baking Show. Don’t ask me why, curiosity I guess. I heard the food in England is horrible, though I have never been there myself. As I watched the show, I just could not believe some of the desserts they love in England. They sounded terrible, and even when they were baked, none of them looked good enough to taste. I just kept watching, as my inquiring mind got the best of me. I was hoping to learn something, but the desserts just did not seem appetizing to me at all. I kept watching because I was so amused by the people they chose to participate in the bake off and the methods they used to complete the task.

If you are desperate, like I was, to fill your boredom with something ridiculously stupid, give it a chance. If anything, you will be amused and entertained for a couple of episodes. 

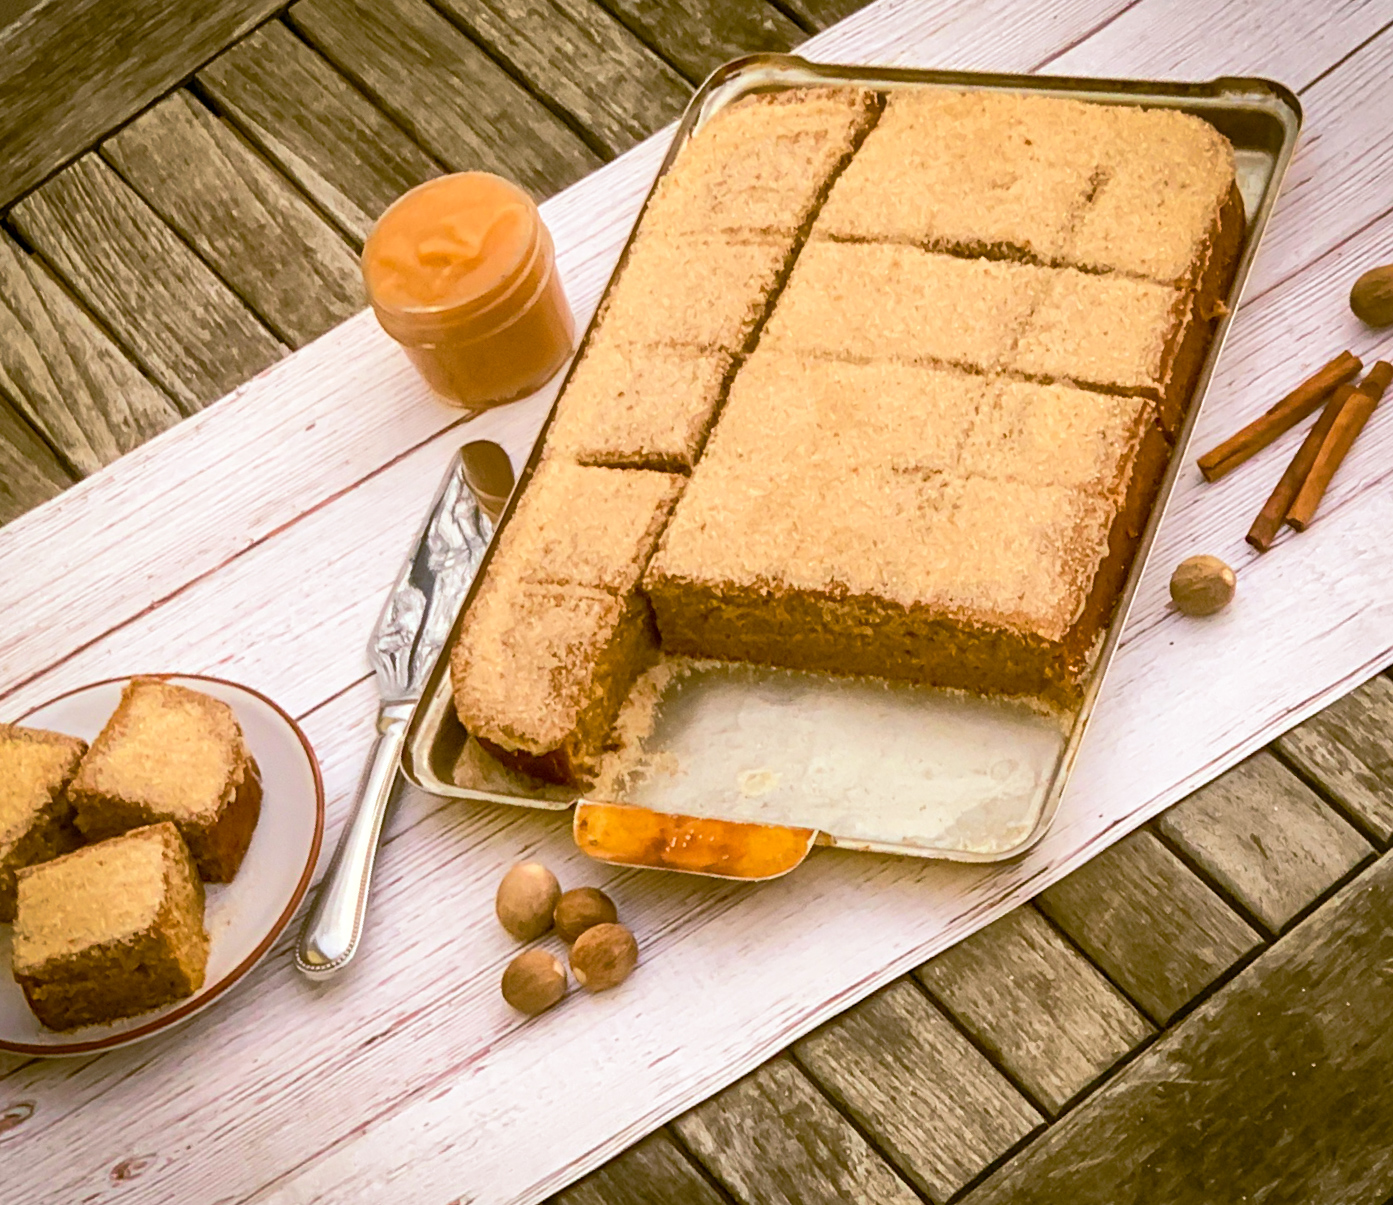
As I felt better, I was in desperate need of some comfort food. What can be better than a warm Cinnamon Spice Cake? The milk and applesauce ensures that this cake is moist and fluffy. It is filled with an array of savory spices, cinnamon, nutmeg, vanilla and orange zest. Just thinking about it makes you want to bake it right away. It is topped with cinnamon sugar that makes this cake just the comfort food you need. Trust me, I would know.  This cake makes the house smell like cider donuts, and seems like just the right treat to have around while trimming a tree, lighting a menorah, or watching the snow fall outside.

From Odette: “This recipe calls for spelt flour but you can use all-purpose flour, whole wheat, spelt or a combination of all three. (The spelt adds a lovely warmth that all-purpose can’t, and whole wheat can be a little full on by itself.) The cake is not overly spiced and keeps for days; in fact, I think it’s better on the second day when the flavors have had time to rest. It is deserving of a pair of slippers, a cardigan, and a cup of tea. Makes one 13-by-9-inch rectangular cake, that is perfect for Christmas or any night”. 

This recipe is courtesy of Simple Cake, by Odette Williams and makes 8 to 12 servings that go perfectly with a good book and a warm fireplace.  

Ingredients for Cinnamon Spice Cake:

For the Cake:

2 1⁄4 cups organic whole-grain spelt flour (or all-purpose flour; see note above)
1 1⁄2 teaspoons baking powder
1⁄2 teaspoon baking soda
1⁄2 teaspoon salt
1 teaspoon ground cinnamon
1⁄2 teaspoon ground nutmeg
3 eggs, at room temperature
1⁄2 cup (120ml) mild-flavored extra-virgin olive oil
1 teaspoon vanilla extract
1 cup unsweetened applesauce
1⁄4 cup honey
1⁄2 cup whole milk
1 tablespoon finely grated orange zest
1 cup light brown sugar, lightly packed

For the Cinnamon Sugar Topping:

1/3 cup cane sugar
1 teaspoon ground cinnamon
3 tablespoons unsalted butter, melted

Make the Cake:

Preheat the oven to 350°F. Grease a 13 by 9-inch rectangular pan with butter, line the bottom and sides of the pan with parchment paper, and grease the paper. (I’ll let you just grease, line the bottom of the pan, and lightly flour the sides if you’re feeling lazy.)

Place a large sifter or a sieve in a large mixing bowl.

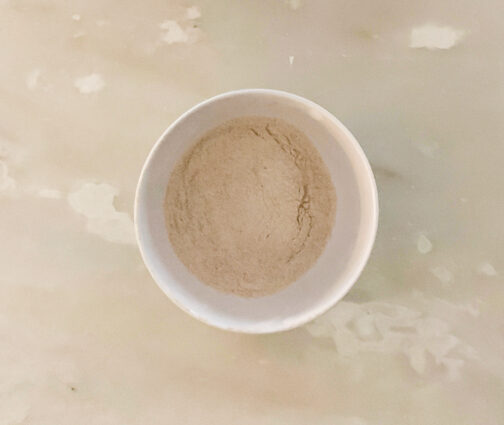
Add the flour, baking powder, baking soda, salt, cinnamon and nutmeg and sift.
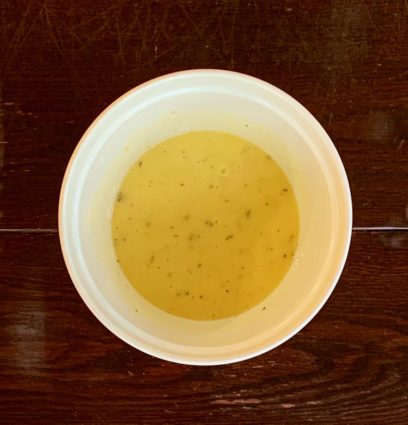
In another large bowl, whisk the eggs, oil, vanilla, applesauce, honey, milk, zest and brown sugar until smooth.
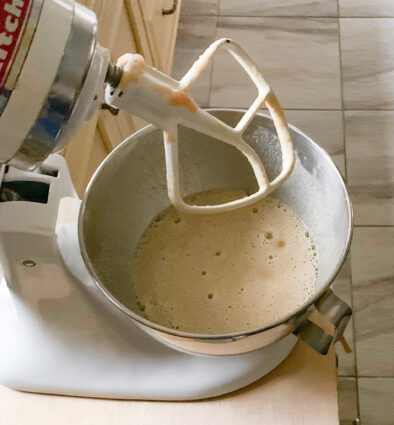
Gradually add the wet ingredients to the dry ingredients and whisk until there are no lumps and the batter is smooth.

Pour the batter into the prepared pan and smooth the top.
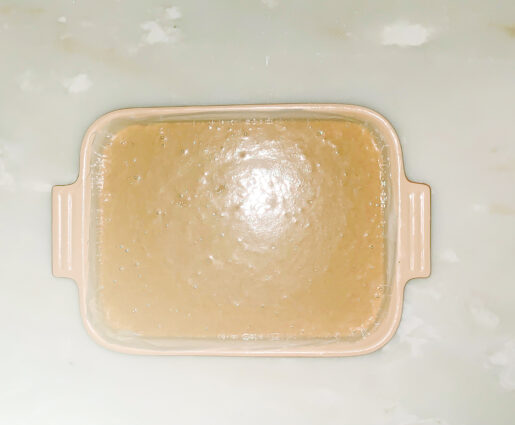
Bake in the center of the oven for 28 to 30 minutes or until a wooden skewer inserted in the center comes out clean, and the cake bounces back when lightly pressed.
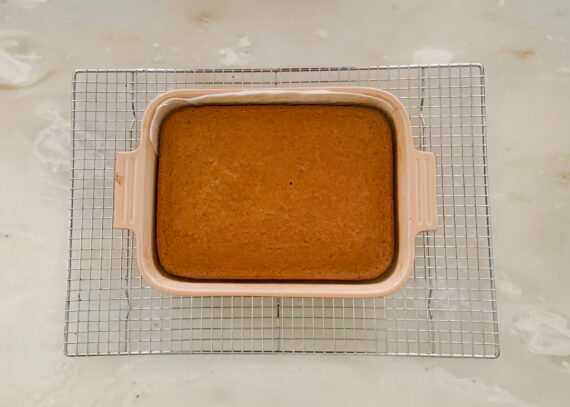
Remove the cake from the oven and let it stand for 10 minutes.

Run a butter knife around the cake to gently release.

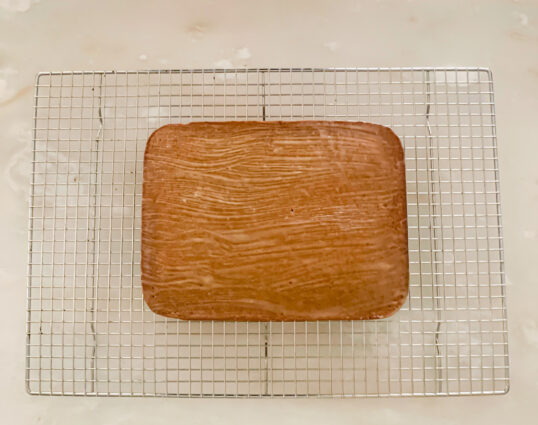
Invert the cake, peel off the parchment paper, and cool on a wire rack.
Make the topping:

Mix the sugar, milk and cinnamon in a small bowl.

 With a large, sharp knife, cut the cake into cubes.

Brush or spoon the melted butter on top of each cake square.

Let it soak into the cake a little before sprinkling on the cinnamon-sugar mix. (If the cake is still warm, the sugar will dissolve.)
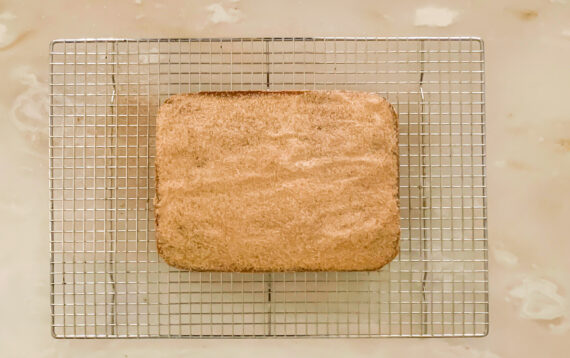
It’s that simple!


Happy Snow Day!
signature

[recaptcha]


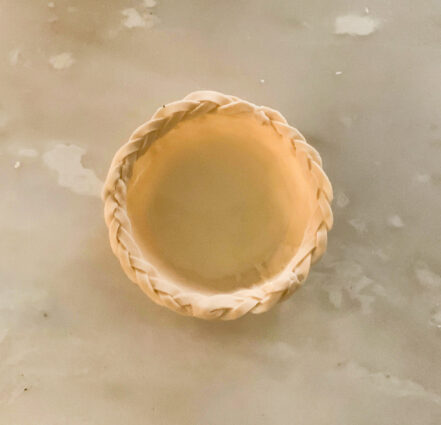
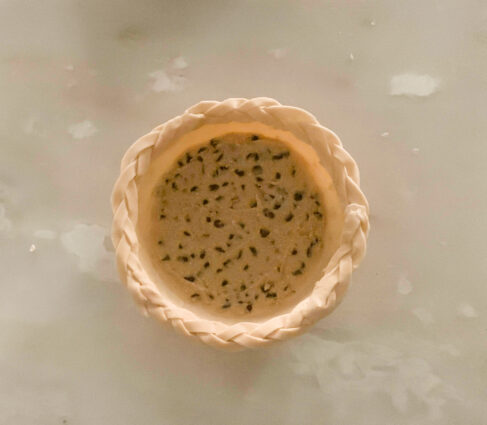
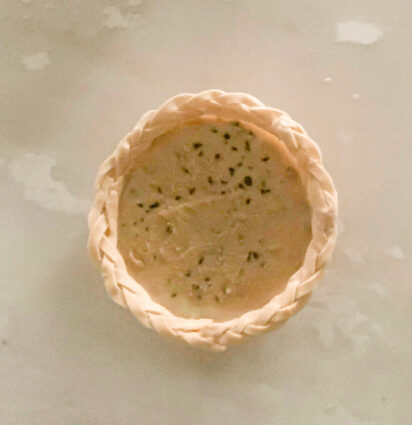
I’m sorry to say this, but pies are just not my thing. They intimidate me. Not the filling, but the dough. It’s embarrassing to say that I’m scared of pie crust, but it’s true.  For this pie, I wanted to make a nice edge, so I decided to watch a few YouTube videos on the topic. Some people say the beauty of a pie is not in the perfection, but the imperfections that really give them a home-made look.  Given how my pies look, I might be able to get behind that.

I am certainly a perfectionist, but it can be quite a problem more than anything. I see people making these creative, beautifully adorned pies, and I just have the feeling it will take a lot of time and practice for me to get them to look as beautiful as I would like. To Quote Johann Wolfgang von Goethe, “everything is hard before it is easy.” How true this is for all of us in all things. When I started running, I could only go a short distance. Now that I do it so often, I can run much farther, surprising myself each time I do. If you take up knitting, I can’t promise you’re going to be amazing, but I can tell you that the first thing you make won’t turn out as well as the twenty-first one. 

My father was an amazing bowler. He was even in the pro-ams. Growing up, he would take me every Sunday to practice with him. At first, there were a lot of gutter balls, but within a year or so, I was pretty good. Even though I seldom go now, my mind and body have the muscle memory it takes for me to bowl a pretty good game, and I always beat my husband, who seldom bowled growing up.

So, I think a good rule for learning anything is “practice, practice, practice.” I guess my life will be a little more full of pies, which is a good thing. But please bear with me as I learn right alongside you. For this pie, even though I watched the video, it was so much harder than it looked. But hey, I did my best to make a braided edge.  It looked beautiful until I baked it and the edges fell right into the pie dish, leaving an edge that looked anything like a braid.  Oh well– on to the next one!

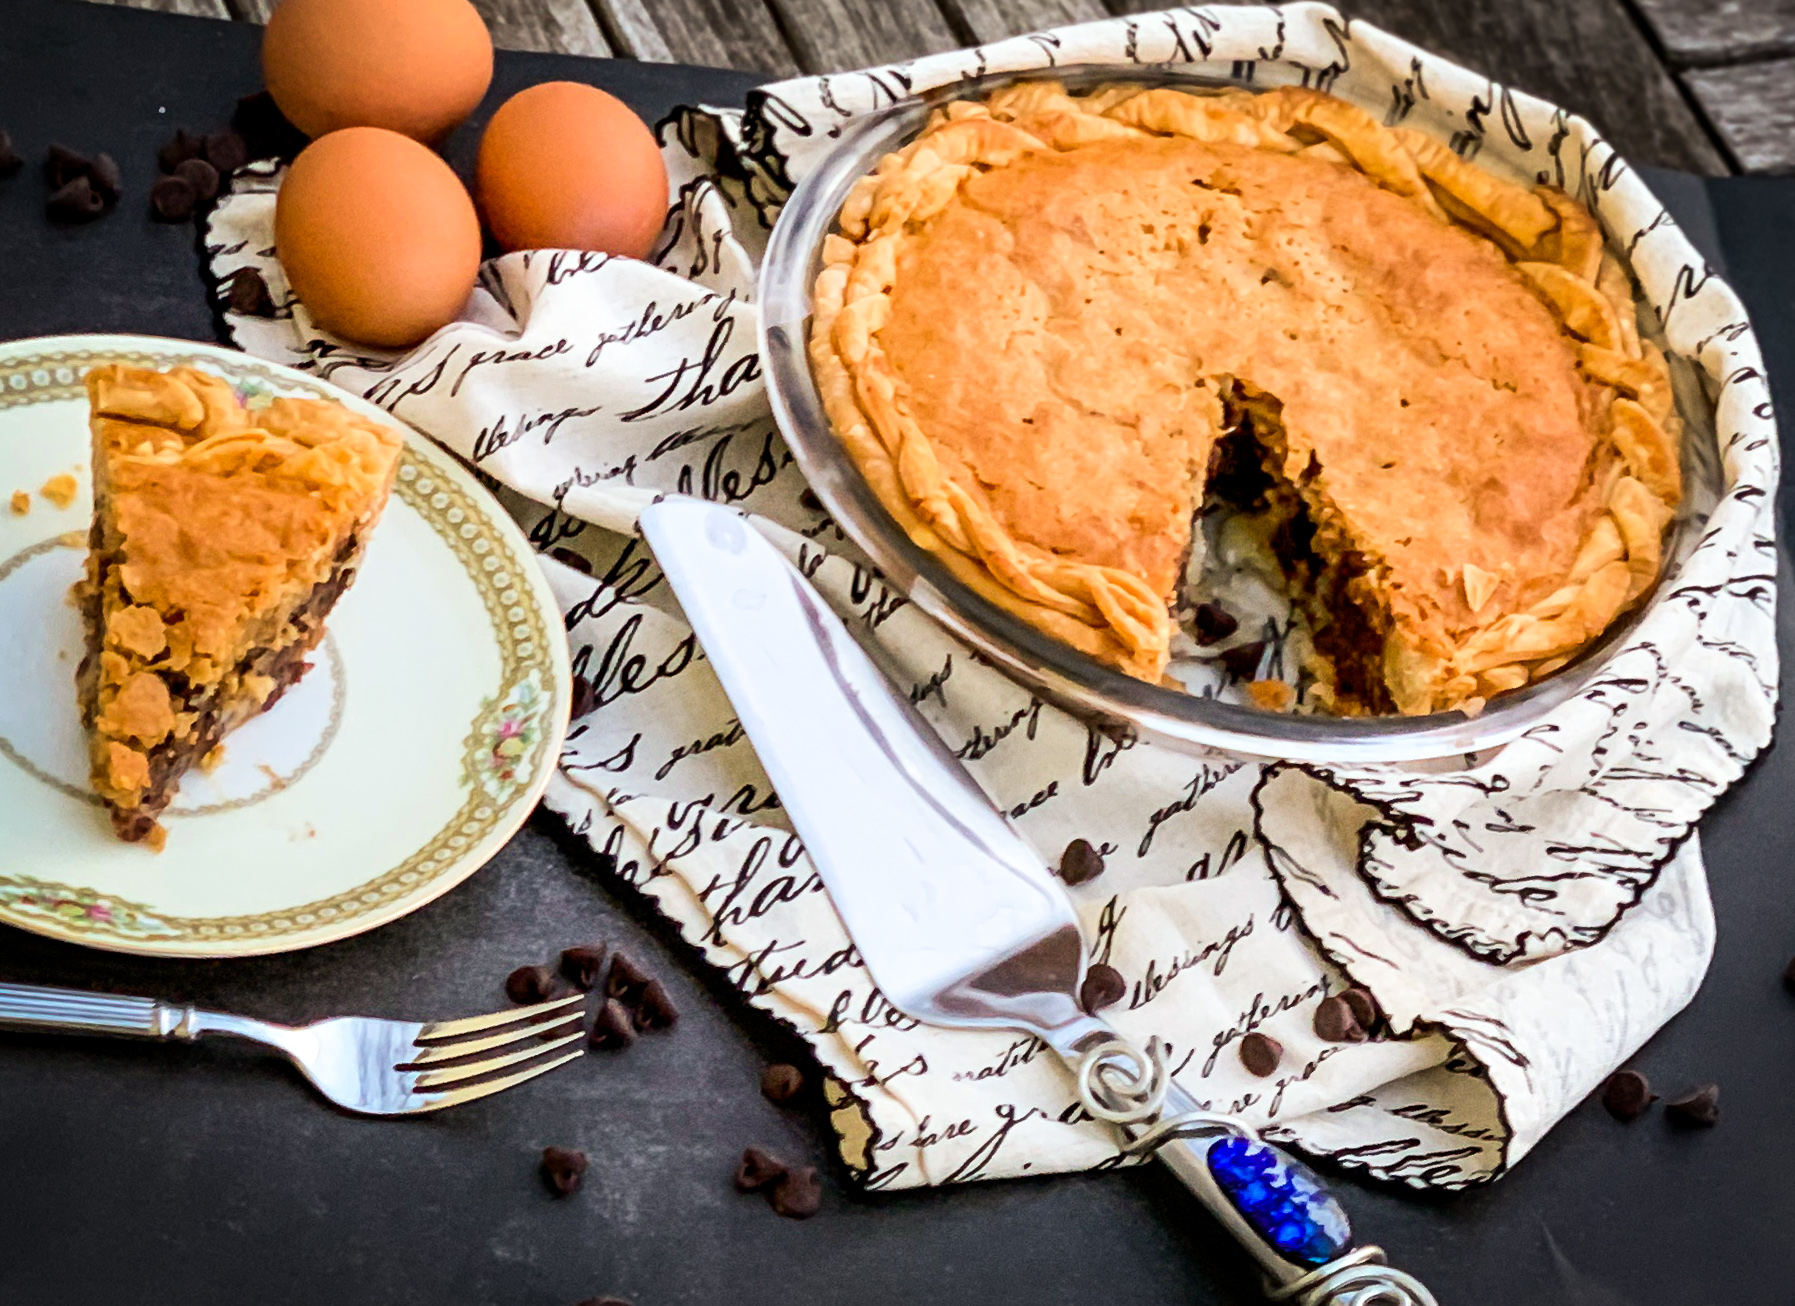
No matter, even if you don’t decide to do a fancy edge, make this absolutely decadent pie. It is just like a chocolate chip cookie, but even thicker, with lots of chocolate chips and hints of savory vanilla. Who wouldn’t like that?  The sweetened condensed milk gives it a chewy-gooey texture and delicious sweetness. The author added it, and was so pleased with the outcome. If you like chocolate chip cookies and sweetened condensed milk, then make this pie. It is in one word, addicting. Perfect for breakfast, dessert, or a sweet snack.

This recipe is courtesy of Half Baked Harvest and will serve 12 people who will forever have their sweet tooth sated.

Ingredients for Gooey Chocolate Chip Cookie Pie:

1 pie crust, homemade or store bought
2 eggs
1/2 cup all-purpose flour
1/4 cup brown sugar
1/4 cup granulated sugar
2 teaspoons vanilla
1 1/2 sticks (12 tablespoons) butter, softened
2 cups semi-sweet chocolate chips
2/3 cup sweetened condensed milk

Preheat the oven to 325 degrees F.

Grease a pie plate.

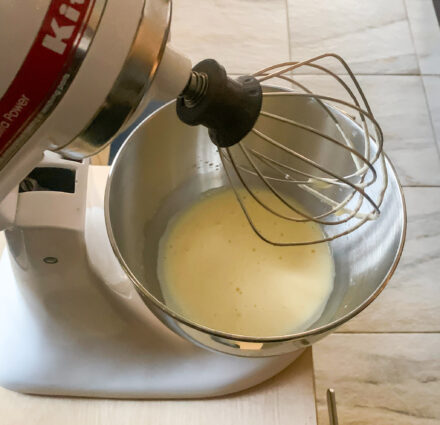
Using and electric mixer, beat the eggs in a medium bowl until foamy, about three minutes.

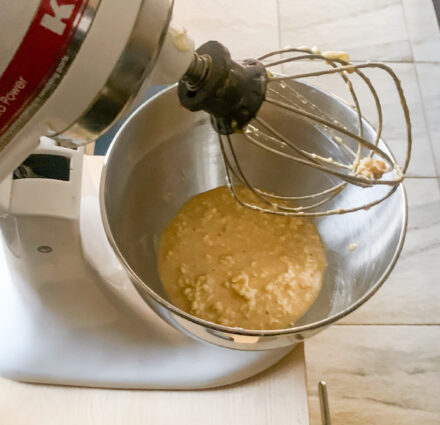
Add the flour, brown sugar, sugar, and vanilla, beat until combined.

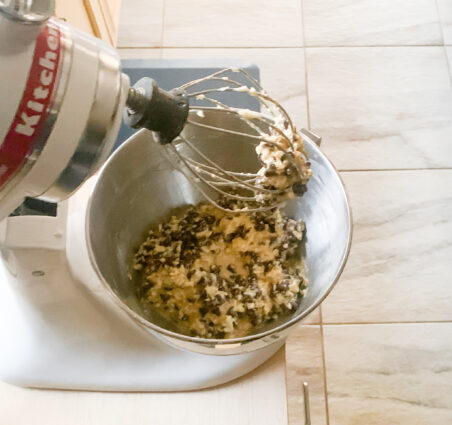
Add the butter and continue beating until combined, but it will not be smooth.

Stir in the chocolate chips.

Press your pie crust into the prepared pie plate.

Drizzle half of the sweetened condensed milk over the bottom of the crust.

Spoon in half the filling.

Drizzle the remaining sweet milk over the filling.

Spoon in the rest of the filling.

Transfer to the oven and bake for 55-60 minutes or until a tester inserted into the center comes out clean.

Allow to cool at least 20 minutes.

Serve warm or at room temperature.

It’s that simple!

signature

[recaptcha]


I recently overheard my son tell my Aunt that although I do not believe so, he thinks I am a great baker. He told her that since I started my blog, my baking has improved far beyond what he thought it would. Just being recognized made me feel accomplished and proud.

That same Aunt always says that if you love to do something enough, you will become good at it. It is not a secret that you must have a passion for anything you wish to succeed in. I often admire a good photographer’s pictures because you can see the passion in them, and marvel at people’s artistic creativity, like painters and sculptors. Even a decorator has a picture in their mind, and they are able to flawlessly bring their vision to life.

I believe perseverance has to work in tandem with passion. If you do something long enough, regardless of how many times you fail, you become more skilled at it. The experimenting I do for this blog has left me with better baking skills, for sure. I still wouldn’t call myself a good baker, but rather a more of a skilled baker. Still, hearing my son tell my Aunt that he thought I was a good baker definitely made me feel good. He scored a lot of brownie points (no pun intended) for that, and I have begun baking for him a lot more now that I know how much he appreciates it.

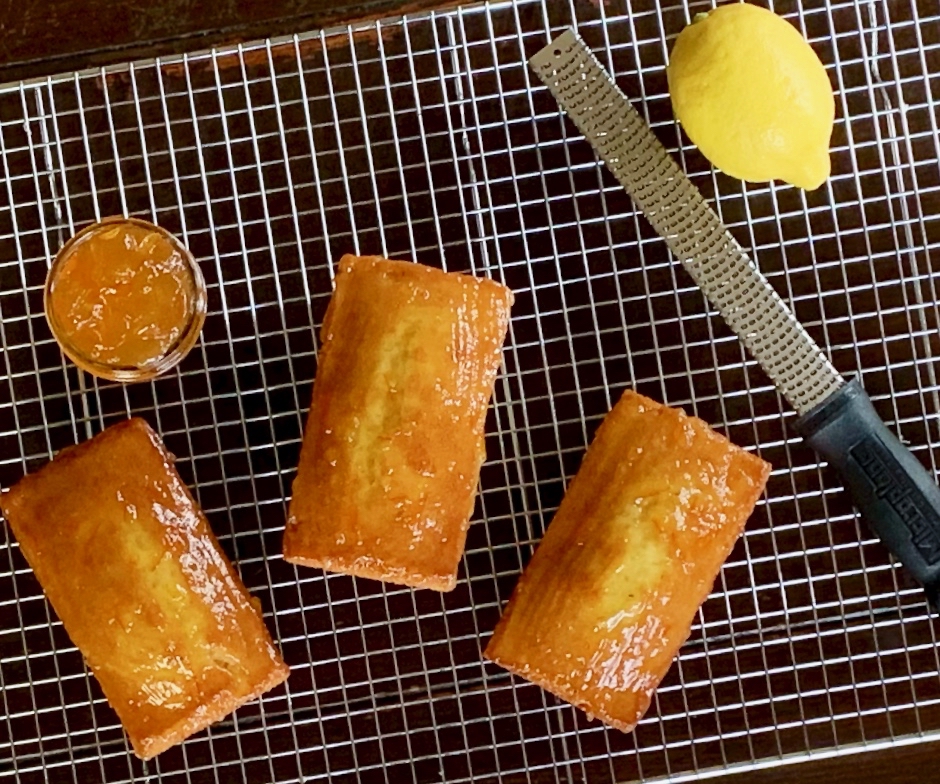
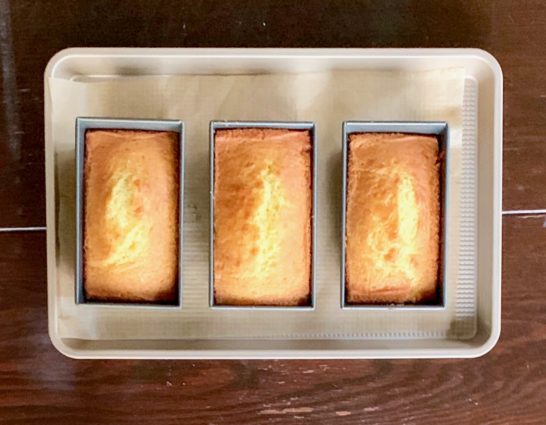
For starters, I made him these cakes, which are so moist and delicious. I love that they are made in mini cake pans! As wonderful as they taste, it makes them so visually appealing as well. The original recipe called for rosemary, but Dorrie suggested switching the rosemary out for thyme or lavender. Since I am not a fan of rosemary, I chose the thyme. The herb contrasts the vanilla extract, adding a savory surprise you normally don’t taste in a cake.The yogurt ensures that these cakes are totally moist and delicious. The lemon zest and orange marmalade provide the yummiest citrus tang imaginable.

This recipe is courtesy of Dorie Greenspan and will serve 12 people who will taste the passion of their baker in every bite.

Ingredients for Lemon-Thyme Mini Loaves

1 1/2 cups all-purpose flour
2 teaspoons baking powder
1/4 teaspoon salt
1 cup sugar
1/2 teaspoon finely minced thyme
Grated zest of 1 lemon
1/2 cup plain yogurt, preferably Greek
3 large eggs
1 teaspoon pure vanilla extract
1/2 cup olive oil
1/2 cup lemon or orange marmalade, for the glaze
1 teaspoon water, for the glaze

Center a rack in the oven; preheat oven to 350°F.

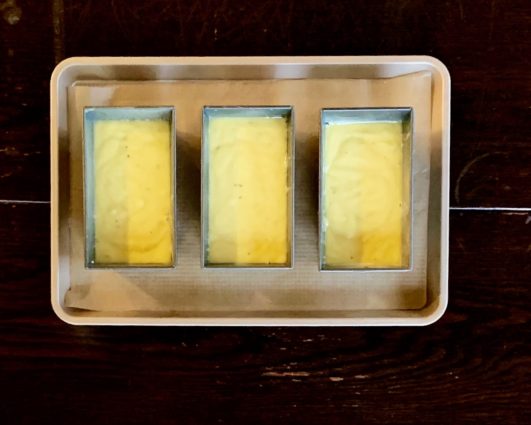
Generously butter three 5×3-inch mini loaf pans (or use baker’s spray) and place them on a baking sheet.

Whisk together the flour, baking soda, and salt.

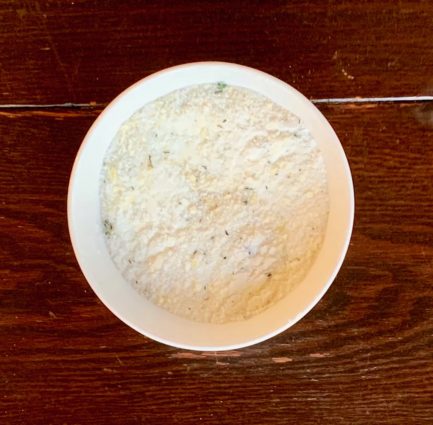
In a medium bowl, rub together the sugar, thyme, and zest until the sugar is moist and aromatic.

Add the yogurt, eggs, and vanilla; whisk vigorously until the mixture is very well blended.

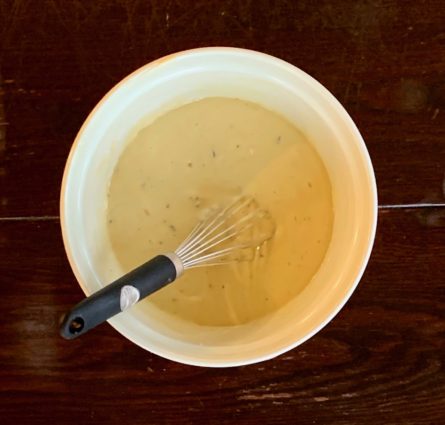
Still whisking, but less vigorously, add the dry ingredients.

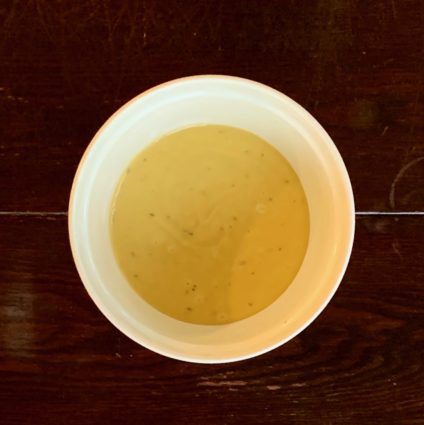
Switch to a large spatula and fold in the oil.

You will have a thick smooth batter with a slight sheen.

Turn the batter into the prepared pans and smooth the tops.

Bake for 32 to 35 minutes or until the cakes begin to come away from the sides of the pans.

They should be golden brown and a tester inserted into the centers will come out clean.

Transfer the cakes to a rack; cool for 5 minutes, then run a table knife between the cakes and the sides of the pan.

Unmold onto racks; cool to room temperature, right sides up.

To make the glaze:

In a small saucepan or microwave-safe bowl, combine the marmalade and the water and heat until the marmalade is hot and liquefied.

Using a pastry brush, gently brush the glaze over the cakes.

Let stand at room temperature to allow the glaze to set.

Wrapped well, the cakes will keep at room temperature for about 3 days.

Because of the glaze, they are not great candidates for freezing.

It’s that simple!

signature

[recaptcha]


This recipe is authored by Marcy Goldman, and is taken from her Jewish Holiday Baking cookbook. It is one of the best baking cookbooks out there. My friend Beth bought this for me almost 20 years ago – it was one one of my first cookbooks – and I was instantly hooked. It continues to be one of my favorite cookbooks to this day.

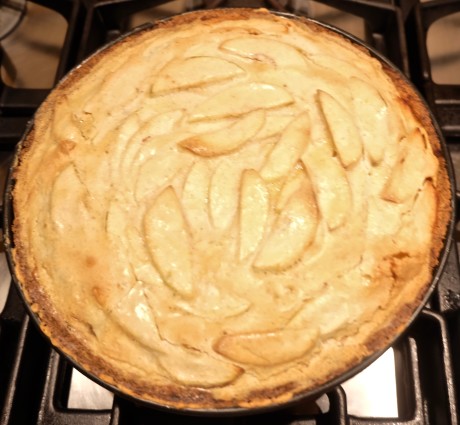
Marcy named this recipe “My Mother’s Fancy Apple Cake”. She writes that it is one of her best childhood memories. I can understand why. This cake is mostly made up of apples that are combined with a scrumptious vanilla sauce. The crust that surrounds the cake is light, delicious and easy to prepare.

To be completely honest with you, this recipe is not simple. However, it is not very complicated either. It just requires a long prep time. Peeling and slicing the apples takes a while, so if you are planning to make this cake (and you definitely should) give yourself a little extra free time for this one.

To this day, it remains my family’s favorite dessert. So I take the time to make it. What better reason could I have than that? The lemon gives the apples even more enhanced tangy flavor. The vanilla extract and the cinnamon add a nice savory goodness to every bite. The crust is the perfect home for this delicious cake. I bet you won’t even leave a crumb. Enjoy!

You should too. You will not be sorry you did!

Ingredients for the Apple Cake:

For the Cake Crust:

1/2 cup of granulated sugar
1/2 cup (1 stick) unsalted butter or margarine, melted and cooled
1 egg
1 tsp. vanilla extract
1/4 tsp. salt
1 1/2 cups all- purpose flour
1 1/2 tsp. baking powder

For the Apple Filling:

7-9 cups peeled and sliced apples ( or enough to fill up your cake pan)
Juice of 1/2 lemon, to sprinkle on the apples
1/4 cup granulated sugar

For the Vanilla Sauce:

3 tbsp. unsalted butter or margarine, melted
1 cup granulated sugar
2 large eggs
1 tsp. vanilla extract
1/2 tsp. ground cinnamon

For the Topping:

Confectioners’ sugar for dusting

Make the Crust:

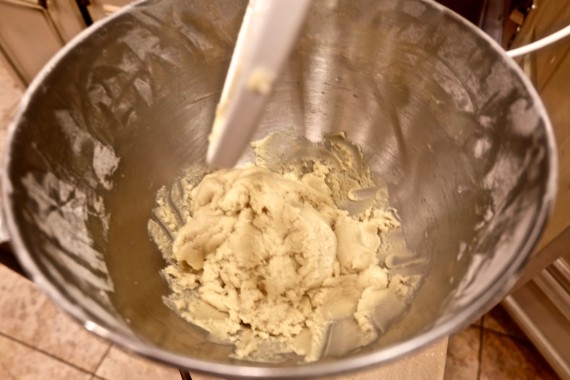
In a large bowl, combine all of the crust ingredients to make a soft but stiff dough. 

fancy cake dough in mixer

Add a bit more flour if needed to ensure that you do not have a batter, but a soft dough.

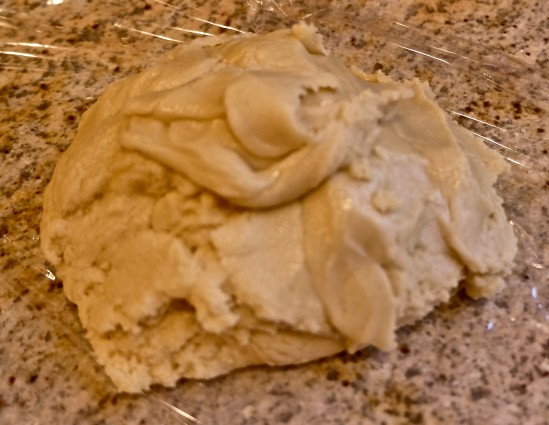
Cover the dough with plastic wrap and chill for 10-15 minutes.

fancy cake dough

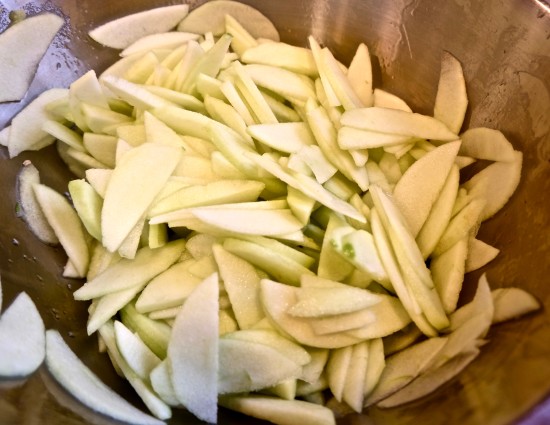
Make the Filling: In a bowl, toss the apples with the lemon juice and sugar.

fnacy cake apples in lemon

Brush the bottom and sides of a 10- inch springform pan with melted butter.

Preheat oven to 350.

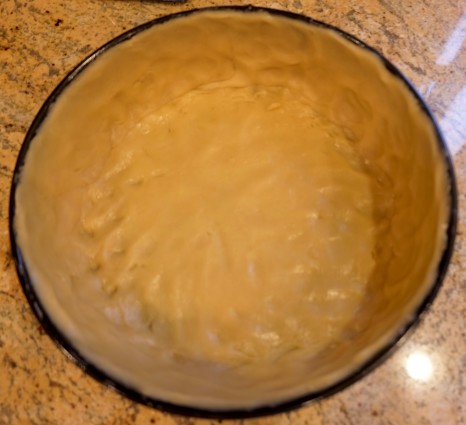
Pat the dough evenly over the bottom and the sides of the pan (it should be between 1/8 and 1/4 inch thick).

fancy cake dough lined pan

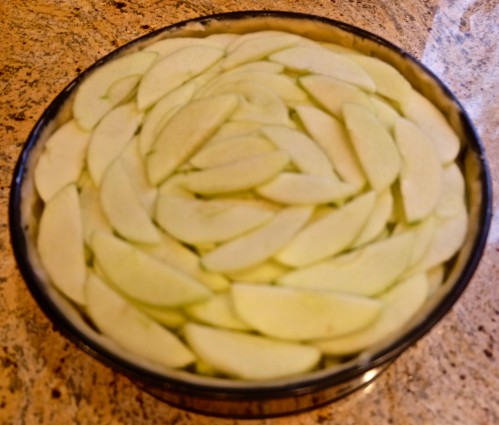
Fill with the apple slices, pressing gently. 

Fancy cake apples filled to top

Cover the pan with aluminum foil.

Bake the cake for 1 to 1 1/2 hours. Remove foil after 15 minutes or until the apples are soft. The top apples will seem dry; the interior apples should begin to feel soft to the touch. 

Make the Vanilla Sauce:

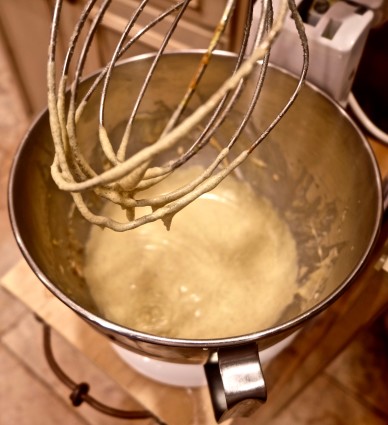
In a bowl, combine the ingredients for the sauce in the order given.

fancy cake vanilla sauce 

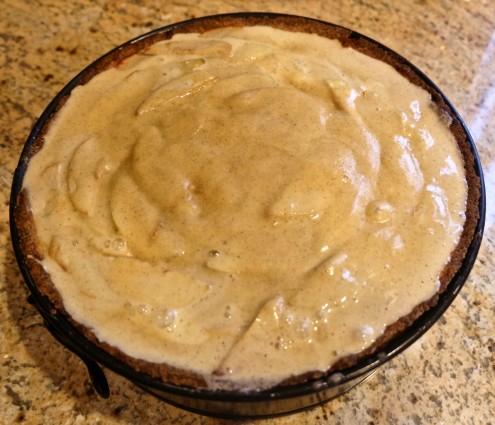
Pour the sauce over the hot cake, trying to get it to drip into all the crevices.

fancy cake apples with vanilla

Bake for an additional 20 minutes.

fancy cake finished bake in pan

Refrigerate for at least 4 to 6 hours or overnight.

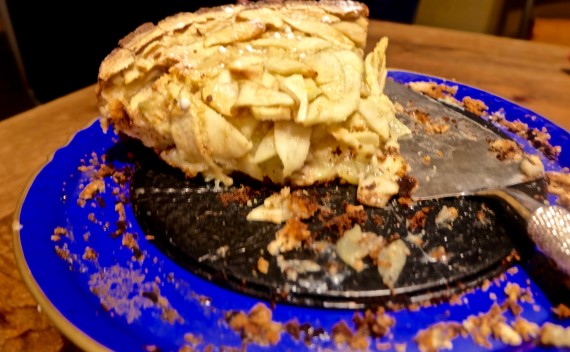
Dust it with confectioners’ sugar before serving.Fancy cake eaten

It’s that simple!

signature

[recaptcha]


This Sweet Potato Pie recipe has been on my Thanksgiving menu for the past 15 years! It is the most popular side dish and one that has become a staple in my family. Everyone loves it and it has become a holiday tradition. This is my most requested recipe and I am happy to be sharing it with you again.

Most of us will have celebrations this year with a few close friends and family. It may seem different, but remember, it is the love, sharing and caring that makes any festivity special. My Thanksgiving will be very quiet this year, as I know most of yours will too. It will be just my husband and I and our sons and dogs. I am sorry to say that I will not have my usual Thanksgiving pictures. I know you all look forward to them. So do I. I missed organizing and decorating and prepping for my usual big gala. I will miss seeing everyone and catching up with a few drinks. But this year, I think the true meaning of Thanksgiving will be close in all of our hearts.

Whatever you decide to do, you must make this sweet potato pie. It is so decadent and a real crowd pleaser.

If you ask me who gave me the recipe, well that would have to be Shelley of course!

It starts with a graham cracker crust that is filled with sweet potato and a nutmeg flavored mixture. Top it with marshmallows and you have heaven on a plate!

Turn a traditional Thanksgiving dessert into a decadent side dish! This recipe is a MUST for your holiday menu!

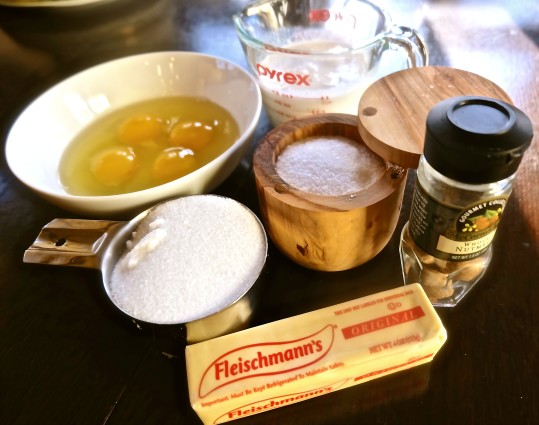
Ingredients for Sweet Potato Pie

4-6 large sweet potatoes
1/2 cup of margarine (or butter), melted and cooled
1 cup of sugar
4 eggs
1/2 tsp. nutmeg (I always add just a little bit more)
1/2 tsp. salt
1 cup of Coffee Rich (usually in frozen section of supermarket) or any half and half 
4 graham cracker pie crusts
2 bags of marshmallows

DSCF1547

Preheat oven to 425.

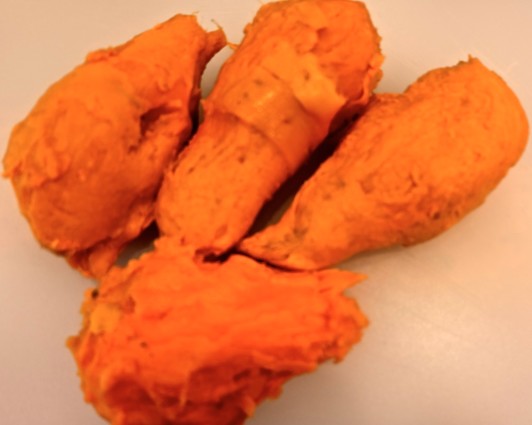
Cook potatoes in boiling water until you can easily put a fork through it. Let cool. Take the skins off.

DSCF1542

Place in mixer and beat until smooth.

Add margarine (or butter) and sugar.

Place one egg in at a time and continue to blend.

Add in nutmeg, salt and coffee rich.

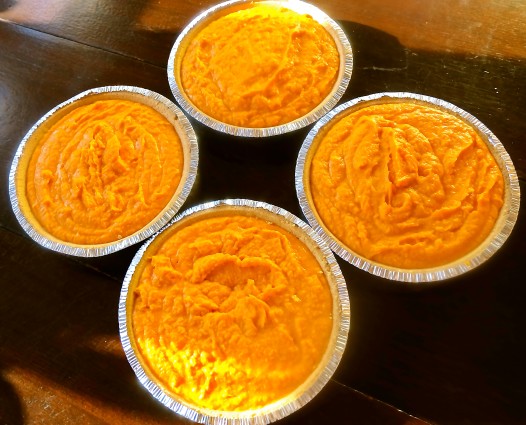
Pour it into unbaked pie crusts.

DSCF1554

Bake it for 20 minutes.

Turn oven down to 325 and continue to bake for 40 minutes or until a toothpick inserted comes out clean.

You can now freeze this recipe for up to two weeks without the marshmallows. What a time-saver!

If you have frozen this, take it out of the freezer in the morning, let it thaw and come to room temperature.

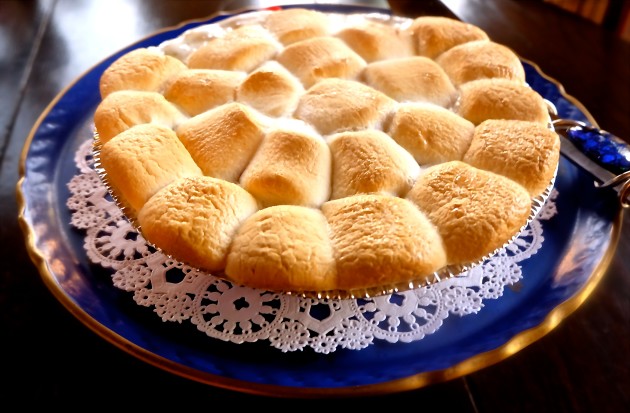
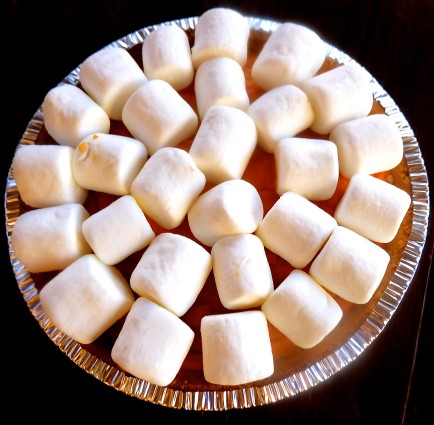
Top with marshmallows.

DSCF1564

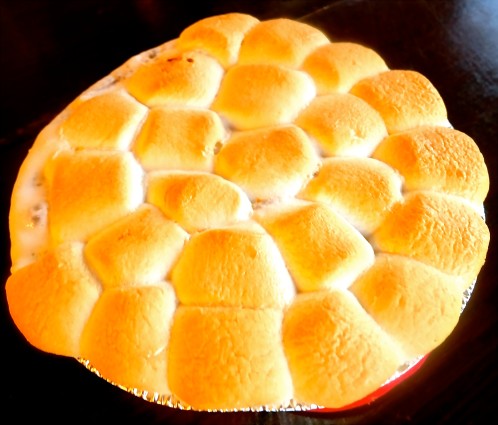
Place back into the oven at 325 for about another 10-15 minutes or until marshmallows have melted and tops are golden brown.

DSCF1569

It’s that simple! And so yummy! 


signature

[recaptcha]