Do you remember Art Linkletter’s show, “Kids say the funniest things?” It was on in the 40’s and 50’s and continued through to when I was a child (of course much later on). I used to love that show and remember laughing so hard at what the kids would say. At the time, while I would laugh out loud at the antics of other kids, I never realized that having kids of my own would bring this show right into my own living room, except this time, it would be real life.

My younger son was especially amusing.  He is a talker and when he was little, he said some of the funniest things I ever heard. He asked so many questions, and most of the time, I didn’t even know the answers. For example, when my mother died, he asked how my Mom would get to heaven. I hesitated, then he said “is she going to get there in an elevator?” When his older cousins were talking about drinking and getting a hangover, he asked me what an overhang was.  One night, when my extended family were over for dinner, we were talking about what my Mom looked like when she was mad. Right in front of her he said well, “she has the wrinkles all over her face that are there even when she is not mad.”  What am I even supposed to say to that?

I used to take him to the grocery store with me. One day there was a very old lady who was wearing a lot of makeup and dark red lipstick that was unevenly put on her lips, and extended over her lips. When we got to the end of the aisle, he leaned over and whispered to me, “Mommy, there is a witch in this isle.” Another time, my sister-in-law took him to the pharmacy with her. It was my birthday and Shelley asked him how old he thought I was. He replied, “Aunt Shelley, my Mom told me never ever to tell anyone her age, so I can’t tell you.”  I think I taught that kid right. 

There are so many more examples of his hilarious comments. My friends used to tell me to write them down, but I didn’t and oh, how I wish I did. Let that be a lesson to you parents or grandparents out there! Now to the recipe.

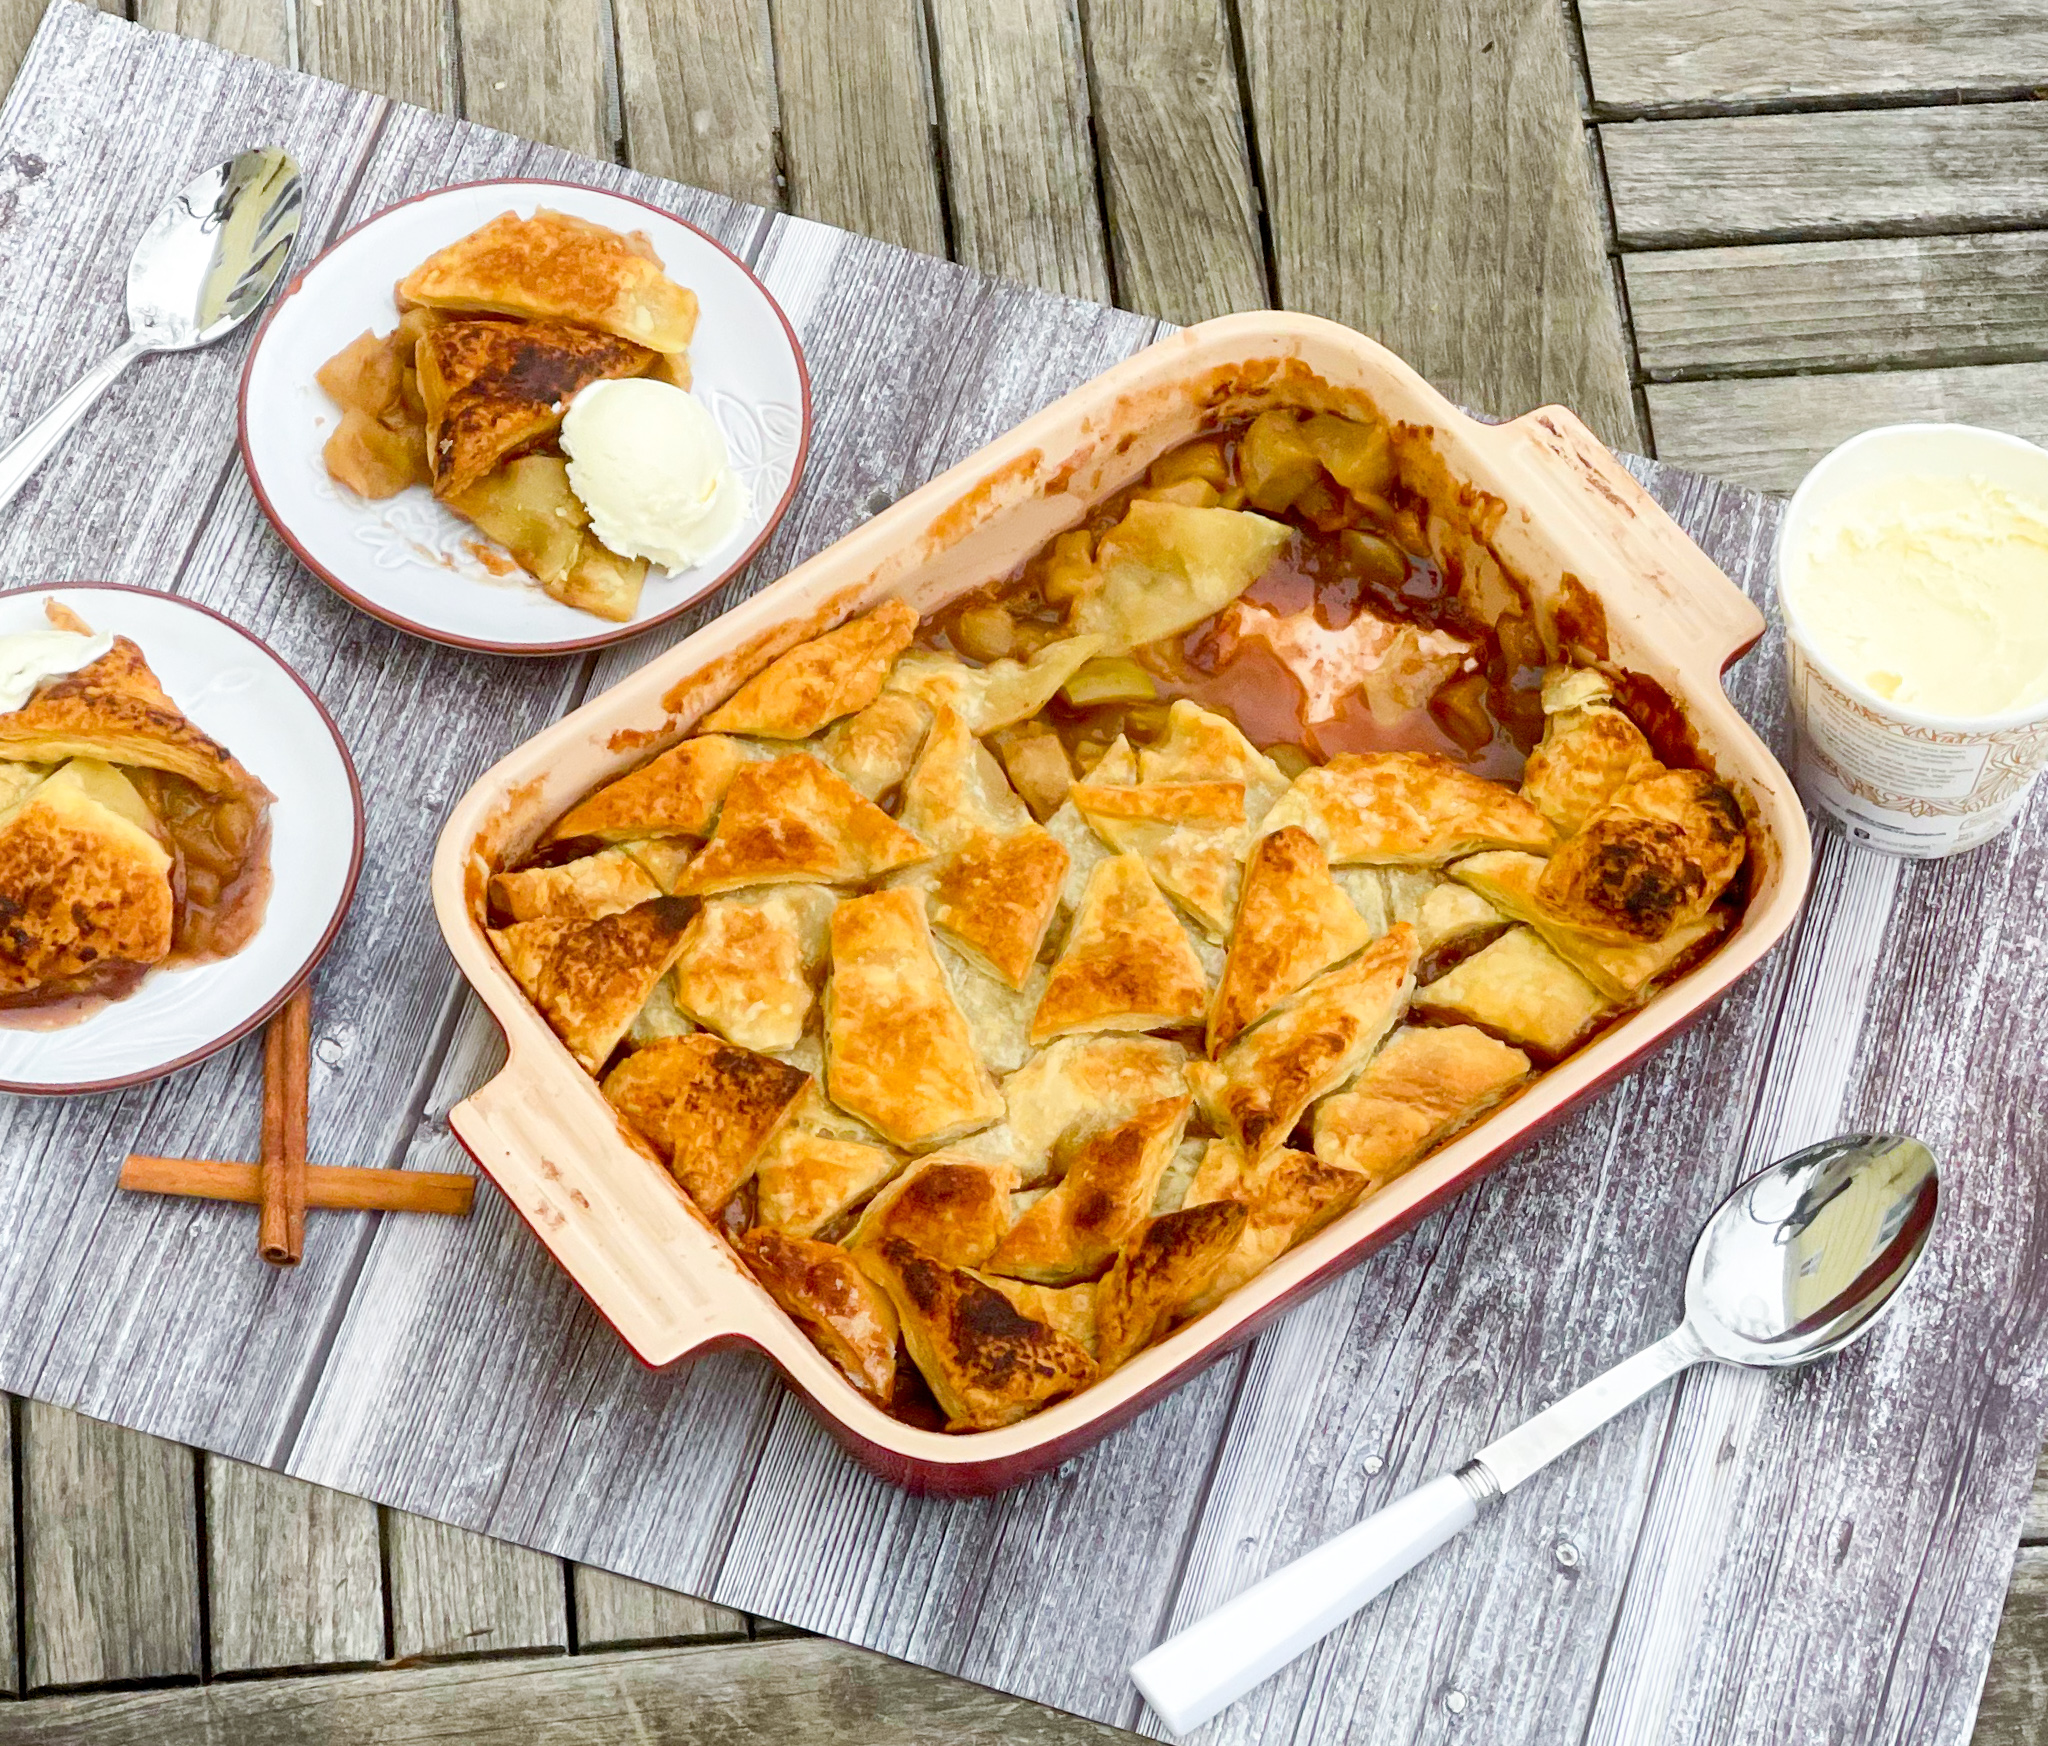
A pandowdy is a spiced apple pie baked in a pie dish. This apple dessert will bring a little comfort and warmth to any home. The smell of this sweet treat baking in your home is just delightful. The apples are dressed with savory goodness, like vanilla, cinnamon, and ginger.  The lemon juice and zest add just the right amount of tanginess. It is then topped with puffed pastry that browns beautifully when it is baked. This pandowdy is just delicious, and even better, it makes the whole house smell so festive. Do not forget the ice cream, it perfects this special treat.

This recipe is courtesy of Bon Appetit and makes 8 servings of this classic American dessert.

Ingredients for Apple Pandowdy:

6 tablespoons unsalted butter
4 pounds Pink Lady and/or Granny Smith apples
2/3 cup (packed) dark brown sugar
3tablespoons all-purpose flour, plus more for surface
1 tablespoon vanilla extract
2 teaspoons ground cinnamon
½ teaspoon kosher salt
1 lemon
1 ½-inch piece ginger
1 package frozen puff pastry, thawed by covering pastry sheet with plastic and leaving at room temperature 30 minutes
Granulated sugar (for sprinkling)
2 pints vanilla ice cream

Preheat oven to 425°.

Cook 6 tablespoons butter in a small saucepan over medium heat, swirling often, until bubbling and golden, about 5 minutes; set aside.

Prepare your apples: Using a vegetable peeler, remove peel from apples.

Stand them upright and slice down along core, working all the way around to remove big lobes of flesh.

Cut lobes lengthwise into 1″ pieces (irregular shapes are fine).

Discard peel and cores.

Transfer apples to a large bowl.

Add 2/3 cup dark brown sugar, 3 tablespoons flour, 1 tablespoon vanilla, 2 teaspoon cinnamon, and 1/2 teaspoon salt to bowl with apples.

Using a microplane or fine rasp grater, grate zest of 1/2 lemon over apples.

Cut lemon in half and squeeze juice from zested half over apples, catching any seeds.

Using peeler, remove peel from ginger, then grate over apples.
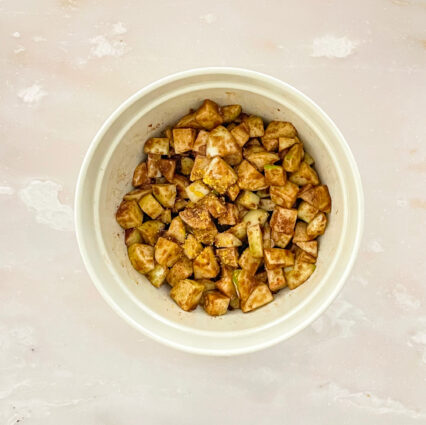
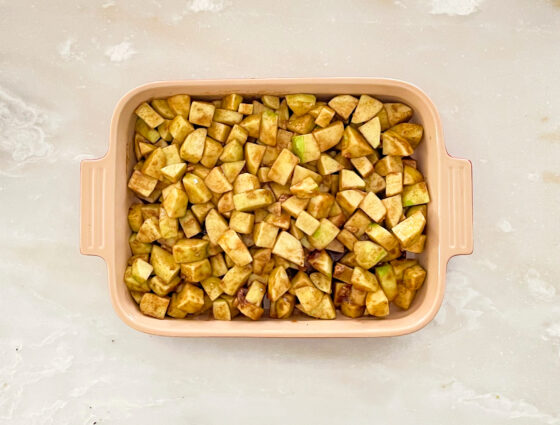
Toss apple mixture until combined, then transfer to a shallow 3-qt. baking dish.

Drizzle all but 2 Tbsp. brown butter over apples.
Dust cutting board with a light coating of flour and unfold puff pastry on floured surface.

Dust top with flour.

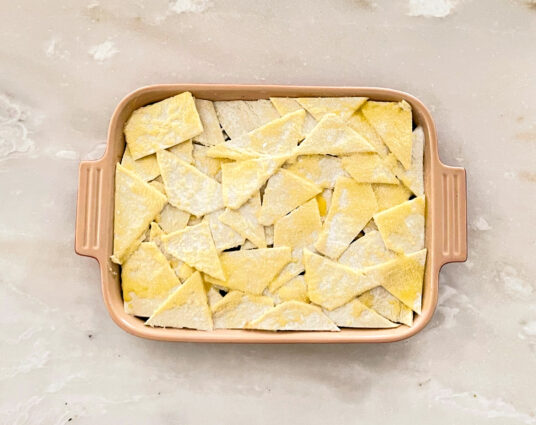
Cut puff pastry into irregular 1″ pieces (any shape is fine).

Arrange pieces of puff pastry over apples, overlapping but spreading to cover almost completely. Brush pastry with remaining brown butter.

Sprinkle with granulated sugar.
Bake pandowdy until pastry is puffed and golden around edges, 25–30 minutes.

Reduce oven temperature to 350° and continue to bake until juices are thick and bubbling and pastry is brown all over, 30–35 minutes longer.

Using a spoon, press pastry down into warm juices (but don’t submerge); let cool slightly.

Serve pandowdy warm with ice cream.

Do Ahead: Pandowdy can be made 1 day ahead. Let cool. Cover loosely with foil and store at room temperature. Reheat uncovered in a 200° oven 20 minutes before serving.

It’s that simple!


signature

[recaptcha]


Things have changed so much since I was a young adult. For one, there were much stricter rules back then– or at least, that’s how it was for me.  I was never allowed to grow my hair long, because my mother believed that only “hippies” had long hair. So, for much of my childhood and teenage years, I had a short, curly haircut that I absolutely hated. When I got to high school, she relaxed a bit, so of course I spent an exorbitant amount of time straightening my hair and blowing it out, as per the style of the day.

I had chores on the weekend (and most weekdays), and was not allowed to go out to football games with my friends until they were all done. There was an upside to this; I got very good at cleaning my room very quickly. Oh, there were times my mom made me re-clean to her satisfaction, but more often than not, I got away with just a cursory clean. 

Strange though it may sound, everyone dressed up to go out. If we went out to dinner, we would all wear our best clothes, especially my mom and dad. We wore formal attire for parties and holidays. People got all decked out to see a show or movie too.  I got new clothes for every holiday, cherishing the day I would finally get to wear them. Thank goodness that life has become more relaxed and informal these days.

As strict as my mom was, she also had a rebellious streak. For example, when I attended elementary school, girls were not allowed to wear pants (am I dating myself here or what?). In defiance, my mom bought me a tweed pair of pants, which I could not wait to wear. I wore them proudly. Once I got to school, they called my mother and told her to take me home to change, or I would not be allowed back. My mom did come to the school to argue, but in the end, the school won out, and I returned to school wearing the proper clothes. Imagine all that over a pair of pants!

Now, fashion is very relaxed and people dress as they please. I don’t mind wearing nice clothing, since it’s fun to dress up once in a while, but I really did hate having to do it so often. Now that we are staying home much more, leggings, t shirts, and comfortable sweatshirts are becoming the norm.

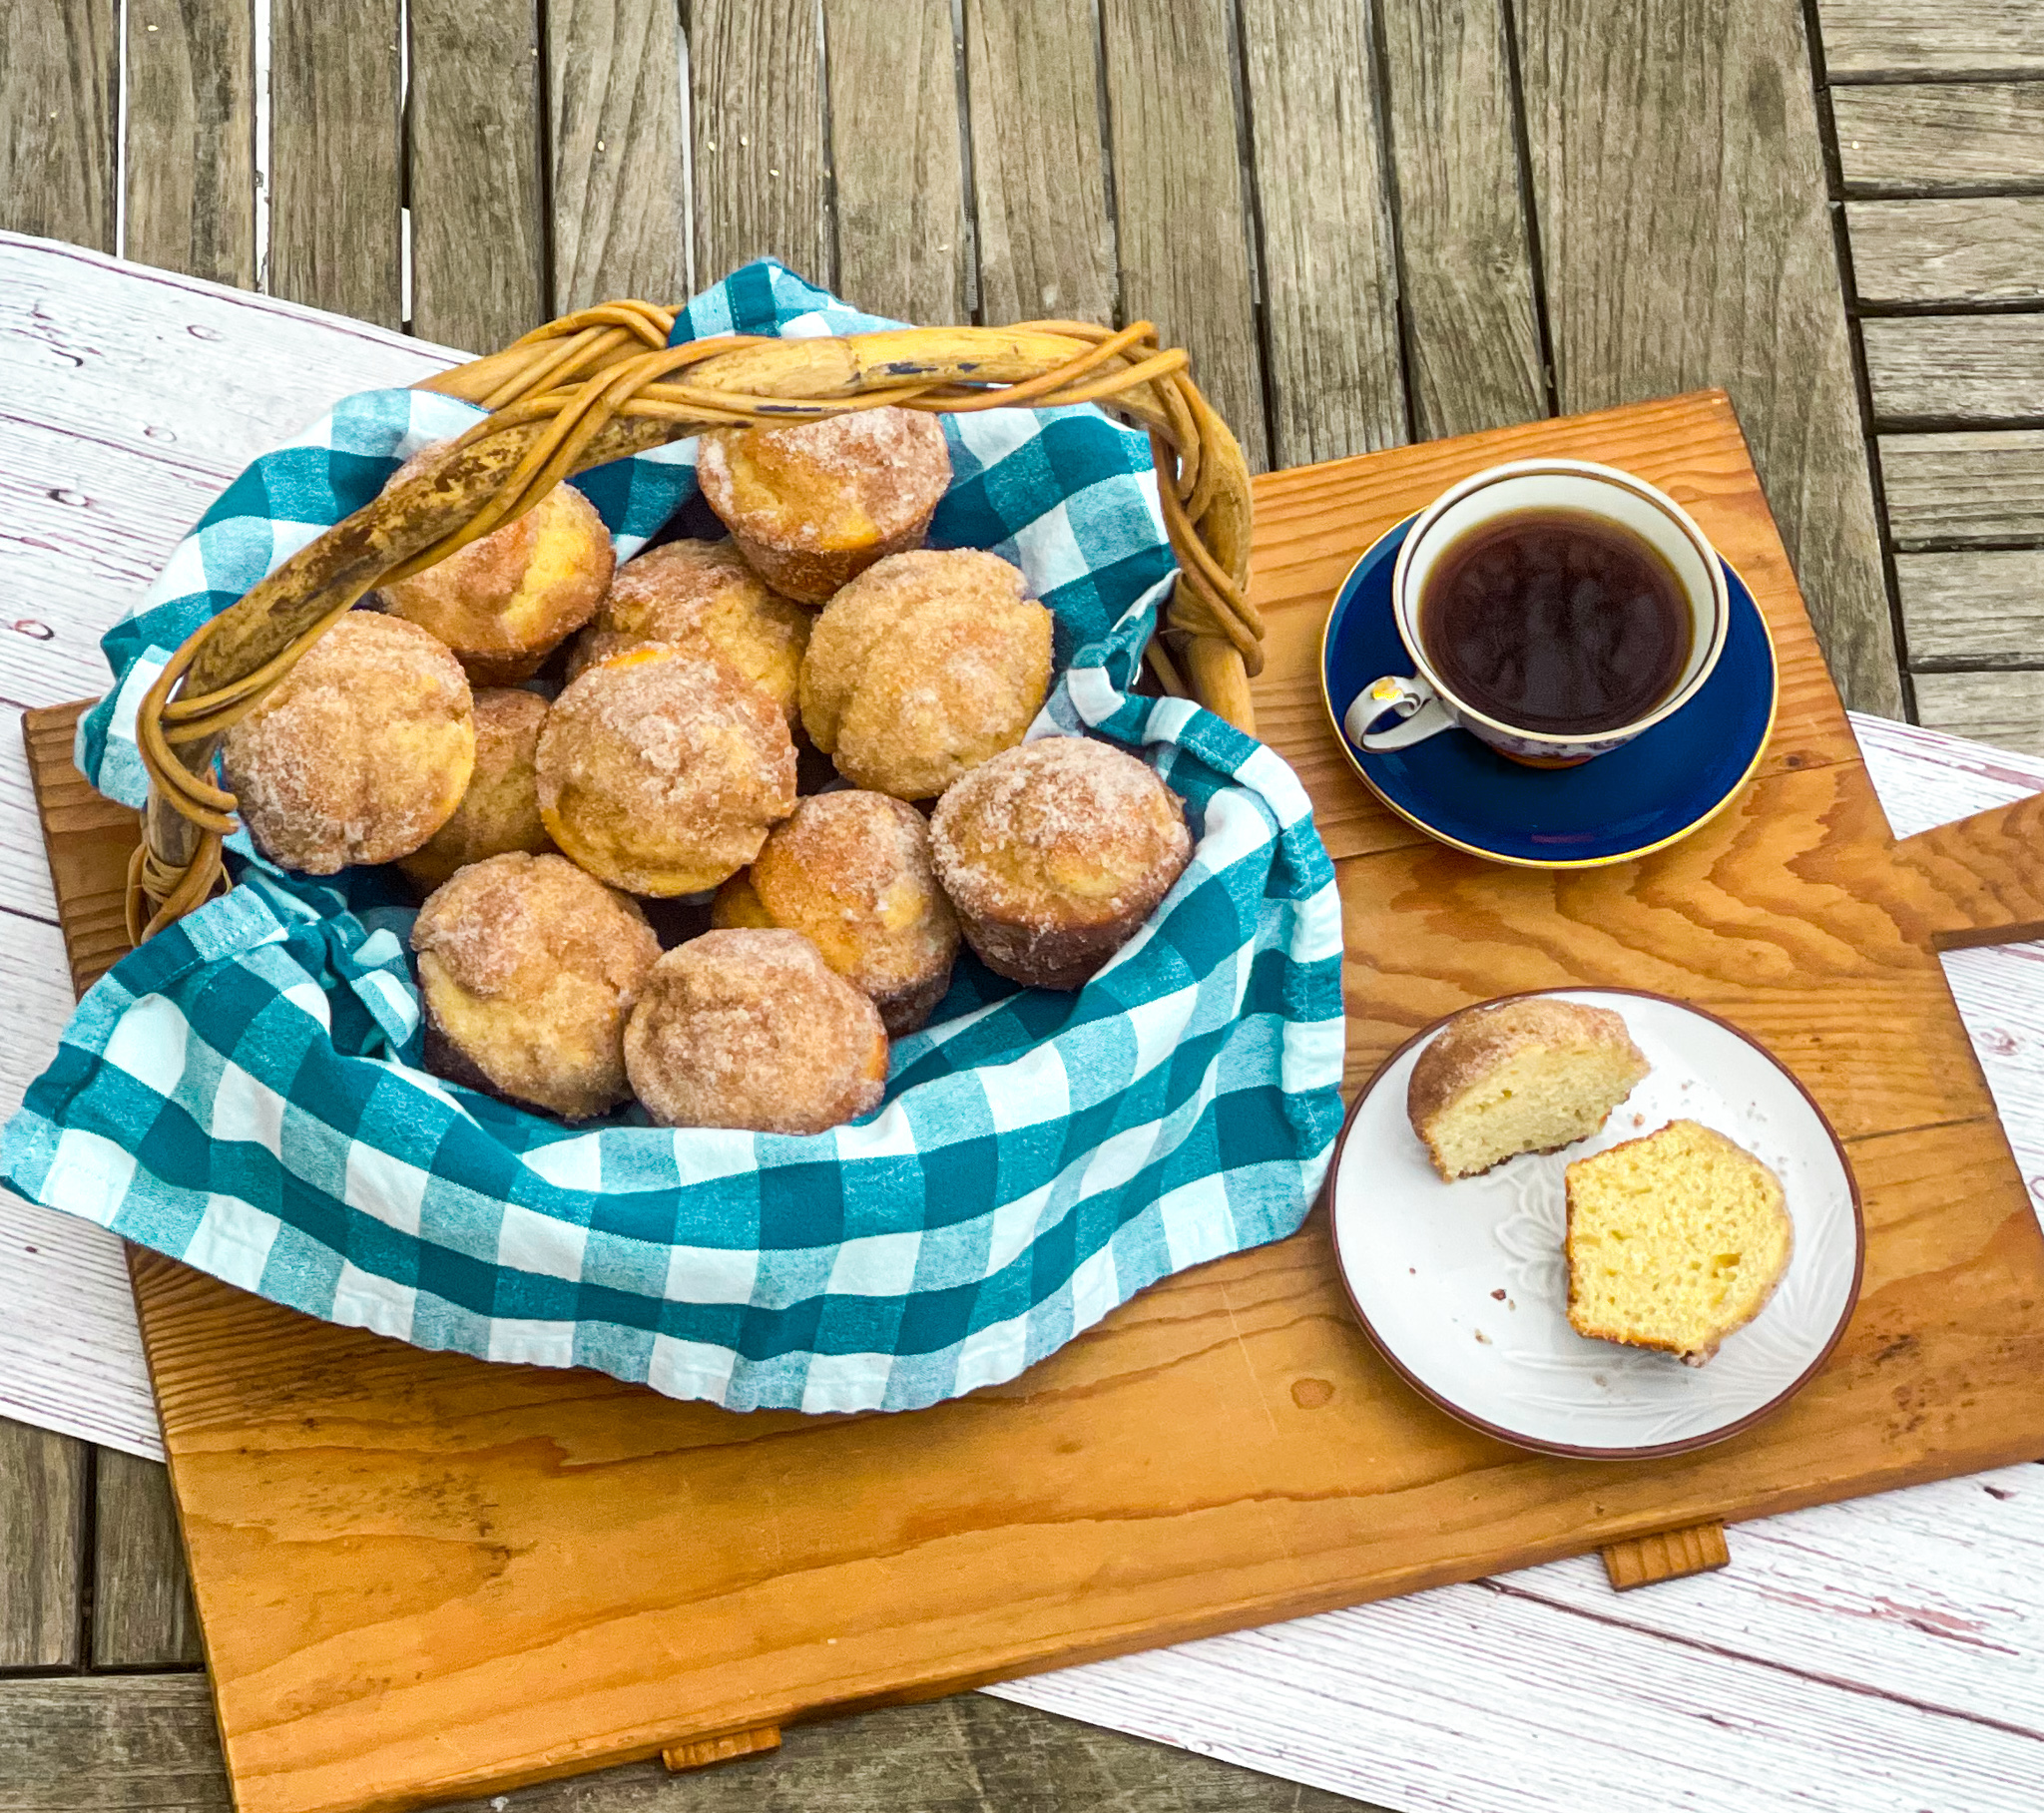
Change is good, and we are seeing it in all things, not only our wardrobe attire. If you are looking for a change in cooking, how about these doughnut-muffins that are not fried, but baked in the oven and served as a muffin?

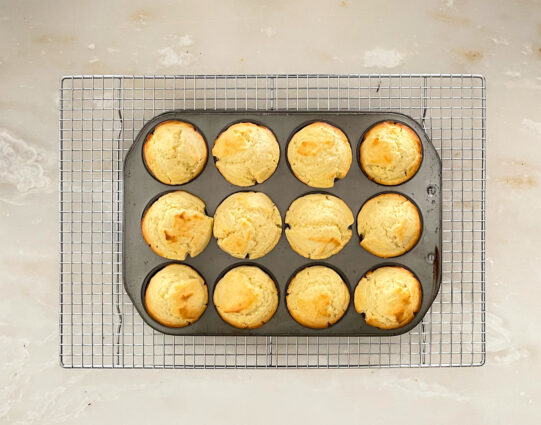
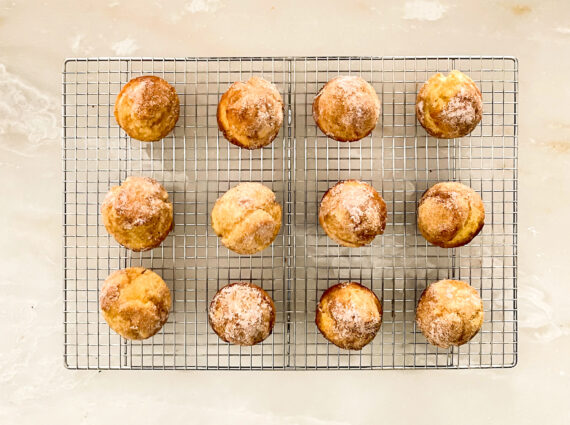
These Muffin Tin Doughnuts are amazing! As the author stated, “they set out to create a muffin that tasted like a doughnut in disguise with a tender crumb, a crisp exterior, and a buttery spiced coating.” And they did it! The buttermilk, butter and egg ensures a rich, yet delicate, cake-like doughnut. The nutmeg adds just the right amount of savory, giving it a little extra delicious flavor. The muffin is then baked at a high temperature to crisp it up and give the exterior a fried flavor. Each muffin is then brushed with butter and coated with a cinnamon sugar. How amazing does that sound? These are the perfect comfort food for breakfast, a snack, or dessert. Make these now: they are a “must try.”

This recipe is courtesy of Cook’s Country Kitchen and will make 12 doughnut muffins for people who will love this innovative twist on your classic muffin.

Ingredients for Muffin Tin Doughnuts:

2 3/4 cups (13 3/4 ounces) all-purpose flour
1 cup (7 ounces) sugar
1/4 cup cornstarch
1 tablespoon baking powder
1 teaspoon salt
1/2 teaspoon ground nutmeg
1 cup buttermilk
8 tablespoons unsalted butter, melted
2 large eggs plus 1 large yolk

For the Coating:

1 cup sugar
2 teaspoons ground cinnamon
8 tablespoons unsalted butter, melted

Adjust oven rack to middle position and heat oven to 400 degrees.

Spray 12-cup muffin tin with vegetable oil spray.

Whisk flour, sugar, cornstarch, baking powder, salt, and nutmeg together in bowl.

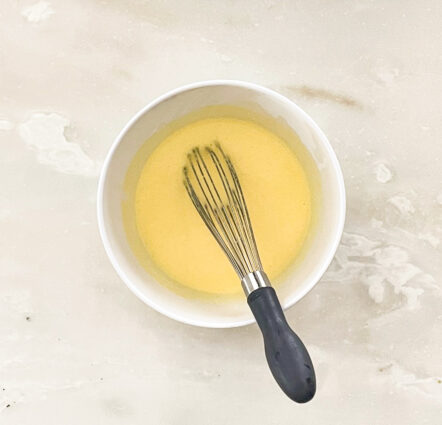
Whisk buttermilk, melted butter, and eggs and yolk together in separate bowl.

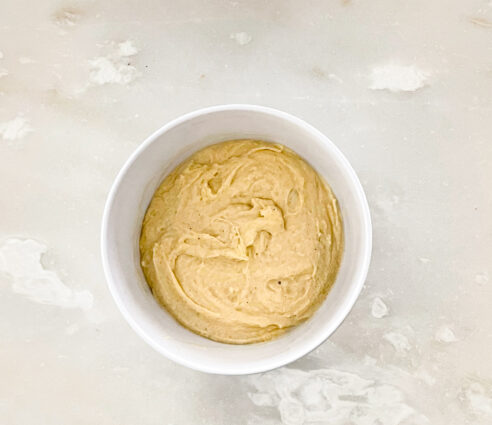
Add wet ingredients to dry ingredients and stir with rubber spatula until just combined.

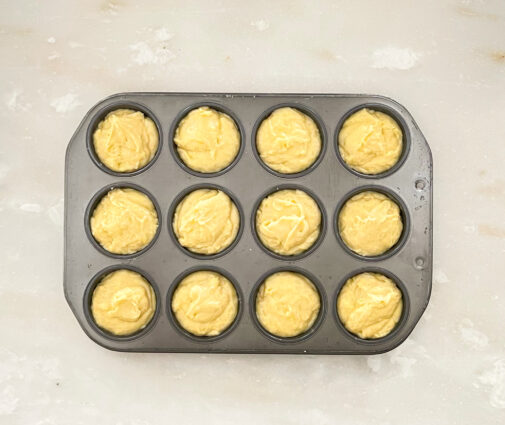
Scoop batter into prepared tin.

Bake until doughnuts are lightly browned and toothpick inserted in center comes out clean, 19 to 22 minutes.

Let doughnuts cool in tin for 5 minutes.

Whisk sugar and cinnamon together in bowl.

Remove doughnuts from tin.

Working with 1 doughnut at a time, brush all over with melted butter, then roll in cinnamon sugar, pressing lightly to adhere.

Transfer to wire rack and let cool for 15 minutes.

Serve.

It’s that simple!
signature

[recaptcha]


What’s red, white, and absolutely delicious? A red velvet cookie, of course! It is a baked sweet treat that is a cookie twist on an old-fashioned cake. 

Stella Parks states that the “cake has its roots in the Victorian era. There was a ‘velvet cake’ with a smooth, soft crumb, as well as a ‘dense and fudgy’ chocolate cake made with egg yolks.” Parks claimed that around 1911, the two recipes converged and a “velvet cocoa cake” was born. Although some people think that it gets its color from the chemical reaction of the cocoa powder and the baking soda, this just is not so. Actually, the red coloring originally came from beets. Nowadays, the reason for the beautiful color is simple–red food coloring! So, is this really just a chocolate cake disguised as a red velvet cake? Not really, because a chocolate cake can be topped with any kind of frosting, but a red velvet cake has to be topped with a yummy cream cheese frosting.

Although this treat was originally made as a cake, the idea of red velvet has made its way into cupcakes, cookies, and even pancakes!

Adams Flavors, Foods, and Ingredients, as manufacturers of red food coloring, among other products, featured home-baking recipes for the cake, which derived its hue from their bottled dyes. It began including recipe cards for red velvet cake in its food-coloring packages sometime between the 1920s and 1950s, and also featured the recipe on tear-off displays inside grocery stores. Though Adams doesn’t have an exact date for its invention, the company says red velvet cake was heavily promoted during the 1940s and 50s and again beginning in the 1980s.

The flavors of this cake come from the buttermilk, vinegar, cocoa powder, and cream cheese frosting. Some recipes use only a tablespoon or two of cocoa powder, giving virtually no chocolate flavor. This leads some people to think that red velvet cake is just a white cake dyed red. If you want to purchase a real red velvet cake, it can be very expensive. This could be because the frosting does typically contain cream cheese, which could make the frosting pricier, or that the name is associated with luxury, thus allowing for a large markup.

Thanks to its beautiful red color, this is a festive favorite for celebrations. The dramatic shade adds a bright burst of color to the table, and biting into its creamy cream cheese icing makes for a sweet treat irresistible. Before the debut of food coloring, though, red velvet cake was likely more rust-colored, not the brilliant bright red we know today. And the velvet portion of its name referred to the light texture of the cake, not the frosting.

According to Sally’s Baking Addiction, “it is dense and soft with a moist and velvety crumb texture. However, the absolute best part about red velvet cake is the cream cheese frosting. Slathered on thick, my cream cheese frosting recipe is delicately sweet and undeniably creamy.”

Usually I choose to make this cookie from scratch, I wanted to save us all time by using a ready-made cake mix, and add a few ingredients that make it taste like it has been made from scratch. I have always been a fan of using cake mixes that, by adding other flavors to it, come out rich, buttery, and moist, so no one will ever guess you “cheated a bit.”

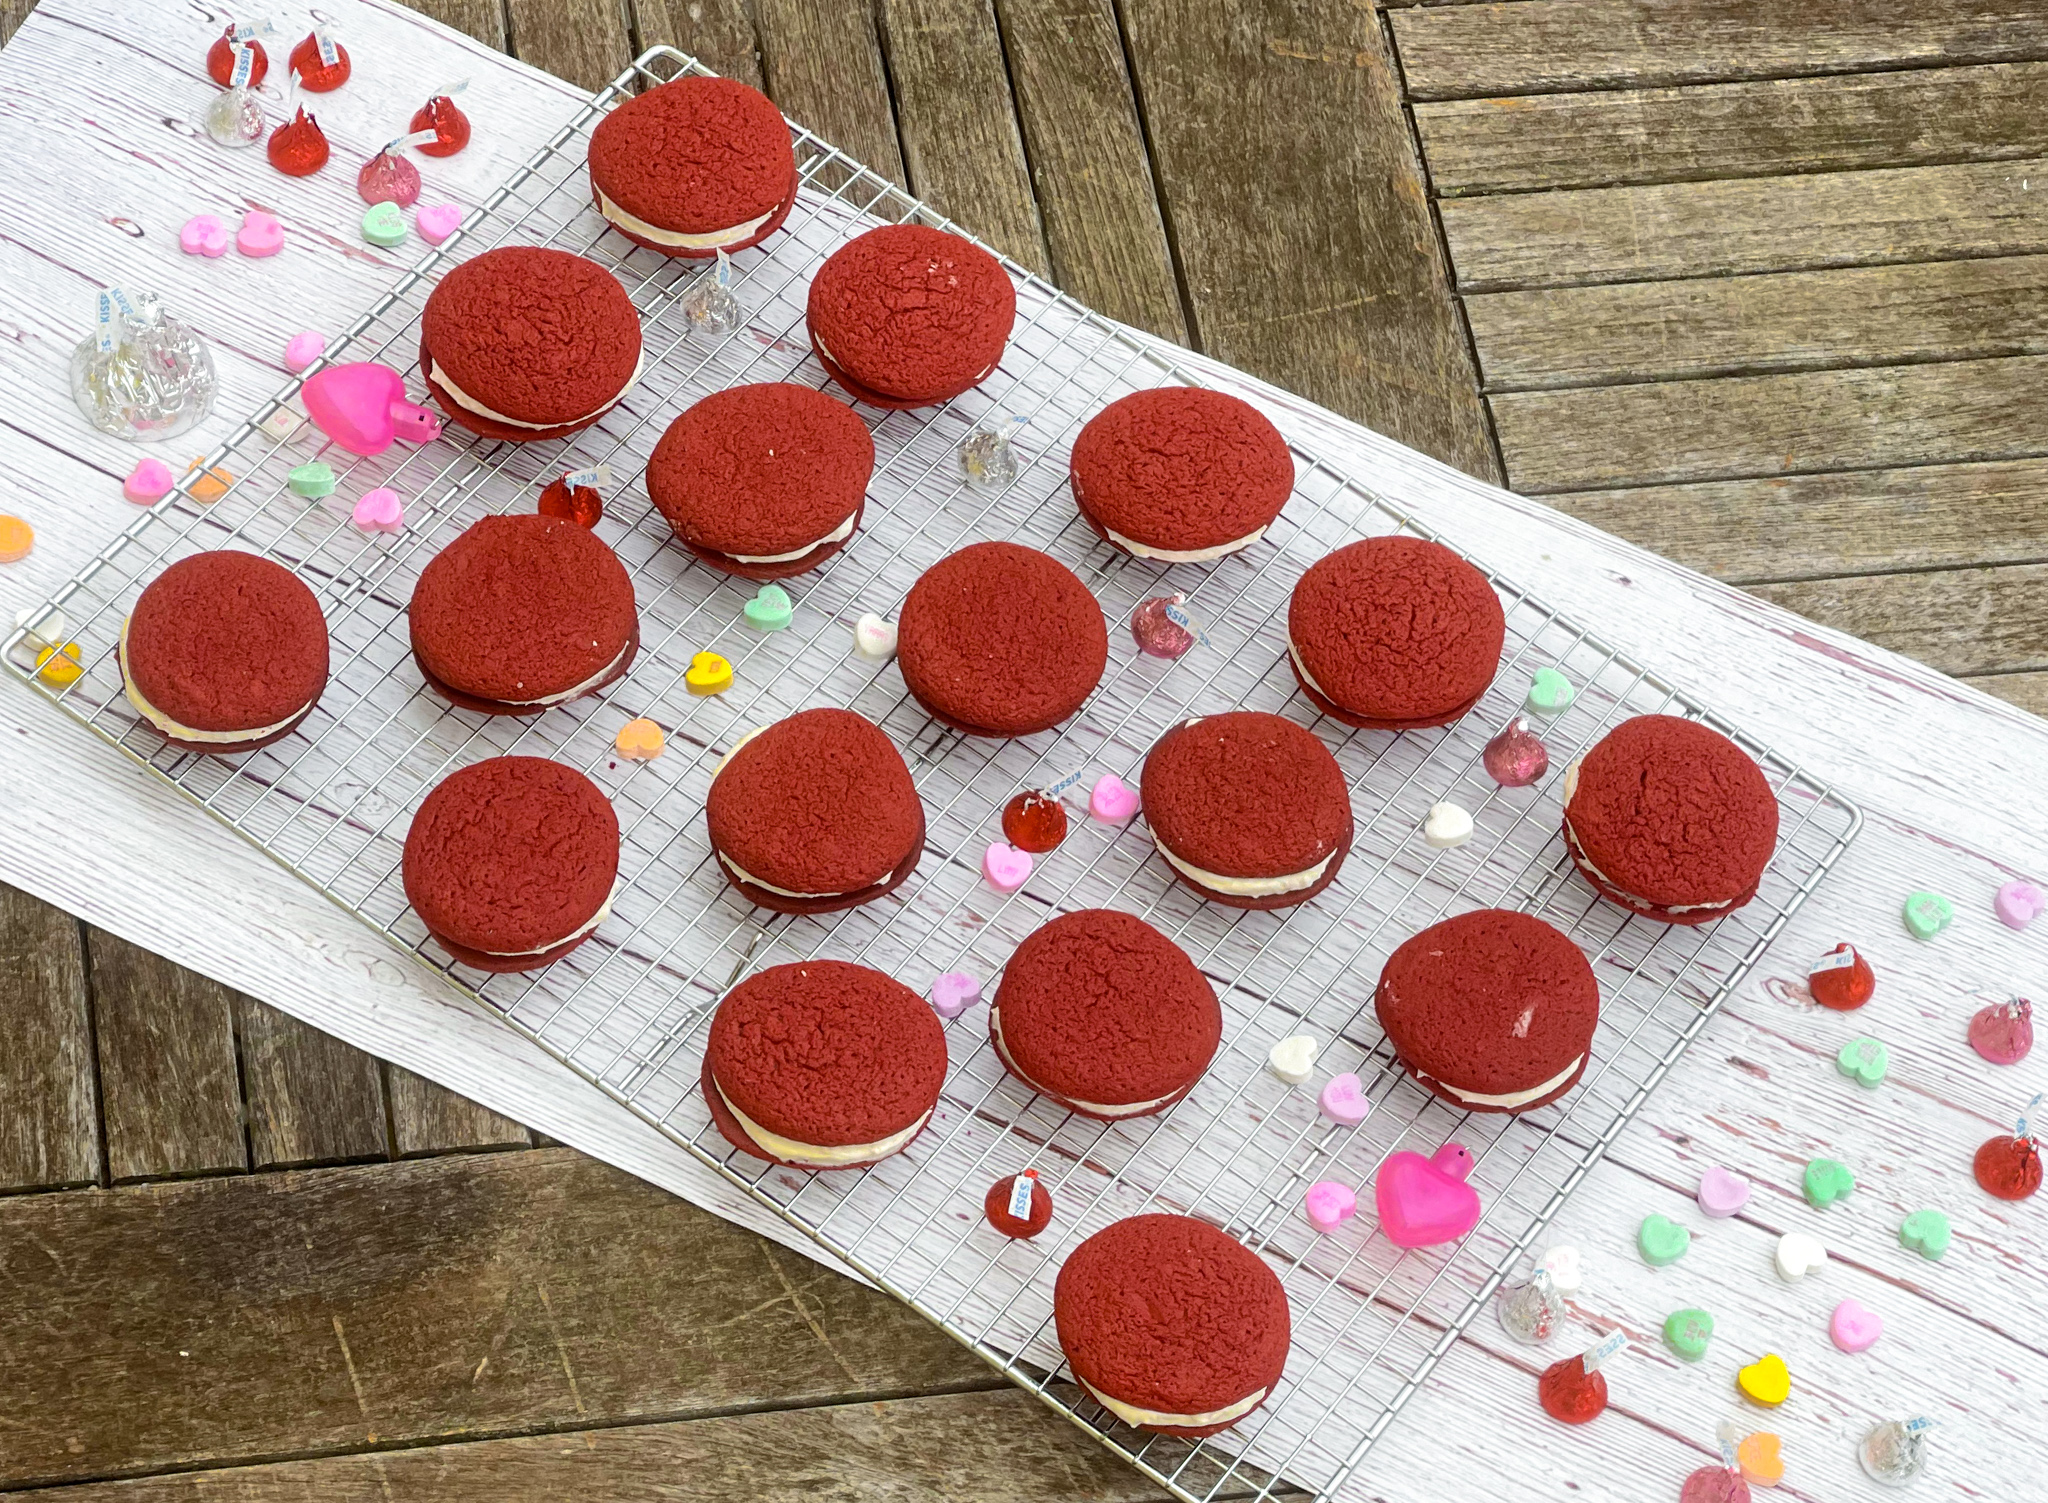
Oh, my how I love this cookie recipe because the red cookies look so enticing with the white cream cheese in the middle, and it is so SO easy. Don’t tell anyone you used a cake mix, and they will think you have been studiously baking all day. The addition of bourbon adds just a hint of sweet and savory. The cream cheese filling is enhanced not with cocoa powder (that is in the cake mix), but with vanilla and coconut. The result is a scrumptious cookie that will make anyone happy on Valentine’s Day. These cookies are a “must try.” Make some extra cookies and send them to your family and friends to make this holiday even more special. They do travel well too!

This recipe are courtesy of Allrecipes and will make 24 cookies for people who will feel the love on Valentine’s day!

Ingredients for Red Velvet Sandwich Cookies:

1 (18.25 ounce) box red velvet cake mix
2 eggs, lightly beaten
½ cup vegetable oil
1 tablespoon bourbon

For the Icing:

1 (8 ounce) package cream cheese, softened
¼ cup butter, softened
2 teaspoons evaporated milk
1 teaspoon vanilla
½ cup flaked coconut
4 cups confectioners’ sugar
½ cup chopped pecans

Preheat the oven to 375 degrees F.

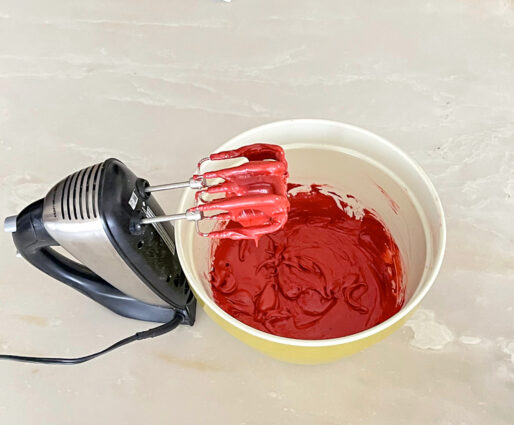
Mix together cake mix, eggs, oil, and bourbon in a large bowl.

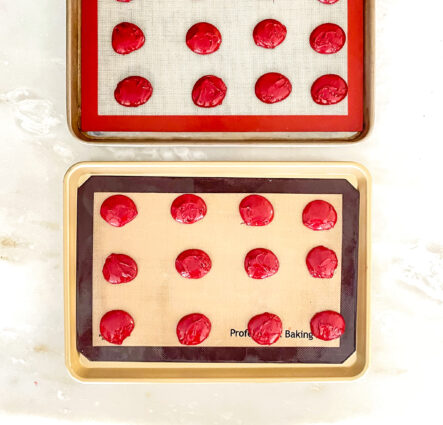
Roll the dough into balls the size of walnuts.

Place 2 inches apart on ungreased baking sheets.

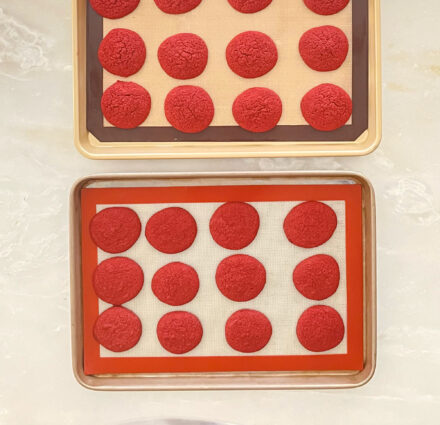
Bake in the preheated oven until the tops start to crack, about 8 minutes.

Cool in the pans for 10 minutes before removing to cool completely on a wire rack.

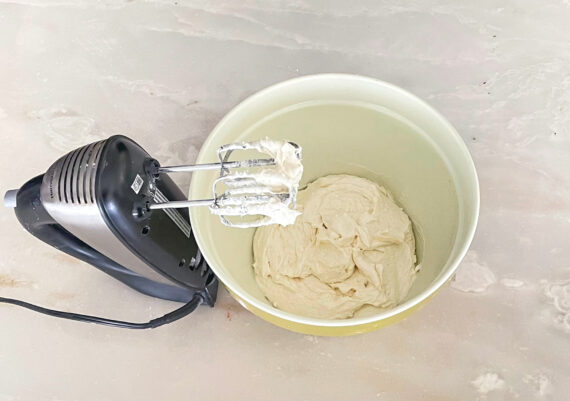
In a large bowl combine cream cheese, butter, evaporated milk, vanilla, and coconut.

Add the confectioners’ sugar 1 cup at a time, mixing well with each addition.

If consistency is too stiff, add more milk.

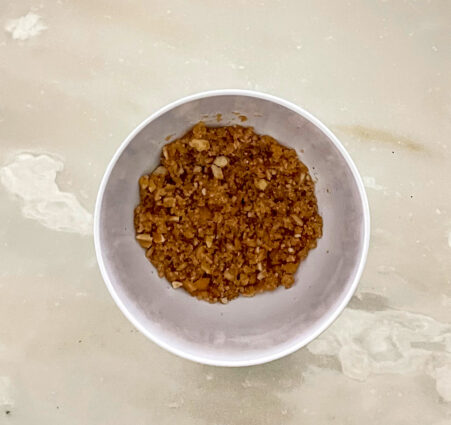
Place the chopped pecans in a bowl.

Spread a generous amount of icing on the bottom of a cookie, sandwich it with another cookie, pressing firmly so that the icing comes all the way out to the edge.

Roll the edges of the sandwich cookies in the chopped pecans.

Repeat with the remaining cookies.

You will likely have extra icing after building your sandwich cookies. Lucky you!

It will keep it for up to 2 weeks covered tightly in the refrigerator.

It’s that simple!
signature

[recaptcha]


When I was growing up, I had a very limited diet. I ate only bread, peanut butter, and eggs, and it drove my mom crazy.  On occasion, I would maybe eat some steak or chicken. Any vegetable was a no for me. I think that was caused by the way vegetables were presented at that time: soggy, unappealing mush. Of course I wouldn’t eat them!

My absolute favorite food choice was lemons, and lots of them. My mother would buy me lemons, knowing full well that I would eat them raw right in front of her.  My mom was especially upset at this because she felt I was too skinny. My nickname was “Toothpick,” and it stuck for many years. I hated that name, but because my food choices were so limited, and because I loved to play sports, I couldn’t put on any weight. 

As I got older, my tastes increased. Once, when I was a teenager, my brother ordered fried calamari at a restaurant. He told me it was fried chicken, and why would I not believe it? My mother kept a kosher home, so I had never even heard of calamari. I tried it, and I LOVED it. It was not until the way home in the car, that my brother told me the truth. I was shocked, but continue to love it to this day. 

It was not until I met my husband that I had my first lobster. He was astonished that I had never had one. Of course, I ordered what I knew I would like, but I was able to get a taste of his. And again, I loved it. How had I been missing on this food all my life? That moment changed things for me. I became unafraid to try new foods, and my diet improved quickly. 

When my oldest son was a child, he, like me, would eat only a small range of food, though he was even pickier than I was. I homemade all the baby food for my kids, so I knew that he was eating well.  But as he grew, he learned how to say “no.”  Forcing him to eat was an uphill battle, so I simply made his dinners separately from the rest of the family. I had a feeling that he, like me, would find that his tastes would change later down the line. And of course, they did, and now he is a very healthy eater.

In contrast, my younger son would eat anything. When he had his tonsils out at four, my husband told him he would get him some chicken soup. He was still in the recovery room at that time. He yelled at my husband and said, “no chicken soup, I want schwimp.” The nurses burst out laughing. So out my husband went, trying to recover some shrimp for our precocious four year old.

Things are so different now: children now grow up trying an enormous range of foods. My great-nephew and niece have terrific diets and will try most foods. And their mother, my niece Leslie, was an even pickier eater than I was! Because of the varieties in stores and in restaurants, kids can be exposed to lots of foods early on, and with better understanding of nutrition, parents can make more informed decisions. 

Now this is a recipe that adults and children can agree on. The cream cheese and sour cream whip up to a delightfully creamy and incredibly smooth filling.  It is then combined with a citrus, which takes this tart to a whole other level, giving it a slight tang. Sweet and salty? I’m all in! This delicious filling is housed in a buttery, salty, crunchy base of cracker crust that makes this tart absolute perfection. Even your younger kids will love it too!

This recipe is courtesy of Nothing Fancy, by Allison Roman and will serve 8 to 10 of the pickiest children around.

Ingredients for Sweet and Salty Cream Cheese Tart:

For the crust:

5 oz.  Ritz crackers or Nilla wafers
2 tbsp. light brown sugar
4 tbsp. unsalted butter, melted
Pinch of kosher salt

For the filling:

16 oz. full fat cream cheese, at room temperature
1 cup sour cream or full-fat Greek yogurt
½ cup granulated sugar
2 large eggs
3 tbsp. fresh citrus juice (grapefruit, lemon, lime or orange)
Flaky sea salt, such as Maldon, for finishing

Heat the oven to 325˚ F.

Make the crust:

Pulse the crackers or wafers in a food processor until you’ve got a fine crumb (crumb, not powder!). You can also do this by hand by placing the crackers in a resealable bag and crushing or smashing with a skillet or rolling pin.  This is a great job for a little helper!

Transfer to a medium bowl and add the brown sugar and butter.

Using your hands, mix until the crumbs are evenly coated and you have a wet sand texture.


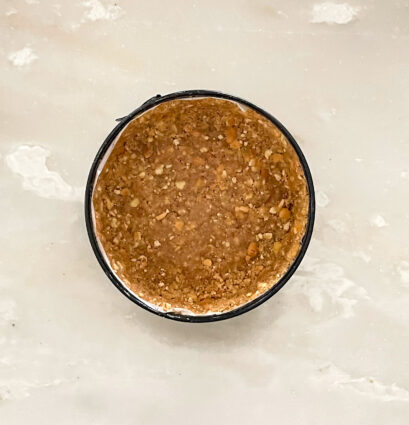
Press mixture into an unlined 9-inch tart or springform tin, or a cake pan lined with parchment paper.

You can use a lined 8-inch square baking pan here, although expect a slightly thicker outcome (maybe that is your preference).

Using the bottom of a measuring cup or small bowl, really press the crumb mixture in there–otherwise it can be challenging to cut later on.

Bake until crust is lightly golden brown at the edges (it gets baked one more time, so best not to overdo it here),  10-15 minutes.

Make the filling:

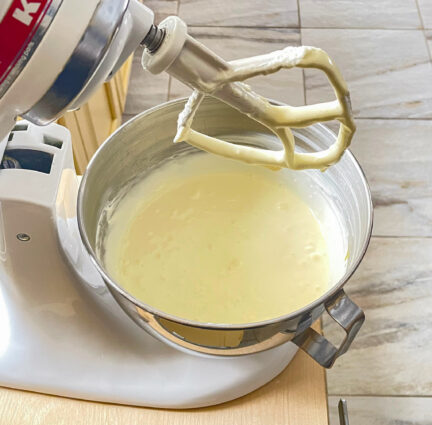
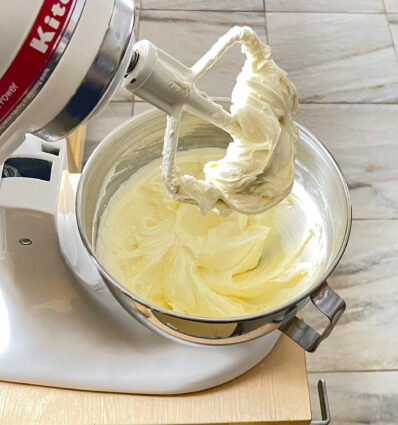
Combine the cream cheese, sour cream and granulated sugar in a food processor and process until impossibly smooth and well blended, scraping down the sides as needed to incorporate any stubborn chunks of cream cheese.

Add the eggs, fruit juice and a pinch of sea salt, and keep processing until it is even smoother and creamier than before.

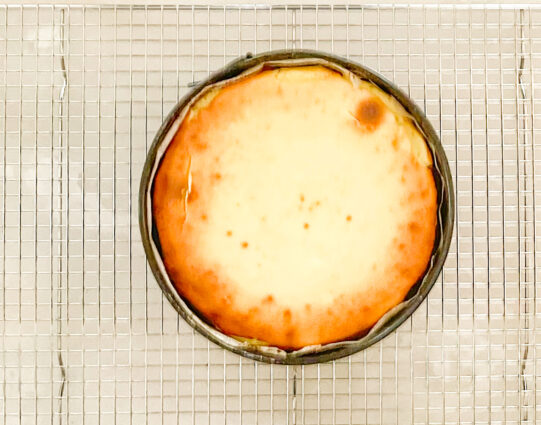
Pour the mixture into the baked crust and bake until the whole thing is set and no longer jiggles when tapped, for 25-35 minutes (it should not brown at all).

(Oh, oh, mine did turn brown, but still tasted great!)

Turn the oven off and open the door a crack.

Let the tart sit in there for about 15 minutes, before transferring it to a wire rack on a counter to cool completely.

Place the tart in the fridge to chill for at least 1 hour, (this gradual cooling is to prevent any unsightly cracks appearing on the surface which can appear when there is a sudden change in temperature).

To serve, sprinkle with a little flaky salt and serve with some fresh citrus of your choosing if you like.

It’s that simple!
 

signature

[recaptcha]


Have you ever bought way too much at the grocery store?  You go just for some milk and bread, and come back with Brussels sprouts, a salmon fillet, and a brand new type of fruit that you’ve never seen before? Yeah, me too. For some reason, I always bought two of everything just in case I made a mistake preparing a recipe. I still do this from time to time, although as my cooking skills improved, I try to curb my purchases to only what I need. Sometimes the store still gets the better of me. Oh well.

One thing I have learned is that more ingredients do not mean a better outcome. A lot of cooks out there think that adding all these spices to a dish will make them taste better. Don’t let yourself be fooled by this kind of thinking: quality always wins out over quantity. 

Firstly, you should choose a recipe that lines up with your cooking skills. Read a couple recipes first, and settle upon one that is not too difficult. By looking at more than one recipe, you can also choose the one that suits your tastes the best. A lot of recipes out there on the internet may fall short of your expectations–oftentimes these recipes aren’t tested thoroughly, so they might be impossible to make, even under the best of days.  Of course, if you follow a specific author or blogger who you know is reliable, then go right ahead and stay faithful to them.

Read the reviews of the recipes. People who have made and reviewed the recipe are usually pretty honest about the results, for better or for worse. They may even give new ideas or ingredients that worked for them. If you can find a recipe with an outpouring of positive reviews, then you should definitely go with that one.

Taking the time to try new recipes can be intimidating for a lot of us. If the outcome of a new recipe was disappointing, don’t worry too much. You can use the things you have learned and improve upon it the next time around. I cannot tell you how many times I have prepared two or three times and it still did not come out accurately–it’s just part of life.  Most of the authors I work from are pretty reliable and I still can’t get it right. Before you start thinking it’s something you have done, know that these things happen, and stop raking yourself over the coals. Move forward with courage, because this is how you learn best. And hey, it may not even be your fault, the error may be caused by the author of the recipe, or even the weather!

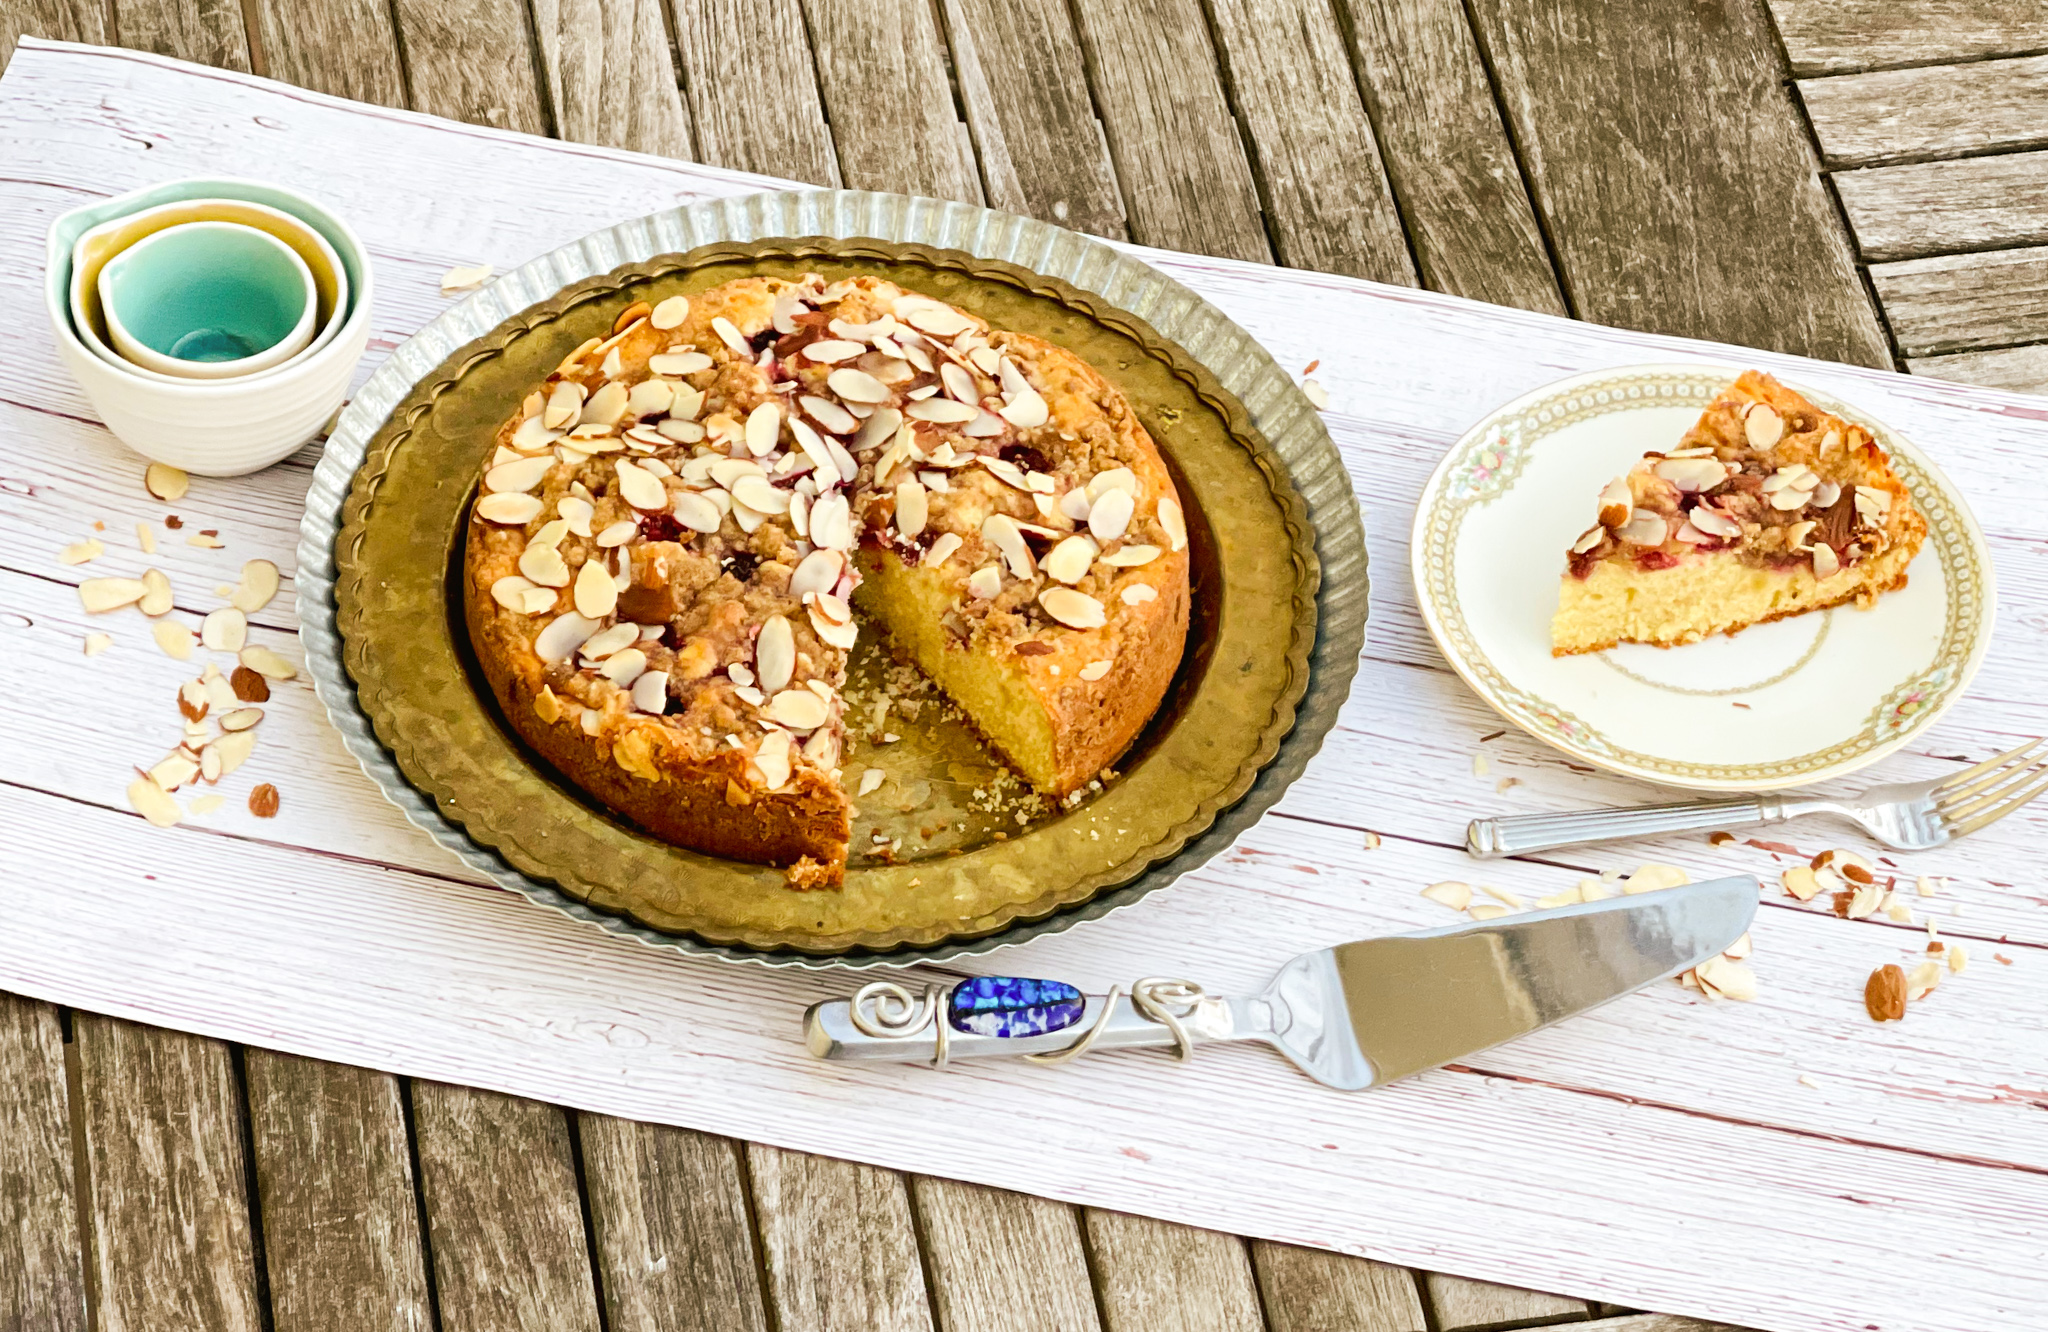
If you are looking for something fun, easy, and reliable, then this is the dessert for you. The sour cream ensures a moist, fluffy finish. The combination of the vanilla and almond extract combines beautifully, giving it a nice savory flavor. The cinnamon adds a little tang and sweetness. It is then topped with almonds, which adds crunchy goodness, and the raspberries are a sweet finish to this delicious dessert. This is the perfect delicacy for breakfast, snack, dessert, or anytime of the day for a little pick-me-up.

This recipe is courtesy of Sally’s Baking Addiction and will serve 8 people who will definitely want a second slice of this beautiful little cake.

Ingredients for Raspberry Almond Crumb Cake:

1 and 1/3 cups all-purpose flour (spooned and leveled)
1 teaspoon baking powder
1/4 teaspoon baking soda
1/4 teaspoon salt
1/2 cup unsalted butter, softened to room temperature
3/4 cup granulated sugar
2 large eggs, at room temperature
1/2 cup full-fat sour cream, at room temperature
1 teaspoon pure vanilla extract
3/4 teaspoon almond extract

For the Topping:

1/4 cup all-purpose flour
1/4 cup packed light or dark brown sugar
1/4 teaspoon ground cinnamon
2 tablespoons unsalted butter, melted
1 heaping cup frozen raspberries (do not thaw)
3/4 cup sliced almonds

Optional: confectioners’ sugar for dusting

Preheat the oven to 350°F. 

Grease and lightly flour a 9-inch springform pan.

Make the Cake:

Whisk the flour, baking powder, baking soda, and salt together.

Set aside.

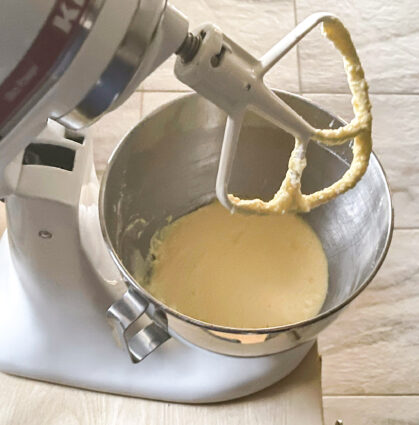
In a large bowl using a hand mixer or stand mixer fitted with a paddle or whisk attachment, beat the butter and granulated sugar together on high speed until smooth and creamy, about 2 minutes.

Scrape down the sides and up the bottom of the bowl with a rubber spatula as needed.

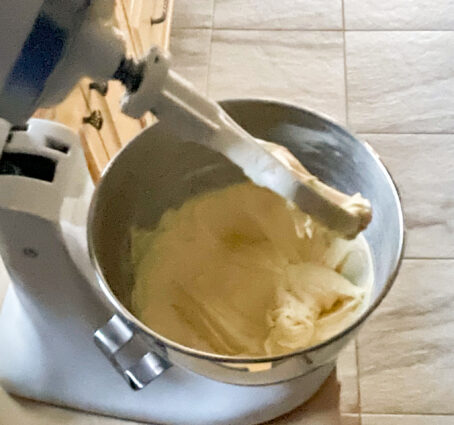
 Add the eggs, sour cream, vanilla extract, and almond extract.

Beat on medium-high speed until combined.

The mixture may look curdled; that’s ok.

Scrape down the sides and up the bottom of the bowl as needed.

With the mixer on low speed, mix in the dry ingredients until smooth.

Do not overmix.

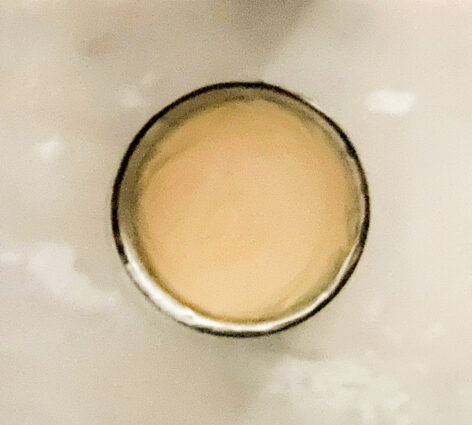
The batter will be thick.

Spread into prepared pan.

Set aside.

Make the Topping:

With a fork, mix the flour, brown sugar, and cinnamon together.

Stir in the melted butter until crumbs form.

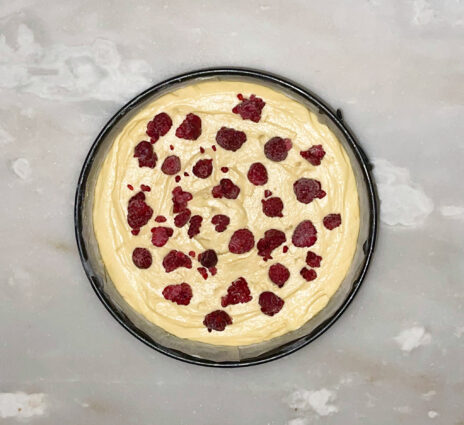
Dot raspberries all over the top of the cake batter.

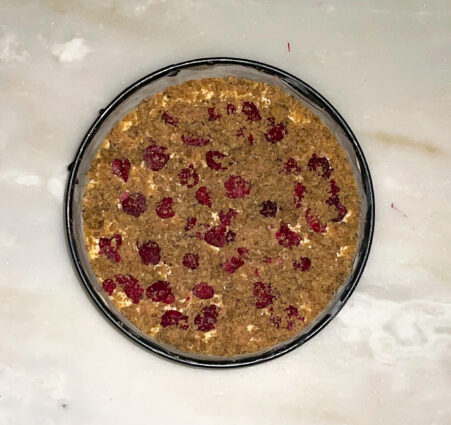
Sprinkle crumbs on top.

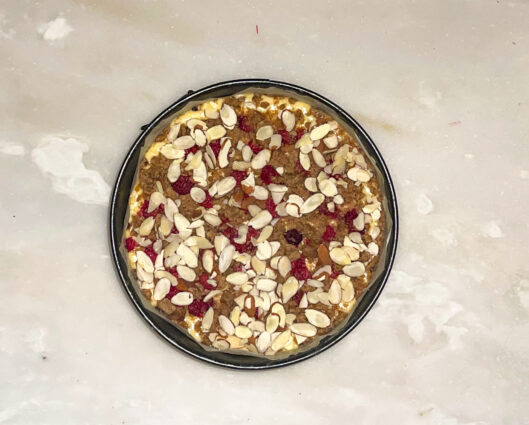
Add almonds.

Bake for 35-40 minutes.

Baking times vary, so keep an eye on yours.

The cake is done when a toothpick inserted in the center comes out clean.

If you find the top of the cake is browning too quickly in the oven, loosely cover it with aluminum foil.

Remove the cake from the oven and set on a wire rack.

Allow to slightly cool for a few minutes before slicing.

Sally suggests serving with a dusting of confectioners’ sugar!

It’s that simple!
signature

[recaptcha]