Like millions of people all over the world, I had COVID-19 last year. I had been having body aches, and feeling very lethargic for a while. I was suspicious that I had the disease, so I went to be tested. They did a rapid test, and it came back negative. I was surprised, because I knew I did not feel well, but I was not bed-ridden, so I went about my days as usual, doing the best I could, despite how awful I felt.

One week later, I still did not feel good, and I went for another test, negative. What? How could I be feeling so bad and not have the novel coronavirus? Again, I got through the days as best I could, despite not feeling myself. Another week went by, I went for another test, again, negative. Finally, I was really sick. I couldn’t get out of bed. My symptoms were not the typical symptoms you heard about in the news, though I was sicker than I ever could remember. My gut was telling me I should get tested one more time and I did. Aha! Positive, just what I thought. 

The craziest thing is that I had it on Thanksgiving. Of course, there was no big holiday celebration like I have had in the past, but I felt horrible, knowing that even our small celebration was not happening. I managed to get a turkey in the oven, giving my husband and kids explicit instructions on how long to cook it and to keep checking it to make sure it was juicy and tender when it was done. Thankfully, I had made my sweet potato pies earlier and froze them. They are my kids’ favorite part of the Thanksgiving meal and I was happy I did not disappoint them.

COVID and all, we got through the holiday. I celebrated in bed, miserable, but my family at least got to have a Thanksgiving meal. It was such a reality check for me. Even if I was having my usual table for 50, I would have had to cancel it. Thank goodness for small miracles. 

Although this past year has been a challenge for all of us, I think it has changed us for the better. We have learned that we are more resilient than we thought. We are working together, and it has made us stronger, not weaker. It has made us rethink our priorities and remember how precious life is. It has been a reminder to appreciate the smaller things in life, often things we take for granted. Remember, the things we face in life teaches us valuable lessons and allow us to move forward with knowledge and courage.

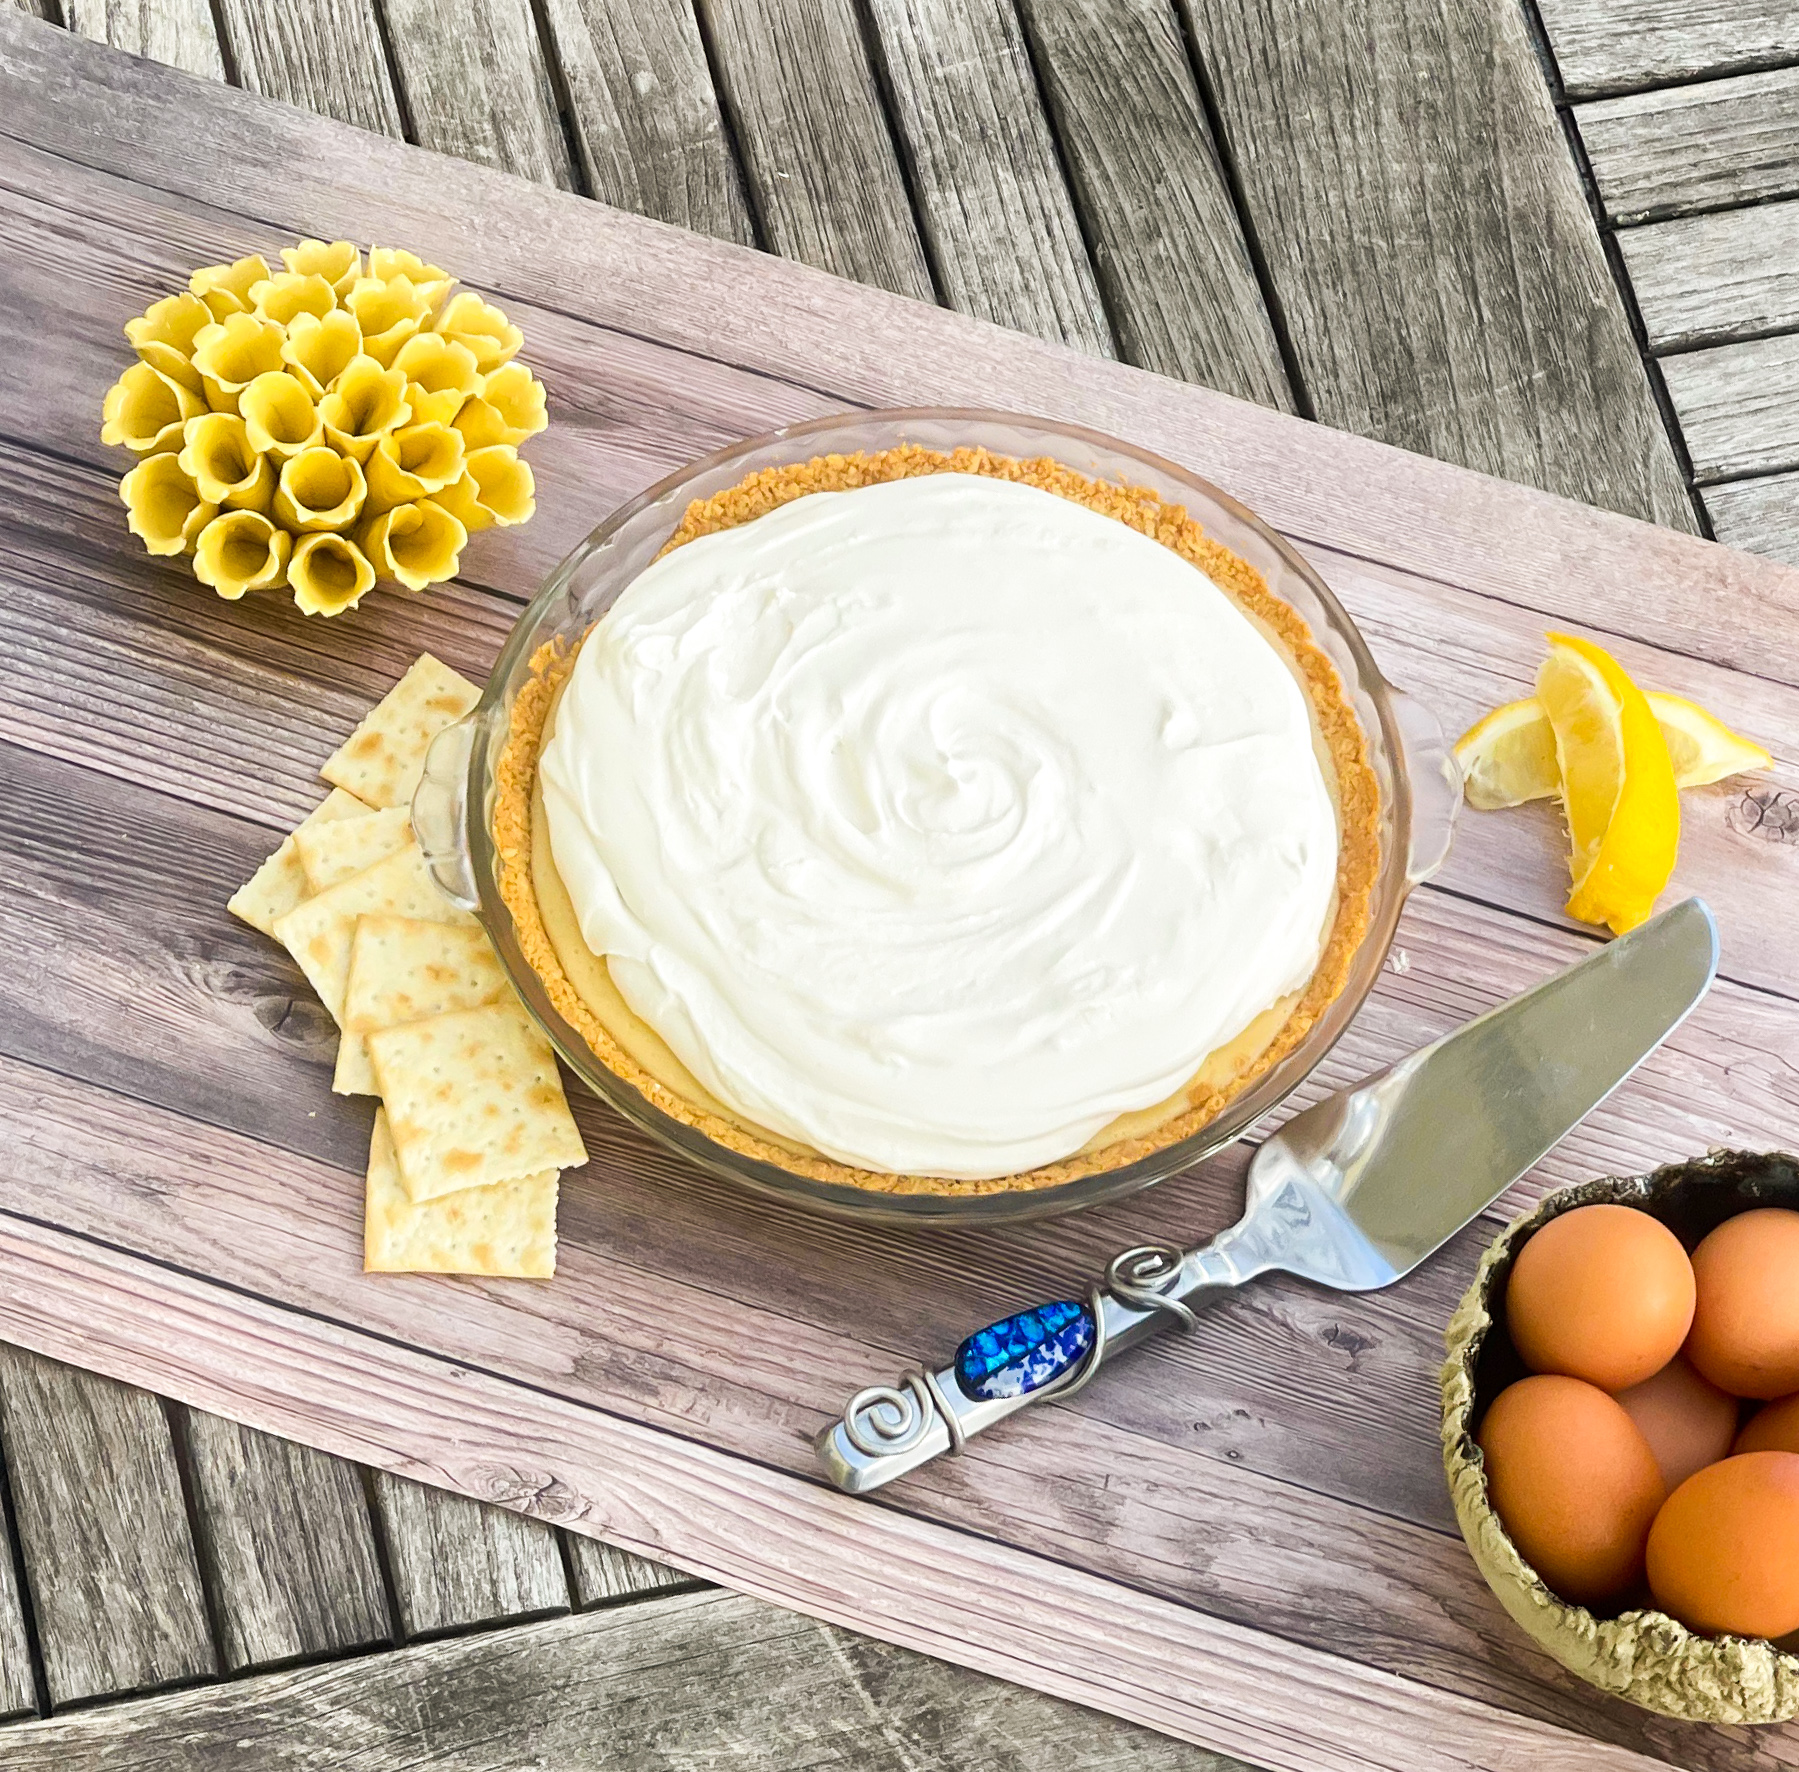
Now, if you need a bit of a pick-me-up, this is one cake that will make you happy. Of course, the lemon drew me to this pie. The sweetened condensed milk, along with the eggs and cream give this pie a creamy texture. The lemon zest adds a nice tarty tang to every bite. It is housed in a crust of salty crackers that combine beautifully with the filling. It is then topped with a delectable whipped cream that has hints of vanilla that makes this pie pure perfection.

This recipe is courtesy of Cook’s Country and will make one 9-inch pie that people will give friends and family a delicious taste of the South.

Ingredients for North Carolina Lemon Pie:

For the Crust:

6 oz saltine crackers (about 53 crackers – or 1 1/2 sleeves)
1/8 tsp salt
10 tablespoon butter, melted
1/4 cup light corn syrup

For the Filling:

1 (14 oz) can sweetened condensed milk
4 large egg yolks
1/4 cup heavy cream
1 tbsp grated lemon zest
1/2 cup fresh lemon juice (about 3 medium lemons)
1/8 tsp salt

For the Topping:

1/2 cup heavy cream, chilled
2 teaspoon sugar
1/2 teaspoon vanilla extract

Make the Crust:

Adjust oven rack to middle position.

Preheat the oven to 350°.

Grease (or spray) a 9″ glass pie plate.

Combine the saltines and salt in a food processor and pulse to coarse crumbs, about 15 pulses.

Add the melted butter and corn syrup and pulse about 15 more times, until the crumbs are broken down into oatmeal-sized pieces.

Pour the saltine mixture into the prepared pie plate.

Using the bottom of a dry measuring 1/2 cup, press the crumbs into an even layer on the bottom and sides of the plate, using your fingers to keep the crumbs from spilling over plate edge as you’re pressing the crumbs.
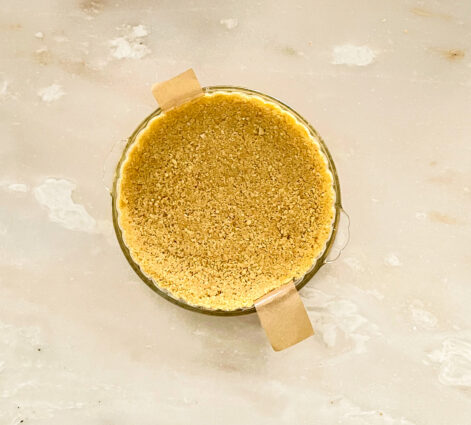
Place the pie plate on a baking sheet and bake until light golden brown, 17 to 19 minutes.
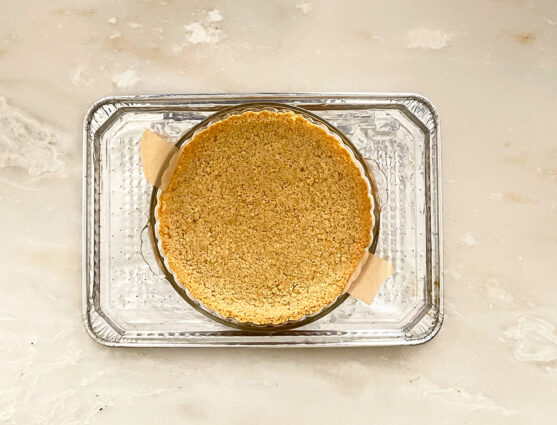
Remove from oven.

Make the Filling:

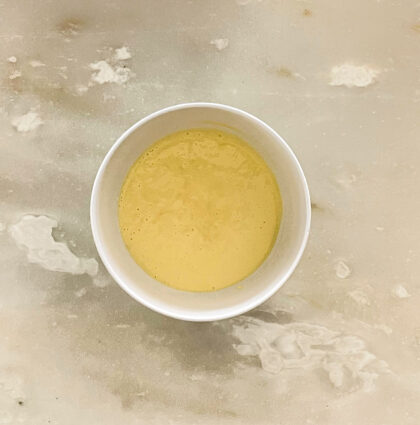
 Whisk the condensed milk, egg yolks, cream, lemon zest and salt into a medium bowl until fully combined.

Whisk in the lemon juice until fully incorporated.
Keep the pie crust on the baking sheet and pour the filling into the crust (crust doesn’t need to be cool).
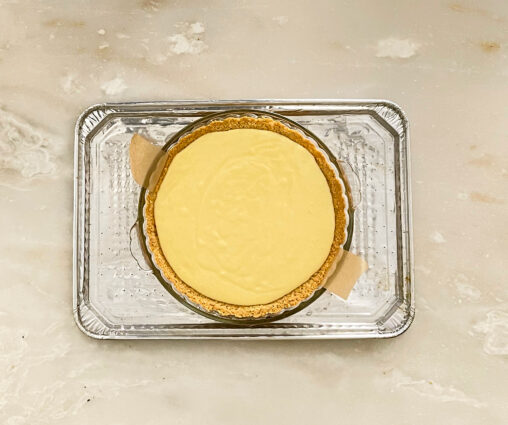
Bake the pie until edges are beginning to set but the center still jiggles just a bit when shaken, 15 to 17 minutes.

Cool completely on a wire rack, then place in the refrigerator until fully chilled, about 4 hours.

Make the Topping:

Using a stand mixer fitted with the whisk attachment, whisk and whip the cream, sugar, and vanilla on medium-low speed until foamy, about 30 seconds.

Increase speed to high and whip until stiff peaks form, 1-3 minutes.
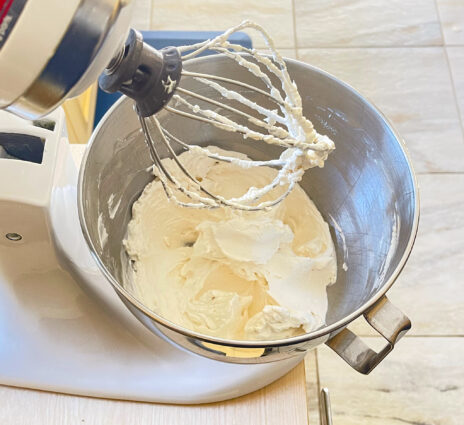
Spread whipped cream over the top of the pie.

Garnish with thin lemon slices if desired.

It’s that simple! 

signature

[recaptcha]


“The year of the pandemic” has been a challenge in so many ways. Across the country, almost within a day, everything was shut down and we were required to stay in our homes to keep the virus at bay.  Even still, hundreds of thousands of lives have been lost, and countless others changed forever.  When the first lockdown was announced, I remember being overwhelmed with the fact that not only had the United States shut down but almost every country in the world had done the same. No matter where you looked, everything had stopped.

As I spoke to my friends, I constantly told them that it wasn’t only us who had been stopped in our tracks, it was everyone everywhere. When we finally managed to venture out for supplies, we were met with lines that reached around the block, and stockouts in once-common items at the store. No one saw this coming (well, those who did see it didn’t do anything about it), and so many of us had a very difficult time with making adjustments to our well-worn routines. But we all complied, hoping we would change the direction of the virus and slow it down, eventually stopping it entirely.

Because of the inability to do our daily activities, life should have become simpler, but it got ever more complex.  Many of us faced extreme anxiety due to the isolation and pressure to continue working. Moms and Dads with school aged children had to suddenly stop working and homeschool their kids– or worse, continue working and homeschool their kids. Let’s face it, teaching is the hardest job there is, and not all of us are good at it. Education has changed so much since we were in school. Math, english and history are now taught differently than we learned them. We first had to learn the new way ourselves in order to teach our kids in the way that they were expected to learn. 

Some of you had the responsibility of work, teaching your kids, and entertaining them all at the same time. This is a near impossible task for those who haven’t had teaching experience. Many of us were also making three meals a day. We would make breakfast, clean up, then find it was time to make lunch and clean that up. Then came the challenge of making dinners, especially for the people who don’t enjoy or know how to make them– that’s not even taking into the account that some were cooking with very limited ingredients. Going out was always the easier option and that wasn’t even available to us anymore.

Finally, there was the terror of not knowing what would come next.  

Are we going to get sick in the store?  Do we have to wash our bag of chips?  Should we not be ordering takeout so avoid food contamination?  How are we going to go to see our doctors and our dentists?  What happens if we, God forbid, end up needing to go to the hospital for some reason?  How risky is it to give our elderly loved ones a hug?  These are questions that we had to learn along the way, and keep up to date on the newest information out there.

But here we are, one year later. Some of us still have problems because our kids are still not in school full-time. Some of us did end up getting the virus and recovering.  Others are still suffering after-effects.  Now that the vaccine rollout has begun in earnest, I am hopeful that we are at the tail-end of this unprecedented time. We got through the darkest days and now there seems to be a light at the end of the tunnel.

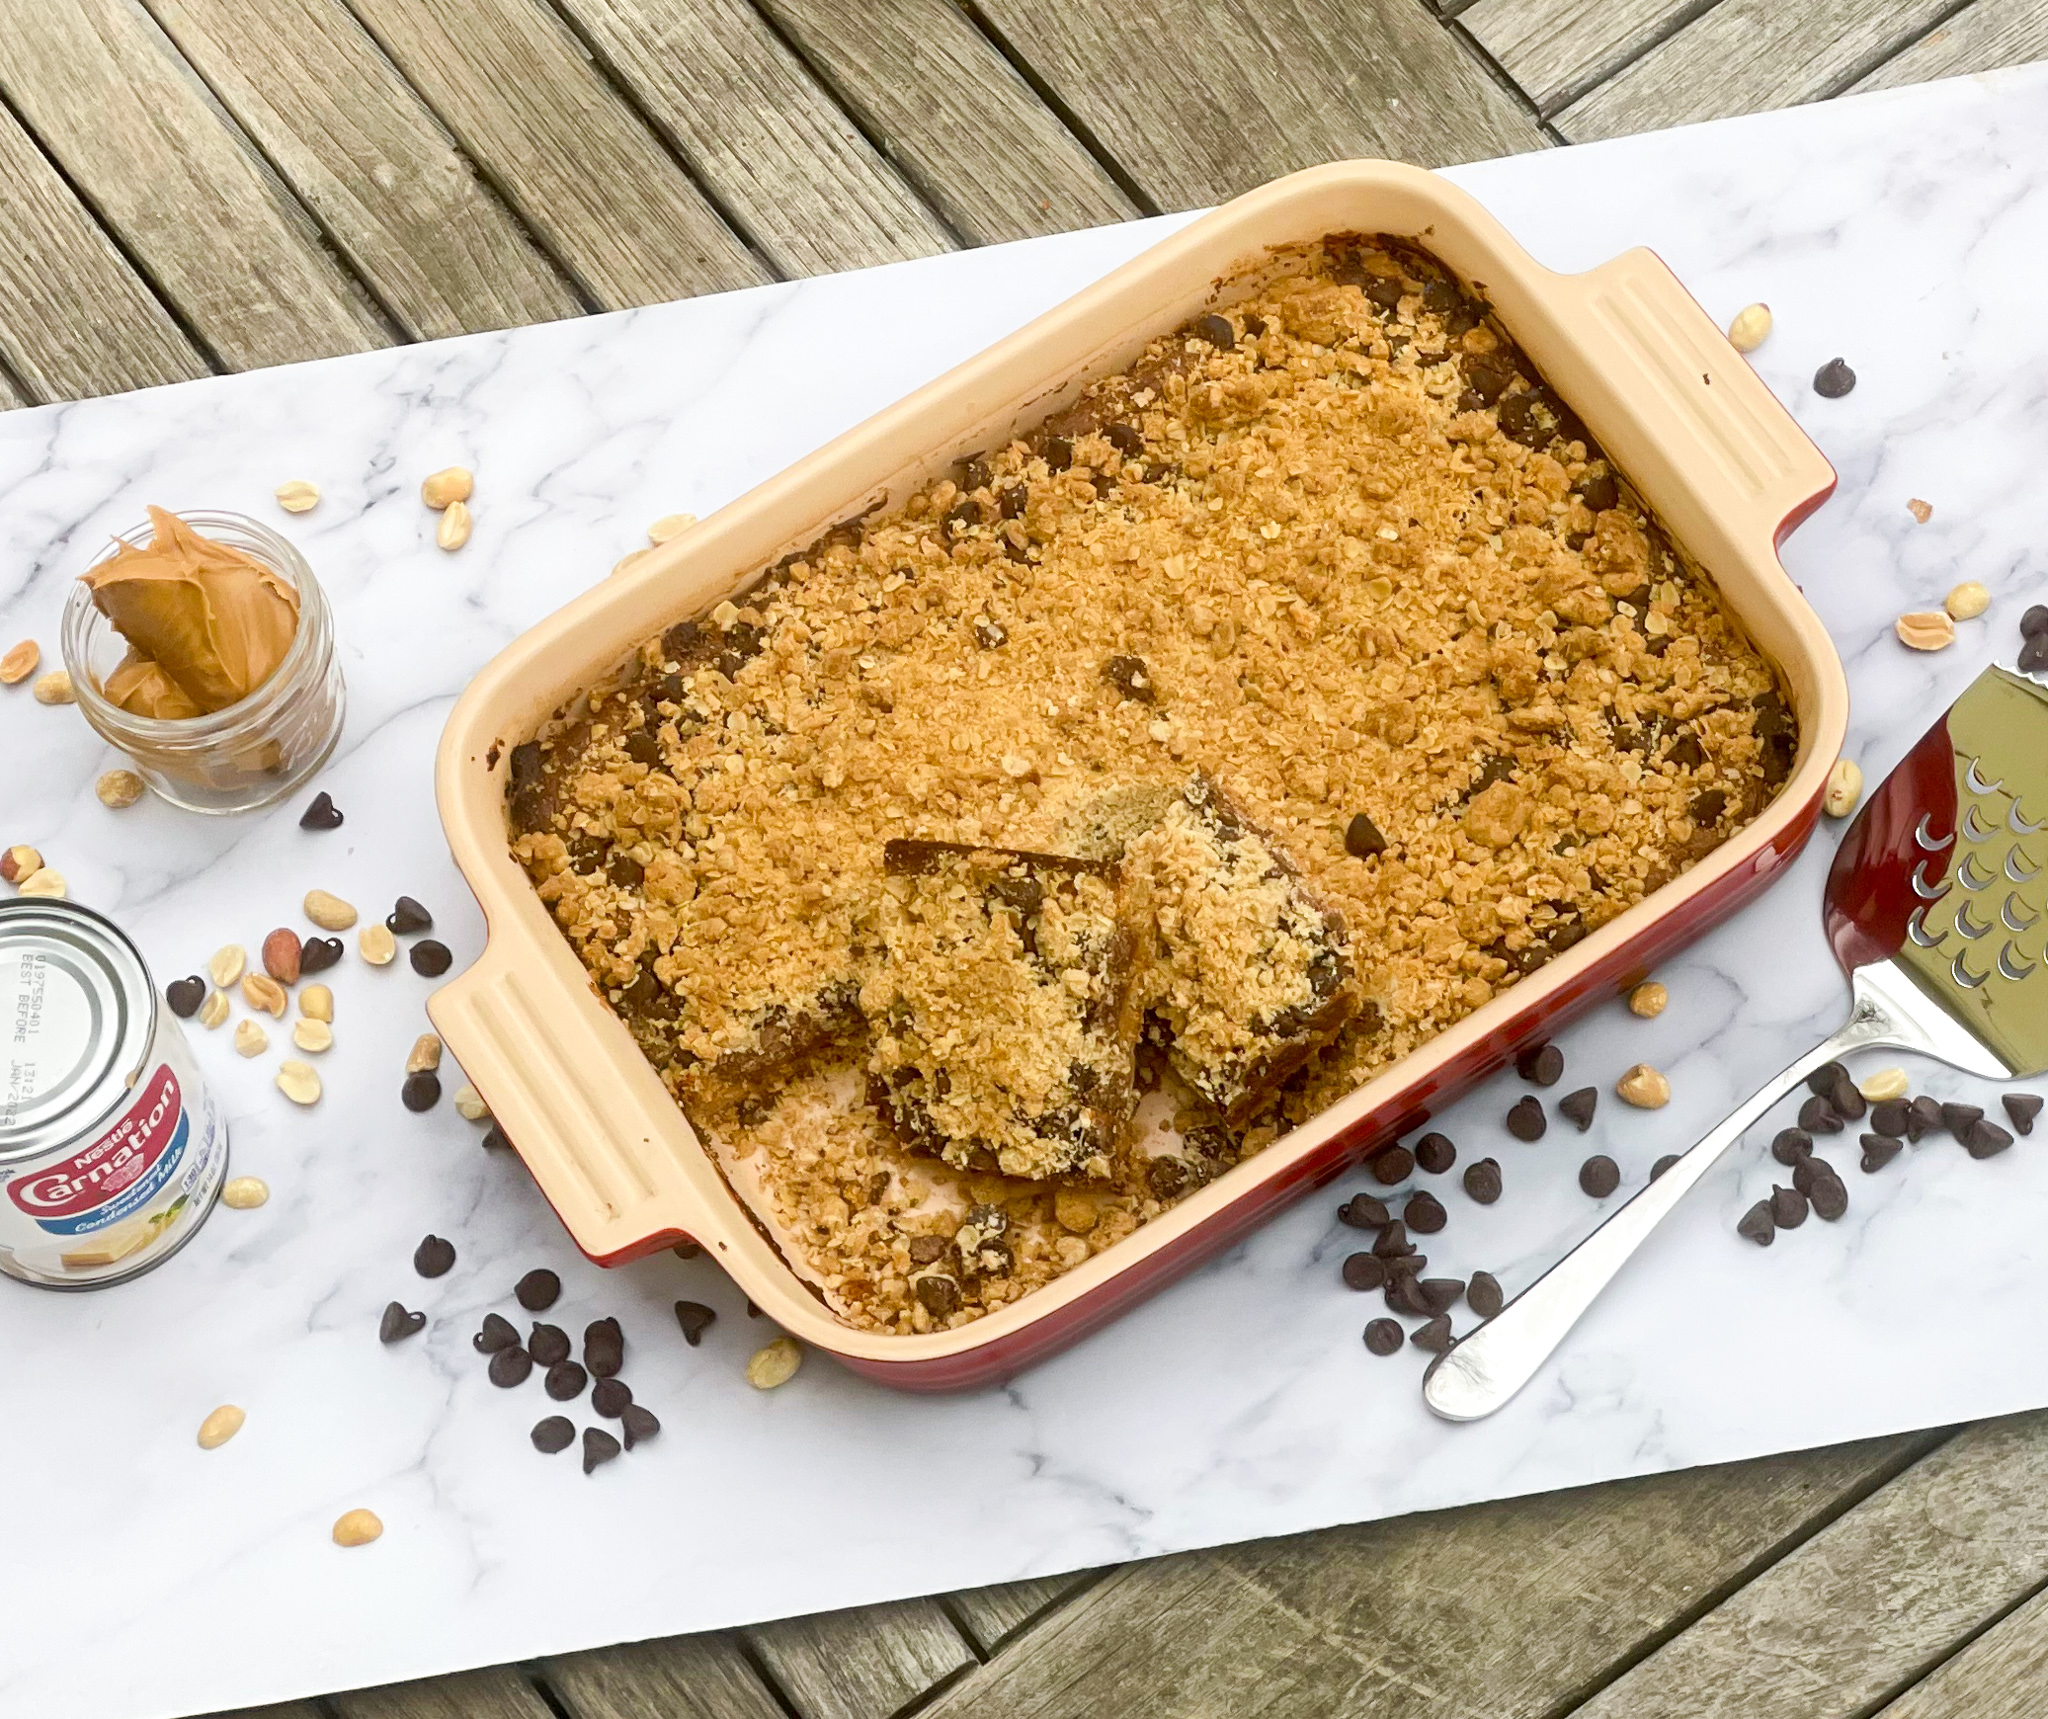
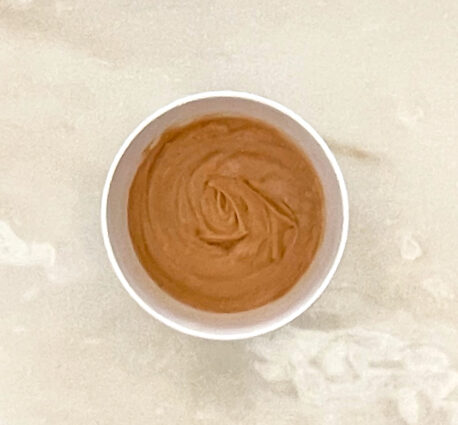
Given all your other responsibilities, maybe you can find some time out of your busy day to make these wonderful bars. The oats give these bars a delicious texture, and the sweetened condensed milk ensures a smooth silky goodness. The chocolate chips and peanut butter combine to give this treat a delightful, familiar taste. The result is a sweet and satisfying tidbit that is perfect for breakfast, a snack on the go, or for a pick-me-up any time of the day. 

This recipe is courtesy of Allrecipes, and will make 24 bars that will satisfy everybody’s sweet tooth.

Ingredients for Passion Bars:

2 cups quick cooking oats 
1 cup all-purpose flour 
1 cup brown sugar 
½ teaspoon salt 
½ teaspoon baking soda 
¾ cup butter, softened
1 (14 ounce) can sweetened condensed milk
¾ cup peanut butter
1 cup semisweet chocolate chips

Preheat oven to 350 degrees F.

Grease a 9×13 inch baking pan.

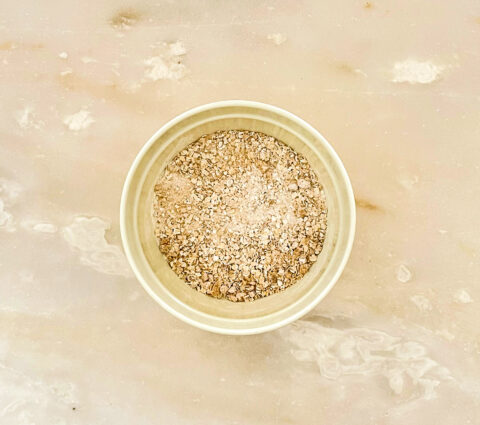
In a large bowl, stir together the oats, flour, brown sugar, salt and baking soda.

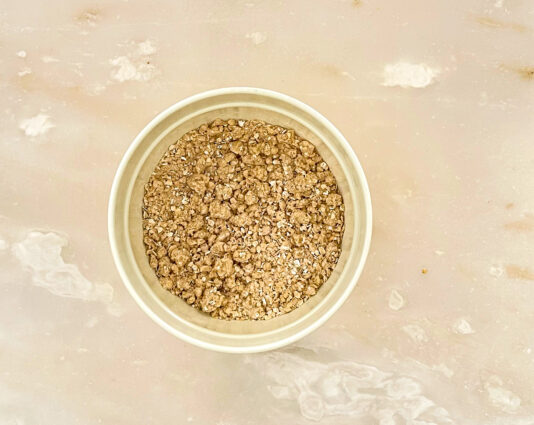
Cut in the butter to form a crumbly mixture.

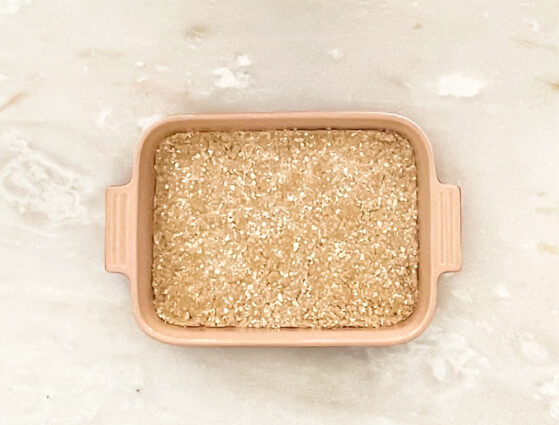
Reserve 1 1/2 cups of the crumbs, and pat the rest evenly into the bottom of the prepared pan.

In a medium bowl, stir together the sweetened condensed milk and peanut butter.

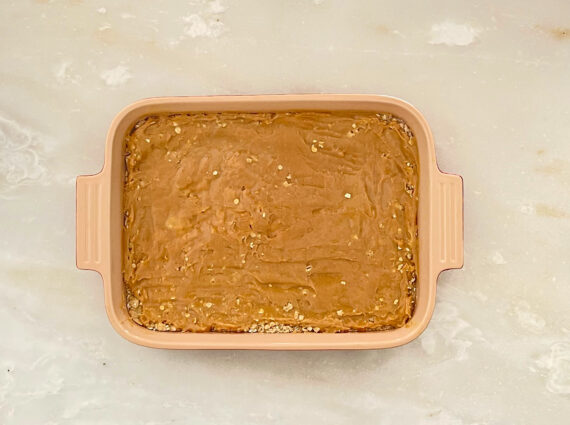
Spread evenly over the oatmeal layer.

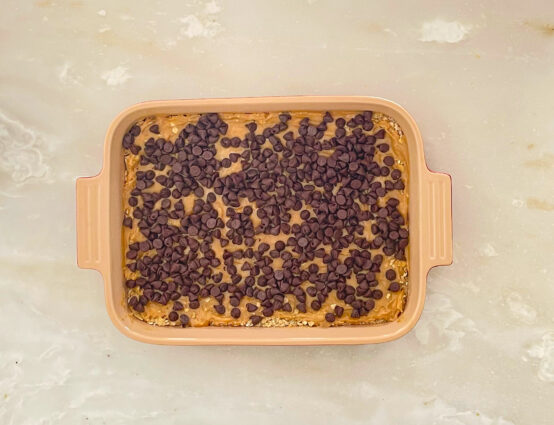
Sprinkle the chocolate chips over the peanut butter layer.

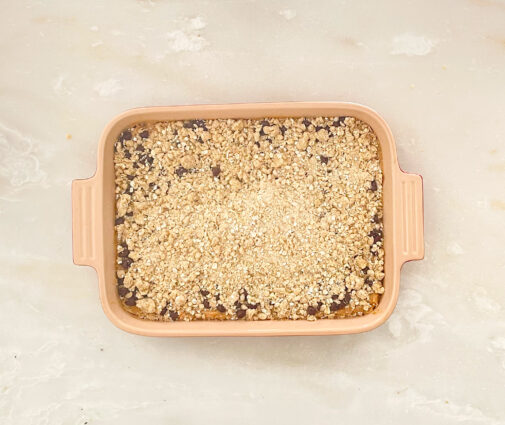
Then place the reserved crust over the top.

Bake for 30 to 35 minutes in the preheated oven, until golden brown.

Cool completely before cutting into bars.

It’s that simple!
signature

[recaptcha]


In this past year, we’ve learned that kindness counts. I have been the recipient of so many acts of kindness this past year. In our busy lives, we face stressful situations every day, whether it is sitting in traffic, standing in a long line at the store, or giving special attention to kids that need homeschooling.  Though it might sound counterintuitive, focusing on doing nice things for others can give you a break from your own problems. Altruism enables us to cope better with stressful situations, and provides us with a better state of mind to tackle whatever comes next.

Do you watch TV and see the commercials to give to wounded war veterans, animal rescues, and sick children? These commercials break my heart, and I want to give to all those in need. Abused pets in particular pull at my heartstrings.  You do not have to make a huge donation, because whatever you choose to give will help the organization and make you feel happy that you helped.  Just be sure that you do your research and pick organizations that are going to use your money for the right reasons.

Being kind to others also affects your heart. It stimulates the production of oxytocin, which causes the release of nitric oxide in blood vessels, which in turn dilates the blood vessels. It is known as a cardioprotective (serving to protect the heart) hormone because it reduces blood pressure. It is said that caring people have really big hearts – this is so true as kindness strengthens your heart physically and emotionally!

Being nice to others can be one of the easiest, quickest, and most inexpensive ways to keep anxiety at bay. It calms the mood and takes the focus off yourself. There are several ways to reduce anxiety, such as prescription medications, homeopathic remedies, meditation, and exercise, but the most natural way is just to be kind. This small change leads to many good things such as improved self-esteem, happiness, better relationships with others, and better physical and mental health. During this crazy time, I cannot even count the random acts of kindness I have received and I am grateful for each and every one.  I always thank the person for their thoughtfulness, promise to pay it forward, and make sure I actually follow through. Even during your darkest mood, try to be kind, do something for others, and I promise it will make you feel better.

If you really want to make someone feel better, make this recipe and bring it to your office, to your friend’s house, or to an elderly person in need of company. Even the name of this recipe makes you feel good. The buttermilk and oil ensures a rich, moist interior that explodes with delicious peanut butter goodness. It is just the right amount of sweet, with subtle hints of vanilla in every bite. The icing is the star of this cake. It is creamy with a smooth texture that compliments this cake perfectly. Do not forget to put on the flaky salt, it makes this cake so satisfying and scrumptious, and looks so fancy. 

This snacking cake is courtesy of Yossy Arefi and will help you do an act of kindness for 8 to 12 people. 

Ingredients for Salty Caramel Peanut Butter Cake:

For the Cake:

¾ cup packed light brown sugar
2 large eggs
½ cup creamy peanut butter
½ cup buttermilk
½ cup canola oil
1 teaspoon vanilla extract
½ teaspoon kosher salt
1¼ cups all-purpose flour
½ teaspoons baking powder
¼ teaspoon baking soda

For the Fudgy Caramel Icing:

¼ cup unsalted butter
½ cup packed light brown sugar
¼ cup heavy cream
1 tablespoon water
Pinch of kosher salt
½ cup confectioners’ sugar
Flaky salt, to finish (optional)

Make the Cake:

Preheat oven to 350°F.

Grease a 9-inch round cake pan with cooking spray and dust with flour, set aside.

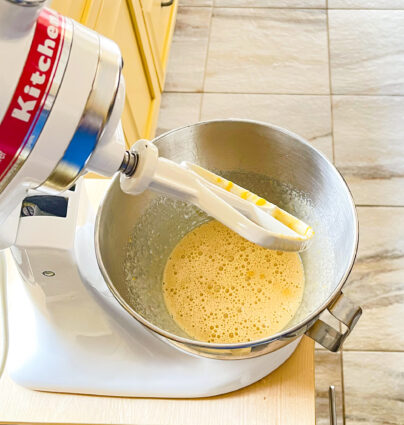
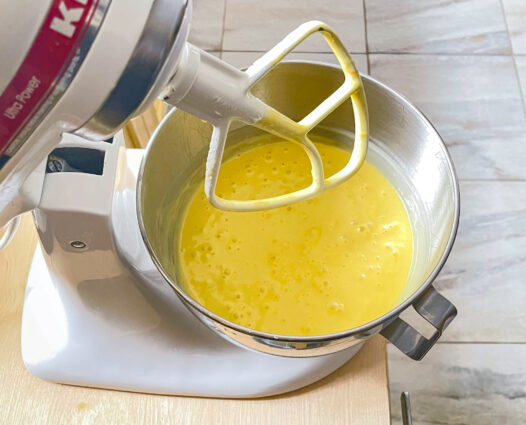
To make the cake, in a large bowl, whisk the brown sugar and eggs until pale and foamy, about 1 minute.

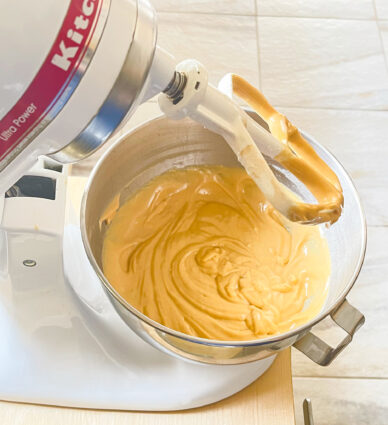
Stir in the peanut butter until smooth.

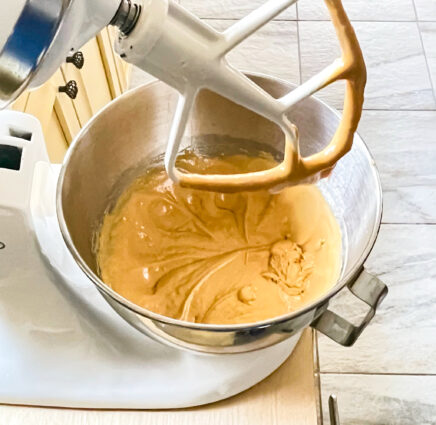
Add the buttermilk, oil, vanilla and salt.

Whisk until smooth and fully emulsified.

Add the flour, baking powder and baking soda and whisk until well-combined and smooth.

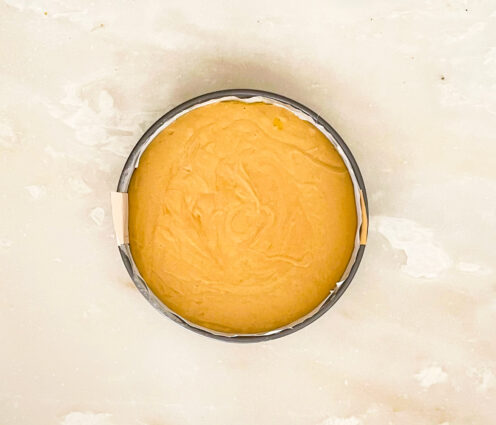
Pour the batter into the prepared pan, tap it gently on the counter to loosen any air bubbles, and smooth the top with an offset spatula.

Bake until puffed and golden, and a toothpick, inserted in the middle comes out clean, about 30 to 35 minutes.

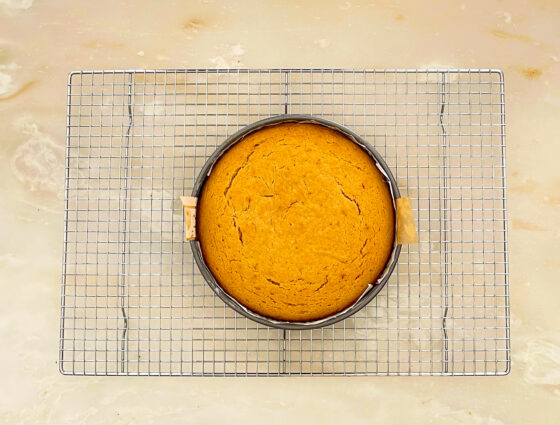
Remove from the oven and set on a wire rack to cool for 15 minutes.

Then invert and flip right side up onto a plate to cool completely.

Make the Icing:

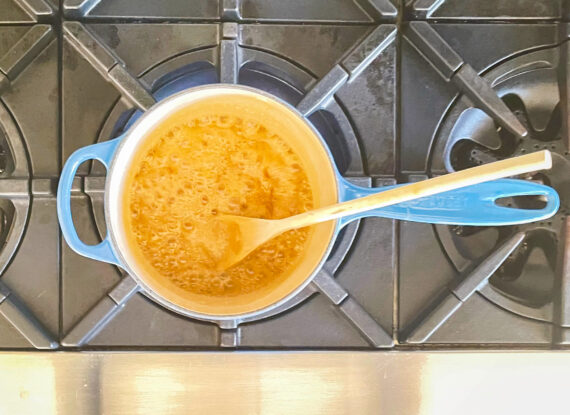
Melt the butter, brown sugar, cream and water together in a saucepan set over medium heat.

Bring the mixture to a full rolling boil and cook for 3 more minutes.

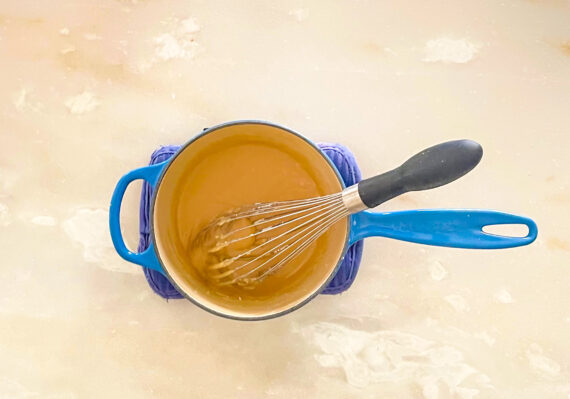
Turn off the heat and let the mixture cool for 3 minutes, stirring once or twice to cool it down slightly.

Whisk in the kosher salt and confectioners’ sugar until smooth.

Immediately pour and spread the icing over the cooled cake and sprinkle with flaky salt, if using.

Allow the icing to set for about 20 minutes before slicing and serving.

Store the cake, covered at room temperature for up to 3 days.

It’s that simple!
signature

[recaptcha]


Unfortunately, I don’t have any of my grandmother’s baking recipes. My grandfather was a baker, so I’m sure he had lots of good recipes, but none were saved or shared. There are a lot of recipes for main dishes, as my grandmother had eight children and had to prepare food every day to feed all of them. Of course, as the older sisters grew and learned from my grandmother, they took on the cooking and most of them became great cooks in the process. 

Traditionally, a grandmother figure is an excellent cook. I suspect that many of you watched your grandmothers flying around the kitchen, whipping up wonderful creations that could feed an army of people.  Some of us, try as we might, can’t seem to replicate the taste and smell of those special recipes. 

Perhaps that’s because some of us never took a home economics class. I remember taking this required class when I was in high school, and though I never liked the class, I did learn basic cooking and sewing skills.  Unfortunately, schools dropped this class from their curriculum years ago. These days, learning these basic skills is just a click away on the internet and you have to learn them by yourself. Of course, if you were lucky enough to have a Mom that did these things on a regular basis, you got in person lessons all the time.

Another reason that our moms and grandmothers were so good at these skills is because they often exchanged recipes and techniques with their friends, which is how their recipe boxes became full of wonderful recipes that some of us use today. Grandma also understood the importance of making things from scratch and never cutting corners. The great secret to their cooking was also to use full fat, something that has been eliminated from most of our diets today. She knew how to improvise if she didn’t have the correct ingredients on hand, and never skimped on salt or seasoning.

By the time we were eating our mother’s and grandmother’s recipes, she had been making these same dishes for decades. While we try to open our recipe box and duplicate them, we are missing the most important ingredient: experience. And as I have told you, you just have to get your hands dirty and try and try again, until you perfect them… and hand them down to your children in turn. If they’re lucky, they won’t have to use the internet to learn.

Here is one recipe that I think all of you will have success with. Made from basic ingredients, this cake is a stunner.  The whole milk and buttermilk ensures that this cake comes out moist and fluffy and helps to fluff the rich crumb of the cake. The citrus gives a nice tang, and highlights the fruity flavor of the olive oil. The result is a sophisticated cake that is so simple to make and perfect for breakfast, a snack, dessert or anytime of the day pick-me-up. This is a “must try!”

This recipe is courtesy of Ovenly and will serve 12 people who want to keep this recipe for years to come.

Ingredients for Tangy Olive Oil Cake:

2 cups (260 grams) all-purpose flour
1 tablespoon baking powder  
1/2 teaspoon salt  
3 eggs, at room temperature  
1 1/3 cups granulated sugar  
3/4 cup mild-flavored extra-virgin olive oil  
1/2 cup whole milk  
1/2 cup buttermilk, carton shaken before measuring  
1/4 cup freshly squeezed orange juice

Preheat the oven to 350 degrees F.

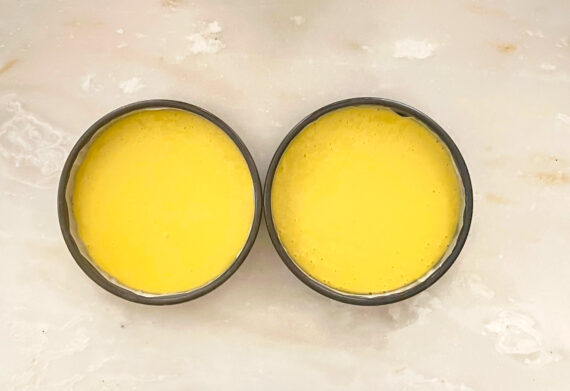
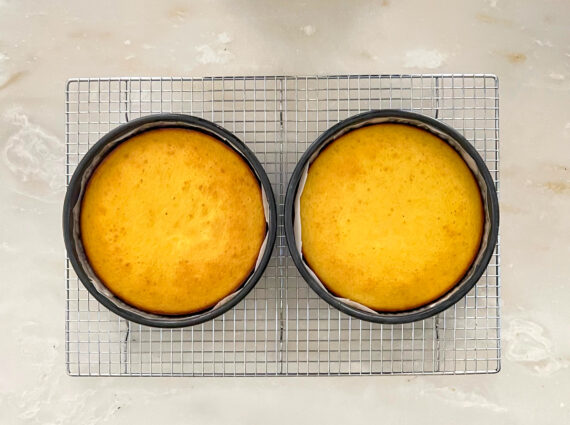
Grease two 8-by-2-inch round pans with olive oil or butter, line the bottom and sides of the pans with parchment paper, and grease the paper.

Place a sifter or a sieve in a large mixing bowl.

Add the flour, baking powder, and salt and sift.  

Using an electric mixer with beaters or a paddle attachment, beat the eggs and sugar on medium speed until pale and aerated, about 3 minutes.

Scrape down the sides of the bowl with a spatula.

Add the oil, milk, buttermilk, juice, and zest.

Continue beating on low speed until combined and frothy like a milkshake, about 1 minute.  

Gradually add the wet ingredients to the dry ingredients and whisk or beat until just combined and smooth.  

Pour the batter into the prepared pans.  

Bake in the center of the oven on the same rack for 30 to 33 minutes or until a wooden skewer inserted in the center comes out clean, and the cake bounces back when lightly pressed.  

Remove the cakes from the oven and let them stand for 10 minutes.

Run a butter knife around the cakes to gently release.

Peel off the parchment paper from the sides. 

Invert the cakes, peel off the bottom piece of parchment paper, and cool on a wire rack.

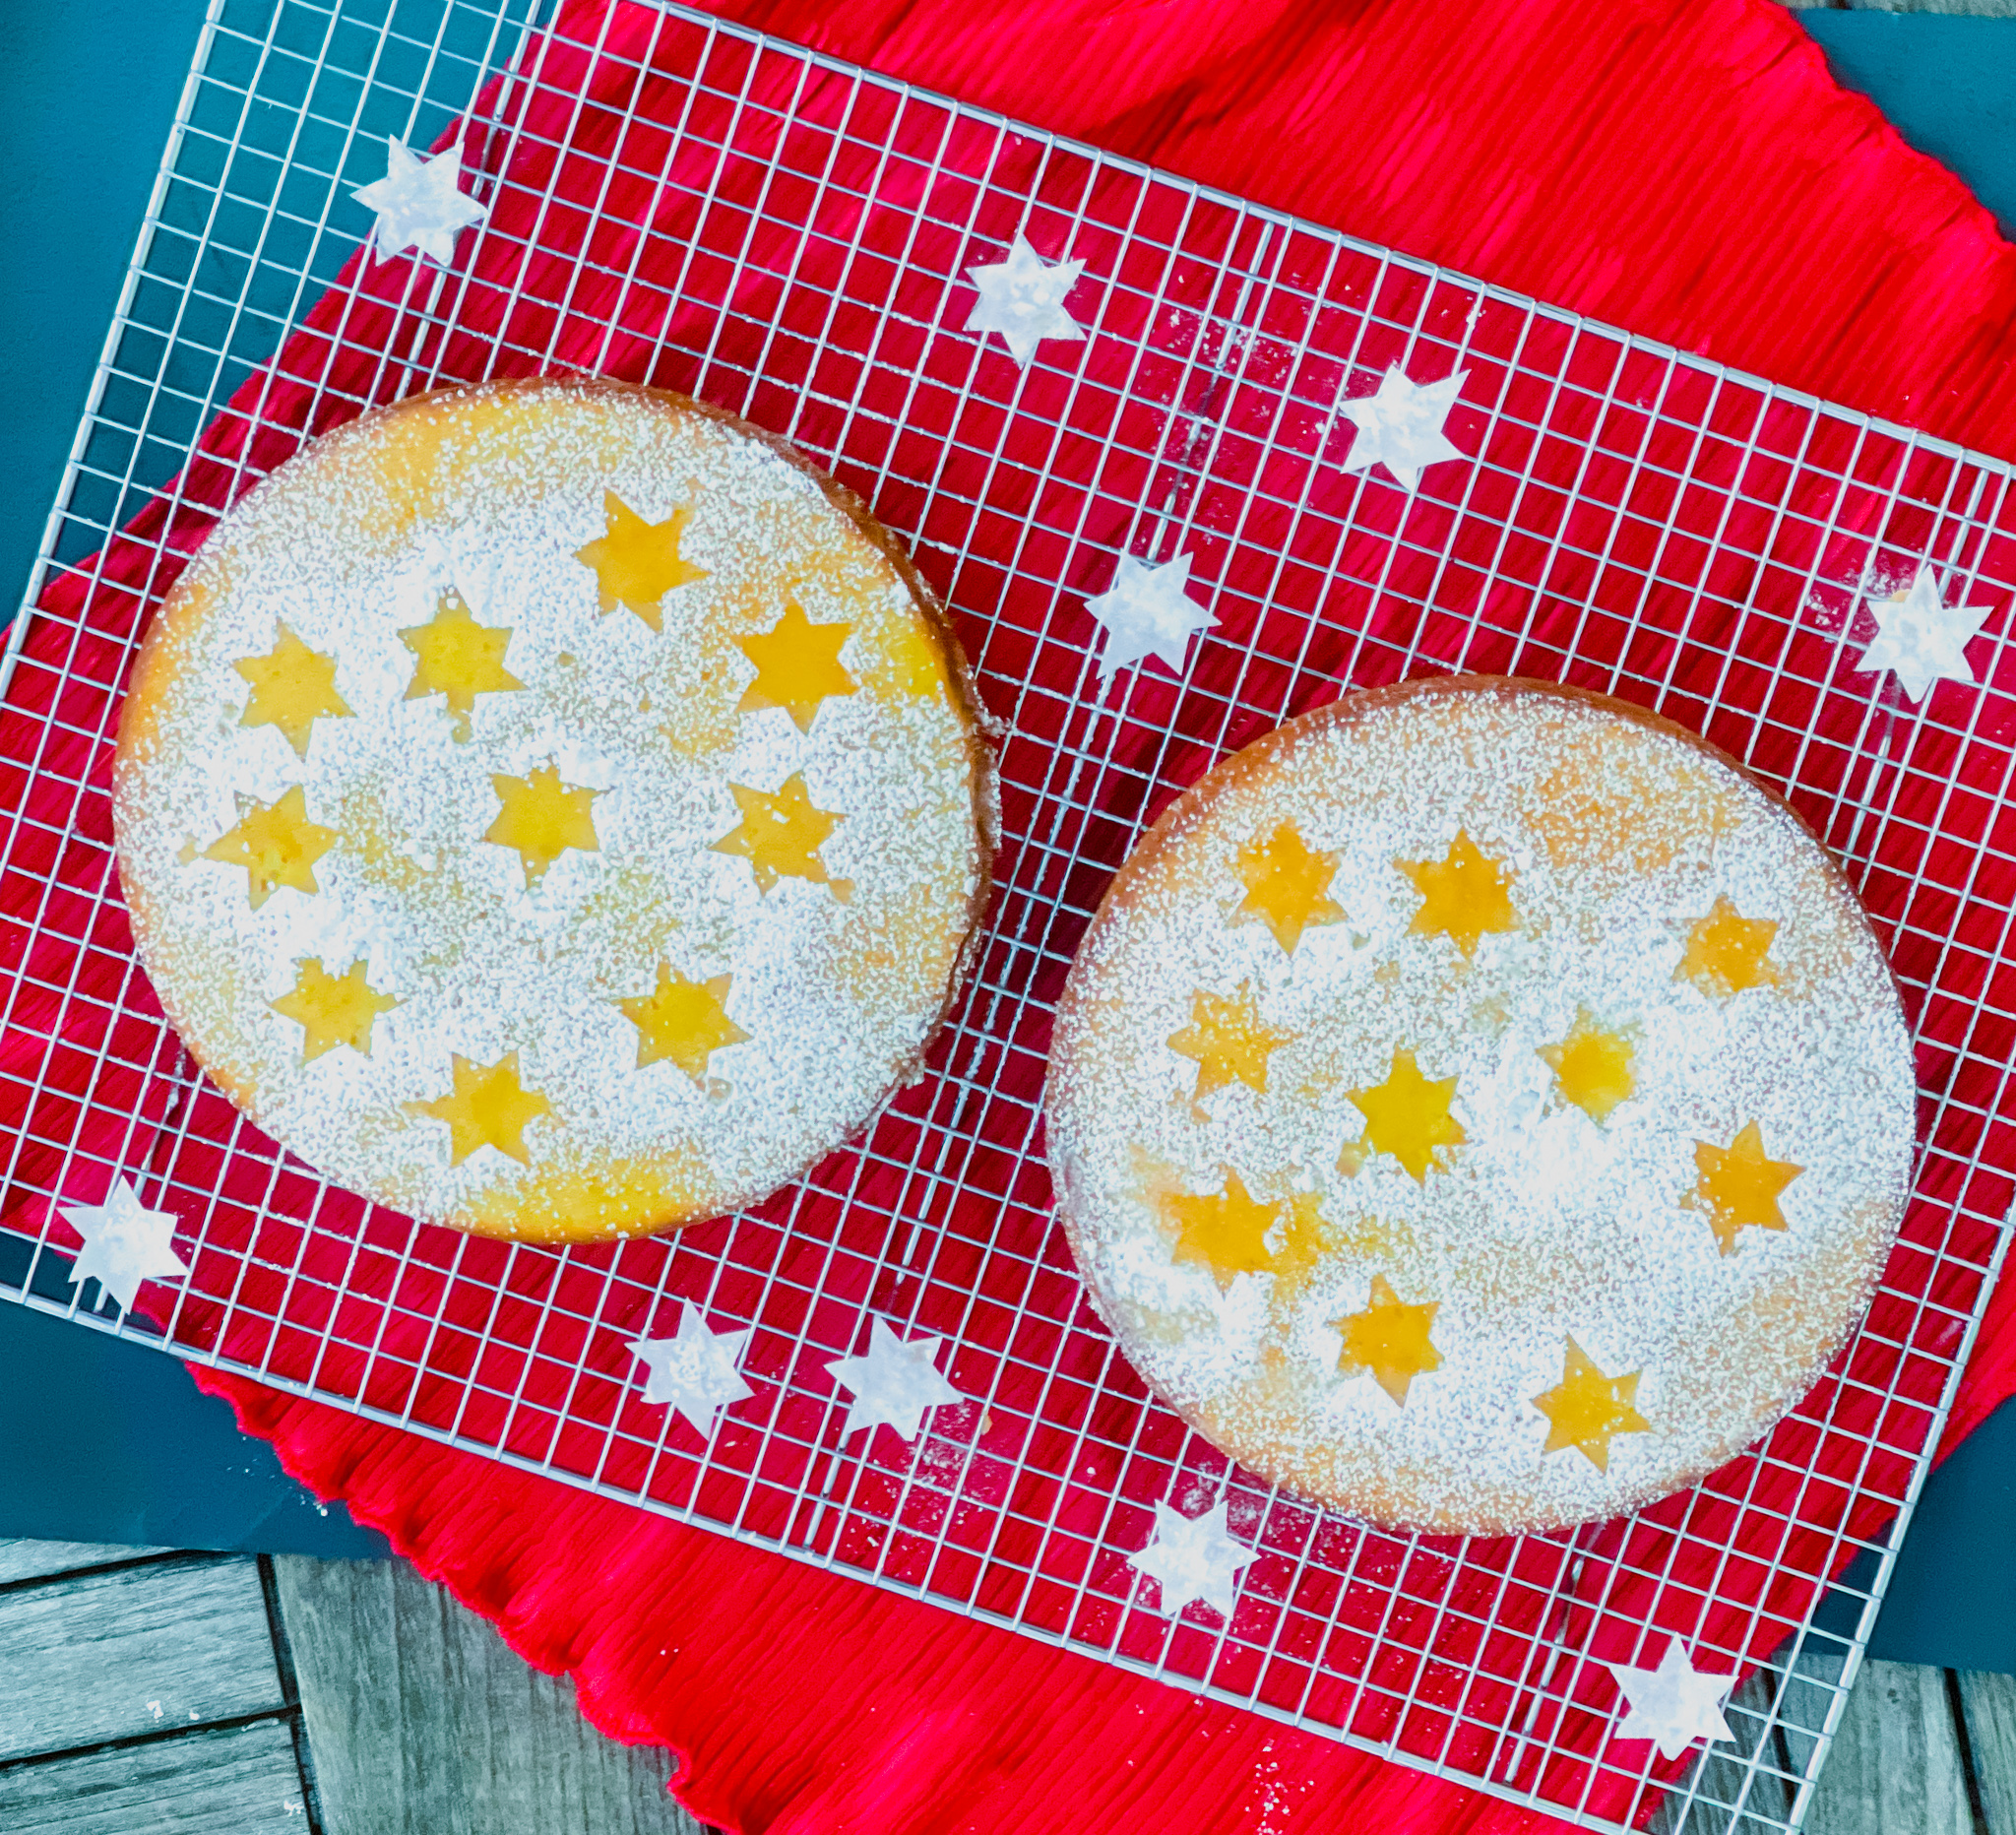
While the cake is cooling, make a stencil from parchment paper.

Trace the bottom of the baking pan onto the parchment paper.

Using scissors, cut out the perimeter.

Fold the paper into four equal sections: half, then quarters, then eighths.

Cut out shapes from the paper, leaving the curved outer edge free from cuts.

Open out the folded paper.

Hold the stencil securely down on the cooled cake and use a fine-mesh sieve to dust confectioners’ sugar over the stencil.

When you’ve finished, lift the stencil carefully off the cake. 

I just made some stars out of parchment paper, and loved the results!

It’s that simple! 
signature

[recaptcha]


Many of us have been cooking a lot during this past year. Back in 2017, Harvard Business Review reported that about 10 percent of Americans actually enjoyed cooking.  Now, during this pandemic, it is hard to avoid cooking. Many restaurants are closed, and cooking has become a necessity as well as a challenge. For those with chronic diseases such as diabetes, crohn’s, or celiac, it’s been an added challenge to find appropriate recipes. Let’s think about ways we can enjoy cooking without it seeming like a huge chore.

Make things simple. Buy your meat fresh and freeze it so that you can simply defrost it the night before. This can be a whole chicken that you roast, a couple of steaks, veal chops, or chicken parts. You can leave them on the counter overnight, just put them back into the refrigerator when you wake up. Remove them at least an hour before you cook them to bring them to room temperature. Yes, even chicken can stay out of the fridge safely for an hour or so.

Choose easy side dishes. Bake some whole potatoes, or cut up some fingerlings and roast them for about 40 minutes. Take out a package of frozen corn, place it on the stove with some butter, basil, red pepper flakes, and lemon, and pan roast until it turns brown and has caramelized. Roast some broccoli or cauliflower with olive oil. It really doesn’t have to be complicated. 

Put on your favorite music while you cook. Studies have shown that listening to music can alter your mood and make you happy. Music can also slow down your heart rate, and reduce blood pressure and anxiety.

Use your favorite foods to prepare recipes that you enjoy. Nobody likes cooking a dish they hate. Try to get other members of your family to help, and make it a family event.  Bonus– you can teach the little ones healthy eating habits.

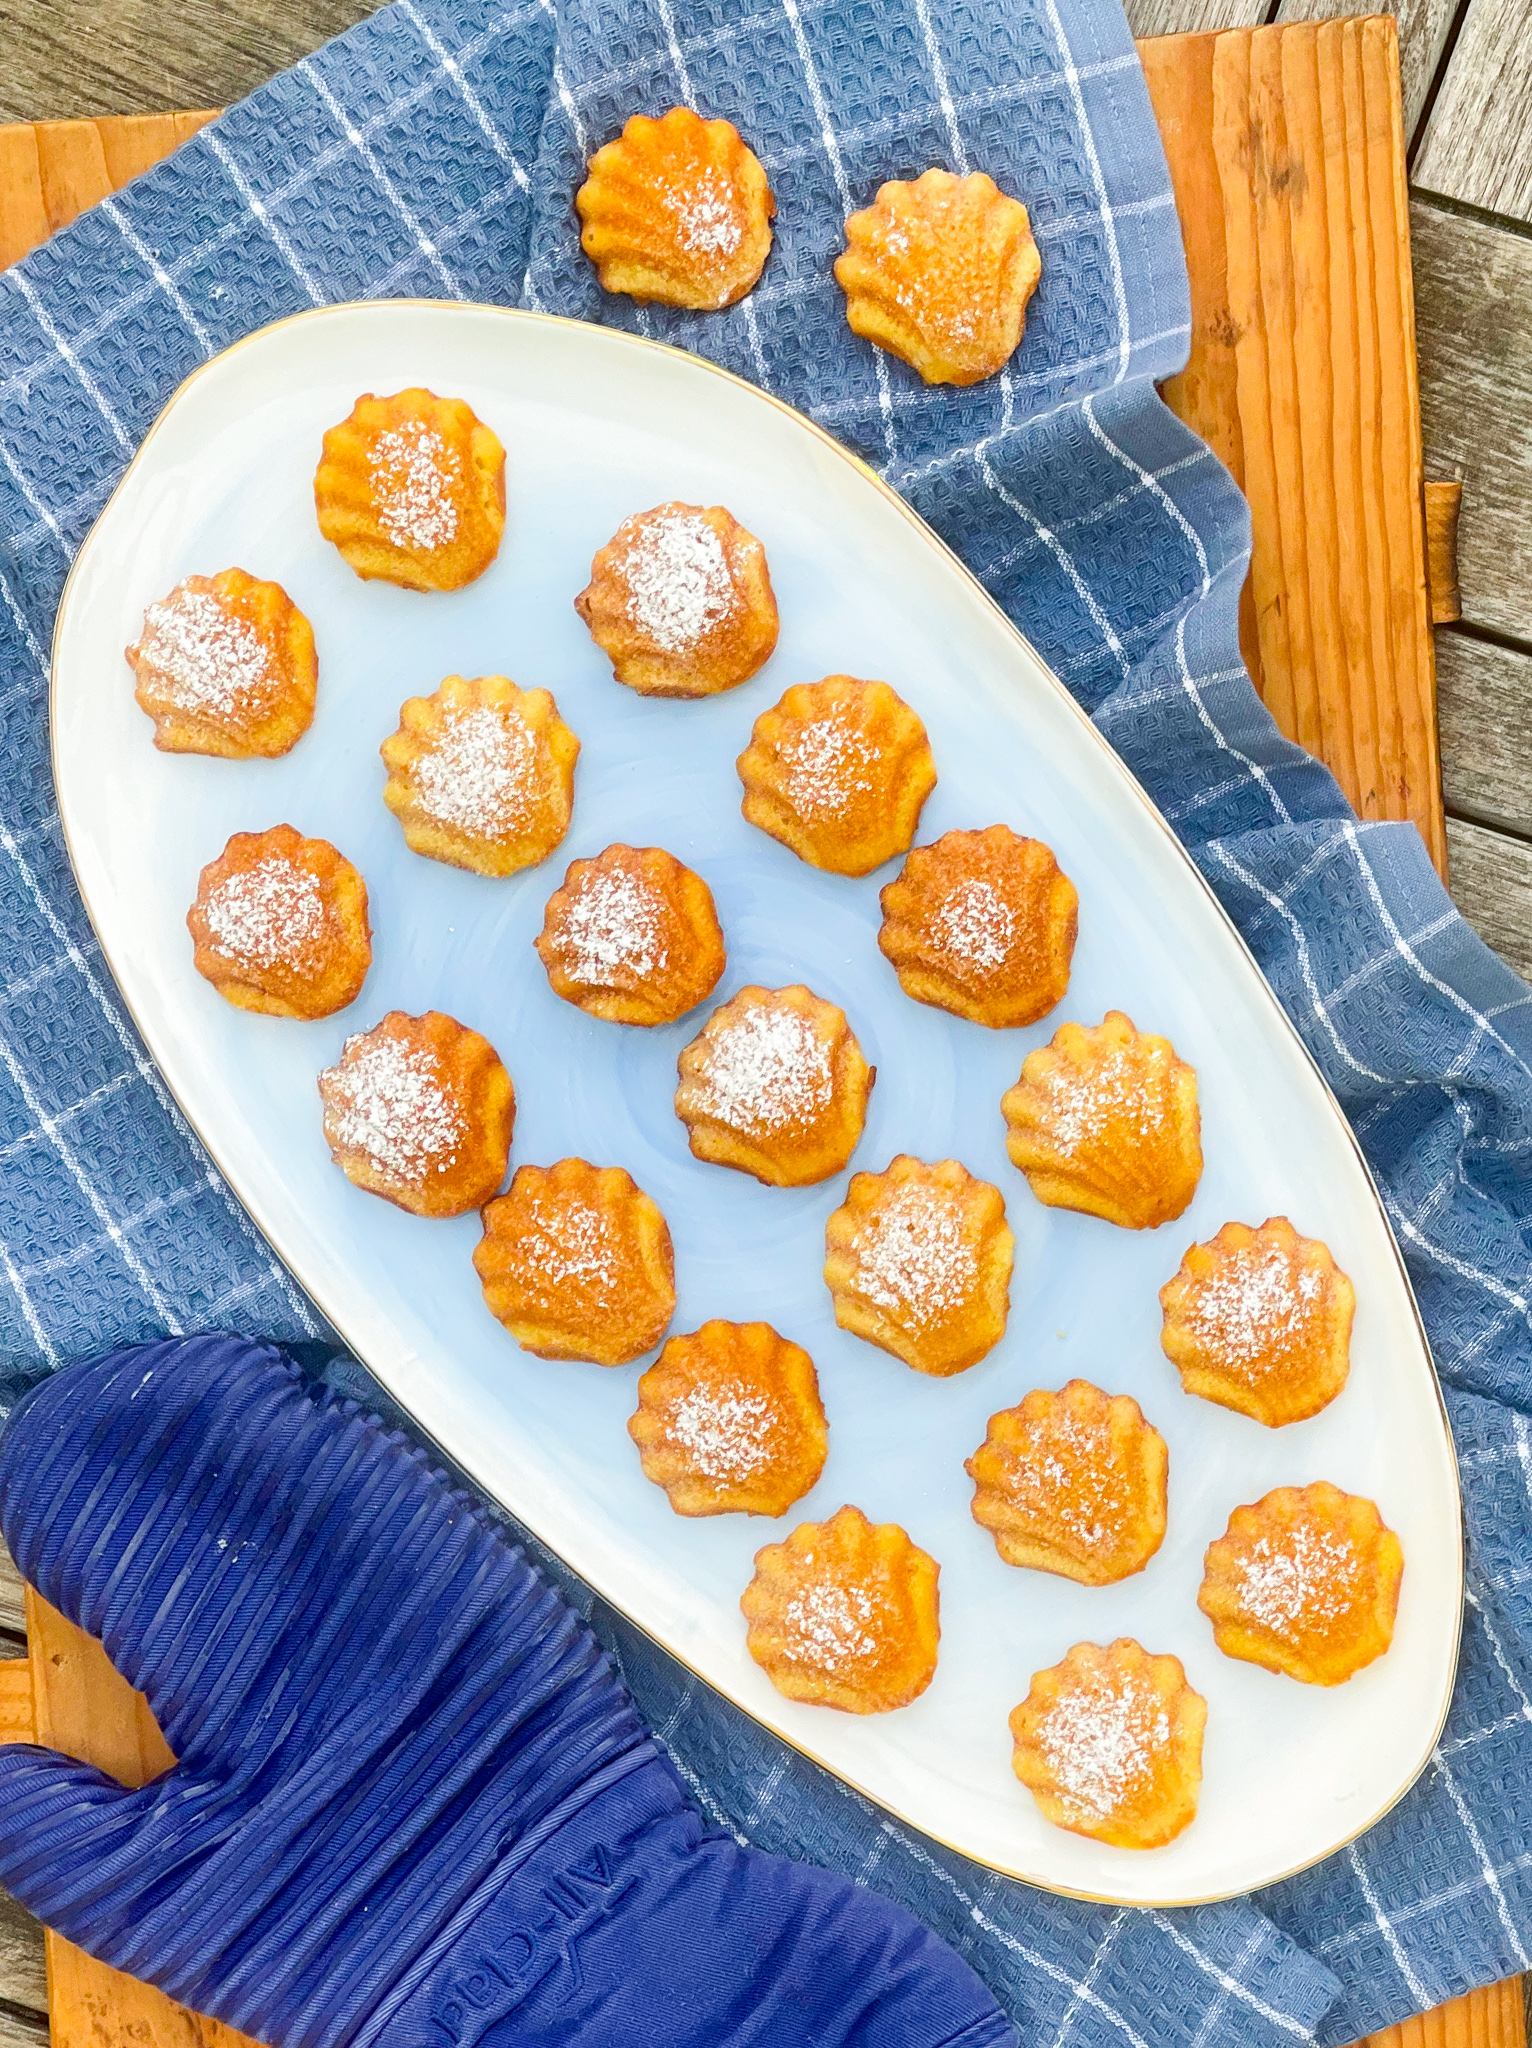
Now this is one recipe that I know you will enjoy making. Madeleines, also known as French butter cakes, are shell-shaped sponge cakes. When the cake was first made in the 18th century, the little bump was the most important feature.  The same is true today.  Though they are little butter cakes, most people refer to them as cookies. They are made with the simplest ingredients, but you have to be careful to ensure the right consistency. It may take a little extra time, but it is well worth it.

Whether you call them cakes or cookies, they should be light and airy, with a melt-in-your mouth exterior. You know the eggs are perfectly whipped when they drip like ribbons from your spoon or beaters. The vanilla extract adds even more delicious flavor, and the lemon zest, (don’t you dare leave it out!) gives these cookies a tang, that is so important to the cookie. You can then dust them with confectioners’ sugar or dip them in some melted chocolate for an even more luscious treat. Perfect for breakfast, a snack, or dessert, everyone will love them.

This recipe is courtesy of Sally’s Baking Addiction and will make 18 to 20 cookies to delight cookie and cake lovers alike.

Ingredients for Madeleines:

1/2 cup (1 stick) unsalted butter (plus another 2 Tbsp for the pan)
2 large eggs, at room temperature
1/2 cup granulated sugar 
2 teaspoons lemon zest
1 teaspoon pure vanilla extract
1 cup sifted all purpose flour, spooned and leveled
1/2 teaspoon baking powder
1/8 teaspoon salt
Optional: confectioners’ sugar for sprinkling on top, or melted chocolate for dipping.

Melt the butter and set aside to slightly cool as you prepare the rest of the batter. You can melt it in the microwave or melt it/brown it on the stovetop.

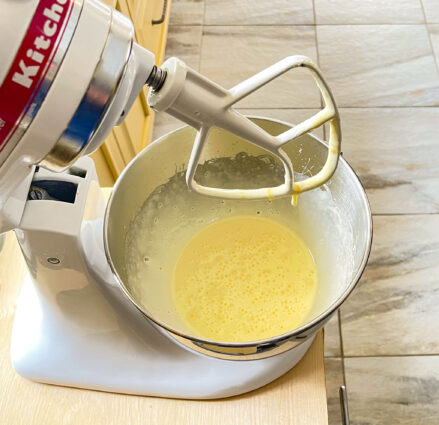
Using a handheld or stand mixer fitted with a whisk attachment (didn’t notice a difference using either one), beat the eggs and sugar together on high speed for at least 8 minutes.

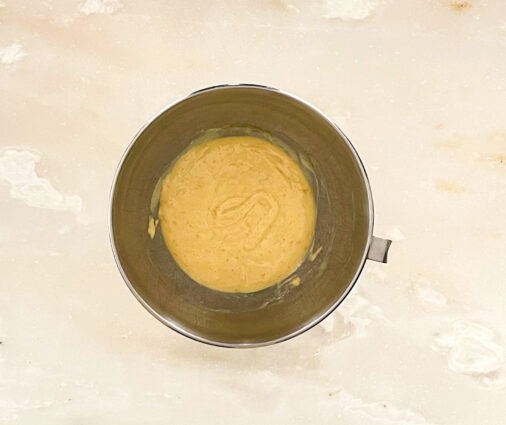
The mixture will be thick, pale, and form ribbons when you lift the beater(s).

Beat in the lemon zest and vanilla extract until combined. (The remaining ingredients are mixed together by hand; you no longer need the mixer.)

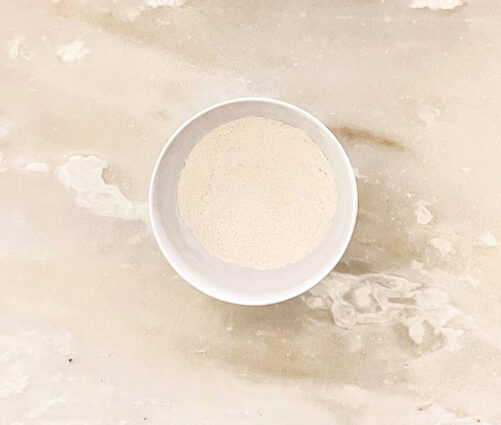
Whisk the flour, baking powder, and salt together in a small bowl.

Using a spatula or wooden spoon, gently fold into egg mixture.

I suggest carefully folding in half of the flour mixture, then folding in the other half. (Instead of dumping it all in at once.) Make sure you’re handling this batter with care. It’s very delicate.


Stir 1/4 cup of the batter into the melted butter.

It will take a minute to fully incorporate.

Then stir it all into the rest of the batter.

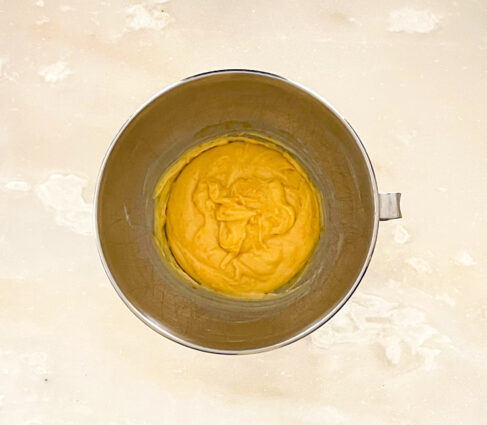
The batter will be thick, silky, and shiny. Cover the batter and chill in the refrigerator for 30-60 minutes.

Try not to chill any longer than this as the butter in the batter will begin to solidify.

During the last few minutes of chilling, preheat the oven to 350°F.

Melt the remaining 2 Tablespoons butter.

Using a pastry brush, lightly brush the pan with melted butter.

The author finds that greasing the pan is necessary even if you’re using a nonstick pan.

We want to avoid any chance of sticking.

The batter will be quite airy and spongy after resting. This is good! Do not try to deflate it. 

Spoon 1 generous tablespoon of batter into the center of each scalloped well.

No need to spread it to the edges. Just plop it in the center.

(Cover and refrigerate remaining batter if you do not have 2 madeleine pans to bake the batter all at once.)

Bake for 10-12 minutes.

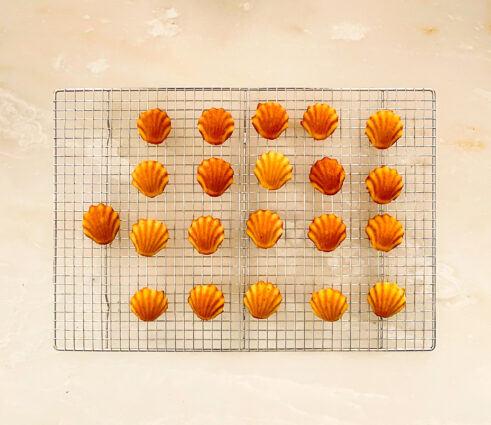
The madeleines are done when the tops spring back after lightly pressed with your finger. Invert the pan onto the counter.

Transfer the warm madeleines to a wire rack to lightly cool.

Dust with confectioners’ sugar, if desired, before serving.

Madeleines are best enjoyed right after baking, so the author didn’t have any make-ahead tips.

They dry out very quickly; Sally finds baked and covered madeleines lose their texture even after 1 day!

For this reason, the author doesn’t recommend freezing them either. You’ll lose a lot of texture.

It’s that simple!
signature

[recaptcha]