What to do on a freezing cold day when you are stuck inside? Why bake of course!

This recipe is perfect for any day because you probably already have all the ingredients in your pantry.

I love any dessert with oats. I do not like hot oatmeal, which sounds crazy, but it is true. But put oats in a dessert and I am obsessed.

Not only is it good for breakfast, but why not have it as a dessert or snack as well?

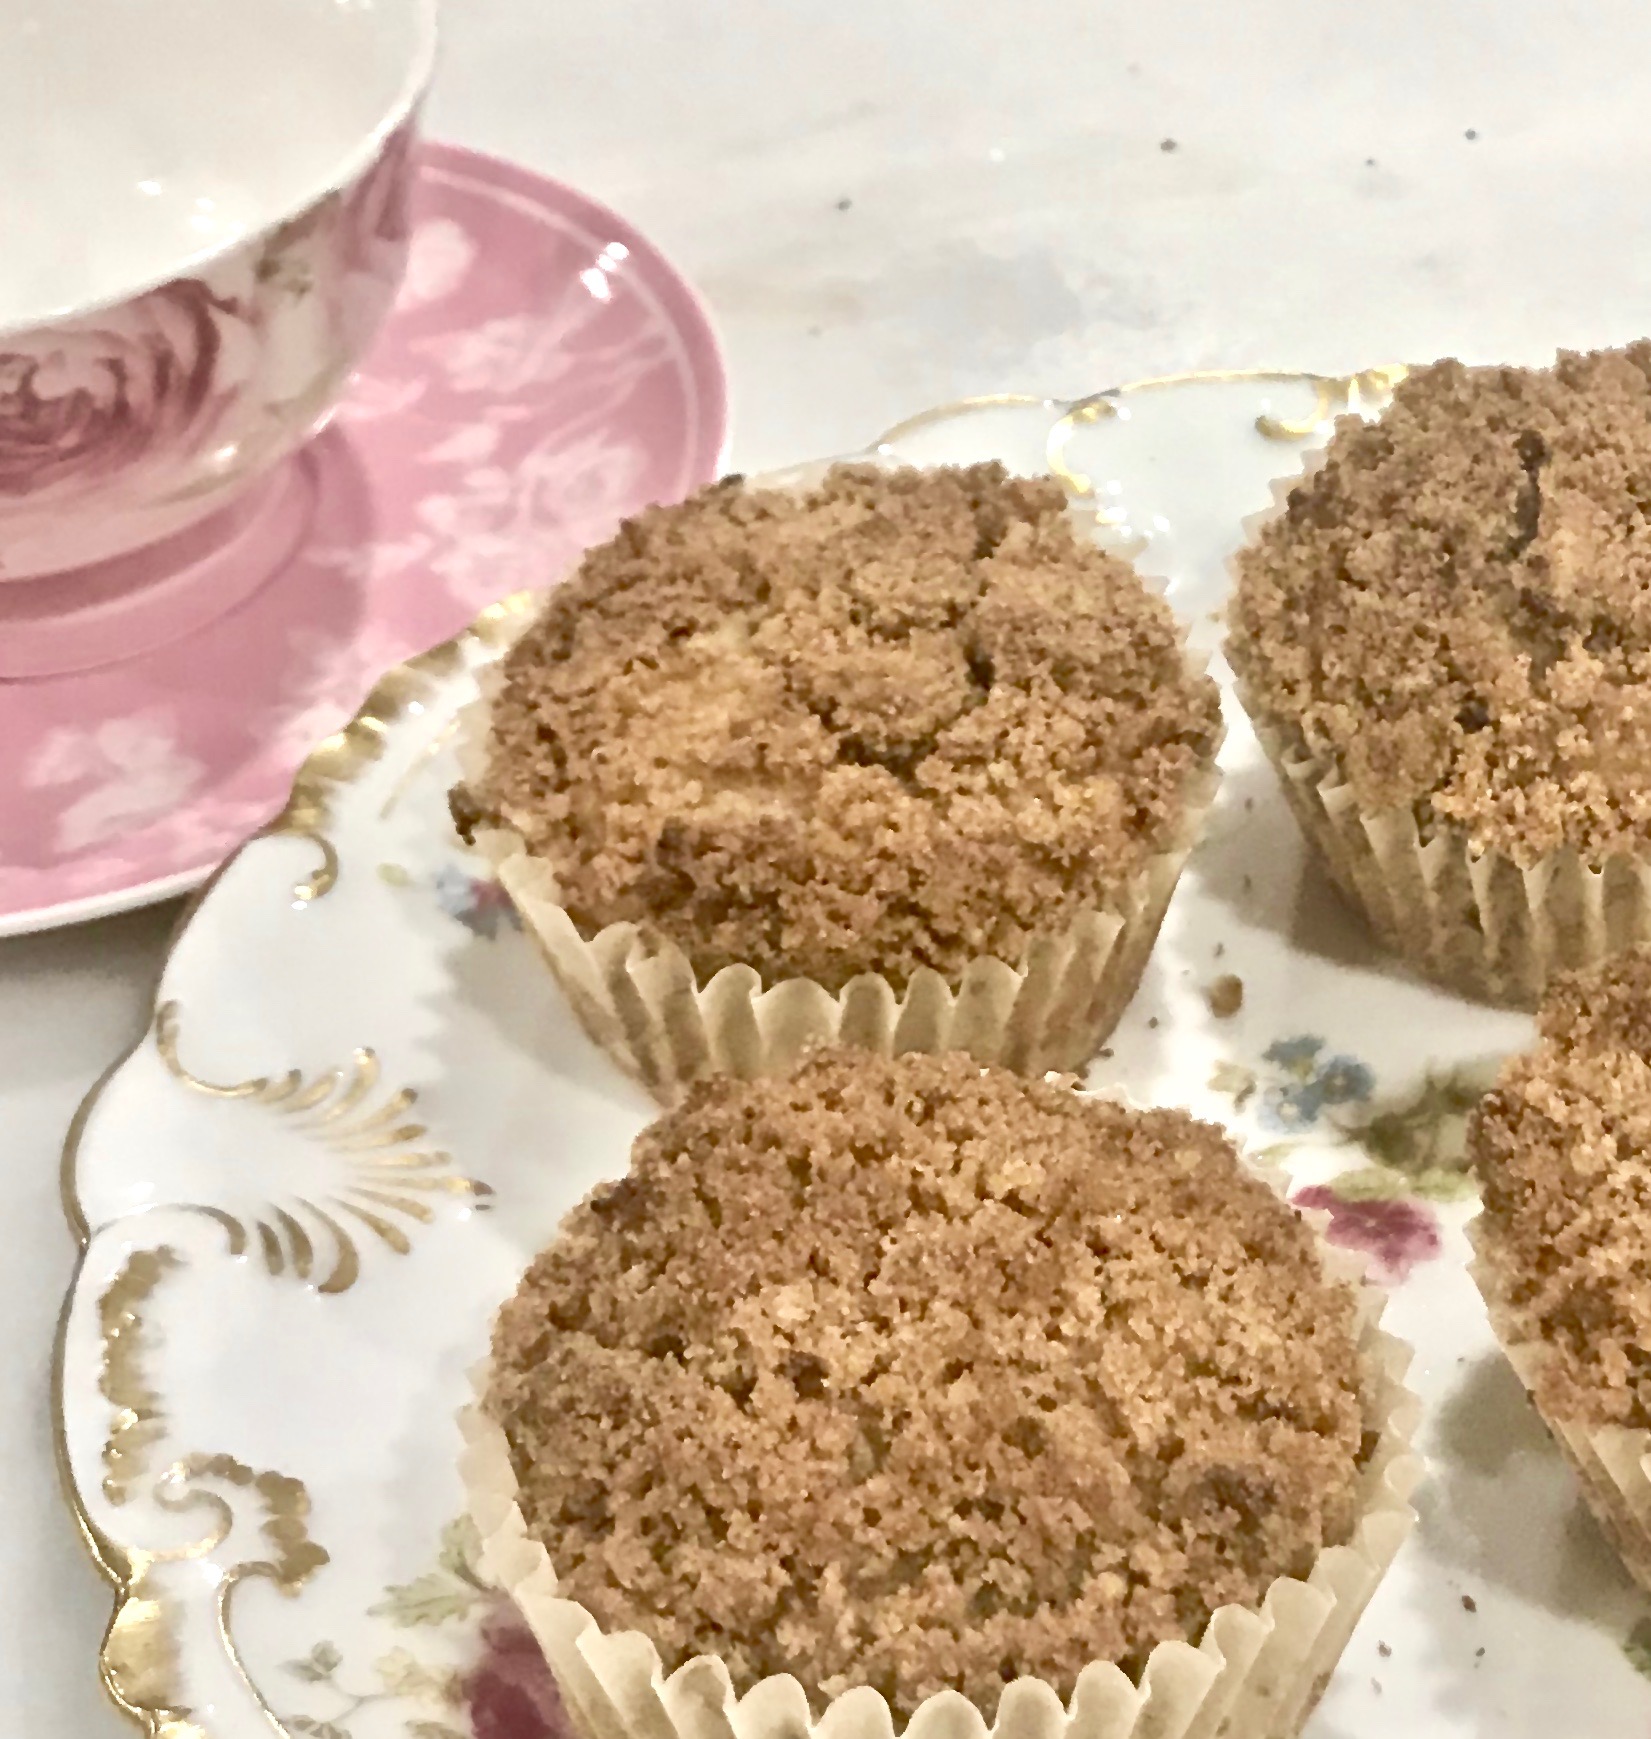
These muffins are delightful. The raisins and the oatmeal give them a wonderful texture. The cinnamon topping is the ideal crown for these “perfect for anytime” of the day muffins. They are really easy to make and you can whip up a batch in no time.

Just to note; I doubled the topping, (as I always do), just in case I needed more, and of course I did.

Always remember to gather all the ingredients first ( mis-in-place). This will help you proceed faster and more comfortably. And go ahead and make these muffins, they are really marvelous!

This recipe is courtesy of kitchn.com and will make about 12 muffins. You might want to make 2 batches, everyone will want seconds!

Ingredients for Oatmeal Raisin Muffins

1 cup all-purpose flour
1/4 cup brown sugar
1 tbsp. baking powder
3/4 tsp. salt
1/2 tsp. cinnamon
1 cup old-fashioned oats
1/2 cup raisins
1/4 cup olive oil
1 egg, beaten
1 cup milk

Cinnamon Topping (I doubled this)

2 tbsp. brown sugar
2 tbsp. flour
1 tsp. cinnamon
1 tbsp. olive oil

Heat oven to 425 F.

Grease a muffin pan, or line the wells with paper muffin cups.

Mix the flour, sugar, baking powder, salt, and cinnamon together in a large bowl.

Stir in the oats and raisins.
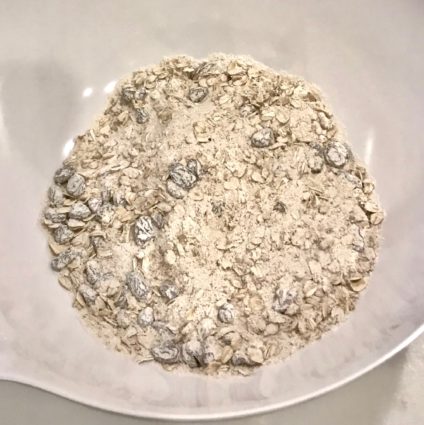
In a large measuring cup, whisk the olive oil with the egg and milk.
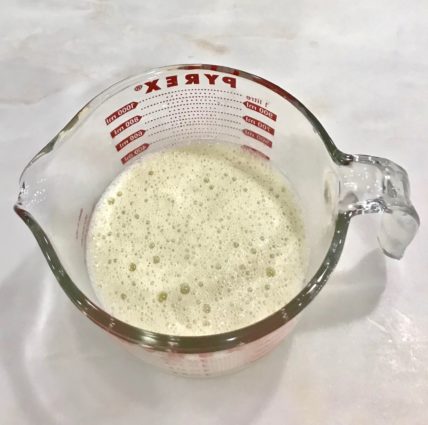
Stir the liquid into the dry ingredients just until combined.

Fill the prepared muffin cups 2/3 full with batter.
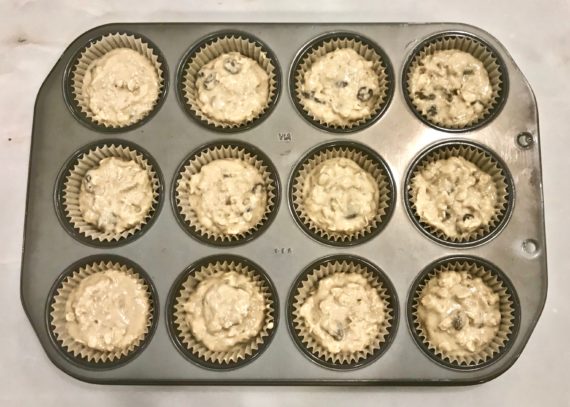
For the topping;

Mix all the ingredients for the cinnamon topping together in a small bowl until crumbly.

Sprinkle evenly over the muffin batter.
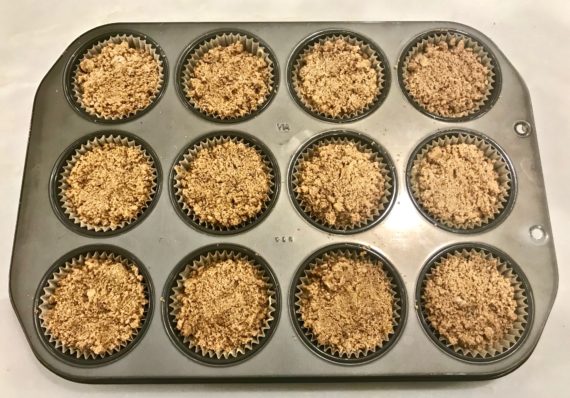
Bake for 25 minutes. Remove from the oven and let cool in pan on a rack until they are cool enough to be handled.

Remove from pan and eat while warm, or let cool completely and then store in an airtight container.

It’s that simple!

signature

[recaptcha]


Like many people, I am a huge fan of apple pie. When I saw this recipe for apple pie bars that can be eaten for breakfast or for a snack, I knew I was going to make them immediately. 

Words can’t accurately describe this scrumptious, decadent dessert. The delicious, sweet crust is a perfect container for the apples. It is then topped with two kinds of apples that are a wonderful combination of tart, sweet and savory. The topping adds a mixture of walnuts and cinnamon. 

Each bite is better than the first. I’ll bet you can’t eat just one. Feel free to add any ice cream of your choice, or some gooey caramel. These bars are going to be delicious any way you choose to eat them.

This is a perfect dessert to bring to any holiday celebration. Don’t let all the steps intimidate you.  It may seem like a lot of work, but in reality, these bars are pretty easy to make. Perhaps you should make two of them, because these dreamy little bars are going to go quickly.

This recipe is courtesy of Ina’s, from her book, Cooking for Jeffery. This recipe will make 12 bars. Be sure to save a couple for yourself, because everyone is going to want seconds!

Ingredients for Apple Pie Bars

For the crust:

1 pound (4 sticks) unsalted butter, at room temperature
3/4 cup granulated sugar
1/2 cup light brown sugar, tightly packed
2 tsp. pure vanilla extract
4 cups all-purpose flour
1 1/2 tsp. kosher salt
1/2 cup chopped walnuts
1 tsp. ground cinnamon

For the apple filling:

1 1/2 pounds Granny Smith apples, peeled, quartered, cored and sliced 1/8 inch thick (3 large)
1 1/2 pounds Golden Delicious apples, peeled, quartered, cored and slice 1/8 inch thick (3 large)
2 tbsp. freshly squeezed lemon juice
1/4 cup granulated sugar
1 tsp. ground cinnamon
1/8 tsp. ground nutmeg
4 tbsp. (1/2 stick) unsalted butter

Preheat the oven to 375 degrees.

For the crust:

Place the butter, granulated sugar, brown sugar, and vanilla in the bowl of an electric mixer fitted with the paddle attachment and beat on medium speed for 2 minutes, until light and creamy.

Sift the flour and the salt together and, with the mixer on low, slowly add it to the butter-sugar mixture, being until combined.

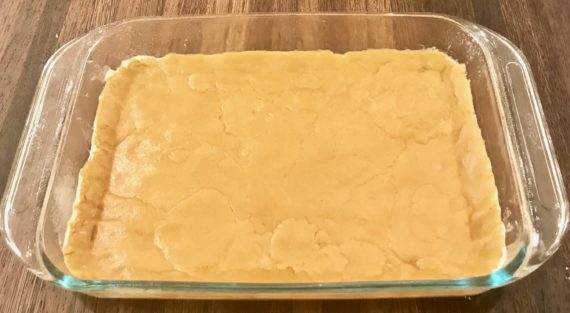
Scatter two-thirds of the dough in clumps in a 9 x 13-inch baking pan and press it lightly with floured hands on the bottom and 1/2 inch up the sides.

Refrigerate for 20 minutes.

Bake for 18-20 minutes, until the crust is golden brown, and set aside to cool.

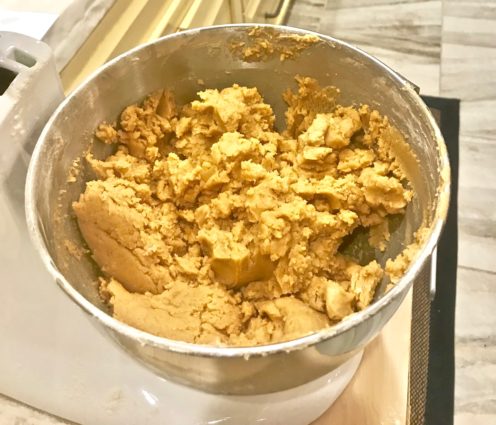
Meanwhile, put the mixing bowl with the remaining dough back on the mixer, add the walnuts and cinnamon, and mix on low speed to combine.

Reduce oven to 350 degrees.

For the filling:

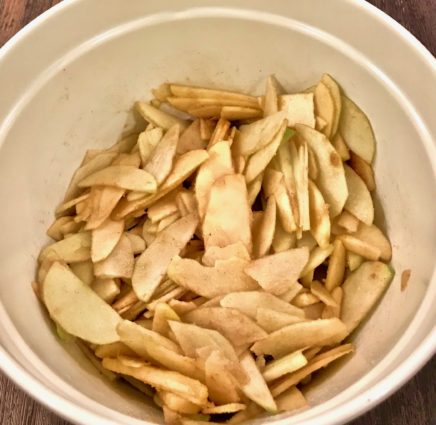
Combine the Granny Smith and Golden Delicious apples and the lemon juice in a very large bowl.

Add the granulated sugar, cinnamon, and nutmeg and mix well.

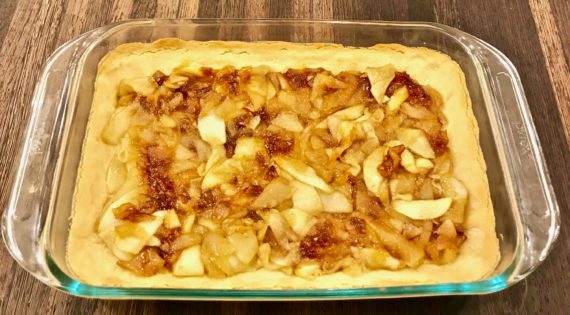
Melt the butter in a large (10-inch-diameter) pot, add the apples, and simmer over medium to medium-low heat, stirring often, for 12 to 15 minutes, until the apples are tender and the liquid has mostly evaporated.

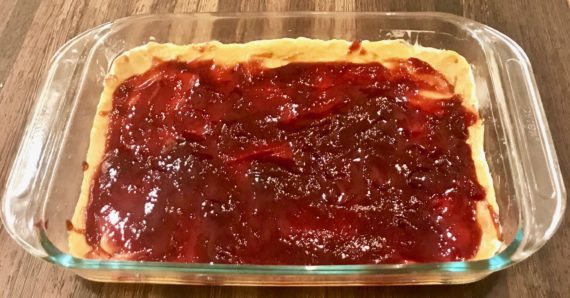
Spread the apples evenly over the crust, leaving a 1/2-inch border.

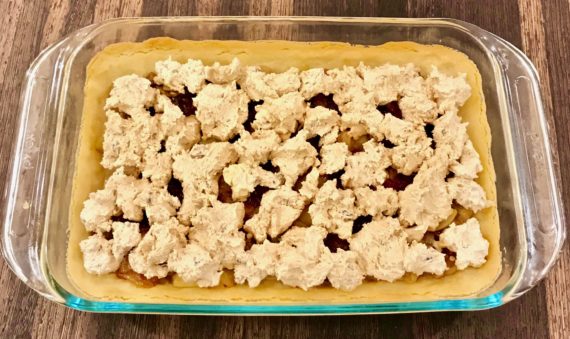
Pinch medium pieces of  the remaining dough with your fingers and drop them evenly on top of the apples (they will not be covered).

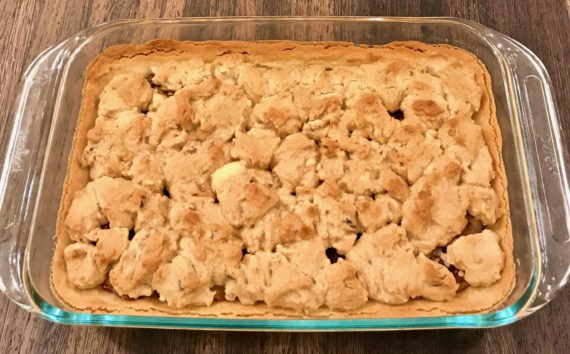
Bake for 25 to 30 minutes, until the topping is browned.

Cool completely and cut into bars.

It’s that simple!
signature

[recaptcha]


I am an extremely loyal and devoted lemon lover. I have been since I was a child and the love continues to this day.

Although I am not traditionally a baker, on one cold Sunday afternoon, I decided to give it a try.. It was just that kind of day.

I came across this lemon cake recipe courtesy of Ina Garten. She never lets me down. I own all of her cookbooks and have read every one of them. Her cookbooks are always dependable and are a great resource for recipes, party ideas and so much more.

This recipe caught my eye (lemon!!!). It looked deliciously moist and fluffy. It was perfect after a meal; it was light and heavenly with just the right combination of  lemon and sweet flavoring. 

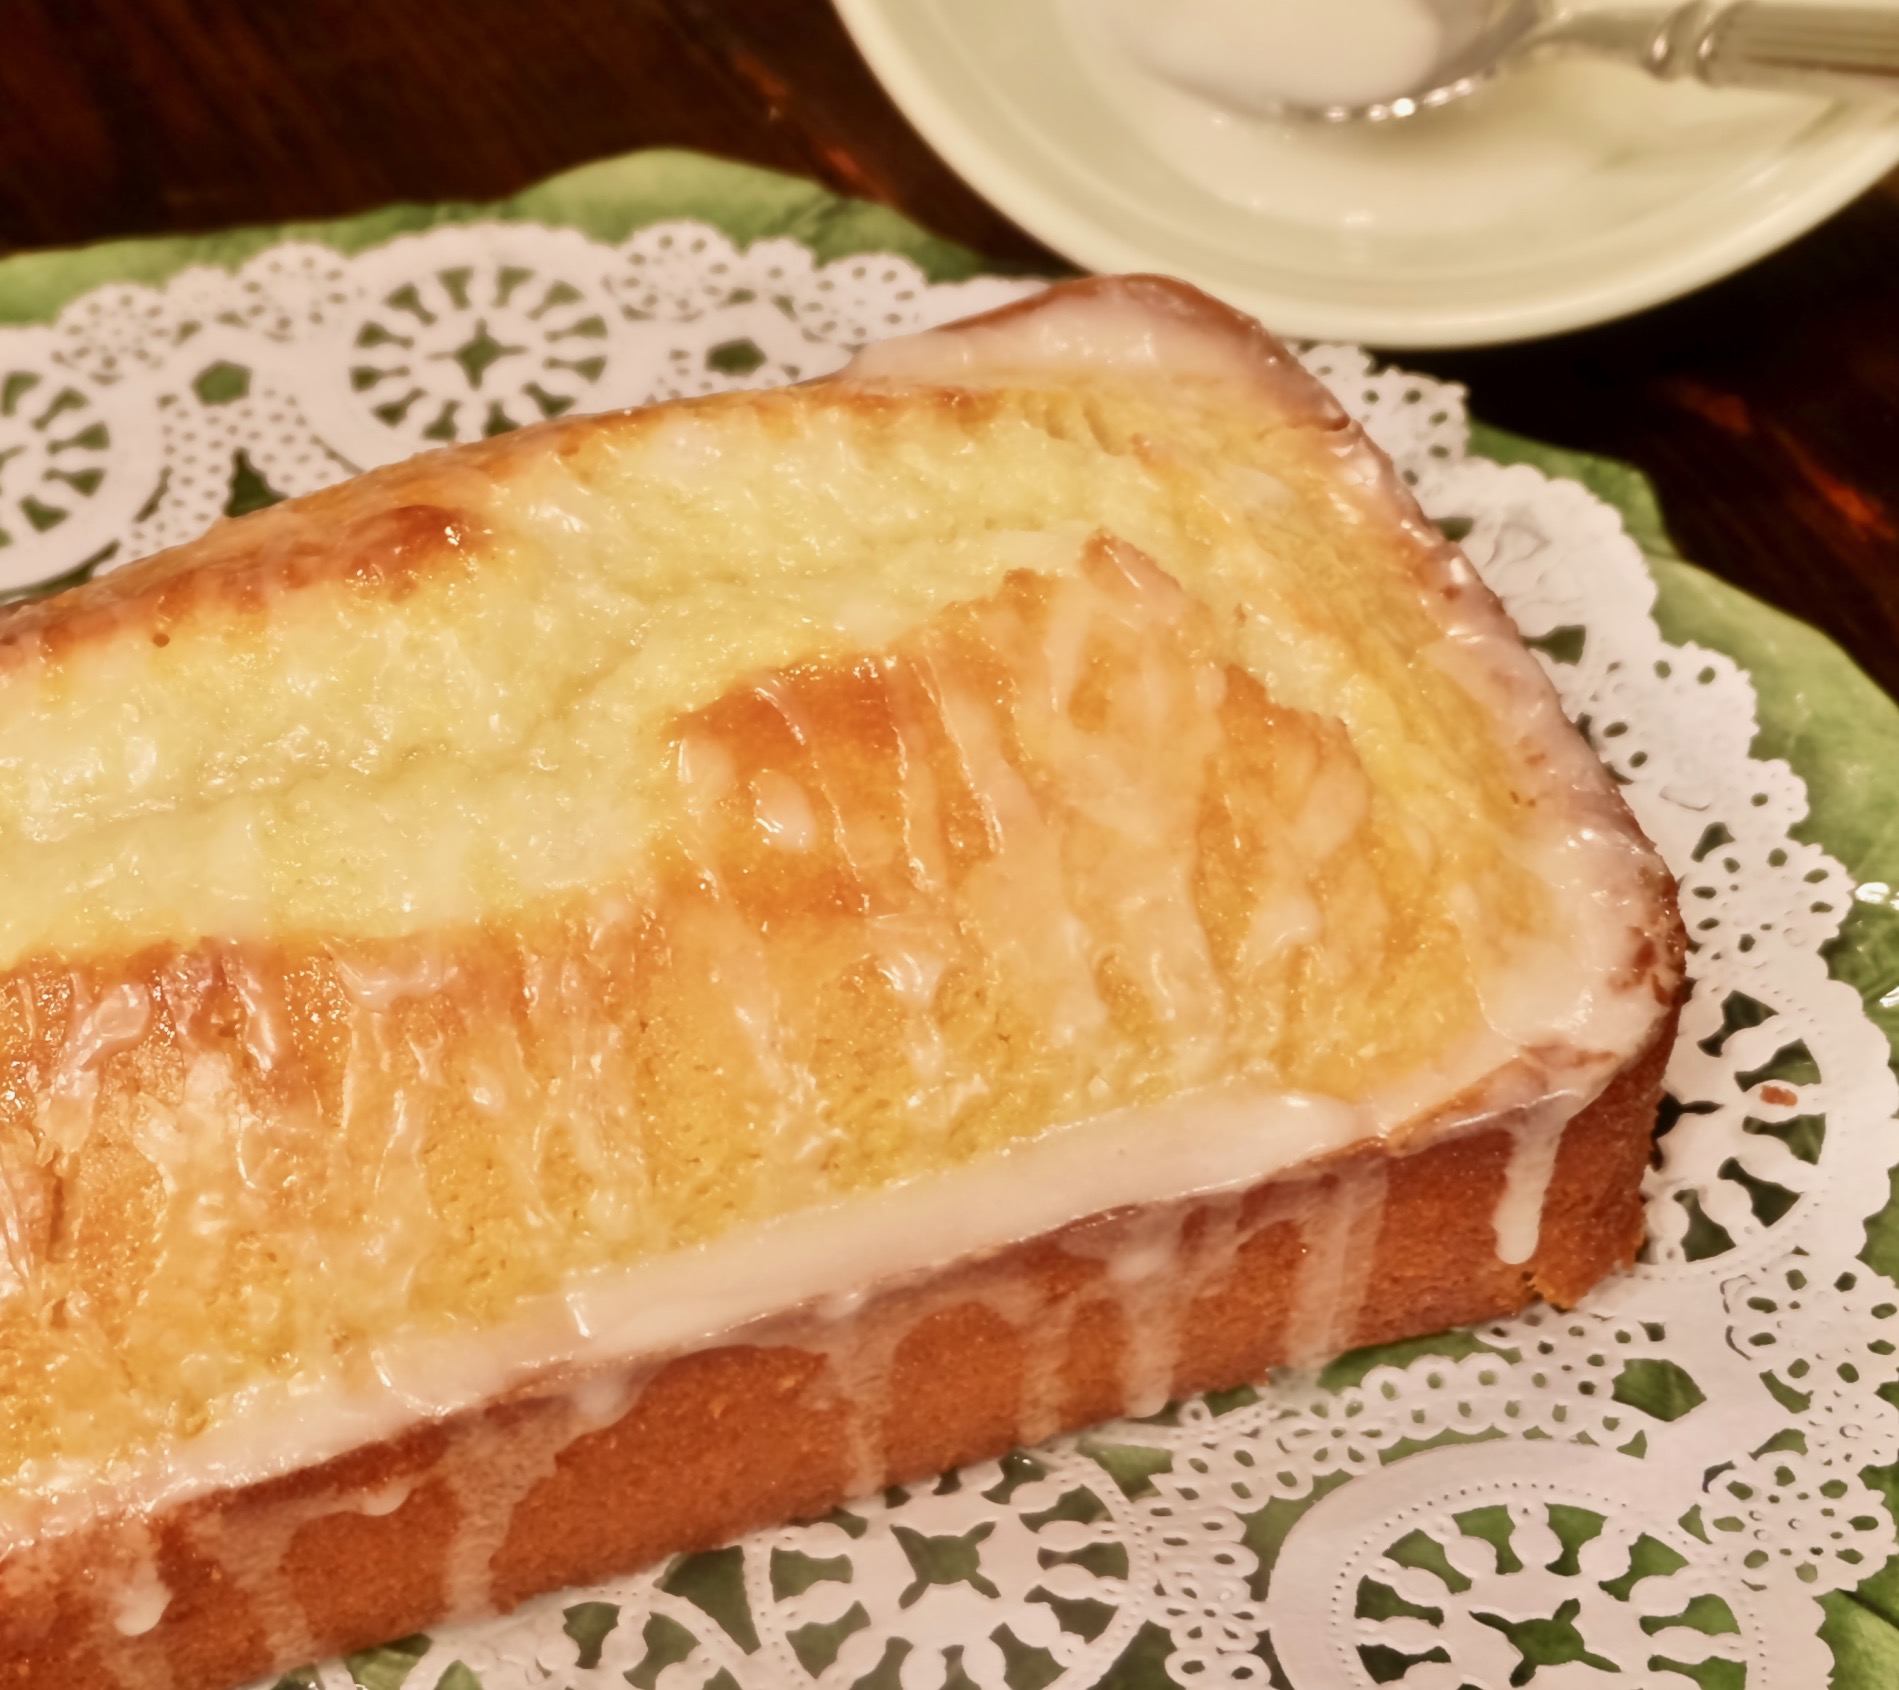
It is beautiful when  garnished with the lemon glaze. It is a perfect dessert if you need something to bring to a party or dinner. Simple, easy and scrumptious.

Ingredients for Lemon Yogurt Cake

1 1/2 cups all-purpose flour
2 tsp. baking powder
1/2 tsp. kosher salt
1 cup plain whole-milk yogurt
1 1/3 cups sugar, divided into 1 cup, and 1/3 cup set aside
3 extra-large eggs
2 tsp. grated lemon zest (2 lemons)
1/2 tsp. pure vanilla extract
1/2 cup vegetable oil
1/3 cup freshly squeezed lemon juice

For the glaze:

1 cup confectioner’s sugar
2 tbsp. freshly squeezed lemon juice

Preheat oven to 350.

Grease an 8 1/2 by 4 1/4 loaf pan. Flour the pan and place parchment paper on the bottom.

Sift together the flour, baking powder, and salt into a bowl.

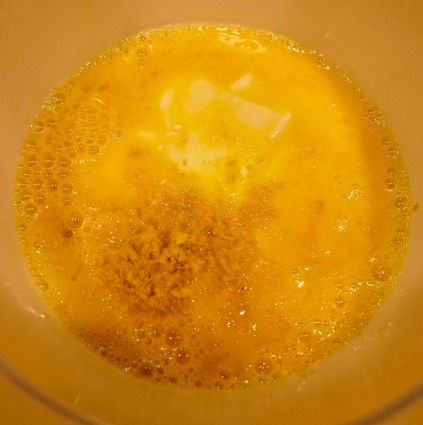
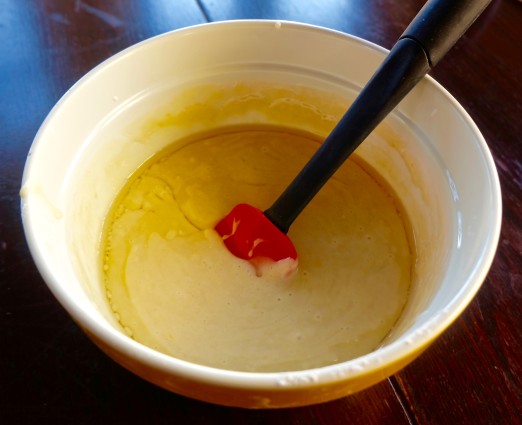
In another bowl, whisk together the yogurt, 1 cup of sugar, eggs lemon zest and vanilla.

lemon cake liquids plus zest

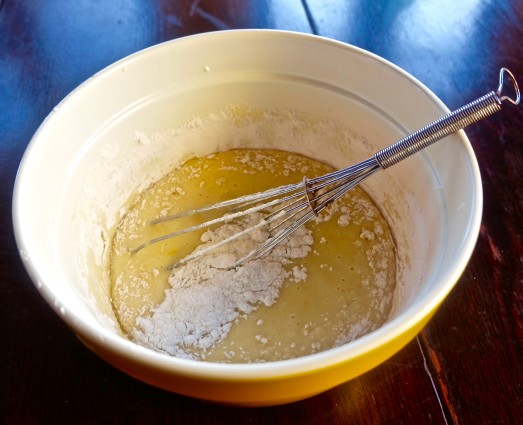
Slowly whisk together the dry ingredients into the wet ingredients.

lemon cale mix liquids and dry ingredients

With a rubber spatula, fold the vegetable oil into the batter, making sure it is all incorporated.

lemon cake add oil

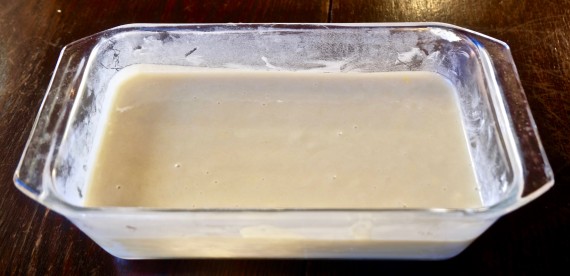
Pour the batter into the prepared pan and bake for about 50 minutes, or until a toothpick inserted in the center of the cake comes out clean.

lemon cake before baking in pan

Meanwhile, cook the 1/3 cup of lemon juice and remaining 1/3 cup of sugar in a small saucepan over medium-low heat until sugar dissolves and the mixture becomes clear. (This is before it becomes clear!)

lemon cake sugar and lemon

Set aside.

For the glaze:

Combine the confectioner’s sugar and lemon juice.

When the cake is done, allow it to cool for 10 minutes.

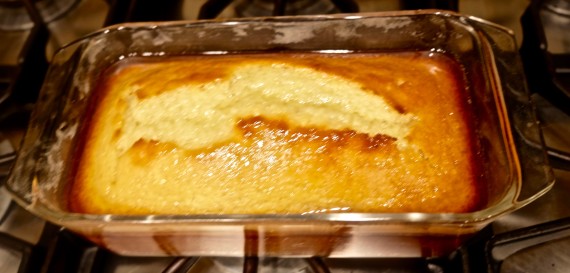
After 10 minutes, and it is still warm, pour the lemon-sugar mixture over the cake and allow it to soak in.

lemon cake after baking in pan

Let it cool.

Take cake out of pan.

Drizzle the lemon glaze over the cake.

It’s that simple!
 
signature

[recaptcha]


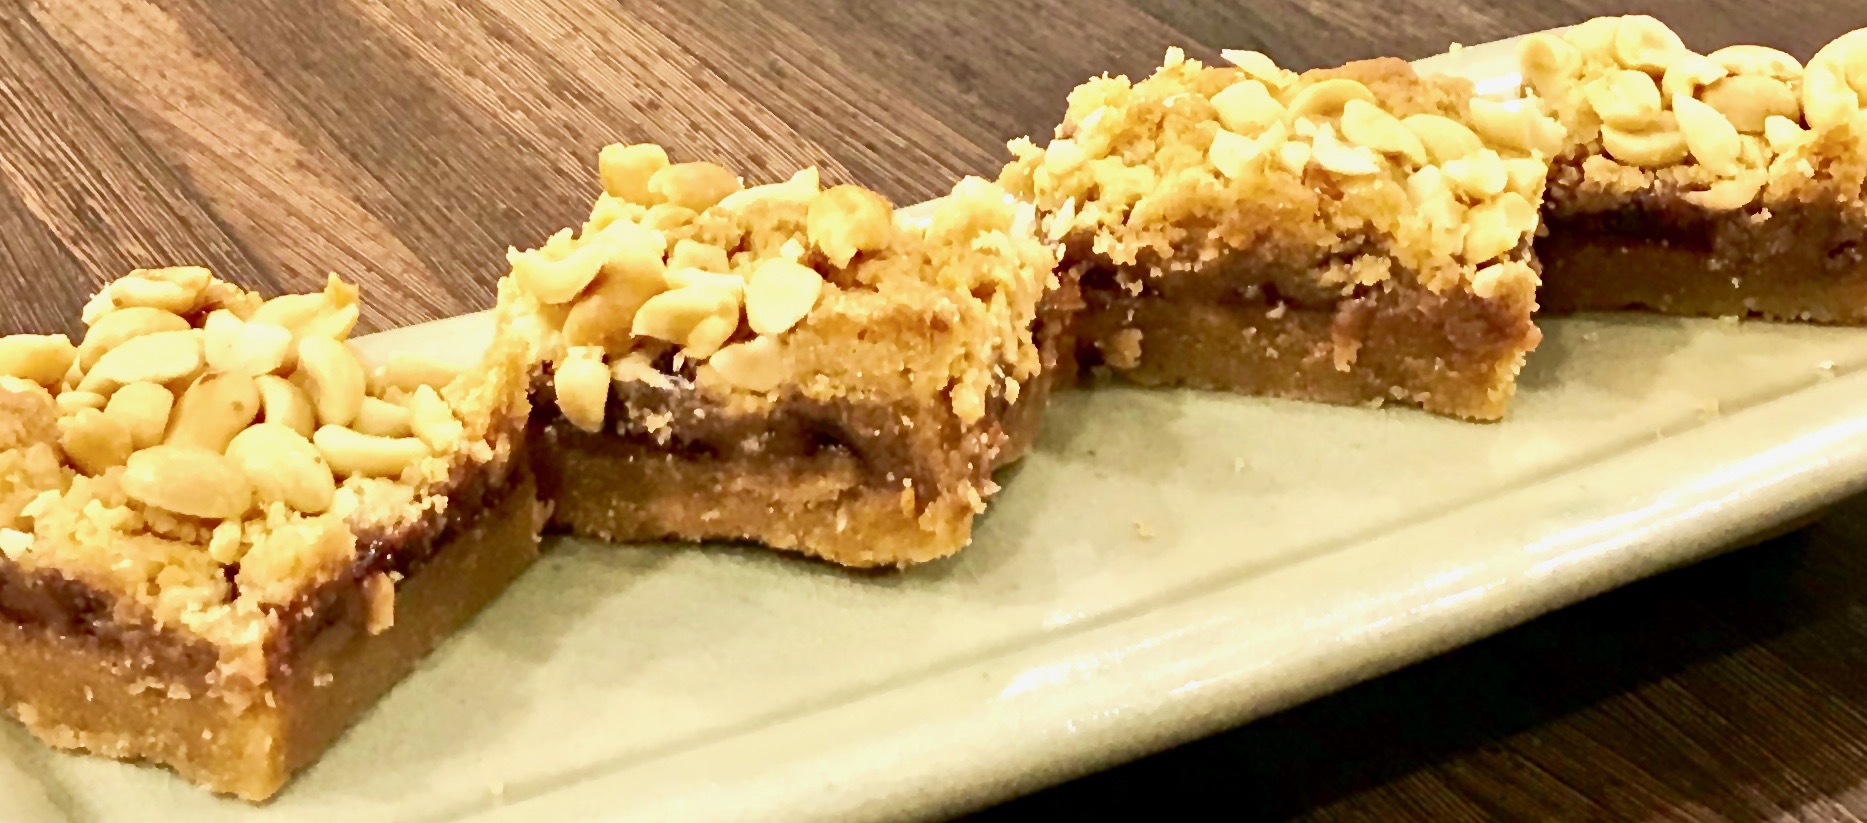
What a great idea—a peanut butter and jelly sandwich disguised as a bar! Imagine the possibilities. This recipe successfully turns the traditional peanut butter and jelly sandwich into a delicious dessert or snack for anytime of the day. They are too hard to resist.

Both the top and bottom of the bar are made with lots of creamy peanut butter mixed into the dough. The middle layer is filled with a generous portion of raspberry jam, and a salty, nutty topping adds the perfect finish.

Are you drooling yet? You should be, because these bars are beyond description. Fabulous, amazing and awesome are just a few words that come to mind. But don’t take my word for it; try it yourself. They are quick and easy to prepare. If you don’t have raspberry jam, use any kind you like, I am sure it will be just as delectable. Put your aprons on and make these bars–you will be so happy that you did!

This recipe is courtesy of Ina Garten’s Barefoot Contessa at Home, and will serve 6-8 people who will overjoyed with this salty, sweet, jammy bar of goodness!

Ingredients for Peanut Butter and Jelly Bars

1/2 pound (2 sticks) unsalted butter at room temperature, plus more for greasing the pan
1 1/2 cups sugar
1 tsp. pure vanilla extract
2 extra-large eggs, at room temperature 
2 cups creamy peanut butter (16 ounces if you have 8 ounce jar)
3 cups all-purpose flour, plus more for dusting the pan
1 tsp. baking powder
1 1/2 tsp. kosher salt
1 1/2 cups raspberry jam (12 ounces if you have 8 ounce jar)
2/3 cups salted peanuts, coarsely chopped

Preheat the oven to 350.

Grease a 9 x 13 x 2-inch baking pan.

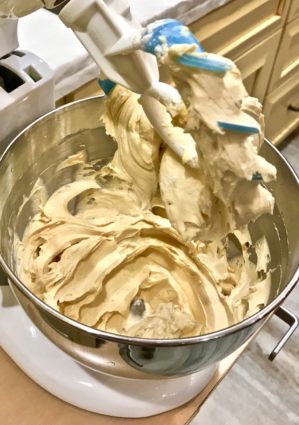
In the bowl of an electric mixer fitted with the paddle attachment, cream the butter and sugar on medium speed until light yellow, about 2 minutes.

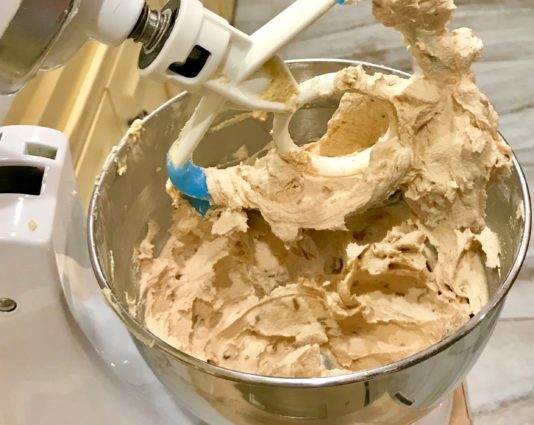
With the mixer on low speed, add the vanilla, eggs, and peanut butter and mix until well combined.

In a small bowl, sift the flour, baking powder, and salt.

With the mixer on low, slowly add the flour mixture to the peanut butter mixture.

Mix until well combined.

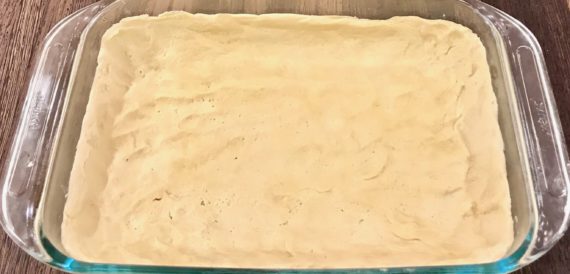
Spread two thirds of the dough in the prepared pan, using a knife to spread it evenly.

Spread the jam evenly over the dough.

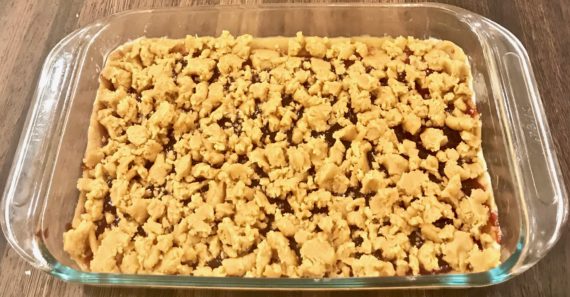
Drop small globs of the remaining dough evenly over the jam. Don’t worry if all the dough isn’t covered; the dough will spread when it bakes.

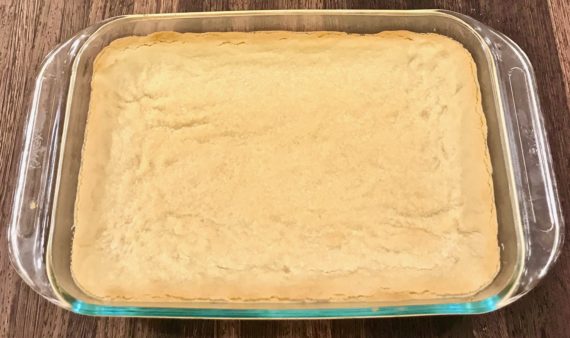
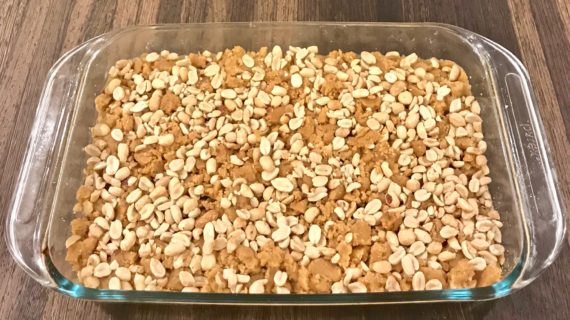
Sprinkle with the chopped peanuts and bake for 45 minutes, until golden brown.

Cool and cut into small squares.

It’s that simple!
signature

[recaptcha]


There are no words that can accurately describe how amazing these cookies are!

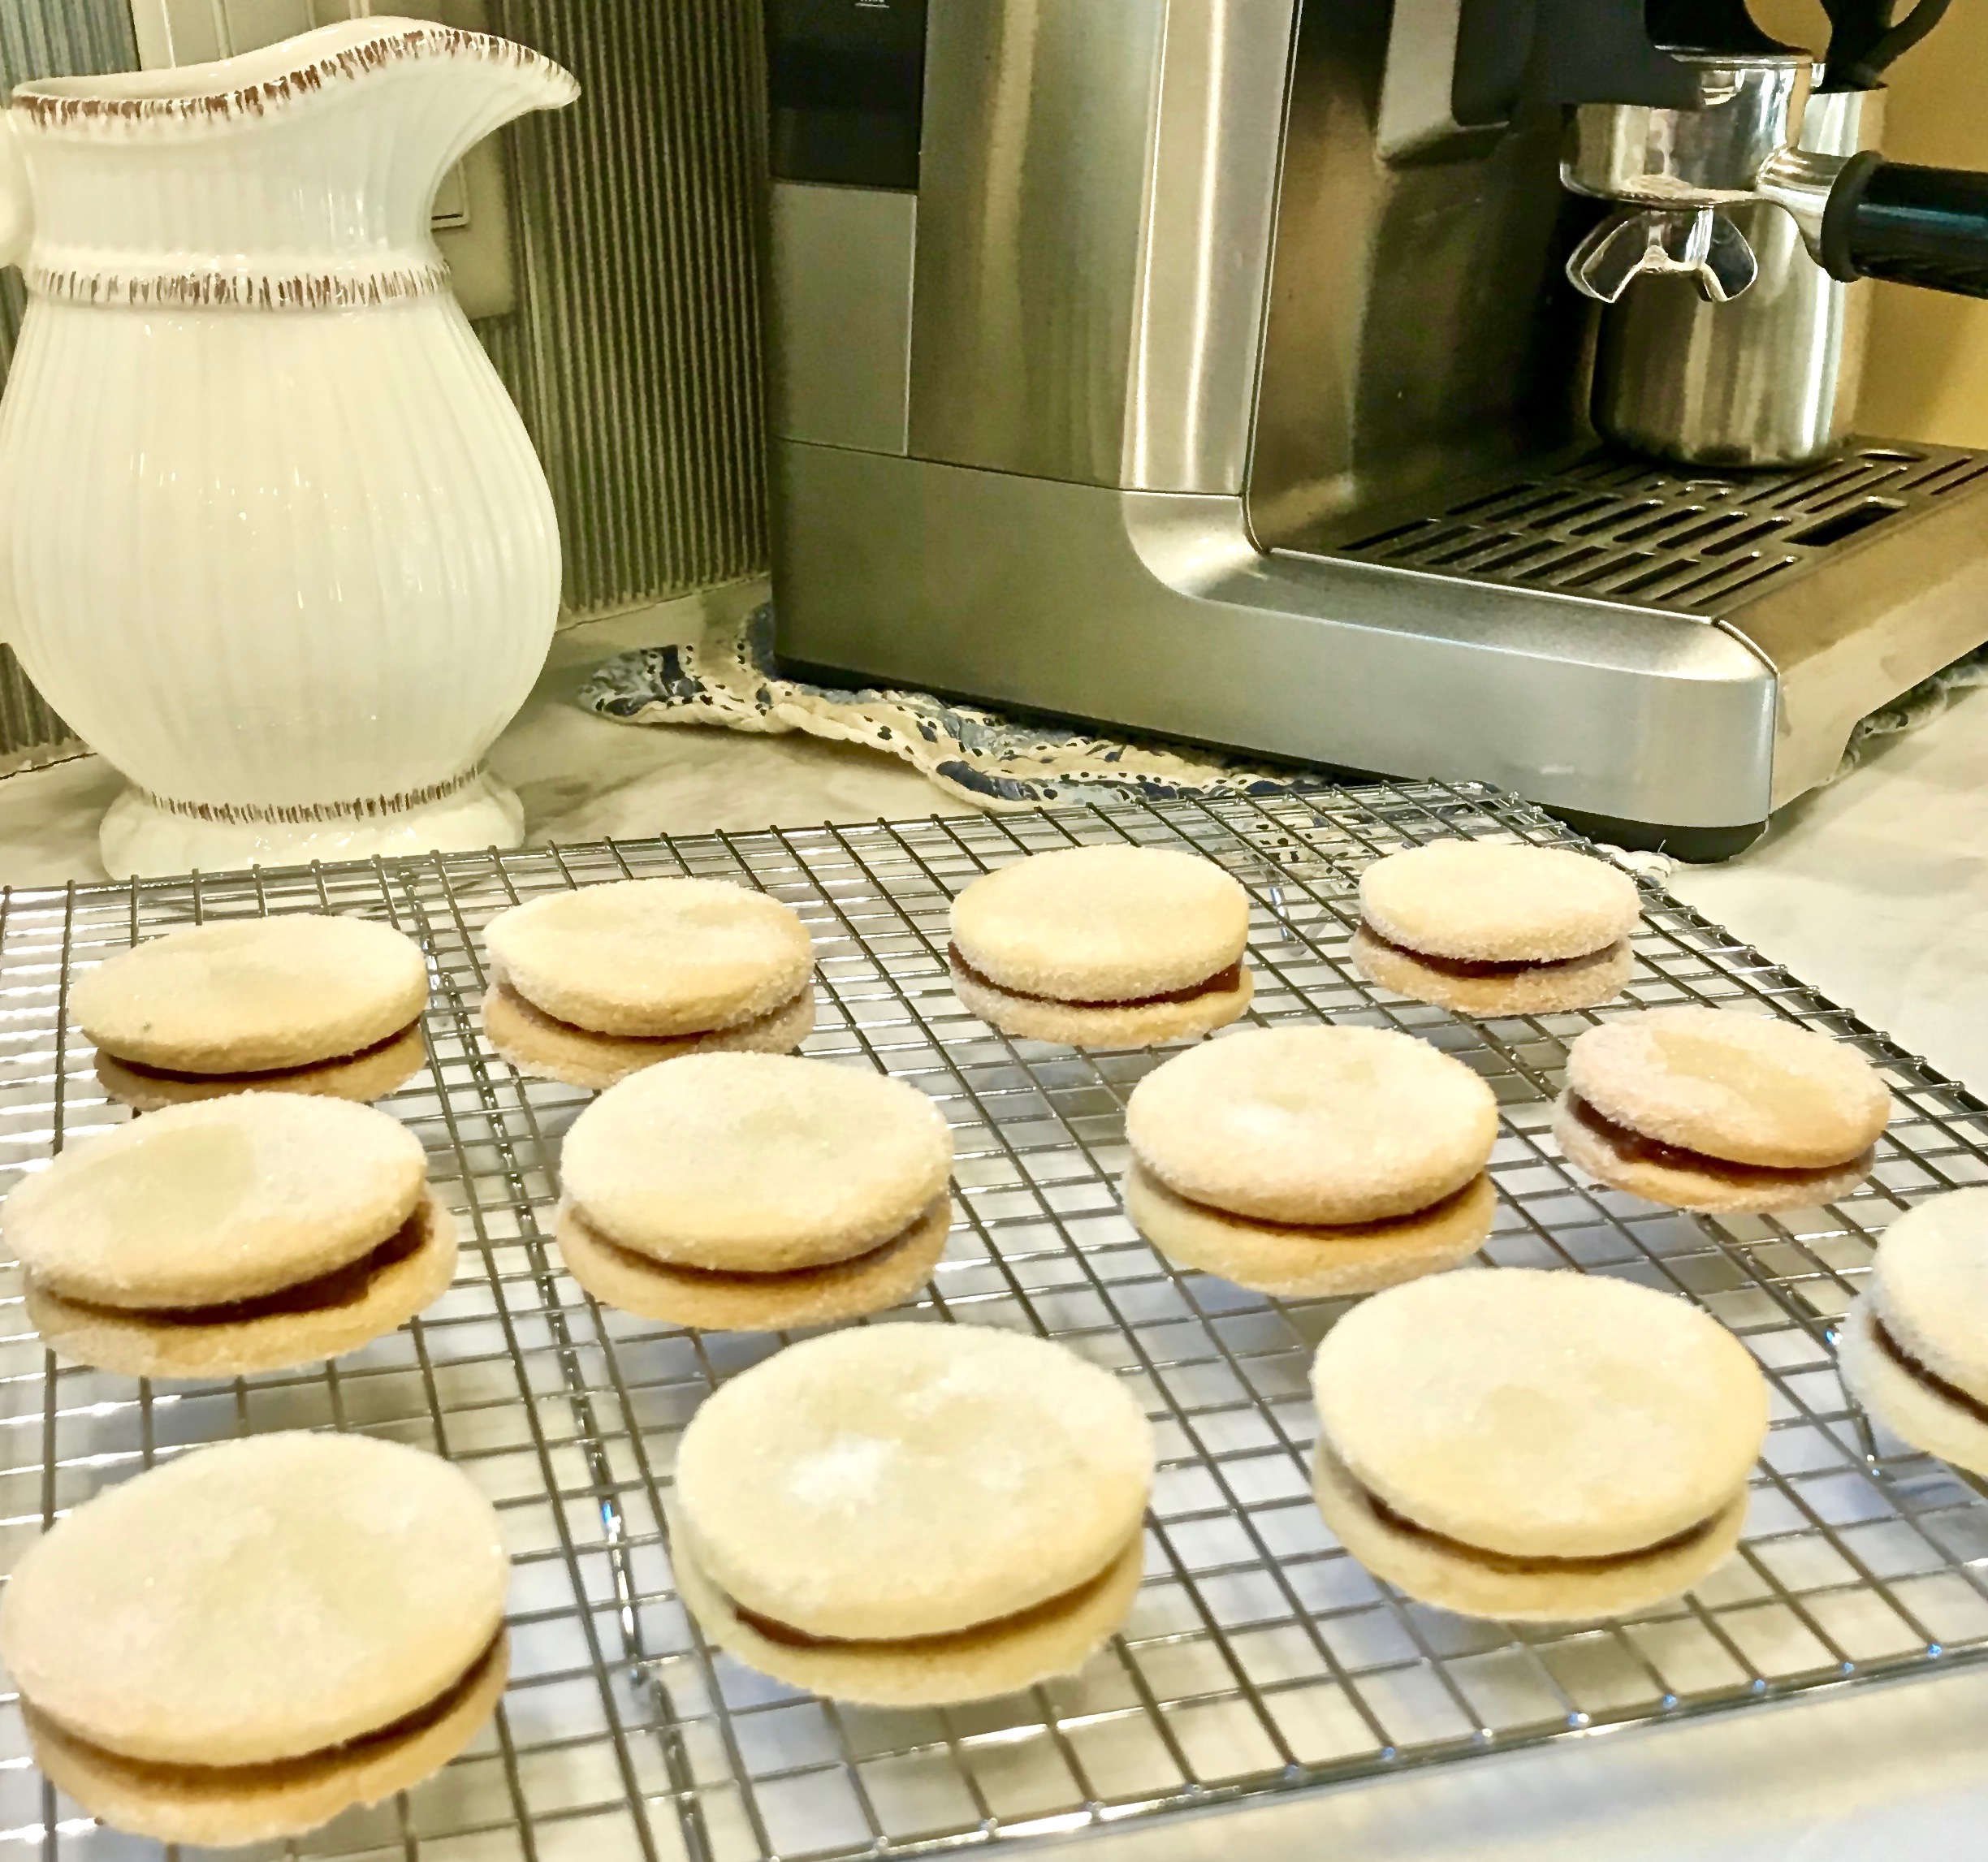
Although everyone’s definition of the “perfect cookie” is different, I challenge anyone to disagree with my assessment. They are “that good!” And, for all you cookie enthusiasts, these cookies are a portable meal. After all, they are a “sandwich”. 

Most of us love a good sugar cookie.  This recipe takes the sugar cookie to a whole new level. With the addition of the almonds and raspberry preserves, another dimension of flavor and texture emerges, making them truly addicting. As the author notes, “it gives them a rich melt-in-the-mouth texture.” These cookies are easy to prepare and should definitely be on your “must try” list. They are perfect to make for the upcoming holidays. Just remember to leave some for everyone else.

This recipe is courtesy of The Perfect Cookie, by America’s Test Kitchen. It will make about 24 sandwich cookies that your family and friends will quickly devour.

Ingredients for Almond-Raspberry Sandwich Cookies

2 cups (10 ounces) all-purpose flour
1 1/4 cups slivered almonds
1/2 cup (3 1/2 ounces) granulated sugar, plus 1/2 cup for coating
16 tbsp. unsalted butter, cut into 1/2-inch pieces and chilled
1 tsp. vanilla extract
1/2 cup raspberry jam

Adjust oven racks to upper-middle and lower-middle positions.

Preheat oven to 350.

Line 2 baking sheets with parchment paper.

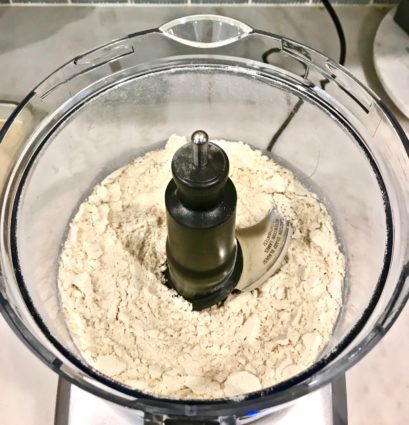
Process 1 cup of flour and almonds in a food processor until almonds are finely ground, about 1 minute.

Add 1/2 cup of sugar and remaining 1 cup of flour and process until combined.

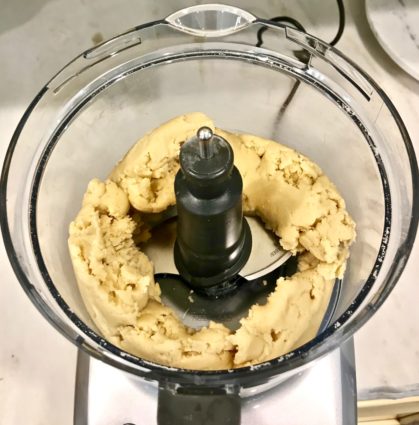
Add butter and vanilla and pulse until dough forms.

Transfer dough to lightly floured counter and roll into 1 inch thickness.

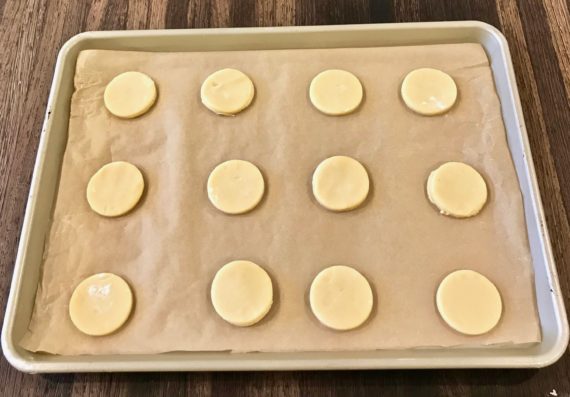
Using a 2-inch round cookie cutter, cut dough into circles; space circles 2 inches apart on prepared sheets.

Gently preroll scraps, cut into circles, and transfer to prepared sheets.

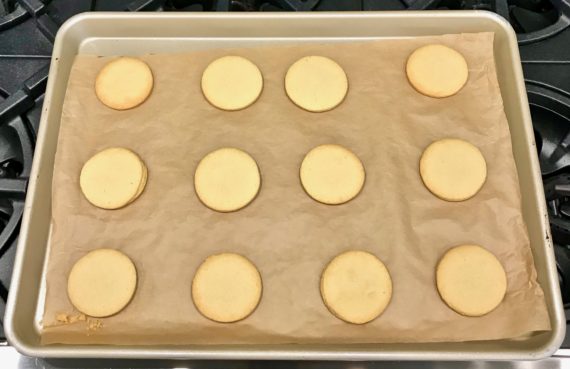
Bake until edges are light brown, about 15 minutes, switching and rotating sheets halfway through baking.

Let cookies cool on sheets for 5 minutes, then transfer to a wire rack.

Place remaining 1/2 cup of sugar in a bowl.

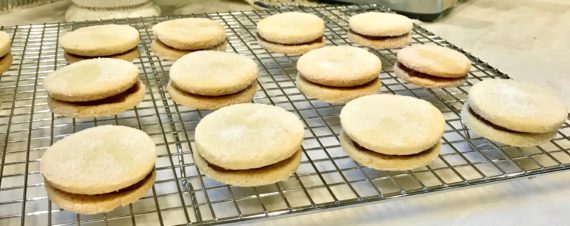
Working quickly, spread 1 teaspoon of jam over bottom half of warm cookies, then top with remaining cookies, pressing lightly to adhere.

Gently toss cookies in sugar to coat then transfer to a wire rack.

Let cookies cool completely before serving.

It’s that simple! 
signature

[recaptcha]