It is finally time to tend to my garden! I have been working on it for about 20 years now. I love to plant, it is so wonderful to watch flowers bloom and herbs flourish year after year.

I plant perennials every year in my yard. Why? Because many of them don’t come back like they are supposed to! When my garden begins to grow again, I have to take note of all the bare spots. I don’t quite understand this phenomenon. Last year our garden was lush and beautiful, yet here spring is, and I see those annoying bare spots that must be filled. Although I intentionally plant flowers that are meant to return with the good weather, I still end up spending the same amount of time and attention on my garden every year.

I really don’t mind, because I do love taking trips to the plant nursery. The one that I go to near my house is gorgeous, and I enjoy every minute I get to visit it. I just wish I knew their secrets!  I will keep you updated with pictures of my garden while it is growing. I go out there every morning to check on it and marvel at how lovely and sweet smelling it becomes. 

Speaking of sweet, summer is rapidly approaching, which usually means lightening up your diet a bit, but you have to give into your sweet cravings once in a while! This is the perfect recipe for transitioning into everyone’s favorite season.

The crust tastes light, yet it is rich with flavor and is the perfect home for the nutty, candied topping. The filling has just the right amount of sweetness with the combination of brown sugar and butter. The corn syrup adds that sticky, melt in your mouth perfection. Each bite is better than the last. I’ll bet you can’t eat just one. And, although the recipe calls for the flakey salt as optional, do not leave it out! It is the crown of these delicious bars. Trust me, you are missing out on something really special if you don’t indulge.

This recipe is courtesy of The Perfect Cookie, by America’s Test Kitchen. It will make 24 bars that people will be going “nuts” for!

Ingredients for Ultra nutty Pecan
Crust:

1 3/4 cups all-purpose flour
6 tbsp. granulated sugar
1/2 tsp. salt
8 tbsp. unsalted butter, melted
Ingredients for Topping:

3/4 cup packed light brown sugar
1/2 cup corn syrup
7 tbsp. unsalted butter, melted and hot
1 tsp. vanilla extract
1/2 tsp. salt
4 cups (1 pound) pecan halves, toasted
1/2 tsp. flake sea salt (optional)

For the crust:

Adjust oven rack to lowest position and heat oven to 350°F.

Make foil sling for 13 by 9-inch baking pan by folding 2 long sheets of aluminum foil.

First sheet should be 13 inches wide, the second sheet should be 9 inches wide.

Lay the sheets of foil in pan perpendicular to each other, with the extra foil hanging over pan.

Push foil into corners and up the side of the pan, smoothing foil flush to pan.
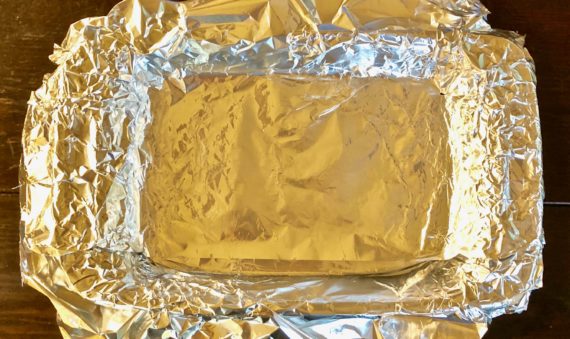
Grease foil.

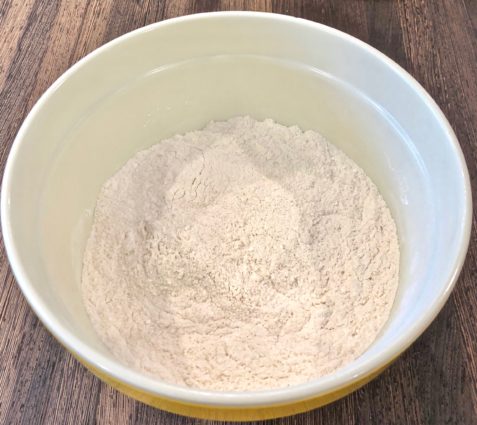
Whisk flour, sugar and salt together in bowl.
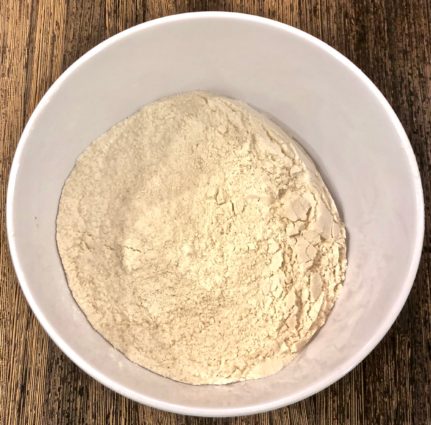
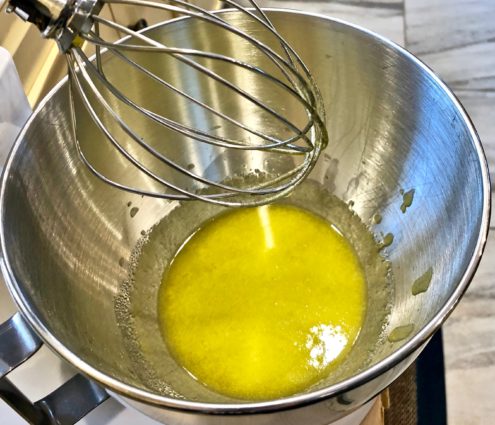
Stir in the melted butter with a wooden spoon until dough begins to form.

Using your hands, continue to combine until no dry flour remains and small portion of dough holds together when squeezed in palm of your hand.

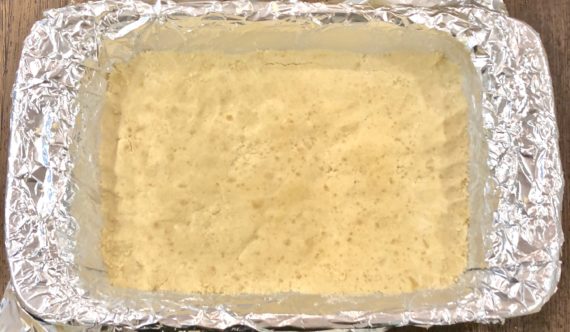
Evenly scatter 1-tablespoon pieces of dough over surface of pan.

Using your fingertips and the palm of your hand, press and smooth dough into an even thickness in bottom of pan.
For the topping:

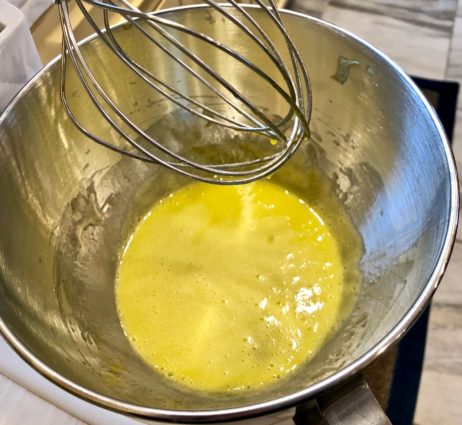
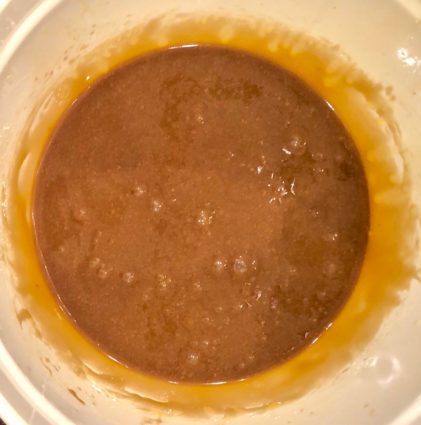
Whisk brown sugar, corn syrup, melted butter, vanilla, and salt in bowl till smooth (mixture will look separated at first but will come homogeneous), about 20 seconds.
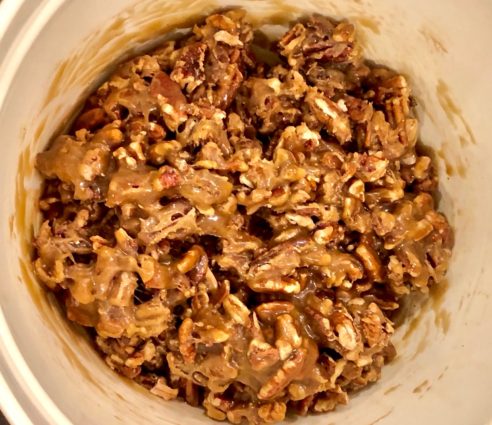
Fold pecans into sugar mixture until nuts are evenly coated.
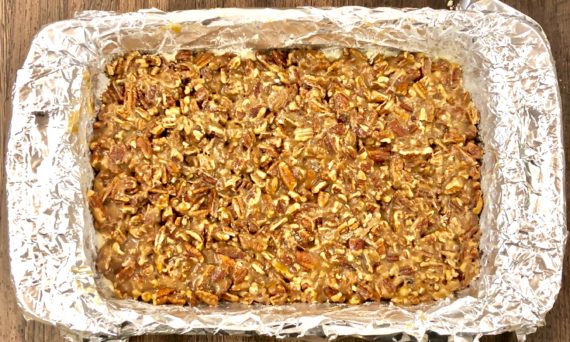
Pour topping over crust and spread into an even layer with spatula, pushing edges into corners. (there will be bare patches.)
Bake until topping is evenly distributed and rapidly bubbling across entire surface, 23 to 25 minutes.

Transfer pan to wire rack and sprinkle bars with sea salt, if using. Let bars cool completely in pan, about 1 1/2 hours.
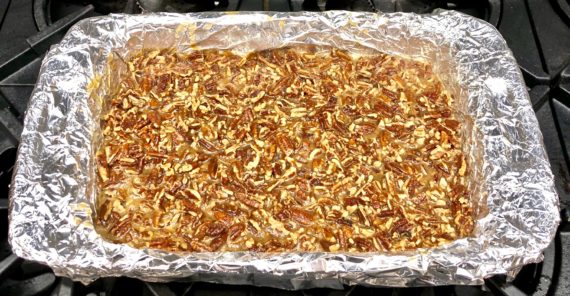
Using foil overhang, remove bars from pan. 
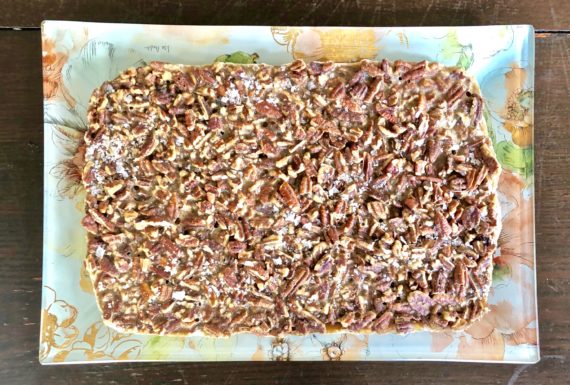
Cut into 24 pieces before serving. 

Bars can be stored at room temperature for up to five days.

It’s that simple! 

signature

[recaptcha]


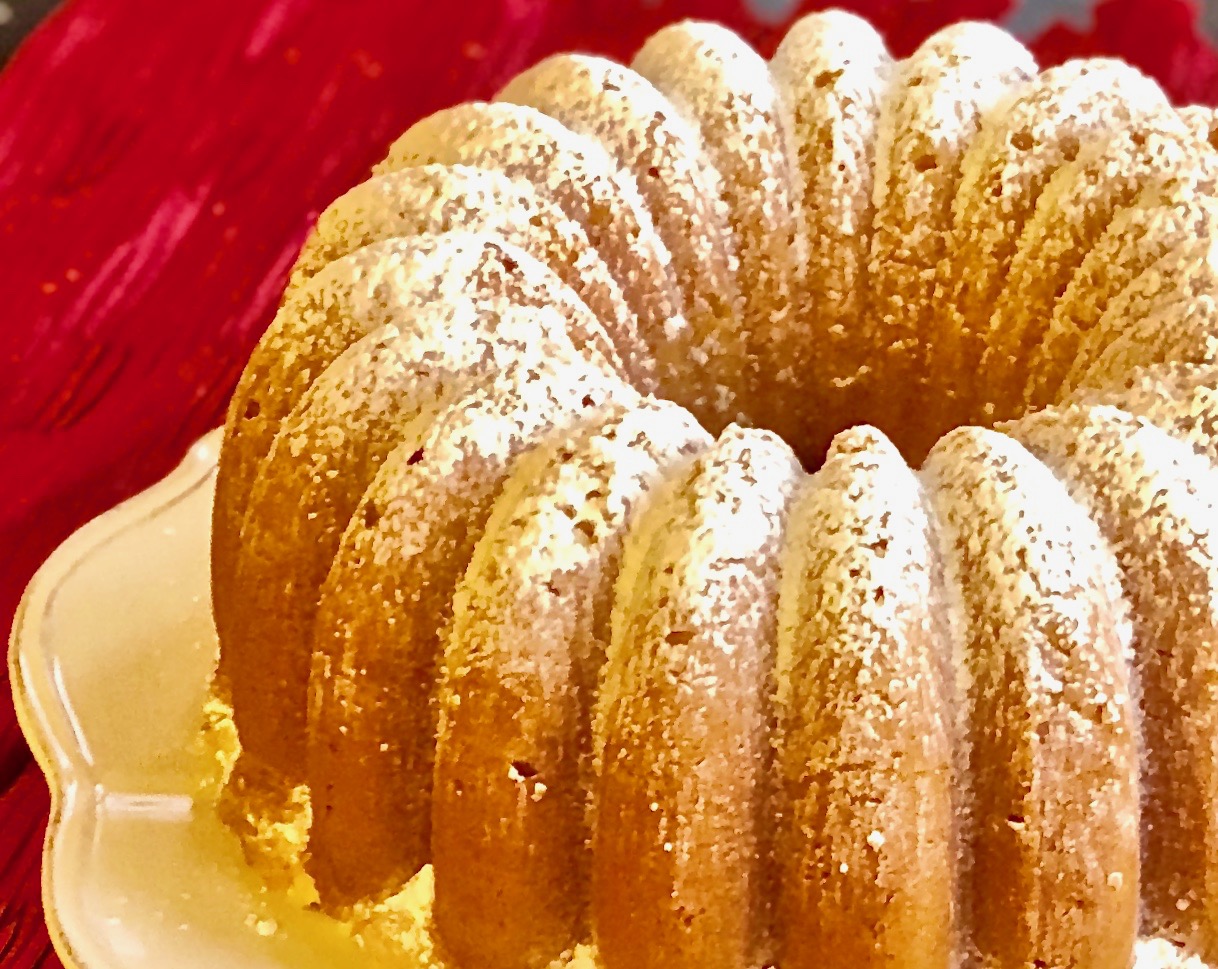
I think I have become obsessed with Bundt pans. Ever since I made my Blue Ribbon Butter Cake, and saw how beautiful it came out in that special Bundt pan, I have been purchasing them whenever I get the chance. Some of them are quite expensive, and I had to use all my willpower not to buy them! I am very happy with the ones I did buy, the cakes look stunning everytime.

Although my baking skills have become more sophisticated, I still tend to look for recipes that have minimal ingredients and are easy and fast to prepare. This one is as simple as it gets. Check it out; only six ingredients! Yet this cake comes out so moist and creamy. Every single bite is luxurious and oh, so satisfying. This is definitely a crowd pleaser. Bring it to a friend’s house for dinner and they will think you spent hours preparing it. This cake takes some time to cook, but it is so worth the wait.  

There is no excuse not to make this cake! If you don’t have a pretty Bundt pan, no matter, it will be beautiful and delicious whatever you bake it in. I sprinkled some confectioners’ sugar on it after it was done.

This cake is courtesy of Geniuskitchen.com and will serve 12 people who will be licking their lips with happiness.

Ingredients for Cream Cheese Pound Cake

1 (8 ounces) container of cream cheese
1 1/2 cups butter, softened
3 cups sugar
1 1/2 teaspoons vanilla
6 large eggs
3 cups flour

Preheat oven to 325°F.

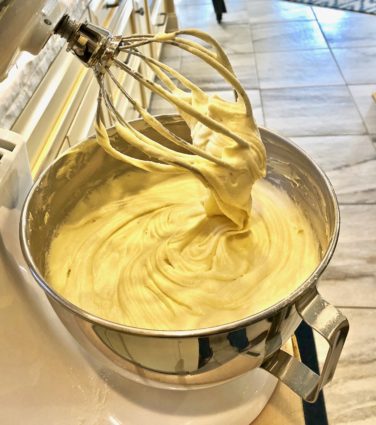
Beat butter and cream cheese for about 2 minutes.

Gradually add sugar beating another 5 minutes.

Add eggs, one at a time.

Beat just until yellow disappears.

Add vanilla.

Gradually add flour, mixing on LOW speed until blended.

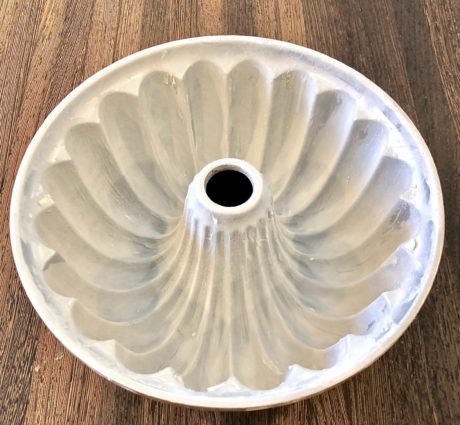
Grease and flour a 10-inch tube pan or Bundt pan.

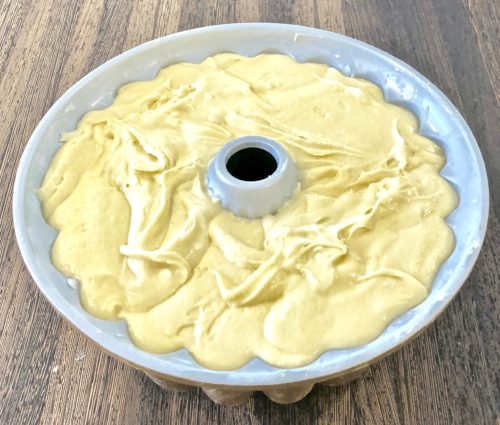
Pour mixture into bundt pan.

Bake for 90 minutes or until center comes out clean.

It’s that simple!
signature

[recaptcha]


I love anything baked with olive oil as the main ingredient because oil-based desserts are always so moist and enticing. From the moment I saw this recipe, I knew I was going to make these cookies over and over again.

Most of us love a good sugar cookie. This recipe takes the sugar cookie to a whole new level. The addition of the olive oil adds a savory taste to these delectable cookies. Like many of my simple recipes, you probably have most of the ingredients you need to make these in your pantry.

I did not have fresh rosemary at that time, so I did not use it. Despite skipping over one ingredient, these sugary treats were still amazing! I must admit however, the fresh rosemary would have given the cookies another depth of flavor, and I wish I was able to experience the complexity.

My favorite part is how the olive oil gives them a rich melt-in-your-mouth texture. These cookies are easy to prepare and you should bump them up to the top of your to-do list. They are perfect to bring over to a friend’s house as a dessert, as they present beautifully. They look bakery-made and taste home-made, as they should. Make sure to whip up two batches of these, because they are going to go fast!

Go ahead and give these a try. I know you will be happy you did.

Please don’t forget to sign up for my newsletter so you never miss a recipe!

This recipe is courtesy of The Perfect Cookie. It will make 24 cookies that your family and friends will quickly devour.

Ingredients for Cornmeal Olive Oil Cookies

1 1/2 cups all-purpose flour
1/2 cup cornmeal
1 tsp. baking powder
1/4 tsp. salt
1/2 cup granulated sugar
1/2 cup olive oil
2 eggs
1 tsp. minced fresh rosemary
1 cup confectioners’ sugar, plus extra as needed

Adjust racks to upper-middle and lower-middle positions.

Preheat oven to 375°F.

Line 2 baking sheets with parchment paper.

Whisk flour, cornmeal, baking powder, and salt together in a bowl.

Whisk granulated sugar and oil together in large bowl or food processor.

Whisk in eggs and rosemary until smooth.

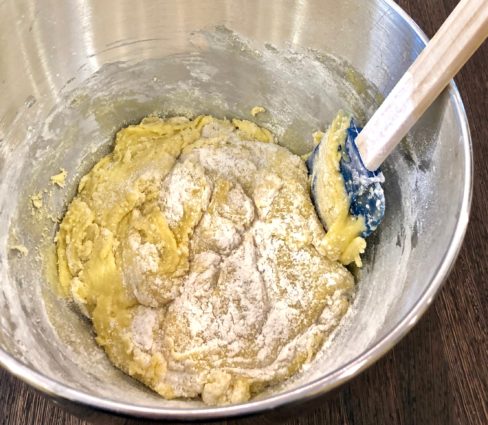
Using a rubber spatula, gently stir in flour mixture until soft dough forms.


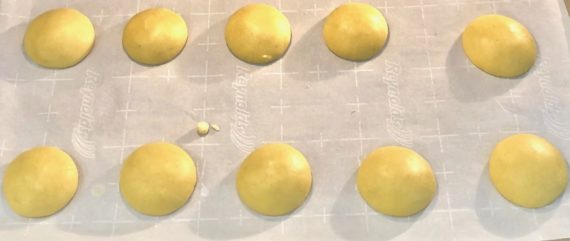
Drop 1 tbsp. portions of dough onto prepared sheets, spaced 2 inches apart.

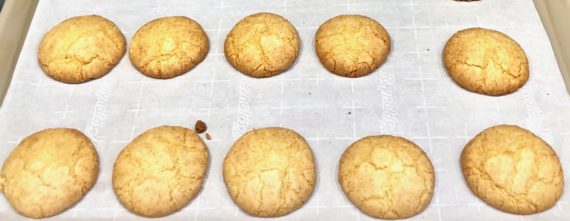
Bake cookies until edges are slightly golden and centers are puffy and split open, about 13 minutes, switching and rotating sheets halfway through the baking.

Let cool on sheets for 5 minutes.

Meanwhile, spread confectioners’ sugar in a shallow dish.

Working with several warm cookies at a time, roll in sugar to coat.

Before serving, dust with extra confectioners’ sugar.

Serve warm or at room temperature.

It’s that simple!

signature

[recaptcha]


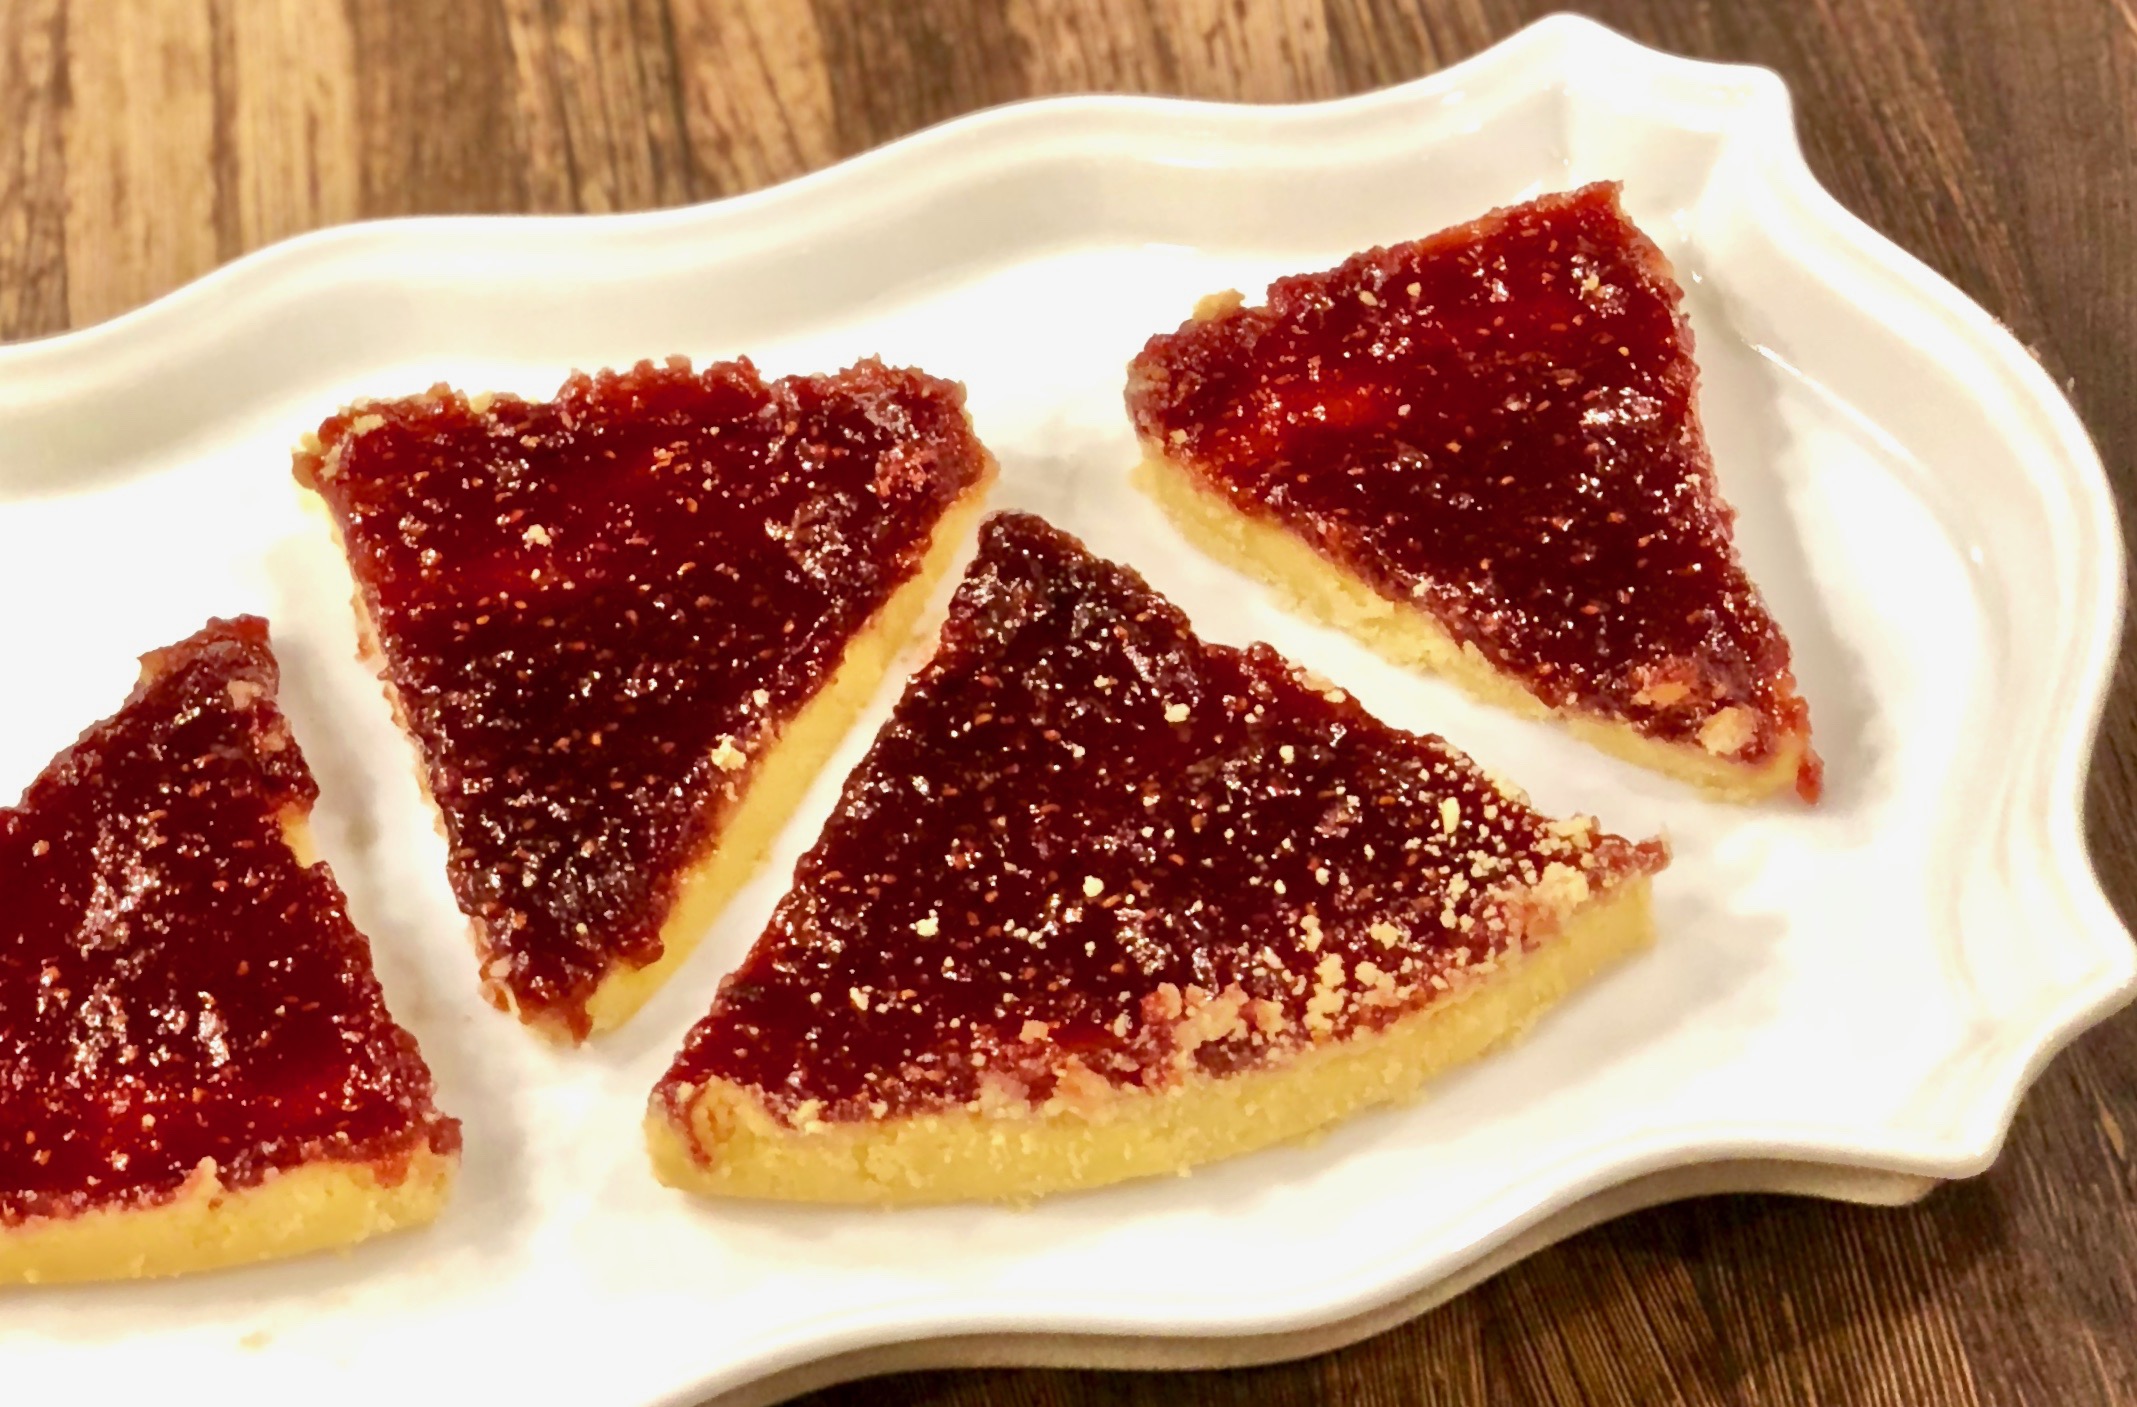
Do you think you have the willpower to eat just one piece of these shortbread bars? If you think you do, chances are you will realize you were wrong while reaching for a second serving. These are one of the most addictive bars I have ever made. There are just four ingredients, they are delicious, easy and quick! Anyone can make them, and I guarantee everyone will enjoy them!

The author of this recipe adapted it from her grandmother. She calls it “the easiest, most foolproof recipe in the world”.

In the original recipe, three simple ingredients are combined to make the dough. They also give you an option to add your favorite fruit preserves, which I did. If you stick to the classic they call it “shortbread”; if you add the preserves they call it a “fruit bar”. Regardless of what you chose to add or call them, these bars are simply delectable. The dough comes together smoothly, and the brown sugar gives it a subtle, warm caramel flavor. Add your favorite preserves and you have perfection. They make a great gift too, because of their presentation and size. I sent a batch to my husband’s office and they loved them.

I spend hours pursuing my cookbooks to find the absolute best, simple recipes to share with you. I think I hit a home run with this one! There is no excuse not to make these bars. They are perfect for breakfast, as a snack or dessert.

This recipe is courtesy of “Food 52” and will make 16 pieces, but everyone will love them so much you might want to double up the ingredients and make two batches!

Ingredients for Brown Sugar Shortbread

1/2 cup salted butter, at room temperature
1/4 cup light brown sugar
1 1/2 cups all-purpose flour
Jam or preserve of your choice

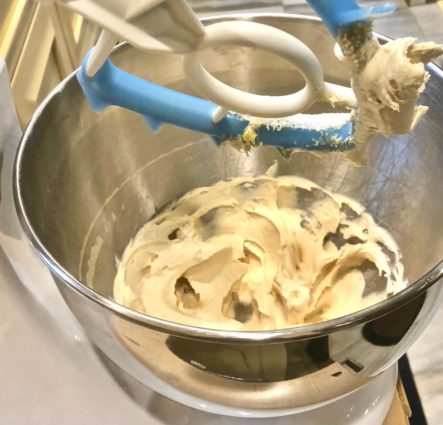
Using an electric mixer or creaming vigorously with a wooden spoon, beat the butter and sugar until fluffy and pale.

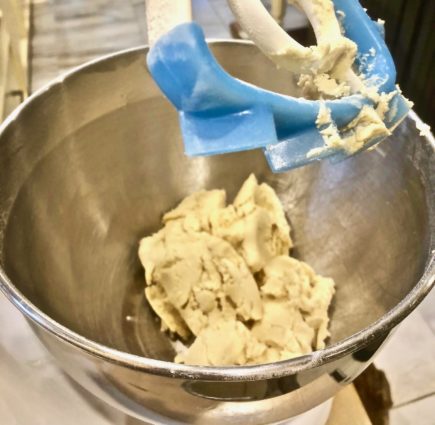
Add the flour and stir until incorporated.

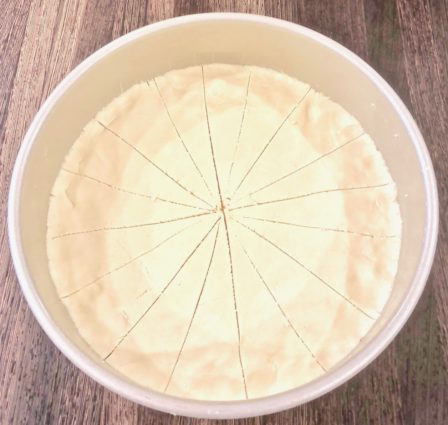
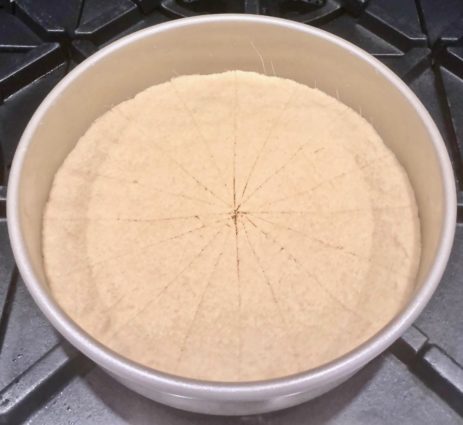
Transfer the dough to an 8-inch cake pan (square or round) and press it firmly with your fingers.

Prick the dough evenly across the surface with a fork.

If you are not going to add the preserves, score the dough into even columns or triangles, using a very sharp knife.

If you are going to add the preserves, you do not need to do this.

Cover with plastic wrap and refrigerate for at least 20 minutes before baking.

Preheat oven to 325°F.

Bake for about 25 to 30 minutes, until the dough is a light golden brown and the surface looks dry; watch carefully so it does not get too dark. 

(The shortchanged bread will get darker as it cools in the pan, so you’ll want to pull it out just before it has reached the desired color.)

Remove from the oven and immediately cut it using the scored lines as guides. Let cool in pan before separating the pieces.

If you are adding a preserve to it:

Bake the shortbread for 20 minutes, until it is the lightest shade of gold.

Remove from the oven and let it cool slightly.

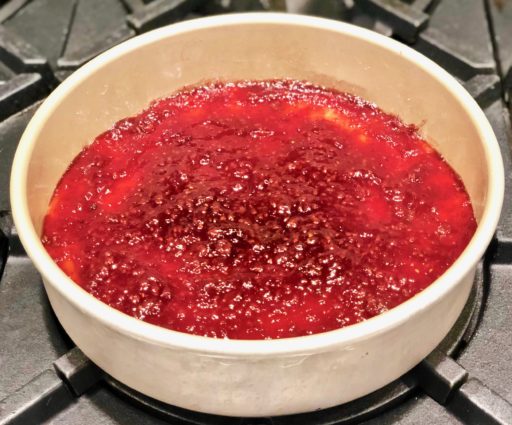
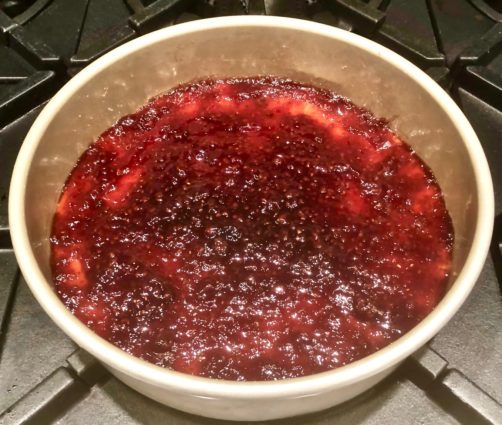
Spread your favorites fruit preserves over the top.

Bake for 10 to 15 minutes longer, until the jam is set.


It’s that simple! 
signature

[recaptcha]


When my younger son was a little boy, he always wanted to go to our local mall. Once we got there, he would run right to the store that made giant chocolate chip cookies that he loved. They were even bigger than a cake! Many parents chose them for their child’s birthday cakes, because they were so popular with the kids. 

Recently, my son happened to be looking through one of my cookbooks. When he saw this chocolate chip cookie recipe, he immediately requested that I make it. I think it brought back happy childhood memories for him. I was happy to oblige.

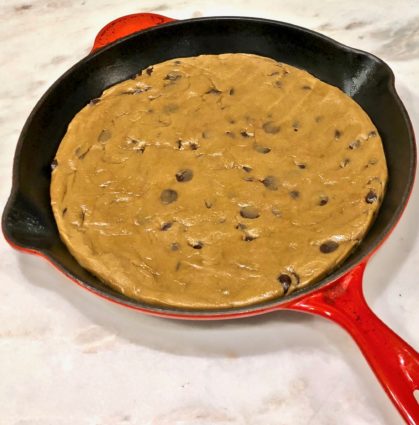
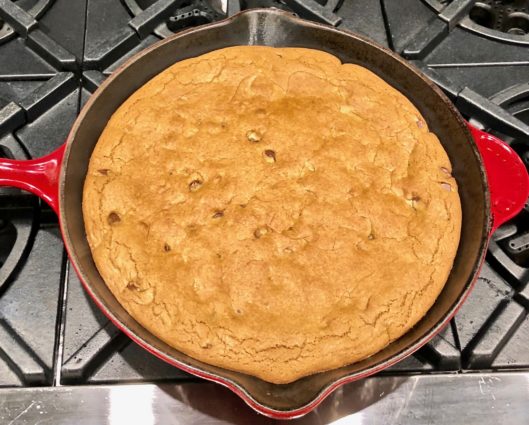
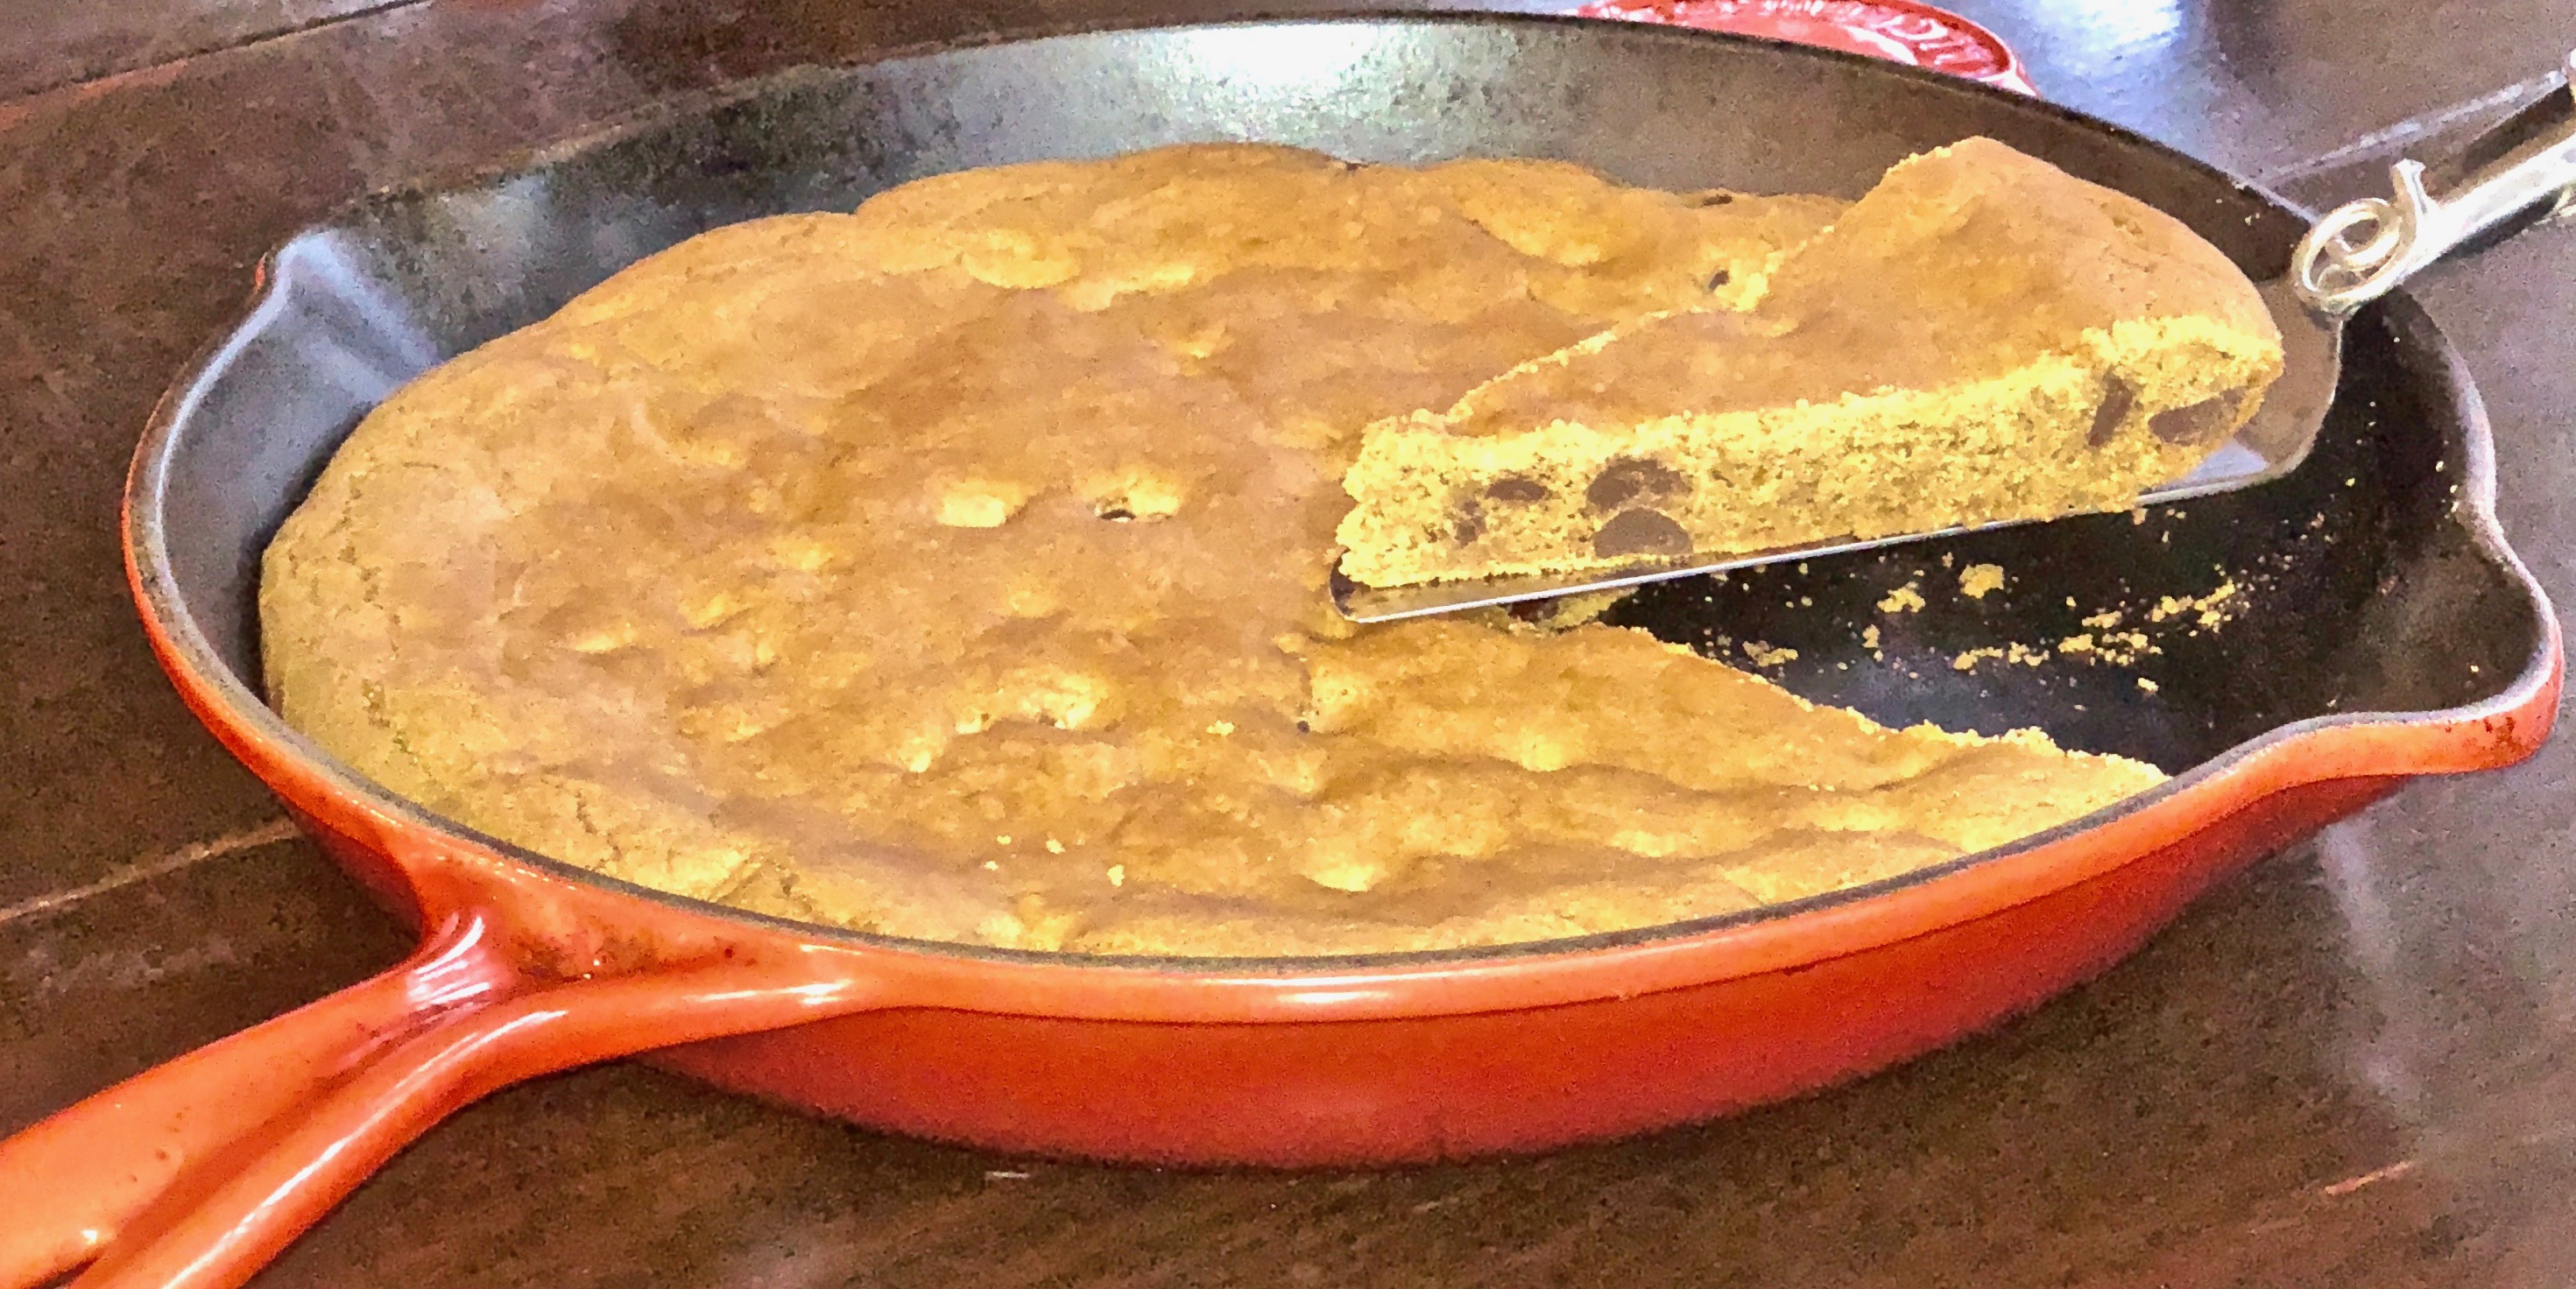
This cookie is made in a cast iron skillet. No mixer needed. No scooping out the dough. No cookie sheets. The skillet magically cooks the cookie so the middle has that ooey, gooey soft center and a crisp outer edge. The result is a perfectly baked cookie that is super easy to make, and even more luscious to eat. A big scoop of vanilla ice cream and a tall glass of milk and you are in heaven.

It doesn’t get better than this.

Don’t forget to sign up for my email so you don’t miss a recipe!

This recipe is courtesy of The Perfect Cookie and will serve 8 or more people who will be over-the-moon with delight!

Ingredients for Chocolate Chip Skillet Cookie

1 3/4 cups all-purpose flour
1/2 tsp. baking soda
12 tbsp. unsalted butter
3/4 cup packed dark brown sugar
1/2 cup granulated sugar
2 tsp. vanilla extract
1 tsp. salt
1 large egg plus 1 egg yolk
1 cup semisweet chocolate chips

Adjust oven rack to upper-middle position and heat oven to 375°F.

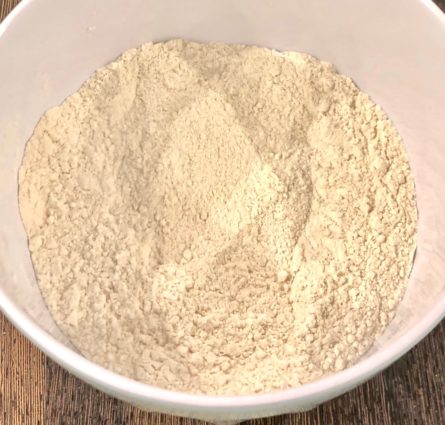
Whisk flour and baking soda together in a bowl.

Melt 9 tablespoons butter in a 12-inch cast-iron skillet over medium heat.

Continue to cook, stirring constantly, until butter is dark golden brown and has a nutty aroma, about 5 minutes.

Transfer browned butter to a large bowl and stir in remaining 3 tablespoons butter until melted.

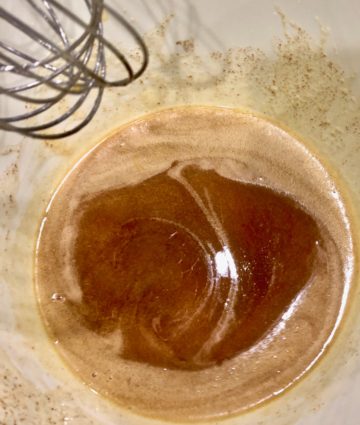
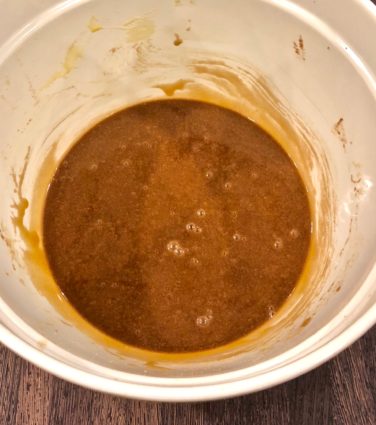
Whisk in brown sugar, granulated sugar, vanilla and salt until incorporated.

Whisk in egg and yolk until smooth with no lumps, about 30 seconds.

Let the mixture stand for 3 minutes, then whisk for 30 seconds. Repeat process of resting and whisking 2 more times until mixture is thick, smooth and shiny.

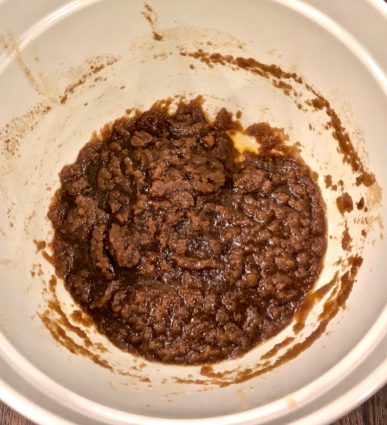
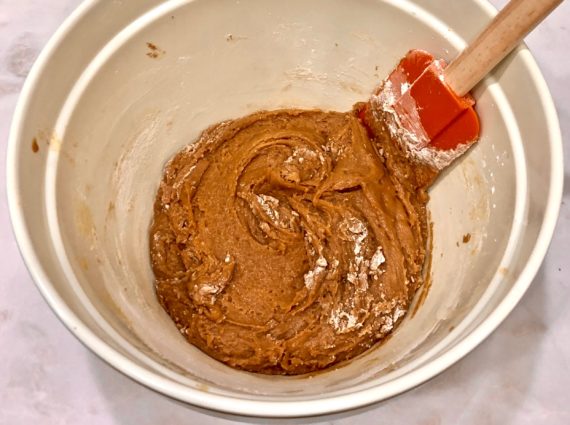
Using a rubber spatula, stir in flour mixture until just combined, about 1 minute. 

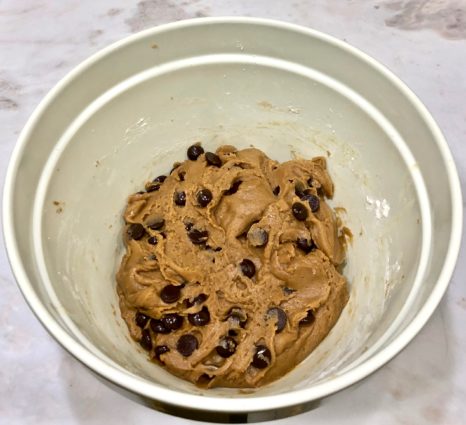
Stir in chocolate chips.

Wipe skillet clean with paper towels.

Transfer dough to now-empty skillet and press into even layer with spatula.

Bake until cookie is golden brown and edges are set, about 20 minutes, rotating the skillet halfway through baking.

Using potholders, transfer the skillet to wire rack and let cookie cool for 20 minutes.

Slice cookie into wedges and serve.

It’s that simple!
signature

[recaptcha]