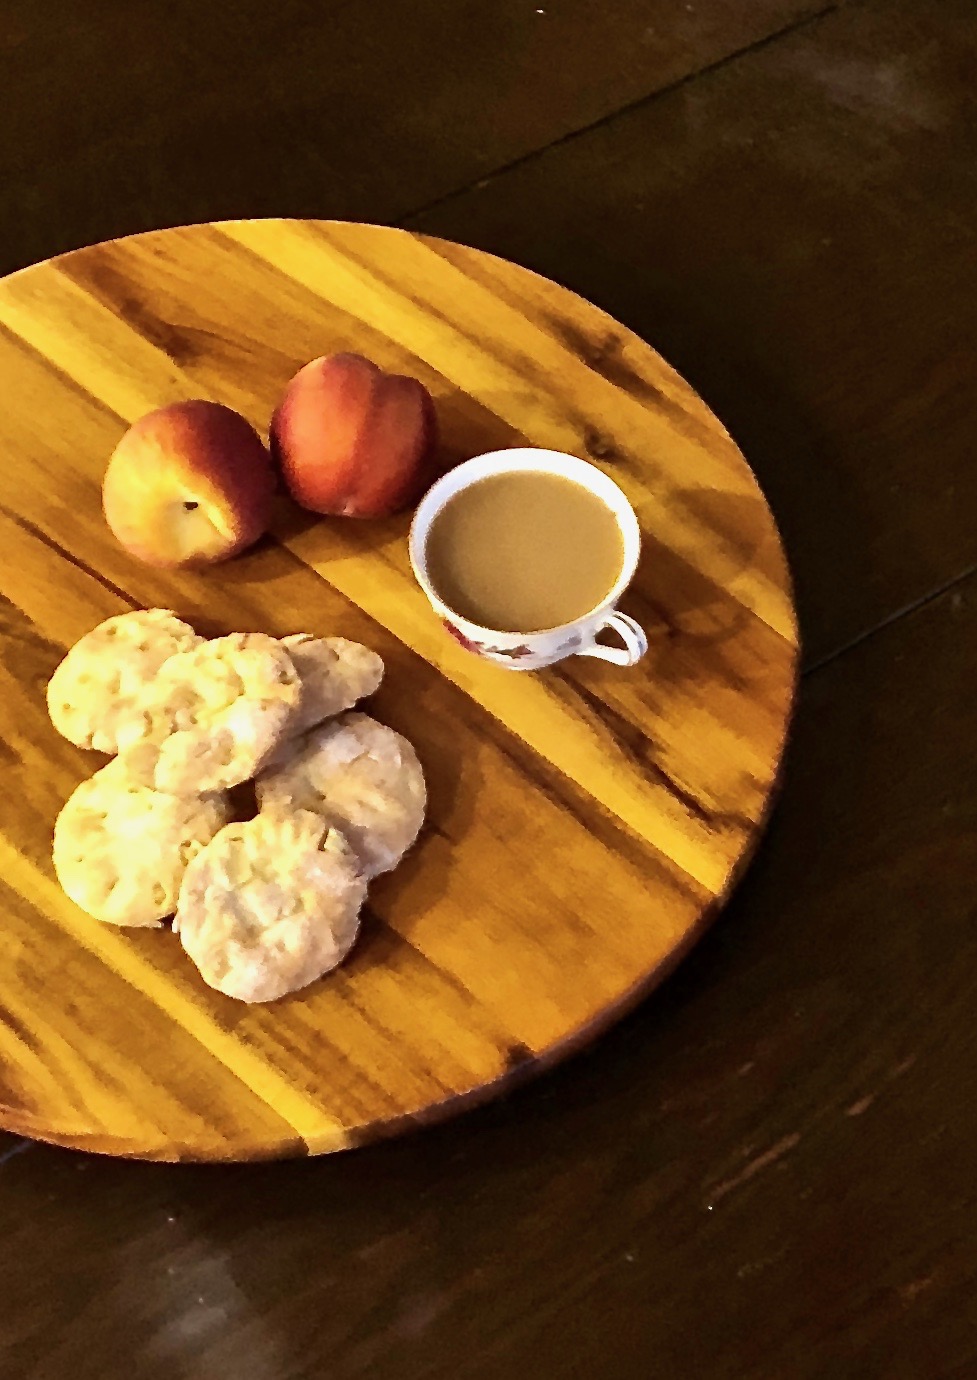
Nothing says summer more than peaches. They are still ripening during August, so it is the best time to buy them. These juicy, sweet treats are so delicious this time of the year. And the smell of them is mouth-watering. You know if a peach is perfectly ripe by first picking it up and smelling it. The peach should have a fruity, sweet smell. Then give it a little squeeze. It should not be too hard and just soft enough to give a little with your fingers.

There are many varieties of peaches, but they do not specify that in most grocery stores. Most stores label them as white or yellow peaches. The white ones have low-acidity sweetness, while the yellow ones have a tart sweetness to them. In most supermarkets, the peaches are picked early, before the sugars begin to develop. This is so they are able to withstand long-distance shipping. Farmer’s market peaches are locally grown, so they will taste sweeter and will be juicier than a store bought peach. When they are at the perfect peak of ripeness, they will have an exhilarating smell and an even more mind-blowing taste.

The lesson for all you peach-lovers? Make that trip to your local farmer’s market to purchase your peaches. They will be more flavorful, luscious and sweeter than the store bought ones. And they will most likely be cheaper as well.

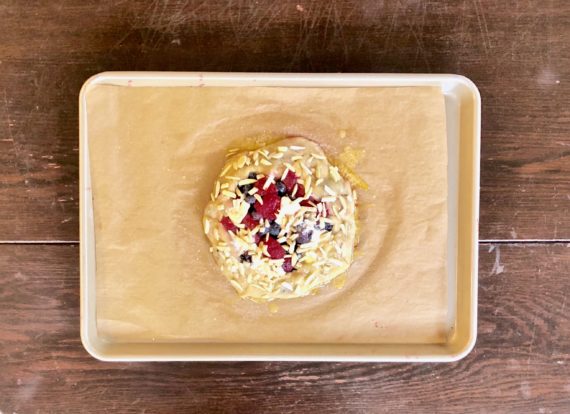
When peaches are cooked, they will warm and soften in your oven and their juice will congeal into a rich sweet syrup that will turn anything you make with them amazing. This is one recipe that does just that. I found the recipe on a King Arthur flour post from the internet. You can always find great recipes on the back labels of products. I modified this recipe to better fit my taste. I used two cups of peaches, and 1 teaspoon of almond extract. You wouldn’t think that such subtle changes would make a difference, but it did. The more peaches you use, the happier the recipe will taste. I should not have used their advice to make them round. I think they would have looked better in the traditional scone shape.

Whatever shape you chose, these scones will be perfect. The cooked peaches made these treats sweet and perfect for a summer treat. The almond extract gave them a savory flavor that added dimension and deliciousness. Placing the sugar on top furthered that extra bit of goodness in every bite. Don’t wait until it’s is too late to make these scones!

What are some of your favorite recipes found on the back of your grocery item? Please share them with me!

This recipe is loosely adapted from King Arthur Flour. it will make about 12 scones that will exhilarate and impress just about anybody!

Ingredients for Peach Scones

2 cups all-purpose flour
1/2 tsp. salt
1/4 to 3/4 ground nutmeg
1 tbsp. baking powder
6 tbsp. cold butter, cut into pieces
2 large eggs
1/3 cup full-fat or low-fat vanilla yogurt or sour cream
1 tsp. almond extract
2 cups fresh peaches, peeled and diced
Sugar, optional for sprinkling on top

Preheat oven to 375F.

Lightly grease a baking sheet, or line it with parchment paper.

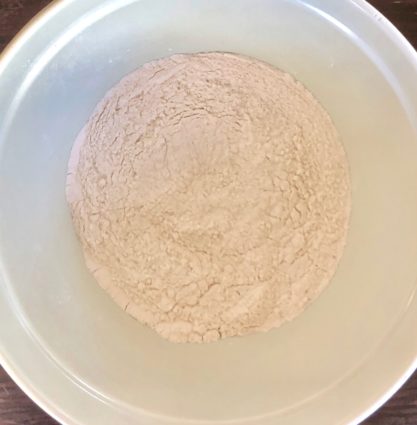
In a large bowl, whisk together the flour, salt, sugar, nutmeg, and baking soda.
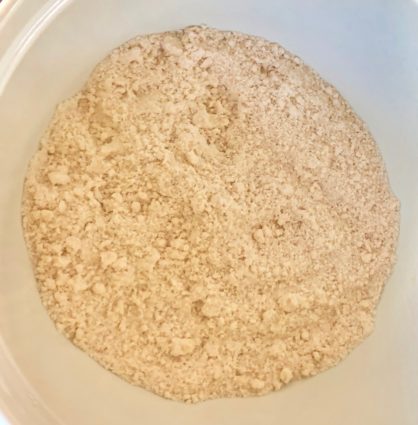
Work in the butter, using your fingers, a fork or pastry blender.
In a separate bowl, whisk together the eggs, yogurt or sour cream, and the almond extract.
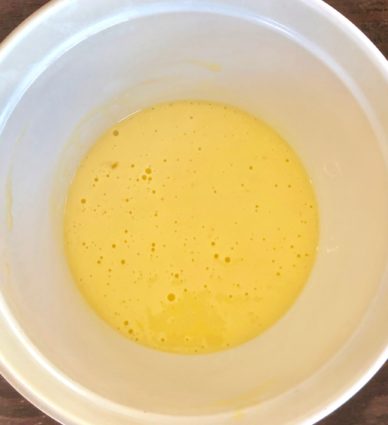
 

Stir the wet ingredients into the dry ingredients.

Add the peaches, stirring just until everything is combined.
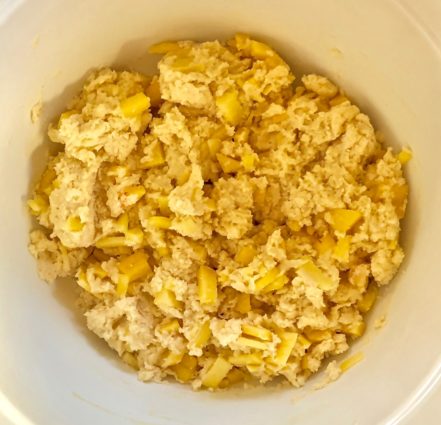
This is a wet, sticky dough.

Drop the dough by the 1/4-cupful onto the prepared pan; a muffin scoop works well here. 

Sprinkle the scones with coarse sugar, if desired.

Bake the scones for 20 to 30 minutes, until they’re light golden brown.

Remove them from the oven, and let them cool on the pan for a few minutes before transferring to a rack to continue cooling.

Serve warm, or at room temperature.

Store at room temperature, well-wrapped, for several days; freeze for longer storage.

It’s that simple!

signature

[recaptcha]


I remember when my husband and I moved into our home almost 25 years ago, (oh my!), he insisted on putting a pool in. I was not happy about that. First off, we had young children and you always worry about their safety, especially around a pool. Second, that just was not my first priority when it came to renovating our home. Well, he got his way and soon enough there were men coming daily to excavate our yard. They found a humongous tree trunk under our yard, which was an additional headache and expense. But in the end, we got our pool built and have enjoyed it tremendously throughout the years.

After children, the next step of course, were dogs. We love dogs and could never have just one at a time. For some reason, three seemed to be our magic number. We never had to worry about the dogs and the pool until we got our English Bulldog, Mazel. The summer after we got her, my husband had this premonition about her safety around the pool.

He was right. One early summer day when we had just opened the pool (her first time near it), and it was full of dirty disgusting water. We went out with the dog, just in case our concern for her safety was truly valid. Immediately, Mazel went running around and circling the pool in curiosity. Just as my husband yelled “Mazel don’t go in the pool”, she jumped right in. It was on purpose, too. You could tell that she knew. So, down she went. Swimming is no option for this large-headed dog. My husband jumped into the murky water, fully clothed, along with his watch, wallet, and glasses. He successfully rescued Mazel and his wallet, but his glasses and watch were in there until the water cleared. Mazel never went near the pool again.

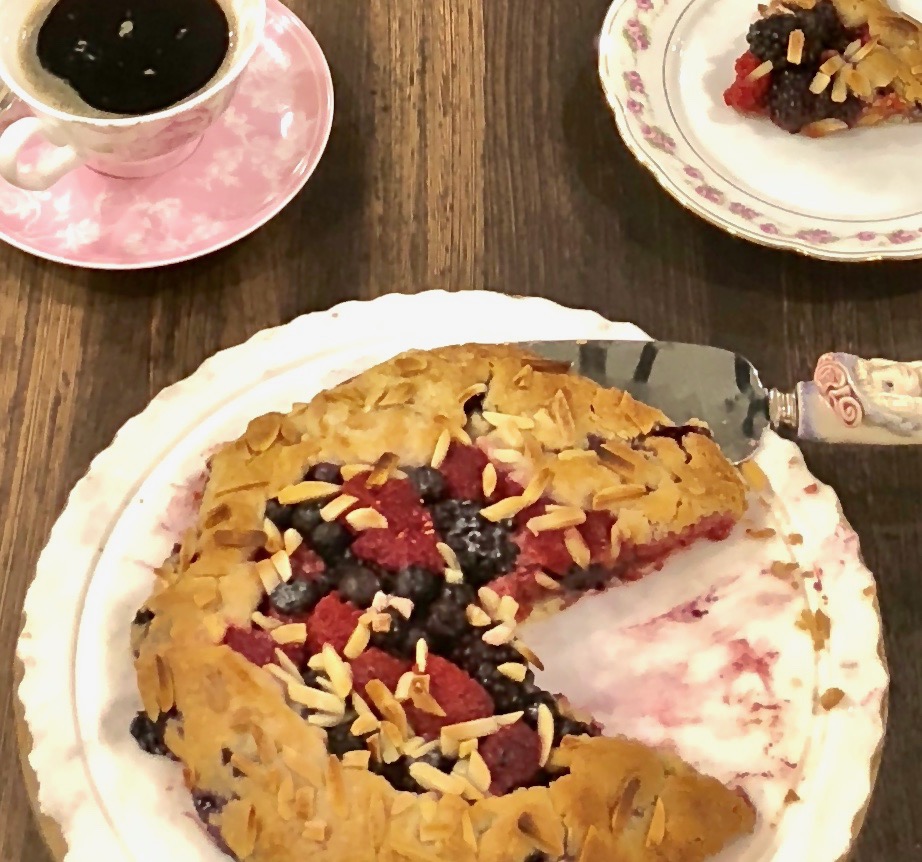
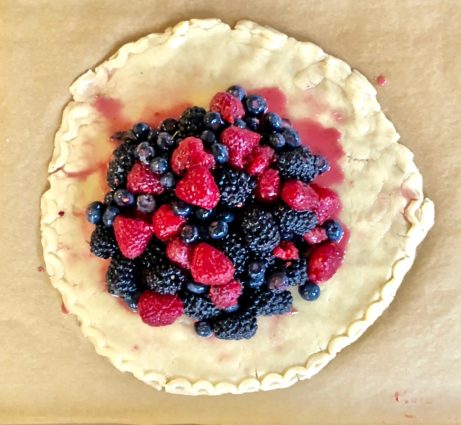
Now that everyone knows their boundaries, my whole family, including my dogs love to hang out by the pool. That being said, I think that a nice, fruity summer dessert to bring poolside is in order! This recipe is an excellent choice. The berries combined with the sugar are scrumptious. The crust provides the perfect home for this beautiful crostata. The almonds add a tasty crunch. I have to say this was my first time preparing a crostata. It was hard to perfectly fold the edges over the berries. There was a lot of leakage and breaks in the dough. So who says it has to be perfect? I managed to pull it off for the pictures, but mine did not look anything like the picture in the magazine. You shouldn’t worry about it. It was still undeniably delicious even though it wasn’t picture perfect.

This recipe is courtesy of Cuisine, and it will serve 8 people who will be thrilled to be sitting poolside eating this delicious treat!

Ingredients for Berry Almond Crostata

1 cup fresh blackberries
1 cup fresh raspberries
(I added some blueberries)
1/4 cup granulated sugar
2 tbsp. cornstarch
2 tsp. pure almond extract
1 purchased refrigerated pie crust
1 tbsp. unsalted butter, diced
1 tbsp. unsalted butter, melted
1 tbsp. sliced almonds
1 tsp. sugar

Preheat oven to 450°F.

Line a baking sheet with parchment paper.

Toss together blueberries, raspberries, granulated sugar, cornstarch, and the almond extract for the filling.

Arrange pie crust on prepared baking sheet.

Spoon filling into center of crust, leaving a 2-inch border.

Dot filling with diced butter.

Fold edges of dough over filling, leaving center exposed, and press any loose edges down.

Brush melted butter over crust; sprinkle with almond and sugar.

Bake crostata until golden brown, 20 minutes.

Cool crostata until filling is set, at least 10 minutes.

It’s that simple!
signature

[recaptcha]


You have to admit when you saw the title of this recipe you were intrigued. These cookies were a first for me, I had never heard of a cookie made with potato chips. So I got right to it and made them, pronto. The author says that they have been around for a long time, published on the back of some potato chip bags. None of them were very good in their opinion, but felt they had potential. They tried to design a new potato chip cookie that met their high standards.

Apparently, when using regular potato chips, the taste of oil was too prominent and turned the edges too dark. I used regular organic kettle baked potato chips and they looked and tasted pretty damn perfect. But feel free to use the reduced fat kind if you choose to. The authors recommend Cape Cod 40% Reduced Fat Potato Chips. 

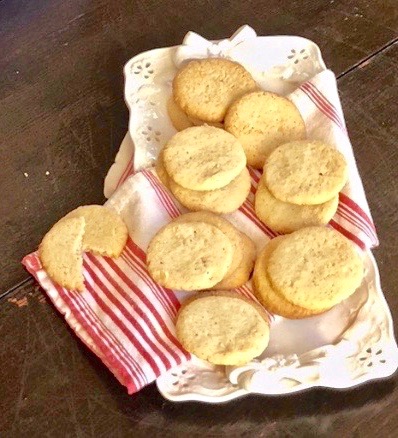
I love these cookies. The potato chip taste does not overrun the cookie, in fact, there is a perfect amount of salt and sweet that keeps you reaching for “just one more”. When they are done baking, you will have super thin cookies with an outstanding crunch. These taste-bud teasing cookies are perfect to bring to any summer party, but you’re going to want them all for yourself. I promise they will not disappoint!

This recipe has been created by Sarah Wilson and Chris Dudley, courtesy of Cook’s Illustrated Magazine, one of my favorites. They test recipes so carefully, you can always be assured of a perfectly scrumptious outcome. It will make 24 cookies that all potato chips devotees will be thrilled to indulge in when their sweet tooth acts up. 

Ingredients for Potato Chip Cookies

3/4 cup all-purpose flour
1 1/2 ounces reduced-fat potato-chips, crushed fine, 91/2 cup 
1/4 cup pecans, toasted and chopped fine
1/4 tsp. salt
8 tbsp. unsalted butter, cut into 8 pieces, softened but still cool
1/4 cup granulated sugar
1/4 cup confectioners’ sugar
1 large egg yolk
1/2 tsp. vanilla extract

Adjust oven rack to middle position and heat oven to 350°F.

Line 2 baking sheets with parchment paper.

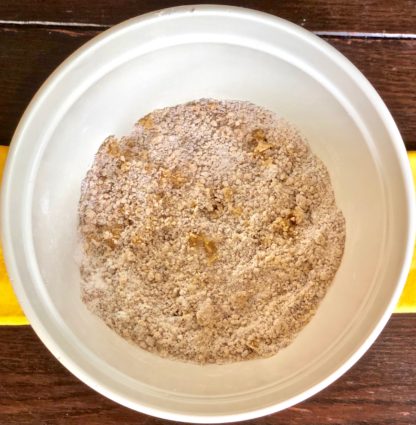
Combine flour, potato chips, pecans and salt in bowl.

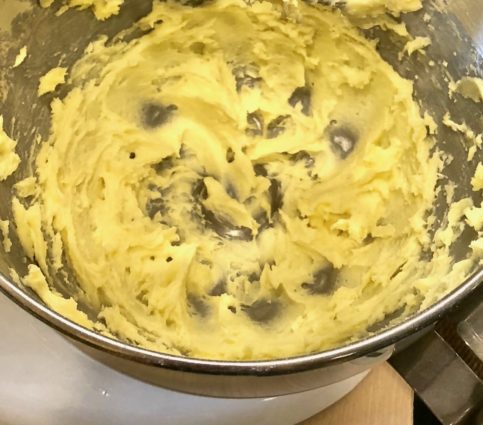
Using a stand mixer fitted with the paddle, beat butter, granulated sugar and confectioners’ sugar on medium-high speed until pale and fluffy, about 3 minutes.

Add egg yolk and vanilla and beat until combined.

Reduce speed to low and slowly add flour mixture in 3 additions.

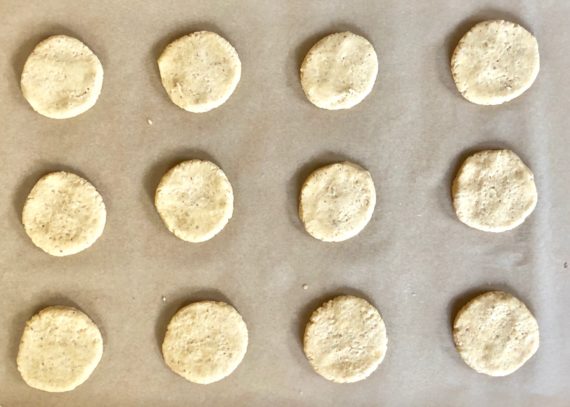
Roll dough into 1-inch balls and space them 3 inches apart on prepared sheets.

Using a floured dry measuring cup, press each ball 1/4-inch thick.

Bake cookies, 1 sheet at a time, until just set and lightly browned on bottoms, 10 to 13 minutes, rotating sheet halfway through baking.

Let cookies cool completely on sheet, about 15 minutes, before serving.

Cookies can be stored in airtight container at room temperature for up to 2 days.

It’s that simple!
signature

[recaptcha]


This is my most favorite time of the year.  All the dark, cold days of winter have passed, and summer is here. The once bare trees have blossomed, filling the warm air with their perfumes. The grass is once again plush and a beautiful shade of green. The flowers are starting to reach for the sky and fill each yard with every vibrant color you can imagine. Everything looks so lovely and charming. The temperature outside is perfect.

The bees float from flower to flower in search of honey. There are adorable butterflies to watch flutter to and fro. You can hear the sounds of the birds chirping happily in melody. There is so much to love about spring and summer. People are outside, walking, biking and running. I definitely have Spring fever, and it carries over until the Fall comes around.

Did you know that “spring fever” originally referred to an actual illness? When the weather turned warm, people would develop headaches, stuffy noses or sore throats. Then “spring fever” changed in meaning and it was used to describe newfound affections. Elvis uses it in one of his songs to describe this romantic feeling. Now it is used to describe a restless feeling after a long, dreary winter. 

We usually use the summer to lighten up our diet. Salads, fruits, and vegetables become our diet regimen. But let’s be real here…we have to sneak in dessert once in awhile.

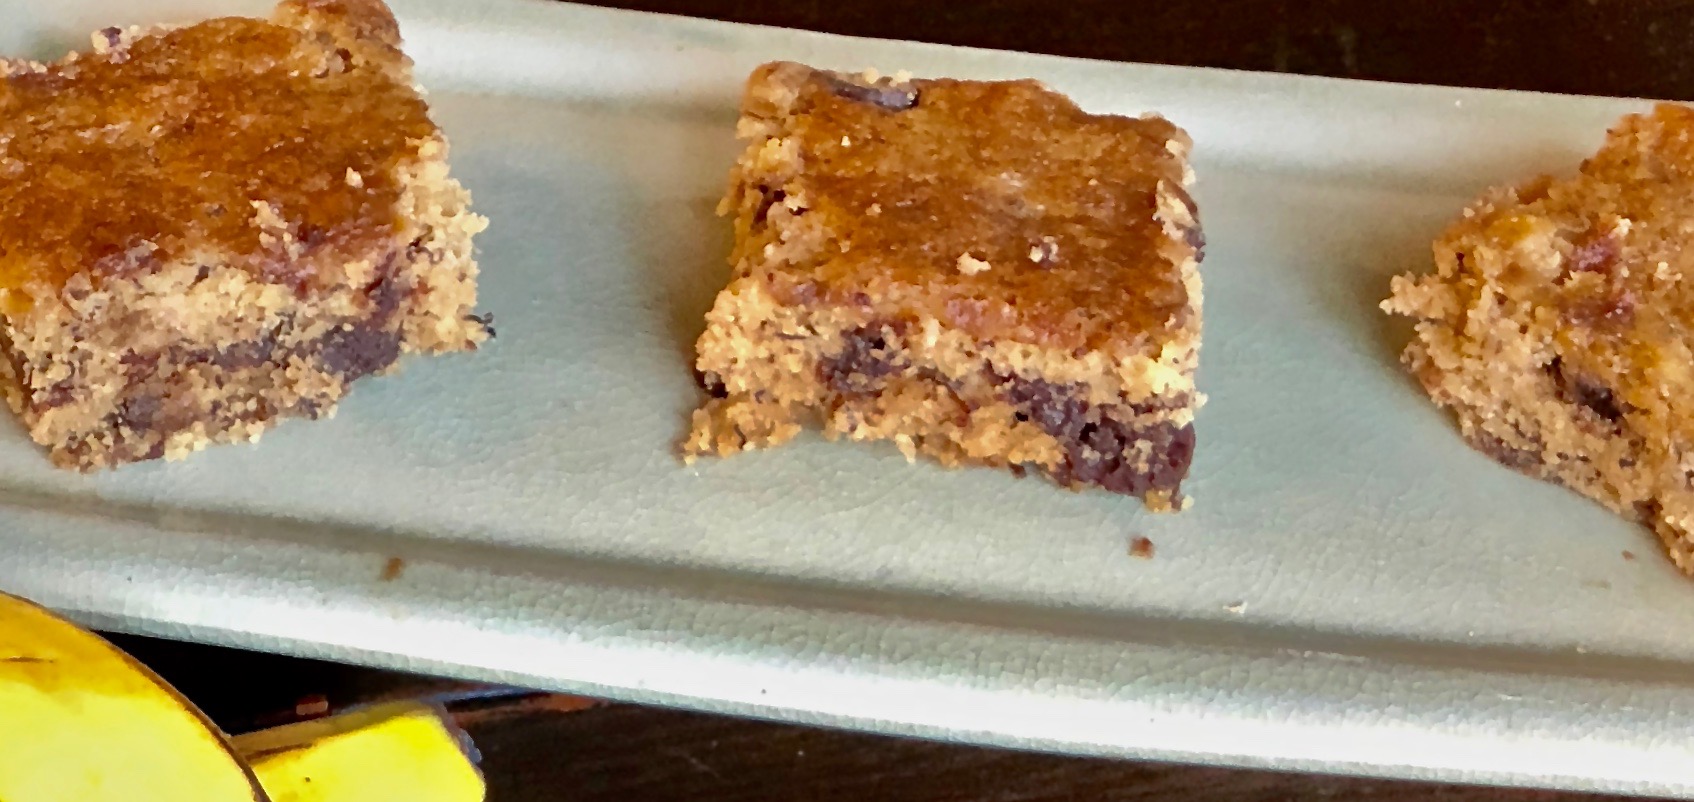
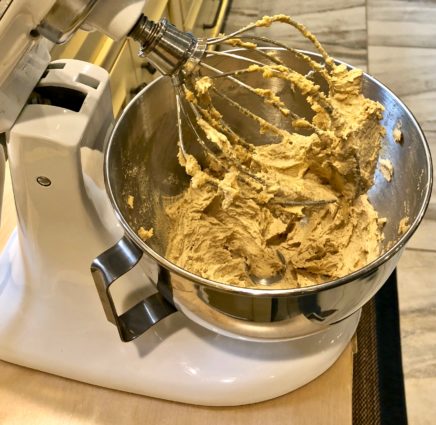
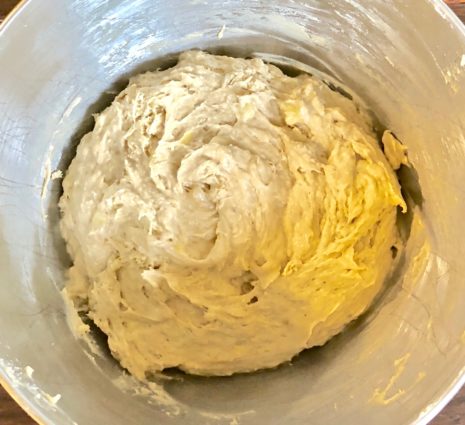
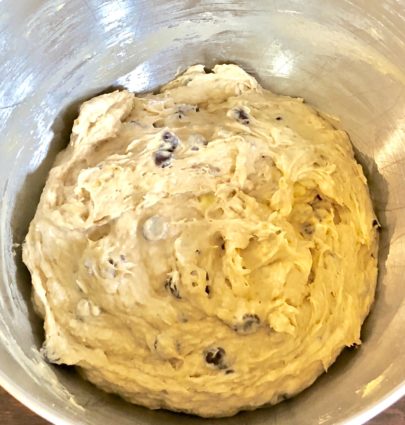
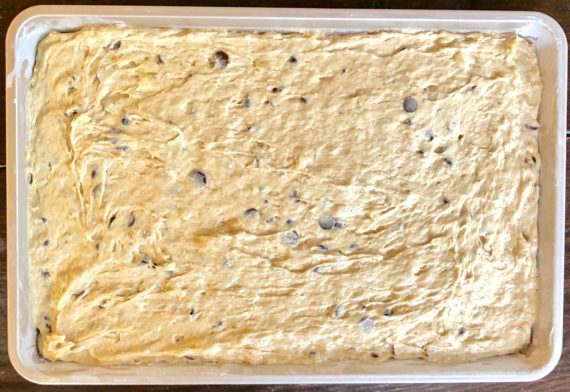
This recipe is a perfect choice if you indulge in cheat days. It is not a light or fluffy dessert, but it is certainly packed with flavor. It does not rise up as much as a cake, it bakes up to the same height as a breakfast bar. I love using bananas, they are so moist and luscious. The chocolate chips swirl into the banana to create an enticing, perfectly executed bakery-fresh dessert. And oh, the wonderful smell while it is cooking! It is so easy and satisfying to make, there is no reason for you not to. The author suggests topping it off with some chocolate syrup or whip cream. 

This recipe is courtesy of allrecipes.com and will make 12-16 bars that will make your friends and family swoon with delight, just as the warm weather does!

Ingredients for Banana Chocolate Chip Dessert

3/4 cup butter
2/3 cup granulated sugar
2/3 cup brown sugar
1 egg, beaten
1 tsp. vanilla extract
1 cup mashed bananas
1 3/4 cups all-purpose flour
2 tsp. baking powder
1/2 tsp. salt
1 cup semisweet chocolate chips

Preheat oven to 350°F.

Grease and flour a 10 x 15-inch jelly roll pan.

In a large bowl, cream butter, granulated sugar, and brown sugar until white and fluffy.

Beat in egg and vanilla.

Fold in mashed banana.

In a separate bowl, mix flour, baking powder, and salt.

Fold flour mixture into butter mixture.

Stir in chocolate chips.

Spread in prepared pan.

Bake in preheated oven 20 minutes, until set.

Cool before cutting into squares

It’s that simple!
signature

[recaptcha]


The best thing to do during the summer months is take things outside and use your grill. Juicy burgers and steaks are summer staples, my mouth waters just thinking about them. You can grill your favorite vegetables, too! Instead of pasta, try spiralizing zucchini, squash or sweet potatoes. You can even grill summer fruit like peaches, pineapple or watermelon. The grilling process can caramelize the natural sugar, making them even more sweet and delightful.

Summer is the time for salads, fruity desserts, and frosty drinks. It is great to have lemonade or iced tea on hand so I make a pitcher or two a week. What I enjoy even more is whipping up some frosty margaritas, daiquiris or Pina Coladas. Here’s a tip: you can use your leftover berries to make pies or jam!

This dessert or snack is perfect for summer because you do not need to use your oven. These Special K bars are almost too easy to make. Inside is peanut butter combined with sweet delights like maple syrup and honey, then it is topped with a chocolatey shell. Are you drooling yet? Just place it in the fridge and you have a crunchy, enticing surprise that no one will be able to pass up!

This recipe is courtesy of Half Baked Harvest, by Tieghan Gerard. All of her recipes are so special. This one will make 18 to 20 bars, and trust me it is impossible to just have one!

Ingredients for Mom’s Special K Bars

Nonstick cooking spray, for greasing
1 cup creamy peanut butter
1/2 cup honey
1/2 cup pure maple syrup
1/2 cup sugar
6 heaping cups cornflakes
3 to 4 cups semisweet chocolate chips, melted

Grease a 9 x 13-inch pan with cooking spray.

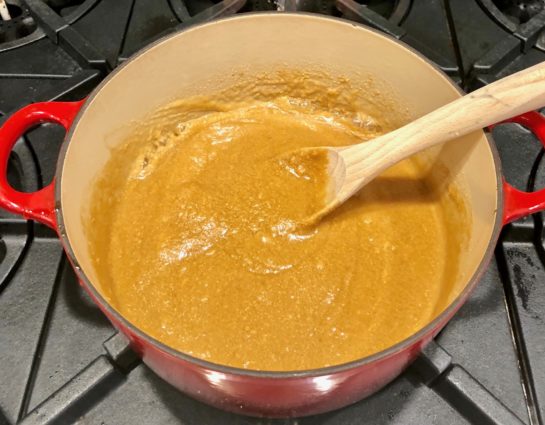
In a large pot, combine the peanut butter, honey, maple syrup, and sugar.

Cook over medium heat, stirring until the mixture begins to bubble and the sugar has dissolved about 5 minutes – be careful not to let the peanut butter burn.

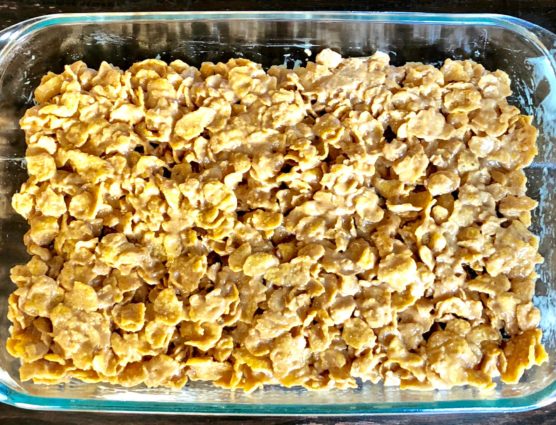
Remove the pot from the heat and immediately stir in the cornflakes.

Spread the mixture unto the prepared baking dish.

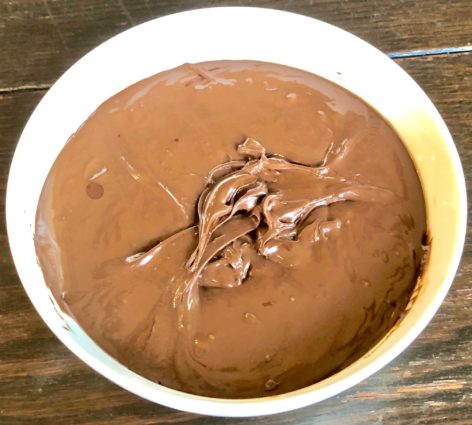
Put the chocolate chips in a medium microwave-safe bowl.

Microwave in 30-second intervals, stirring in between, until melted and smooth.

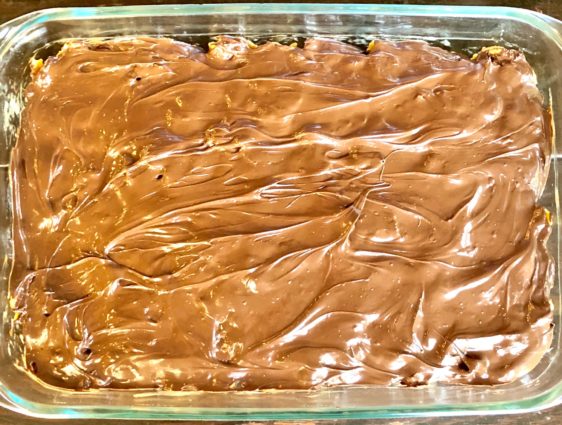
Spread the melted chocolate in an even layer over the peanut butter-cornflake mixture.

Tap the pan against the counter to smooth if needed.

Cover with plastic wrap and place in the fridge to harden for at least 2 hours.

Remove from the fridge 10 minutes before serving.

Cut into bars and devour.

It’s that simple!
(How cute are these dogs dishes I just bought?!)

signature

[recaptcha]