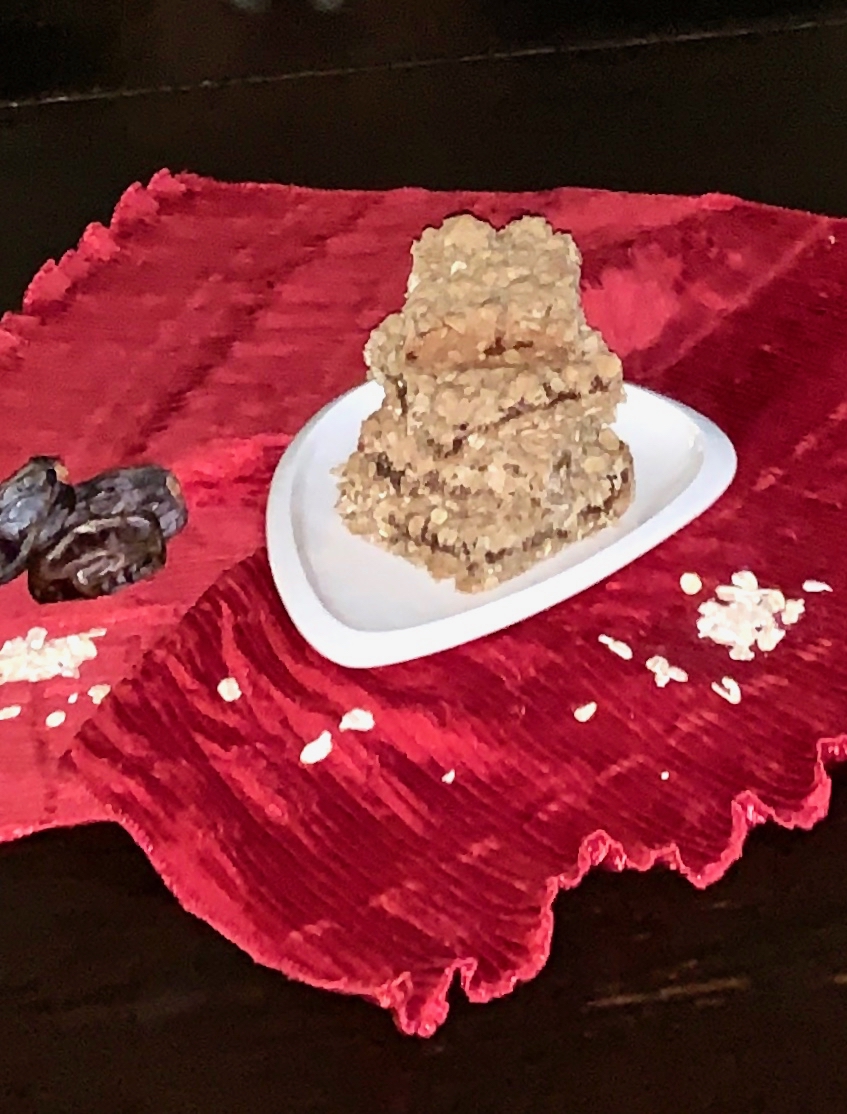
I honestly never heard of a brunette, have you? Of course, we haven’t, as the author of this recipe gave them the name herself. It is a version of a blondie, but the author and her assistant were brunettes, hence the name.

When I buy a cookbook, I read every recipe and carefully mark off the ones I would like to prepare. Since you know how many cookbooks I have, there are about a few hundred I have yet to make. This one intrigued me.  It came with a story about the author. Her name was Amy Pressman. She was all set to open up a bakery named “Short Cake” in LA when she tragically died a few months before it opened. Her assistants opened up the bakery and the bakery was well received and her “brunettes” were a hit. I felt I owed it to Amy to make them after reading that. How wonderful for her associates to still open the bakery.

Amy borrowed this recipe from Dorie Greenspan and added the pine nuts and thyme. 

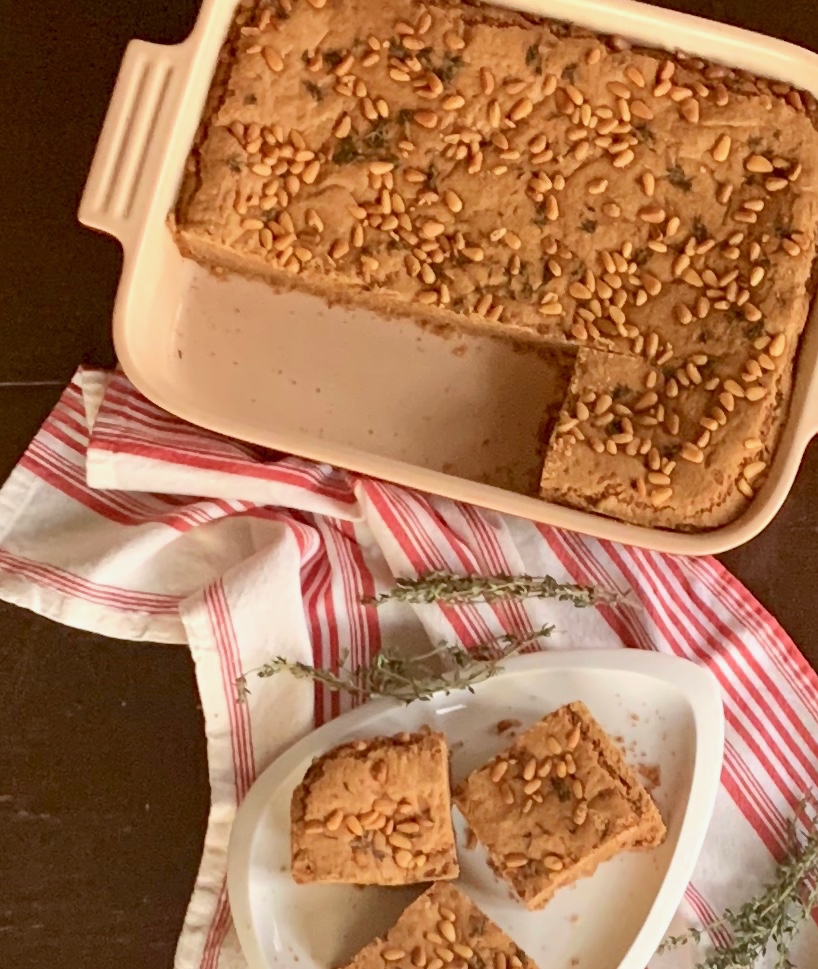
These bars are made with dark muscovado sugar, a very dark, molasses-y brown sugar. If you can’t find it, use dark sugar. These are a darker version of a blondie, though not nearly as dark as a brownie. They bake up to a beautiful golden brown. This treat is thick, almost cake-like. But don’t let that fool you. They are beautifully crusted on the outside with a brownie-textured chewy inside. I am finding it hard to describe them, they are so incredible. You enjoy one and immediately crave the next. The toasted pine nuts and thyme add in the savory, making these Brunettes perfection! 

This recipe is courtesy of Mozz at Home, and will make 24 Brunettes that will make your friends and family want more than just one. Better make two batches!

Ingredients for Amy’s Brunettes:

3 1/2 sticks of butter, cut into small cubes, plus more for greasing the pan and parchment
3 tablespoons pine nuts
3 1/2 cups unbleached all-purpose flour
3/4 teaspoon baking powder
1/2 teaspoon baking soda
1 teaspoon kosher salt
2 cups plus 2 tablespoons packed dark brown sugar
3/4 cup plus 2 tablespoons granulated sugar
1/4 cup plus 1 tablespoon dark muscovado sugar (or dark sugar)
3 extra-large eggs
1 teaspoon pure vanilla extract
1 heaping tablespoon fresh thyme leaves

Adjust an oven rack to the middle position and preheat oven to 325F.

Butter a 9 x 13-inch baking dish. Line the bottom with parchment paper, butter the parchment and set aside. (I forgot to do this and they came out easily.)

Set up a cooling rack.

Spread the pine nuts on a baking sheet and toast them in the oven for 8 to 10 minutes, until they are fragrant and golden brown, shaking the baking sheet and rotating it from front to back halfway through the cooking time so the nuts brown evenly.

Remove the pine nuts from the oven and set them aside to cool to room temperature.

Stir the flour, baking powder, baking soda, and salt together in a mixing bowl.

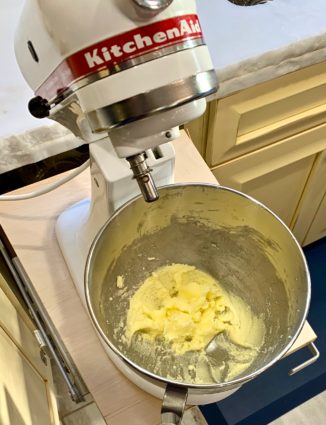
Beat the butter in the bowl of a standing mixer fitted with the paddle attachment on medium speed until it’s smooth and creamy, about 2 minutes.
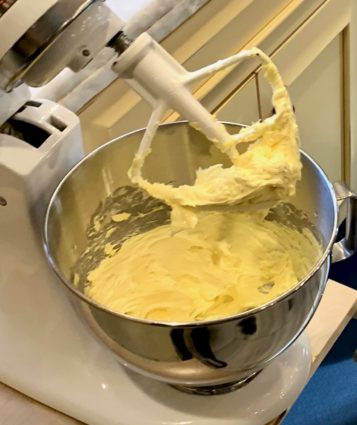
 

Turn off the machine.

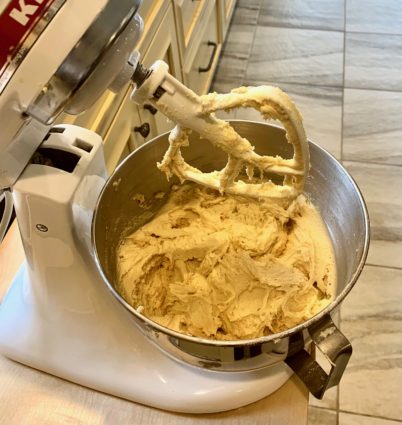
Add the brown sugar, granulated sugar and muscovado sugar and mix on medium speed until the sugars are incorporated into the butter, about 3 minutes.

Add the eggs, one by one, mixing for about 1 minute to incorporate.

Add the vanilla and mix to combine.
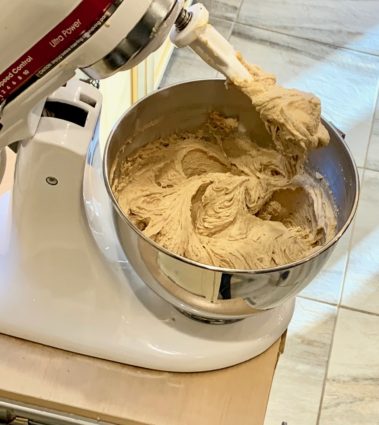
 

Reduce the mixer speed to low.

Add the dry ingredients, mixing on low speed until no flour is visible. (Add little portions of the dry ingredients at a time.)
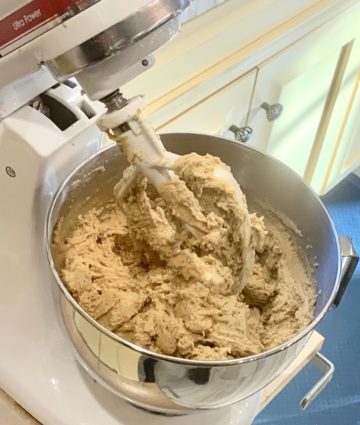


Transfer the batter to the prepared baking dish and use a rubber spatula to smooth the top. (The batter will be heavy and sticky, but will smooth out easily.)
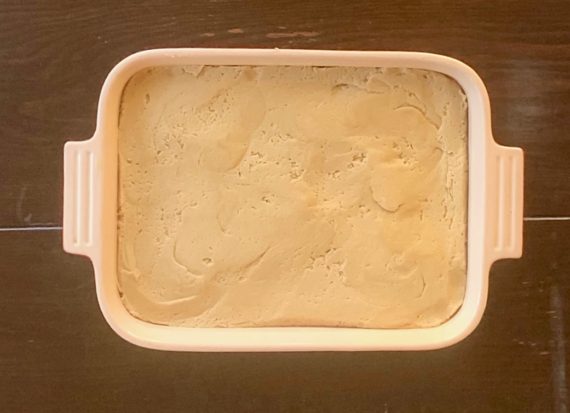
Sprinkle the pine nuts and thyme leaves over the surface.
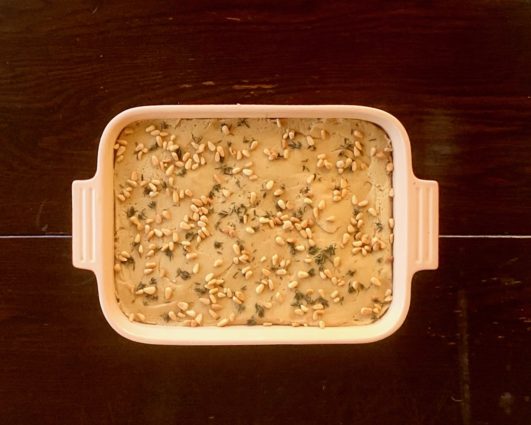
Bake the brunettes for 1 hour and 25 minutes to 1 hour 40 minutes, until golden brown on top and the brunettes have pulled away from the sides of the pan.

Remove the pan from oven and place it on a cooling rack to cool completely.

Run a knife or offset spatula around the edges of the pan to release the brunettes from the pan.

Put a baking sheet over the brunettes and swiftly flip the baking pan and baking sheet to invert them again onto the cutting board so the decorated side is facing up.

Cut the brunettes into 24 (3 x 1 1/4-inch) bars.

Artfully stack the bars no more than two high on a cake stand, taking care not to knock off the thyme and pine nuts on top, and serve. (I obviously skipped this step!)

It’s that simple!
signature

[recaptcha]


I know from experience that some recipes are hard to follow. I also know that many are hard for some people, and not for other people. There is definitely a special language that recipes use. For example, most don’t use full sentences and often shorten them by saying “to oven”, and not “to the oven”. Most of us who read recipes understand them exactly the way they are written.

From time to time recipe instructions are written in a way that makes them impossible to follow. I prefer recipes that have the directions listed step-by-step, rather than in paragraph form. This way you are more likely to succeed and not miss a step! When I copy a recipe down for my blog, I always break the paragraphs into steps so it is easier for my you to follow.

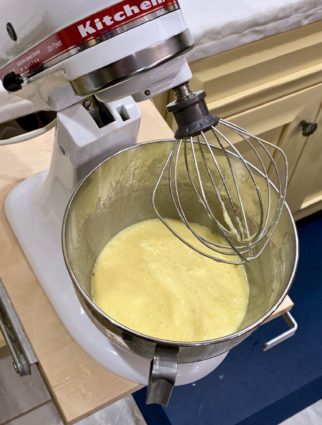
This particular recipe was written without the reader in mind, and boy did I have a hilarious time making this cake. The recipe originally tells you to use an electric mixer, which could mean a hand-held mixer. If you used one, the sugar and butter would get so caught up between the wires of the whisk beaters. I know this because since they did not advise you to use the paddle attachment, I started with the whisk attachment and that is exactly what happened to me.

There were so many frustrating details left out of the instructions. I will tell you the funniest one that happened. The author instructs you to place the first four ingredients of the frosting in the mixer and beat them. Easy enough, right? But when I turned on the mixer, even at a slow speed, there was powdered sugar everywhere! In my hair, on my face, on the floor, on my dogs, (who stand under the mixer so they can catch any tidbit that falls), on my walls, even inside some cabinets that were closed! I definitely should have caught that one. That was something that had never happened to me before and I know will never happen again.

That said, I carefully changed the directions so none of these things happen to you. So, you can feel free of worry when you make this outrageously delectable dessert.

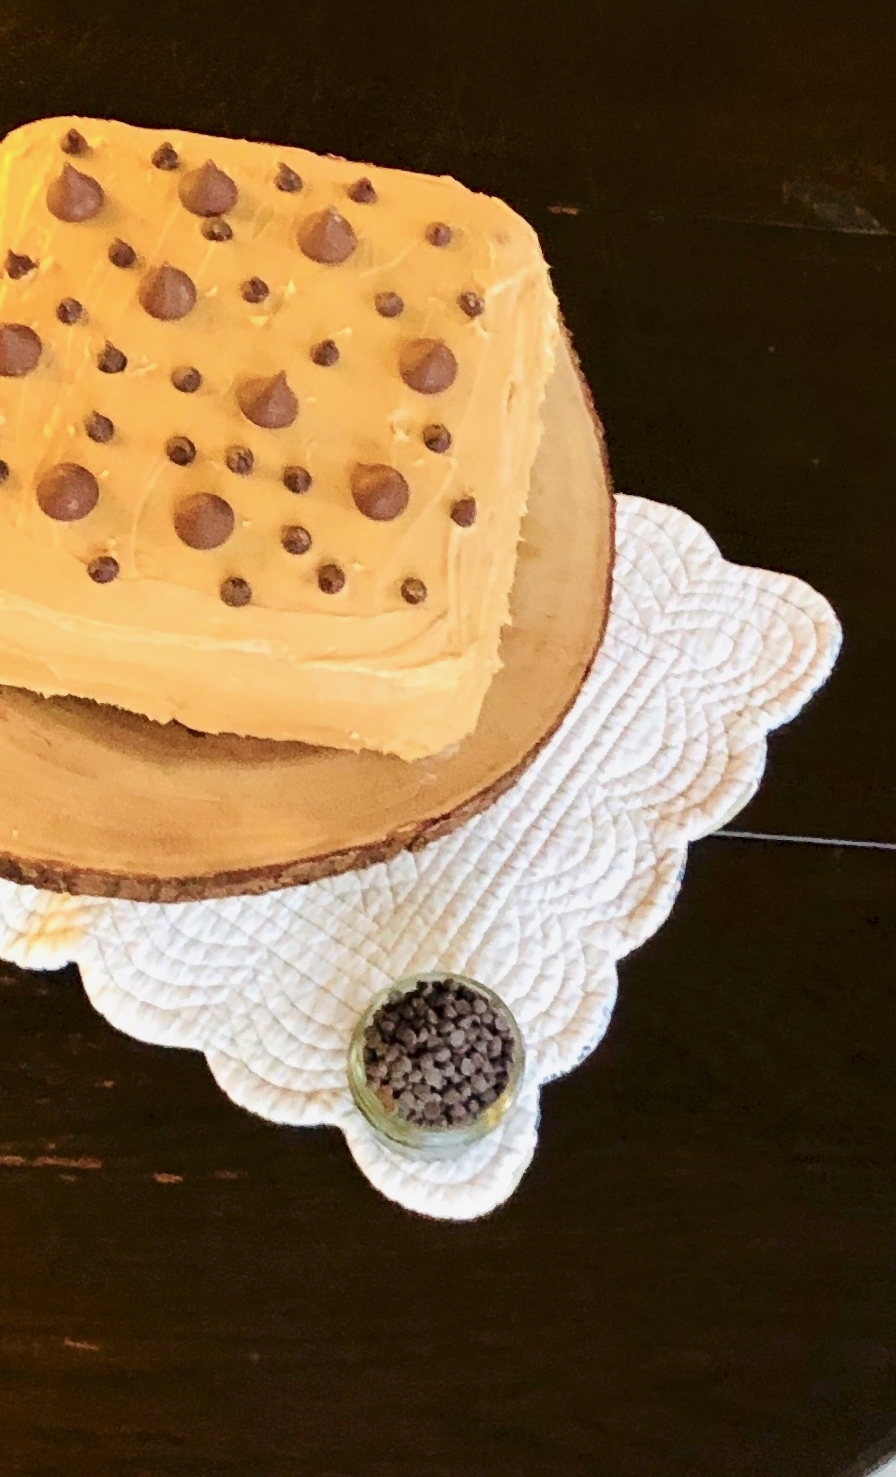
This cake is too good for words! The banana and chocolate are surrounded by this exquisitely fluffy peanut butter frosting. It is topped off with Hershey’s Kisses and more chocolate chips. It doesn’t get much better than this! Do not let the number of ingredients stop you. Do your mise en place and it is actually very easy to make. If you are intimidated about frosting it, no worries, your family will love this cake no matter what it looks like. Promise!

This recipe is courtesy of Bon Appetit, and will serve 16 people who will be grinning with delight between bites.

Ingredients for Banana-Chocolate Chip Cake with Peanut Butter Frosting:

For the cake:

Nonstick vegetable oil spray
3 cups all-purpose flour
2 teaspoons baking soda
2 teaspoon kosher salt
1 1/2 cups sugar
1 cup (2 sticks) unsalted butter, room temperature
1/2 cup light brown sugar
3 large eggs
1 1/2 teaspoons vanilla extract
2 cups mashed very ripe bananas ( about 5 bananas)
1 cup sour cream
1 (10-ounce bag) mini chocolate chips

For the frosting:

2 cups creamy peanut butter
1 1/2 cups powdered sugar
1 cup (2 sticks) unsalted butter, room temperature
2 1/2 teaspoons vanilla extract
Chocolate chips, mini chocolate chips, and chocolate kisses (for decorating cake)

Make the Cake:

Preheat oven to 350°.

Coat cake pans with nonstick spray.

Line the bottom of pans with parchment paper; coat paper.

Whisk flour, baking soda, and salt.

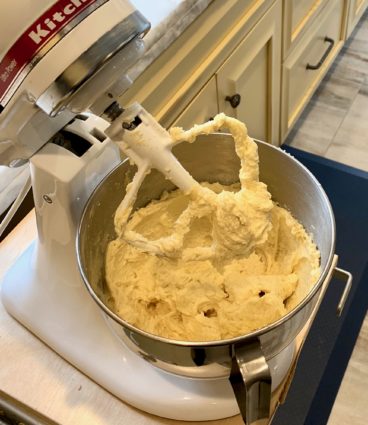
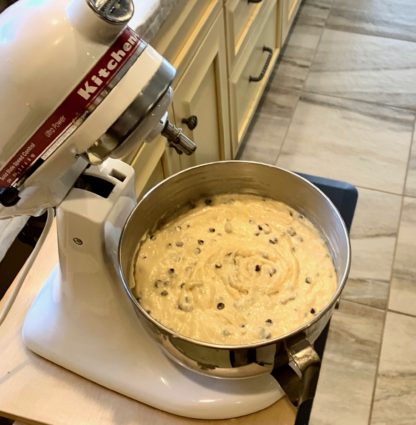
Using the paddle attachment of a standing mixer, beat sugar, butter, and brown sugar until light and fluffy, about 3 minutes.

Add eggs one at a time, beating to blend between each one and occasionally scraping up and down sides.

Beat in vanilla.

Add dry ingredients a little bit at a time; beat on low speed just to blend.

Add bananas, and sour cream, beat just to blend.

Fold in mini chips.

Divide batter evenly among pans; smooth tops.

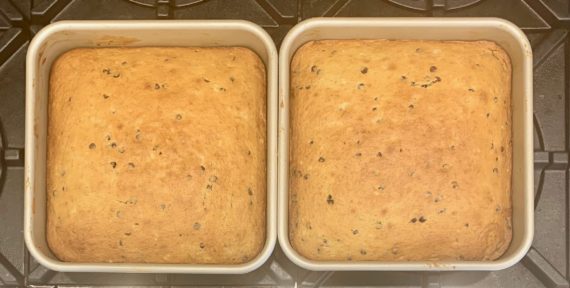
Bake cakes about 35 minutes or until a tester inserted into the center comes out clean.

Transfer to wire racks; let cool in pans for 30 minutes.

Invert cakes onto flat surface. 

Let cool completely.

Make the frosting:

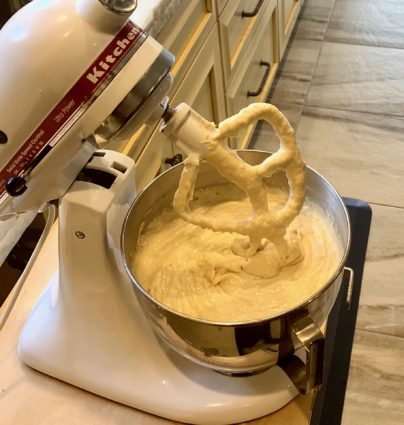
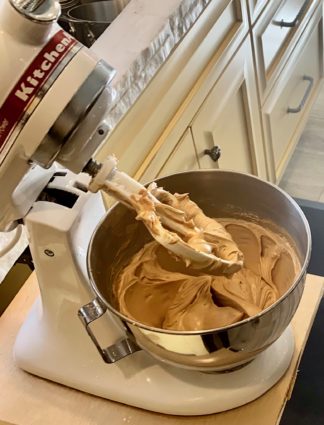
Using the whisk attachment of a standing mixer, beat peanut butter, butter and vanilla extract.

Turn mixer to low speed and slowly add in the powdered sugar, and mix until a light and fluffy frosting forms; 2 to 3 minutes.

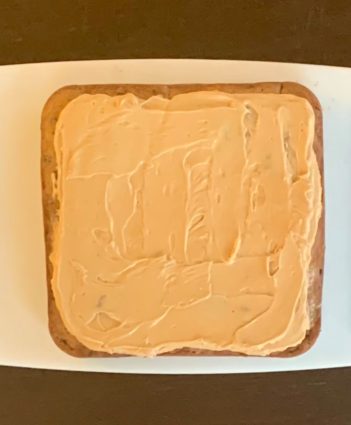
Spread 1 1/4 cups frosting over 1 cake.

Place remaining cake on top.

Cover tops and sides of cake with remaining frosting.

Garnish with chocolate chips and kisses.

It’s that simple! (It really is!)
signature

[recaptcha]


Despite my experience and all my efforts, every once in a while a recipe will not turn out so aesthetically pleasing. This was one of those times. When you take a look at the ingredients and directions, it seems so simple. As hard as it is to admit, it wasn’t the recipe, it was me.

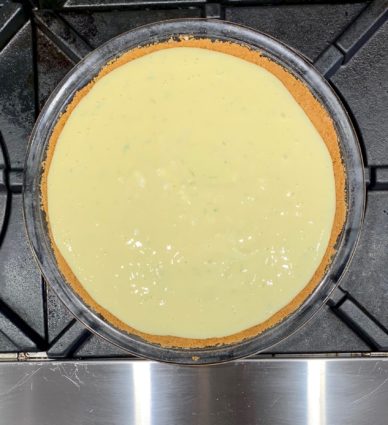
The first time I attempted to make this pie, I doubled the crust as I always do. When I made the filling, I realized I would not have enough to fill up the crust I had laid down.

It looked really bad, so I couldn’t photograph it, but it still tasted wonderful.

While we all know it’s what’s on the inside that counts, I always get a thrill out of pulling a masterpiece out of the oven. So, I made the pie a second time. I did not double the crust this time. Then I prepared the filling and once again, it did not fill up to where I thought it should be.  After it had cooled, I went to wrap the pie with saran wrap to put it in the fridge. Huge mistake. Do not do this. The saran wrap fell onto the cake and when I lifted it off, the top came off with the cake. Lesson learned: do not put saran wrap on it until it hardens in the fridge.

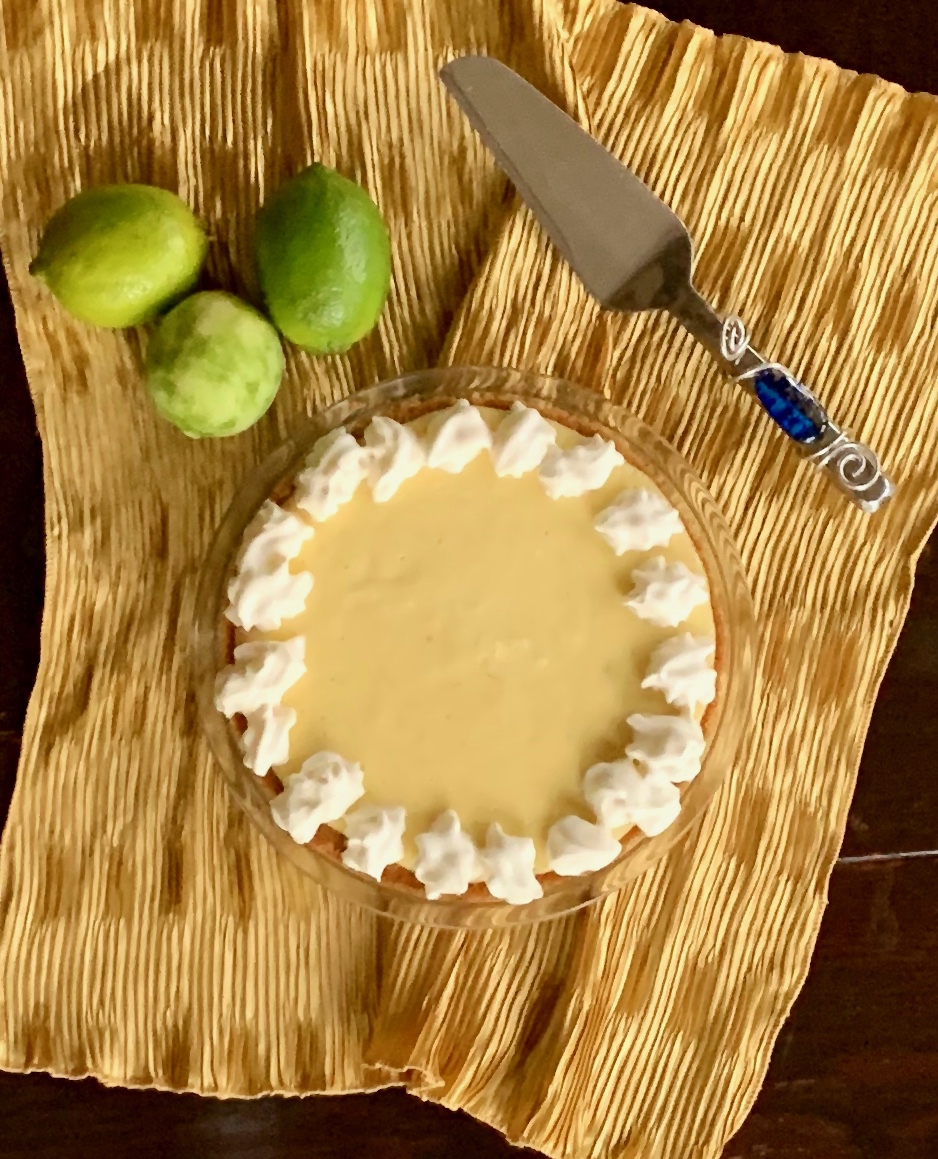
The third time was the charm. I had finally used the correct size pie plate. It was that simple a solution! This pie is simply delicious. It is tangy and not too sweet. The cream cheese gives the filling a hardy texture and makes it so smooth and creamy. The graham cracker crust is the perfect home for the delightful filling. Don’t let my mistakes prevent you from making it, if anything learn from them to make it successfully yourself!

This recipe is courtesy of Sally’s Baking Addiction and will serve 8 to 10 people who will adore this marvelous dessert.

Ingredients for Key Lime Pie:

For the Crust:

1 1/2 cups graham cracker crumbs
6 tablespoons butter, melted
1/3 cup granulated sugar

For the Filling:

4 oz. full-fat cream cheese, softened to room temperature
4 egg yolks
14-oz. can sweetened condensed milk
1/2 cup lime juice
zest of 1 lime

Adjust the oven rack to the lower third position and preheat the oven to 350°.

Spray a 9-inch pie dish with non-stick cooking spray.

Set aside.

Make the crust:

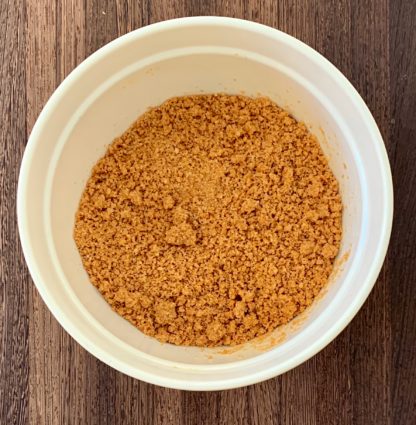
Mix the graham cracker crumbs, melted butter, and sugar together in a medium bowl until combined.

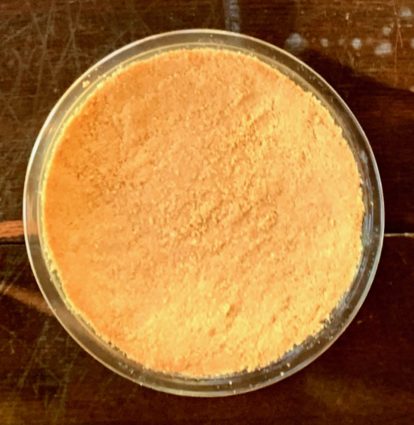
Press into the bottom of the prepared pan and only slightly up the sides.

The crust will be thick.

Bake the crust for 12 minutes as you prepare the pie filling.

Make the filling:

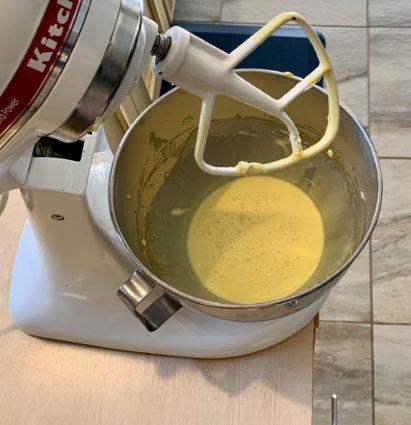
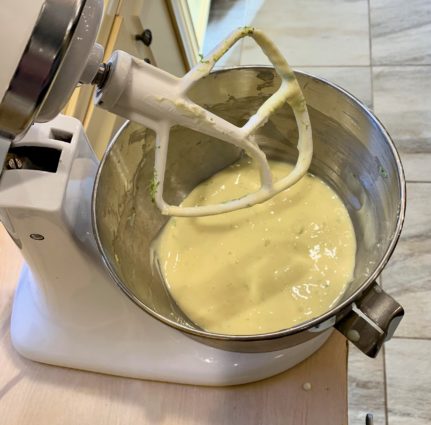
Using a hand-held mixer or a stand mixer fitted with the paddle attachment, beat the cream cheese on high speed until smooth, about 1 minute.

Beat in the egg yolks, scraping down the sides as needed.

Beat in the condensed milk, lime juice, and lime zest until combined.


Pour into the warm crust.

Bake for 16-18 minutes or until the sides are very lightly browned.

The center may slightly jiggle, which is okay.

Allow pie to cool set on a wire rack for 30 minutes. Transfer to the refrigerator and chill for at 4 hours before slicing.

Serve the pie chilled.

Cover the pie and store in the refrigerator for up to 3 days.

It’s that simple!
signature

[recaptcha]


I have never been a fan of driving in the snow. I remember one snowy day when I was in college, driving to work on the highway and sliding all over the place. I lived in the dorm at school, but my home was not far away, so when I heard it was going to snow I would sleep at home so my father would not have to shovel.

Those were the days when you shoveled the snow for your elderly neighbors, and I had two couples on each side so I would shovel for them as well. Not the greatest of memories.

When I got married, we moved to Miami and I thought it would be ideal to have no snow at all. The idea of warm weather and beautiful night breezes swaying the palm trees excited me. Much to my surprise, I did not like Miami, because the summers were sweltering hot and Christmas just didn’t feel like Christmas. I missed the smell of when spring was around the corner and yes, the snow. My husband was offered a job back up in the North East and I was happy to return. From that point on, I didn’t mind the snow, my kids loved playing in it and we all learned to ski.

All was fine, until I got caught in this year’s biggest storm for 4 hours, only 2 miles from my home. I still love the snow, but I will never come around to driving in it. We had snow on Wednesday. I canceled everything for the day to stay in and baked. It was a perfect snow day for me. 

This is one of the recipes I baked that day. I am a serious fig and oat lover, so when I saw this recipe, I had to try it. It was a little tricky, but once you get the hang of spreading the fig filling, it isn’t too hard. These sweet and lovely fig bars would brighten anyone’s day. The heavenly fig filling fills your mouth with happiness and the oats give it a wonderful, hearty feel and crunchy texture. So versatile, too. They are perfect for breakfast, dessert or as a snack!

This recipe is courtesy of Alidaskitchen and will make 16 bars that will have you wondering where they have been all your life.

Ingredients for the Oatmeal Fig Bars:

1 cup chopped dry figs, stems removed (8 ounces)
1/2 cup water
1 tablespoon lemon juice
1 teaspoon lemon zest
1 1/2 cups rolled oats (you can use instant)
1 cup all-purpose flour
3/4 cup packed brown sugar
1/2 teaspoon baking soda
1/4 teaspoon salt
1/3 cup butter, melted
1 egg white
Cooking spray

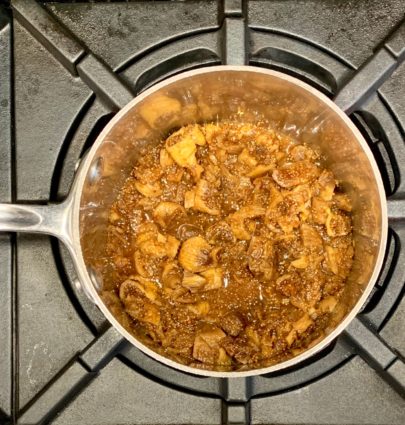
In a small saucepan, put figs water, lemon juice and zest, and bring to a boil.

Simmer until mixture starts to thicken (about 3 minutes).

Let cool for 5 minutes.

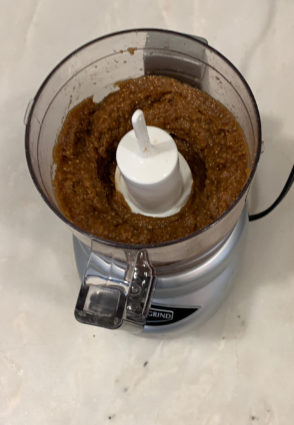
Put filling in food processor and process until smooth.

Set aside.

Preheat oven to 350°.

Spray an 8-inch baking pan with cooking spray and set aside.

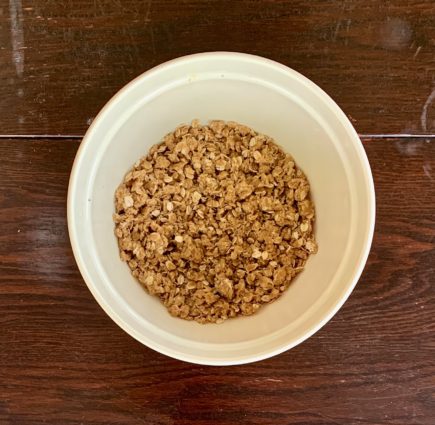
In a large bowl, whisk together the oats, flour, sugar, baking soda and salt.

Add butter and egg white to oat mixture and stir until combined.

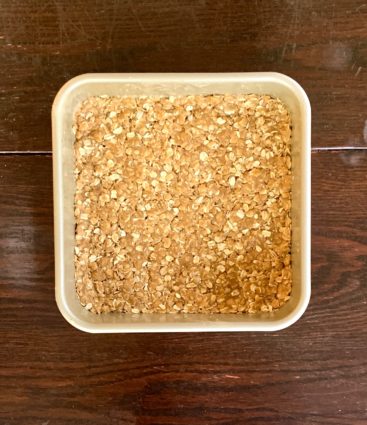
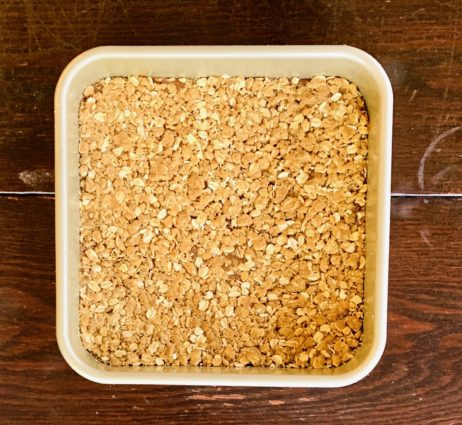
Press half of the oat mixture into the prepared baking pan. (The author noted that she used wax paper to press and spread the mixture into pan).

Next, carefully spread with fig mixture. (You can use wax paper.)

Last, drop pieces of remaining oat mixture over the fig mixture so it appears crumbly and then gently pat it down. (You can use wax paper.)

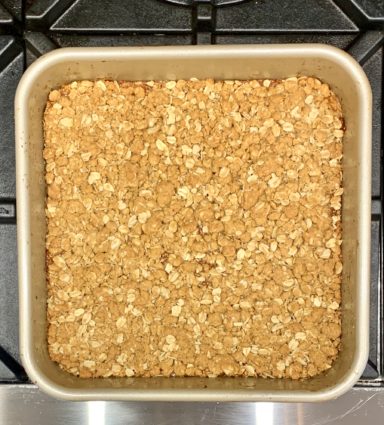
Bake for 20 to 25 minutes or until lightly browned.

Cool on wire rack.

It’s that simple!
signature

[recaptcha]


Any exercise enthusiasts out there? Back in the day I was an avid exerciser. I would come home from work, change, and go out for a run several days a week. When I first became a mother, as some of you know, your time is not your own, so I stopped running and would hope to find an hour a week to get to the gym. 

When my boys started school, I did find the time to go to the gym and began running again. Unfortunately, all those years I had spent running took a toll on one of my knees, and I ended up having surgery and stopped completely. Although I still went to the gym, it was sad to think I had to let a passion go. When I was in my forties, I found a professional boxer who was giving boxing lessons. I immediately called him. I had tried it before, and was excited to explore a sport I loved from the very beginning.

Wow, what an empowering feeling it is to know how to box. I worked hard and of course, I will never get in a ring, but I felt powerful every time I hit that bag correctly or lasted for 4 three-minute rounds. Intermittently, my trainer was working on my running posture, in hopes that I could run again. I tried running again this past summer, and I found that with the instructions my trainer taught me, I could do it! I was much slower than before, but I managed through. 

Imagine my surprise when fall rolled around and the weather became cooler. My age had not slowed me down, but the heat did! I can now run again at a decent pace and I am hoping to try a mini-marathon this spring. I encourage all of you to be patient and stick to anything that you wish to accomplish, no matter what it is. When it comes to perseverance, only good things can happen. 

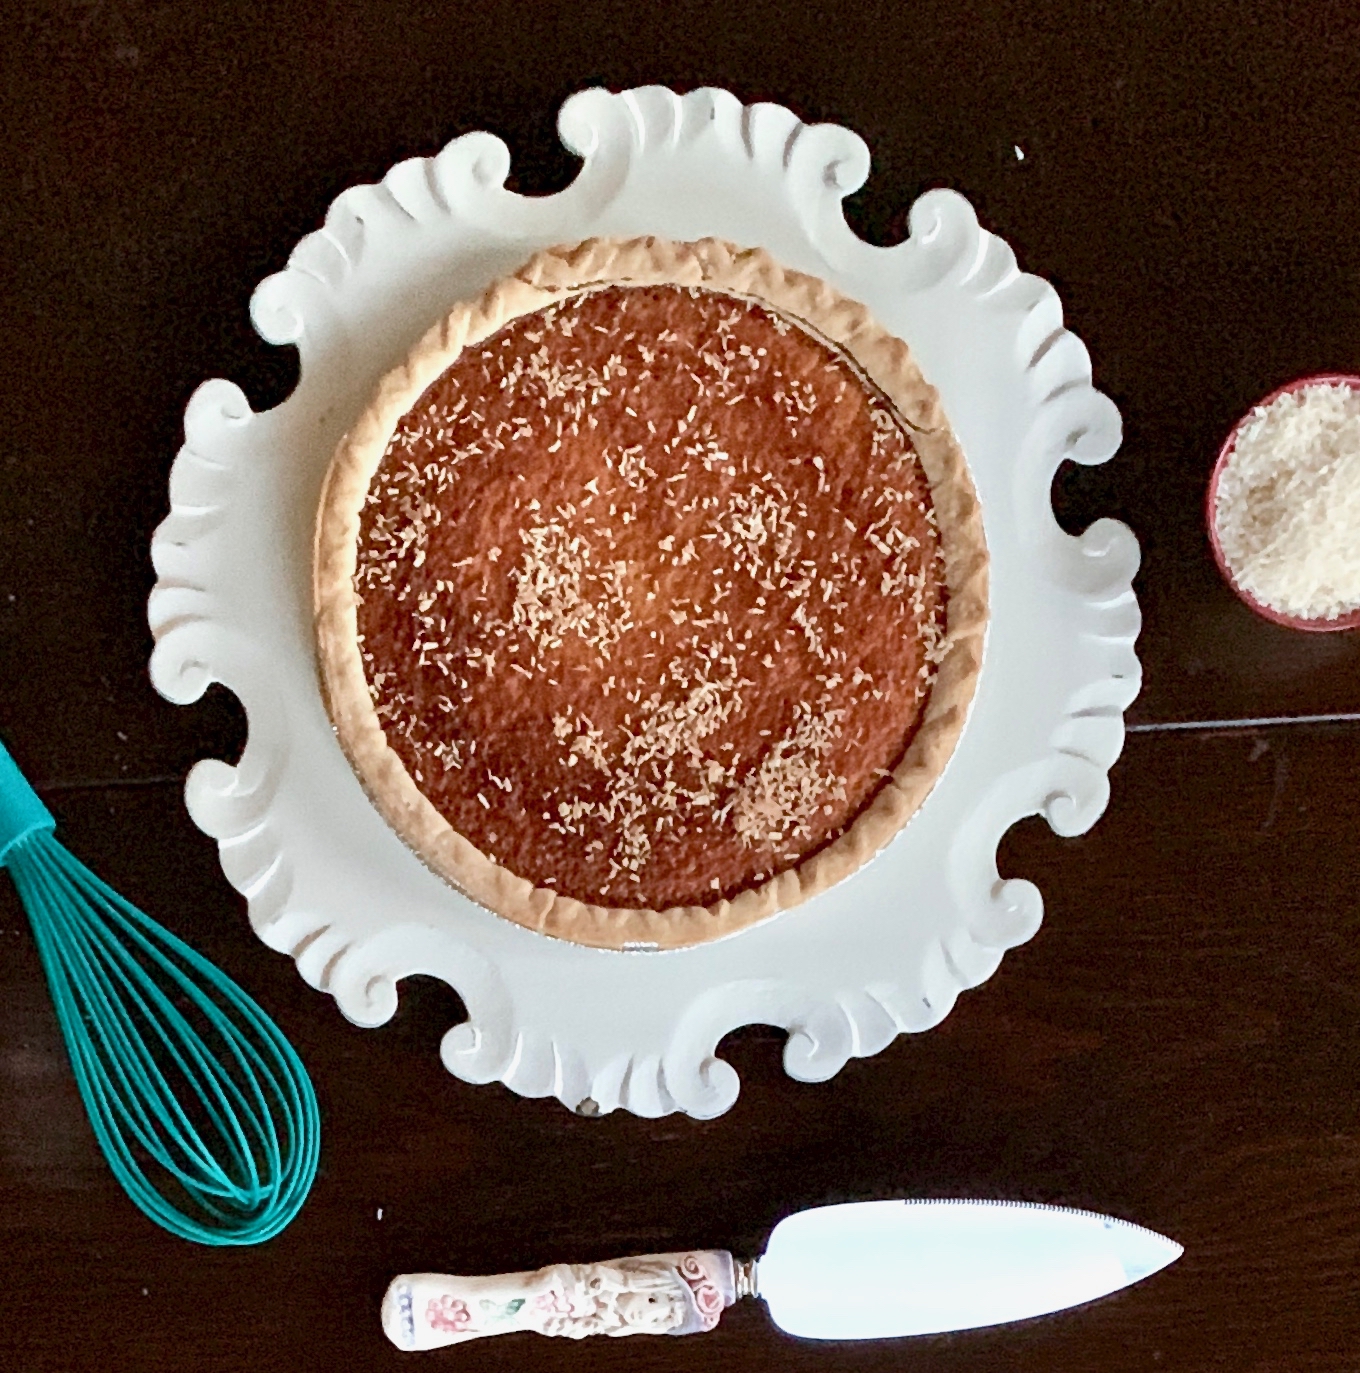
While some of us use exercise to improve our mood or maintain a goal-oriented lifestyle, others use it to stay fit enough to eat whatever they please. This is one recipe that might take a while to sweat out, but it is worth every calorie. The author of this recipe included instructions to make a homemade pie crust, but I just did not have the time, and a store-bought one worked perfectly. In fact, I have never made a pie crust, but maybe next time will be my first. This pie is so easy to prepare and I would bet you have a lot of the ingredients in your pantry. It is so rich and creamy, with a little hint of vanilla that makes it wonderfully sweet. There is a mouth full of coconut in every bite. I toasted up some extra coconut flakes to put on top. Of course, ice cream or whip cream would be even better. 

This recipe loosely adapted from Food and Wine and will serve 8 people who will be sure to over indulge.

Ingredients for Coconut Custard Pie:

1 frozen deep dish pie crust
1 cup sugar
4 tablespoons unsalted butter, melted
6 large eggs
1 cup buttermilk
2 teaspoons pure vanilla extract
Salt 
2 cups shredded sweetened coconut

Preheat the oven to 350°F.

Place pie crust in oven for 10 minutes to just lightly brown it, so the batter will not leak through.

Remove it and let it cool.

In a medium bowl, whisk the sugar with the butter, then whisk in the eggs.

Add the buttermilk, vanilla, and a pinch of salt and whisk until incorporated.

Stir in the coconut.

Pour the filling into the pie crust and bake for 45 to 50 minutes, until the custard is set and golden brown on top.

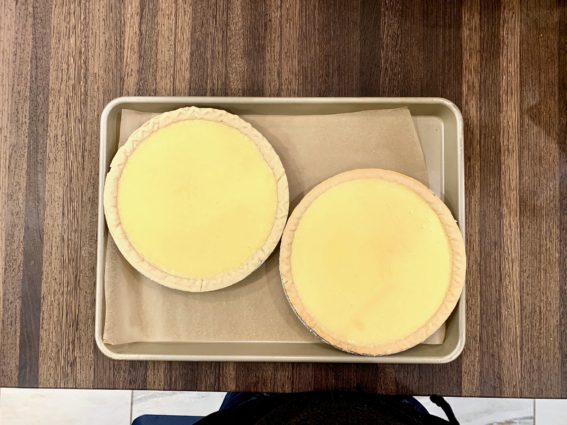
(I didn’t have a deep dish pie crust, so I used two regular ones!)

Let the pie cool completely.

It’s that simple!
signature

[recaptcha]