Most people don’t like when it rains. Luckily, I am not most people. It may seem strange to rejoice over a summer storm, but I am happy that my garden is getting watered sufficiently. Over the years, I have learned that rainwater has something special in it. After it rains, my flowers look more beautiful and the colors are so bright. When they get watered from the hose, they just don’t have that same brilliance. I may be the only happy person after a week of constant rain. The rain was worth it, particularly if I had hosted a 4th of July celebration. I would get to show off my flowers!

Well, I am not hosting this time around.  I told my friends it is their turn. One of them thankfully accepted and I do not have to cook. Are you having a 4th of July party at your house?

If you are having people over, remember these few things:

  • Pick your menu carefully. It is not the time to try new recipes. Use the recipes from your repertoire that you know are crowd pleasers.
  • Try to make some things you can freeze and use the day of the party. Do all your prep a few days before, then you will have everything handy when it is time to prepare the dish. 
  • If you are not a control freak, let people help you. They are usually sincere when they offer to help. It keeps them busy and you get to interact with them. Clean-up is always fun when you are with family and friends. 
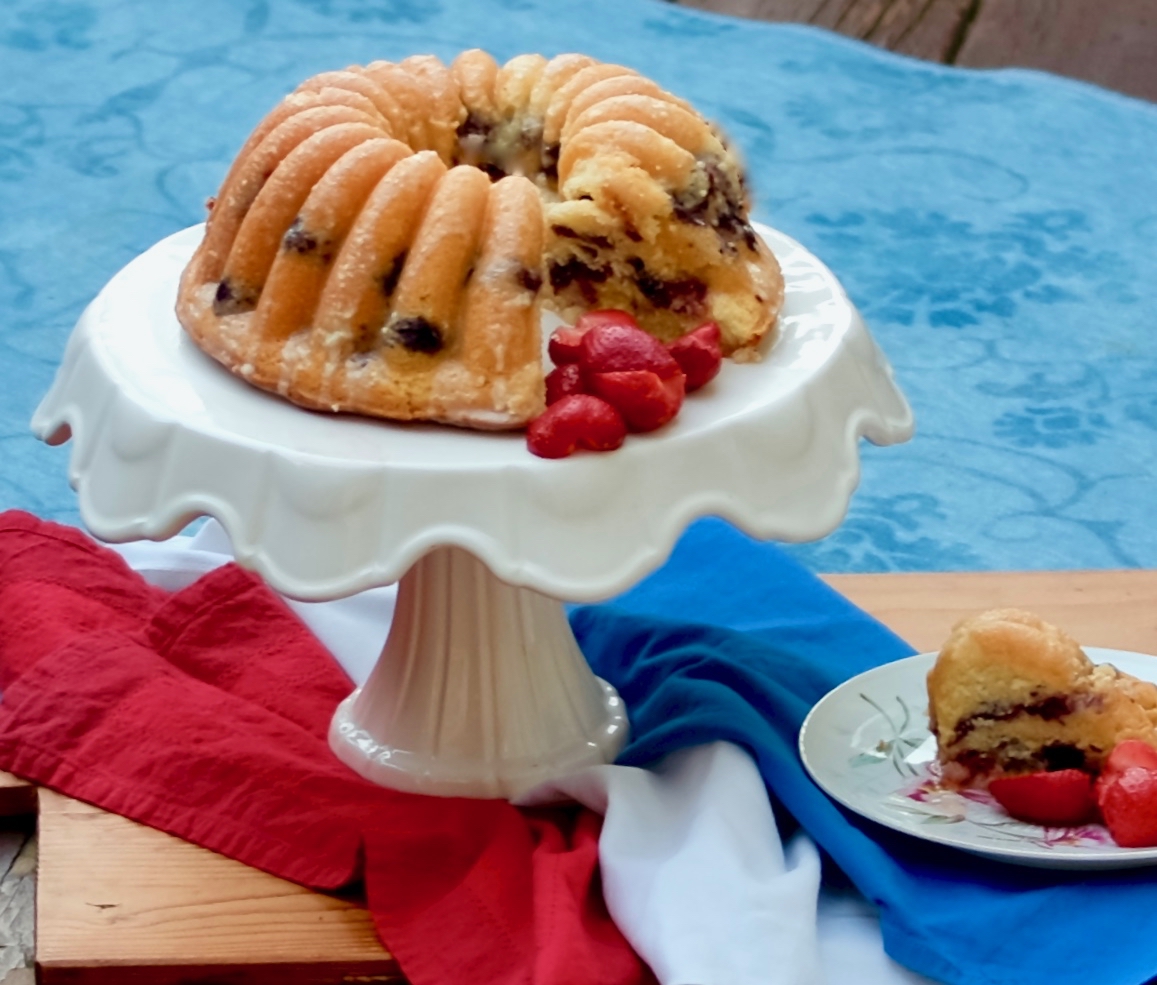
  • Remember that bundt pans can be difficult. The first few times I used a bundt cake pan, the cake came out easily. This time, it did not. The picture I used was the good side of the cake. Prep your bundt pan as much as you can, then say a prayer when it’s time to release it.

This cake is a wonderful dessert to bring to your 4th of July celebration. It is so easy to prepare. It is a moist and delicious cake and every bite has a delicious pops of blueberry and a hint of vanilla. The topping is sweet goodness, and the strawberries add another depth of flavorful delight. The patriotic colors make it perfect for this festive holiday!

This recipe is courtesy of Foodnetwork and will serve 10 people who will be happy to host you for every Fourth of July party.

Ingredients for Blueberry Buttermilk Bundt Cake:

For the cake:

2 sticks unsalted butter, at room temperature, plus more for the pan
3 cups plus 2 tablespoons all-purpose flour
2 1/2 teaspoons baking powder
1 1/4 teaspoons salt
1 3/4 cups granulated sugar
1/4 cup vegetable oil
4 large eggs, at room temperature
1 teaspoon vanilla extract
3/4 cup buttermilk
2 cups blueberries (about 1 pint)

For the topping:

2 to 3 cups large strawberries, halved or quartered (about 1 pint)
1 to 2 tablespoons granulated sugar
2 1/2 cups confectioners’ sugar
1 tablespoon unsalted butter, at room temperature
4 to 5 tablespoons milk

Make the cake:

Preheat oven to 350 degrees F.

Generously butter a nonstick 12-cup bundt pan.

Whisk 3 cups flour, baking powder and salt in a medium bowl.
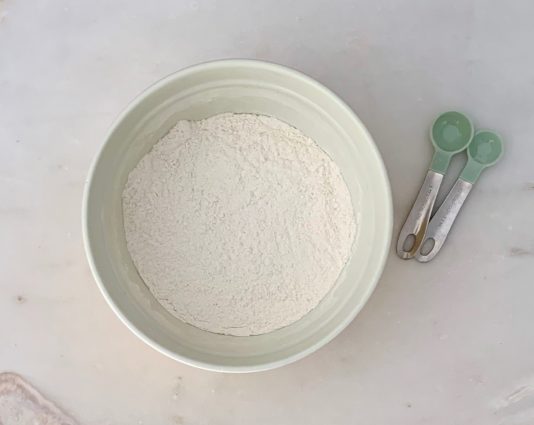
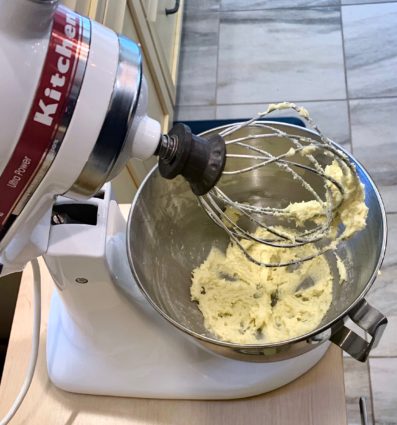
Beat 2 sticks butter, granulated sugar, and vegetable oil in a bowl with a mixer on medium-high speed until fluffy, at least 5 minutes, scraping down the sides of the bowl with a rubber spatula as needed.

Reduce the mixer speed to low; beat in the eggs one at a time, then beat in the vanilla. Add about one-third of the flour mixture and half of the buttermilk; beat until almost incorporated.

Add another one-third of the flour mixture and the remaining buttermilk.

Beat, scraping down the sides of the bowl as needed, until just combined.

Add remaining flour mixture and beat for 30 seconds.
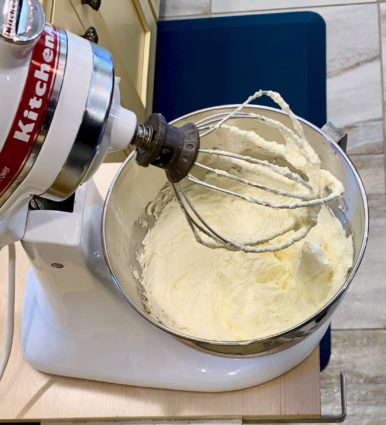
Finish incorporating the flour by hand to avoid overmixing.
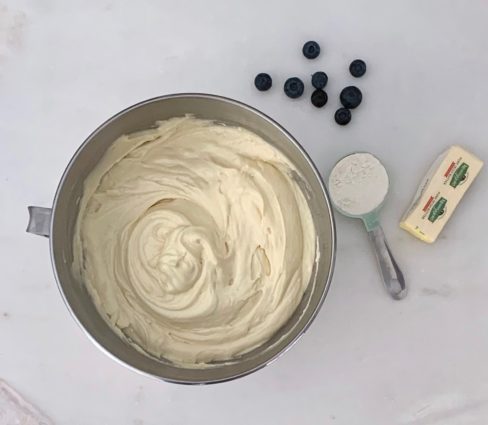
Toss the blueberries with the remaining 2 tablespoons flour in a small bowl.
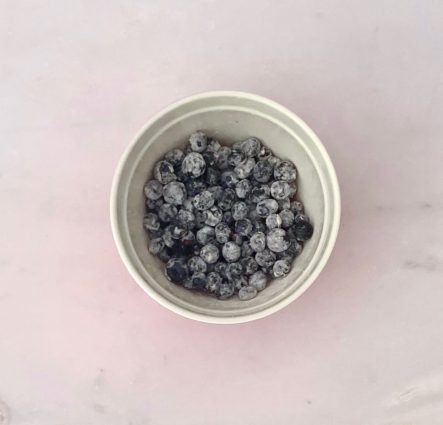
Spoon one-third of the batter evenly into prepared pan.

Sprinkle in half of the blueberries.
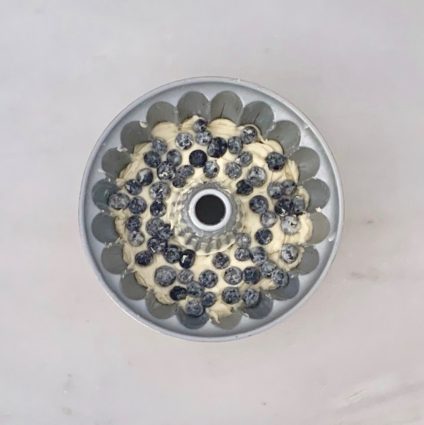
Top with another one-third of the batter.

Scatter remaining blueberries on top.
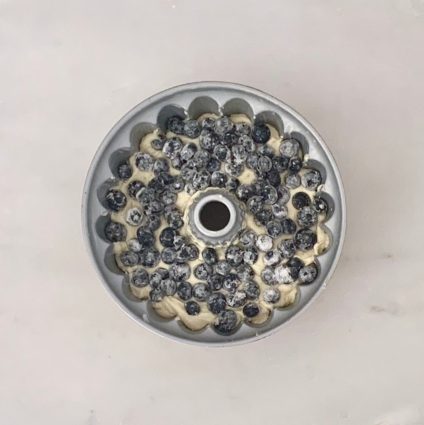
Cover with the rest of the batter; smooth the top.
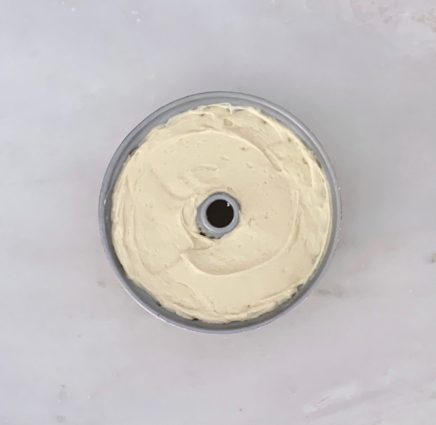
Bake until the cake is golden brown and a toothpick inserted into the center comes out clean, 1 hour to 1 hour 10 minutes.

Transfer to a rack and let cool for 20 minutes in the pan.
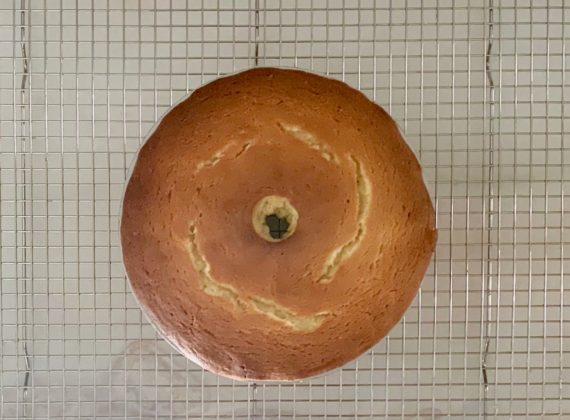
Run a sharp knife around the edge of the pan to loosen the cake, then invert onto the rack to cool completely. (Don’t forget to say a prayer!)

Make the topping:

Toss the strawberries with the granulated sugar in a bowl, set aside to macerate for 30 minutes.

Just before serving, make the glaze.

Whisk the confectioners’ sugar, butter, and 4 tablespoons milk in a bowl.
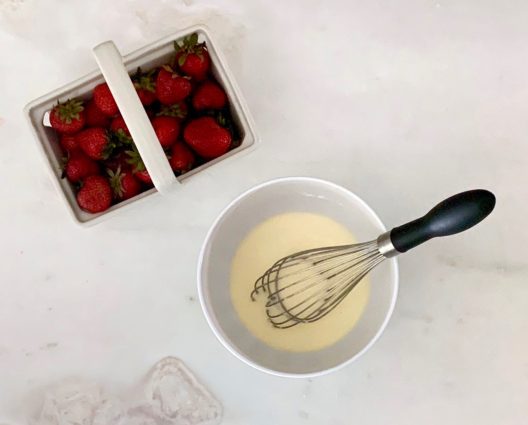
If the glaze is too thick, whisk in up to more tablespoons milk, a little at a time.

Pour the glaze over the cake, letting it drip down the sides.

Serve with strawberries and their juices.

It’s that simple!
signature

[recaptcha]


My husband and I moved into our home almost 25 years ago. He insisted on putting on a pool, but I disagreed. I was worried about the safety of our young children. Hubby got his way and soon our yard became a construction site, then a beautiful new pool.

The pool was a great decision, and the kids loved every minute of swimming and playing games. Best part is that we didn’t have to worry about the kids… it was the dogs who were the problem “children.”  We have always had three dogs, most of which had a healthy instinct for self preservation. Our English Bulldog, Mazel, was not one of them. When we first got her, my husband had this premonition about her safety, so when we opened the pool, we both stayed outside to watch her.

She went running around the pool, and just as my husband said “don’t jump!”, she leaped headlong into the disgustingly dirty water. And down she went–swimming was no option for this large-headed dog. My husband jumped into the murky water, fully clothed, along with his watch, wallet, and glasses. Mazel was successfully rescued, as well as his wallet, but his glasses and watch were in there until a week or so later when the water cleared. Mazel never went near the pool again.

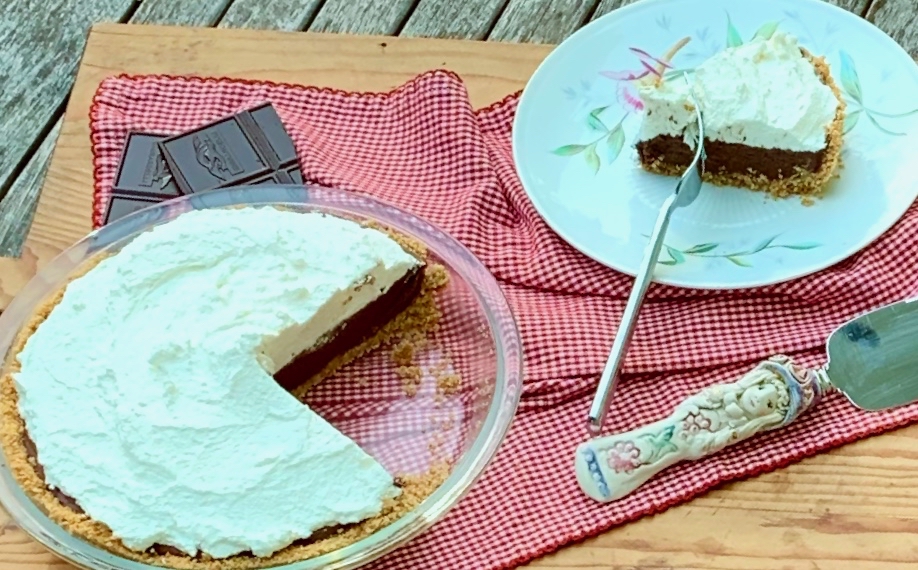
Even still, I have never regretted putting in the pool. It makes a great hangout spot for gatherings of friends and family, and I think this would make a wonderful dessert to bring to a poolside party. The graham crackers are the perfect crust for this decadent, chocolate wonder. It has the consistency of a pudding with a deep, rich chocolately flavor. It is then topped off with delicious home-made whipped cream. Every bite is more delightful than the last. You may have to make two of them because everyone is going to want a second helping.

This recipe is courtesy of the Fearless Baker and will serve eight people who will jump with joy right into the pool!

Ingredients for Chocolate Cream Pie:

For the Crust:

9 Graham Crackers
4 tablespoons (1/2 stick) unsalted butter, melted

For the Chocolate Cream:

4 large egg yolks
1/3 cup granulated sugar
3 tablespoons cornstarch
2 cups whole milk
6 ounces dark chocolate (58 to 62 percent cacao), chopped or broken into 1-inch pieces
2 tablespoons unsalted butter, softened

For the Whipped Cream:

1 1/2 cups heavy cream
3 tablespoons granulated sugar
1/2 teaspoon pure vanilla extract

Make the Crust:

Preheat oven to 350 degrees F.

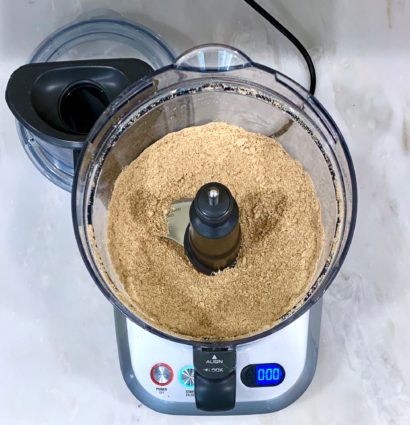
Pulse the graham crackers in the food processor until finely ground.

Transfer to a bowl and stir in the melted butter.

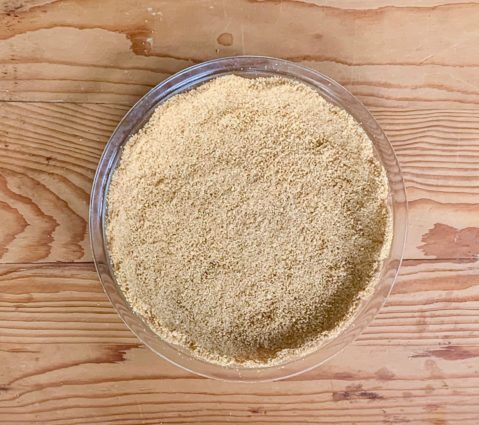
With your fingers, spread the crumbs evenly onto the bottom and up the sides of the pie pan.

You can use the bottom of a glass to firmly and evenly press the crumbs onto the bottom.

Or use a spoon to press the crumbs onto the side of the pan.

Bake the crust for 10 minutes.

Let cool to room temperature.

Make the Chocolate Cream:

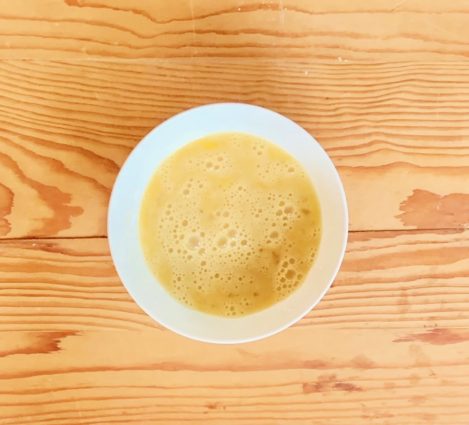
In a medium bowl, whisk the egg yolks with the sugar until smooth.

Whisk in the cornstarch.

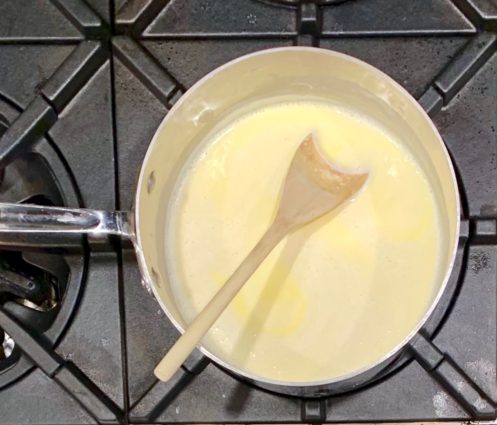
Warm the milk in a medium saucepan over medium heat until hot but not boiling.

Gradually whisk the hot milk into the egg yolk mixture.

Pour the liquid back into the saucepan.

Over medium-low heat, stirring constantly with a wooden spoon or rubber spatula, and scraping the bottom of the so it doesn’t stick.

Cook until the custard has a mayo-like consistency, about 5 minutes.

You’ll know the custard is done when it has thickened, it bubbles once or twice, and as you stir you can see the bottom of the pan.

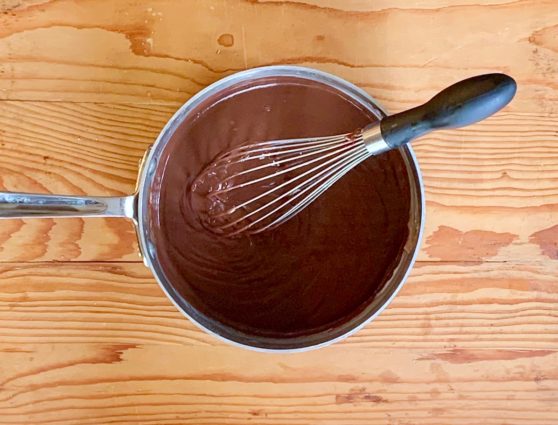
Remove from the heat and whisk in the chocolate and softened butter until smooth.

If you find that there are some lumps from the eggs, strain the custard through a medium-fine sieve.

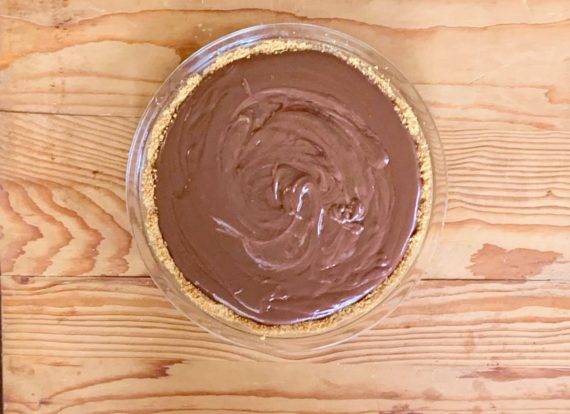
With a rubber spatula, spread the chocolate cream into the crust.

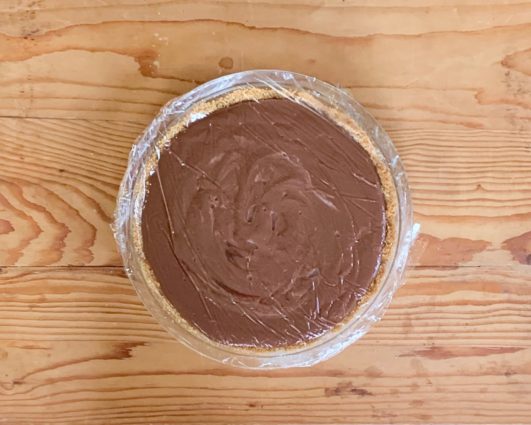
Place saran wrap directly on the top of the cream so it doesn’t form a skin.

Refrigerate until cold, about 3 hours (overnight is fine too).

Make the Whipped Cream:

Using a whisk or handheld mixer, whip the cream, sugar, and vanilla until it forms soft peaks.

Spread over the top of the chocolate cream, leaving the crust exposed.

Refrigerate until ready to serve. You can make the pie a day ahead, just put the whipped cream on the same day as you are going to serve it.

It’s that simple!
 

Mitzie

signature

[recaptcha]


Isn’t it amazing how children from the same families can have such different personalities? Raised in the same household, yet they can be as different as night and day. 

I was always be surprised at the differences between my little ones. One of them loved sports, the other hated them. My older son was quieter, more serious, and the younger was hysterically funny, always the center of attention. They basically had nothing in common, not even in looks.

Their eating habits too were the exact opposite. My firstborn grew up on a diet of pasta, pizza, French fries, and chicken nuggets with lots of ketchup, of course. I never really worried about it because I knew, someday, he would not be an adult who only ate those four things. I knew there would be far more serious battles ahead in his teenage years, so I let that one slide.

My younger son was an adventurous eater. No chicken nuggets or pizza for him. He preferred seafood and more “adult” foods. When he got his tonsils out at age four, my husband offered to get him ice cream. “No,” he replied. “I want shwimp.”

Now, they are both better eaters, and the one thing they agree on? They both hate coconut! Who knew? When I made this dish, they were very disappointed.

At least they agree on something.

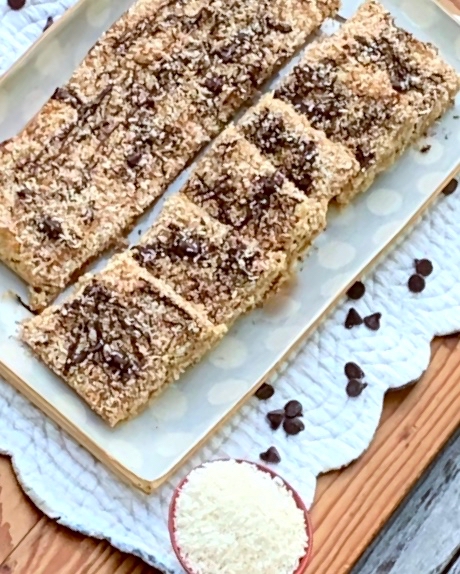
It is truly their loss. This dessert is crazy good. As the author says, “it isn’t too gooey or sweet.” The shortbread bottom is the perfect canvas for the decadent mix of coconut, vanilla, nuts, and just the right amount of sugar. I toasted some extra coconut and melted some chocolate to add on top. Because why not? Baked in a parchment sling, it comes out beautifully and it so easy to remove from the pan. You must make this. I think you’re going to relish every bite.

This recipe is courtesy of Food 52 and will make 12-16 bars that will satisfy the itch for some decadent dessert.

Ingredients for Coconut Dream Bars:

For the Shortbread layer:

1 cup all-purpose flour
1/2 cup unsalted butter, at room temperature
1/2 cup firmly packed light brown sugar

For the Coconut Layer:

2 eggs
1/2 cup firmly packed light brown sugar
1/4 cup all-purpose flour
1/2 teaspoon baking powder
1/4 teaspoon salt
1 1/2 cups unsweetened coconut flakes
1 cup chopped walnuts
1 teaspoon pure vanilla extract

Preheat oven to 350 degrees F.

Butter a 9 1/2 by 12 1/2-inch rectangular baking pan.

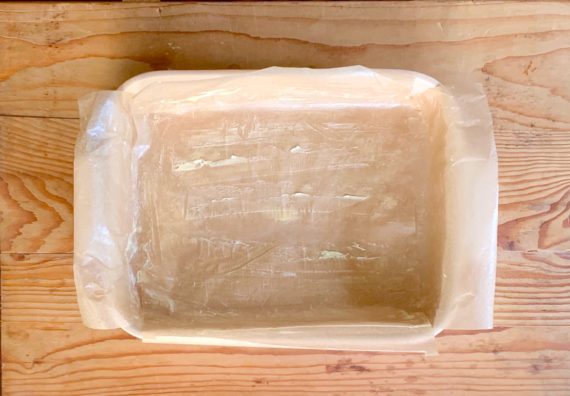
Line the pan with a parchment paper sling and liberally butter the parchment.

(A parchment paper sling stretches across the base and up the opposites sides of the pan, leaving an inch or two excess on both sides so you can use the ends to lift the bars out of the pan) 

Make the Shortbread:

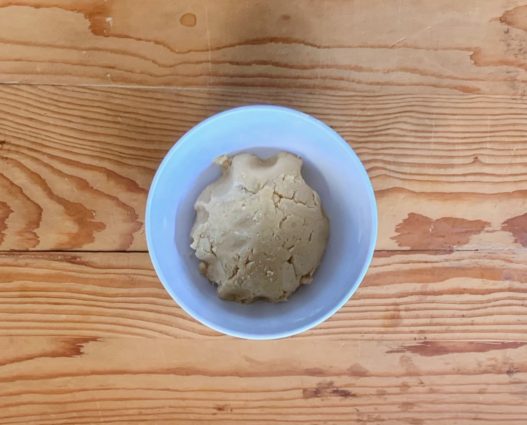
Mash together by hand the flour, butter, and brown sugar in a bowl.

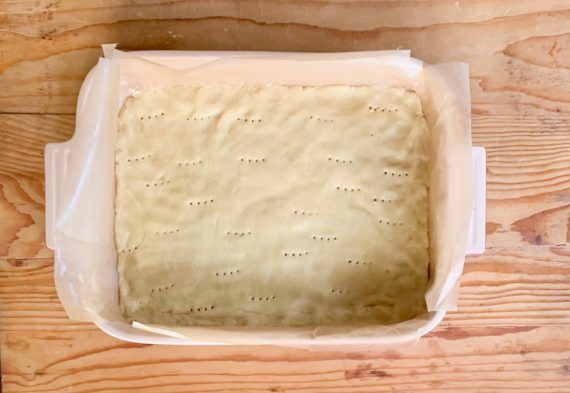
Press the dough evenly into the base of the pan.

Prick the dough in several places with a fork.

Bake until the shortbread is cooked through and golden, about 15 minutes.

Make the Coconut Layer:

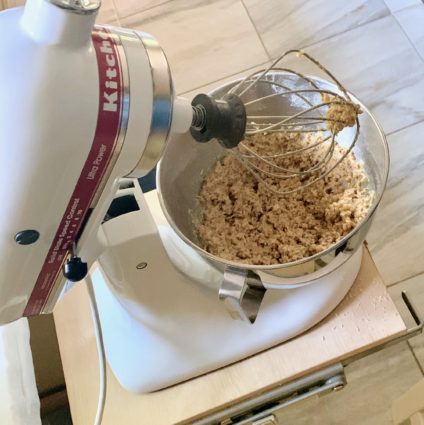
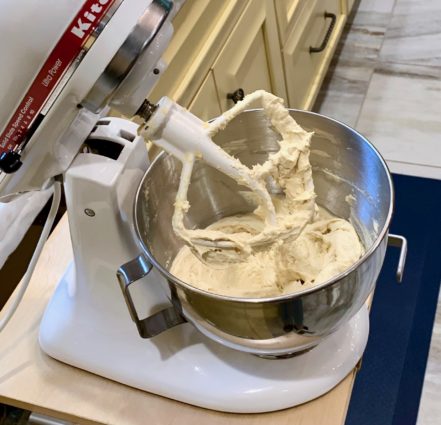
Place the eggs in the bowl of a stand mixer fitted with a whisk attachment and beat on high speed until very pale and fluffy, about 5 minutes.

Add the brown sugar and beat until light and thick, several minutes more.

In a separate bowl, whisk together the flour, baking powder and salt.

Add the dry ingredients to the eggs.

Add the coconut, walnuts, and vanilla.

Stir until thoroughly blended.

Pour the coconut mixture over the shortbread crust.

Bake until lightly golden brown around the edges, about 20 minutes.

Let cool, then remove the bars from the pan using the parchment sling, and cut into squares.

Melt some chocolate and sprinkle over bars (optional)

Store in an airtight container.

It’s that simple!
 

signature

[recaptcha]


Many moons ago, I hosted my younger son’s birthday party in our backyard. At that time, he was in love with oversized chocolate chip cookies like Mrs. Field’s used to make. There was a store in the mall near our home that made a similar cookie, so I decided to surprise him with one, and ordered the smaller of the two sizes they offered.

The morning of the party, I became unsure just how many the smaller cookie would serve, so I called back and ordered the larger one instead. They told me I could rest easy–they would have it for me later that day.

I had two errands to do before the festivities: pick up the balloons, and get the cookie. Since the party was outside, I delayed setting up until the morning of, just in case it rained overnight. Balloons all accounted for, I set out to get the cookie. Once I got there, they informed me that it was not ready, but it wouldn’t take long.  How wrong they were. I don’t even think the cookie was made when I arrived.

Cookie was finally done (they gave me the smaller cookie as well), I raced home to set up. On my way, I stopped short at a light, and the big cookie went flying onto the floor of the car, breaking into a million pieces. I called my friend Beth, hysterical. As she always does, she calmed me down and told me something I have never forgotten. “I know you’re upset right now, but someday you will be laughing aloud about this.” I laughed then and there.  The party was a huge success, and even though I served the smaller cookie, and there was more than enough for all. Lesson learned.

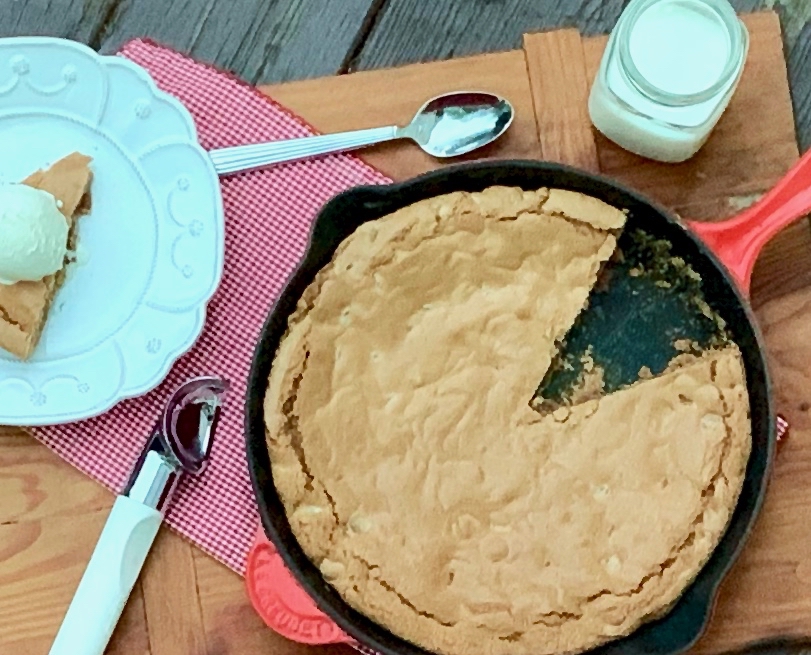
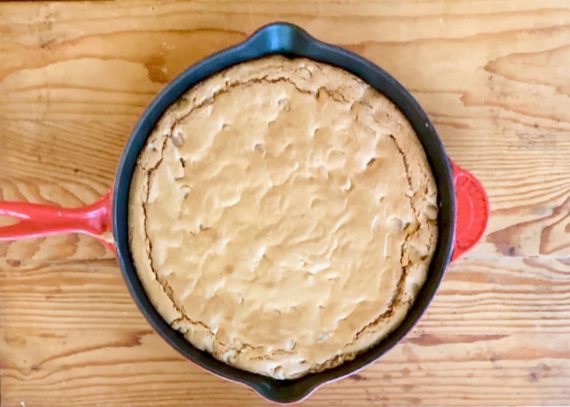
This cookie recipe exceeded my expectations. I could not find espresso powder, so I substituted cocoa powder and it worked perfectly. I also used milk chocolate chips and probably more than 8 ounces (hey, why not?). The cinnamon, cocoa powder, and milk chocolate are the stars here. It is crisp on the outside, and nice and chewy on the inside. Eat it with your favorite ice cream on top!

This recipe is courtesy of Epicurious and will serve 8 to 10 people who will never again waste time on a giant store-bought cookie.

Ingredients for Cinnamon-Chocolate Chunk Skillet Cookie:

1 1/2 cups all-purpose flour
2 teaspoons ground cinnamon
1 teaspoon baking powder
1 teaspoon espresso powder (I used cocoa powder)
1/2 teaspoon baking soda
1/2 teaspoon kosher salt
2 large eggs
1 teaspoon vanilla extract
10 tablespoons unsalted butter, room temperature
3/4 cup granulated sugar
3/4 cup (packed) light brown sugar
8 ounces high-quality milk chocolate, chopped (I used milk chocolate chips)

A heavy (preferably cast-iron) 12-inch skillet

Preheat oven to 375 degrees F.

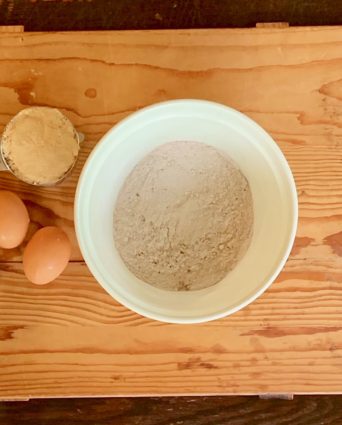
Whisk flour, cinnamon, baking powder, espresso/cocoa powder, baking soda, and salt in a medium bowl.

Lightly beat the eggs and vanilla in a small bowl.

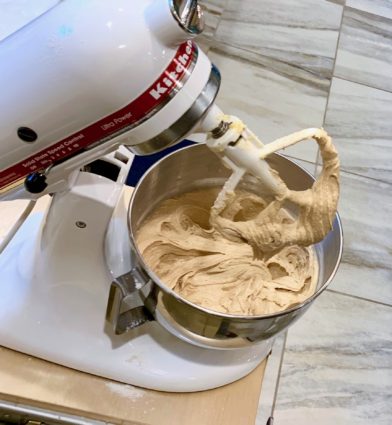
Using an electric mixer on medium speed, beat butter, granulated sugar, and brown sugar in a large bowl until light and fluffy, 3 to 4 minutes.

Add egg mixture and beat, occasionally scraping down the sides of the bowl, until mixture is pale and fluffy, 3 to 4 minutes.

Reduce mixer speed to low and gradually add dry ingredients, beating until just incorporated.

Fold in chocolate with a spatula.

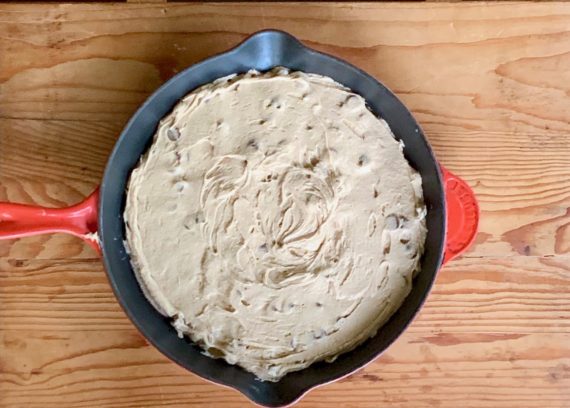
Press dough evenly into 12-inch skillet.

Bake cookie until golden brown around the edges and center is still soft, 20 to 25 minutes.

Let cookie cool before slicing.

Cookie can be made up to 3 days ahead; cover and store at room temperature.

It’s that simple!
signature

[recaptcha]


Every year for the past 10 years, my family flies down to Miami to celebrate Passover with my brother, Shelley and their family. My husband really enjoys it because he goes to play golf. And me? I love it because it is another opportunity to cook with Shelley. It was also convenient because sometimes Shelley’s guest list is rather large, and it is nice to be there to help her, as she helps me on Thanksgiving!

That said, I am always glad that Shelley does Passover at her house. I am not fond of the type of cooking that needs to be done for this holiday. First, there are too many rules about what you can eat. Second, there are too many eggs to be peeled. I have tried every trick to make egg peeling easier and trust me, nothing works. Third, so many of the ingredients in Passover food are bad for you.

This year, because they hosted a wedding, they are not having Passover at their home. So I am having the first night of the holiday at my home. I love hosting, so I am happy to have everyone. It’s just all those rules that make the cooking aspect such a chore for me! Looking for recipes for the holiday is not easy, but it is exciting nonetheless, as I am trying to use fresh ingredients when I can. But really, matzoh crackers are just not my thing.

I have much-loved guests coming, so it will still be a labor of love. I made a menu I know will be wonderful, and I will be happy once I finish peeling all those damn eggs!

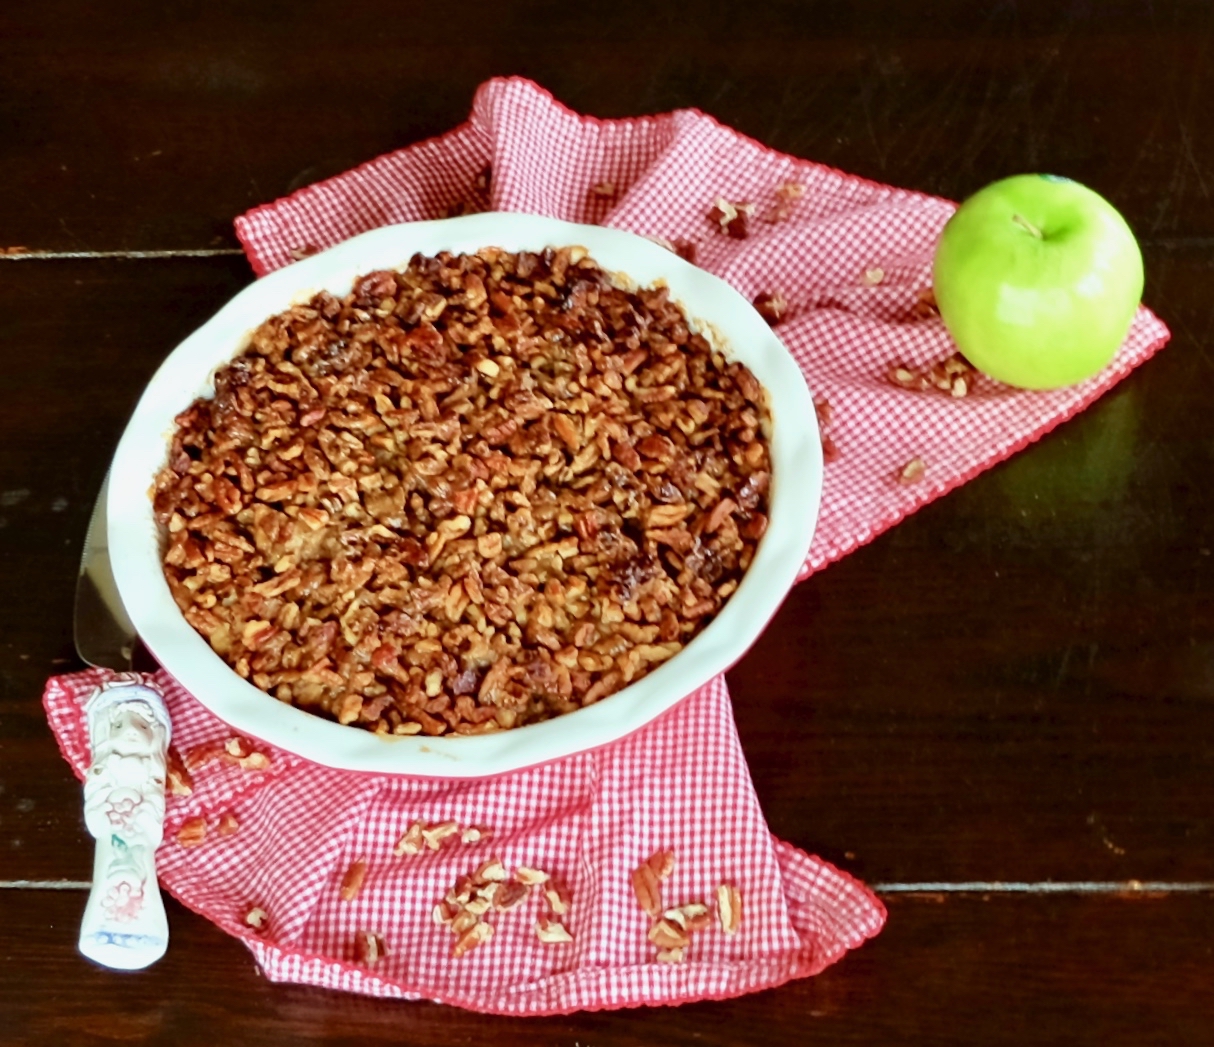
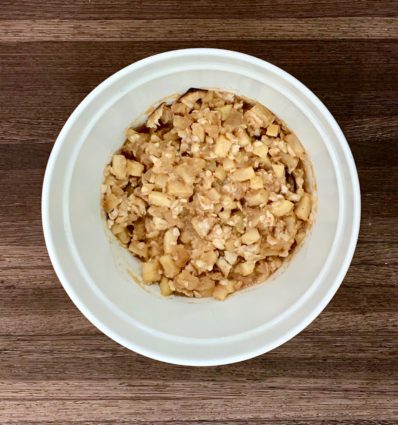
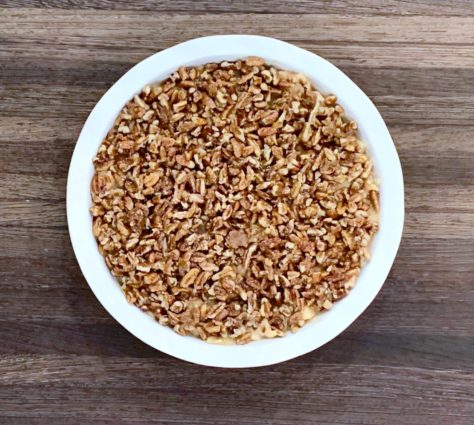
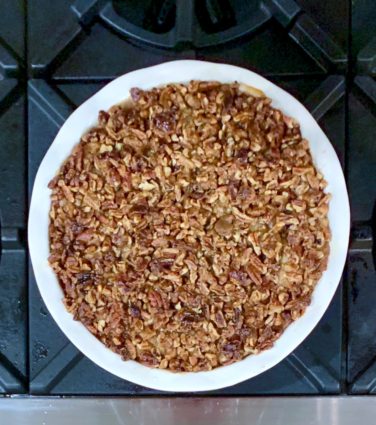
This pie is perfect for the holiday. It is sweet, but not too sweet. The cinnamon, vanilla, and nutmeg combine for pleasant savory goodness. The lemon gives it a nice tang. It is topped with candied pecans, which adds extra “wow!” factor. It has no crust, so it is more of a crumble than a pie.

Don’t forget to “like” my page on Facebook and sign up for my weekly newsletter!

This recipe is courtesy of Tori Avey, and will serve 12 people who will be humbled by this beautiful pie, and actually surprised how good this Passover dessert is.

Ingredients for Passover Apple Pecan Pie:

5 ripe, granny smith apples – peeled, cored, and chopped
¼ cup butter or margarine, divided
½ cup applesauce
⅓ cup white sugar
5 tablespoons brown sugar, divided
1 ½ tsp cinnamon
1 tsp vanilla
1/4 tsp nutmeg
1/2 lemon, juiced
3 egg matzos, crushed into large crumbs
2 large eggs
1/2 tsp salt
Nonstick cooking oil spray
3/4 cup finely chopped pecans

Preheat oven to 350°F.

In a medium saucepan, melt 2 tbsp butter or butter substitute

Add applesauce, white sugar, 2 tbsp brown sugar, vanilla, cinnamon, nutmeg and lemon juice.

Stir till well combined, then bring to a boil.

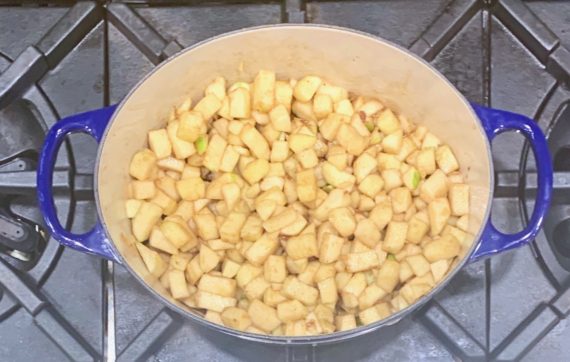
Reduce heat to medium and add diced apples to pan. Stir apples till they are well coated with sugar mixture.

Cover the pan and cook over medium heat for exactly 8 minutes, stirring occasionally. Do not overcook!

Uncover apples at the end of cooking and remove from heat; allow to cool.

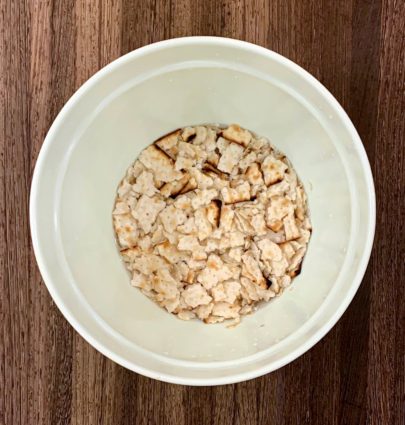
Meanwhile, place crushed matzos into a large mixing bowl and cover with water.

Let matzos soak for 1 ½ minutes (no longer), then drain in a colander.

Gently squeeze the matzo crumbs in the colander to remove excess moisture.

In a small bowl, beat the eggs with the salt.

Add eggs to the matzo and stir till well combined.

Pour cooled apples and sugary syrup from the pan into the mixing bowl with the matzos.

Stir till combined.

Reserve the pan.

Spray a deep pie dish generously with cooking oil spray.

Pour the apple mixture into the pie dish.

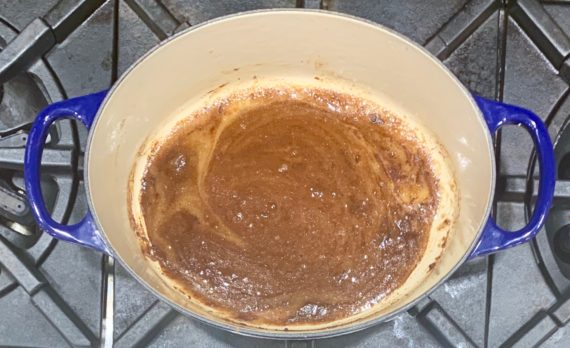
In the same saucepan you used to cook the apples, melt 2 tbsp butter, or butter substitute, then stir in 3 tbsp brown sugar and mix to form a thick syrup.

Stir chopped pecans in the syrup till they are well coated. Remove pan from heat.

Sprinkle candied pecans evenly over the top of the apple pie.

Bake pie for 45-50 minutes, until the top is golden brown and pie is cooked through.

Serve warm.

It’s that simple!
SPRING!

signature

[recaptcha]