Fall has ended and Winter is now here… for most of us. Every year after Thanksgiving, my husband and I fly to our go-to island in the Caribbean for some much-needed rest and relaxation. 

With many regrets, we arrived home just this week. We always try to take as many days as we can, but how many exactly depends on my husband’s work. This time we got to take eight days. When you take two travel days off, it is not much time, but we make the most of it. The island we go to is so beautiful and the people are just lovely. Many know us personally, which makes the week even nicer.

We had an exciting run in with Mother Nature while we were there.  We took a sail on a very, very small catamaran, piloted by the water sports specialist at our hotel. It was beautiful and sunny when we first left. The catamaran only had a sail, no motor, and the wind was perfect. After about 20 minutes, the sun had gone in and as our guide pointed out, it started raining where we left off. We stayed out an extra 15 minutes, thinking the rain had passed, before making our way back.

We actually sailed right into a huge rainstorm! That was not even the worst part. There was no wind at all, so there we were for about 30 minutes, sitting in a huge Caribbean rainstorm in the middle of the ocean! The wind started to come back slowly, but were barely moving. A 20-minute trip turned into an hour and a half nightmare. We were soaked from head to toe and freezing too. Have you ever heard how it rains for 5 minutes in the islands, then the sun comes out? Not this time. We were laughing about it the whole time, even though we were cold and wet. This was definitely an experience we will never forget.

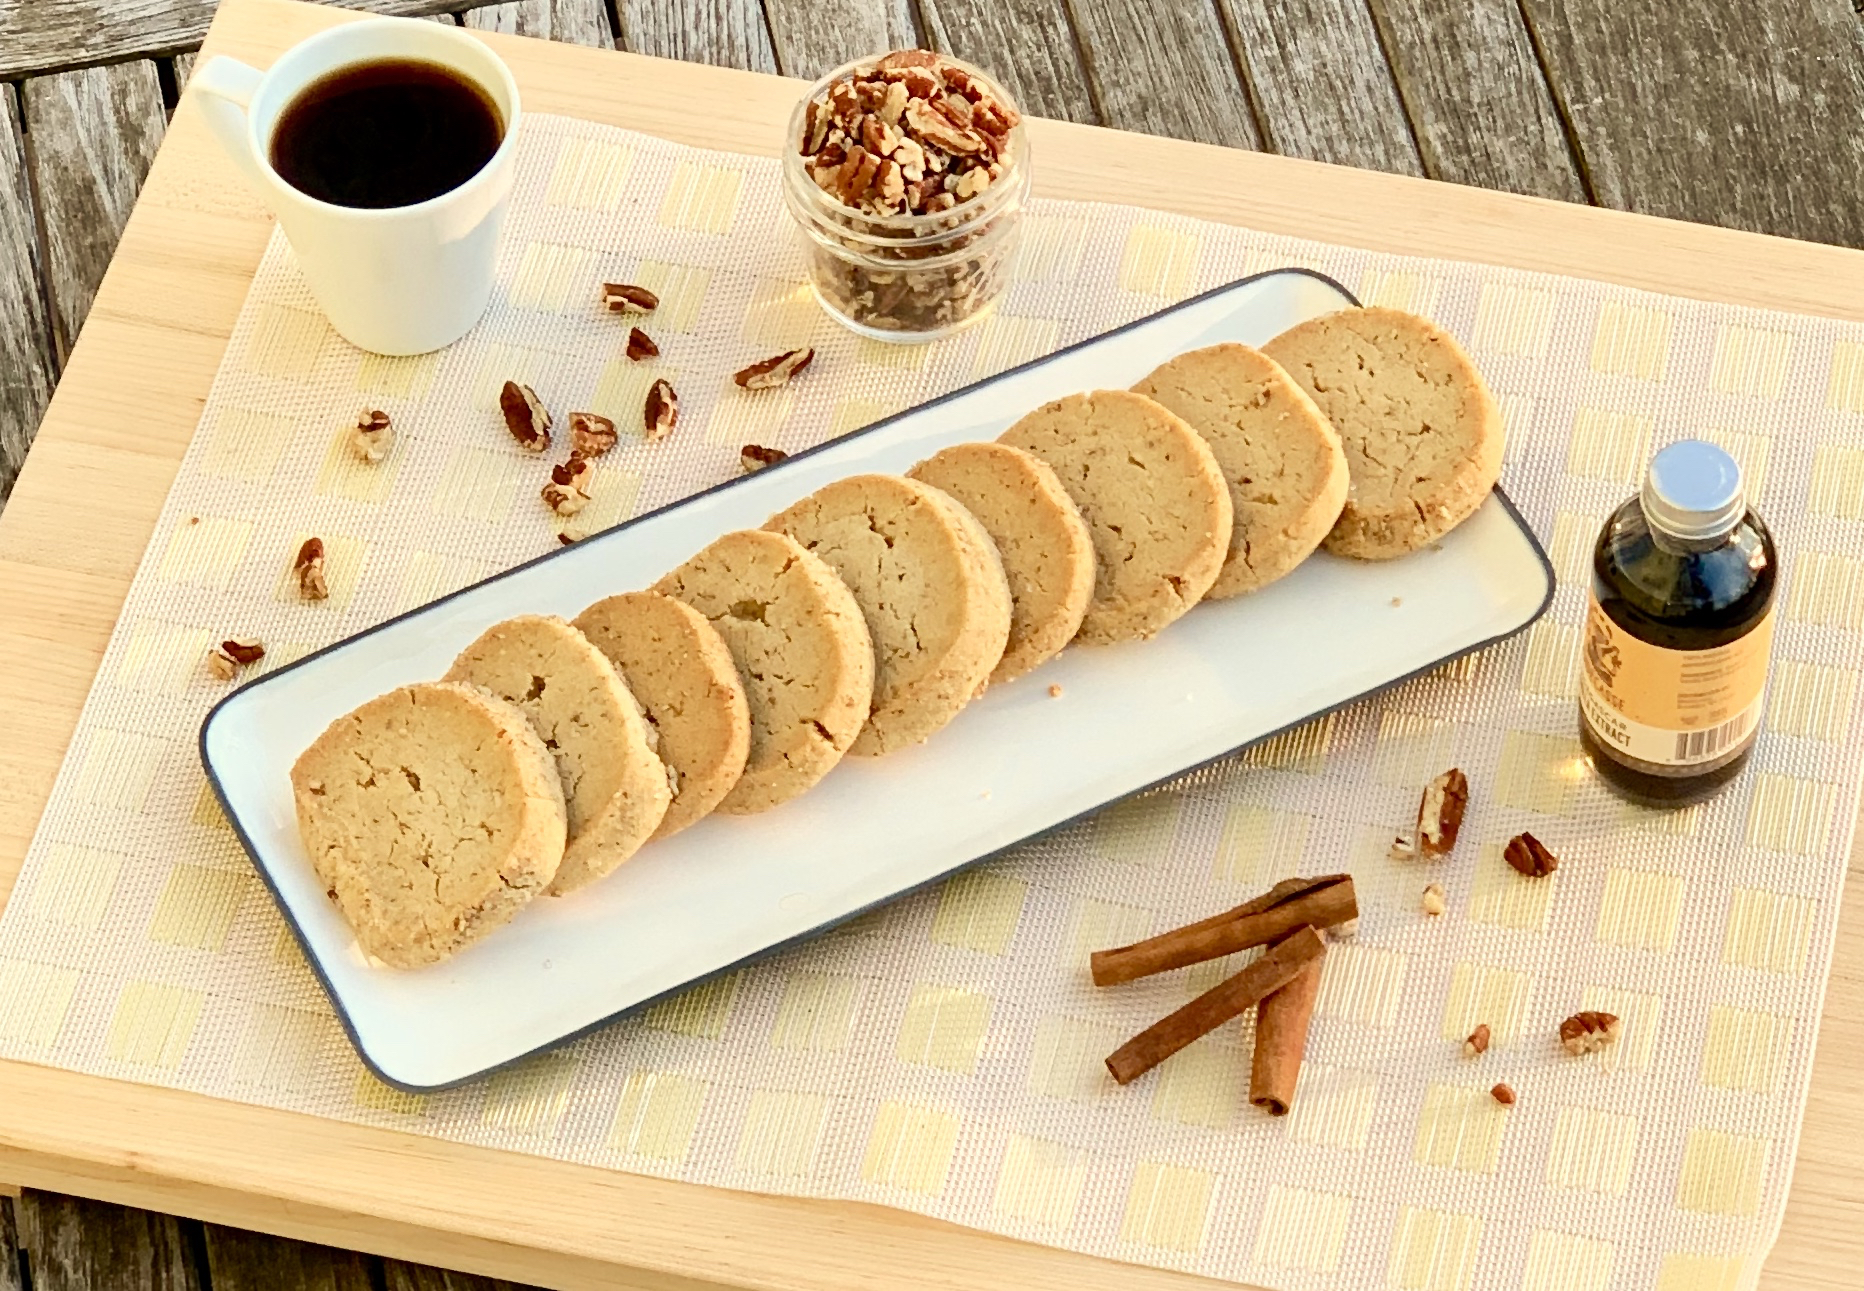
Now our vacation has ended, and my thoughts are on Christmas and menus and shopping lists. This is one dessert that will be on my menu this year. It is a simple recipe that packs a huge amount of flavor. The shortbread has such perfect crumbly edges. The sugars make it sweet (but not too sweet), and the vanilla, cinnamon and salt are savory perfection. The pecans offer a welcome crunch and a different texture. I hope you add them to your holiday menu, your guests will be delighted.

Note:  Baked cookies freeze well up to 3 months. Thaw overnight in the refrigerator and bring to room temperature before serving.

The recipe is courtesy of Sally’s Baking Addiction and will make about 24 pieces of shortbread that will offer your guests the perfect holiday morsel.

Ingredients for Pecan Shortbread Cookies:

1 cup unsalted butter, softened to room temperature
3/4 cup packed light or dark brown sugar
1/2 cup granulated sugar 
1 and 1/2 teaspoons pure vanilla extract 
2 and 1/4 cups all-purpose flour
1/2 teaspoon ground cinnamon
1/4 teaspoon salt
3/4 cup (100g) finely chopped pecans

For rolling:

1/4 cup coarse sugar 
1/4 cup finely chopped pecans

In a large bowl using a hand-held mixer or stand mixer fitted with a paddle attachment, beat the butter, brown sugar, and granulated sugar together on medium-high speed until combined and creamy, about 2 minutes.

Beat in the vanilla extract on high speed.
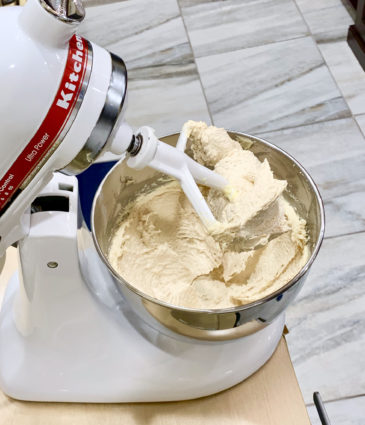
Scrape down the sides and bottom of the bowl as needed.

Add the flour, cinnamon, and salt, then beat on low speed until combined.

Beat in the chopped pecans.
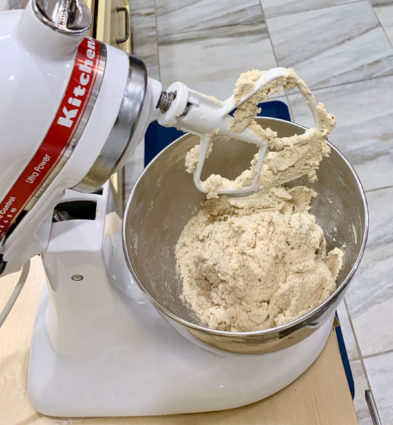
The cookie dough may look like it won’t come together, but keep beating, it will come together.

The cookie dough will be thick.
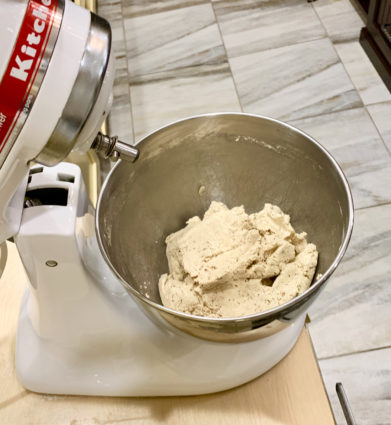
Turn the dough out onto a floured work surface and, with floured hands, divide or cut into two.
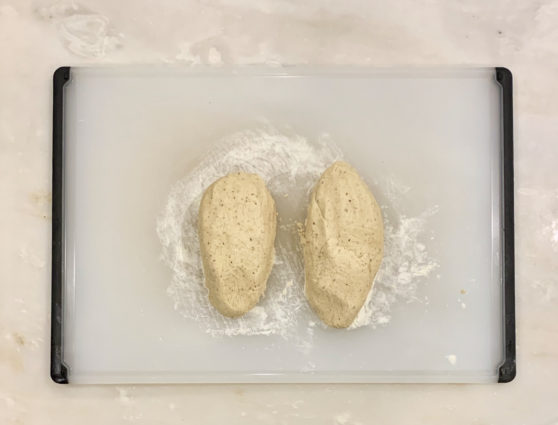
Shape each half into an 8-inch log, about 2.5 inches in diameter.

The measurements don’t have to be exact.
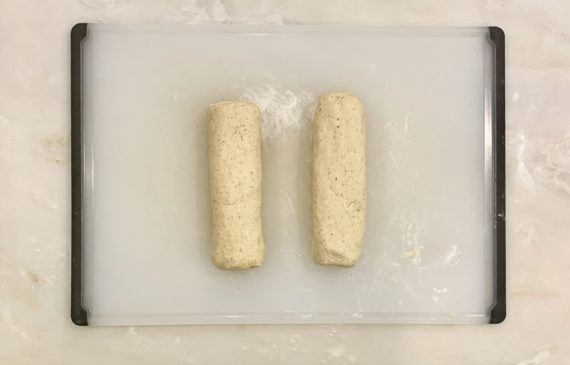
Tightly wrap the logs in plastic wrap and chill in the refrigerator for at least 3-4 hours and up to 5 days.
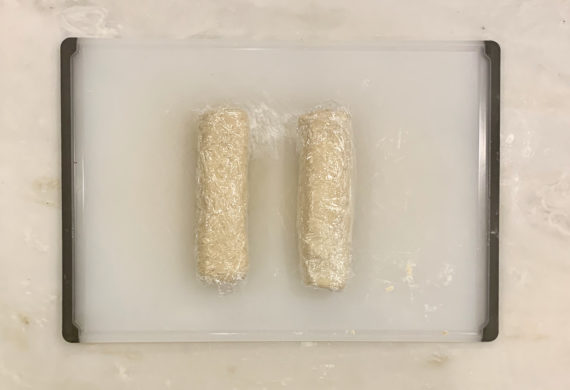
Chilling is mandatory for this cookie dough. The author prefers to chill hers for 4 hours or even overnight– the colder the dough, the thicker the cookies. (I would also roll the dough into the pecan-sugar mixture before I chilled it. It was hard to get it to stick after it was chilled.)

Preheat oven to 350°F.

Line two large baking sheets with parchment paper or silicone baking mats. 

Set aside.

For Rolling:

You can actually roll the logs before or after chilling them.

Mix the coarse sugar and chopped pecans together on a large plate.

One at a time, roll the log into the mixture.

Press it down so the nuts and sugar stick to all sides.
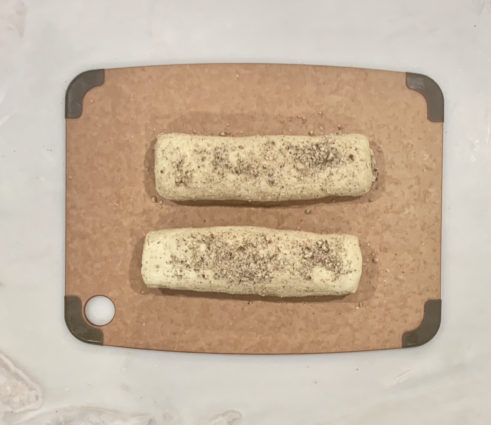
Slice each log into 12 equally thick cookies and place cookies on baking sheets about 2 inches apart.
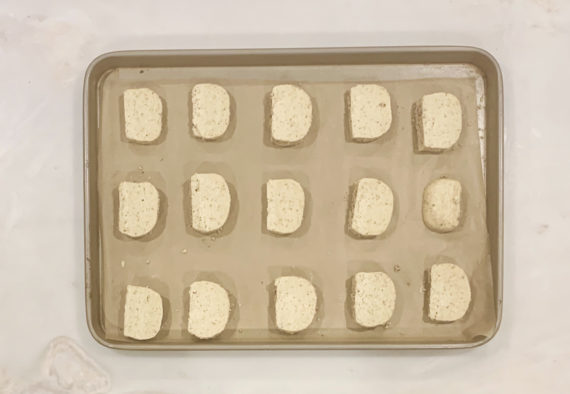
Bake the cookies for 12-14 minutes or until brown around the edges. 

Remove from the oven and allow cookies to cool on the baking sheet for 5 minutes before transferring to a wire rack to cool completely.

These cookies come out of the oven very soft. Don’t be fooled, they are cooked through and will harden as they cool.

Cookies will stay fresh covered at room temperature for 1 week.

It’s that simple!

I wish you all a very

signature

[recaptcha]


If you’re at all like me, you want to get everything done faster.  I’m always looking for a better way to do everything. Time is precious, so why spend it poorly?  I’ve learned so much from looking at tips in cooking magazines, so I thought I might share a few of the best with you.  I know the holidays are stressful, but perhaps these shortcuts will help to make it easier on you.

Make your shopping list early and look at it often so you become familiar with it. This will help you not to forget something at the store (who among us hasn’t done a last minute grocery run?), but also make sure that you have a chance to add items you need as they pop up.

Prep, prep and more prep. Cut up anything you can (especially veggies) before you begin cooking. Place them in reusable storage containers or bags. Then put all the ones you need for the recipe into one large container and label it with masking tape. This way when you are ready to prepare the dish, you have all the ingredients you need right there, cut and ready to go.

Make as many dishes you can in advance and freeze them. Many sauces can also be prepped and frozen a week or so before– if they’ve separated upon thawing, be sure to stir or blend as necessary.

Set a trashcan right next to you or set up a bowl on the counter for food scraps.

Always take your meat and poultry out 10 degrees before the time the recipe tells you to. The FDA requires recipes to tell you the exact temperature that the meat should be, but the food always, always cooks another 8 to 10 degrees after it has come out of the oven. You do not want anything overcooked.

Read and re-read your recipes before you prepare them. It helps to become familiar with them, so you don’t forget to add an ingredient, or add something that should go in later in the recipe.

Last but not least, try to enjoy the process so that you can actually enjoy the holiday.

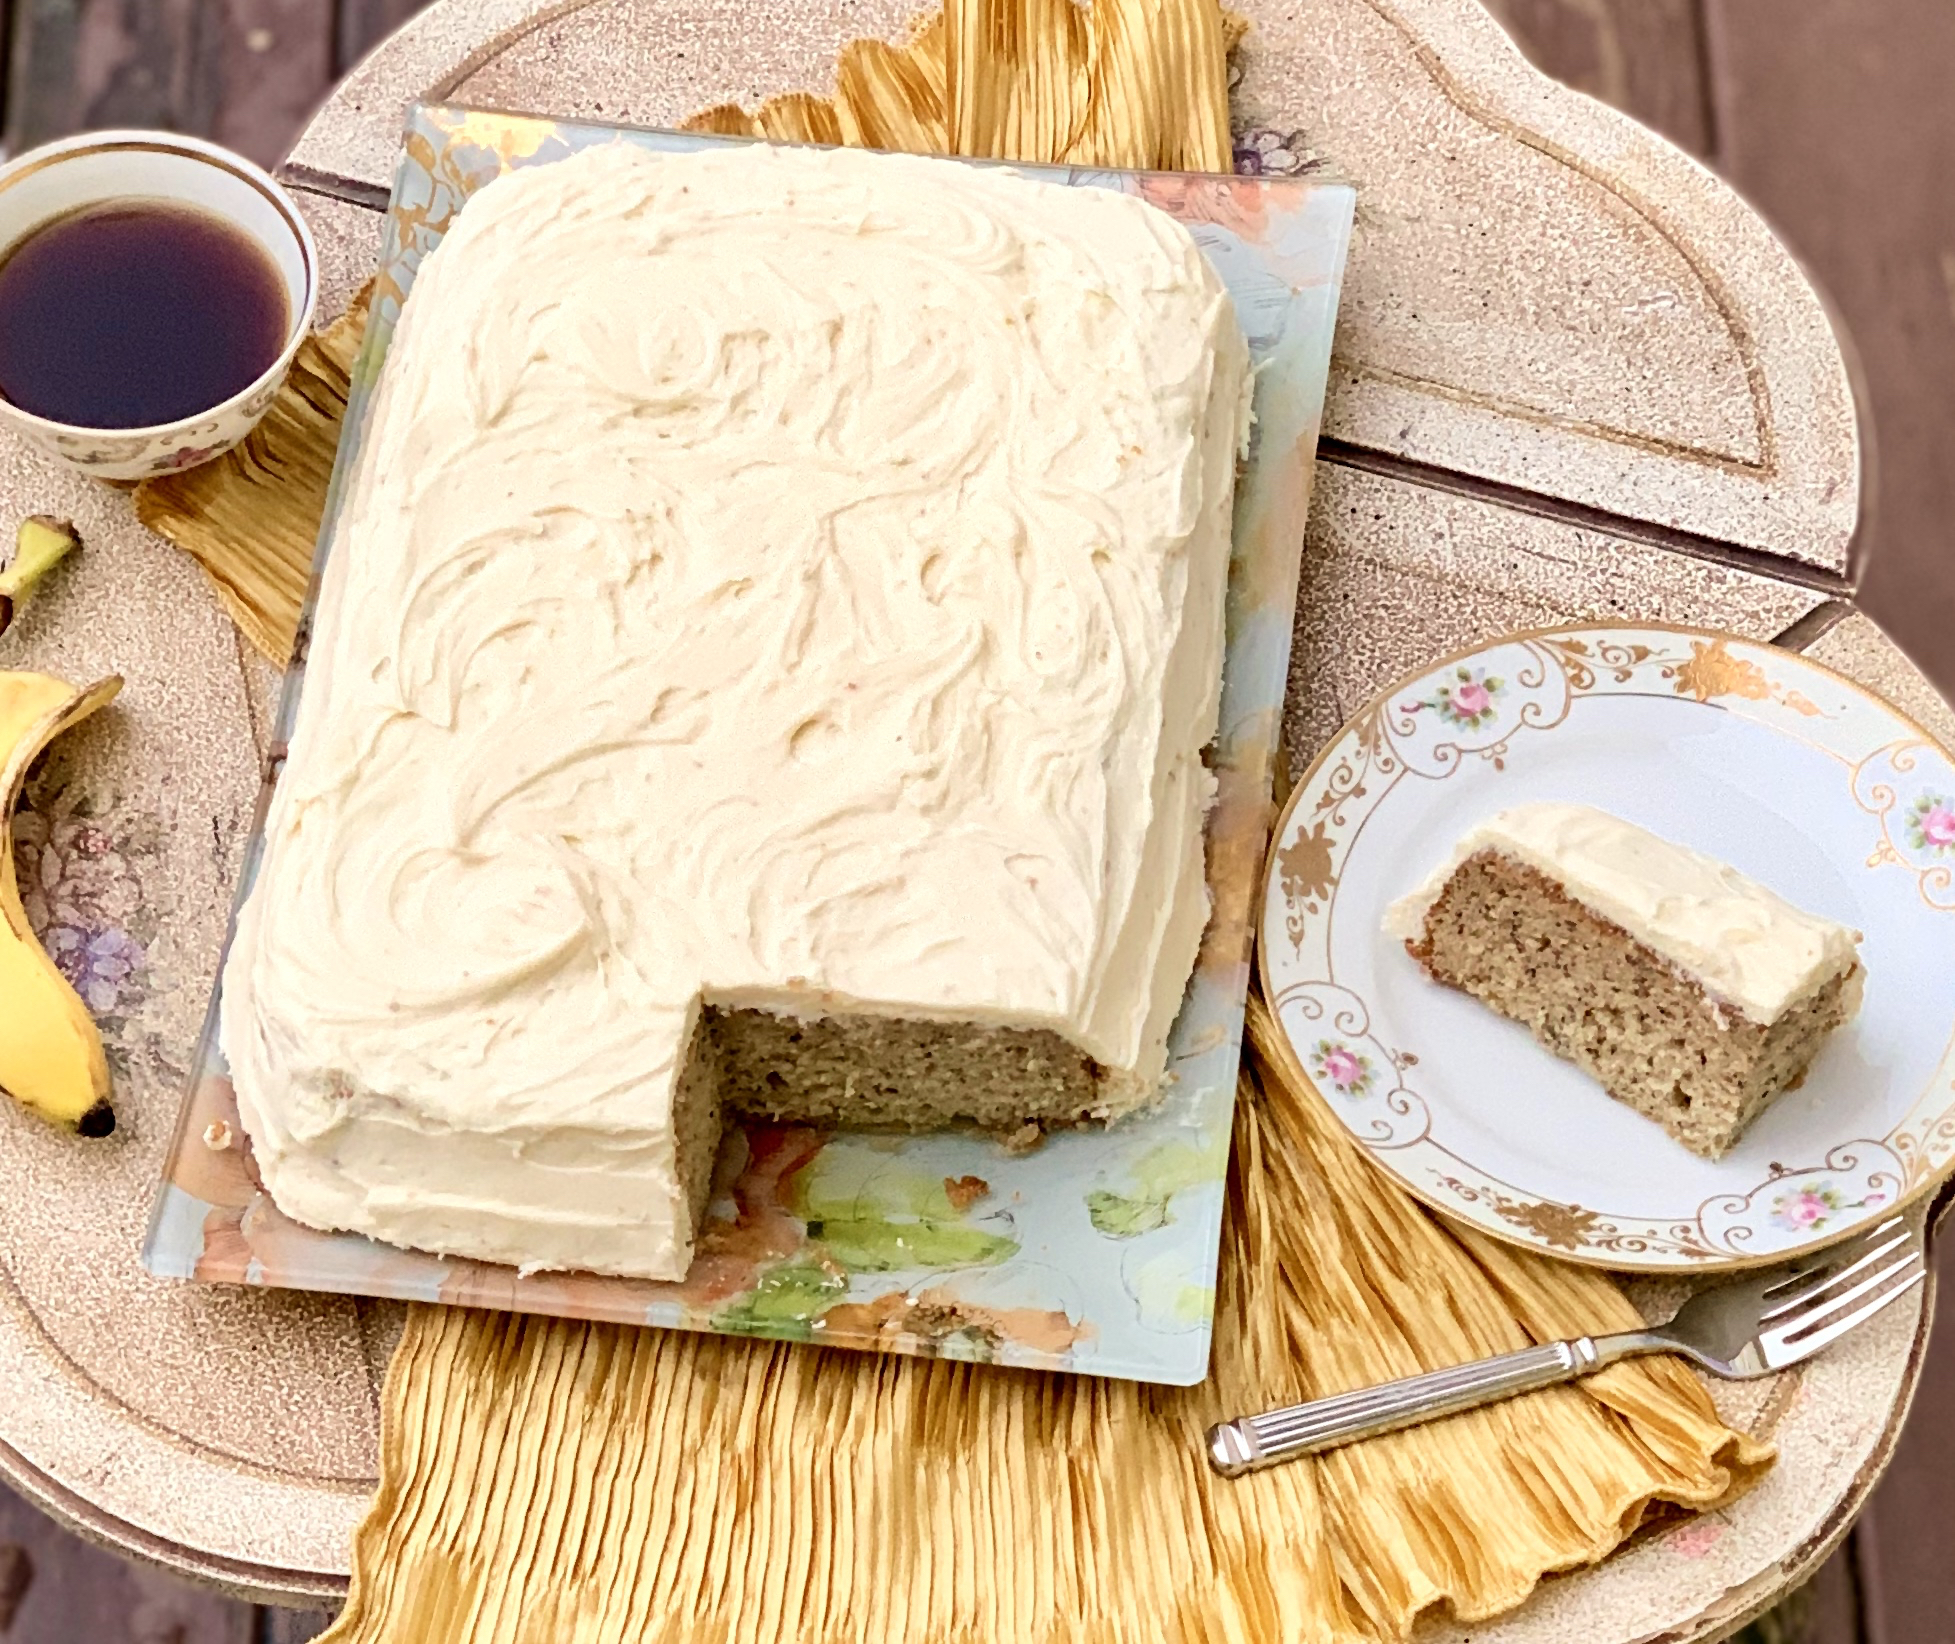
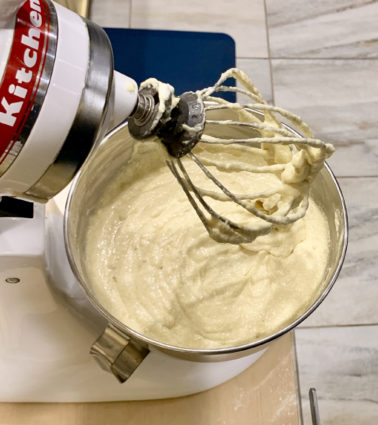
After reading this recipe, I was so eager to try it. The recipe calls for you to take the cake out of the oven and put it straight into the freezer. I have never heard of preparing a cake this way. The reason they give is that it makes the cake extra moist. I do not know if it actually does, but I have to say, this was one very moist cake indeed. 

This is one dessert that will shine on your holiday table. The buttermilk makes this cake so moist and delicious and who knows, maybe freezing it helped as well. The lemon juice adds a nice tang. The vanilla is that savory goodness, and the cream cheese frosting is the perfect topping for this luxurious cake. This is one dessert that will make everyone at your holiday happy, happy, happy!

This recipe is courtesy of Allrecipes and will serve 18 people who will love the easy prep for this delicious cake!

Ingredients for Banana Cake VI

1/2 cups mashed bananas
2 teaspoons lemon juice
3 cups all-purpose flour
1 1/2 teaspoons baking soda
1/4 teaspoon salt
2  cups sugar
3/4 cup butter, softened
3 eggs
2 teaspoons vanilla extract
1 1/2 cups buttermilk
1 recipe Cream Cheese Frosting

Make the cake:

Preheat oven to 275 degrees F (135 degrees C). 

Grease and flour a 9×13 inch pan. 

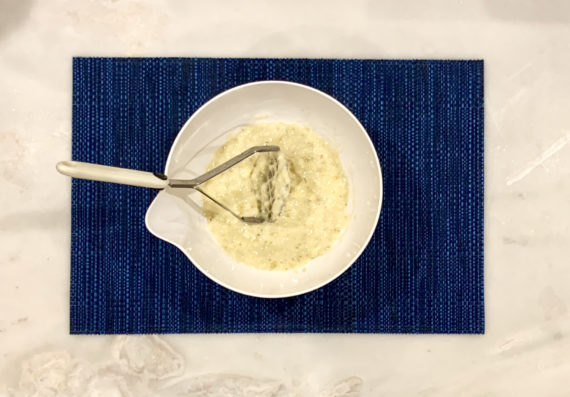
In a small bowl, mix mashed bananas with lemon juice, set aside.

In a medium bowl, mix flour, baking soda and salt. 

Set aside.

In a large bowl, cream 3/4 cup butter and 2 1/8 cups sugar until light and fluffy. 

Beat in the eggs one at a time, then stir in 2 teaspoons vanilla. 

Beat in the flour mixture alternately with the buttermilk. 

Stir in banana mixture. 

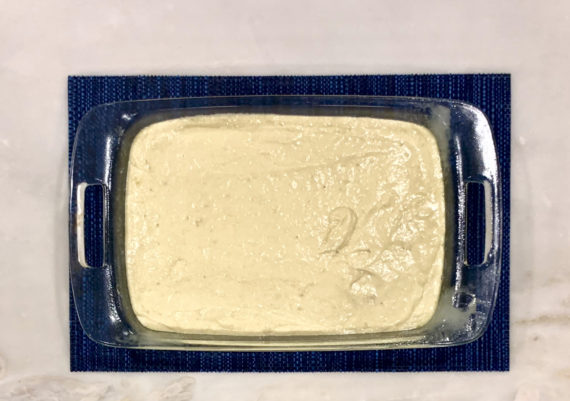
Pour batter into prepared pan.

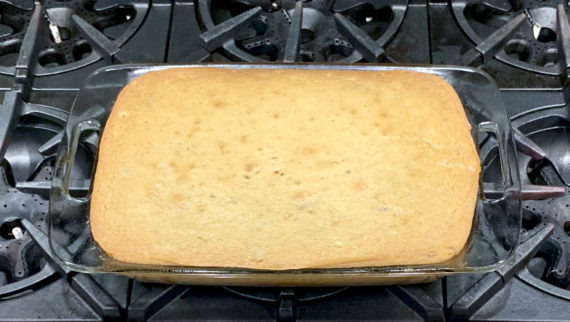
Bake in preheated oven for 1 hour, or until a toothpick inserted into the center of the cake comes out clean. 

Remove from oven and place directly into the freezer for 45 minutes. 

This will make the cake very moist.

Make the frosting: 

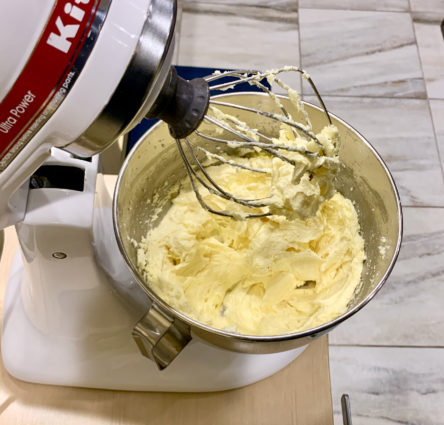
In a large bowl, cream 1/2 cup butter and cream cheese until smooth. 

Beat in 1 teaspoon vanilla. 

Add confectioners sugar and beat on low speed until combined, then on high until frosting is smooth. 

Spread on cooled cake.

It’s that simple! ( it really is!)

Mitzie and Macy
Macy will be turning 13 this month, yikes!
Where does the time go?

signature

[recaptcha]


And just like that, another wonderful Thanksgiving celebration is done. It takes months of planning, but it is truly a labor of love. The week leading up to this holiday is always stressful, but I forge through it. This year, I had to set the table myself, which is an overwhelming task. Carefully setting a table for 46 people takes a lot of time if you want to make sure it is decorated correctly. My 800 pound dining room table has to be moved, then all the folding tables have to be brought up, tablecloths put on and then the plates and cutlery.  All 46 chargers, plates, salad plates, and soup bowls are placed neatly and correctly. It took six hours of work, but I am so proud of the final product.

Up until the Wednesday before the holiday, I am on my own in the kitchen. Mostly I make appetizers I can freeze like the chicken meatballs, the spinach balls, and the gougere cheeseballs. The sweet potato pie and soup are made and frozen as well. My sister-in-law and her family arrive on Wednesday and the real cooking begins. That’s also when the fun begins. We all have the best time, including my great-nephew and niece, 10 and 7 years old. Of course, there may be a few food fights in between, but that lightens up the mood for adults and children alike. 

On Thursday, the cooking continues in earnest. This year, to my utter shock and fear, we lost power to our home at 3:00pm on Thanksgiving–I had two turkeys in the oven! Thank goodness, my home has a generator that allows electricity to flow as normal. The generator kicked in, but my two electric wall ovens did not come back on. Panic set in. I ran down to check the circuit breakers and they were fine. Finally, after about 10 minutes, the ovens began working again. Turns out, they just needed time to reboot. I am so glad for the generator, because without it, we would have had to cancel Thanksgiving; the power was out in my neighborhood for several hours. 

Thanksgiving truly is my favorite holiday. No wondering if the sweater you bought will fit, or if they’ll like the bracelet you bought for them, just lots of food and love and being all together. It doesn’t get better than that.

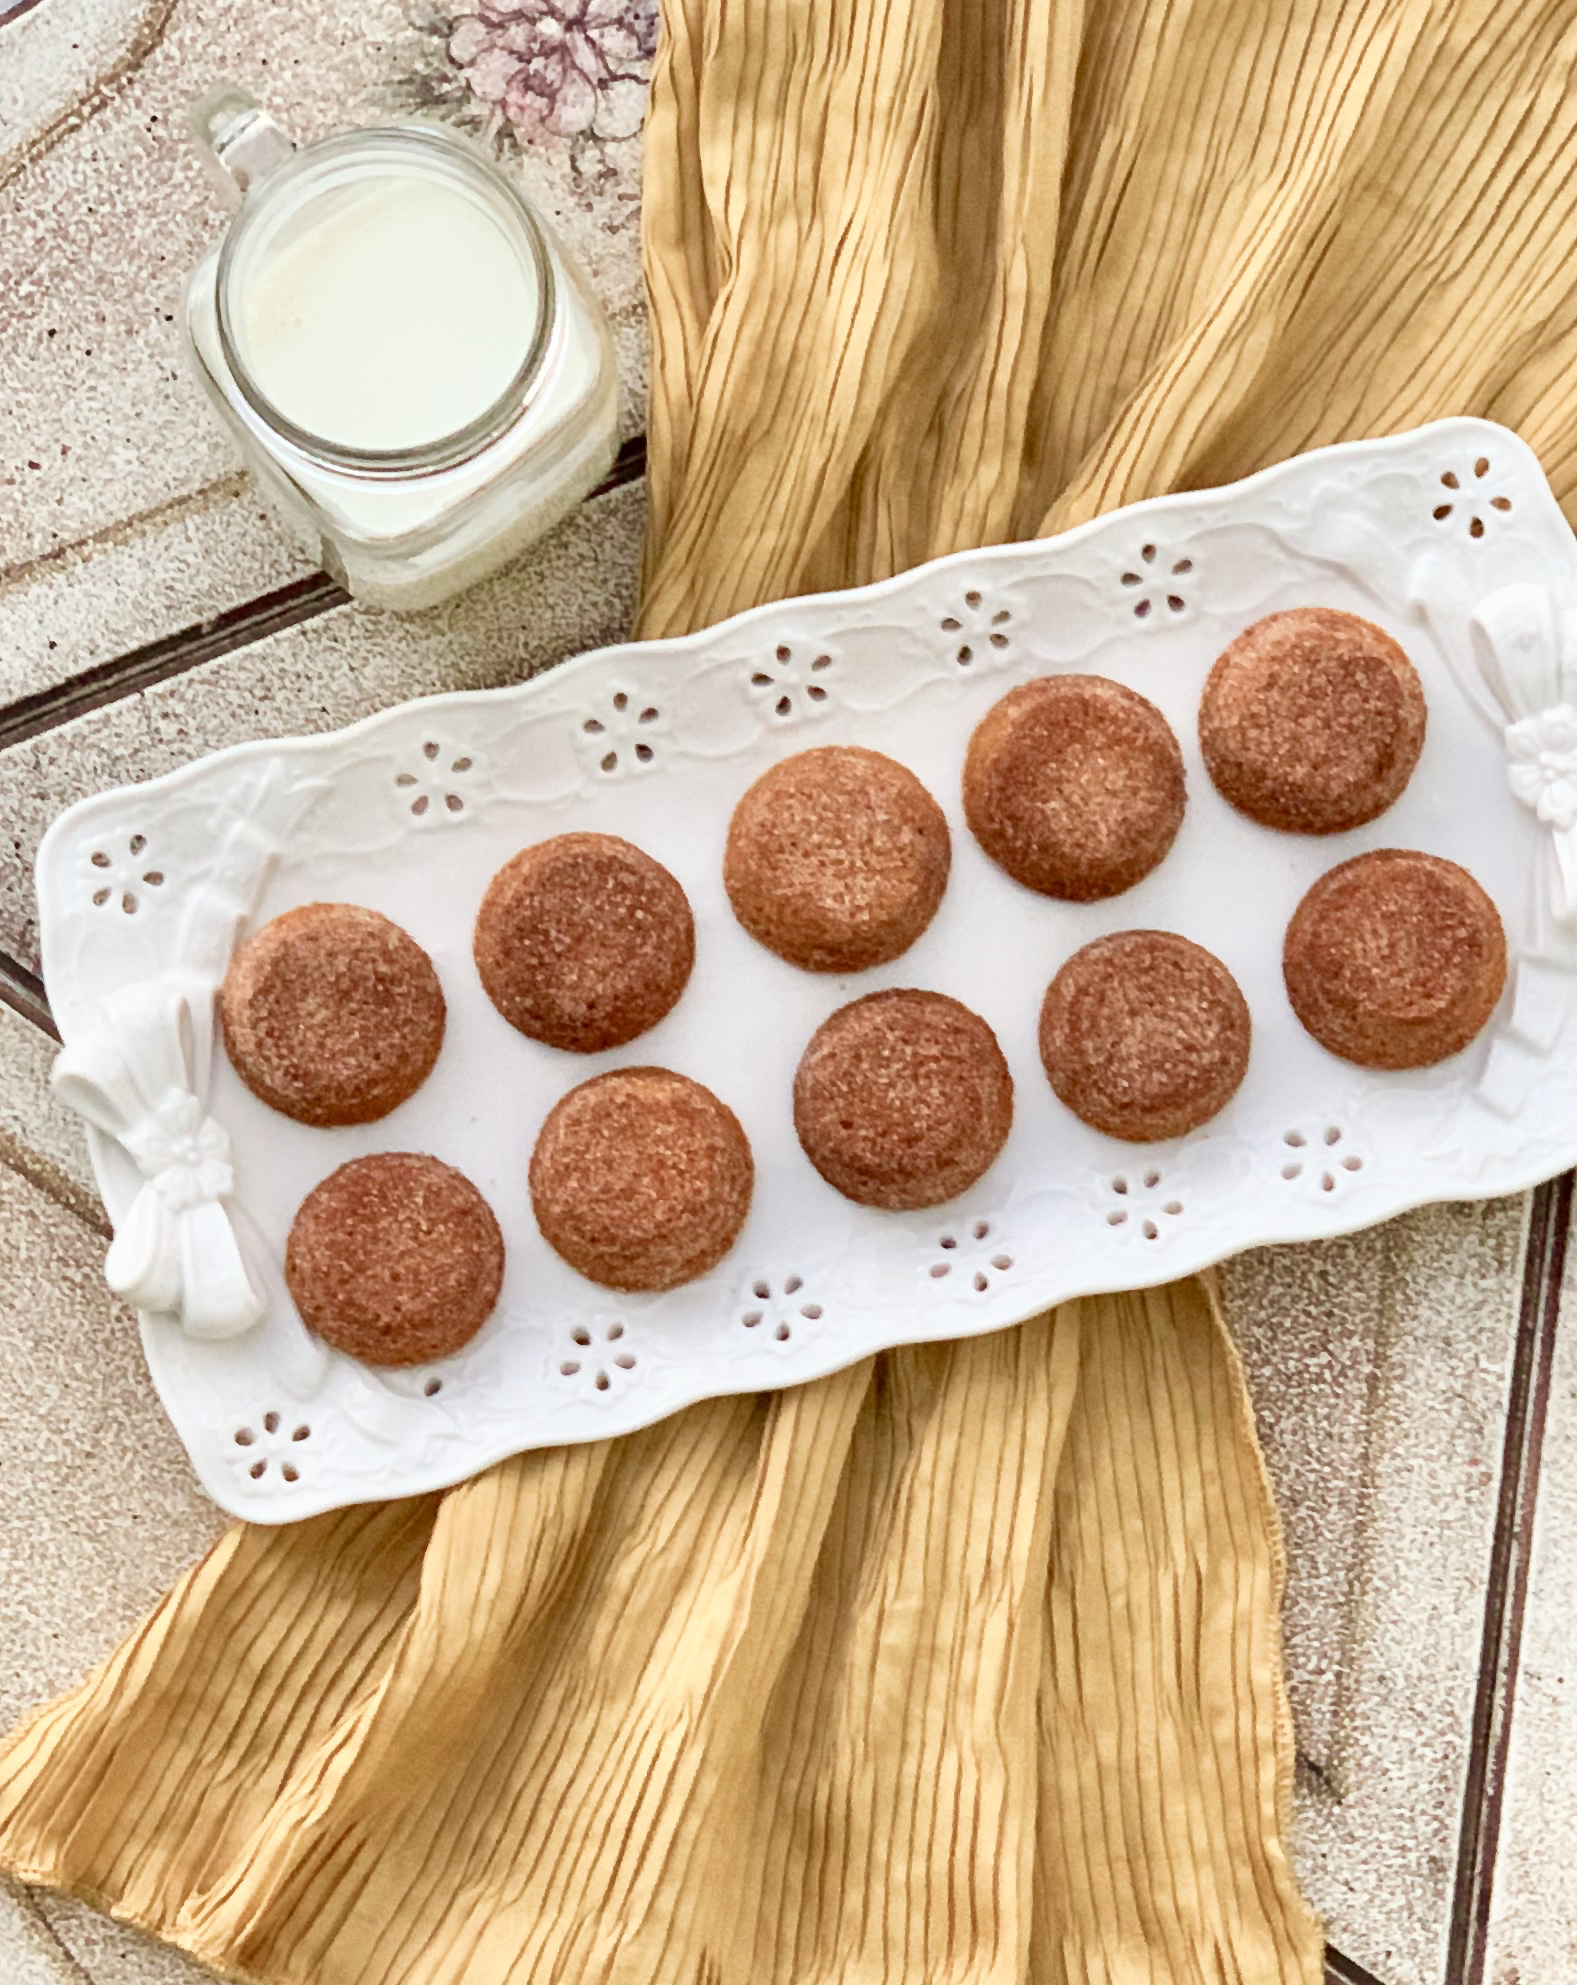
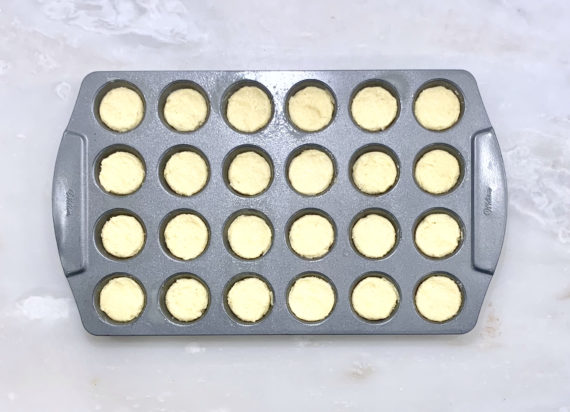
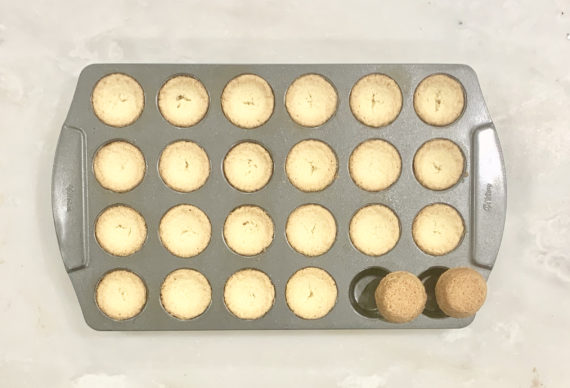
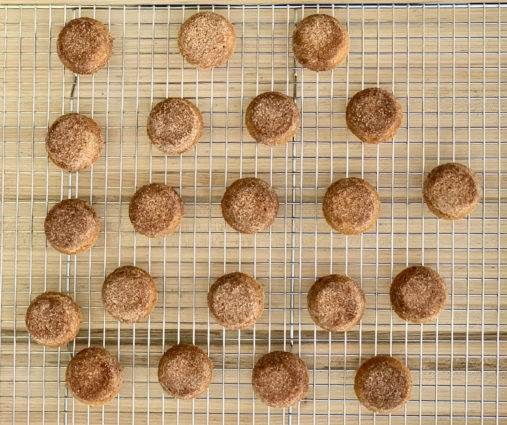
This recipe is one of the desserts that was brought to my home, and they were so good. Once I got the recipe, I knew I had to share it with you. Don’t let the picture fool you. They may look like mini-muffins, but they are definitely cookies. It is a little twist on the classic shortbread cookie. The cornmeal gives them a nutty aroma. They are just the right amount of sweet. The vanilla and cinnamon add that needed savory essence. You are not going to be able to eat just one of these cookies. I would bet on that.

This recipe is courtesy of Martha Stewart and will make 30 cookies that will be gone in a flash.

Ingredients for Brown Sugar-Cornmeal Shortbread Cookies:

1 1/2 cups unbleached all-purpose flour
1/2 cup fine yellow or white cornmeal
1 teaspoon kosher salt
2 sticks unsalted butter, room temperature
1/2 cup packed light-brown sugar
2/3 cup granulated sugar, divided
1 large egg, room temperature
1 teaspoon pure vanilla paste or extract
1 teaspoon ground cinnamon, preferably Ceylon

Preheat oven to 300°F.

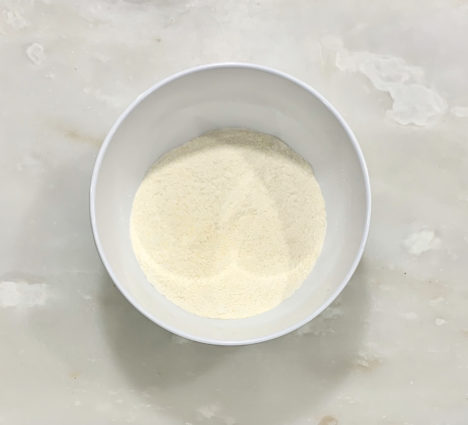
Whisk together flour, cornmeal, and salt to combine.

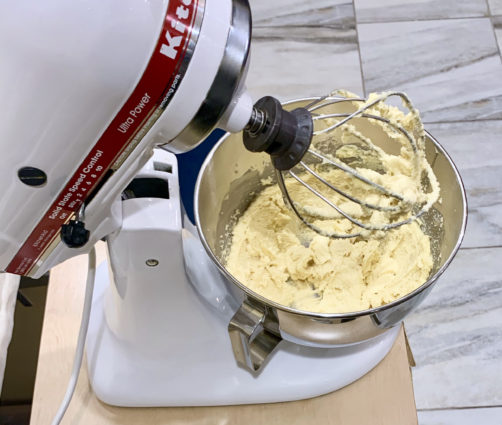
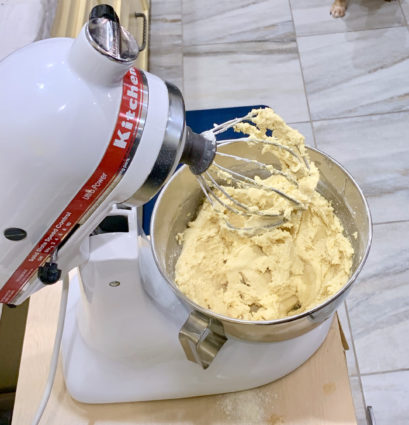
In a mixer fitted with the paddle attachment, beat butter with brown sugar and 1/3 cup granulated sugar on medium speed until light and fluffy, 2 to 3 minutes.

Add egg and vanilla; beat until smooth.

Reduce speed to low and gradually add flour mixture, beating just until combined.

Spoon a scant 2 tablespoons (1 ounce) dough into each cup of a mini muffin tin.

Firmly rap tin against a counter a few times to ensure dough reaches bottom edges of each cup.

Flatten tops with your fingers.

Bake until cookies are golden brown and set, 25 to 30 minutes.

Let cool in tin 5 minutes.

Meanwhile, in a small bowl, stir together remaining 1/3 cup granulated sugar and cinnamon.

Flip cookies out of tin.

Working with a few at a time, toss cookies in cinnamon sugar to evenly coat; transfer to a wire rack and let cool completely. Cookies can be stored in an airtight container at room temperature up to 1 week.

It’s that simple!


Aaron and Jenna juicing

signature

[recaptcha]


I just can’t believe that the three weddings are over, and my niece’s bridal shower is behind me. September and October are gone and November is rushing by.  We are flying towards Thanksgiving, and though I have already done so much, I have a million and one things left to do.

My dining room is ready to be set and this week I will start making all the dishes that can be frozen, like the sweet potato pie and the soup, which I still have to choose. I also have to choose the majority of my menu, though I know for sure I will have some Thanksgiving classics. For this massive production, I order two twenty-pound turkeys, ten turkey thighs (we are dark meat eaters) and 35 short ribs that will have to be browned before they are cooked. I try to change the side dishes every year to build some excitement and keep people interested. I usually pick out 5 to 6 side dishes, which my sister-in-law Shelley, her daughters and I make fresh that morning. If we don’t get to all of them, that’s okay. No guest in my home will go hungry.

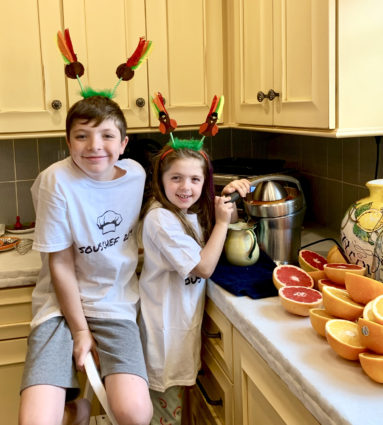
The husbands are in charge of putting together the appetizers, which is hilarious to watch. We have years of funny videos of them, but I must admit that each year they get better and more organized. My great-niece and nephew help out too. They juice all the juices we will need for the bar, and help the husbands with the appetizers. For my family, Thanksgiving is the most beloved day of the year. We are all together, cooking, eating, drinking, and having a blast.

From here on out, I am going to pick out recipes (mainly sides and desserts) that might be good for you to have on your menu this year. 

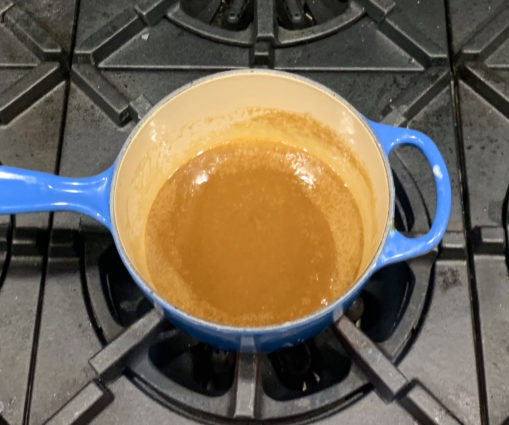
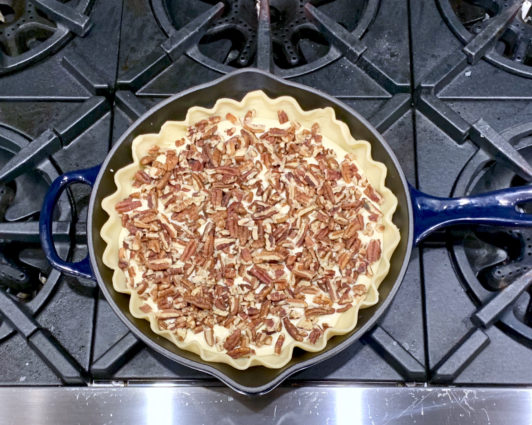
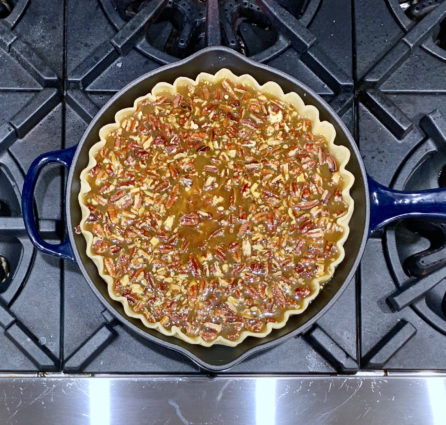
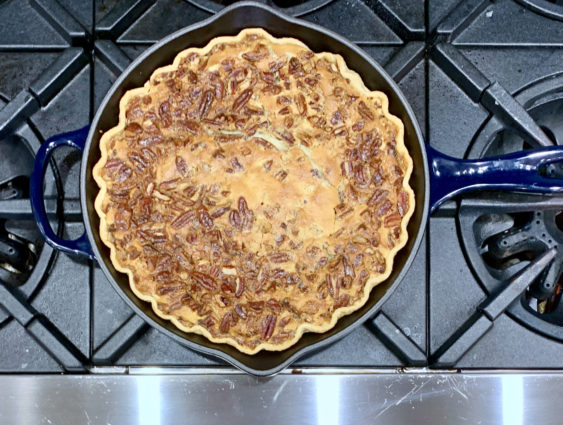
This dessert could not be any easier to prepare–you mix everything together and throw it in the pie shell. The tricky part is making the caramel sauce. If you have an enamel-bottom pot, I would recommend using it. Stirring the caramel often ensures that it becomes smooth and creamy and will not burn. This pie should be prepared the day before and placed in the refrigerator so it sets.

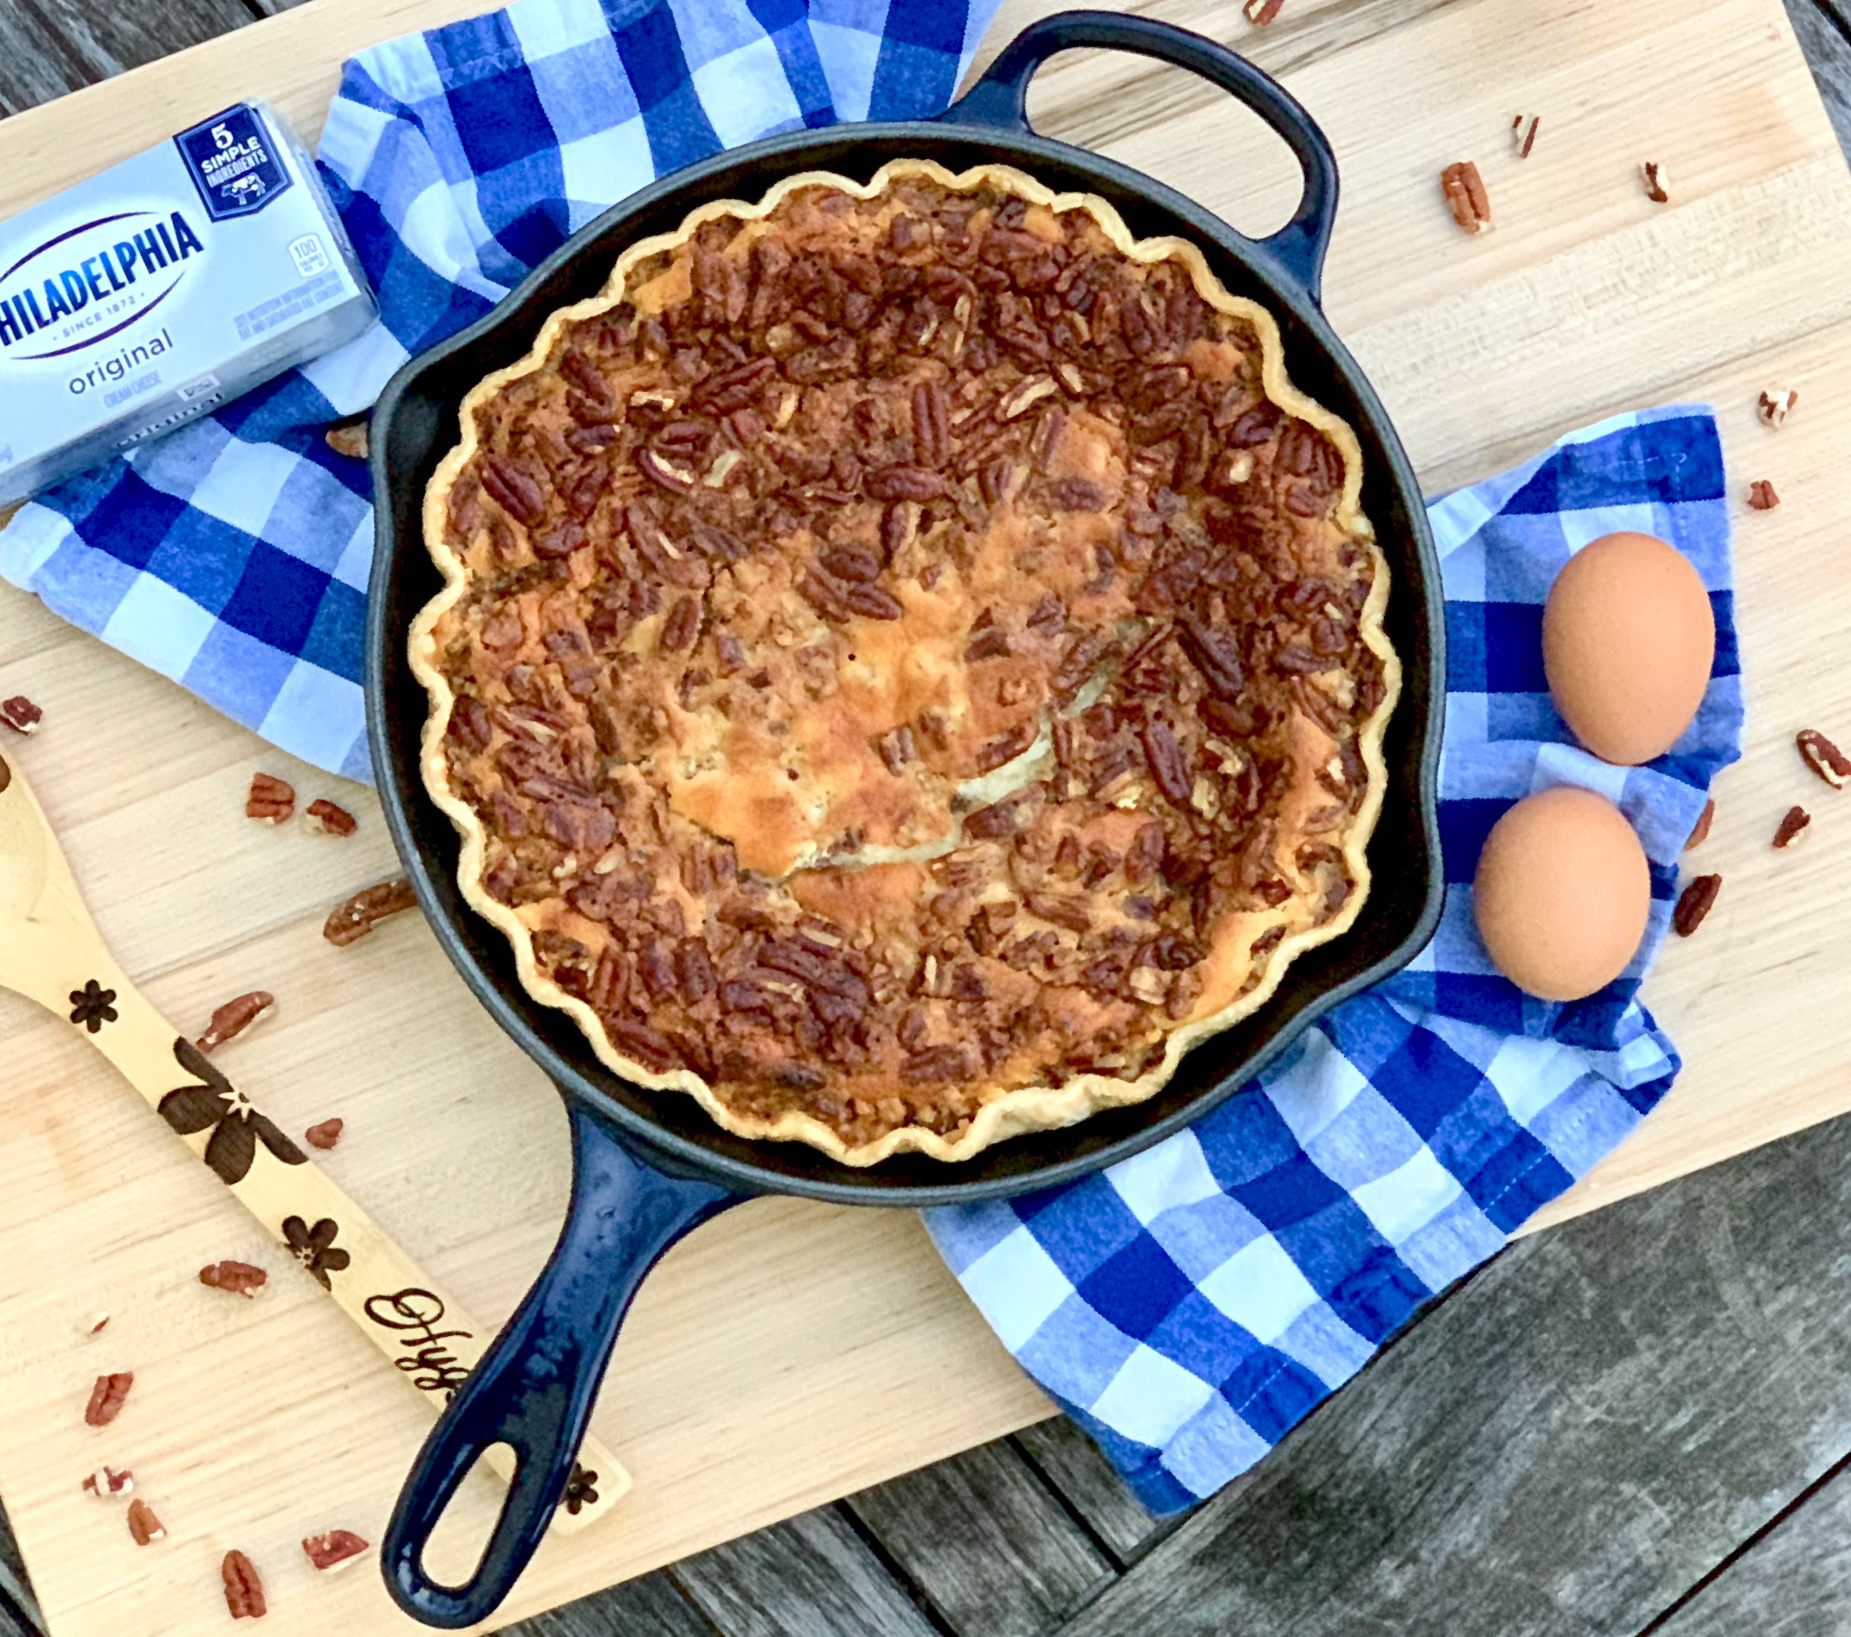
Oh boy, is this one yummy dessert. Who doesn’t like cream cheese skillet pie? The cream cheese and eggs make it velvety and delicious.  The vanilla adds a savory touch. The caramel sauce is additional deliciousness and the pecans give it just the right crunch. It is so easy to make, yet people will think you have been slaving over it all day. This is a perfect Thanksgiving treat, and there is no reason NOT to make it!

This recipe will serve 6 people who will love gathering around your Thanksgiving table.

Ingredients for Caramel Cheesecake Skillet Pie:

For the filling:

1 sheet refrigerated pie crust
1 package (8 ounces) cream cheese, softened
1/2 cup sugar
4 large eggs
1 teaspoon vanilla extract
1-1/4 cups chopped pecans

For the Caramel sauce:

1/2 cup (1 stick) butter
1 cup light brown sugar
1/4 cup half and half
1/2 teaspoon coarse salt

Preheat oven to 375°.

In a deep pot over medium-heat add butter, brown sugar, and half and half.

Cook, stirring occasionally until butter is melted and sugar has dissolved.

Bring to a boil and continue to cook and continuously stirring for about another 2 to 3 minutes. 

Stir in salt.

Take the pot off the heat and set aside.

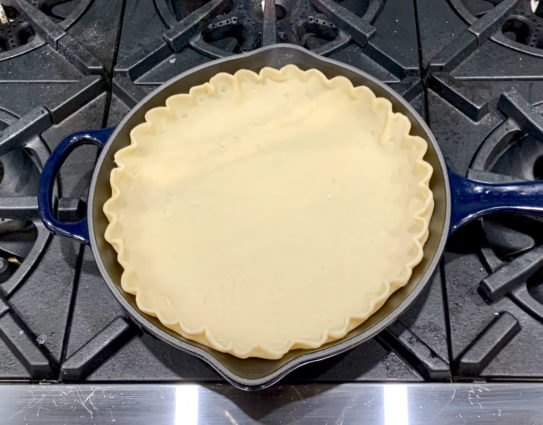
Line a 9-inch deep-dish pie plate or cast-iron skillet with pastry.

Trim and flute edges.

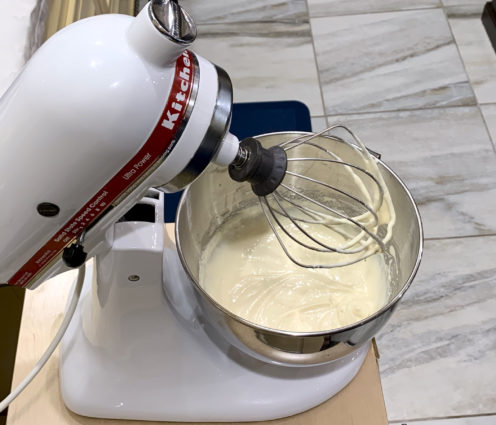
In a small bowl, beat cream cheese, sugar, 1 egg and vanilla until smooth.

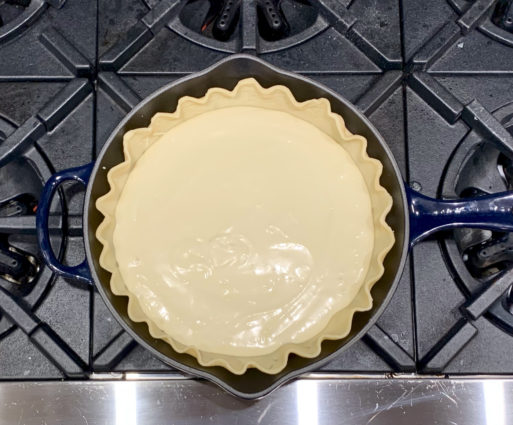
Spread into pastry shell.

Sprinkle with pecans.

In a small bowl, whisk remaining eggs; gradually whisk in caramel until blended.

Pour slowly over pecans.

Bake 35-40 minutes or until lightly browned (loosely cover edges with foil after 20 minutes if pie browns too quickly).

Cool on a wire rack for 1 hour.

Refrigerate 4 hours or overnight before slicing.

It’s that simple!

signature

[recaptcha]


I love the recipes from Sally’s Baking Addiction. It sounds like she is really in your kitchen talking to you.  She also offers helpful tips to avoid common kitchen disasters. I’ve found many of her tips useful for general cooking, but here are a few specific to today’s pound cake recipe.  I’ve paraphrased for clarity.

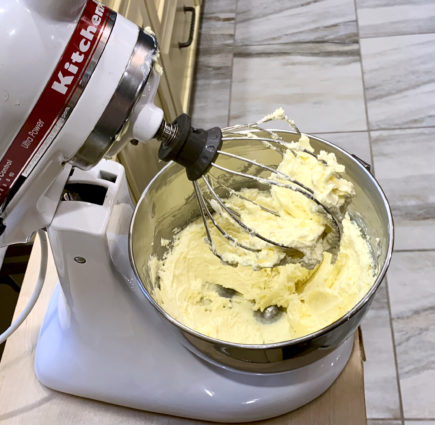
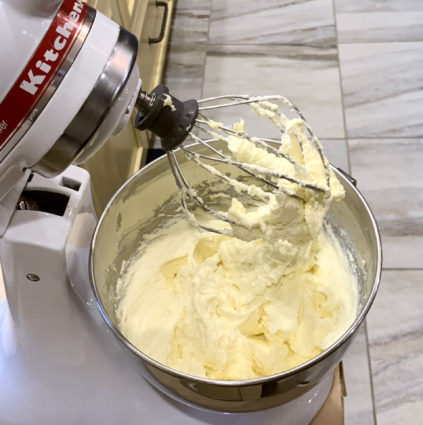
  1. Mix, mix, mix: Beat the butter until creamy. Add the cream cheese, then beat the two until smooth– get all the cream cheese lumps out now. Beat in the sugar, then add the sour cream and vanilla. It sounds like a lot of mixing, but that’s okay!
  2. 1 egg at a time: Add the eggs 1 at a time, making sure each is incorporated before adding the next. When the eggs are room temperature, the mixer only needs a few turns and won’t over-mix them. Over-mixed batter = boat anchor cake.
  3. Add dry ingredients: Add the dry ingredients right into the same mixing bowl.
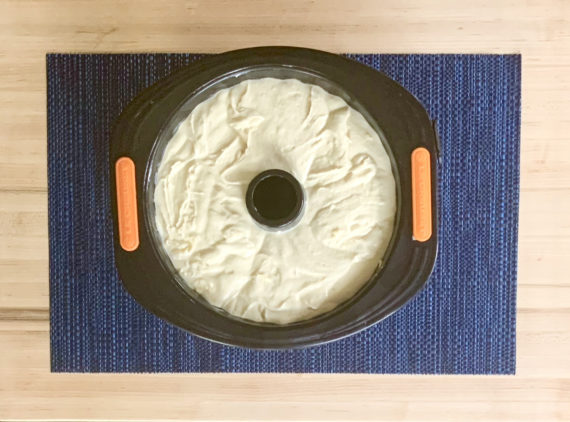
  4. Pour into pan: Pour the batter into a generously greased 10 to 12 cup bundt pan. Make sure the size is correct on this one.
  5. Bake: Bake the cream cheese pound cake at 325°F (163°C). Halfway through baking, loosely tent the cake with aluminum foil to prevent over-browning.
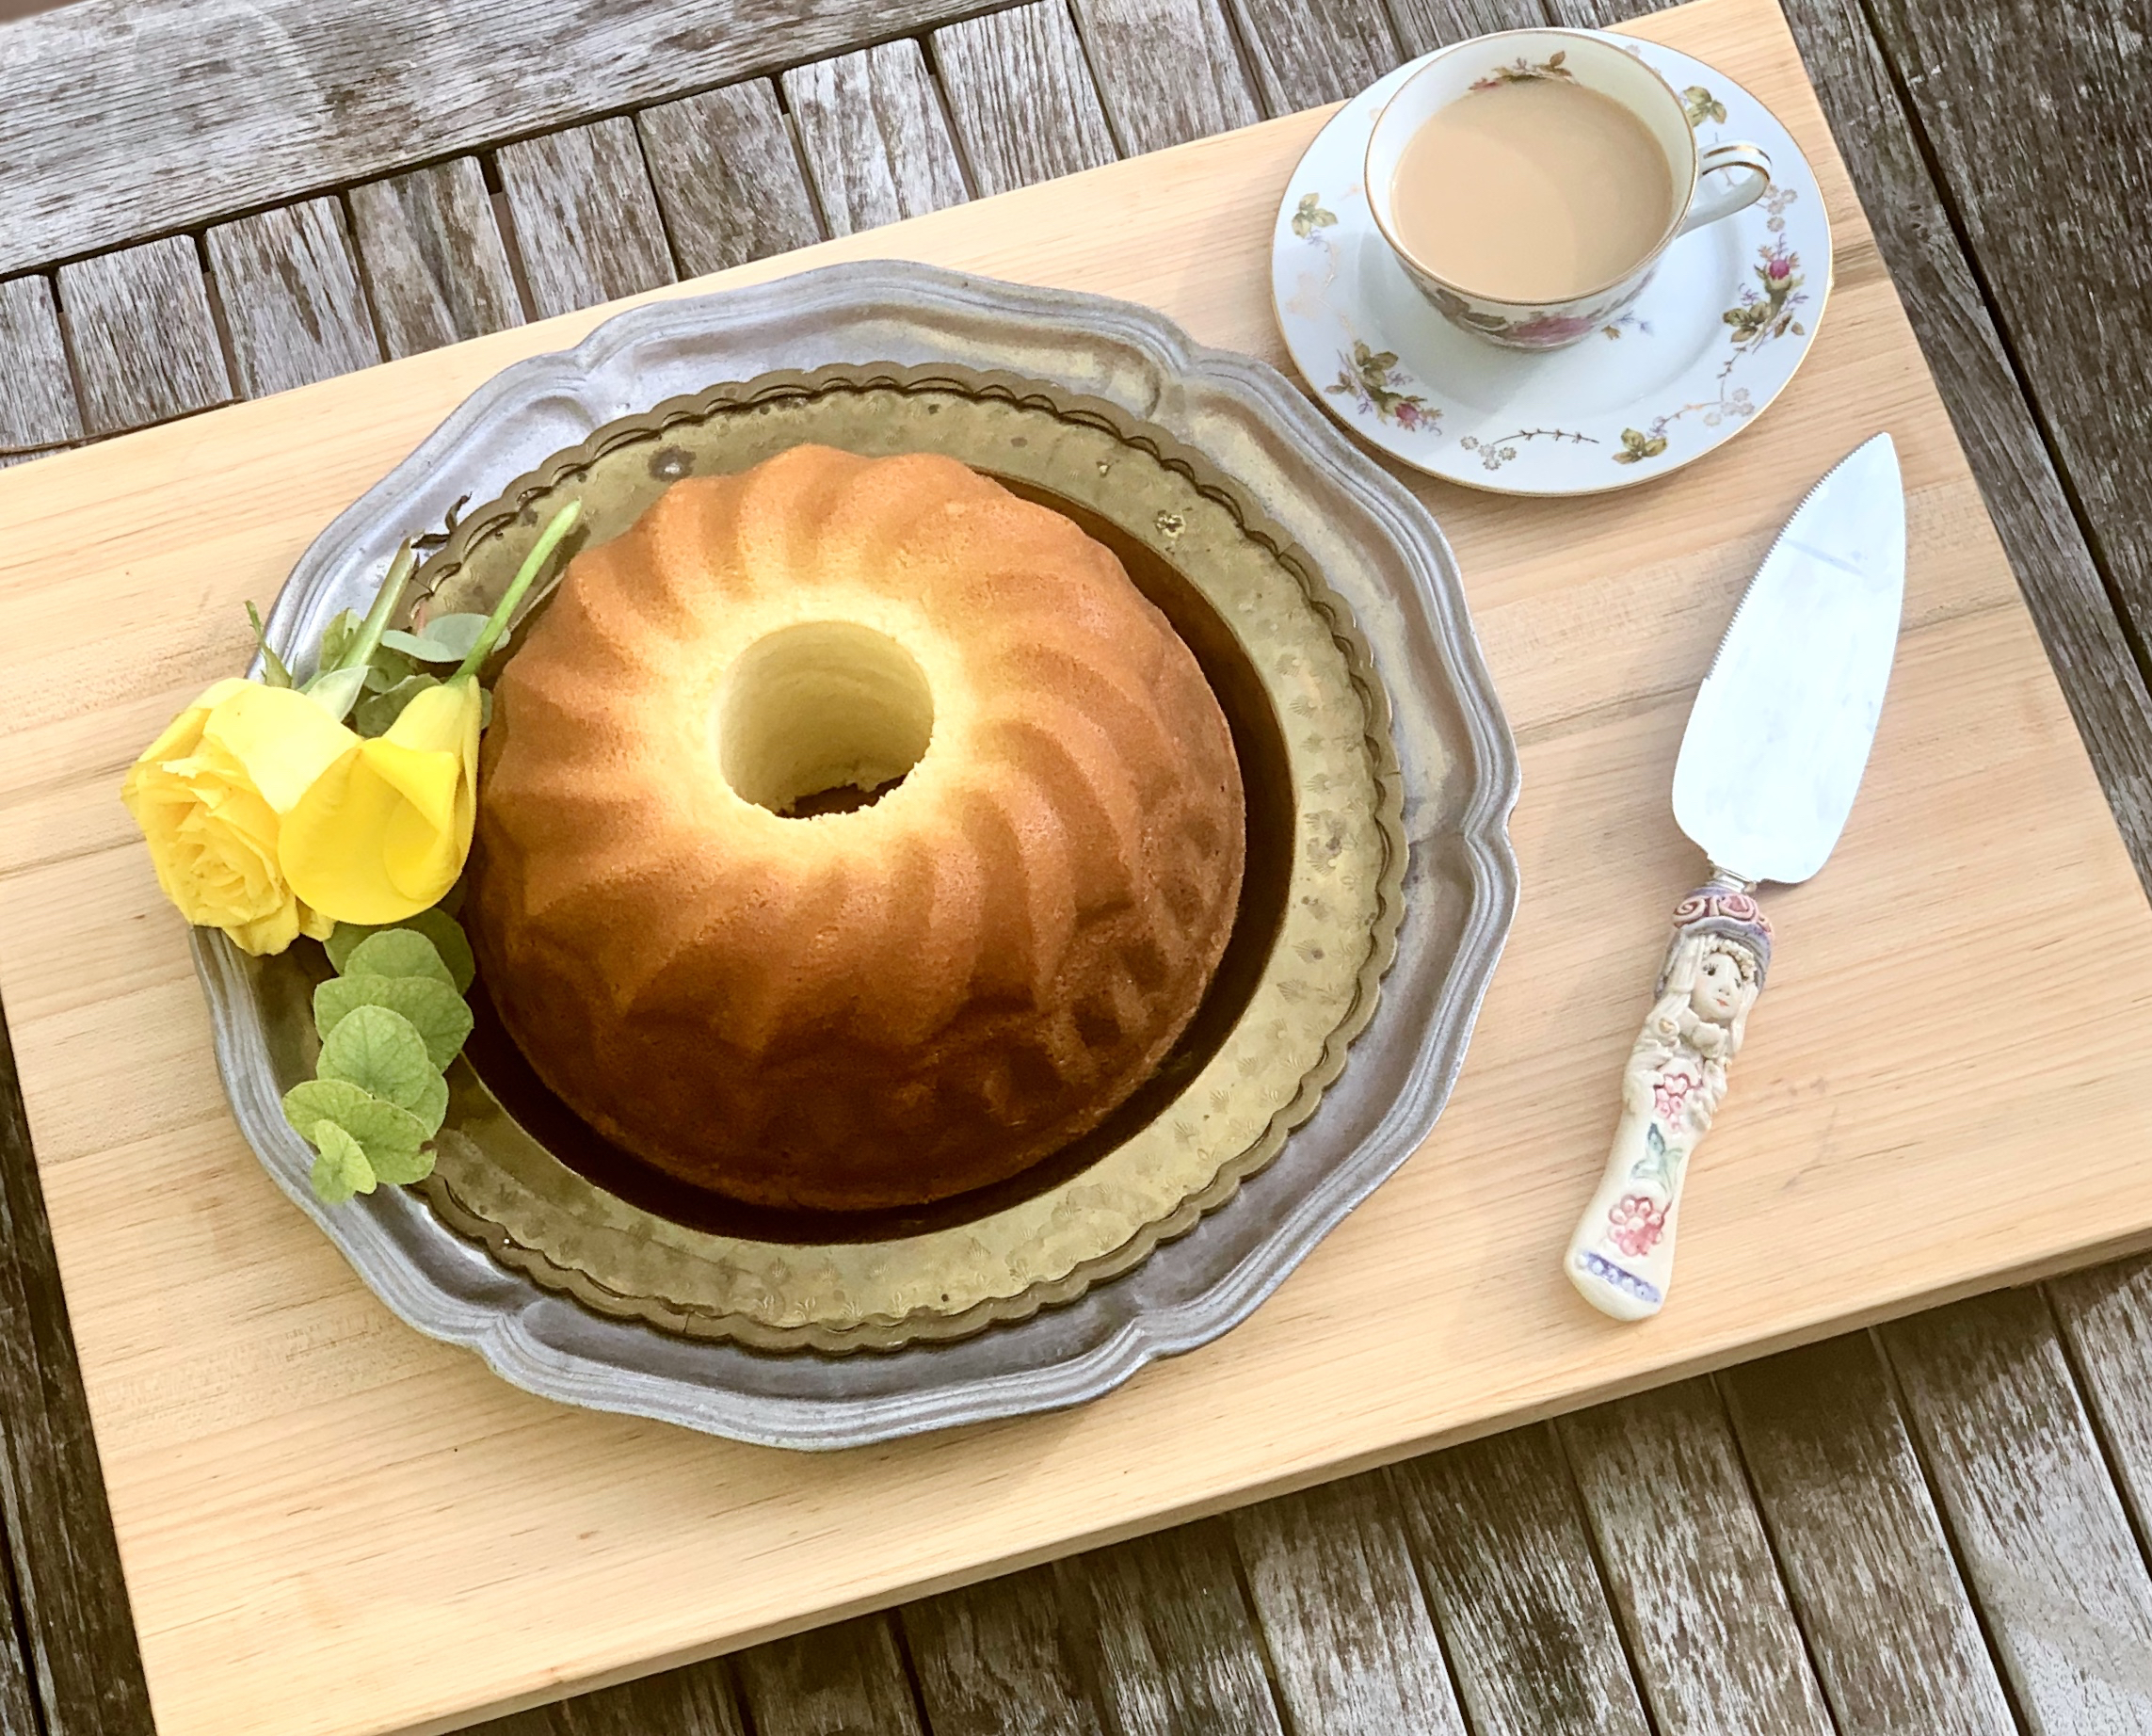
  6. Cool, then invert: Let the pound cake cool for about 2 hours in the pan, then invert onto a serving plate and cool completely before serving.

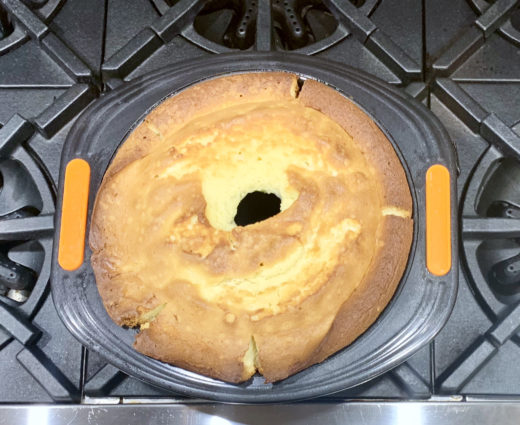
I followed the recipe exactly, and I must say that this pound cake came out beautifully. It is so moist and delicious. The cream cheese and sour cream offer a creamy texture and a zippy flavor. The vanilla adds some sweetness too. It is a dense cheesecake, but it is not heavy–more like a thick cake. Feel free to experiment with toppings: fruity, sweet, and savory are all fair game.  Sally really nailed it and so will you. 

This recipe is courtesy of Sally’s Baking Addiction and will serve 12 to 14 people who will love this delicious dessert.

Ingredients for Perfect Cream Cheese Pound Cake:

1 and 1/2 cups (3sticks) unsalted butter, softened to room temperature
8-ounce block full-fat cream cheese, softened to room temperature
2 and 1/2 cups granulated sugar
1/3 cup sour cream, at room temperature
2 teaspoons pure vanilla extract
6 large eggs, at room temperature
3 cups cake flour 
1/2 teaspoon baking powder
1/8 teaspoon salt

Preheat oven to 325 degrees.

Generously grease a 10 to 12 cup bundt pan with butter or nonstick spray.

Using a handheld or stand mixer fitted with a paddle or whisk attachment, beat the butter on high speed until smooth and creamy, about 2 minutes.

Scrape down the sides and up the bottom of the bowl with a rubber spatula.

Add the cream cheese and beat on high speed until completely smooth and combined, about 1 minute.

Add the sugar and beat on high speed until combined, about 1 minute, then add the sour cream and vanilla and beat on high speed until combined and creamy. 

Scrape down the sides and up the bottom of the bowl with a rubber spatula.

On low speed, beat the eggs in 1 at a time allowing each to fully mix in before adding the next.

Careful not to overmix after the eggs have been added. Once the 6th egg is combined, stop the mixer and add the cake flour, baking powder, and salt.

Beat on medium speed *just* until combined. Do not overmix.

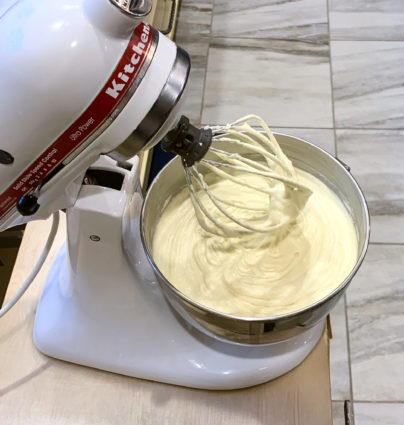
Using a rubber spatula or sturdy whisk, give the batter a final turn to make sure there are no lumps at the bottom of the bowl. The batter will be a little thick and very creamy.

Pour/spoon batter evenly into prepared pan.

Bang the pan on the counter once or twice to bring up any air bubbles.

Bake for 75-95 minutes.

Loosely tent the baking cake with aluminum foil halfway through baking time to ensure the surface does not over-brown. The key to pound cake is a slow and low bake time.

Use a toothpick to test for doneness. Once it comes out completely clean, the pound cake is done.

This is a large heavy cake so don’t be alarmed if it takes longer in your oven. If it needs longer, bake longer, but leave the tent on. (I baked mine for 100 minutes.)

Remove cake from the oven and allow to cool for 2 hours inside the pan.

Then invert the slightly cooled pound cake onto a wire rack or serving dish.

Allow to cool completely.

It’s that simple!


signature

[recaptcha]