As you might imagine, I am a very organized person. My kitchen is one of the most organized rooms in my home and I am going to share some of my tips with you today. Having a system helps me immensely, and I think it will help you too.  When I entertain, everything has to be in its place during preparation. This cuts my prep time in half, and lets me get to other things like decorating the table or doing a little bit of cleaning in the rooms I am going to be using. The French call this “mise en place,” literally WHATEVER, but I have to call call it SOMETHING.

So, here are a few tips when prepping your food:

Gather the bowls, tools, and machines (i.e. Kitchen Aid, blender, hand mixer) and always have a trash can near you when you are cooking. You can also set up a bowl on the counter for scraps for composting.

Looking good makes you feel good, but not in the kitchen.  It’s best not to wear your favorite clothing, since spills happen, and I recommend an apron too.

Wear gloves when prepping. This will prevent your hands from smelling like garlic or onions. It will also prevent the oil from hot peppers or chilies from getting on your hands and maybe your eyes or mouth.  Reusable gloves are great for this!

Indulge in one very good knife. You will be surprised how much it cuts down your prep time (pun very much intended!).

After chopping food, use the dull side of the knife to scrape up the contents. Knives should be sharpened regularly, but this will help keep them that way.

Read the recipe first. All the way through. This will give you a better understanding of the tools you will need as well as catch important instructions such as “reserve 1 cup of pasta water.” How many times do we forget to do that?

Cut a lemon into four wedges when you need to squeeze them for their juice. The smaller wedges make it so much easier to squeeze.

Dry all foods with towels, meat, poultry, and veggies. Water makes them steam and they will not brown properly. For meat and poultry, paper towels are best, but for veggies, a clean kitchen towel works great.

Taste, taste, taste! You need to make sure all the seasonings in your food taste exactly the way you want it to.

Keep things simple! Now go get yourself a nice glass of wine, you earned it!

I could go on and on and on, but I will stop here and leave the rest for another day. I hope you try these tips, they will really make a big difference in your cooking.

This is a really easy recipe if you want to keep it simple. There are five ingredients in it and it takes no time to whip up. The thing that will take the most time is waiting for the layers to freeze, so be sure to leave that time, otherwise the dessert will not set and the layers will run together. I also keep it refrigerated so it holds its shape. If you are a dark chocolate lover, feel free to use that instead, I just happen to be more of a fan of milk chocolate. If you really want to get fancy, find a recipe for chocolate ganache and put that on top. Wouldn’t that be decadent?

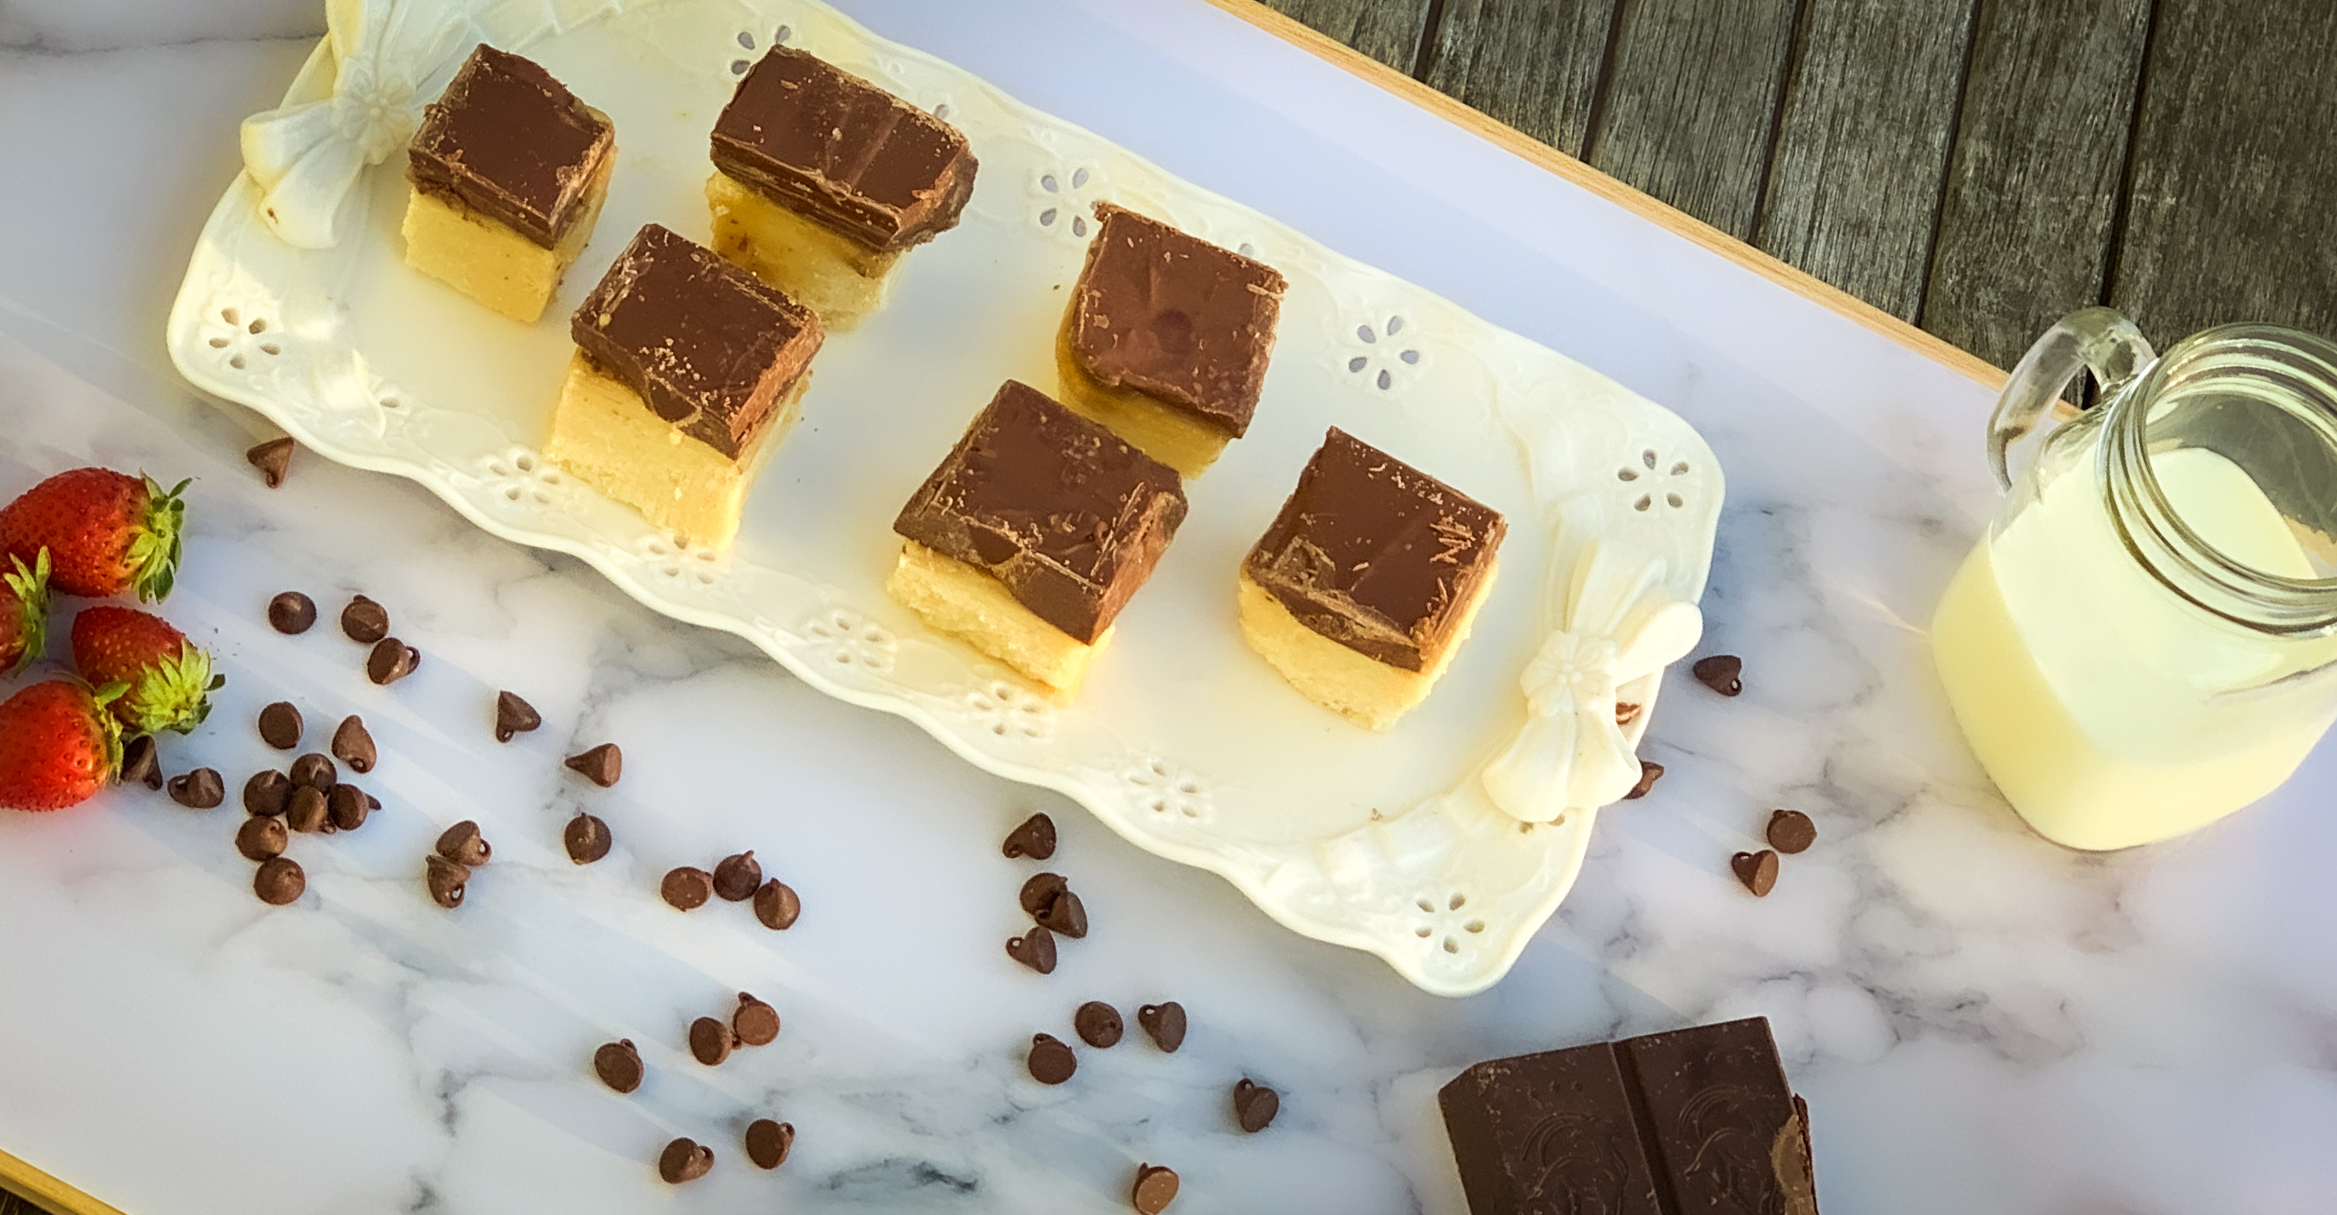
How could you not love millionaire shortbread? A layer of shortbread that serves as the vehicle to hold some chewy caramel (that’s already yummy), and covered with a blanket of chocolate. Topped off with a sprinkle of sea salt and you are in heaven. One bite and you are hooked. It’s a rich dessert (hence the name), so I cut the big squares into smaller ones. This is one dessert that ain’t called Millionaires for nothing! 

This recipe is my own and will make 28 pieces that are sure to surprise and delight your guests.

Ingredients for Millionaire Shortbread:

For the Shortbread:

1 cup (2 sticks) butter, softened
1 cup granulated sugar
1 1/2 teaspoons pure vanilla extract
2 1/4 cup all-purpose flour
1/2 teaspoon kosher salt

For the caramel:

1 cup light brown sugar, packed
4 tablespoons unsalted butter
1 teaspoon sea salt
1/2 cup heavy cream
1 1/2 tablespoons vanilla extract

For the chocolate layer:

2 cups milk chocolate chocolate chips
Sea Salt for garnish

Preheat oven to 300°.

Line a 13″-x-9″ pan with parchment paper and spray with cooking spray.

 Make shortbread layer:

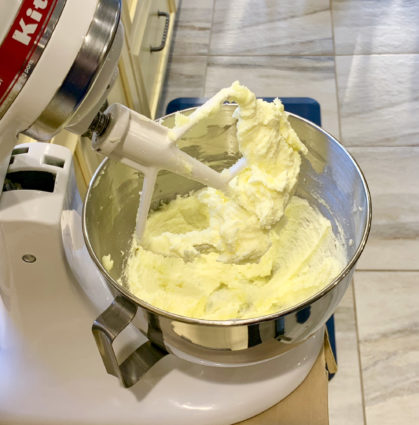
 Cream softened butter with sugar until light and fluffy.
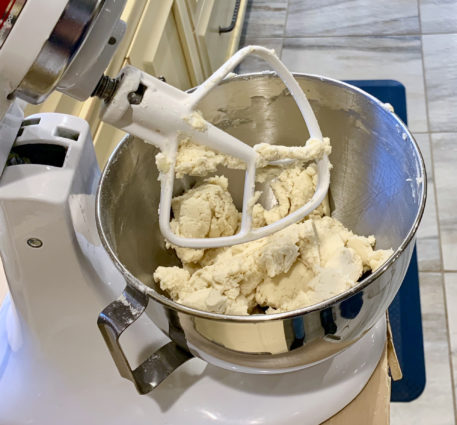
Add flour and vanilla and mix until a bread crumb texture forms.
Press mixture into a prepared pan and prick all over with a fork.
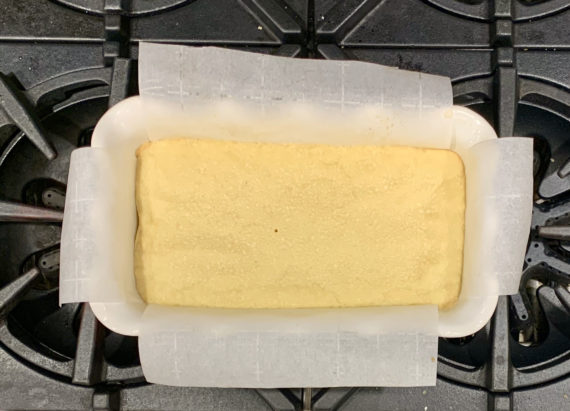
Bake until lightly golden, 30 minutes.

Let cool completely.

Make the Caramel Sauce:

Combine all ingredients in a saucepan and simmer over low heat, whisking constantly or until thickened and no longer watery (6-9 minutes).
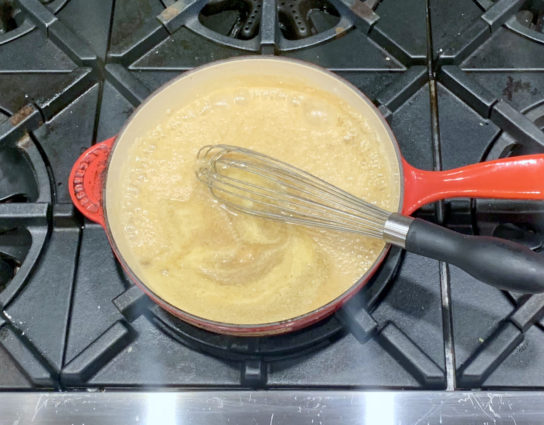
Remember, it thickens more as it cools.

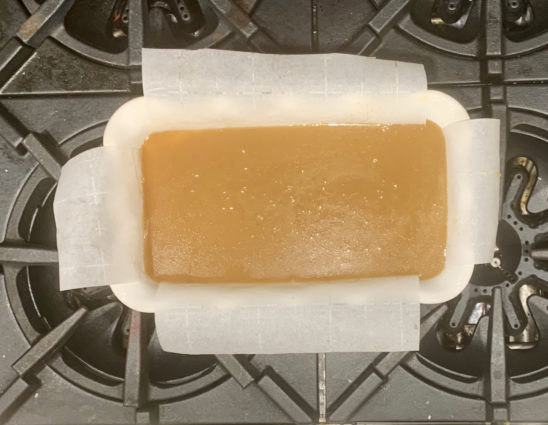
Pour over cooled shortbread and place in the freezer for  to 8 hours or overnight.
Make the Chocolate:

Place a small pot filled halfway with water on medium-high heat.

Bring to a boil.

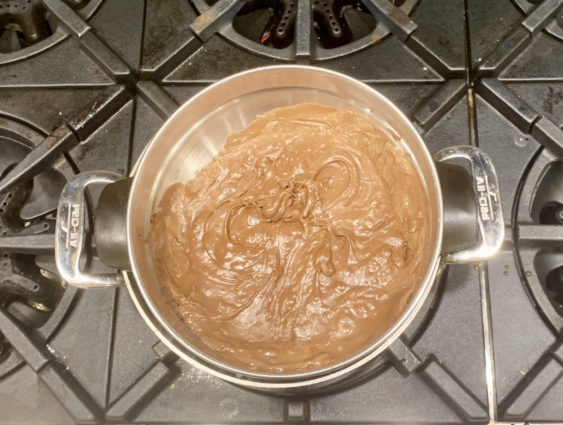
Place chocolate in a double boiler and heat until chocolate is fully melted.
 Take shortbread out of freezer.

 Make sure the caramel is frozen.

 Pour the melted chocolate over the caramel layer.
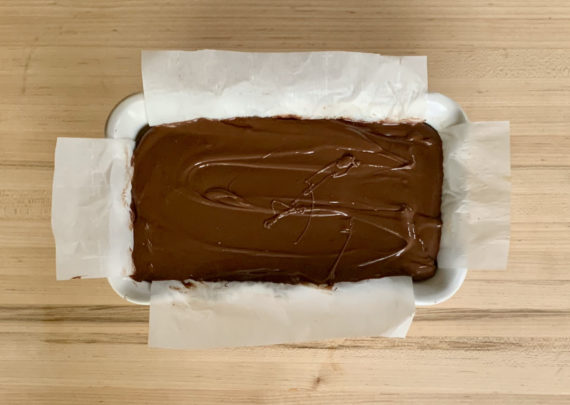
Place in freezer for 6 to 8 hours or overnight.

Take shortbread out of freezer and let it come to room temperature.

Slice into bars.

Slice bars into quarters.

Top with sea salt.

It’s that simple!

signature

[recaptcha]


I don’t know about you, but I prefer the warm days of summer to the colder winter days. I love the feel of the sun on my skin, the long, sunny days and lighter clothes. During the winter, I am always freezing, and I find it difficult to get out of bed knowing just how cold it is outside. 

With all the cold weather here in the Northeast, I have been trying to stay positive.  I’ve looked to a few websites–Reader’s Digest, The Huffington Post, Aleksa Ristic, and Medical News Today– to investigate whether there are any upsides. What I’ve dug up might make you feel a little better, though it might not keep you warm.  So, let’s have a chat, shall we? 

Colder temperatures are known to help you think clearly. Research has shown that cooler rooms help people perform tasks better. Subjects in warm rooms were less likely to tackle harder problems, since the brain uses more glucose under those conditions. Going outside for a walk can clear your mind and help to prepare to take on more difficult tasks.

The cold makes your body work hard to maintain its warmth, therefore you might burn more calories. This may be an excuse to indulge, but just a little, not too much. Even more encouraging, just shivering will burn calories.

Perhaps you’ve noticed that your allergies don’t act up in the winter? This may be connected to the colder temperatures too, since the pollen count is almost nonexistent in wintry weather. If you have indoor allergies, I’m afraid this doesn’t apply to you.  Sorry!

Finally, you sleep better when it is cold. This is because your body temperature drops when you are trying to sleep. This process can take up to two hours in the summer, causing you to sleep less restfully. Plus, with darker mornings in the winter, you just might sleep later too.

So, this is a nice new way to look at those very cold days when you don’t want to get out of bed. Now you have some good reasons to face the day– I know I do!

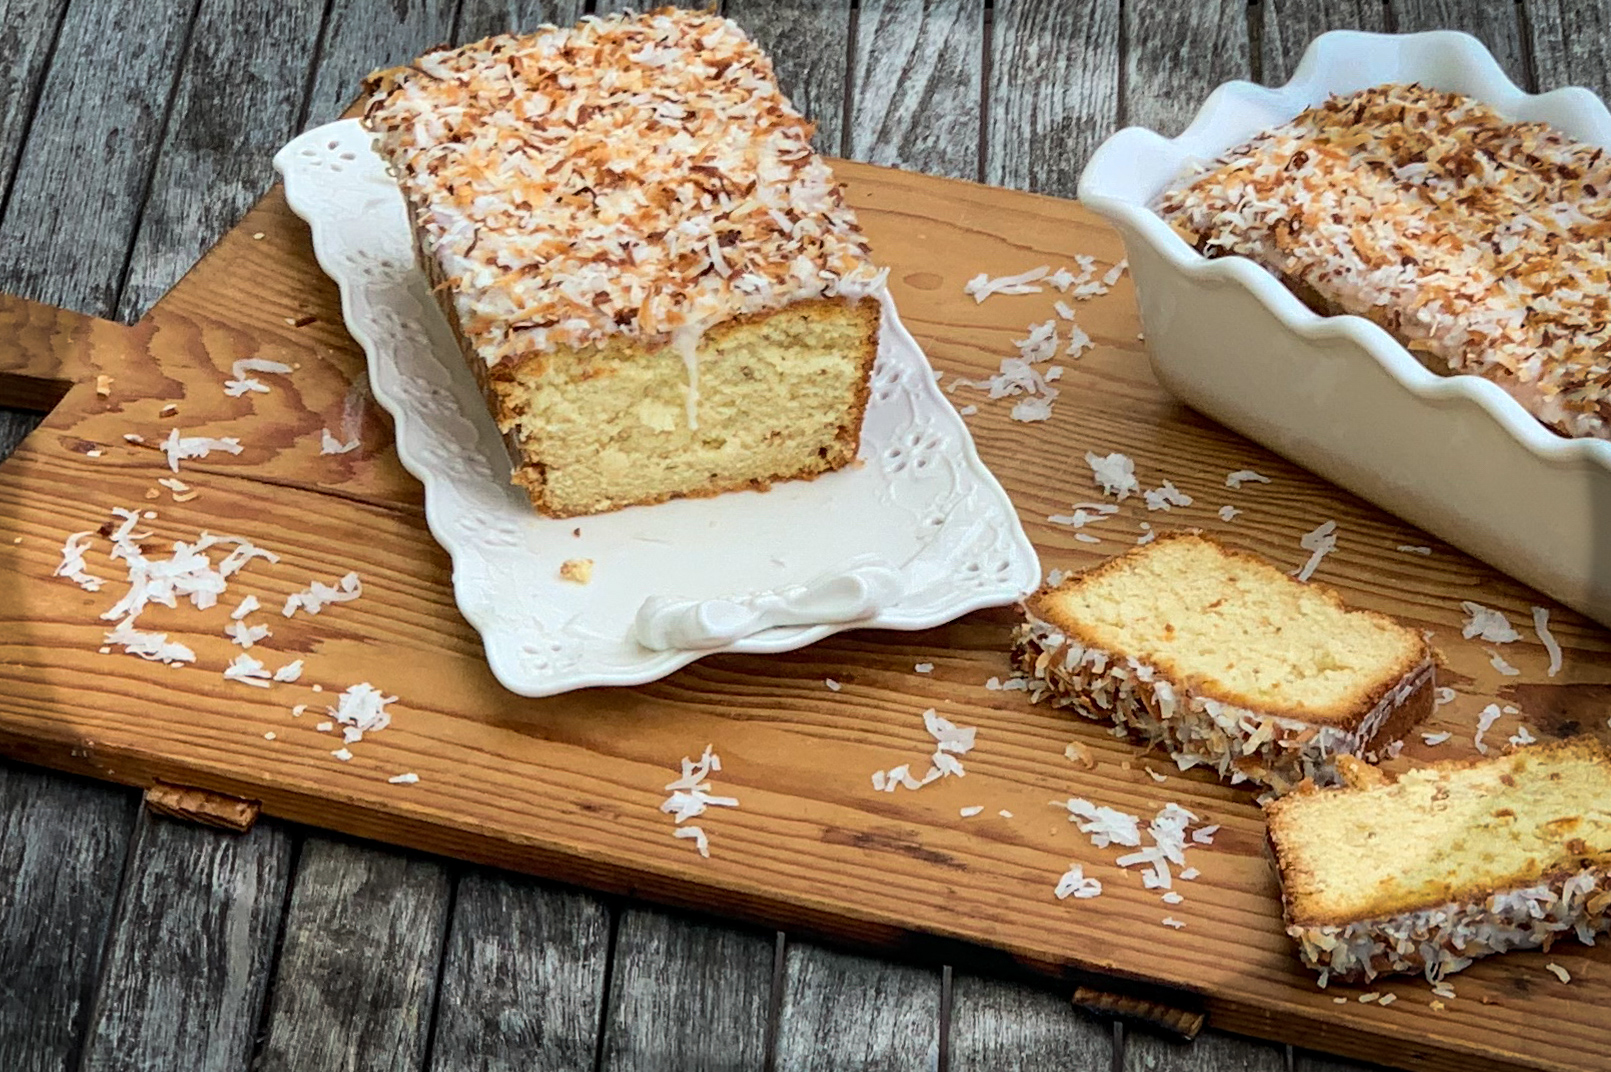
This dessert is perfect with a hot cup of tea, coffee, or cocoa on any cold day. The buttermilk ensures that this cake is moist. It is bursting with coconut flavor with a hint of savory vanilla. The lemon juice tames the coconut flavor with a little tang. The toasted coconut gives it a scrumptious texture. This cake is mouth-watering good. If you are cuckoo for coconuts, this is the cake for you! Make this cake now.

This recipe is courtesy of Bake from Scratch and will make two 9 x 5-inch loaves for people who will be happy to stay inside with you on a cold winter day.

Ingredients for Coconut Buttermilk Pound Cake:

1½ cups unsalted butter, softened
3 cups granulated sugar
5 large eggs 
3 cups all-purpose flour
2 teaspoons kosher salt
1 teaspoon baking powder
1 cup whole buttermilk
2 cups sweetened flaked coconut, toasted and divided
2 teaspoons vanilla extract
3 cups confectioners’ sugar
¼ cup unsweetened coconut milk
1 tablespoon fresh lemon juice

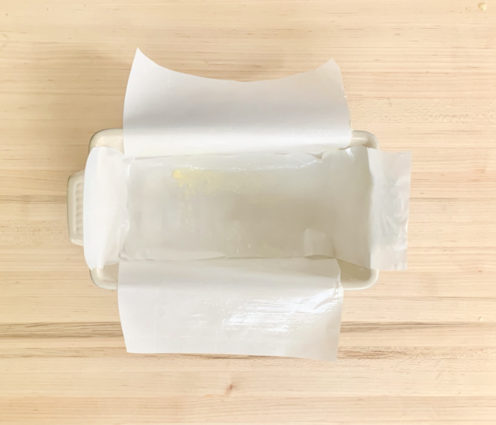
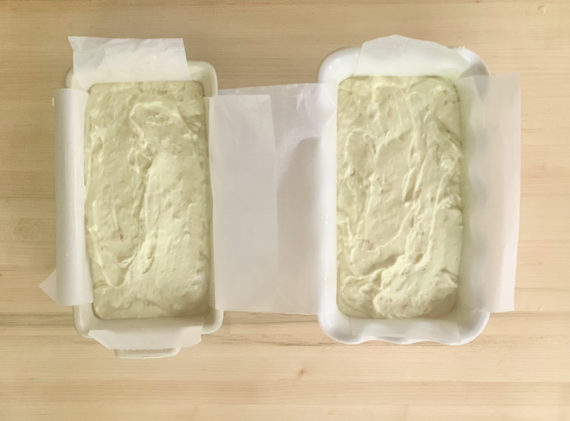
Spray two 9×5-inch loaf pans with baking spray, and flour lightly.

Line pans with parchment paper, letting excess extend over sides of pan.

Spray pans again.

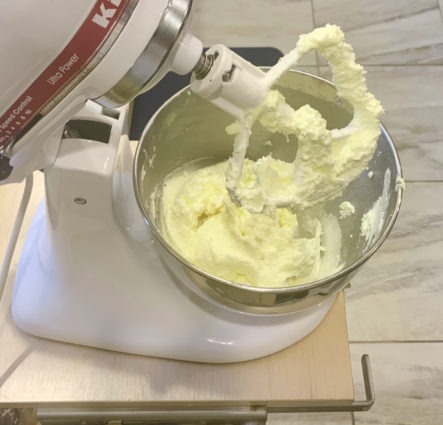
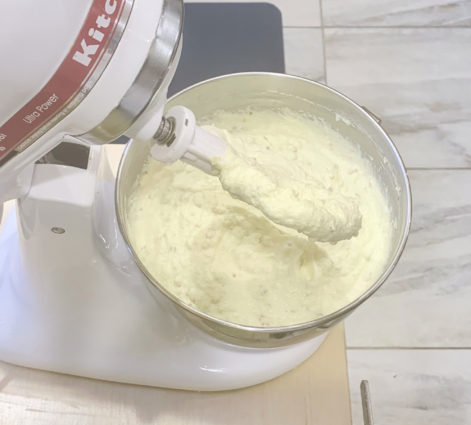
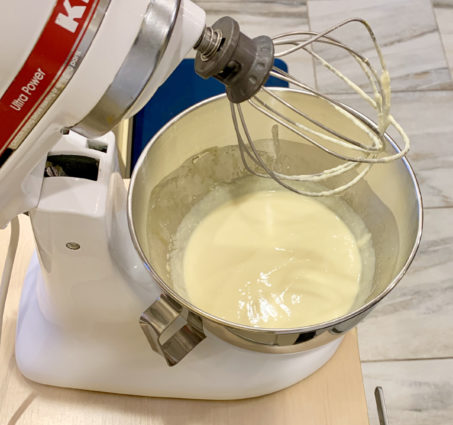
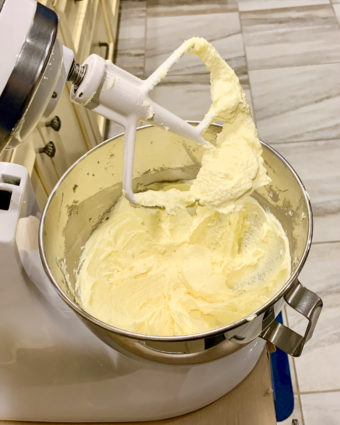
In the bowl of a stand mixer fitted with the paddle attachment, beat butter and granulated sugar at medium speed until fluffy, 3 to 4 minutes, stopping to scrape sides of bowl.

Add eggs, one at a time, beating well after each addition.

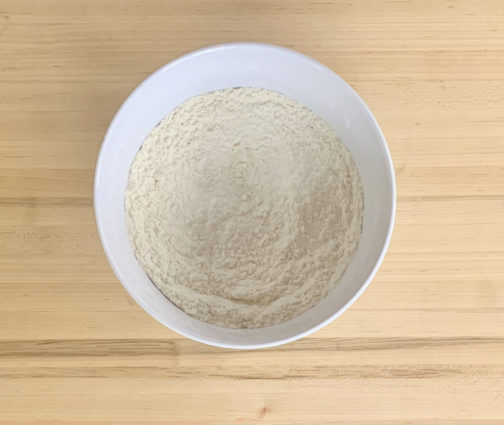
In a medium bowl, whisk together flour, salt, and baking powder.

Reduce mixer speed to low.

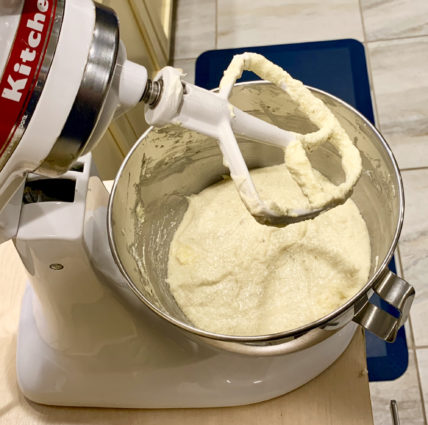
Gradually add flour mixture to butter mixture alternately with buttermilk, beginning and ending with flour mixture, beating just until combined after each addition.

Beat in 1¼ cups coconut and vanilla.

Divide batter between prepared pans.

Place in a cold oven.

Bake at 300°F until a wooden pick inserted in center comes out clean, about 1 hour and 15 minutes. (Mine took about 15 to 20 minutes longer than this.)

Let cool in pans for 10 minutes.

Remove from pans, and let cool completely on wire racks.

In a medium bowl, whisk together confectioners’ sugar, coconut milk, and lemon juice.

Drizzle glaze over loaves; sprinkle with remaining ¾ cup coconut.

It’s that simple! (And that good too!)
signature

[recaptcha]


The days here in the northeast are getting colder and colder. Being outside for more than a minute can be torturous. More and more people are choosing to work from home so they do not have to go outside.

I don’t mind it. I really love all the seasons. As I get older, if there is snow or ice on the roads, I will choose to stay in. So, what can you do on a blustery cold day in winter? For some of you, reading a good book, knitting, or taking a nap may be a perfect day inside. For me it is baking. I’m not great at it, although I am getting better. Once I’m done, I love to cozy up on the couch with a cup of tea and something sweet to eat. 

Baking can feel a little magical.  It begins with ingredients that you probably already have in your pantry– no shopping needed!  Combine them into a strange mushy batter, put it in the oven and out comes something extraordinary. It makes you feel wonderful. Who gets tired of that feeling? Eating your creation can feel a little indulgent, but when you do, you know it will make you and someone else happy. Most of the time, we do it for others. We will bake for the office for friends or for your family. Knowing we are making others happy is one of the best feelings there is.

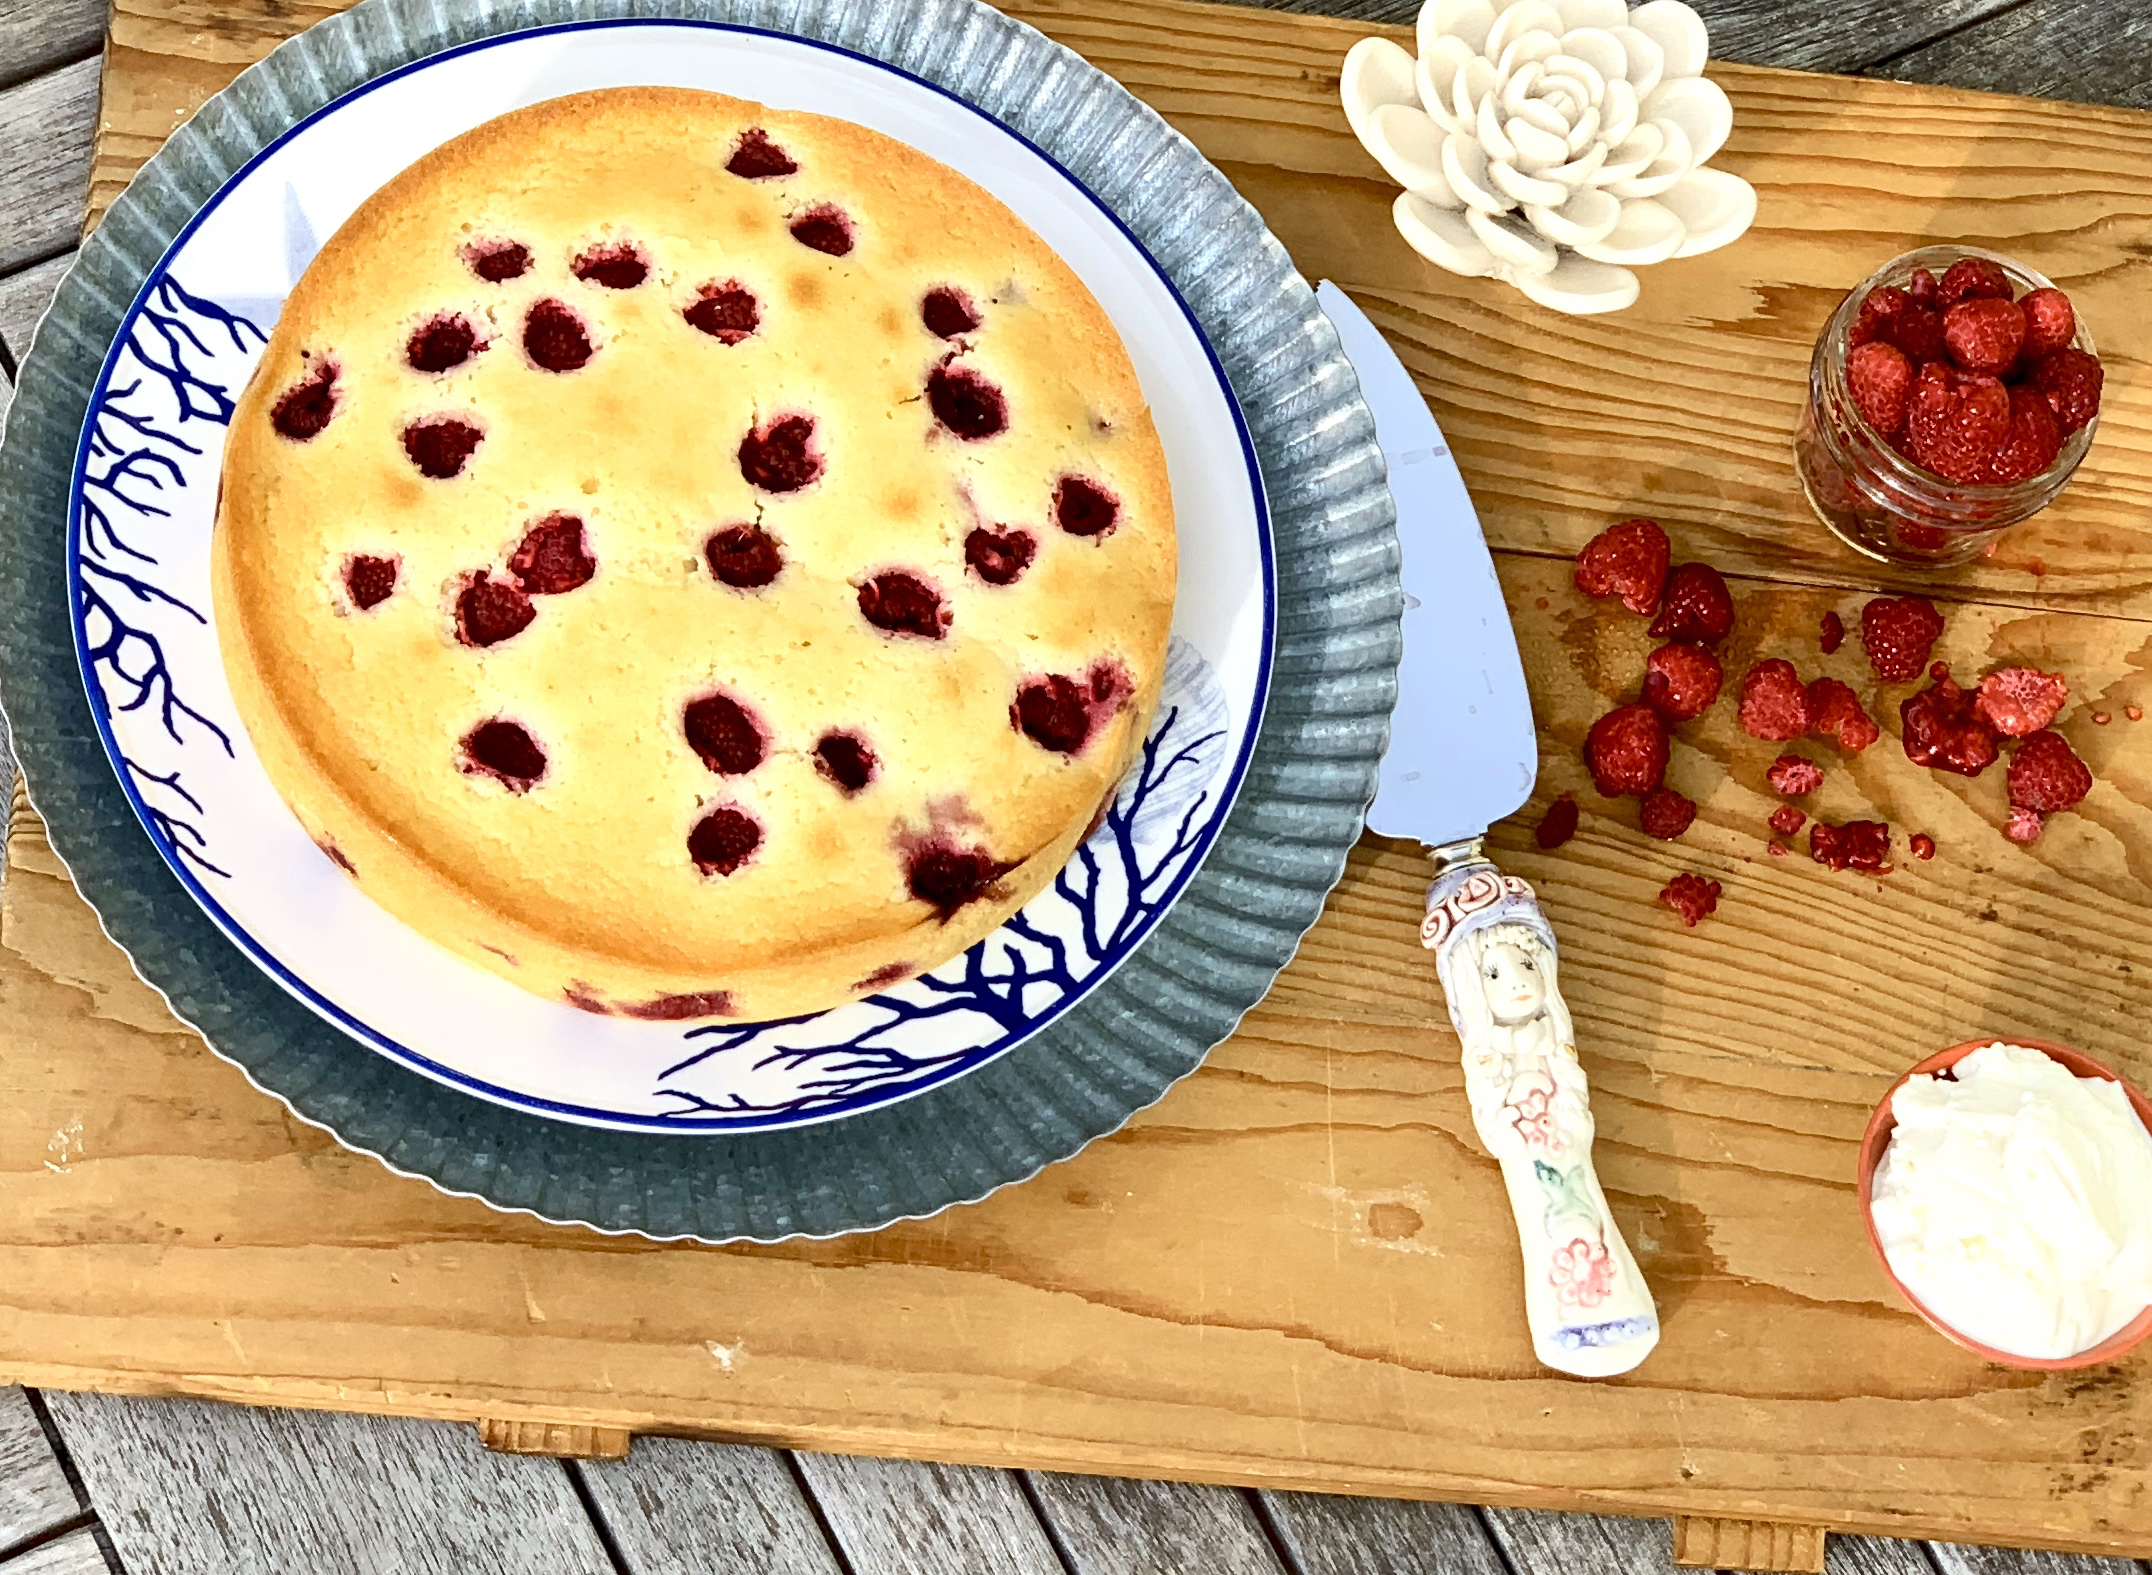
This is one dessert that will not disappoint. The combination of the ricotta cheese and the raspberries are irresistible. The cake is so nice and moist, with bursts of sweet raspberry goodness in every bite. The ricotta gives it a nice sweetness and the vanilla adds a savory touch. This is one cake not to miss.

This cake is courtesy of Epicurious and will serve 8 people who will want to bake this on a snowy winter day.

Ingredients for Raspberry Ricotta Cake:

Nonstick vegetable oil spray
1 1/2 cups all-purpose flour
1 cup sugar
2 teaspoons baking powder
3/4 teaspoon kosher salt
3 large eggs
1 1/2 cups ricotta
1/2 teaspoon vanilla extract
1/2 cup (1 stick) unsalted butter, melted
1 cup frozen raspberries or blackberries, divided (I used 2 cups, because hey, why not?)

Preheat oven to 350°.

Line a 9″ diameter cake pan with parchment paper and lightly coat with nonstick spray.

Whisk flour, sugar, baking powder, and salt in a large bowl.

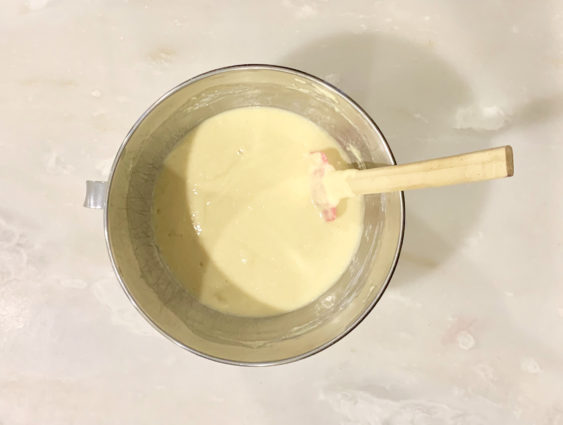
Whisk eggs, ricotta, and vanilla in a medium bowl until smooth. 

Fold into dry ingredients just until blended.

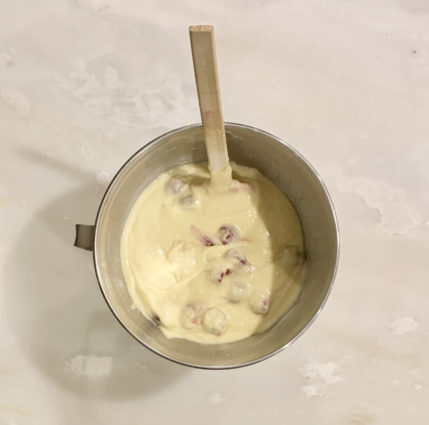
Then fold in butter, followed by 3/4 cup raspberries, taking care not to crush berries.

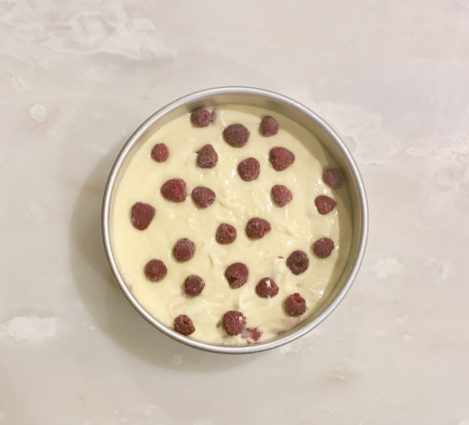
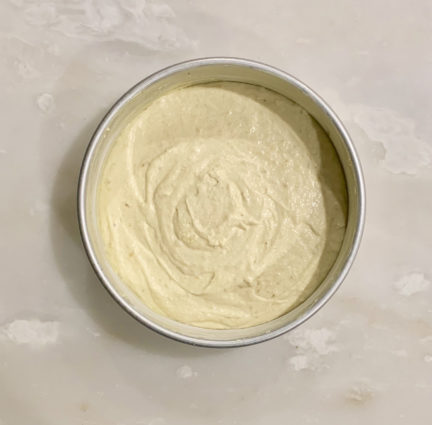
Scrape batter into prepared pan and scatter remaining 1/4 cup raspberries over top.

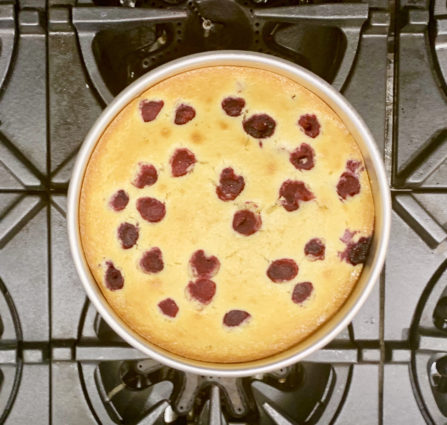
Bake cake until golden brown and a tester inserted into the center comes out clean, 50–60 minutes.

Let cool at least 20 minutes before unmolding.

Do ahead: Cake can be made 2 days ahead.

Store tightly wrapped at room temperature.

It’s that simple! 
signature

[recaptcha]


I never had a sweet tooth… until about 5 years ago. Like my father, I was more of a fruit lover than dessert lover. He ate fruit every day, and lived a long, vibrant life. Although my mother was a great cook and our meals were delicious, she never included a formal dessert on her menu. We certainly had sweets around, but they were never presented after the meal.

On the other hand, my husband was brought up thinking dessert was an important part of the menu. His mother served dessert after dinner every day.  Many of us are in the same boat, as some of us are learning to pass it up. Since I was doing the cooking in our home, dessert was never on the dinner menu. It took some time for the hubby to get used to that.

I use to love anything tart (like lemons of course) but I could only eat the real thing. Lemon mixed with sugar was not for me. But lately, since I have started this blog, I have learned to love baked apples, baked blueberries, baked raspberries, desserts which I never would have tasted in the past. Oh, if I had only known what I was missing.

Desserts are really pure joy. There are no health benefits (except for small amounts of dark chocolate), and excess can contribute to weight gain. We have never been told that eating cake will lower our blood pressure or reduce the risk of a heart attack. These disease fighting nutrients come from less processed food. There is no substitute for healthy fruit and veggies, but remember, there is a reason Santa asked for cookies and not berries on Christmas Eve. There is just no substitute for dessert either.

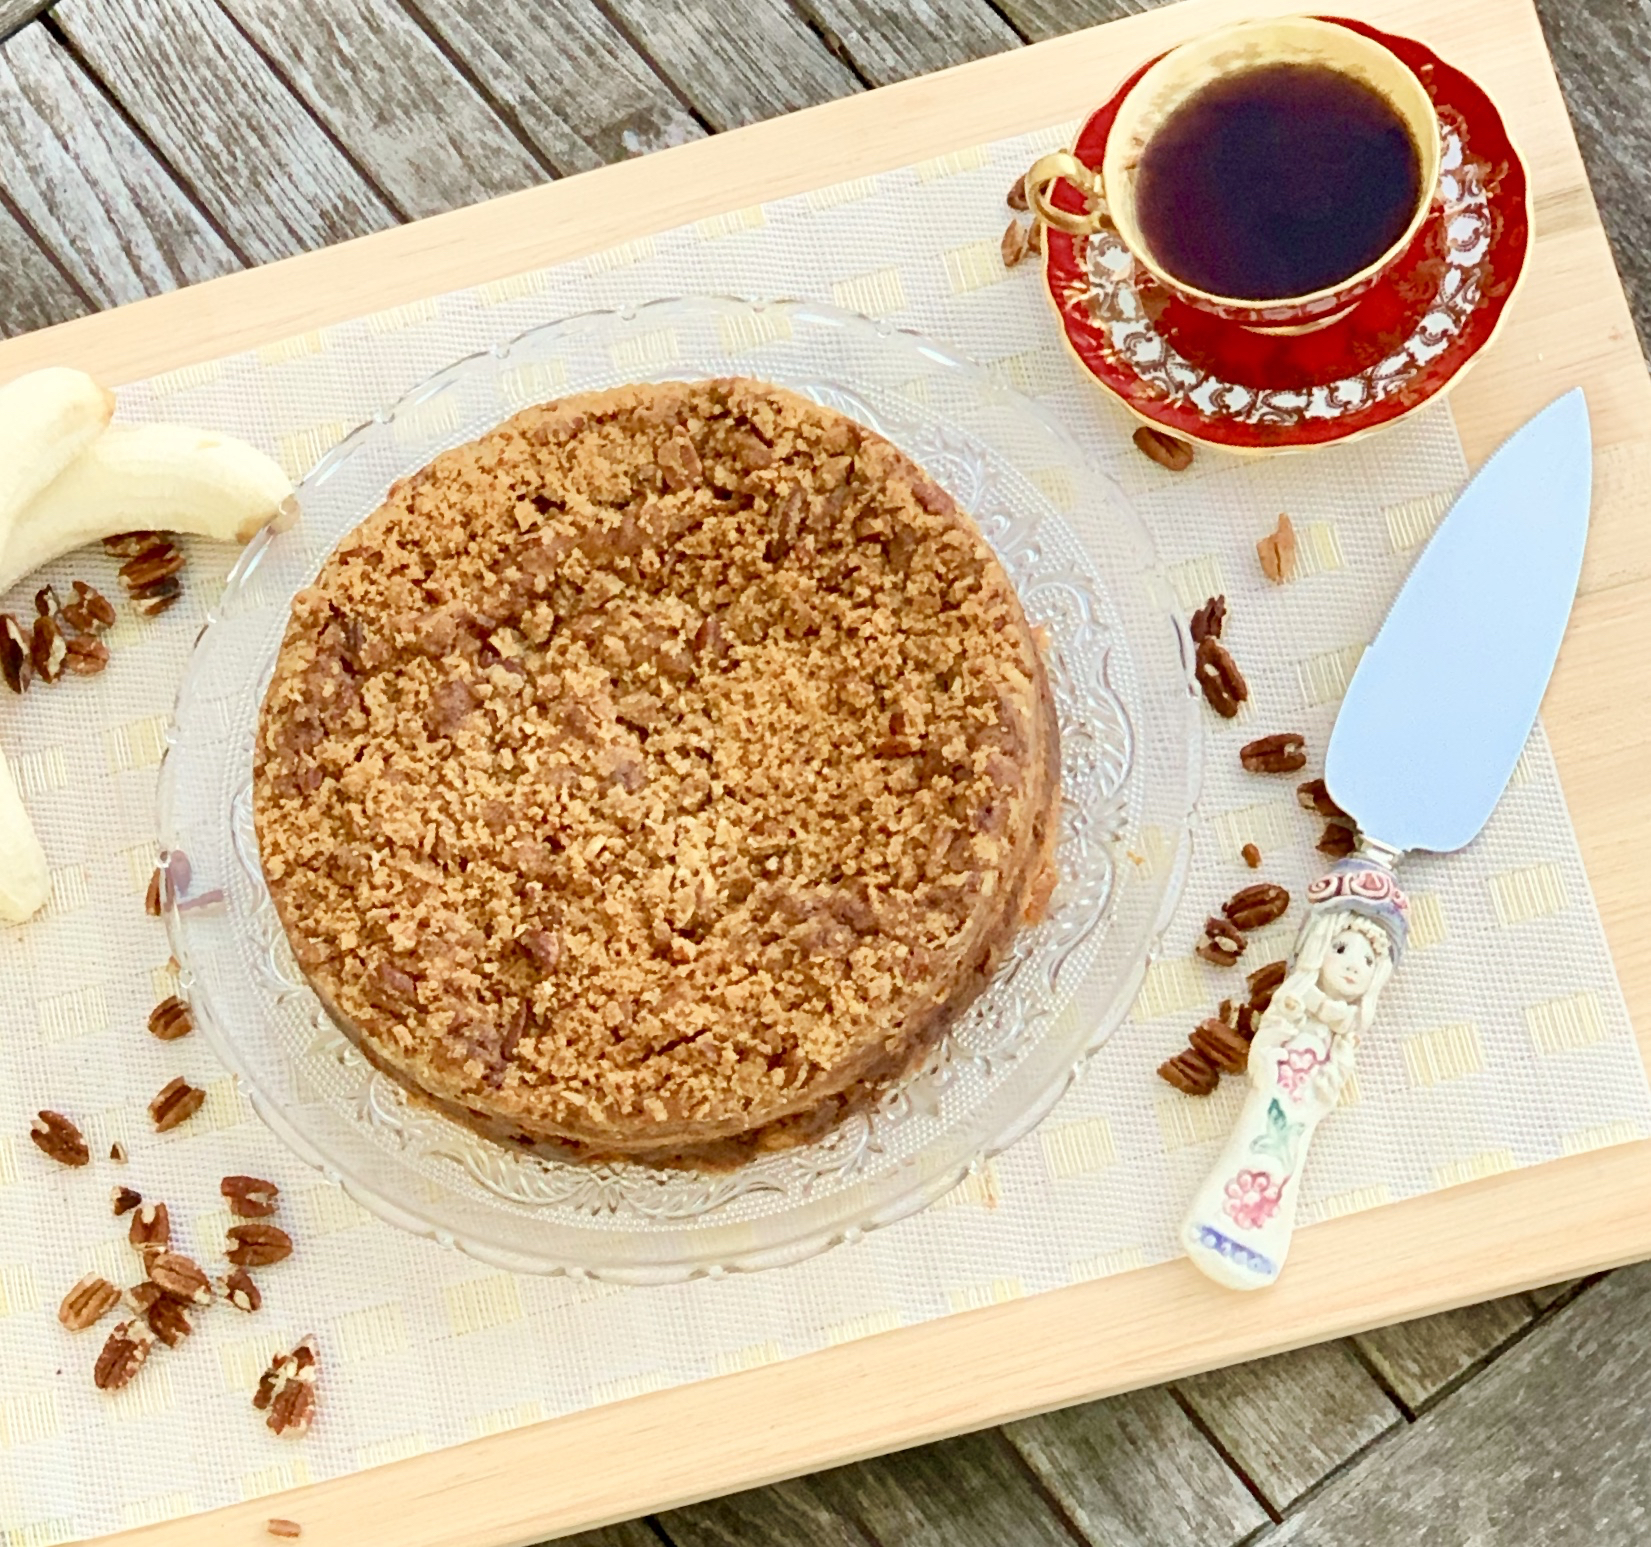
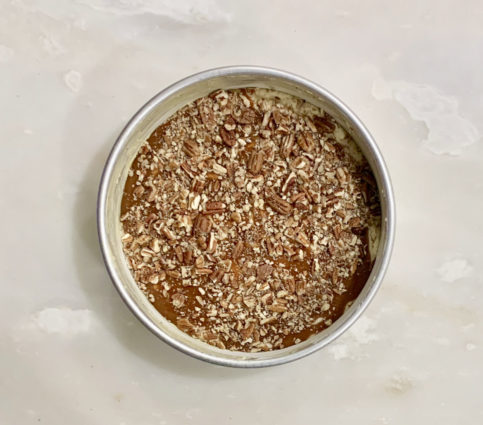
This particular dessert was way above my expectations. How can you not like anything with everything in it? Caramel, bananas, pecans, oh my! This super moist cake with its buttery, banana flavor is wonderful, with the praline pecans giving it a delectable texture. Every bite of the caramel is perfection combined with the banana. The brown sugar cinnamon topping adds even more deliciousness to every bite.

This recipe is courtesy of Bake and will serve 8 people who will be thrilled to get dessert after a wonderful meal.

Ingredients for Caramel Pecan Banana Coffee Cake:

1 cup unsalted butter, softened
1 cup granulated sugar
2 large eggs
1 cup mashed ripe bananas
1/2 cup sour cream
1 teaspoon vanilla extract
1 1/2 cups all-purpose flour
1 teaspoon baking powder
1/2 teaspoon kosher salt
1/2 cup chopped pecans

For the Caramel:

1 1/2 cups granulated sugar
1/4 cup water
1/2 cup warm whipping cream (105 degrees F to 110 degrees F)
1/4 cup unsalted butter, softened

Make the Caramel:

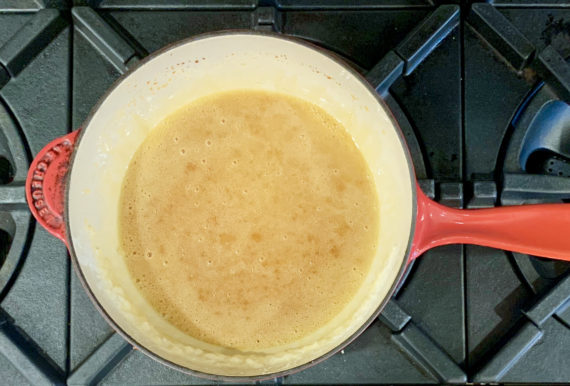
In a large skillet, stir together sugar and 1/4 cup water.

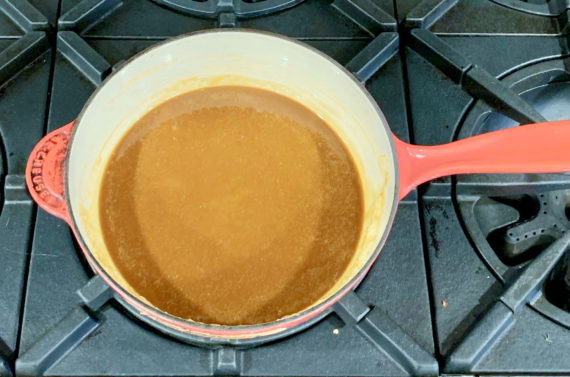
Cook over medium-high heat, without stirring, until mixture is amber colored, about 10 minutes.

Remove from heat, stir in warm cream and butter.

Let cool in skillet, stirring frequently.

For the Brown Sugar Cinnamon Topping:

1/3 cup firmly packed light brown sugar
3 tablespoons all-purpose flour
1/4 teaspoon ground cinnamon
2 tablespoons unsalted butter, melted
1/2 cup chopped pecans

Make the Brown Sugar Cinnamon Topping:

In a medium bowl, whisk together brown sugar, flour and cinnamon.

Using a wooden spoon, stir in melted butter until mixture is crumbly. Stir in pecans.

Preheat oven to 350 degrees F.

Make the Cake:

Butter and flour a 9-inch round cake pan.

In the bowl of a stand mixer fitted with the paddle attachment, beat the butter and sugar at medium speed until fluffy, 3 to 4 minutes, stopping to scrape up the sides of the bowl.

Add eggs one at a time, beating well after each addition.

Beat in banana, sour cream, and vanilla.

In a medium bowl, whisk together flour, baking powder and salt.

With mixer on low speed, gradually add flour to banana mixture, beating until just combined.

Spread half of batter into prepared pan.

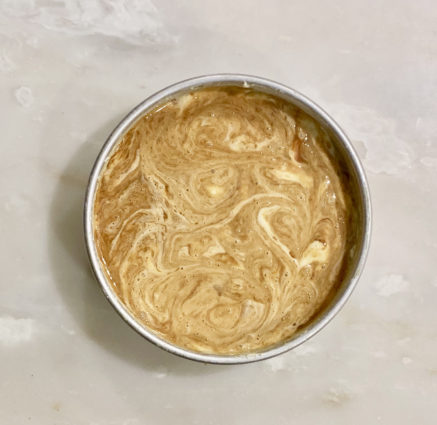
Drizzle with 3/4 cup warm Caramel, and sprinkle with pecans.

Top with remaining batter, and swirl in 1/4 cup Caramel. (If caramel is too solid, place it back on the stove for a minute or two.)

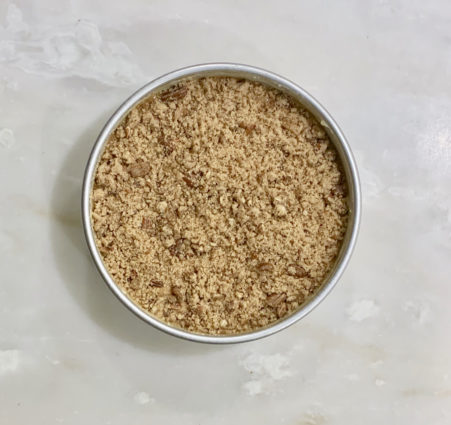
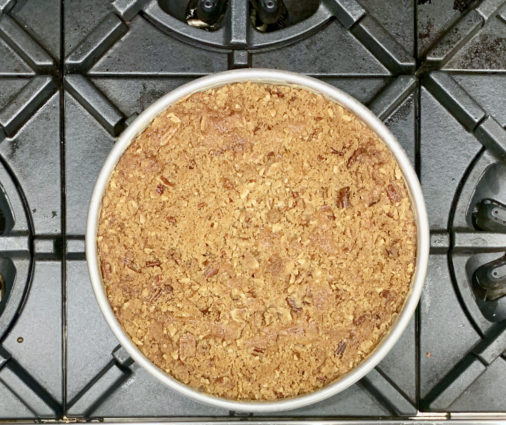
Sprinkle with Brown Sugar Cinnamon Topping.

Bake for 50 minutes.

Let cool in pan for 10 minutes.

Remove from pan, and let cool completely on wire rack.

Drizzle with remaining caramel before serving, if desired.

It’s that simple!
signature

[recaptcha]


As the year comes to an end, many of us make resolutions for the new year. Unfortunately, most of us don’t keep them, and in our day to day business, we most often forget about them. 

I do not make resolutions, but I do set new goals for myself, especially in the kitchen. I will share some of them with you, just in case you’re looking for some ideas for yourself:

Use more fresh herbs. They are so much better than dried ones, and most supermarkets sell them fresh in their produce department all year long.

Make my kitchen workplace a more beautiful one. I love my kitchen, but it can always be better! I know what I’m adding, but you might try to put out your favorite piece of pottery, or buy a nice plant or succulent to add life. Bring in some speakers and cook to music. It just might make you sing or dance a little too!

Nutrition is important. Take the time to read ingredients, and make choices that suit your lifestyle.  What you put into your body is important. 

Share some recipes and look for new ones.  Because of the blog, I’m always on the lookout for new recipes.  It’s a great habit to pick up. If you go to someone’s home and they serve something you love, ask them for the recipe. They will be flattered.  Then pay it forward and give recipes to your friends when they ask.

Encourage your kids to cook. They will be much more likely to eat the food they helped prepare, and will be very proud of the work they do. Messes can be hard to clean up, but the photos will make you laugh years later.

The only ingredient you really need is a four-letter word, LOVE, which I hope the new year brings to you!

These scones will definitely taste like love when you serve them. The buttermilk ensures a soft, moist center. The oats add a nice texture, and the sugars combined with the maple syrup is just the perfect amount of sweetness for these tasty anytime treats. The glaze adds just the right savory and sweet. It’s the perfect topping for these delicious little delicacies.

This recipe is courtesy of Ina Garten (so you know it is truly perfection) and will make 14 scones for people who will love these as a daytime snack over the holidays.

Ingredients for Maple Oatmeal Scones:

3 1/2 cups all-purpose flour
1 cup whole-wheat flour
1 cup quick-cooking oats, plus additional for sprinkling
2 tablespoons baking powder
2 tablespoons granulated sugar
2 teaspoons salt
1 pound cold unsalted butter, diced
1/2 cup cold buttermilk
1/2 cup pure maple syrup
4 extra-large eggs, lightly beaten
1 egg beaten with 1 tablespoon milk or water, for egg wash

For the Glaze:

1 1/4 cups confectioners’ sugar
1/2 cup pure maple syrup
1 teaspoon pure vanilla extract

Preheat the oven to 400 degrees F.

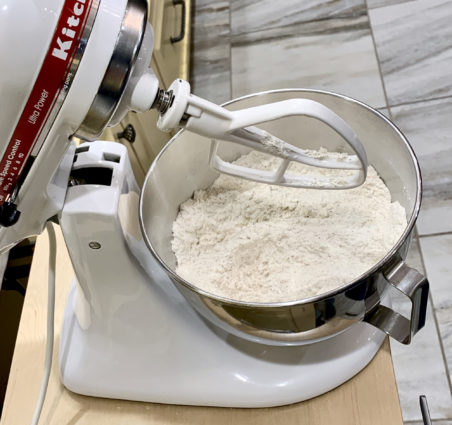
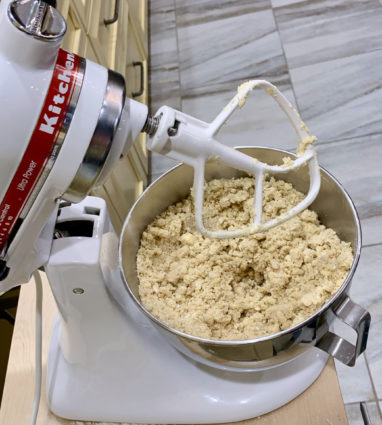
In the bowl of an electric mixer fitted with a paddle attachment, combine the flours, oats, baking powder, sugar, and salt.

Blend the cold butter in at the lowest speed and mix until the butter is in pea-size pieces.

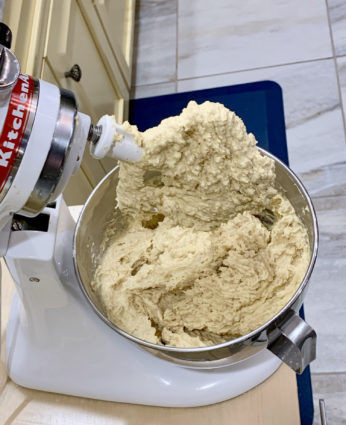
Combine the buttermilk, maple syrup, and eggs and add quickly to the flour-and-butter mixture.

Mix until just blended.  The dough may still be sticky.

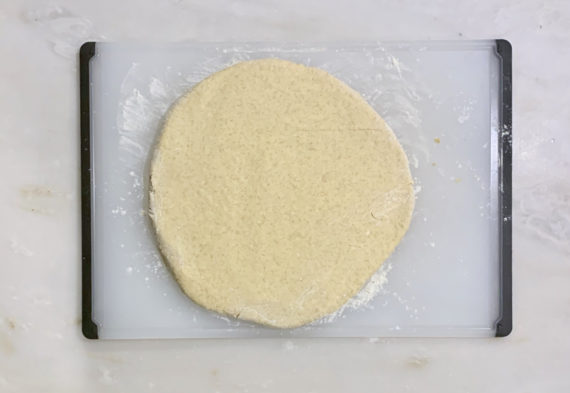
Dump the dough out onto a well-floured surface and be sure it is combined.

Flour your hands and a rolling pin and roll the dough 3/4 to 1 inch thick.

You should see lumps of butter in the dough.

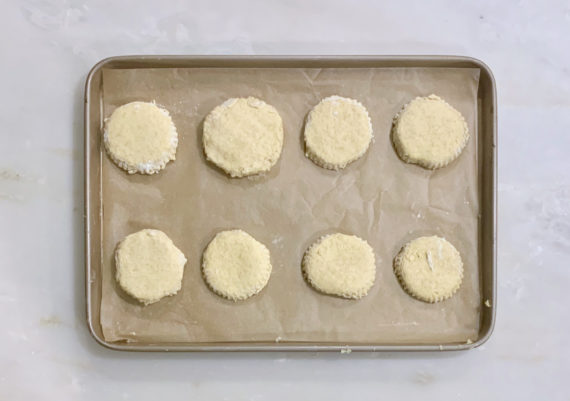
Cut into 3-inch rounds with a plain or fluted cutter and place on a baking sheet lined with parchment paper.

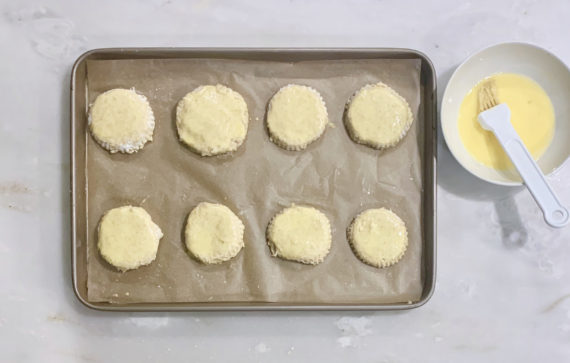
Brush the tops with egg wash. Bake for 20 to 25 minutes, until the tops are crisp and the insides are done.

To make the glaze, combine the confectioners’ sugar, maple syrup, and vanilla.

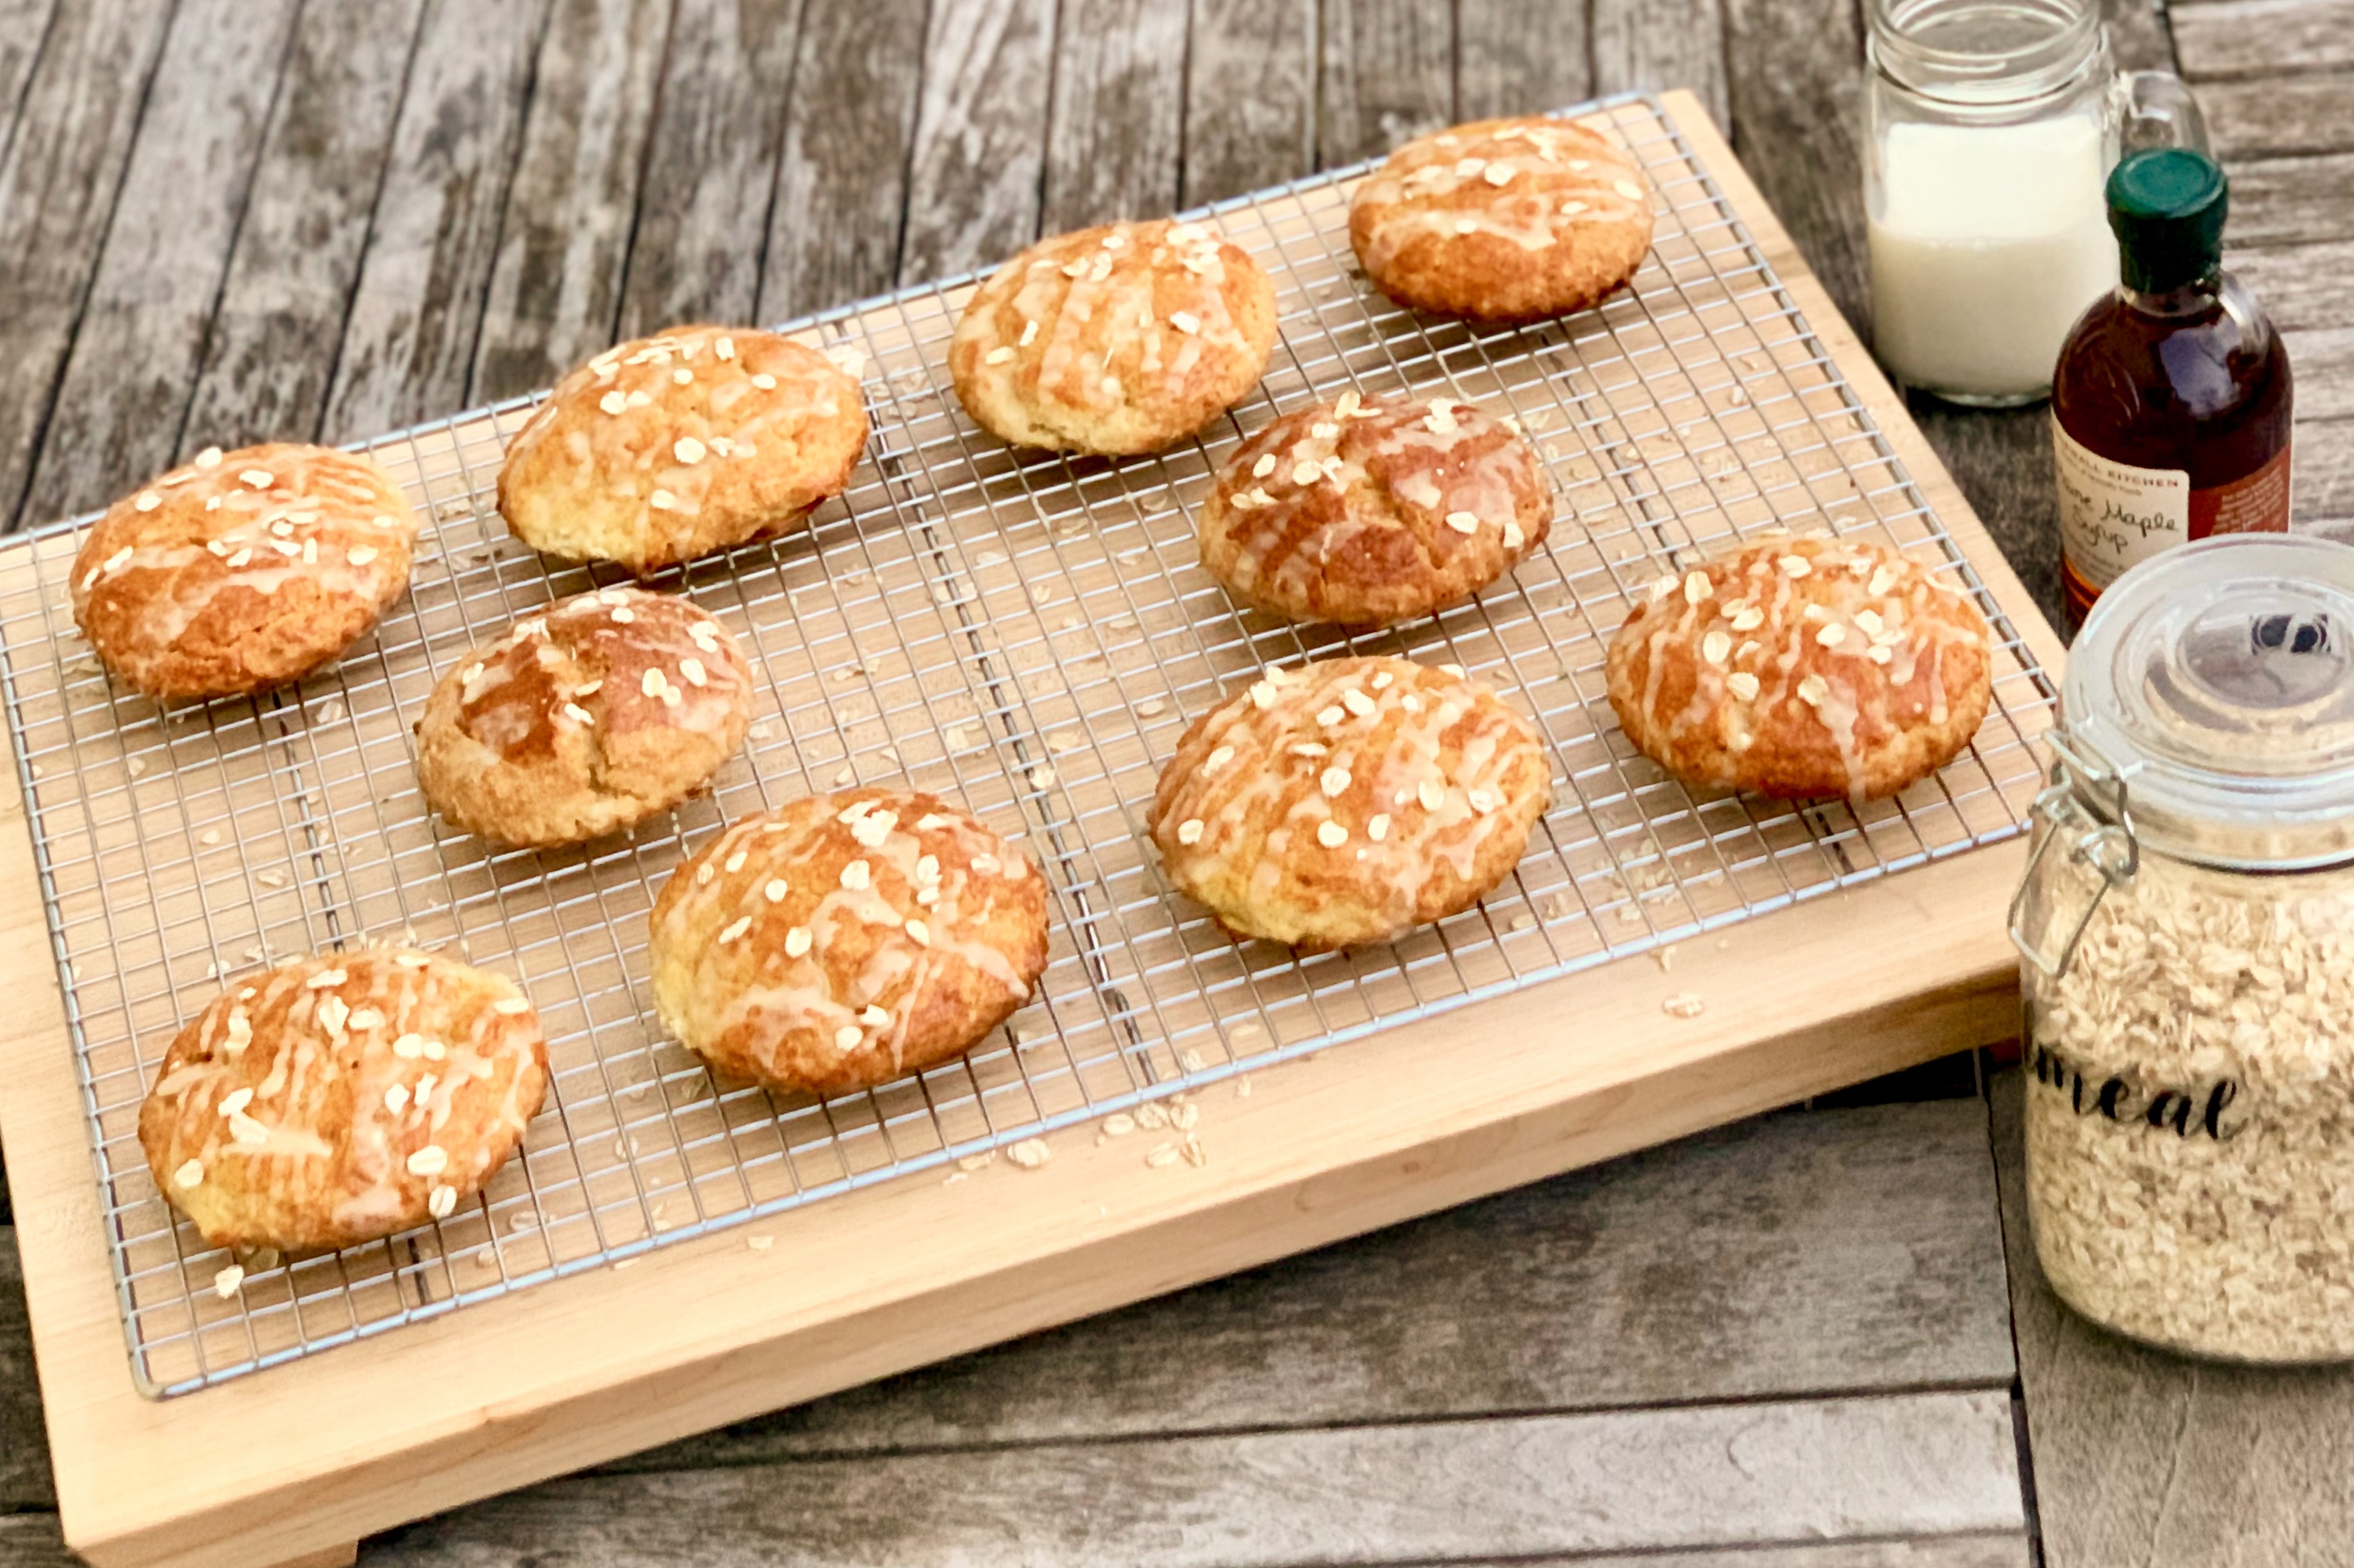
When the scones are done, cool for 5 minutes, and drizzle each scone with 1 tablespoon of the glaze.

I like to garnish the top with some uncooked oats.

The warmer the scones are when you glaze them, the thinner the glaze will be.

It’s that simple!
signature

[recaptcha]