For many, many years, I was a food blog junkie. I spent countless hours reading the blogs of several foodies, and anxiously awaiting their next post. Many of the bloggers I followed have since become famous, writing successful cookbooks. For years I dreamed of having a blog of my own, but as with all things, I hesitated because I didn’t know where to begin. I finally researched it enough to find that the first thing I had to do was pick a name and buy a website.  The entire process was so foreign to me, and I’m grateful that my niece and nephew were able to walk me through the setup process.

First, there was this thing called WordPress that I had to learn to use. My niece Simone, learned how to use it and taught me. She had the patience of a saint, I have to say. Her brother Evan would come by often to help me learn too. Teaching an old dog like me took a lot of patience, and thankfully Simone and Evan had a lot of it. I love them for that.

Since I started writing this blog, I have embarked on a new and wonderful food journey. At first, I used all my own recipes, but as they ran out I had to learn to make new recipes. My repertoire has increased enormously. This is one reason my family loves to come on Thanksgiving: they get to try all the new ones before they end up on the blog.

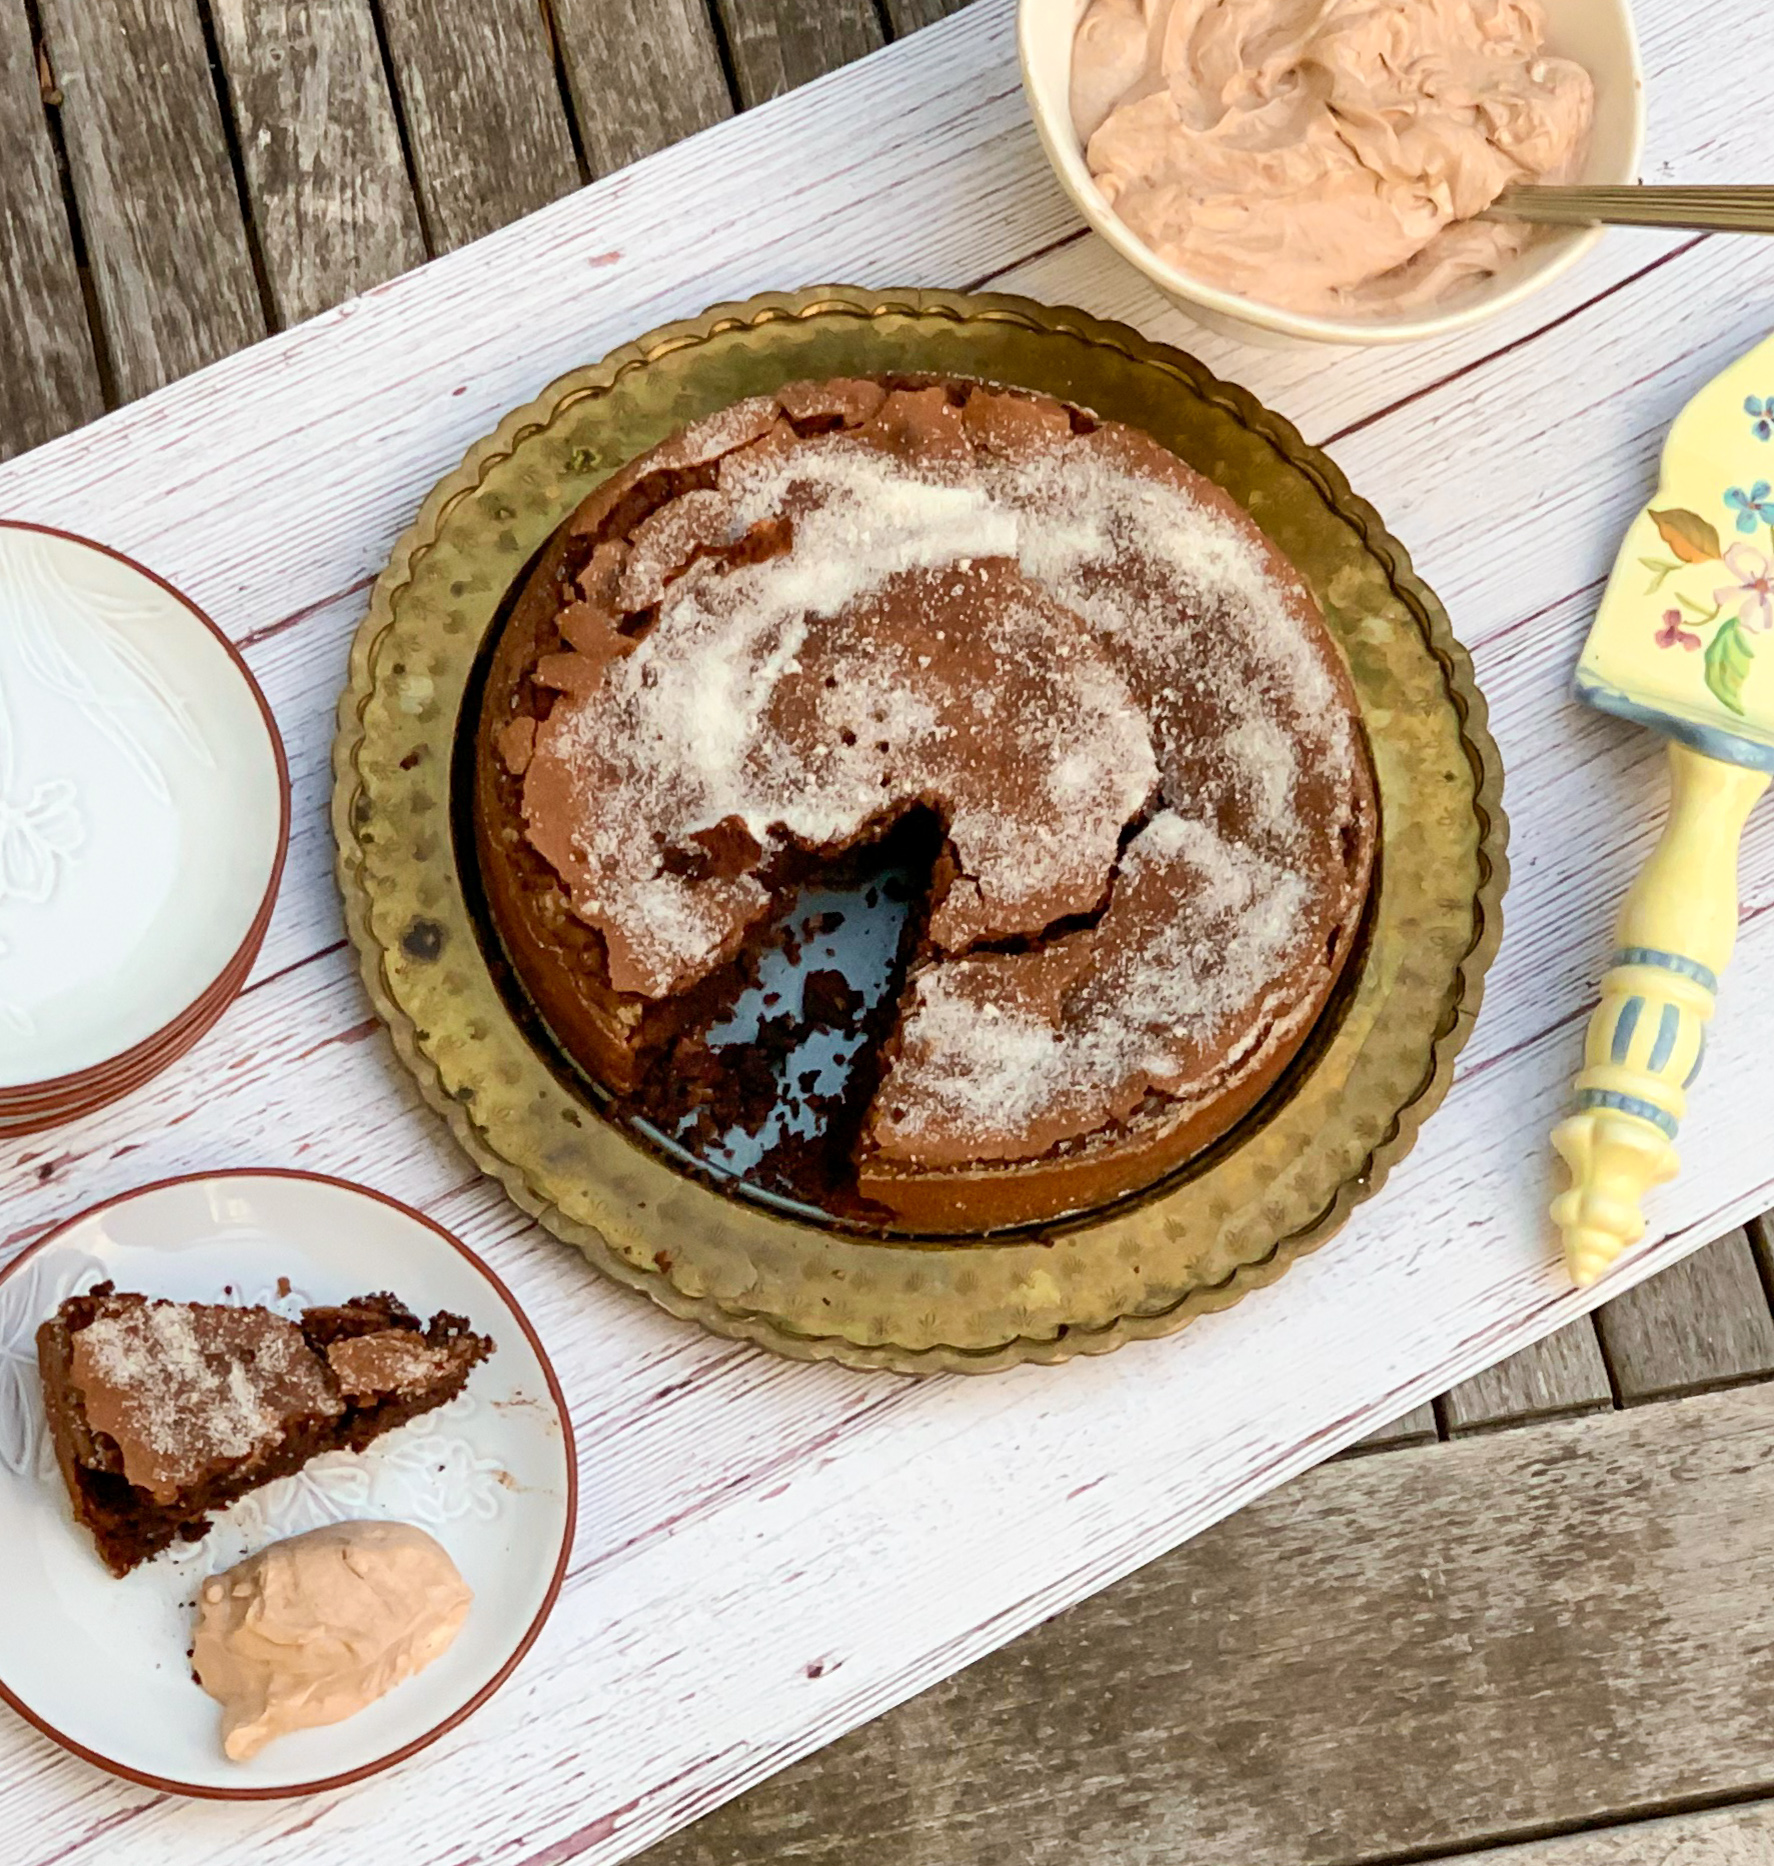
This is one that will definitely be on the menu this year. It is just that damn good. Alison Romans’ cookbook, “Nothing Fancy,” has so many good recipes in it. This one was no exception. This is a nice and chocolatey cake, so if you are a chocolate lover, you are going to eat this one up fast. The Nutella combines nicely with the chocolate, and the almond flour gives it a whole other depth of flavor. The topping is so delicious and marries well with the cake, so don’t be freaked out by the sour cream. It is not too sweet, and it is so creamy, adding even more flavorful goodness to this luxurious treat. This is a “must try.” And by the way is it also gluten-free, so even more people can enjoy it!

This recipe is courtesy of Alison Roman, and will serve 8 to 10 people who will certainly want to come back for seconds!

Ingredients for Crispy Chocolate Cake with Hazelnut & Sour Cream:

For the cake:

1/2 cup (1 stick) unsalted butter, plus more for greasing the pan
3/4 cup plus 2 tablespoons granulated sugar, plus more for the pan
8 ounces bittersweet chocolate, at least 67% cacao, finely chopped
1/2 cup Nutella, hazelnut spread, almond butter, or tahini (see Note)
6 large eggs
1/2 cup hazelnut or almond flour
2 tablespoons unsweetened cocoa powder
1 teaspoon kosher salt

For the topping/accompaniment:

1 cup heavy cream
1/4 cup confectioners’ sugar
1 pinch kosher salt
1 cup sour cream
1/4 cup Nutella
Brandied, maraschino, or Luxardo cherries (optional)

Preheat the oven to 350°F. Lightly grease a 9-inch spring form pan with softened butter or nonstick cooking spray. (You can use any 9-inch cake pan, but line it with parchment paper with some overhang so you can easily remove the finished cake.)

Sprinkle the inside with sugar and rotate the pan to coat the bottom and sides evenly; tap out excess.

Make the cake:

Combine the chocolate, Nutella, and butter in a large heatproof bowl.

Set the bowl over a small pot of simmering water and heat, stirring often, until the chocolate and butter have melted and you can stir everything together to a smooth, creamy mixture.
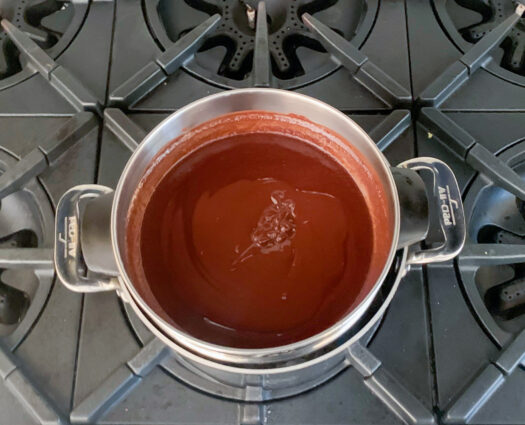
Remove from the heat and set aside. (Alternatively, microwave in 30-second increments until evenly melted.)

Separate 4 of the eggs, placing the whites in a large mixing bowl (either a bowl fitted for a stand mixer or a bowl large enough to handle a hand mixer).

Place the yolks in another large bowl and add the hazelnut flour, cocoa powder, salt, and the remaining 2 whole eggs and whisk to blend well.
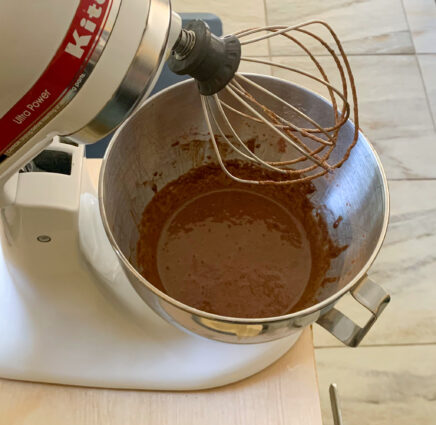
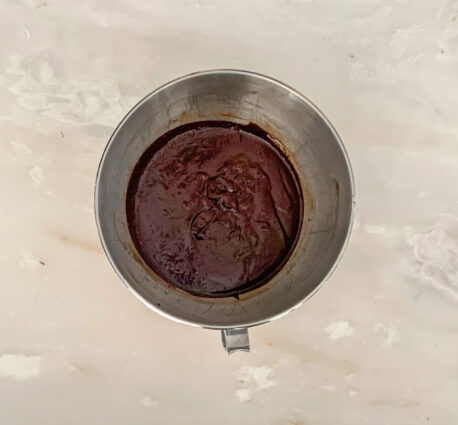
Using a spatula, gently and gradually mix the egg yolk mixture into the melted chocolate mixture (don’t use a whisk here; the batter is quite thick and will get stuck in the wires).
With the mixer on high, beat the egg whites.
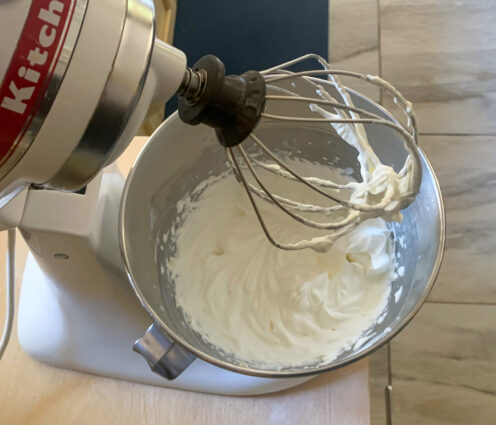
When they start to get light and foamy, gradually add ¾ cup sugar, a tablespoon or two at a time, and continue to beat until egg whites have tripled in volume and are light, fluffy, opaque, and hold stiff peaks.

They should look like a very good meringue that you could frost a cake with (that’s not what you’ll be doing, but just saying).
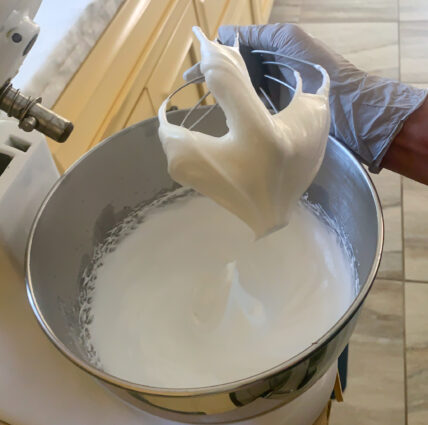
Using a spatula, gently fold the egg whites into the chocolate mixture until just combined and no obvious white streaks remain (this will look cool—maybe take a picture!); avoid overmixing (that would deflate all that air you worked so hard to build into those egg whites).
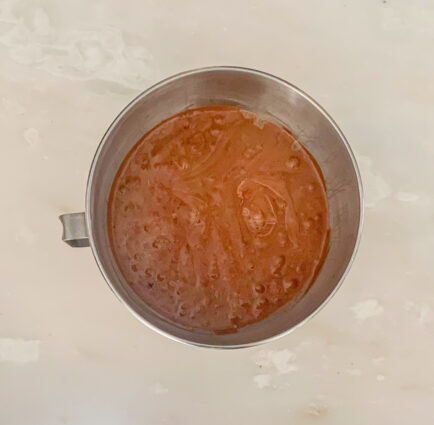
Pour the batter into the prepared pan and smooth the top.

Sprinkle with the remaining 2 tablespoons granulated sugar.
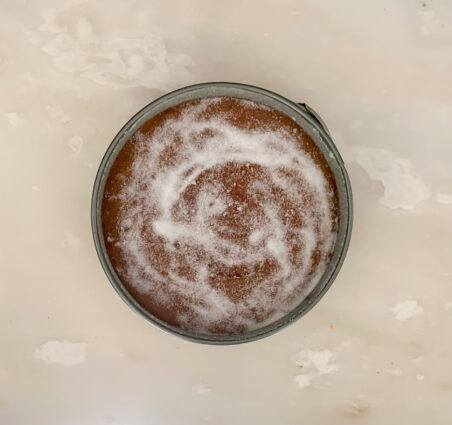
Bake until the edges begin to pull away from the sides of the pan and the top looks puffed and lightly cracked, like a soufflé (it should still have a little jiggle), 35 to 40 minutes.

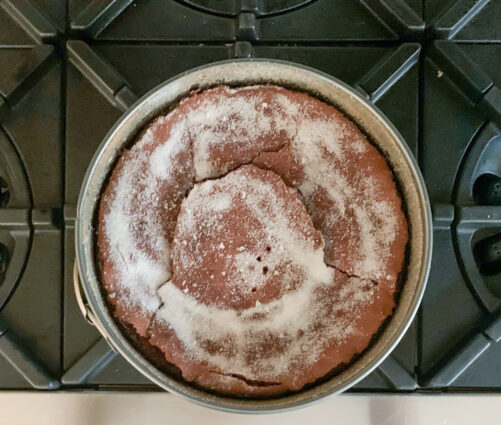
Let cool completely (if you have a wire rack, use it). During this time, something seemingly tragic will happen—the center of the cake will collapse, causing further cracking around the edges. This is the intended effect, so don’t worry—it’s where those crispy edges come from, the reason we are all here.
Prepare the topping/accompaniment:

Using an electric mixer (or a good old-fashioned whisk and elbow grease), whip the cream, confectioners’ sugar, and salt in a medium bowl until you’ve got medium-stiff peaks, then whisk in the sour cream.
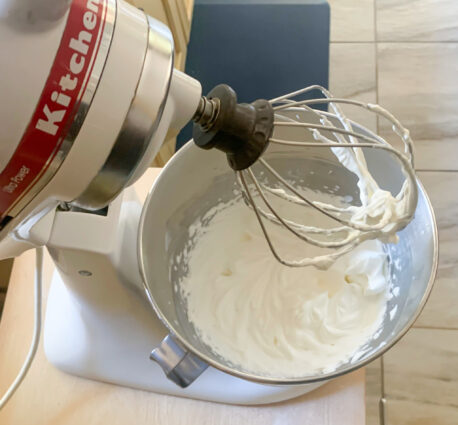
For a streaky effect, fold in the Nutella using a spatula or if, you know, who cares, just whisk it in.
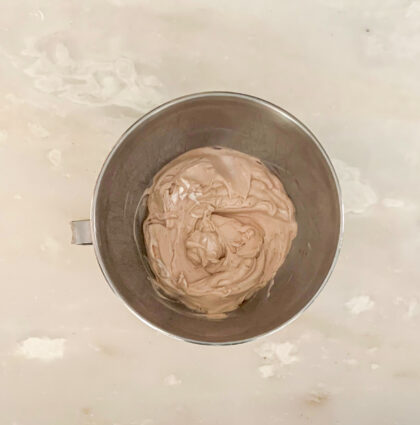
Use this mixture to top the cake, but I prefer to eat it on the side (so as to not ruin the cake’s crispy texture) with some delicious cherries for snacking on in between bites.

 Do Ahead: You can bake this cake up to 2 days ahead, wrap it tightly, and store at room temperature.

Author’s Note: Using an unsweetened spread like almond butter or tahini will give you a slightly less sweet version of this cake, which for my taste, is still perfectly sweet enough.

It’s that simple! And delicious!


signature

[recaptcha]


I try to purge all my extra junk twice a year, but the lockdown has made cleaning and organizing a consistent part of my life. That may sound like a lot to most of you, but I truly hate clutter. I like to actually know where something is when I look for it, especially if I am in a rush to get out of my house.

When both of my boys were in college, I cleaned their rooms for them, throwing out what I knew they didn’t need, simply so I could wake up to a perfectly tidy house every morning. The scotch tape was always where I put it, as were the stapler, pens, notepads, and scissors.  Those things had a way of wandering off when the boys were home. The countertops were always clean and there were never any dishes in the sink. I was even able to find all my kitchen utensils when I needed them!

When they moved back home, I instituted much stricter rules. I knew I had to teach them to clean up after themselves. They learned how to load the dishwasher and clean the countertops to perfection. They do their own laundry and do not leave any dishes in the sink. I think they are handling it very well. Their rooms? Well, we don’t talk about that. I tell them to leave the door closed. 

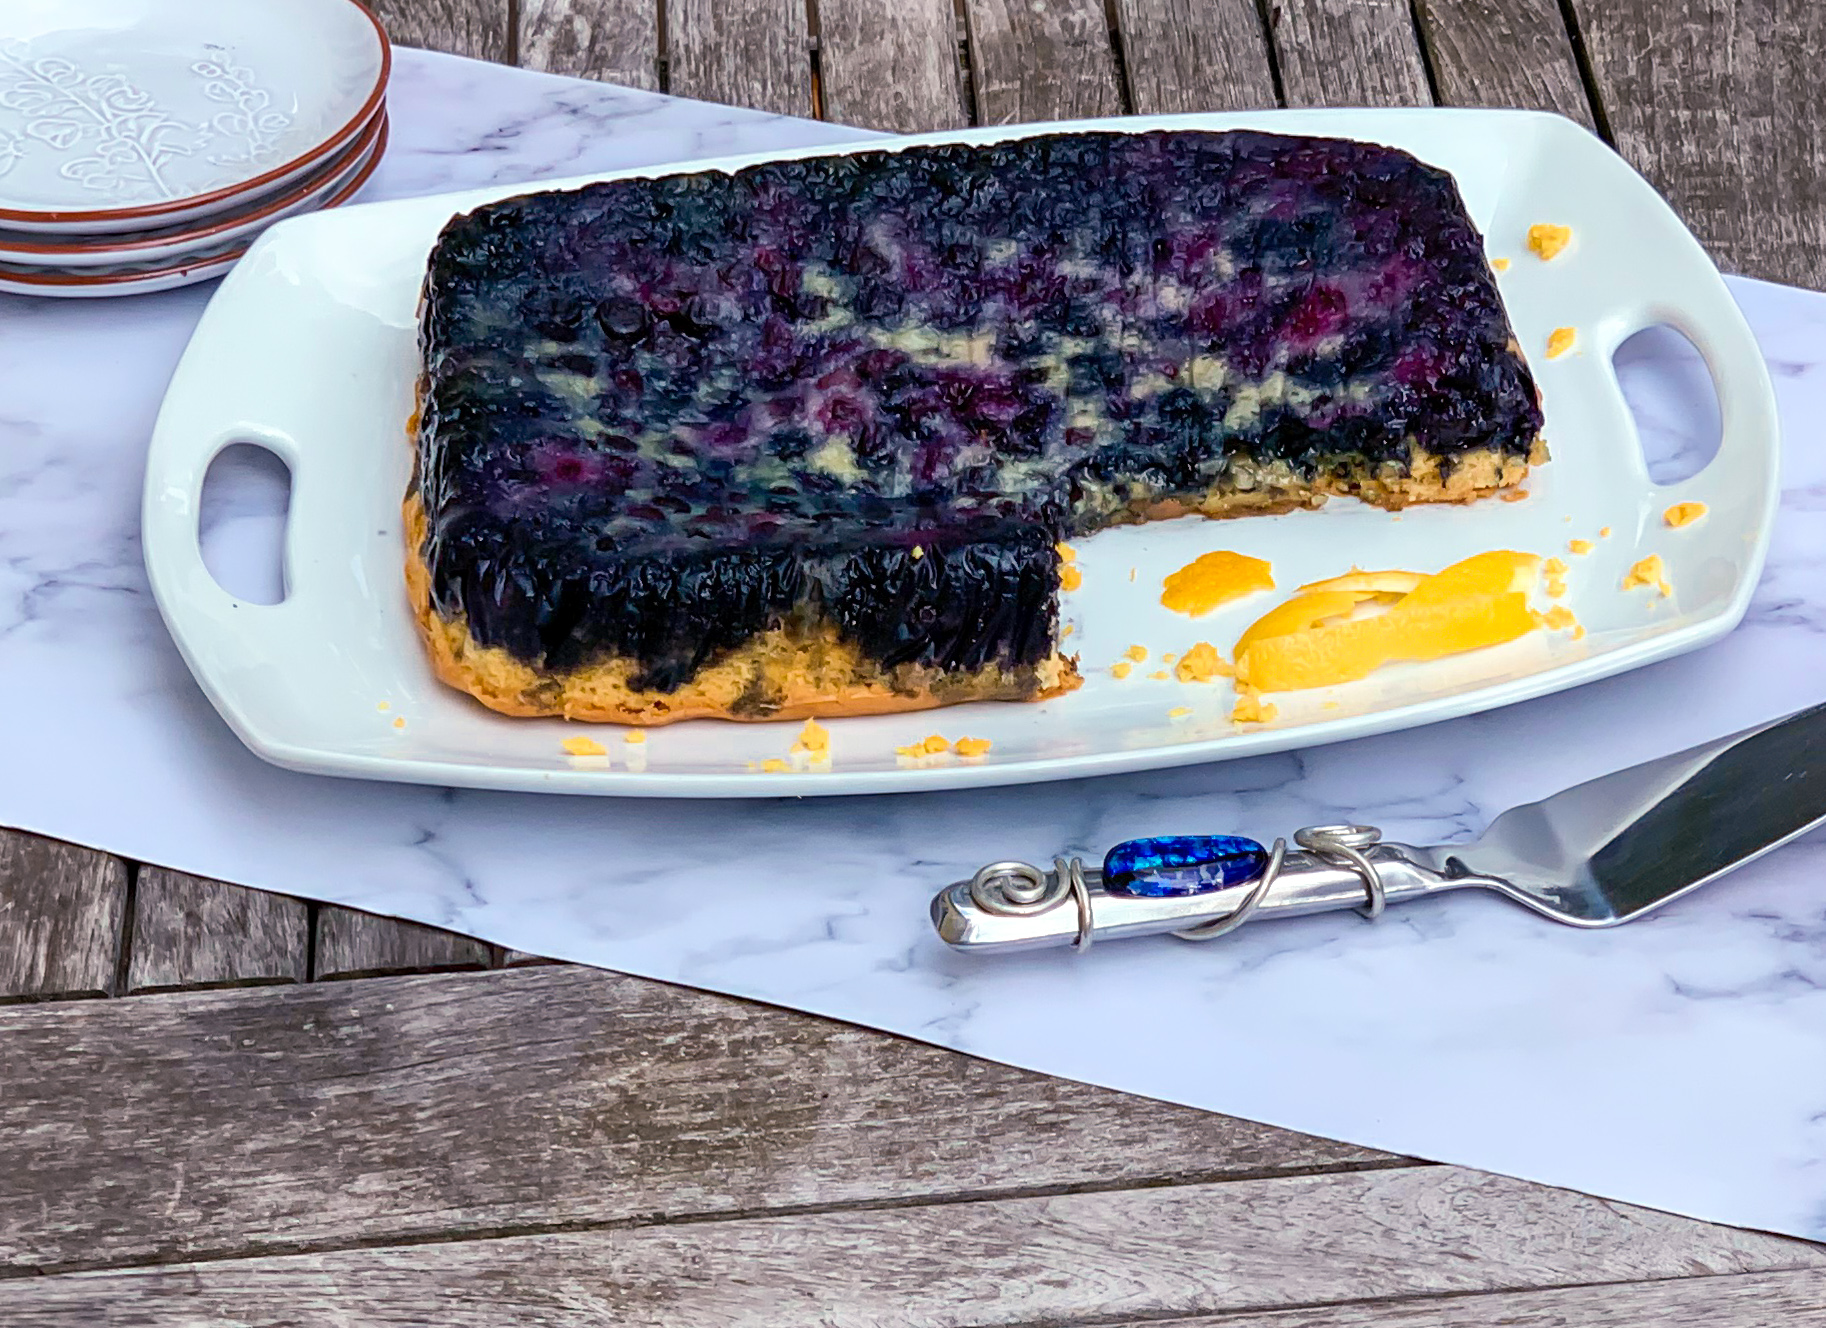
Every now and again, I’ll forgive myself for a bit of mess, and turn my attention to something else.  This morning, I took some time off of organizing to bake something special. This delicious and beautiful dessert is perfect for the summertime. It only has six ingredients, so there is no excuse not to make it. It is not too sweet and the lemon zest adds savory and tang. The natural sweetness of the fresh blueberries is the real treat. The marshmallows are the final decadent joy. Perfect for a snack or breakfast, or just plain anytime.

This recipe is courtesy of Taste of Home, and makes 12 servings of one of the most delicious cakes you’ve ever had.

Ingredients for Blueberry-Lemon Upside-Down Cake:

4 cups fresh blueberries
1/2 cup sugar
2 cups miniature marshmallows
1 package yellow cake mix (regular size)
1/2 teaspoon grated lemon zest
Whipped topping

Preheat oven to 350°.

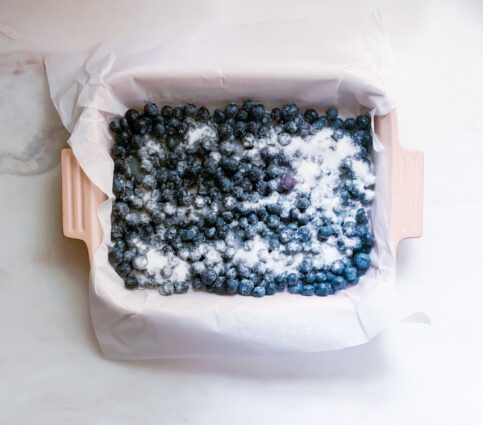
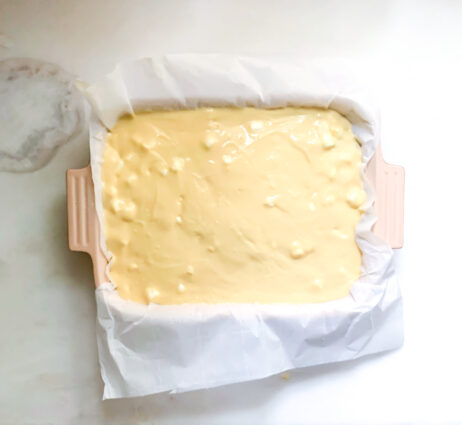
In a greased 13×9-in. baking dish (I used parchment paper, because I hate when these things stick to the pan, as they usually do), layer blueberries and sugar.

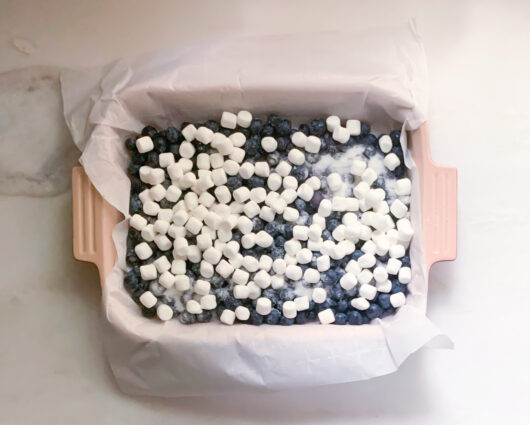
Add the marshmallows.

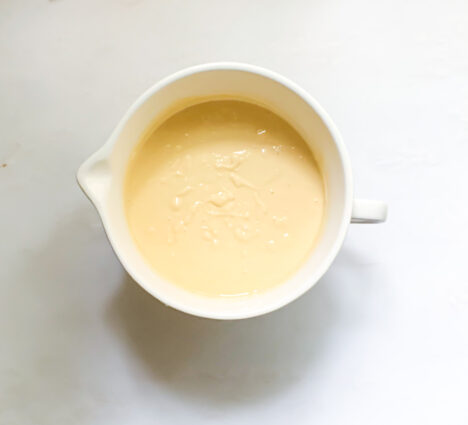
Prepare cake mix batter according to package directions.

Add lemon zest before pouring in batter; pour batter over marshmallows.

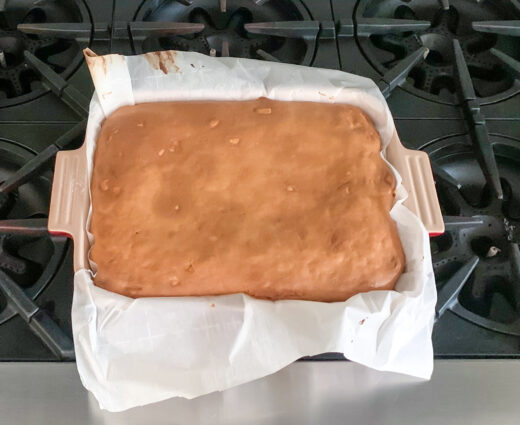
Bake 35-40 minutes or until a toothpick inserted in center comes out clean.

Cool 10 minutes before inverting onto a serving plate.

Serve warm with whipped topping.

It’s that simple!

signature

[recaptcha]


Finally, summer is on full blast. I love waking up to the bright mornings these days, and taking a sunset walk along the beach. The weather makes me want to be outside all day. Lately I have been working on my garden and tending to my herbs. They all grew back this year, which was a wonderful surprise; I usually have to rebuy them every year. 

The best thing is that our local farmer’s market opened up. 

Visiting my local farmer’s market is one of my favorite things to do. There is nothing better than walking through the market knowing everything there was freshly grown. You know you are getting the highest quality food at a very fair price, as well as helping out your local economy.

There are some things you should know before going to your local market. It can be intimidating so here are a few tips to help you navigate it easier.  Things are different this year, so I’ve amended my usual tips with COVID-19 in mind.

Before you go, look online to see if vendors are listed.  This is a great way to plan out your route before you get there.  

Prepare a clean mask to wear, and bring hand sanitizer.  Many markets are requiring shoppers to wear a mask, so it’s best to have one ready to go.

Bring cash.  Small vendors may not take cards due to fees from credit card companies.  

Take a walk through the market before you buy anything. Make a mental or written note of the vendors you want to return to.

Bring your own bags.  This is environmentally friendly, convenient, and safe!

Do not be afraid to ask questions. I have found that most vendors enjoy talking about the way they grow the food and operate their farm. They will be able to tell you what’s in season, what tastes best, and how to store it.

Pick up your largest purchases last so you don’t have to carry it around.

Don’t forget to pick up the items you will need for your 4th of July celebration!

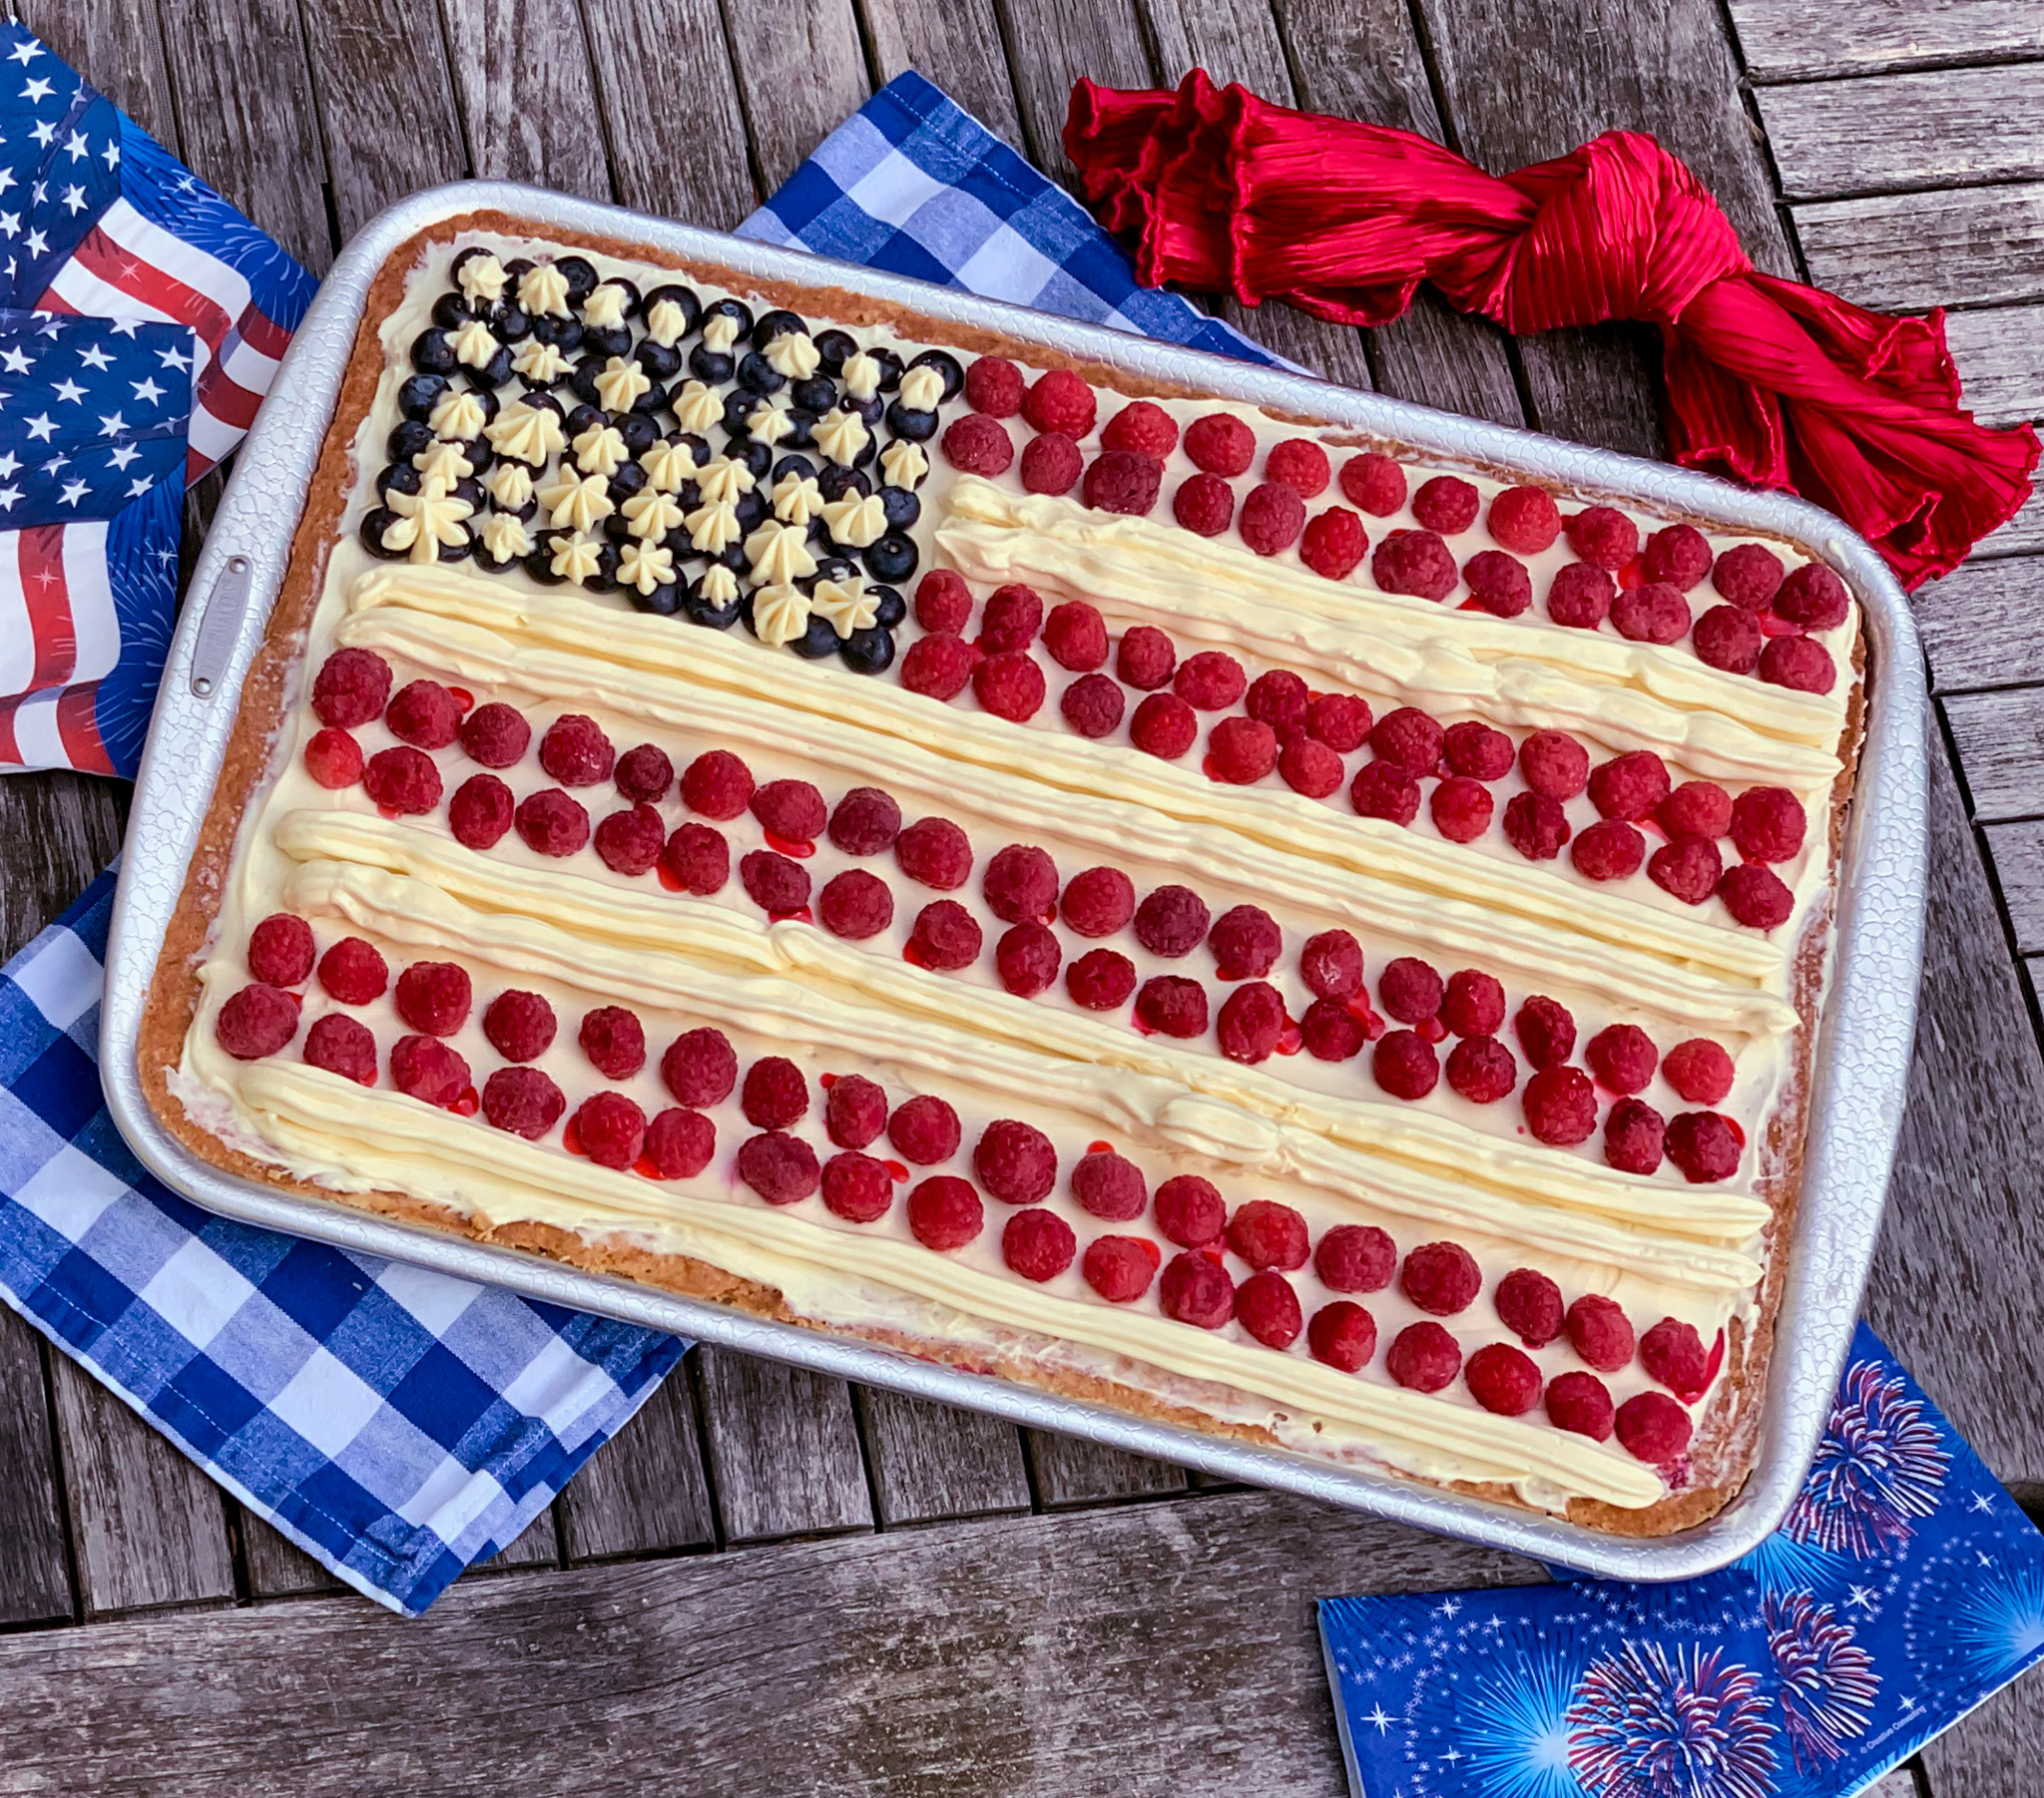
Now this dessert really does say 4th of July. I was hesitant to make it, because I am not good with food decorations, but I decided to give it a try and I was so glad I did. Of course, my cake is not as beautiful as Ina’s but I find all of her recipes and directions to be spot on and delicious. This cake was so easy to make. The sour cream ensures it is nice and moist. It is just the right amount of sweet with hints of vanilla. Thanks to the cream cheese, the icing is wonderfully smooth. Fresh fruit is the perfect topping for this delightful and beautiful dessert.

This recipe is courtesy of Ina Garten and will serve 20 to 24 people who will surely want seconds!

Ingredients for Flag Cake:

18 tablespoons (2-1/4 sticks) unsalted butter, at room temperature
3 cups sugar
6 extra-large eggs, at room temperature
1 cup sour cream, at room temperature
1-1/2 teaspoons pure vanilla extract
3 cups all-purpose flour
1/3 cup cornstarch
1 teaspoon kosher salt
1 teaspoon baking soda

For the Icing:

1 pound (4 sticks) unsalted butter, at room temperature
1-1/2 pounds cream cheese, at room temperature
1 pound confectioners’ sugar, sifted
1-1/2 teaspoons pure vanilla extract

To Assemble:

2 half-pints blueberries
3 half-pints raspberries

Heat the oven to 350 degrees. Butter and flour an 18 x 12 x 1-1/2-inch sheet pan (see note).

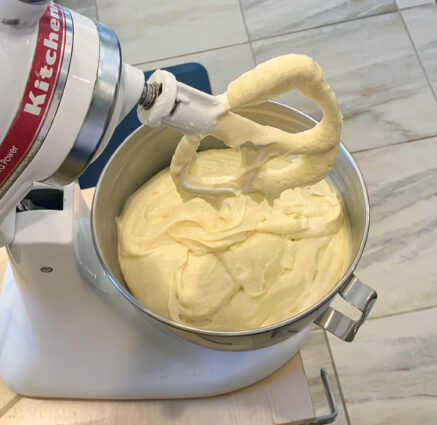
Cream the butter and sugar in the bowl of an electric mixer fitted with the paddle attachment for 3 minutes on medium speed, until light and fluffy. (If the butter is too cool to be light and fluffy, add a teaspoon or two of warm water,)

On medium-low speed, add the eggs, 2 at a time, then add the sour cream and vanilla.

Scrape down the sides and stir until smooth.

Sift together the flour, cornstarch, salt, and baking soda in a bowl.

With the mixer on low, add the flour mixture and mix until just combined.

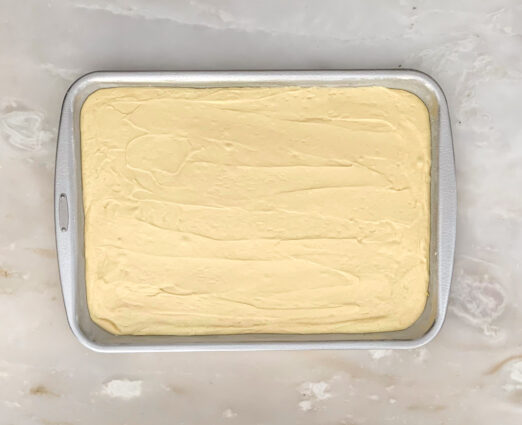
Stir the batter with a rubber spatula and pour into the prepared pan and smooth the top.

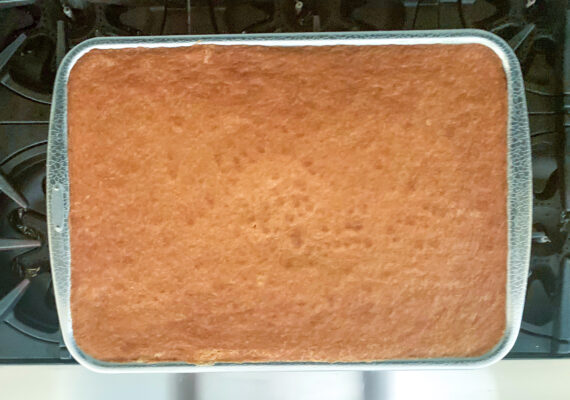
Bake in the center of the oven for 20 to 30 minutes, until a toothpick comes out clean.

Cool to room temperature.

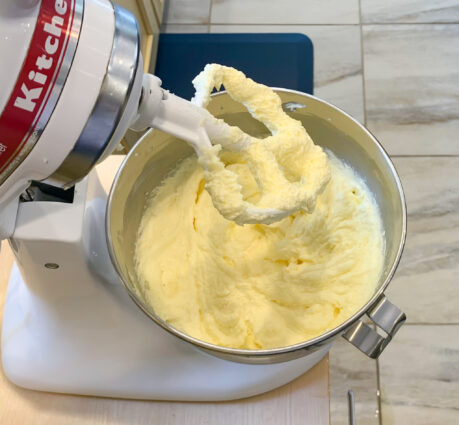
For the icing, combine the butter, cream cheese, and vanilla in the bowl of an electric mixer fitted with the paddle attachment and mix on medium speed until very smooth. 

Add the confectioners’ sugar and mix on low speed.

Stir with a rubber spatula to be sure the icing is well mixed.

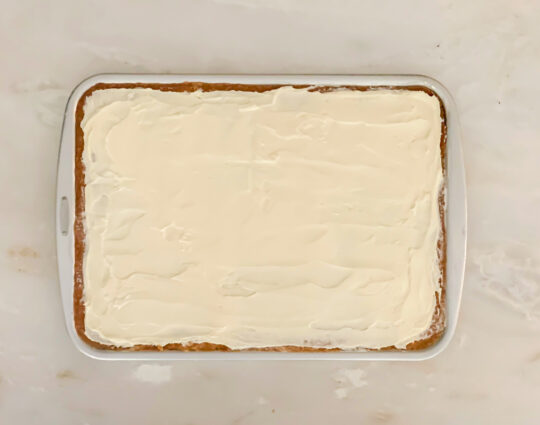
Spread three quarters of the icing on the cake.

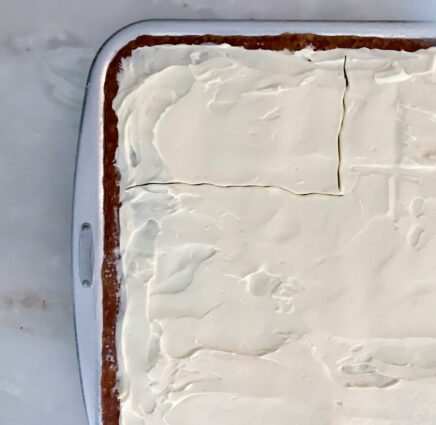
Using a toothpick, outline a flag on the cake.

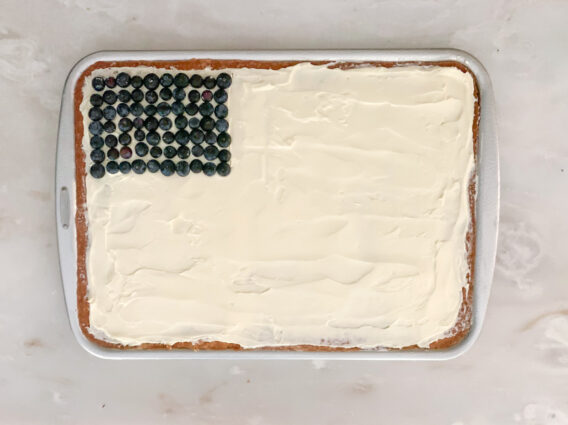
Fill in the upper left corner with blueberries.

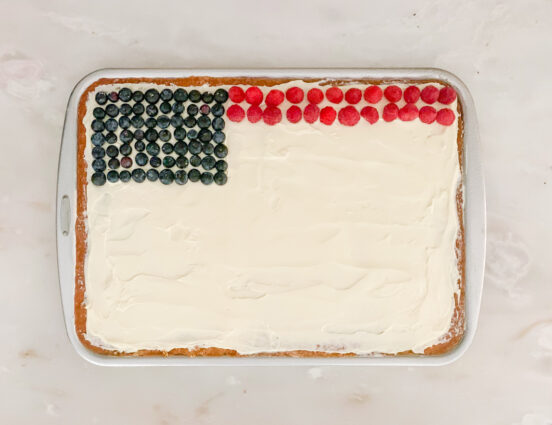
Place 2 rows of raspberries across the top of the cake like the red stripes.

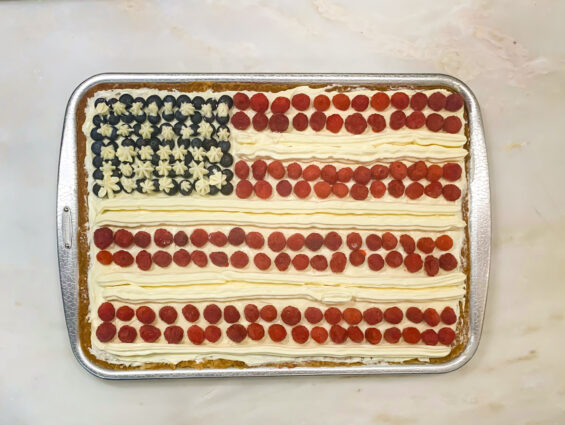
Put the remaining icing in a pastry bag fitted with a star tip and pipe two rows of white stripes below the raspberries.

Alternately add 2 rows of raspberries and 2 rows of icing until the flag is completed. Pipe stars on top of the blueberries.

Note: If you don’t want to serve your cake from the pan, line the pan with parchment paper and turn it out into a board before you ice and decorate it.

It’s that simple!


signature

[recaptcha]


As of now, it looks like my state will be one of the last to reopen. I just found out that salons will be reopening June 22, which seems a lifetime from now. I never imagined myself looking like this, or not needing to get properly dressed in the morning. I long for the days when I have my routines back! 

Long before this lockdown, my husband and I were at one of our favorite restaurants for dinner. We know the owner (who is also the chef) and her husband quite well. One night, I asked them to recommend a dessert, and without hesitation, they suggested the butter cake. With all the wonderful desserts on the menu, I was curious as to why they selected something so simple.  I initially hesitated, then decided to trust them and asked them to bring us a piece.

Wow! That cake quickly became one of my favorites. I tried to only take a “small taste” but all my self-control evaporated. Go figure.

Well, since I loved the cake so much, I started looking into how hard it would be to make one myself.  Equipped with a few tips and tricks, I baked my first one. Since then, there have been many, and I’ve shared most of those with you. Given how good this cake is, I am not at all sorry to give you another recipe. It has such a unique preparation: first you bake the cake and then, using a knife, cut holes in the bottom and pour all this buttery deliciousness right into the cake. 

You definitely need a deep cake pan or Bundt pan for this, as there is a lot of batter. This dessert is perfect with a nice cup of coffee or tea. The buttermilk ensures that this cake is moist, no matter what. It has delightful hints of vanilla and an enchanting of vanilla-scented, buttery sugar glaze that is poured over the cake when it is warm. Don’t miss this one!

This recipe is courtesy of Margaux Laskey and will serve 10 to 12 people who will love this sweet taste of the South.

Ingredients for Kentucky Butter Cake:

1 cup unsalted butter (2 sticks), softened, plus more for greasing the pan
3 cups all-purpose unbleached flour, plus more for dusting the pan
Nonstick cooking spray (optional)
2 cups granulated sugar
1 cup buttermilk 
4 eggs
2 teaspoons vanilla extract
1 teaspoon baking powder
1 teaspoon fine sea salt
½ teaspoon baking soda

For the Butter Sauce:

3/4 cup granulated sugar
1/3 cup unsalted butter
2 teaspoons vanilla extract
Confectioners’ sugar for sprinkling

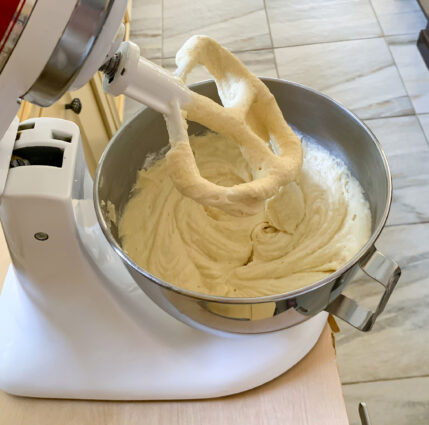
In the bowl of a stand mixer fitted with a paddle attachment, or using a handheld mixer, combine the remaining cake ingredients and beat for 3 minutes at medium speed.

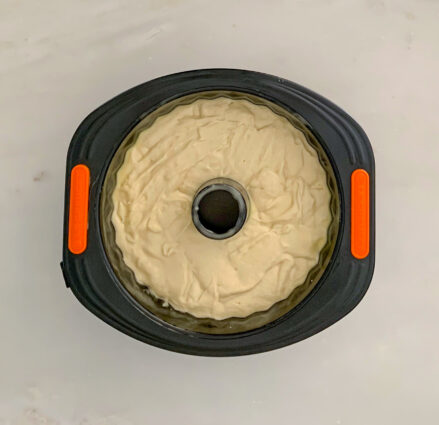
Pour into prepared pan, level with a spatula.

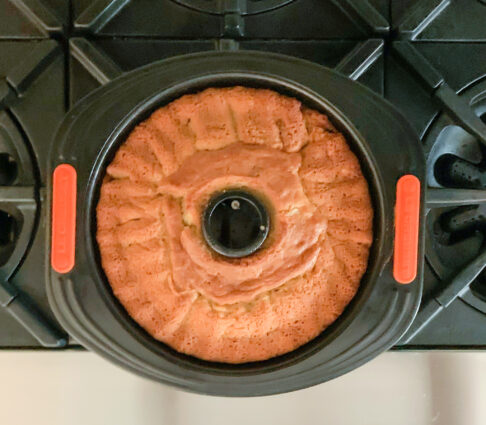
Bake until a toothpick inserted in the center comes out clean, 60 to 70 minutes.

Shortly before the cake is done baking, make the butter sauce:

Combine the granulated sugar, butter and vanilla with 3 tablespoons water in a saucepan over low heat until the butter just melts. (Do not let the mixture boil, as you do not want the sugar to completely dissolve.)

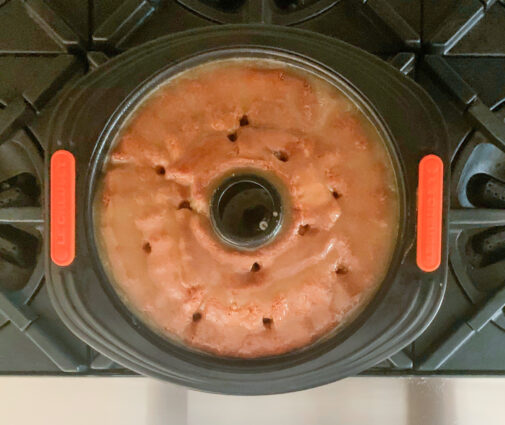
As soon as the cake comes out of the oven, leave the cake in its pan and gently poke it all the way through 15 to 20 times with a long wooden skewer or a long-tined fork.

Slowly pour warm butter sauce over the cake.

Let cool for at least 3 hours before unmolding from pan.

Just before serving, sprinkle with confectioners’ sugar, if desired.

It’s that simple!

signature

[recaptcha]


This is my favorite time of the year. All the cold dark days of winter have passed, and we are blessed with the long days of summertime. Remember that bright thing in the sky? It actually releases heat! There is nothing better than feeling the warmth of the sun on your skin.  The sun also provides lots of vitamin D, just be sure to wear sunscreen!

Summer is also the season when nature is at its best. You get to take in all of the beauty of living things. The grass is green, and the flowers reach to the sky and fill our eyes with every vibrant color you can imagine. The butterflies fly to and fro, and the bumble bees blunder flower to flower in search of nectar for their honey. We get to go to the beach and have delicious barbecues, feeling the warm sand between our toes and the cool ocean before coming home to a lovely outdoor meal.

How lovely it is to dine outside.  I am dreaming about frozen drinks, like a margarita or piña colada. These drinks are too heavy any other time of the year, but when the sun’s out, you just have to have one. 

On the other hand, we usually lighten up our diets this time of year. Salads, fruits, and vegetables make their way back to our tables. But let’s be real here…we have to sneak in a dessert once in a while.

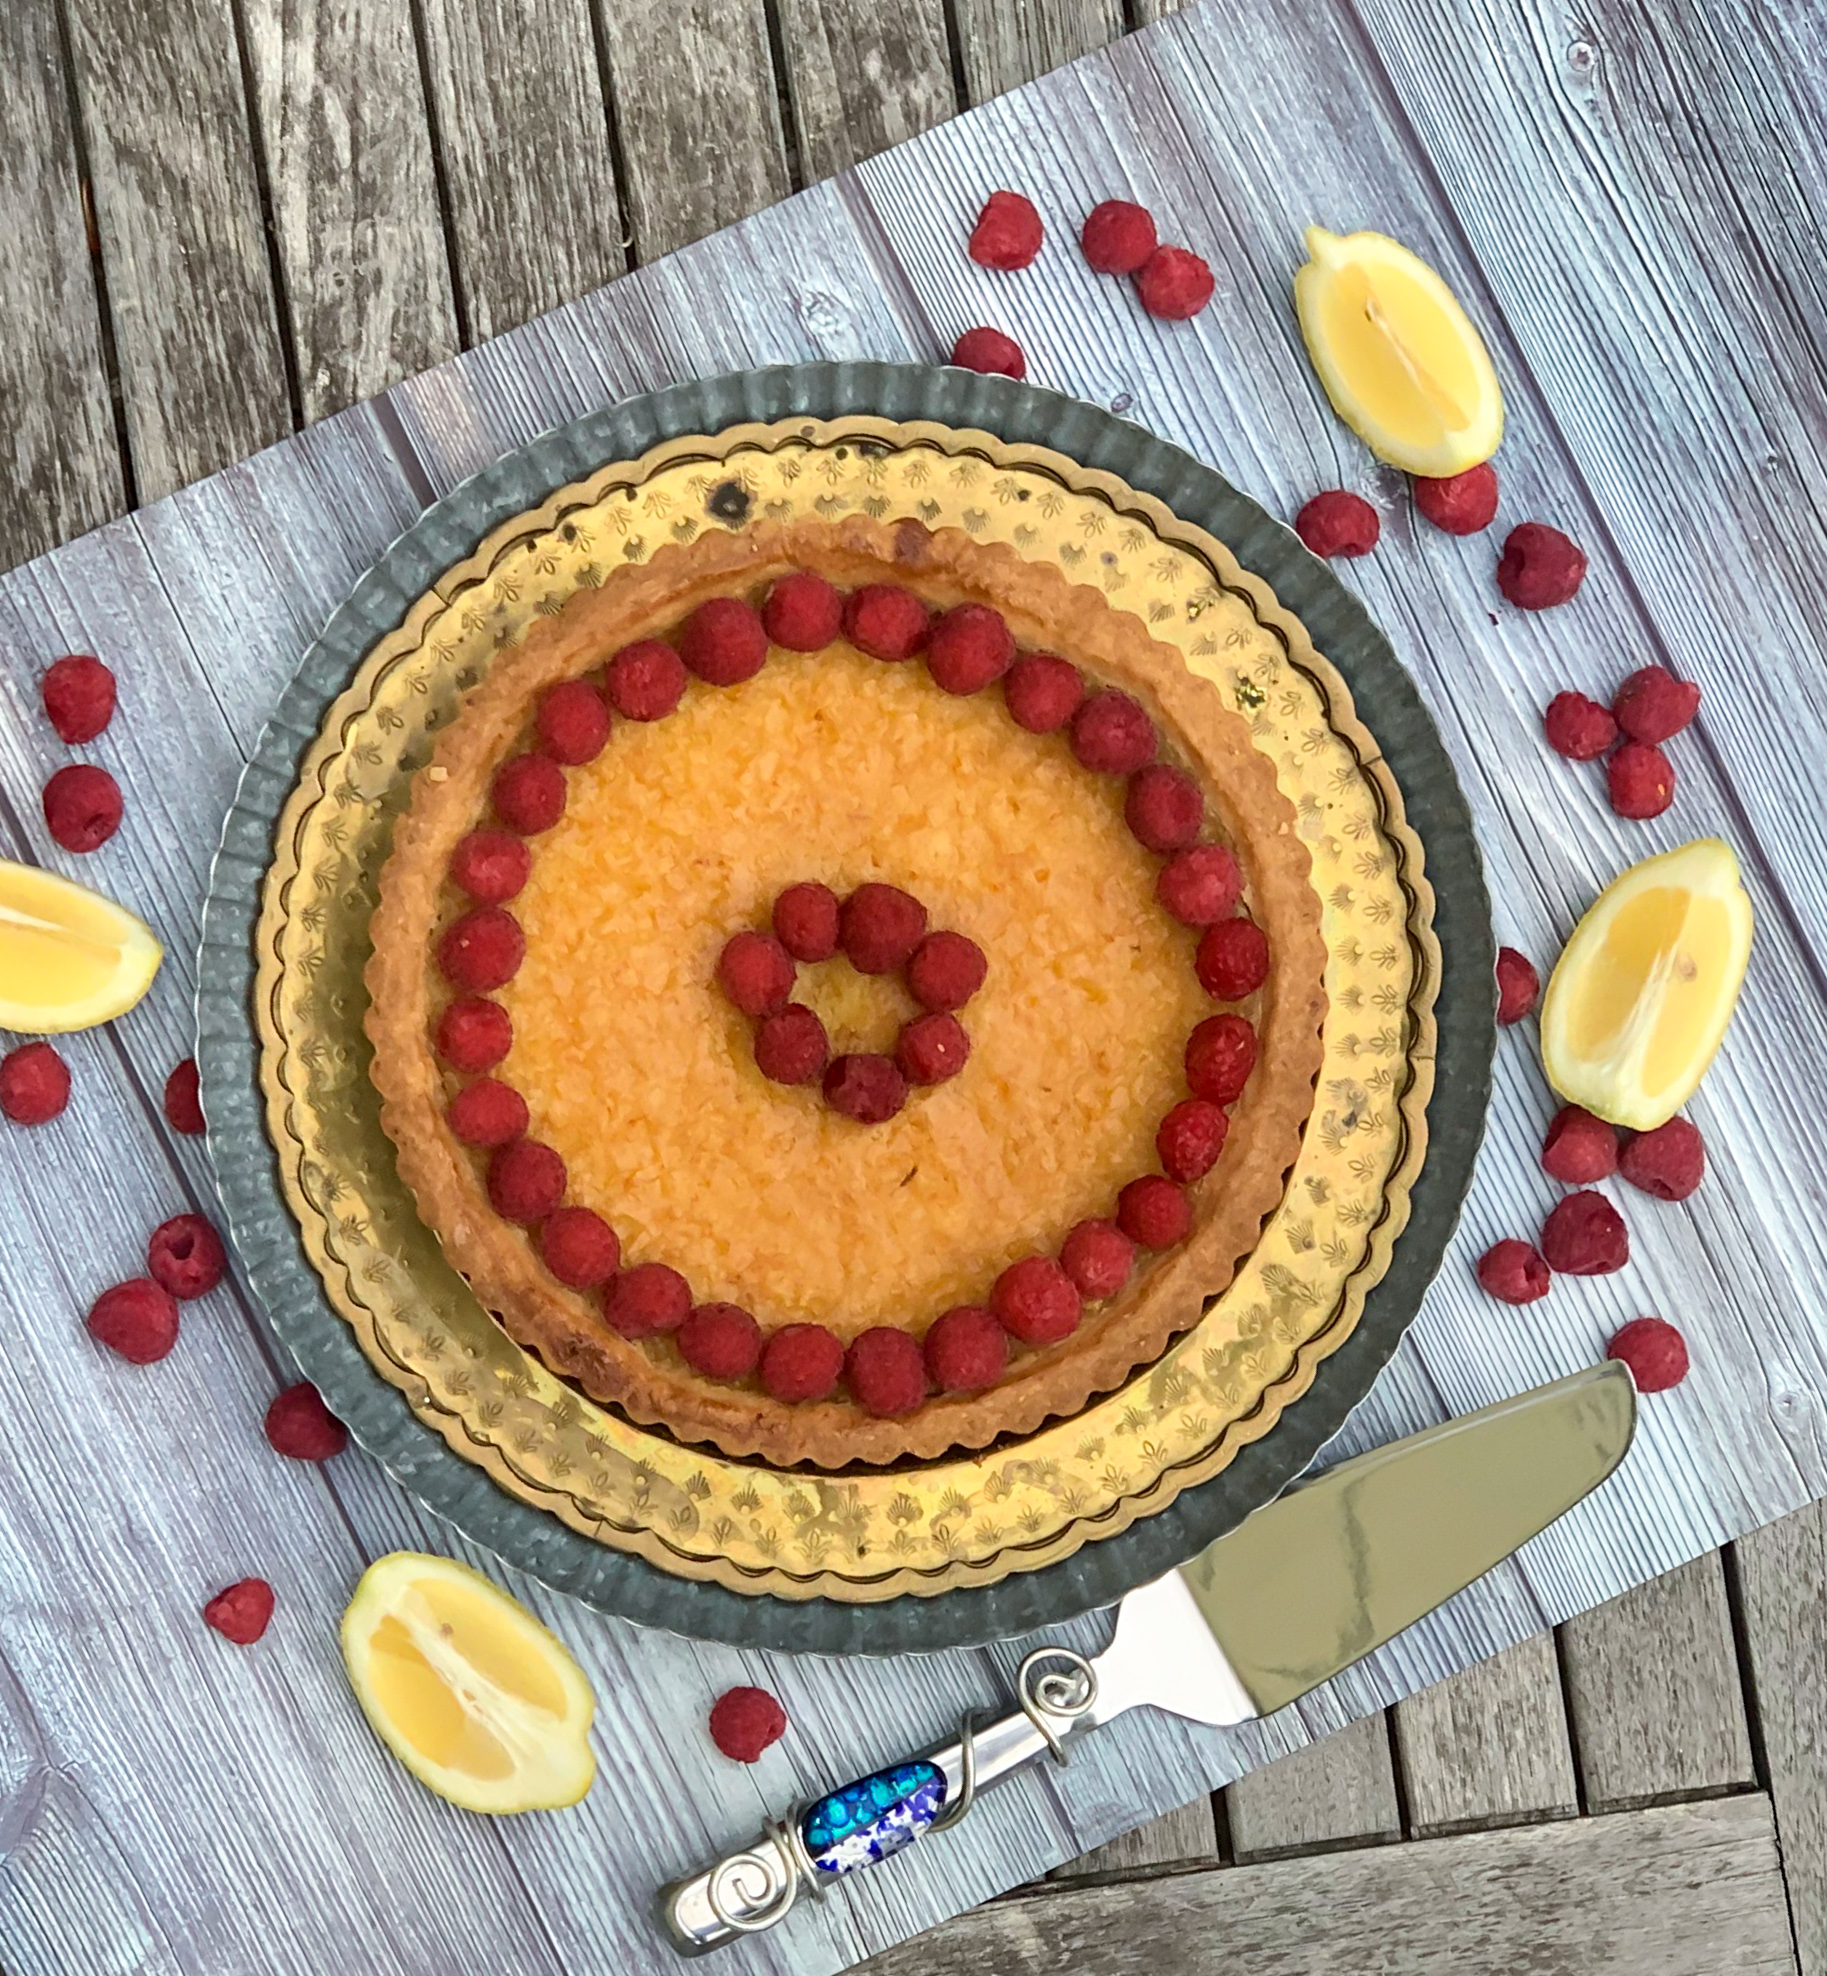
This recipe is a perfect choice, should you wish to indulge. It is not exactly a light dessert, but it is the perfect combination of sweet and tart. The lemon juice and orange juice are lip puckering good. The two kinds of zests in the crust adds a savory touch, and is the perfect home for this luscious treat. Your home will brighten up with the smell of this bake. It is so easy to make, so there is no good reason not to.

This recipe is courtesy of A Taste of Home and will serve 6 to 8 people who will love this sunny dessert to go with the sunny days.

Ingredients for Shortbread Lemon Tart:

3 large eggs
1-1/4 cups sugar
1/4 cup lemon juice
1 tablespoon grated orange zest
1/4 cup butter, melted

CRUST:

1 cup all-purpose flour
1/3 cup confectioners’ sugar
1/2 cup ground almonds
1 teaspoon grated lemon zest
1 teaspoon grated orange zest
1/2 cup cold butter, cubed
Additional confectioner’s sugar
Fresh raspberries, optional

Let eggs stand at room temperature for 30 minutes.

Preheat oven to 350°.

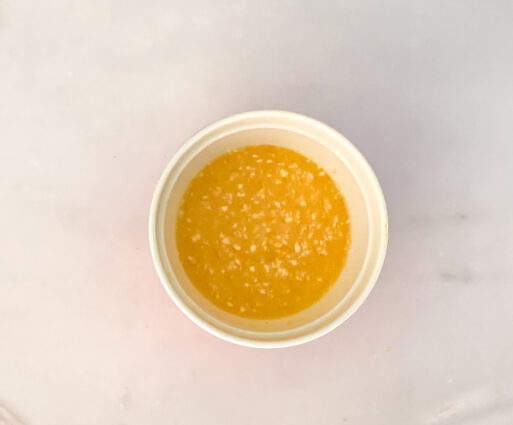
Whisk together eggs, sugar, lemon juice and orange zest.

Whisk in butter until smooth. Set aside.

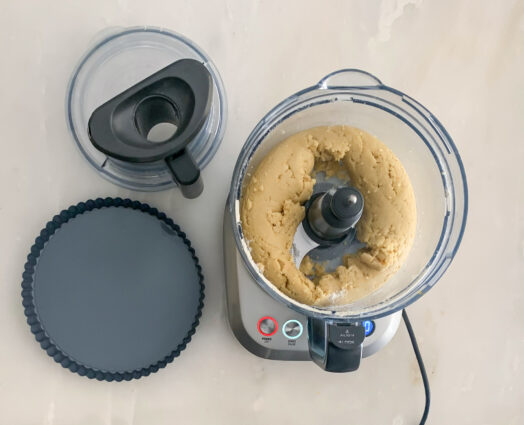
For crust, pulse first 6 ingredients in a food processor until mixture forms a ball.

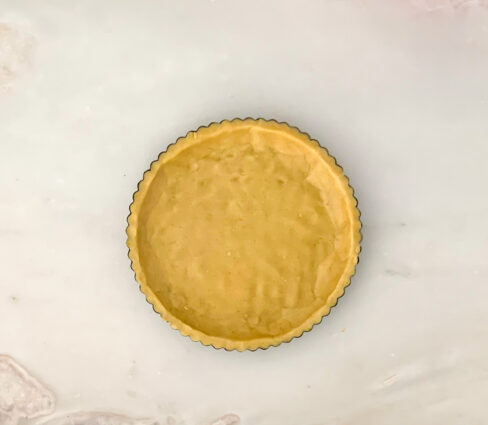
Press dough onto the bottom and up the sides of an ungreased 9-in. fluted tart pan with removable bottom.

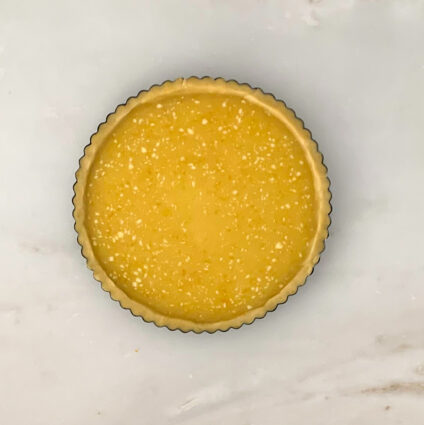
Pour lemon mixture into crust. 

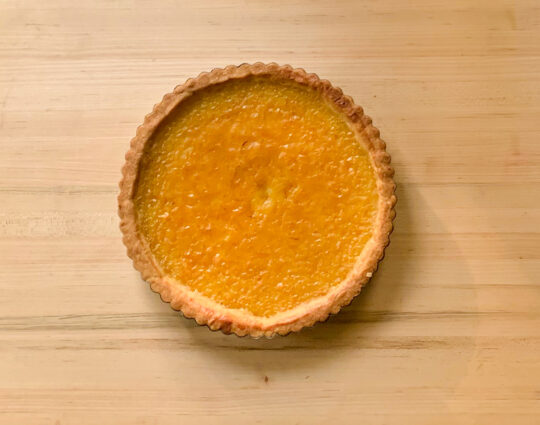
Bake until center is almost set, 25-30 minutes.

Cool on a wire rack.

Just before serving, sprinkle with confectioners’ sugar and, if desired, fresh raspberries.

It’s that simple!


signature

[recaptcha]