As you know, I love the tangy, sour taste of lemons. Even when I was a little girl, I would pass over brownies and go for a lemon bar every time. Although I still love lemon, I like to indulge in a sweet chocolate treat every now and then. Now that there’s been research that says chocolate has health benefits, I’m definitely more likely to have a piece of a chocolate tart. Let’s go over a few and see if I can talk you into nourishing yourself with a little (or a lot!) of good old-fashioned chocolate goodness.

A new study suggests that eating chocolate can help you stay thin. Researchers at the University of California-San Diego found that people who frequently eat small amounts of chocolate have lower body-mass indexes than people who don’t.

Chocolate decreases stroke risk. A Swedish study found that eating more than 45 grams of chocolate per week—about two bars worth—led to a 20 percent decrease in stroke risk among women. Susanna Larsson, the author of the study, claims that the flavonoids in chocolate have antioxidant properties that can help fight strokes.

Chocolate protects against inflammation. The Moli-sani project, a large health study conducted in Europe, found that eating a bit of chocolate will decrease the amount of C-reactive protein in your blood.  C-reactive protein is a protein associated with tissue inflammation. 

Chocolate reduces the likelihood of a heart attack. The same study also found that eating chocolate prevents blood clots, which in turn reduces the risk of heart attacks. Blood platelets clump together more slowly in chocolate eaters, the study said.

Chocolate may prevent cancer. Researchers at the Lombardi Comprehensive Cancer Center at Georgetown University found that cocoa in chocolate also contains a compound called pentameric procyanidin, or pentamer, which disrupts proteins that causes cancer.

Chocolate is good for your skin. This is a new fact for me, since I grew up with doctors telling me that it will cause breakouts and acne. Turns out that it’s actually good for your skin! Well, cocoa at least. Antioxidants found in cocoa protect the skin from the sun’s UV rays, but that doesn’t mean you can skip the sunscreen.  Most antioxidants are lost during the process that turns cocoa into chocolate, but food chemists are working to try to preserve those and make chocolate even healthier.

The takeaway here is that chocolate is not a health food.  It should be consumed in moderation– many of these studies used a sample piece about the size of a Hershey’s kiss– rather than with abandon.  A lot of this research was paid for by chocolate manufacturers too, so it’s definitely best to make sure your portions of this sweet treat are under control.

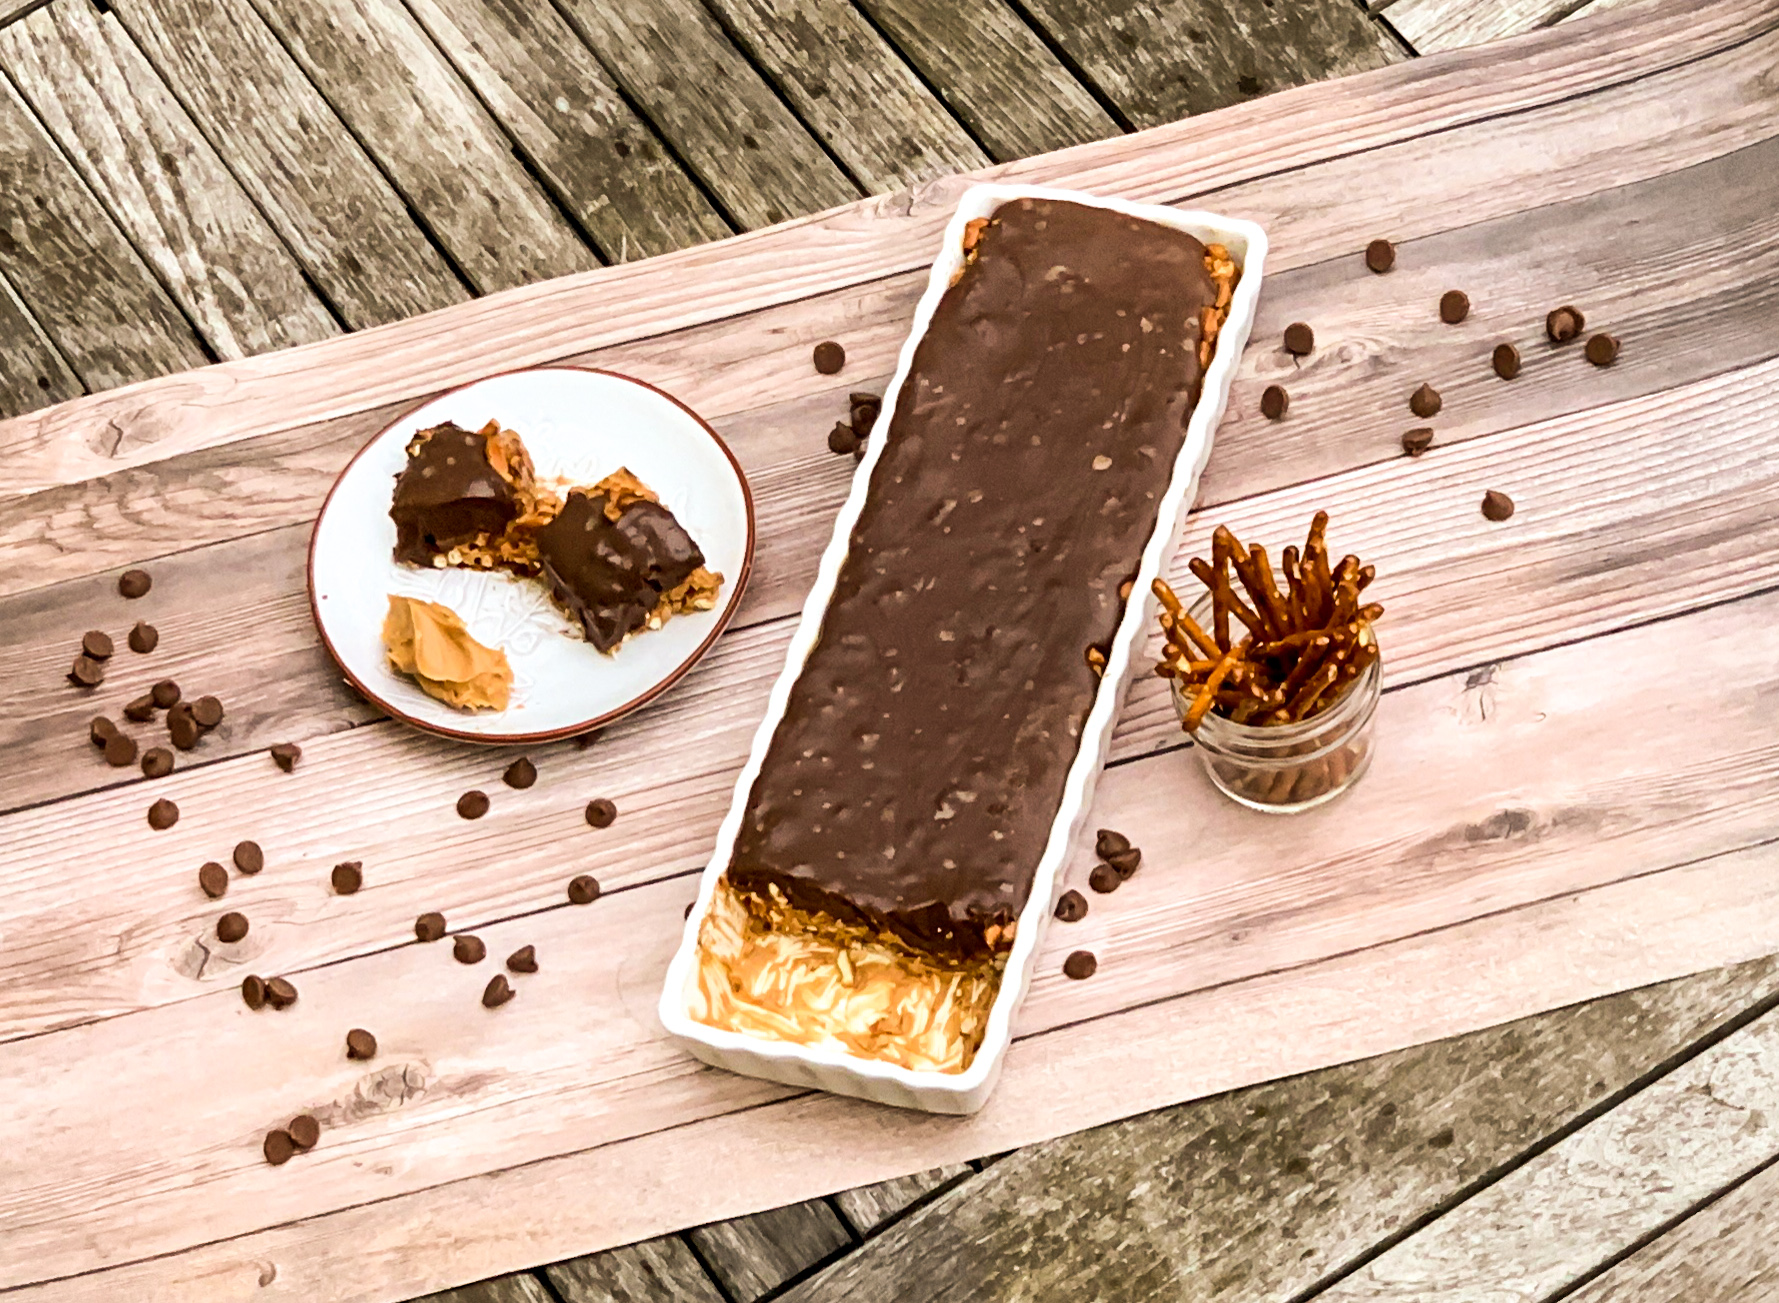
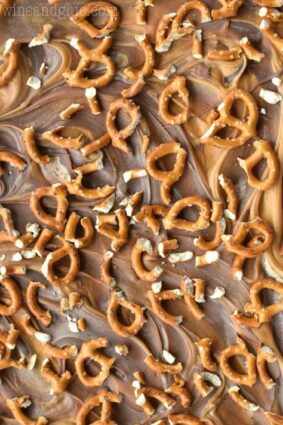
This dessert is one extravagance that will not let you down, though you’ll probably want seconds. Really, few things go better together than chocolate and peanut butter. The milk chocolate, when combined with the cream, turns miraculously elegant and creamy. It is then housed by a peanut butter and pretzel (oh my!) crust that is perfect for this chocolatey treat. And this is a no bake dessert– no need to turn your oven on for this one!  This is cool perfection in every bite.

This recipe is adapted from Food and Wine and makes a tart that will serve 12 lucky people.

Ingredients for Milk Chocolate Tart with Peanut Butter Crust:

For the Filling:

12 ounces good quality milk chocolate, roughly chopped
1 ½ cups) heavy cream

For the Crust:

1/2 cup creamy peanut butter
2 cups crushed salted pretzels plus additional for topping tart 

Make the filling:

Place chocolate in a large heat-safe bowl and set aside

In a small saucepan, bring cream to a rolling boil over medium high heat (do not stir) and then immediately pour over chocolate; let sit for five minutes and then whisk until completely smooth.
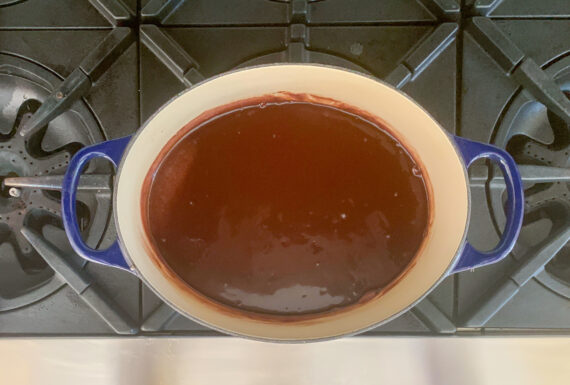
Let cool at room temperature for one hour and make crust

Prepare the Crust:

In a medium bowl, melt peanut butter in microwave by heating for 15 seconds, stirring and repeating until easy to stir.
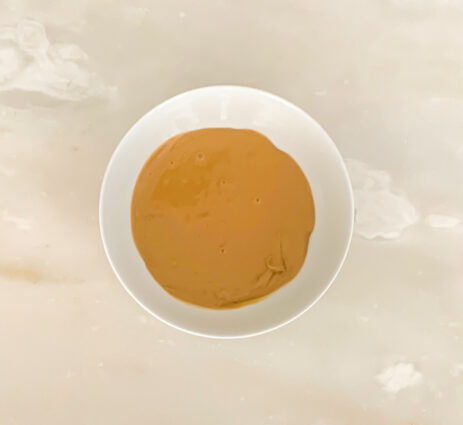
Stir in pretzel crumbs.
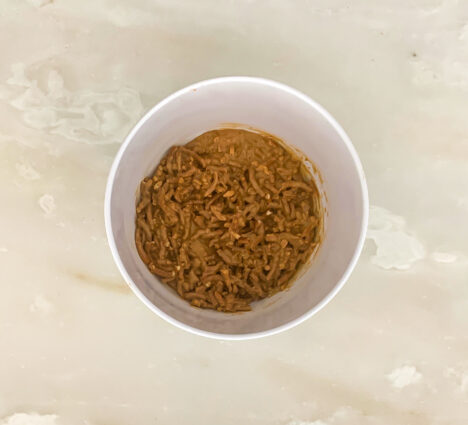
Press mixture into a 11-inch tart pan so that it is evenly spread out and up the edges; place in refrigerator until ready to use.
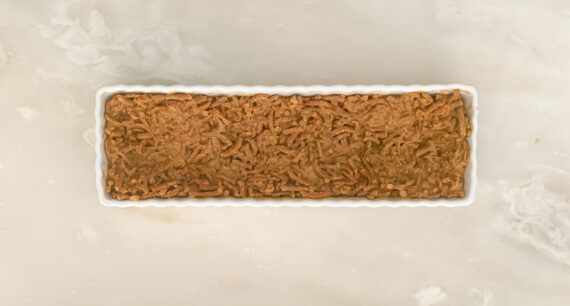
Once ready, pour chocolate mixture into chilled crust; then chill tart in refrigerator 4 hours (or up to 24 hours).

Use additional pretzels to decorate tart before serving if desired

It’s that simple!
 

signature

[recaptcha]


Do you ever get the urge to indulge in a perfect cookie and a tall, cold glass of milk? Yeah, me too.  Cookies are just about everyone’s favorite treat. Their size makes it easy to bring them anywhere you go, and their versatility makes them a great option for breakfast, a snack, or desert.

Although everyone’s definition of the “perfect cookie” is different, I challenge anyone to disagree with my assessment. 

Shortbread cookies are different because they have an unusually high butter content.  According to the Nibble, these cookies may have been made as early as the 12th century, but its invention (or at least, the refinement to its current form) is often attributed to Mary, Queen of Scots in the 16th century. She had a team of French chefs who had the time, labor, and ingredients to perfect the recipes.

Shortbread origins are in Scotland during medieval times. According to EnglishTeaStore.com, Scottish shortbread evolved from medieval biscuit bread, a twice-baked, enriched bread roll dusted with sugar and spices and hardened into a rusk. Eventually, butter was substituted for yeast, and shortbread was born.

The original shortbreads were made with oatmeal; the more elegant white flour came later and lightened the cookie substantially. The addition of rice flour gives shortbread a grainy, crumbly texture, while cornstarch (also called corn flour) gives it a denser texture, although I don’t know of many recipes that call for rice flour for shortbread cookies any more.

There are two possible reasons for the name “shortbread cookie.” Some say it is because of the crumbly texture of the cookie, while others attribute it to the large quantity of shortening or butter. 

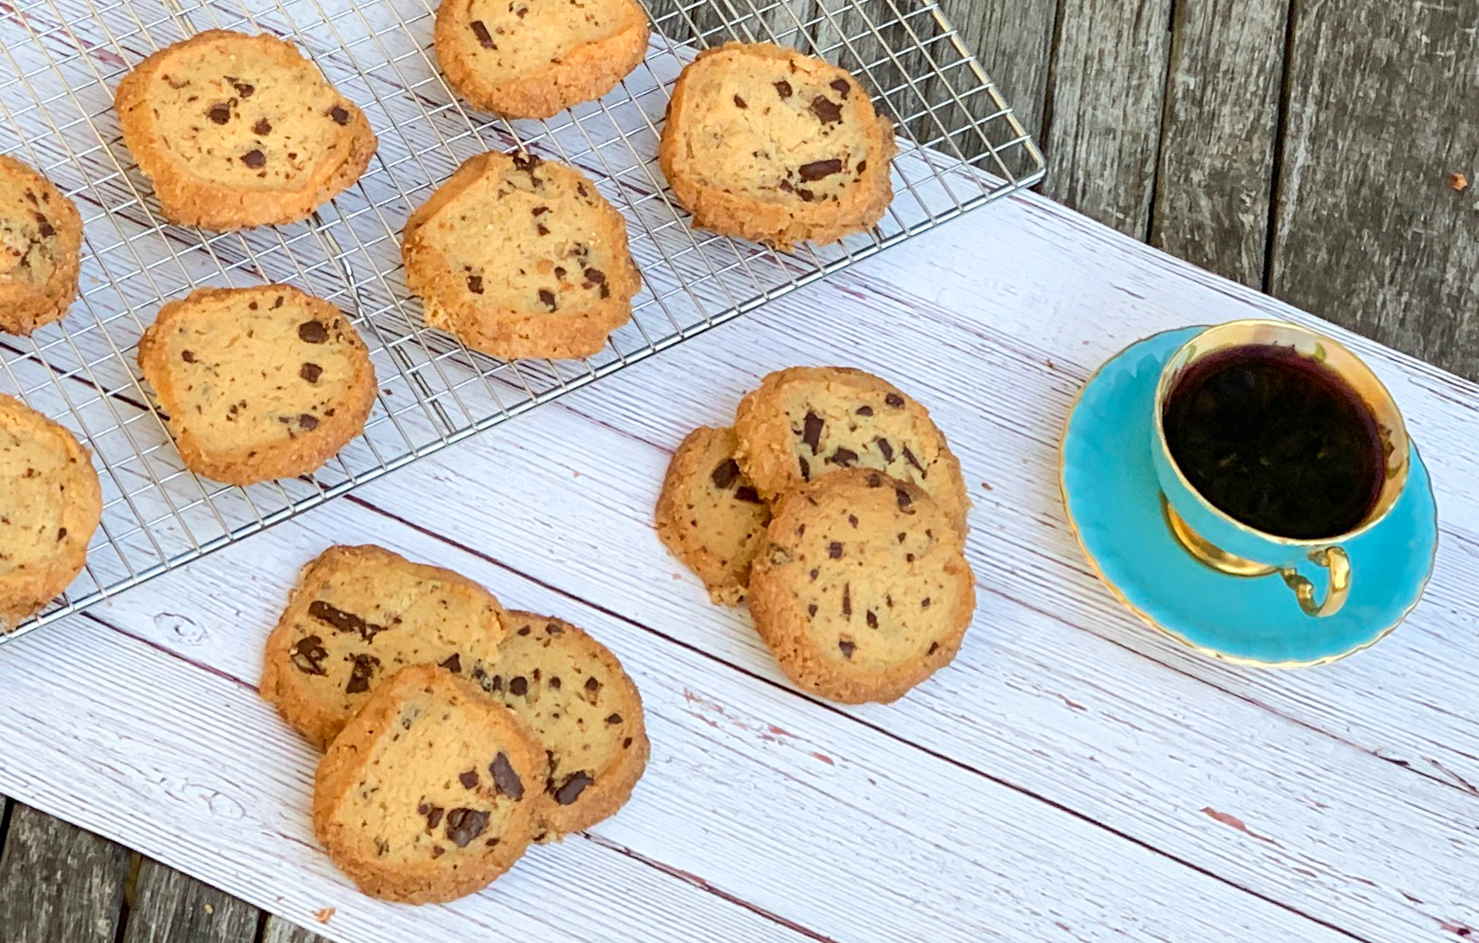
These cookies are easy to prepare and if you or a loved one have a sweet tooth, you need to add them to your repertoire. The flawless contrast of their chewy inside and crunchy outer layer make them worth every minute of preparation! There is no better way to describe these cookies than Allison Roman does: “less chocolate chip cookie, more brown sugar shortbread with chocolate chunks–they might be just the cookie you are looking for. Made with lots of salted butter (it has a slightly different flavor and a deeper saltiness than just using salt), the dough has just enough flour to hold together and the right amount of light brown sugar to suggest a chocolate chip cookie. If you find it tragically annoying finding salted butter just for this recipe, you can use unsalted butter and add 3/4 teaspoon kosher salt to the flour.”

This recipe is courtesy of Allison Roman and will make about 20 cookies for cookie lovers of all ages.

Ingredients for Salted Butter and Chocolate Chunk Shortbread Cookies:

1 cup plus 2 tablespoons (2¼ sticks) cold salted butter, cut into ½-inch pieces
½ cup granulated sugar
¼ cup (packed) light brown sugar
1 teaspoon vanilla extract
2¼ cups all-purpose flour
6 ounces semisweet or bittersweet dark chocolate, chopped (but not too fine, you want chunks, not thin shards of chocolate)
1 large egg, beaten to blend
Demerara sugar (for rolling)
Flaky sea salt

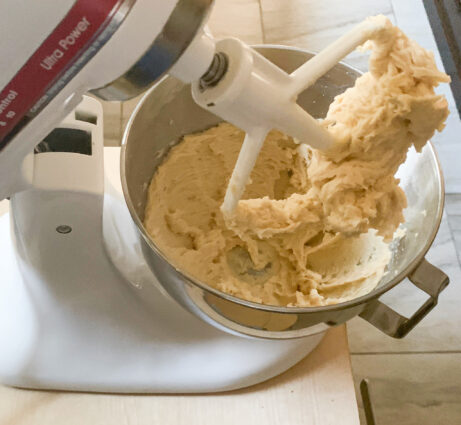
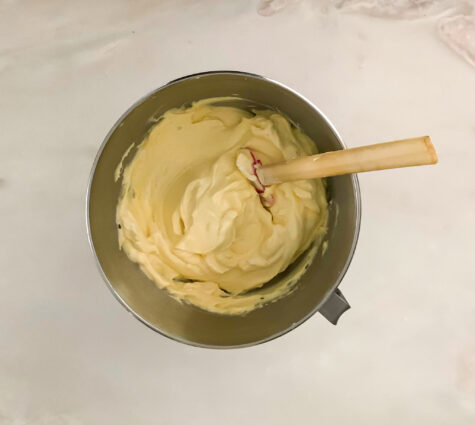
Using an electric mixer and a medium bowl or a stand mixer fitted with the paddle attachment, beat butter, granulated sugar, brown sugar, and vanilla on medium-high speed until super light and fluffy, 3–5 minutes.

Using a spatula, scrape down sides of bowl.

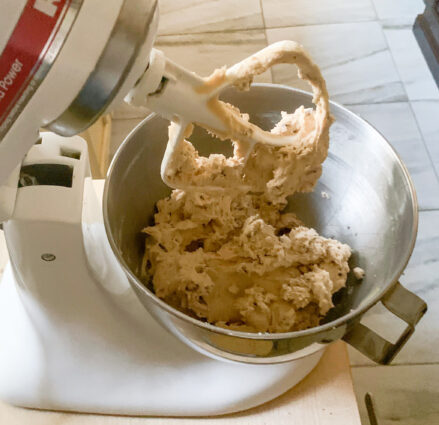
With mixer on low speed, slowly add flour, followed by chocolate chunks, and beat just to blend.

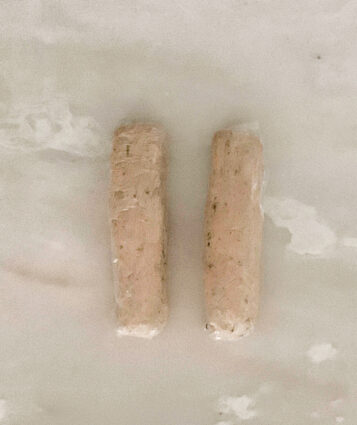
Divide dough in half, then place each half on a large piece of plastic wrap.

Fold plastic over to cover dough and protect your hands from getting all sticky.

Using your hands (just like you’re playing with clay), form dough into a log shape; rolling it on the counter will help you smooth it out, but don’t worry about getting it totally perfect.

Each half should form logs that are 2–2¼” in diameter.

Chill until firm, about 2 hours.

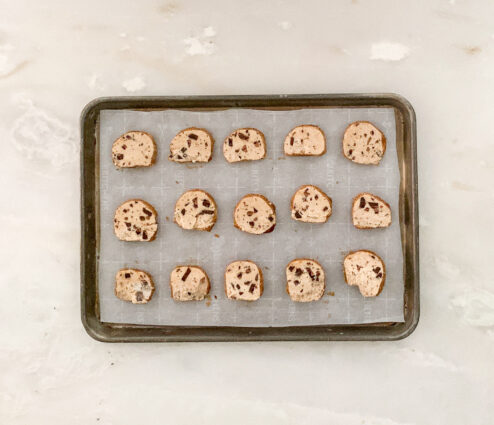
Preheat oven to 350°. Line a rimmed baking sheet (two, if you’ve got ’em) with parchment paper.

Brush outside of logs with egg wash.

Roll logs in demerara sugar (this is for those really delicious crispy edges).

Slice each log into ½”-thick rounds.

Arrange on prepared baking sheet about 1″ apart (they won’t spread much).

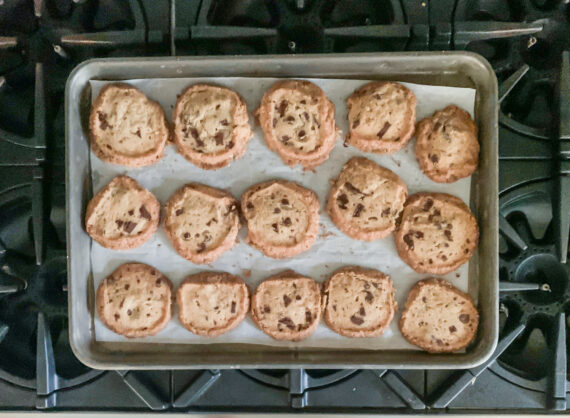
Sprinkle with sea salt. Bake cookies until edges are just beginning to brown, 12–15 minutes.

Let cool slightly before eating them all.

Do Ahead: Cookie dough can be made 1 week ahead. Tightly wrap in plastic and chill, or freeze up to 1 month. Cookies can be baked 5 days ahead. Store in plastic wrap or an airtight container.

It’s that simple!

signature

[recaptcha]


When I was growing up, my mother always had some kind of dessert in the house, just in case we had unexpected visitors. Impromptu company is not as common now, and I don’t know many people who are as prepared as my mother was.  Okay, so I know we are in the middle of a pandemic, but even before this, people would never show up without calling first. With the prevalence of cell phones, a call (or at least a text) is the polite thing to do before dropping by for a snack.

Now that I have a new home by the beach, I am looking forward to a house full of company.  I’m waiting for a time when we can be at ease and not have to worry about where everyone has been. I have to say, the people who live here by the beach are very careful.  Everybody is wearing masks, even outdoors walking around, and keeping their distance on the beach. 

If you are having people over for dessert (and safely distancing), this is a crowd pleaser for sure. This dessert not only looks beautiful, it will make all of your guests happy too. The heavy cream, condensed milk and vanilla pudding mix ensures that this delicious dessert is creamy, light, and fluffy. The vanilla wafers give it a nice texture with added deliciousness, and the vanillas that perfect hint of savory. Each bite is full of banana-filled goodness.  I can guarantee that you will be licking your spoon clean.

This recipe is courtesy of Delish and will serve 10 lucky visitors.

Ingredients for Banana Pudding Trifle:

1 1/3 cup whole milk
1 (5.1-oz.) package instant vanilla pudding mix
1 (14-oz.) can sweetened condensed milk
3 cups heavy cream
1 teaspoon pure vanilla extract
1 (12-oz.) box vanilla wafer cookies
4 bananas, sliced into coins
2 teaspoons granulated sugar

In a large mixing bowl, combine milk, vanilla pudding mix and sweetened condensed milk.

Whisk thoroughly, breaking up any lumps, and refrigerate for at least 5 minutes, or until set.

In another large bowl, combine heavy cream and vanilla.

Beat until stiff peaks form, 2 to 3 minutes.

Set aside half of the mixture for topping the dish.

Fold remaining half into the pudding mixture.

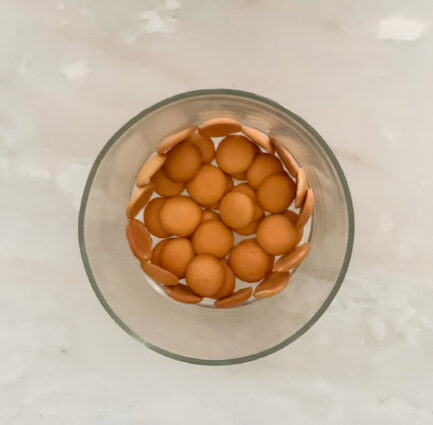
Cover the bottom of a 3-quart trifle dish with vanilla wafers.

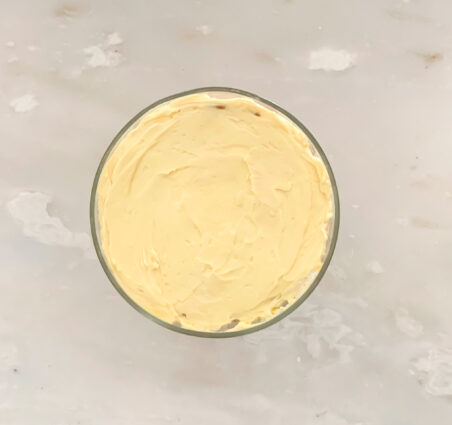
Top with one-third of the pudding mixture.

Cover with another layer of the wafer cookies—you may want to also stand some cookies up vertically, so you see the full circle along the edge of the trifle dish.

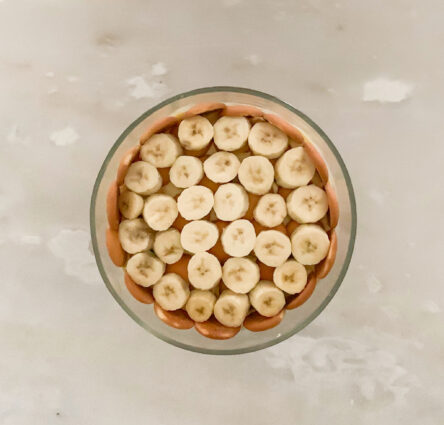
Top with an even layer of banana slices.

Continue layering the pudding, wafer cookies and banana slices until you reach the top, ending with a final layer of banana pudding.

Refrigerate for at least 3 hours, or up to overnight.

Sweeten the remaining whipped cream: Add sugar to whipped cream, stirring to combine.

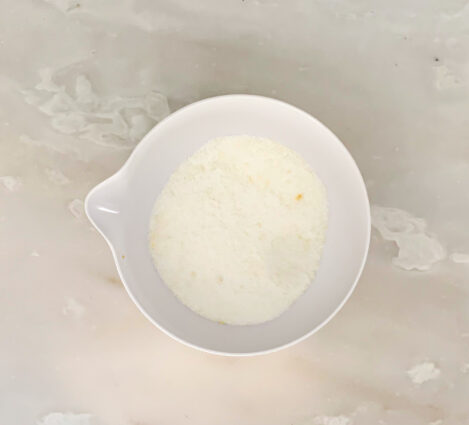
Just before serving, dollop on top of the banana pudding, then sprinkle crumbled wafer cookies on top.

It’s that simple!


signature

[recaptcha]


Our first family rule was that we always had dinner together. In this crazy world, it was important to me that we had this time to check in with each other, especially as new homeowners and parents. Growing up, my family and I always ate with one another, and we would eat the same time every day. The neighborhood children would play together after school, and when our mothers would call us for dinner, we came home no questions asked.

I have so many fond memories sitting around the small table in our kitchen and telling stories about our day. I remember I had one teacher in high school who used to teach us geometry principles to a tune so we would remember it for a test. I would sing the principles at dinner and my family would laugh so hard.

Nowadays, many families do not make the time to sit down and have dinner together. Children’s schedules get in the way, parents are working much later hours and dinner is not  a priority anymore. Studies show that children have a greater sense of security and belonging when family meals are routine– even teenagers tend to enjoy the family time!  In a recent Columbia University study, 71% of teenagers said they consider talking, catching-up, and spending time with family members as the best part of family dinners.

When families eat together, young children are less likely to be obese or overweight because these children eat regular, nutritious, home cooked meals, and also help in making or serving those meals. In 2008, researchers at Brigham Young University conducted a study of IBM employees and found that “sitting down to a family meal helped working moms reduce the tension and strain  from long hours at the office.”  With all the crazy busy times we now have, family dinners allow for a time to stop other activities and obligations and deepen the family connection. 

In my family, dinner is sometimes the only time we have together.  It’s a great opportunity for us to put down the phones, turn off the TV, and reduce other distractions.  It might feel stilted at first if you’re not used to it, but I promise it gets easier.

In every family meal, a good dessert is a must–it’s just as important as the main course. Dessert puts you in a good mood for the rest of the evening, and really completes dinner. This is one dessert that doesn’t disappoint. It has fairly simple ingredients and the one ingredient I can never pass up: lemon. This cake is such a nice moist cake that oozes with lemony flavor. Then comes the burst of sweet fruit in every bite. The brandy adds an adult touch, but feel free to replace it with apple juice or omit completely if you’d like to avoid alcohol.

This recipe is courtesy of Epicurious and will serve 12 people who will want to bring this to the family dinner table.

Ingredients for Lemon Cake with Fruit:

1 cup (2 sticks) unsalted butter, room temperature, plus more for pan
2 cups all-purpose flour, plus more for pan
2 tsp. baking powder
1 1/2 tsp. kosher salt
1 lemon
1 2/3 cups plus 3 Tbsp. granulated sugar
3 large eggs
1 large egg yolk
3 Tbsp. pear, orange, or apple brandy (optional)
2 lb. pears or apples, sliced, stone fruit, cut into thick wedges, blueberries, and/or blackberries (I used sliced peaches)
Powdered sugar (for serving)

Place a rack in middle of oven and preheat to 350°F.

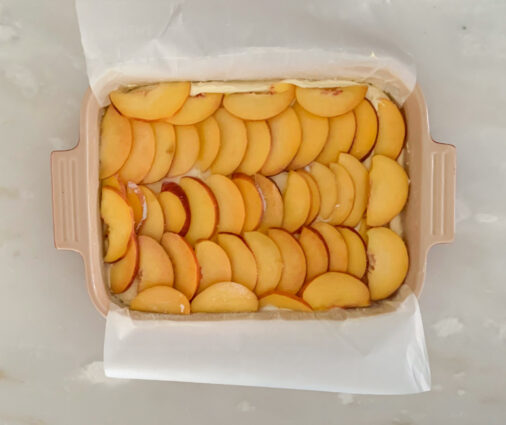
Butter and flour a 13×9″ baking pan. ( I used parchment paper with overhangs on the side).

Whisk baking powder, salt, and 2 cups flour in a medium bowl.

Finely grate lemon zest into another medium bowl.

Slice lemon in half; set aside.

Add 1 2/3 cups granulated sugar to zest and work with your fingers until mixture is fragrant and looks like wet sand, about 1 minute.

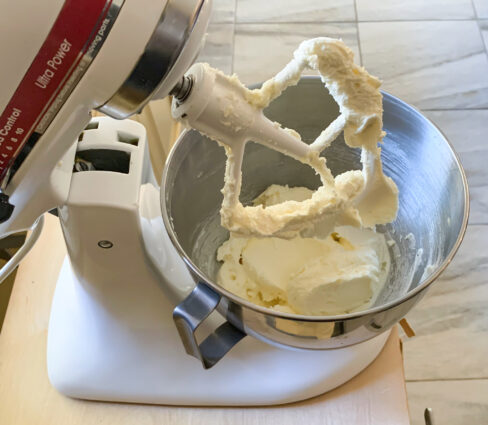
Using an electric mixer on medium speed, beat 1 cup butter in a large bowl until smooth, about 20 seconds.

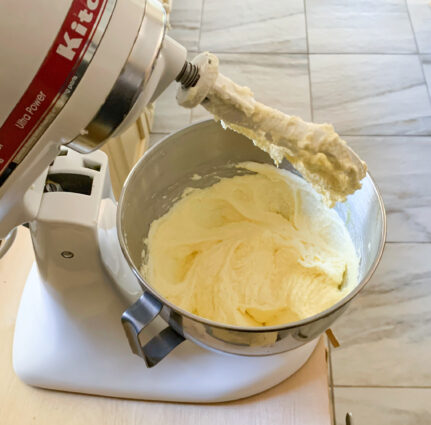
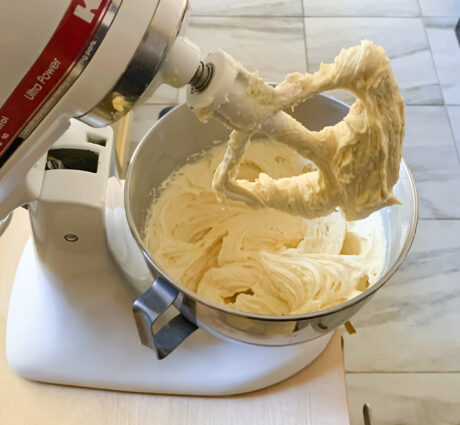
Add sugar mixture, increase speed to medium-high, and beat until very light and fluffy, about 5 minutes.

Reduce speed to medium and add eggs one at a time, beating well between additions; mix in egg yolk.

Reduce speed to low and gradually add dry ingredients.

Beat just until incorporated, then add brandy and beat just until smooth.

Fold batter a few times with a rubber spatula; scrape into prepared pan and smooth top.

Scatter fruit over (do not press down).

Squeeze a reserved lemon half over fruit (save other half for another use) and sprinkle with remaining 3 Tbsp. granulated sugar.

Bake cake until sides are golden brown and top is golden, 55–65 minutes.


Let cool; cut into squares.

Serve dusted with powdered sugar.

Cake can be baked 2 days ahead.

Store tightly wrapped at room temperature.

It’s that simple!
signature

[recaptcha]


The way we shop, eat, and dine out has drastically changed over the years. While that might not be a bad thing (do any of you remember jello molds?), it’s brought a change in our attitude towards food too.  Is it for the better or not so much?

Your parents or grandparents likely had a much stricter diet than you do. They might not have dieted like some of us these days, but in those days, eating regimens were more regulated. The family would eat breakfast at 8, lunch at 12 and dinner at 5 or 6 o’clock. Food intake was regulated, sometimes by necessity, which let them stay thin, and the food they ate was less processed than what we have today.

It seems that we have lost much of the discipline our parents and grandparents had. Many of us  breakfast, nosh more, drink a lot more coffee, and eat more prepared food.  Many of us have little time to prepare a meal, so we go out for dinner several times a week.  With delivery apps, it’s even easier to have a restaurant quality meal, but research shows that we eat more when we go out.  It seems that cooking fresh every day is a dying art, although the pandemic may have changed that for many of you.

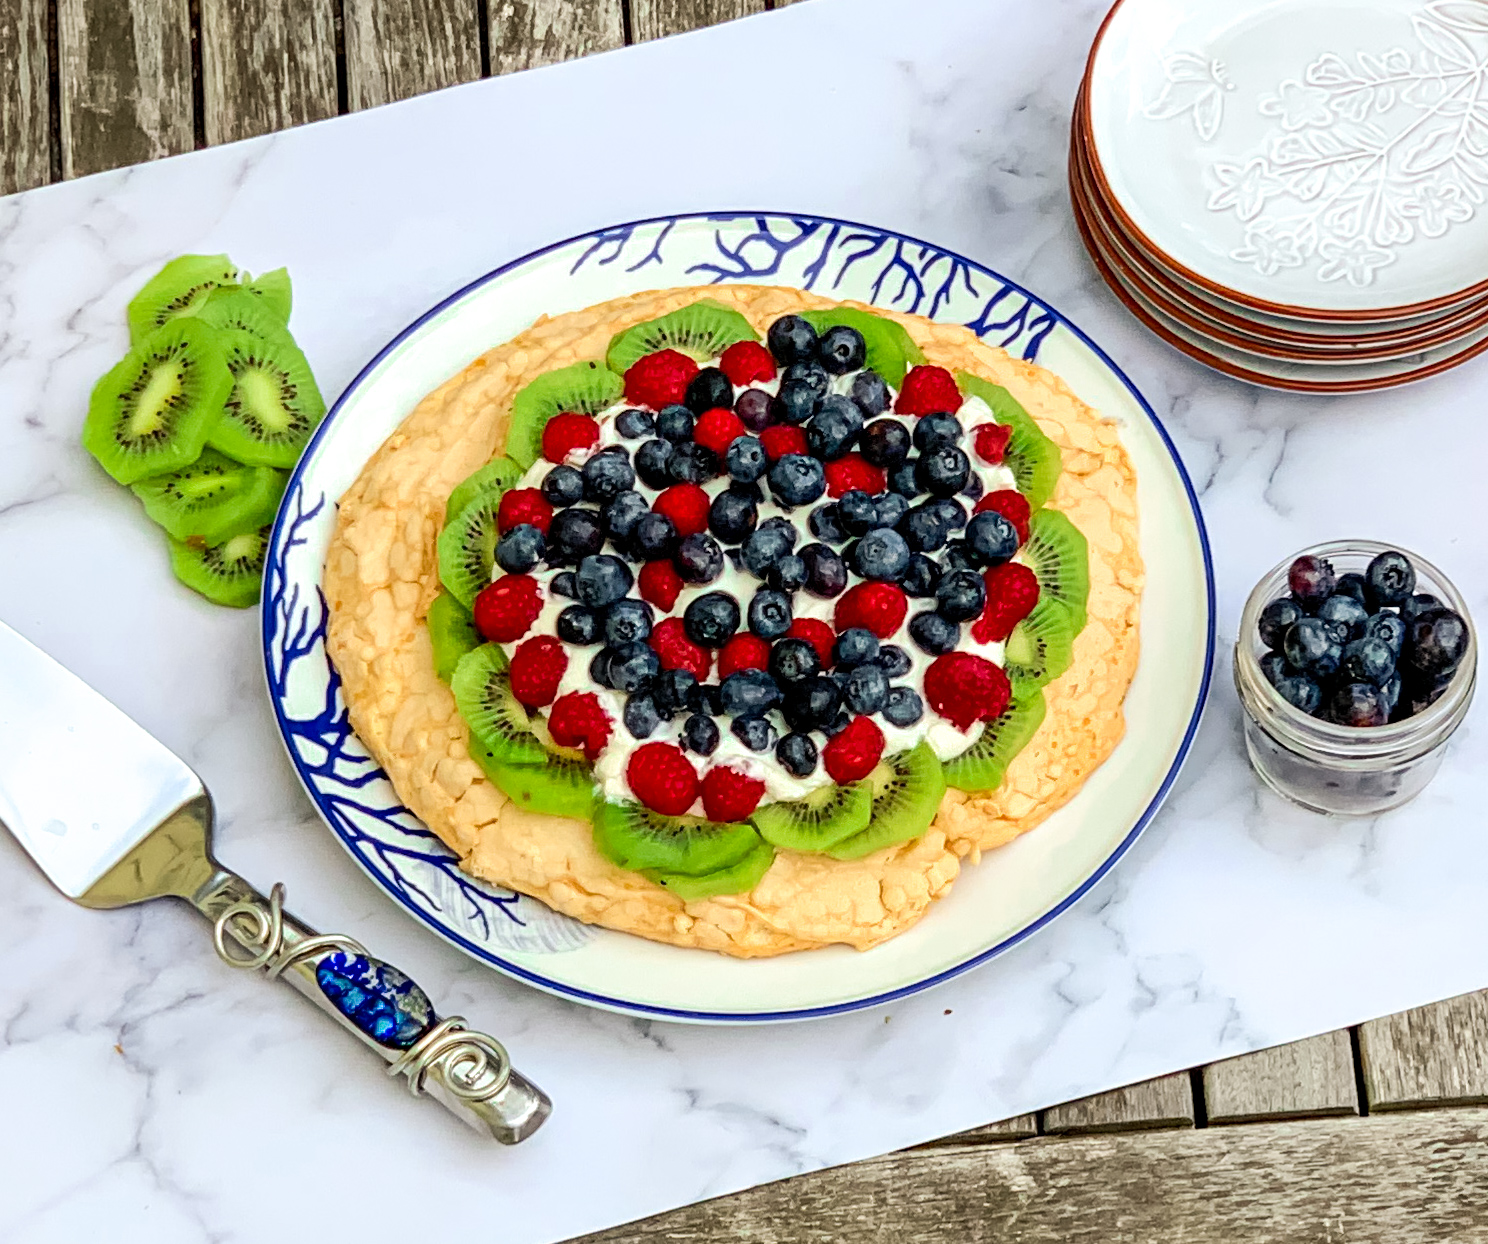
This is one recipe you’re definitely going to want to make. I have been wanting to make this dish for a very long time. My niece told me about it when she lived in Switzerland, where they make this recipe often. Named after the Russian dancer, Anna Pavlova, pavlova is a meringue-based dessert. It has a crisp crust and soft and light inside, usually topped with fruit and whipped cream. As Sally says, “pavlova is made from egg whites that are slowly baked in a relatively cool oven. The egg whites take on a chewy-crisp texture on top, a soft marshmallow texture inside, and a crunchy crisp texture around the edges. That’s three completely different textures in one single bite. The crunchy edges are just like meringue cookies.” You can add fruit,chocolate shavings, or whipped cream as you please. I know you are going to love this one.

This recipe is courtesy of my niece, Leslie and Sally’s Baking Addiction. It will serve 8 to 10 people who will love this light, easy dessert. 

Ingredients for Pavlova:

4 large egg whites 
1 cup (200g) superfine sugar
1 teaspoon pure vanilla extract
1/2 teaspoon cream of tartar
1 teaspoon cornstarch

Preheat the oven to 350°F.

Line a large baking sheet with parchment paper or a silicone baking mat.

(Preliminary note: you will quickly reduce the oven to 200°F).

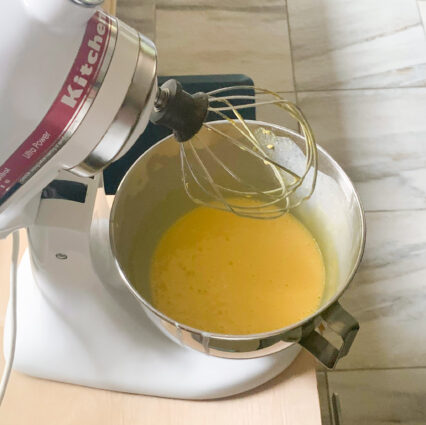
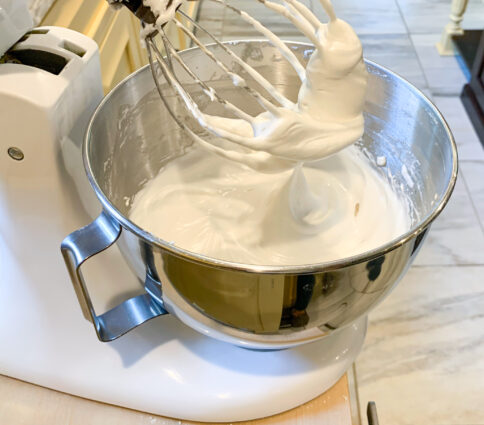
With a handheld mixer or a stand mixer fitted with a whisk attachment, beat the egg whites until soft peaks form, about 5 minutes.

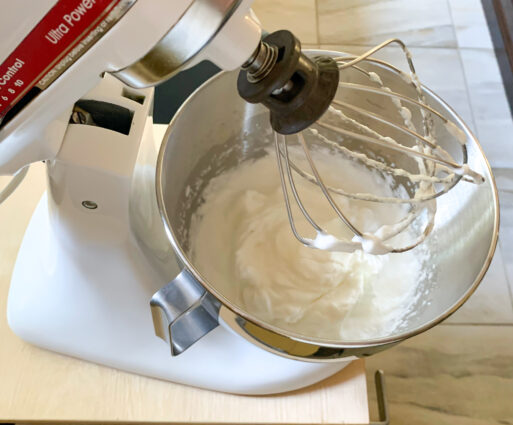
Add the sugar in 2 additions, beating for 30 seconds between, then continue beating on high speed until glossy stiff peaks form, about 2 more minutes.

The peaks should be stiff enough that you can hold the whisk upright and the peaks won’t move. 

Add the vanilla extract and beat for 1 more minute.

The peaks should still be very stiff. If not, keep on mixing on high speed.

Using a rubber spatula, fold in the cream of tartar and cornstarch.

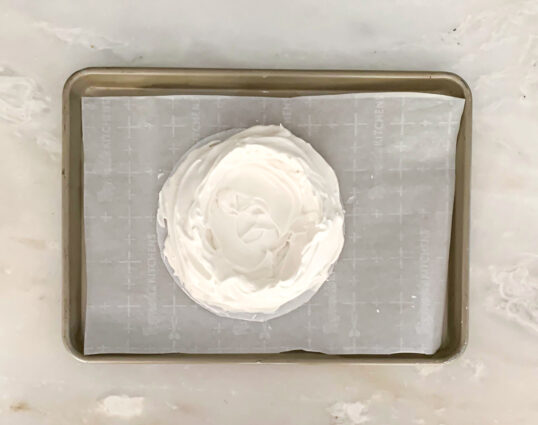
Spread the pavlova mixture into an 8-9-inch circle.

You can make decorative peaks with the back of a large spoon if desired.

Make sure the edges are relatively tall and there is a nice dip in the center.

Place pavlova in the oven.

As soon as you close the oven door, reduce heat to 200°F.

The pavlova will stay in the oven as it cools down to 200°F (93°C).

Bake until the pavlova is firm and dry, about 90 minutes total.

Rotate the baking sheet if you notice some spots browning.

Try to limit how many times you open the oven as the cool air will interrupt the baking.

Turn the oven off and let the pavlova cool inside the oven.

Once the pavlova is cool, you can store it covered tightly at room temperature for up to 2 days.

Or serve right away.

Once cool, top the pavlova with whipped cream and assorted toppings.

Slice and serve.

It’s that simple!
signature

[recaptcha]