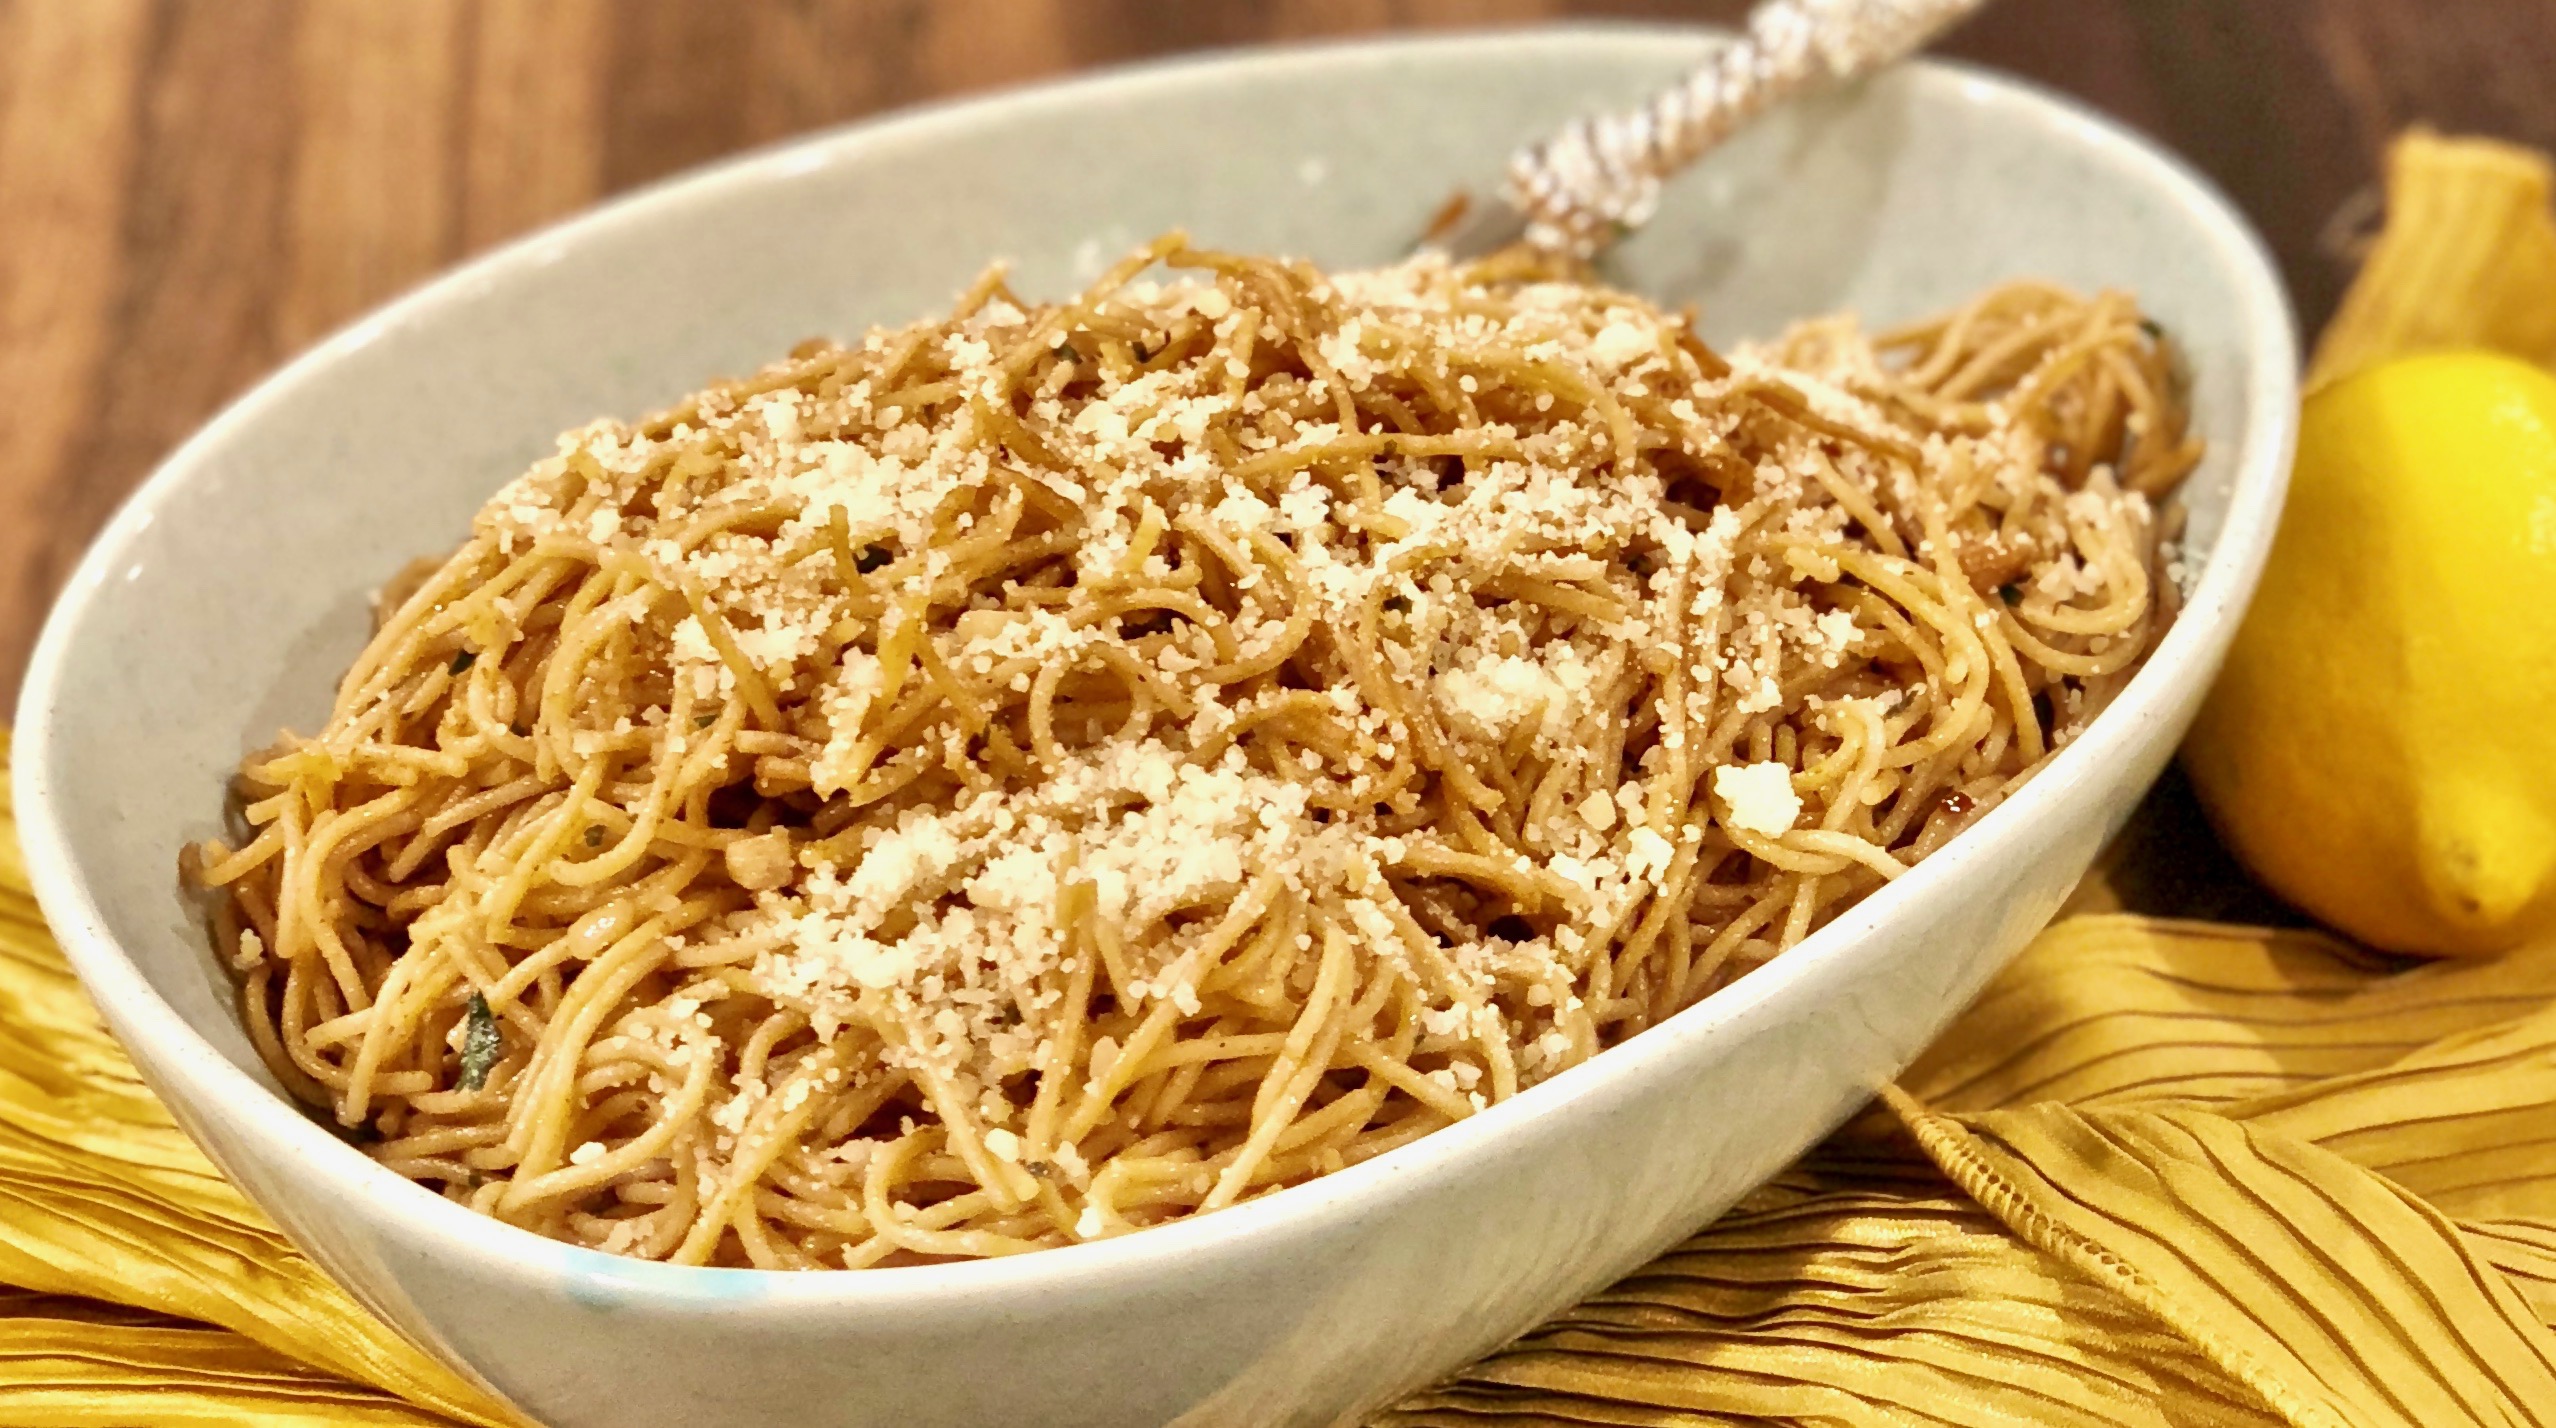
Give me any recipe with the combination of anchovies and lemons and I am hooked! Those are my two favorite ingredients to add to anything, pasta, salads or roasted vegetables.

Upon coming across this recipe, I looked all over for farro pasta. I had never even heard of it before but thought it might be nice to try. I was not successful, but the author of this recipe noted that if you couldn’t find it, you could substitute with whole wheat pasta. So I compromised, but I will still be on the lookout for farro pasta.

I have always cooked with anchovies, but when my sons were younger I would keep it a secret from them, knowing they would reject the delicious salt-water fish without giving it a chance. After they tried a dish or two like this, I asked them if they liked anchovies. Just as I expected, they responded with a sour face and a loud “no”. That is when I finally told them they do like anchovies, and they had just enjoyed them for dinner! From that day forward, whenever they had friends over for dinner, my sons would mimic my playful deception. They would wait until dinner was over and ask their friends if they liked it, when the reply was yes, my sons would burst out laughing and tell them they just ate and enjoyed anchovies! We laugh about it to this day.

This dish is really special. It has simple, but flavor-packed ingredients that are oh-so-satisfying. It is really easy to prepare, just make sure to cover the burners you are not using (I cover mine with aluminum foil – you should too), because the anchovies make a big mess while they are melting away.

The addition of the olive oil and the cheese at the end makes this dish cozy and comforting, while the chili flakes give it just the right amount of heat.

This recipe is courtesy of Franny’s Simple Seasonal Kitchen which I love and highly recommend! It will serve 4 people who will savor every bite!

Ingredients for Farro Spaghetti with Anchovies, Chilies, and Garlic

1/2 cup extra-virgin olive oil, plus more for drizzling
8 garlic cloves, smashed and peeled
10 anchovy fillets
1/2 tsp. chili flakes
1 pound spaghetti
1/3 cup flat-leaf parsley, chopped
1/4 tsp. freshly cracked black pepper
Juice of 1/2 lemon
2-3 tbsp. finely grated Pecorino Romano

In a very large skillet (or Dutch oven), heat the olive oil over medium-high heat. 

Add the anchovies and garlic and cook until the anchovies are dissolved and the garlic is beginning to color about 2-3 minutes. 
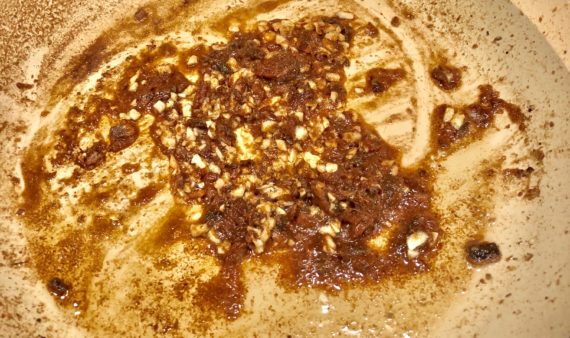
Add the chili flakes and cook for about 30 seconds.

Add 2 tablespoons water to the pan.

Remove from the heat.

In a large pot of well-salted boiling water, cook the pasta according to the package instructions until 2 minutes shy of al dente; drain.

Toss the spaghetti into the skillet with the garlic-anchovy mixture, parsley, and pepper.
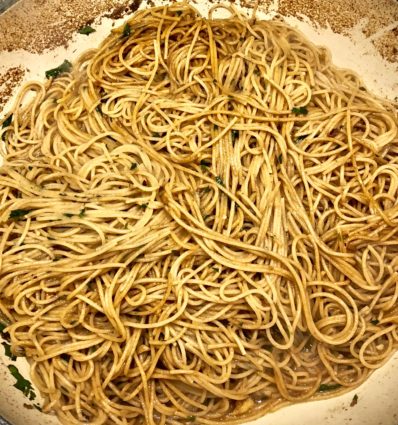
Cook over medium heat until the pasta is al dente, 1 to 2 minutes.

Stir in the lemon juice and a little more water if the pasta seems dry.

Sprinkle each plate with the Pecorino Romano and a drizzle of olive oil.

It’s that simple!

signature

[recaptcha]


I love anything baked with olive oil as the main ingredient because oil-based desserts are always so moist and enticing. From the moment I saw this recipe, I knew I was going to make these cookies over and over again.

Most of us love a good sugar cookie. This recipe takes the sugar cookie to a whole new level. The addition of the olive oil adds a savory taste to these delectable cookies. Like many of my simple recipes, you probably have most of the ingredients you need to make these in your pantry.

I did not have fresh rosemary at that time, so I did not use it. Despite skipping over one ingredient, these sugary treats were still amazing! I must admit however, the fresh rosemary would have given the cookies another depth of flavor, and I wish I was able to experience the complexity.

My favorite part is how the olive oil gives them a rich melt-in-your-mouth texture. These cookies are easy to prepare and you should bump them up to the top of your to-do list. They are perfect to bring over to a friend’s house as a dessert, as they present beautifully. They look bakery-made and taste home-made, as they should. Make sure to whip up two batches of these, because they are going to go fast!

Go ahead and give these a try. I know you will be happy you did.

Please don’t forget to sign up for my newsletter so you never miss a recipe!

This recipe is courtesy of The Perfect Cookie. It will make 24 cookies that your family and friends will quickly devour.

Ingredients for Cornmeal Olive Oil Cookies

1 1/2 cups all-purpose flour
1/2 cup cornmeal
1 tsp. baking powder
1/4 tsp. salt
1/2 cup granulated sugar
1/2 cup olive oil
2 eggs
1 tsp. minced fresh rosemary
1 cup confectioners’ sugar, plus extra as needed

Adjust racks to upper-middle and lower-middle positions.

Preheat oven to 375°F.

Line 2 baking sheets with parchment paper.

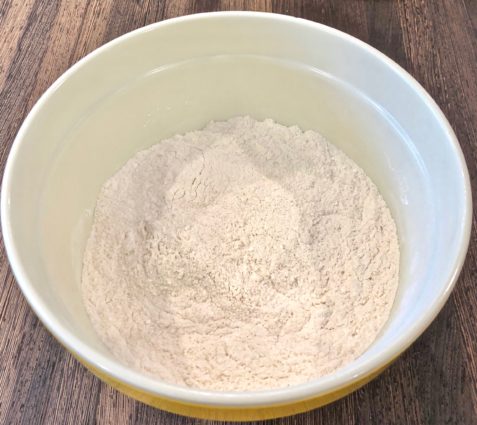
Whisk flour, cornmeal, baking powder, and salt together in a bowl.

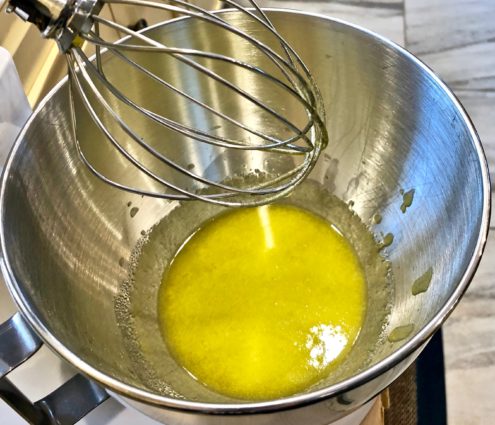
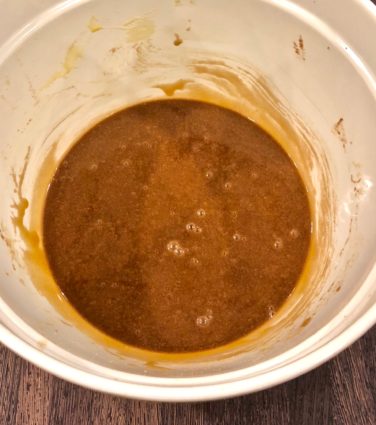
Whisk granulated sugar and oil together in large bowl or food processor.

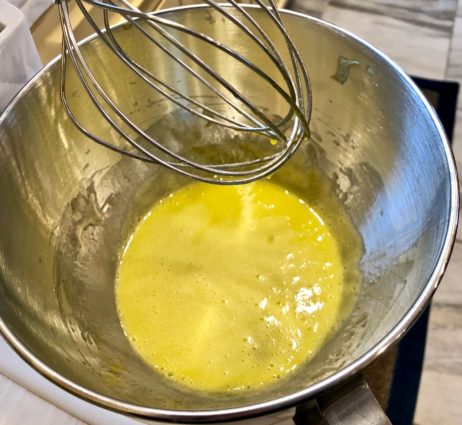
Whisk in eggs and rosemary until smooth.

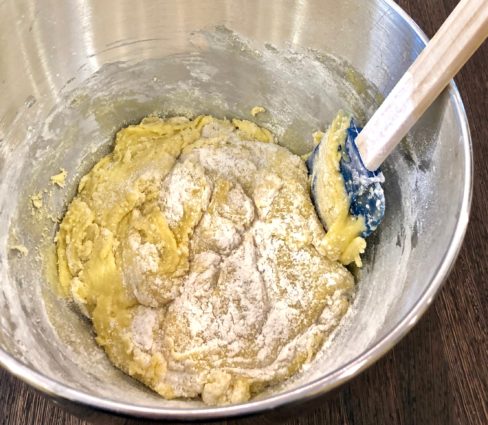
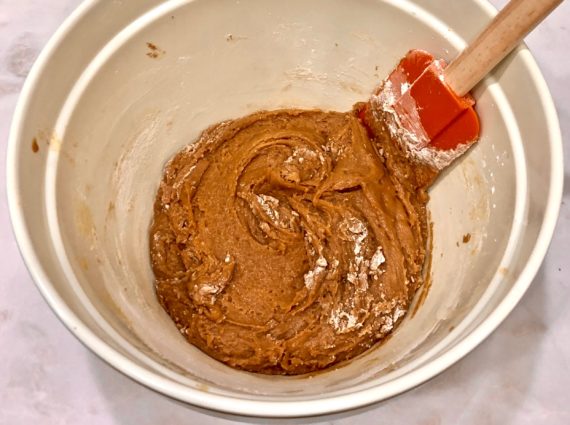
Using a rubber spatula, gently stir in flour mixture until soft dough forms.


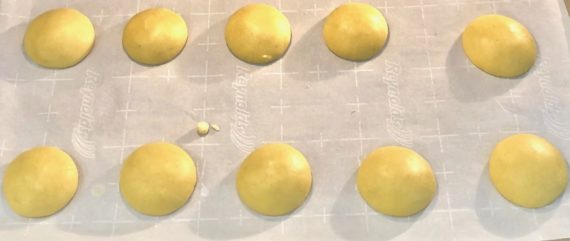
Drop 1 tbsp. portions of dough onto prepared sheets, spaced 2 inches apart.

Bake cookies until edges are slightly golden and centers are puffy and split open, about 13 minutes, switching and rotating sheets halfway through the baking.

Let cool on sheets for 5 minutes.

Meanwhile, spread confectioners’ sugar in a shallow dish.

Working with several warm cookies at a time, roll in sugar to coat.

Before serving, dust with extra confectioners’ sugar.

Serve warm or at room temperature.

It’s that simple!
signature

[recaptcha]


I know that it is technically Spring, but it sure doesn’t feel like it. I am ready to say goodbye to these cold, windy days, and hello to the trees and flowers blooming. Making recipes like this one helps to curve my anticipation, which I really enjoy. Above all else, I love the crisp, yet comforting smell of springtime air.

I am so looking forward to all the beautiful fresh produce in the market, as well as the few I grow on my own. Although we are able to get most produce year-round now, there is something so satisfying about visiting the farmers market on a lovely spring afternoon.

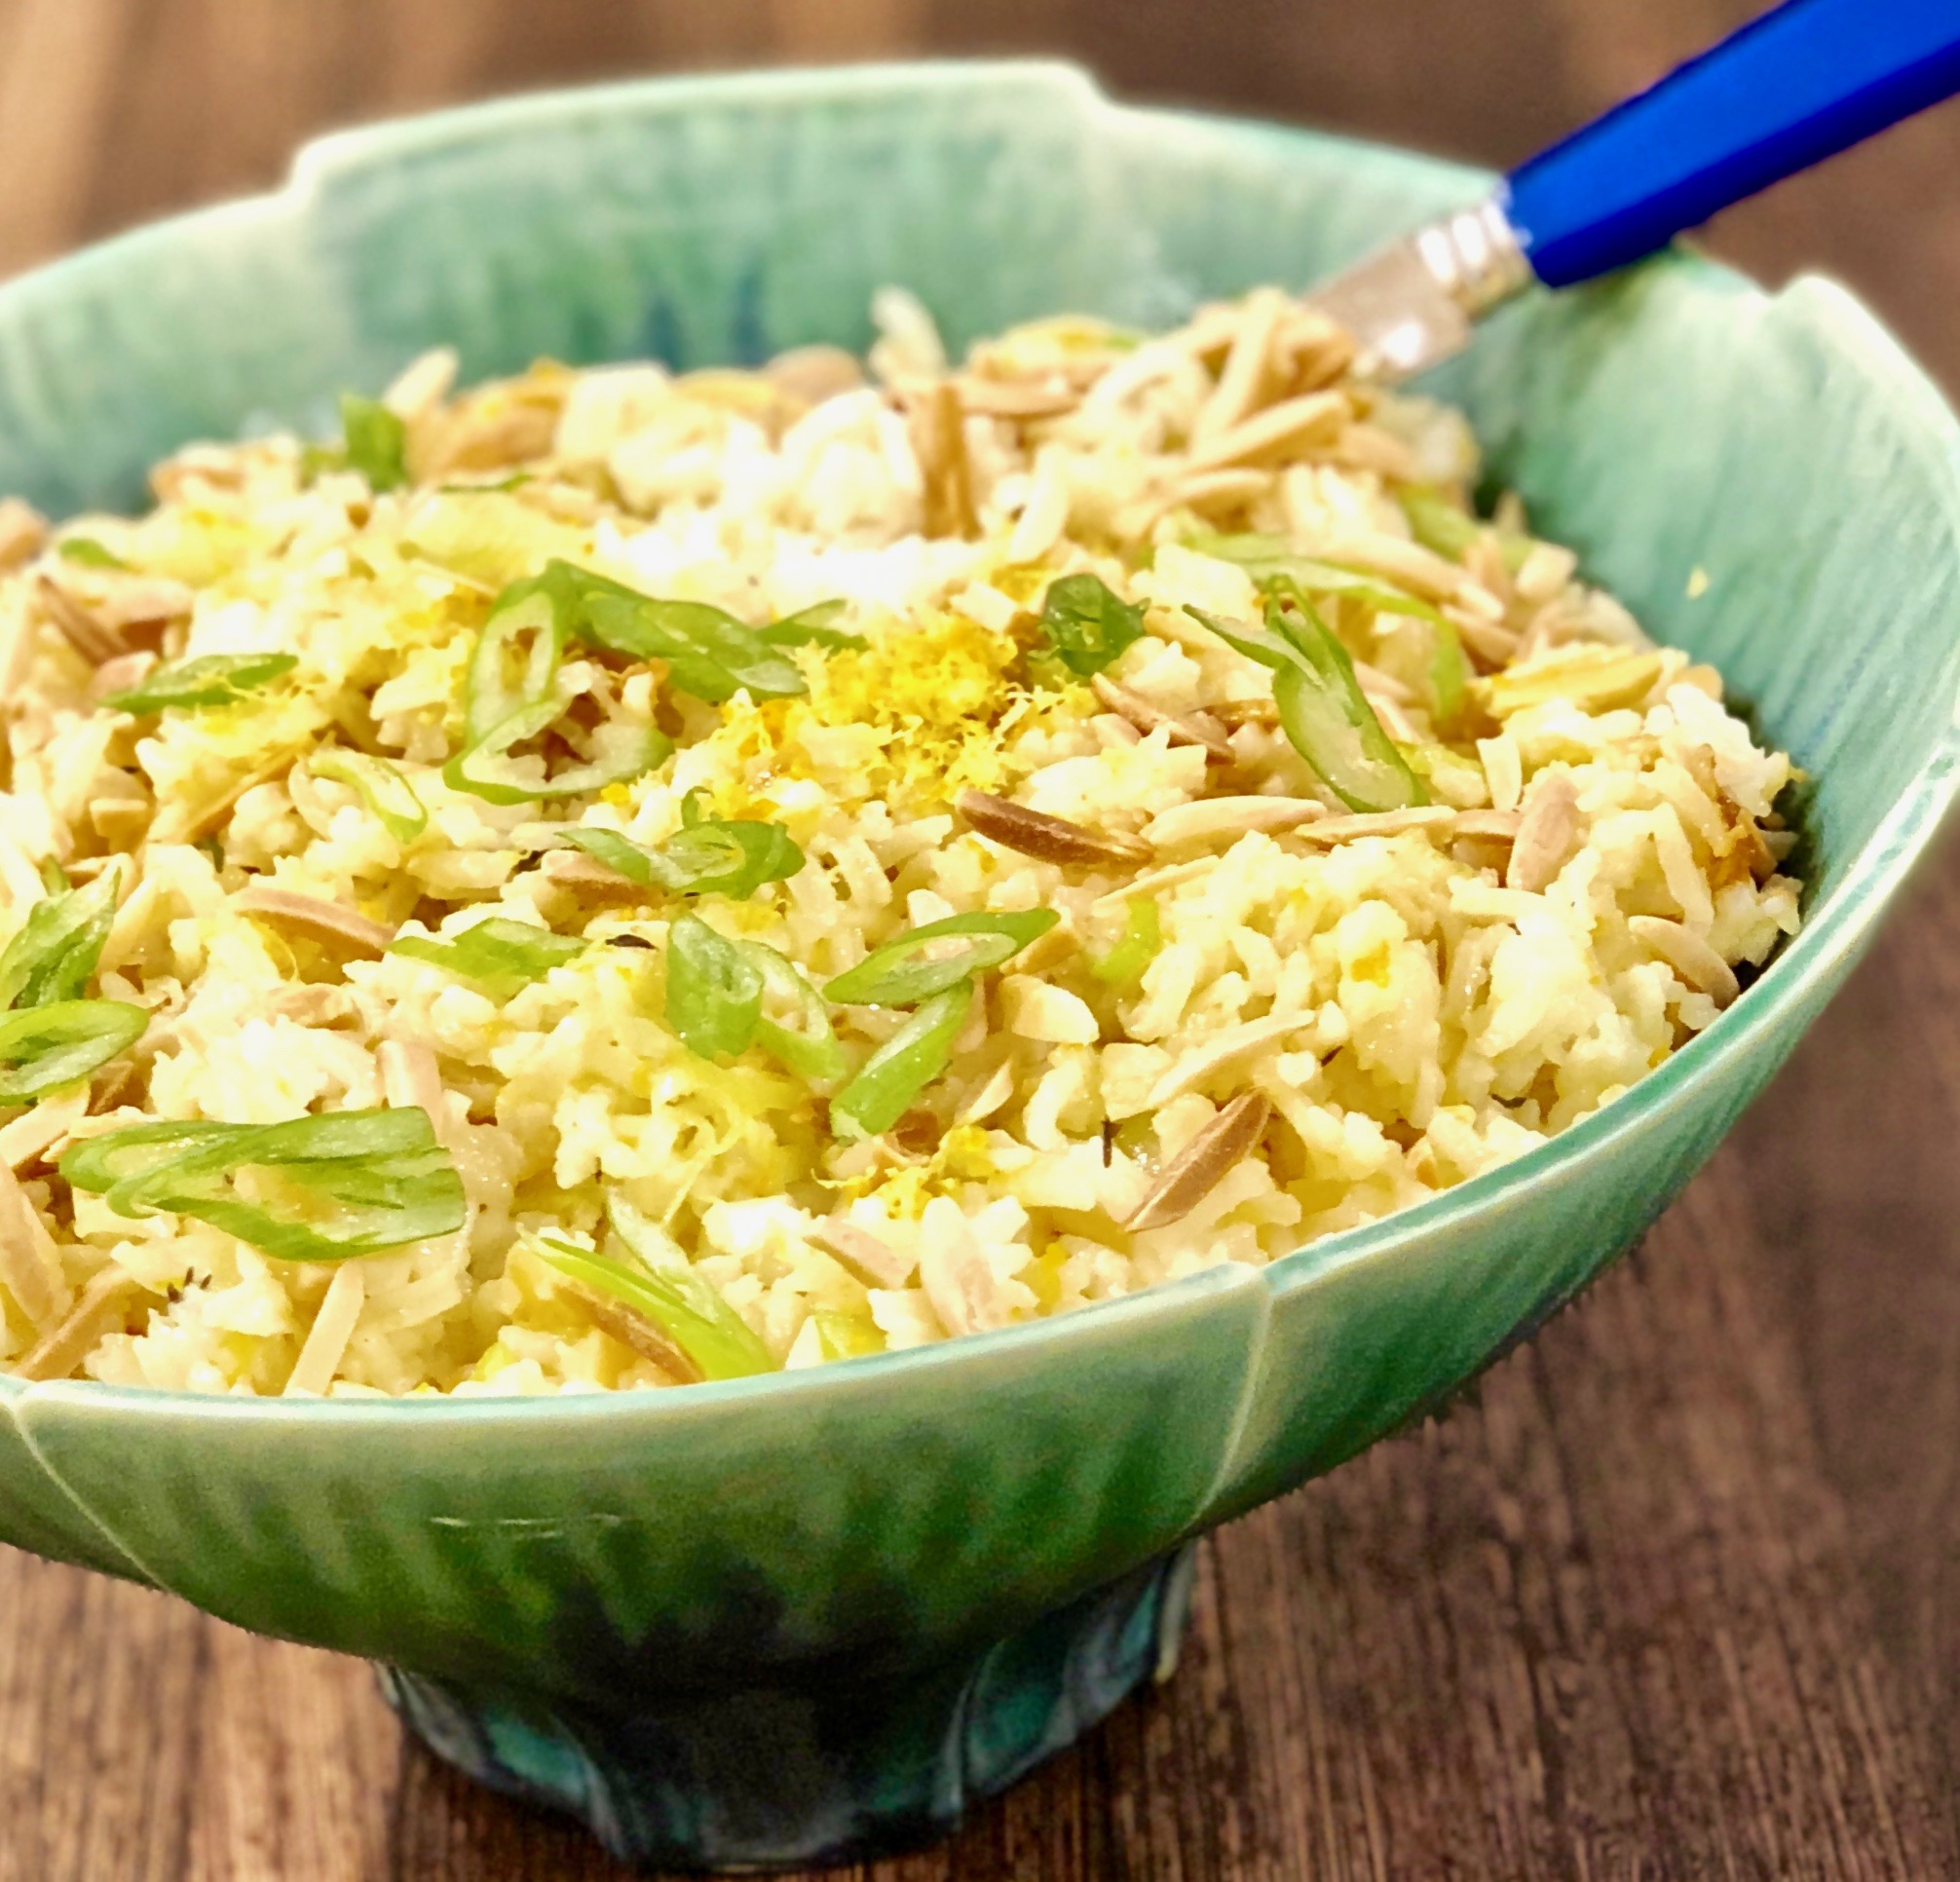
The tart and tang of citrus makes me think of spring and summer. Since I am a lover of all things acidic, I couldn’t pass up making this recipe. The vinaigrette is the star of the recipe. It is packed with so much flavor your taste buds will tingle awaiting each bite. The combination of lemon and orange juice is perfect in every way. It is a delicious addition to the basmati rice, and I couldn’t eat enough of it. 

This is definitely a short-on-time recipe. The rice cooks fast, it is easy to prepare and it all comes together quickly. There is no excuse not to whip up a batch of this refreshing dish.

This recipe is courtesy of Giada DeLaurentis and will serve 4-6 people who will be enthralled with this unique way of preparing a classic grain.

Ingredients for Citrus Rice Salad

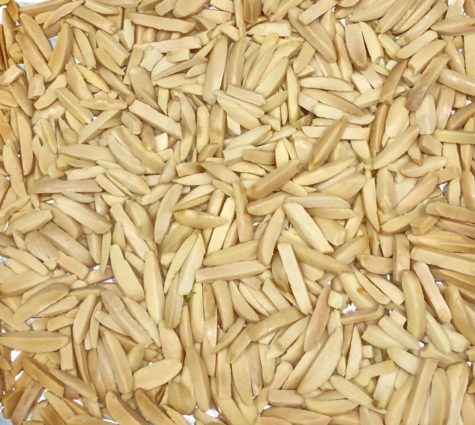
1/2 cup of almonds
4 cups low-sodium chicken stock
1/2 tsp. kosher salt
2 tbsp. extra-virgin olive oil
2 cups brown basmati rice, rinsed
3/4 cup chopped flat-leaf parsley
1 lemon, zested
1 cup thinly sliced green onions

Ingredients for the Vinaigrette:

1/2 cup extra-virgin olive oil
1/4 cup fresh orange juice
3 tbsp. fresh lemon juice (about 1 lemon)
2 tbsp. soy sauce
1 tbsp. honey
1 1/2 tsp. ground cumin
Kosher salt and freshly ground black pepper

For the Rice Salad:

Preheat oven to 350°F.

Place an oven rack in the center of the oven.

Arrange the almonds in a single layer on a baking sheet.

Bake for 5-6 minutes until lightly golden.

Cool completely, about 15 minutes.

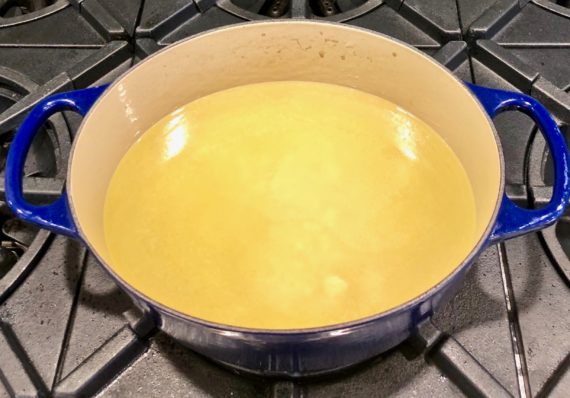
In a medium saucepan. bring the chicken stock, salt and oil to a boil over medium-high heat.

Stir in the rice.

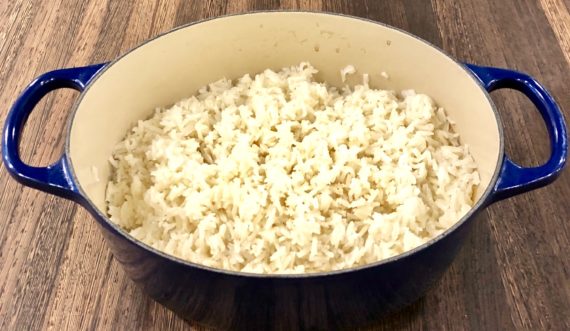
Cover the saucepan, reduce the heat, and simmer until all the liquid has been absorbed and the rice is tender, about 40 minutes.

Remove the pan from the heat and let sit for 5 minutes.

Using a fork, fluff the rice and place in a large serving bowl.

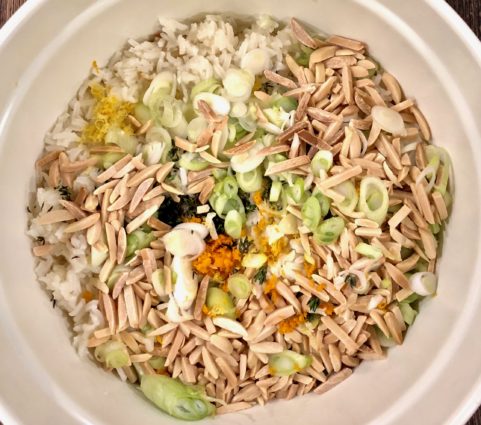
Add the parsley, orange zest, half of the lemon zest, green onions, and 1/4 cup of the almonds.

Toss well.

 For the Vinaigrette:

In a blender, combine the olive oil, orange juice, lemon juice, soy sauce, honey, and cumin.

Blend until smooth. 

Season with salt and pepper, to taste.

Pour the vinaigrette over the rice mixture and stir well.

Season with salt and pepper, to taste.

Garnish with the remaining lemon zest and almonds

It’s that simple!
signature

[recaptcha]


When my younger son was a little boy, he always wanted to go to our local mall. Once we got there, he would run right to the store that made giant chocolate chip cookies that he loved. They were even bigger than a cake! Many parents chose them for their child’s birthday cakes, because they were so popular with the kids. 

Recently, my son happened to be looking through one of my cookbooks. When he saw this chocolate chip cookie recipe, he immediately requested that I make it. I think it brought back happy childhood memories for him. I was happy to oblige.

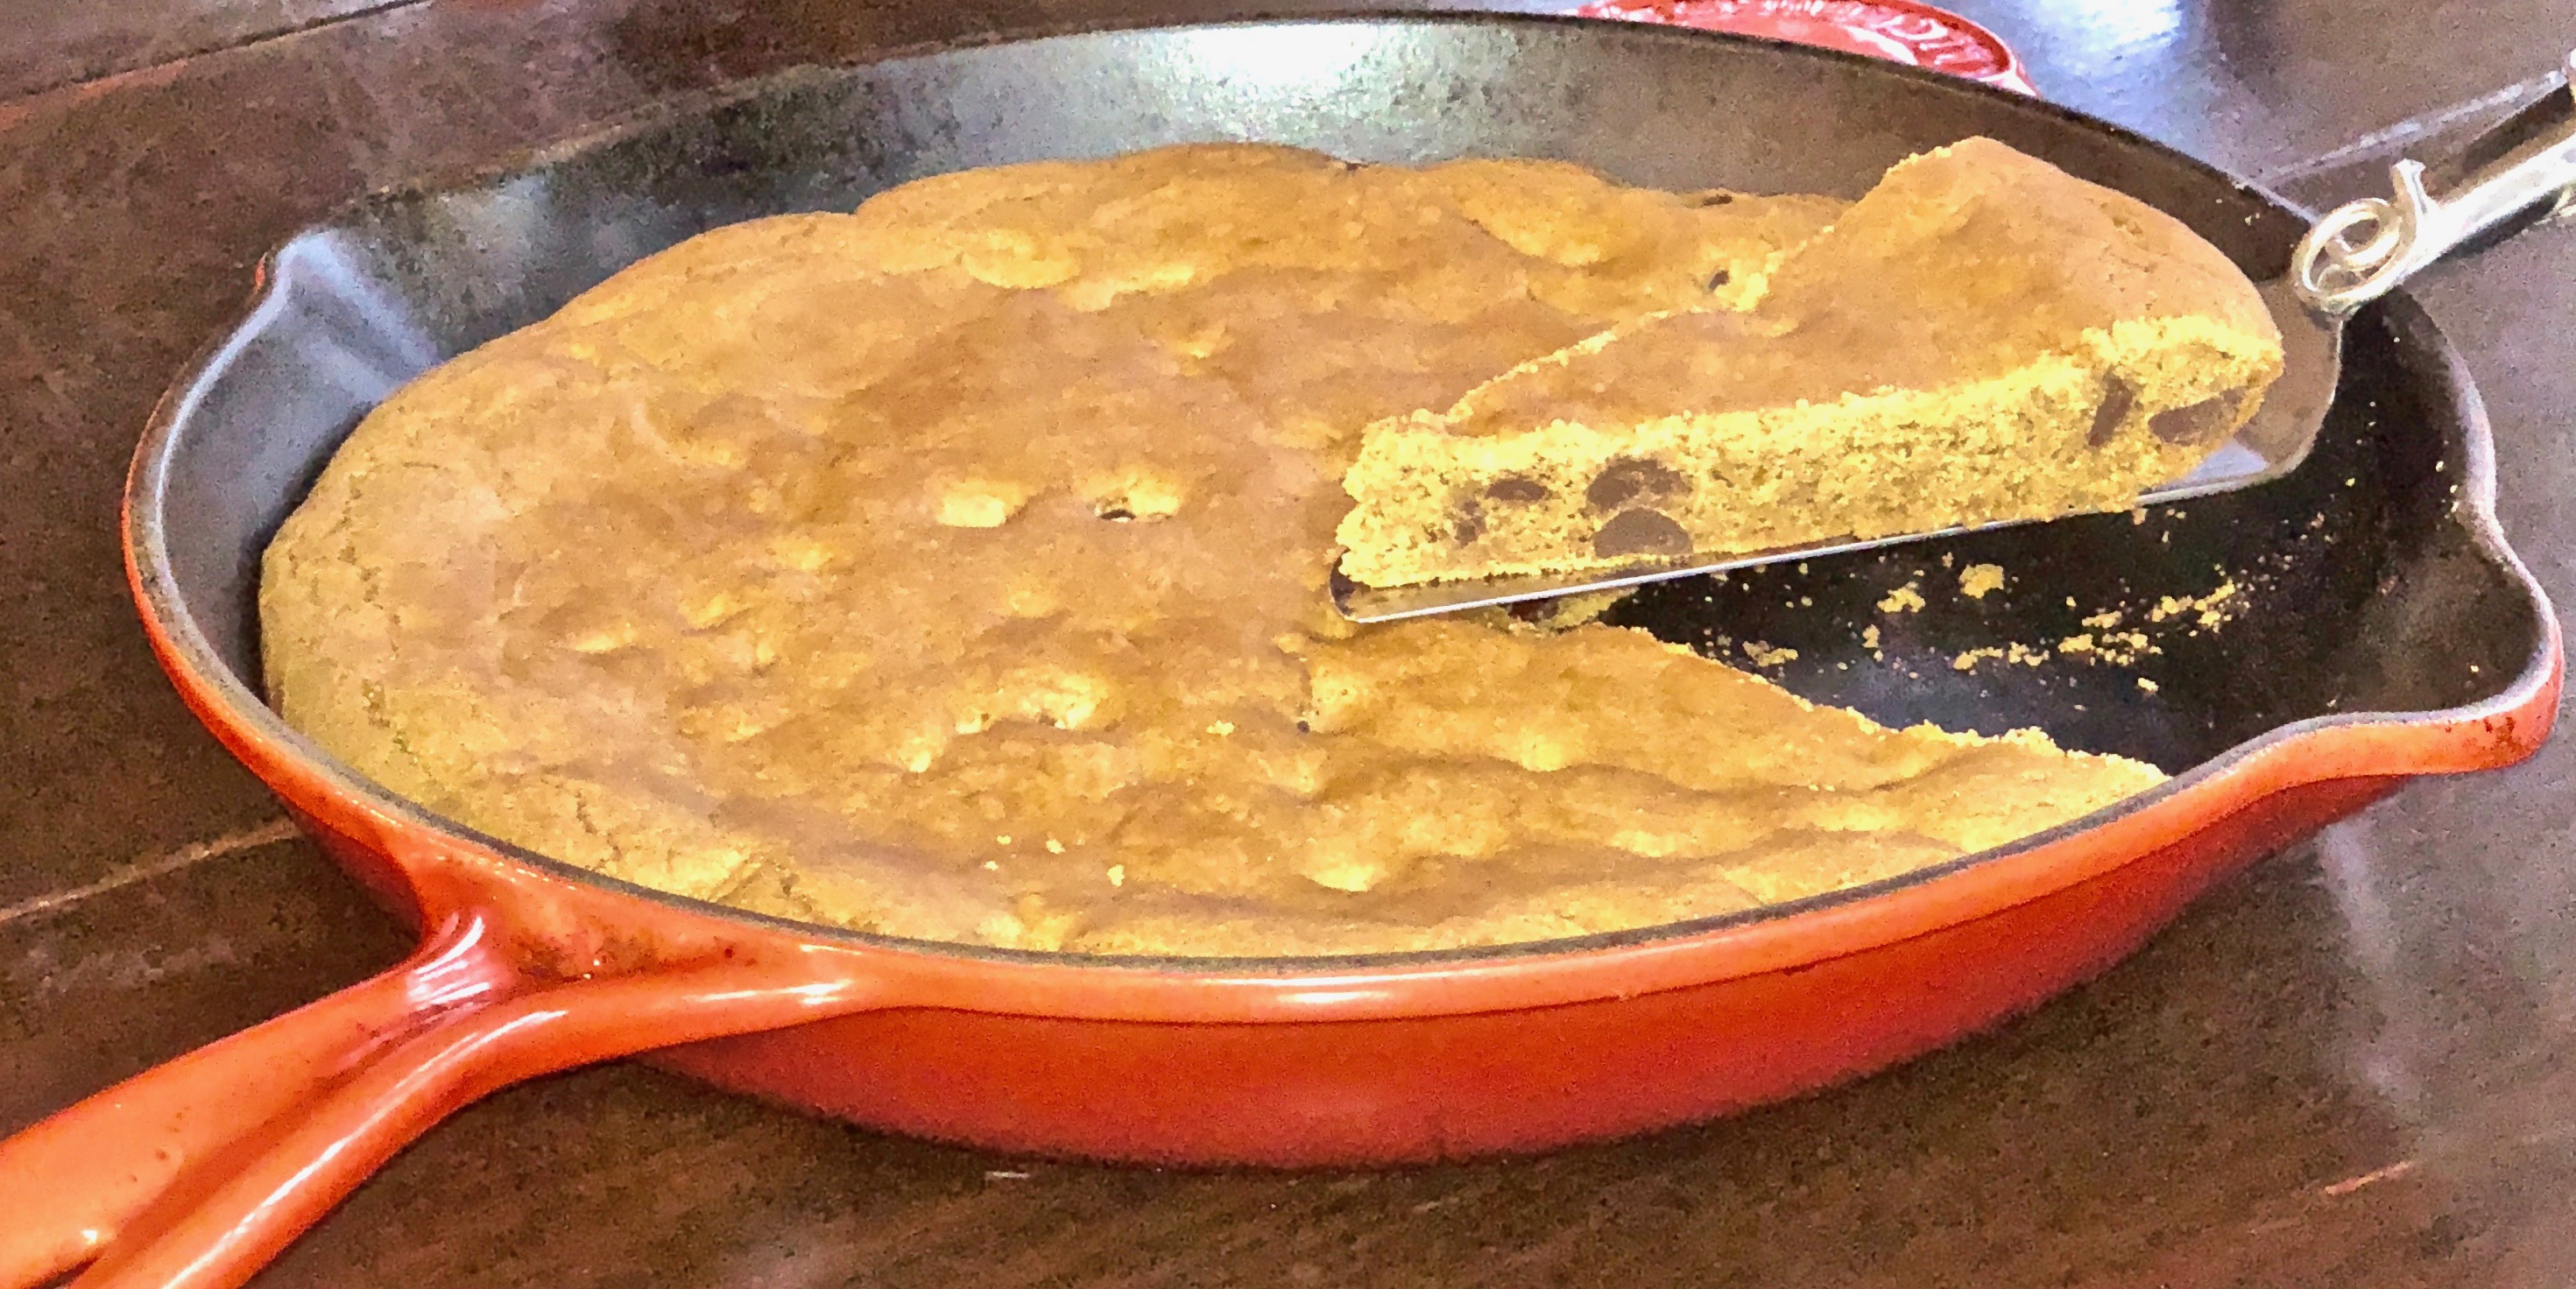
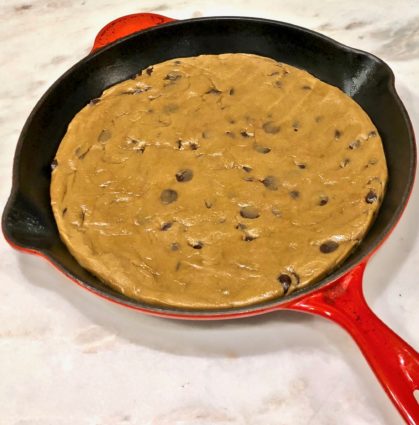
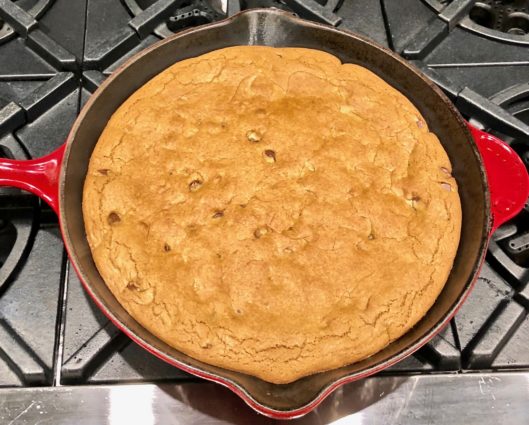
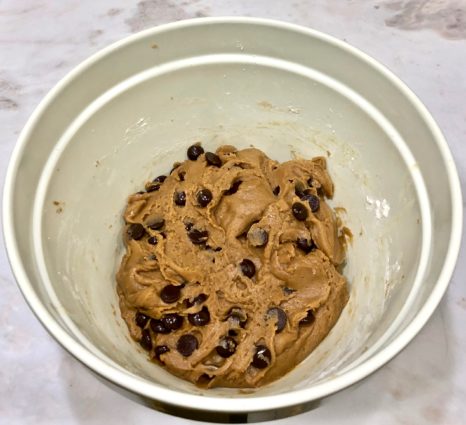
This cookie is made in a cast iron skillet. No mixer needed. No scooping out the dough. No cookie sheets. The skillet magically cooks the cookie so the middle has that ooey, gooey soft center and a crisp outer edge. The result is a perfectly baked cookie that is super easy to make, and even more luscious to eat. A big scoop of vanilla ice cream and a tall glass of milk and you are in heaven.

It doesn’t get better than this.

Don’t forget to sign up for my email so you don’t miss a recipe!

This recipe is courtesy of The Perfect Cookie and will serve 8 or more people who will be over-the-moon with delight!

Ingredients for Chocolate Chip Skillet Cookie

1 3/4 cups all-purpose flour
1/2 tsp. baking soda
12 tbsp. unsalted butter
3/4 cup packed dark brown sugar
1/2 cup granulated sugar
2 tsp. vanilla extract
1 tsp. salt
1 large egg plus 1 egg yolk
1 cup semisweet chocolate chips

Adjust oven rack to upper-middle position and heat oven to 375°F.

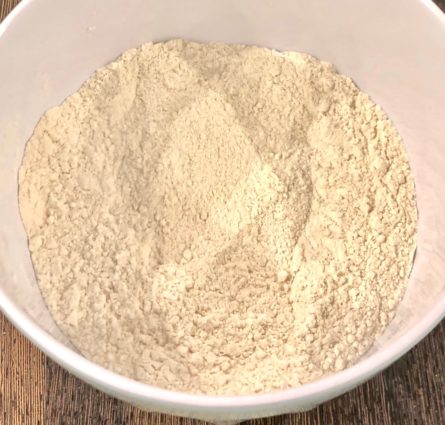
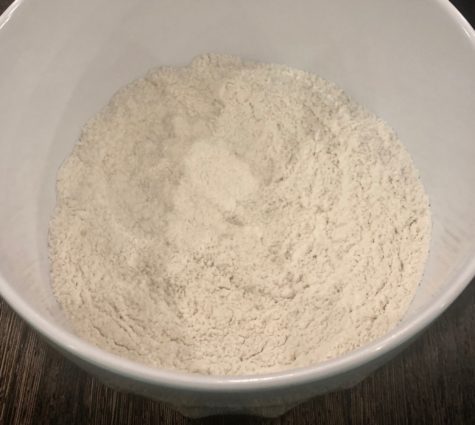
Whisk flour and baking soda together in a bowl.

Melt 9 tablespoons butter in a 12-inch cast-iron skillet over medium heat.

Continue to cook, stirring constantly, until butter is dark golden brown and has a nutty aroma, about 5 minutes.

Transfer browned butter to a large bowl and stir in remaining 3 tablespoons butter until melted.

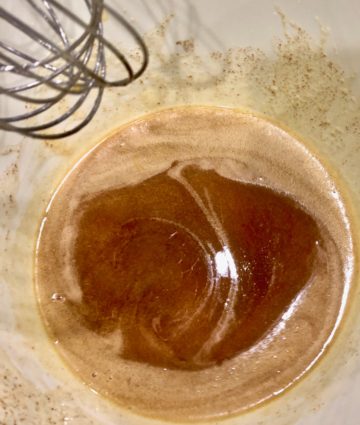
Whisk in brown sugar, granulated sugar, vanilla and salt until incorporated.

Whisk in egg and yolk until smooth with no lumps, about 30 seconds.

Let the mixture stand for 3 minutes, then whisk for 30 seconds. Repeat process of resting and whisking 2 more times until mixture is thick, smooth and shiny.

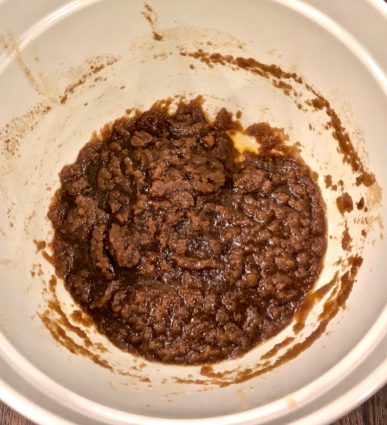
Using a rubber spatula, stir in flour mixture until just combined, about 1 minute. 

Stir in chocolate chips.

Wipe skillet clean with paper towels.

Transfer dough to now-empty skillet and press into even layer with spatula.

Bake until cookie is golden brown and edges are set, about 20 minutes, rotating the skillet halfway through baking.

Using potholders, transfer the skillet to wire rack and let cookie cool for 20 minutes.

Slice cookie into wedges and serve.

It’s that simple!
signature

[recaptcha]


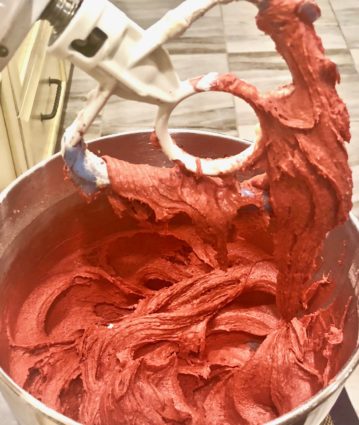
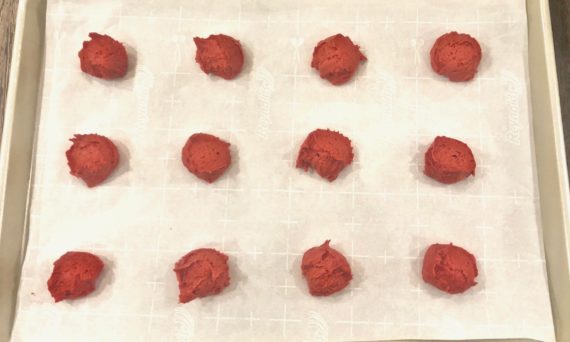
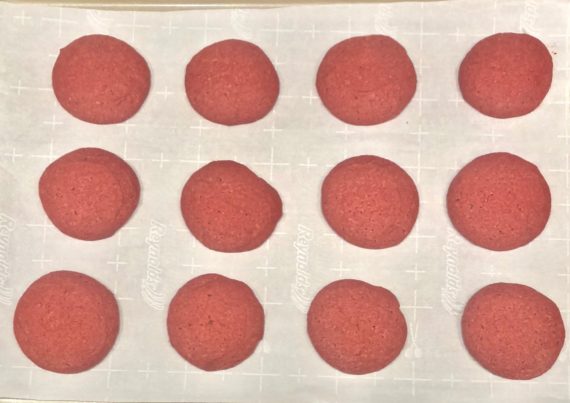
What is red, white and delicious? A red velvet cookie of course. It is a cookie twist on an old-fashioned favorite cake.

Red velvet cake is a tender, moist vanilla cake made with a little hint of cocoa in it. Although some people think it gets its color from the chemical reaction of the coca powder and the baking soda, this just isn’t so. In earlier years, the red coloring came from beets. Nowadays, the reason for its vibrant color is simple: red food coloring. One of the main ingredients here is cocoa powder. So, is this a chocolate cake disguised as a red velvet cake? Not really, because the ingredients are very different. Also, a chocolate cake can be topped with almost any kind of frosting, but a red velvet cake has to be topped with a yummy cream cheese frosting!

Although this delicious treat was originally made as a cake, they now have red velvet cupcakes, cookies and even pancakes.

Oh my! I loved this cookie recipe because I thought the red cookies looked so sweet and enticing with the white cream cheese topping. These cookies are so moist and wonderful, and the thick cream cheese topping makes it perfect with every bite! They are easy to prepare and should definitely be on your “must try” list.  Bring them to a friend’s house for dessert. Just make sure you don’t eat them all before you get there!

This recipe is courtesy of “The Perfect Cookie”, and will make about 22 cookies that your family and friends will quickly devour!

Ingredients for Frosted Red Velvet Cookies

1 1/4 cups all-purpose flour
1 tbsp. natural unsweetened cocoa powder
1/2 tsp. baking soda
1/4 tsp. salt
12 tbsp. unsalted butter, softened
1 cup granulated sugar
1 large egg
1 tbsp. red food coloring
1 1/2 tsp. vanilla extract
1/4 cup sour cream
4 ounces cream cheese, softened
1 1/4 cups confectioners sugar

Adjust oven racks to upper-middle and lower-middle positions and preheat oven to 350°F.

Line 2 baking sheets with parchment paper.

Whisk flour, cocoa, baking soda, and salt together in bowl.

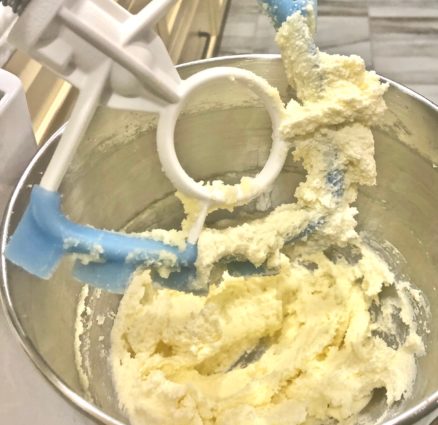
Using a standing mixer fitted with the paddle attachment, beat 8 tablespoons butter and granulated sugar on medium-high speed until pale and fluffy (about 2 minutes).

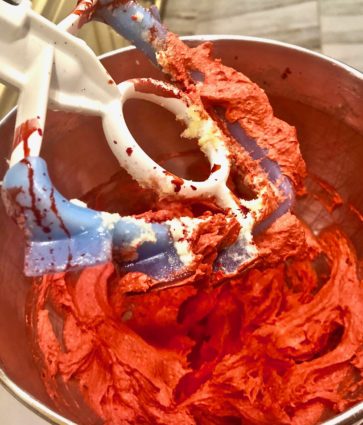
Add egg, food coloring, and 1 teaspoon vanilla and beat until combined (about 30 seconds).

Reduce speed to low and add half of flour mixture, followed by sour cream, then remaining flour mixture until combined.

Drop 2 tablespoon mounds of dough onto prepared sheets, spacing them about 2 inches apart.

Bake until cookies are set, (16 to 18 minutes), switching and rotating sheets halfway through baking.

Let cookies cool on sheets for 5 minutes, then transfer to wire rack. Let cookies cool completely.

Using a clean, dry mixer bowl and paddle, mix cream cheese, remaining 4 tablespoons butter, and remaining 1/2 teaspoon vanilla on medium-low seed until combined (about 30 seconds).

Reduce speed to low, slowly add confectioners’ sugar, and mix until smooth (about 1 minute).

Increase speed to medium-high and beat until light and fluffy (1 to 2 minutes).

Spread 1 tablespoon frosting evenly on each cookie before serving.

It’s that simple.

signature

[recaptcha]