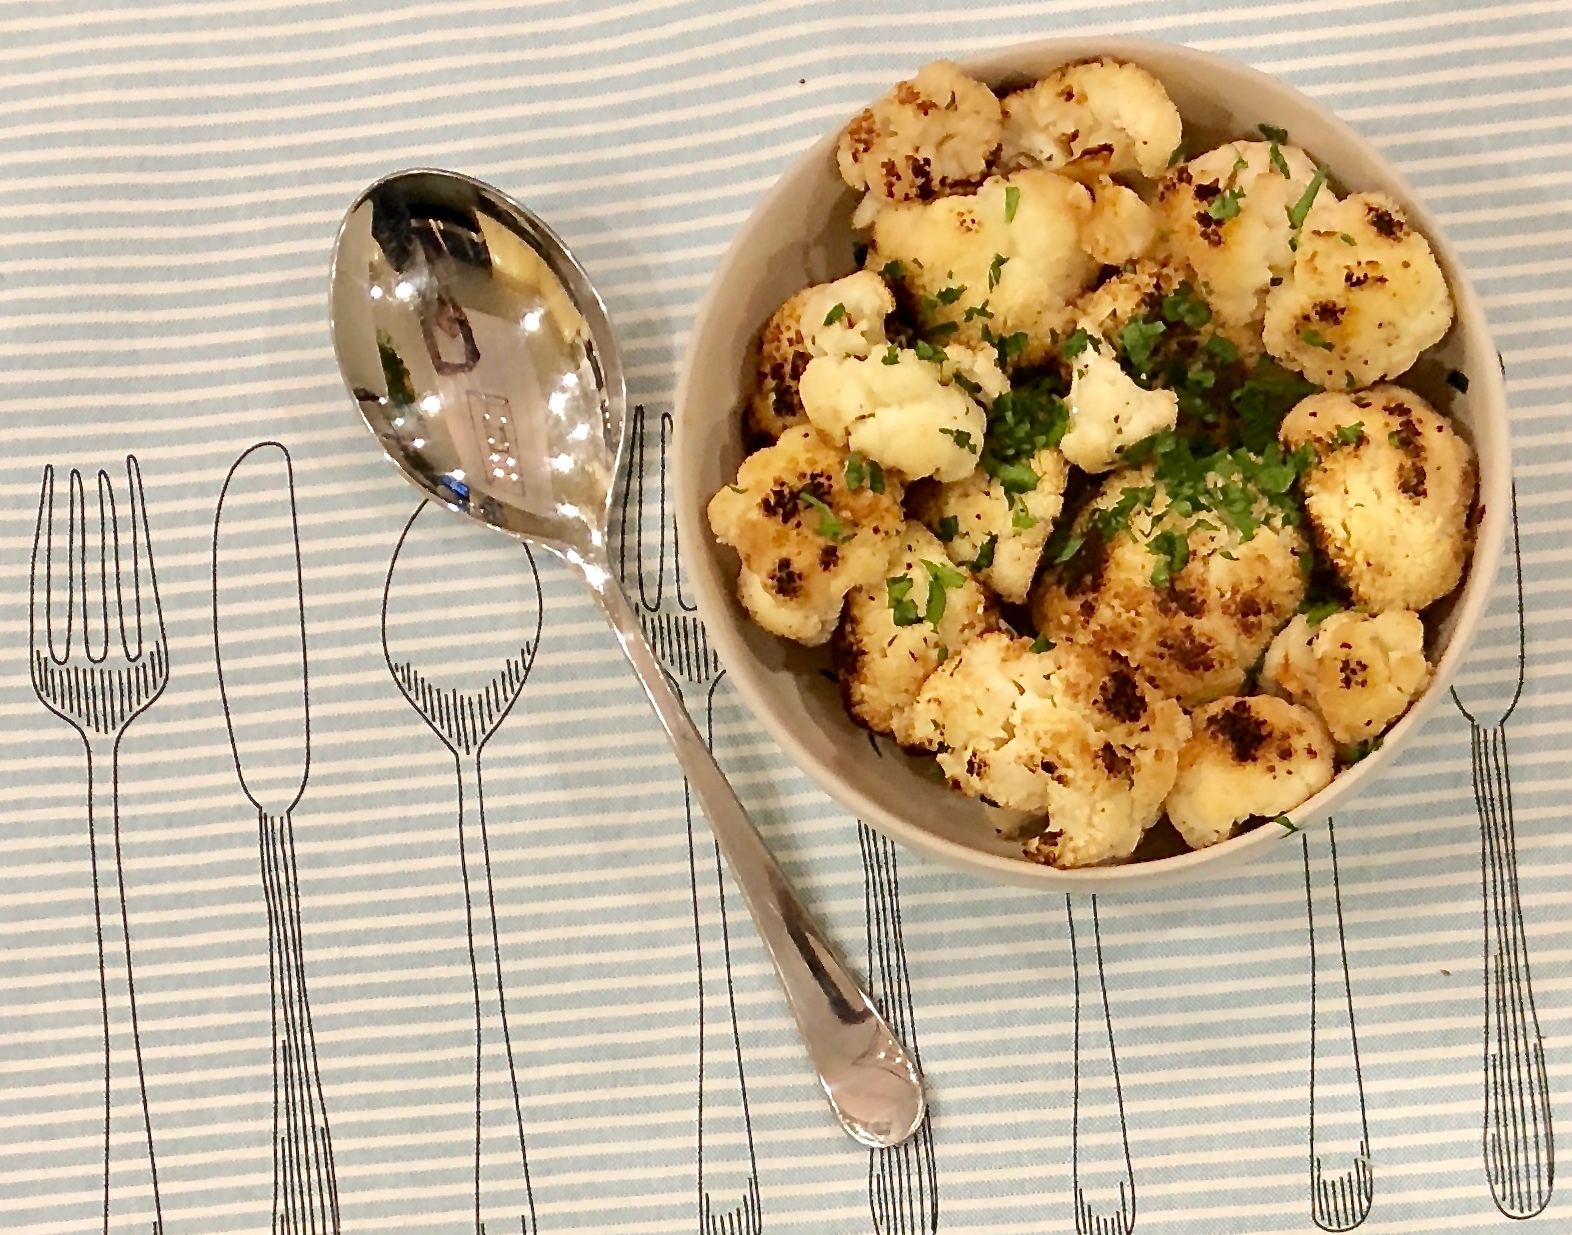
Do you know the difference between pan-roasting and roasting?

Pan-roasting is a two-step process by which you cook something only part of the way in a cast-iron skillet on your stovetop (also known as a sear) and finish it in the oven. It is one of the simplest cooking techniques out there. It is most often used to cook meat or chicken, however many people pan-roast vegetables as well.

By pan-roasting, you will get a super-crispy texture on the exterior of your protein or vegetable. If you are searing parts of a chicken, it is used to brown the skin and get it get it nice and crispy. If you are searing a steak it will crisp the outside and lock all the juicy flavor on the inside. The same goes for vegetables. This process will leave your vegetable with a flavorful caramelized crust! The browned bits that come from pan-roasting are delicious in their own way too, so do not discard them. You can also work them into any sauce you may be making for your dish.

Sure, it is an extra step but you will have dishes that are perfectly cooked – inside and out. Use a meat thermometer to make sure you have reached the desired cooking temperature. This way you will never have to cut into a steak or chicken, letting all their beautiful juices escape.

Roasting, on the other hand, is a one step process by which you cook food in an uncovered pan in the oven. Like pan-roasting, it is commonly used for large cuts of meat, and to intensify the flavors of vegetables. When you want to roast a vegetable, toss it with some olive oil, salt and pepper, place it in the oven and you will have an exceptional side dish!

This cooking process is one that turns boring cauliflower into a mouthwatering side. It is first pan-roasted, beautifully caramelizing the cauliflower and adding a sweetness to it, then it is finished off in the oven. The author says that “surprisingly, this is one of their most requested recipes” and I can understand why. I changed it up a little. I did not have time to make her garlic confit, (which I will definitely do next time), so I used plain garlic and it was still wonderful.

This recipe is loosely adapted from Gjelina, and will serve 4-6 people who will have never experienced cauliflower like this before!

Ingredients for Roasted Cauliflower with Garlic, Parsley and Vinegar:

1 head cauliflower, trimmed and chopped into large florets
1/3 cup extra-virgin olive oil
Kosher salt
Freshly ground black pepper
3 cloves garlic
2 tbsp. chopped fresh flat-leaf parsley
1/4 tsp. crushed red pepper flakes
2 tbsp. red wine vinegar

Preheat oven to 500°F.

In a medium bowl, toss the cauliflower with the olive oil and season with salt and pepper.

Heat a large cast iron frying pan over high heat.

Dump the cauliflower into the hot pan and cook until starting to brown, about 3 minutes.
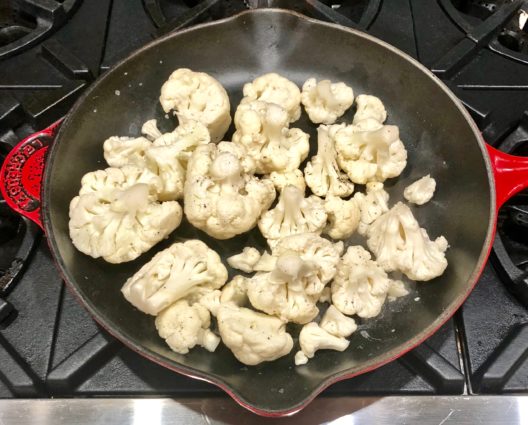
Transfer the pan to the oven and roast the cauliflower, undisturbed, until well seared, about 5 minutes.

With a spatula, toss the cauliflower with the garlic and turn to side that is not brown.

Cook for 3 minutes.

Remove from the oven, add the parsley, red pepper flakes, and vinegar and stir to distribute the seasonings.

Season with salt and pepper.

Transfer to a serving platter.

Serve warm or at room temperature.

It’s that simple!

signature

[recaptcha]


Risotto is a northern Italian dish in which rice is cooked in a broth (chicken, meat or vegetable), some butter and a good white wine. No matter how you cook it, the result is always a rich and wonderfully creamy consistency. This dish can contain other ingredients as well, but the base ingredients are always the same.

This rice preparation is used throughout the world and is one of the most widely eaten dishes. It is not an easy preparation and it takes time to perfect this skill. It will take thirty minutes or so to make a good risotto, and you must carefully watch it as it cooks. You slowly add in the broth one ladle at a time, however, the rice should not be covered in too much broth. You must be patient and let each ladleful carefully cook down before adding in another. It is certainly a learning process but if you do it correctly, you will be rewarded with a dish that has incredible flavor. 

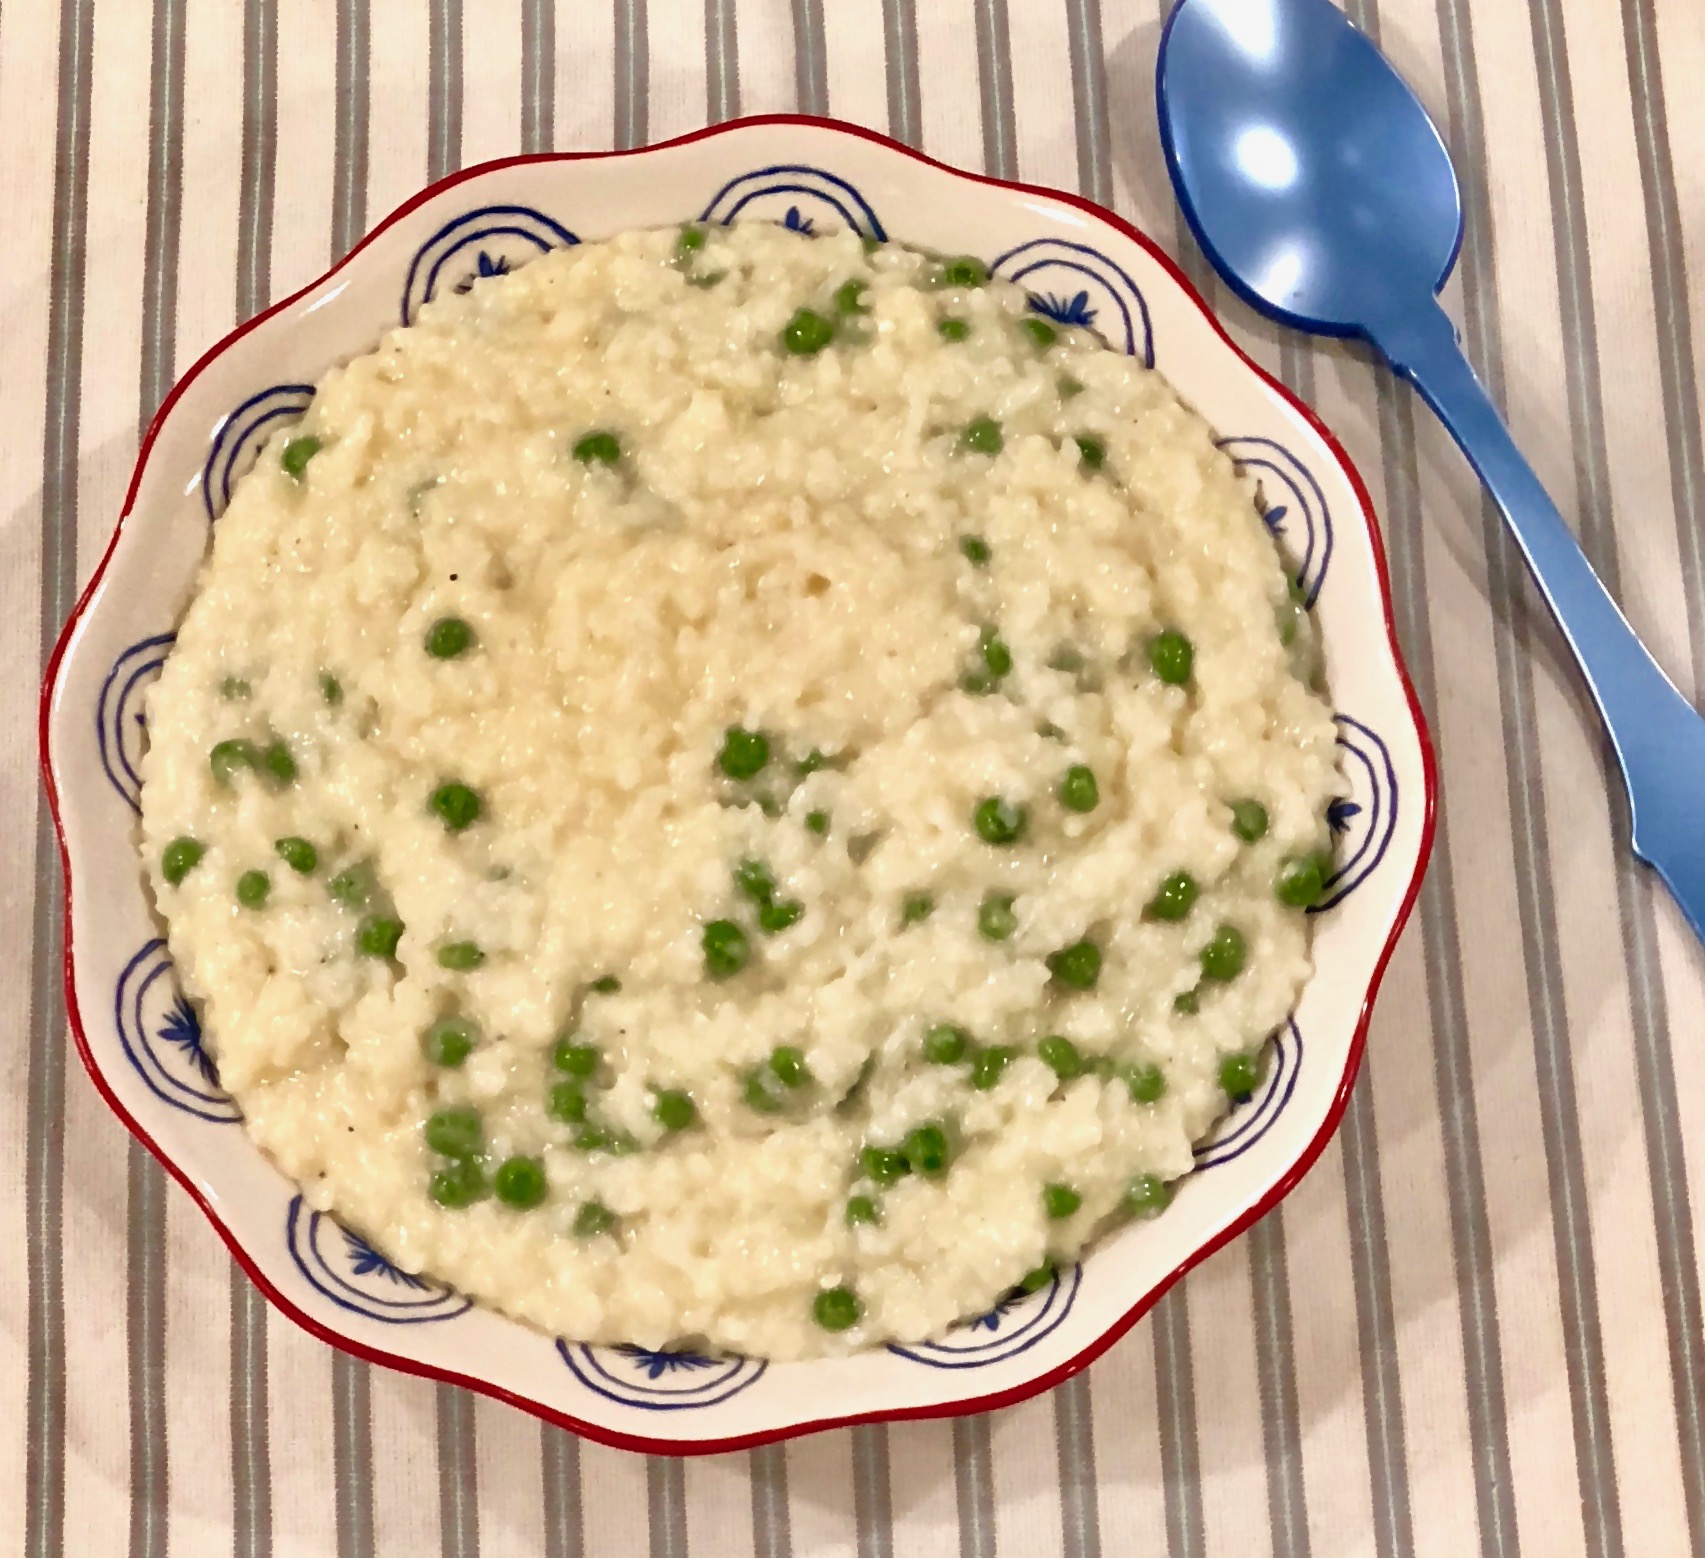
I wish I could say I am one of those people who are proficient at cooking risotto, but (sigh), I am not. Which is why when I saw Ina Garten’s method, I knew I had to try it immediately. It may not be the luxurious type of risotto you would have placed in front of you at a restaurant, but I thought it was pretty damn good. In fact, I thought it was fantastic. You don’t have to stand over the stove for 30 minutes, and you still end up with the same scrumptious result.

This risotto dish is one of my favorites ever. Ina never disappoints. Her recipes are always so reliable and delicious. This one epitomizes that enticing, creamy consistency you crave in a real risotto. The butter and wine give it an outstanding dimension of flavor. The peas add a sweetness and gorgeous color. The Parmesan cheese provides the silky, velvety texture. This is a satisfying, elegant dish that you can use for any family dinner or holiday. It is so easy and fast to make, you can accomplish many things instead of standing over the stove while you are waiting for it to cook. What is not to like about that?

This recipe is courtesy of Ina Garten, and will serve 4-6 people who just might think you are an accomplished risotto chef. (Hey, let them think so)!

Ingredients for Easy Parmesan “Risotto”

1 1/2 cups Arborio rice
5 cups simmering chicken stock, preferably homemade, divided
1 cup freshly grated Parmesan cheese
1/2 cup dry white wine
3 tbsp. unsalted butter, diced
2 tsp. kosher salt
1 tsp. freshly ground black pepper
1 cup frozen peas

Preheat oven to 350°F.

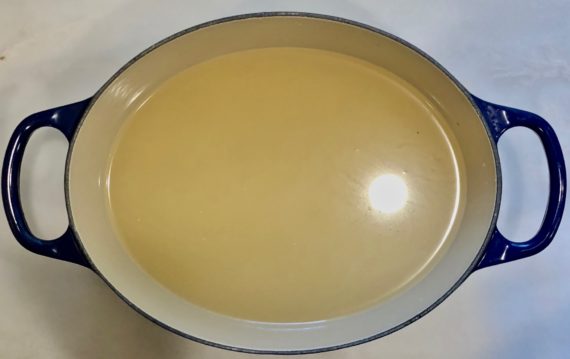
Place the rice and 4 cups of chicken stock in a dutch oven.

Cover and bake for 45 minutes, until most of the liquid is absorbed and the rice is al dente.

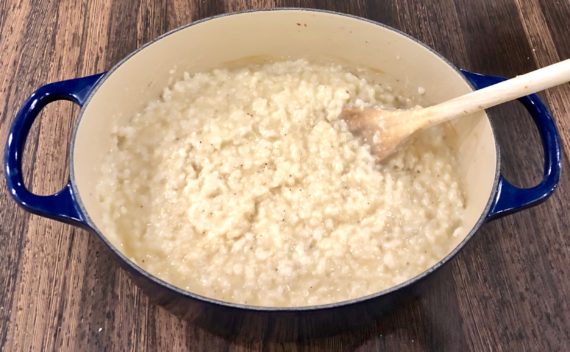
Remove from the oven, add the remaining cup of chicken stock, the Parmesan, wine, butter salt and pepper, and stir vigorously for 2 to 3 minutes, until the rice is thick and creamy.

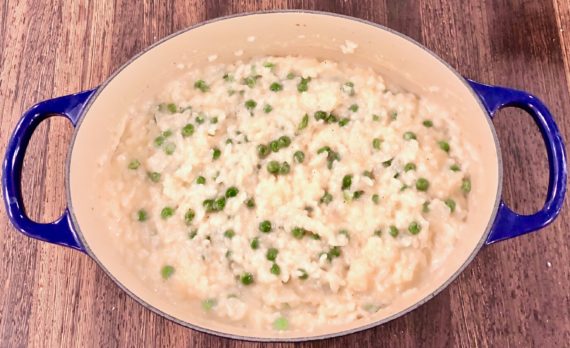
Add the peas and stir until heated through.

Serve hot.

It’s that simple!

More flowers from my garden

signature

[recaptcha]


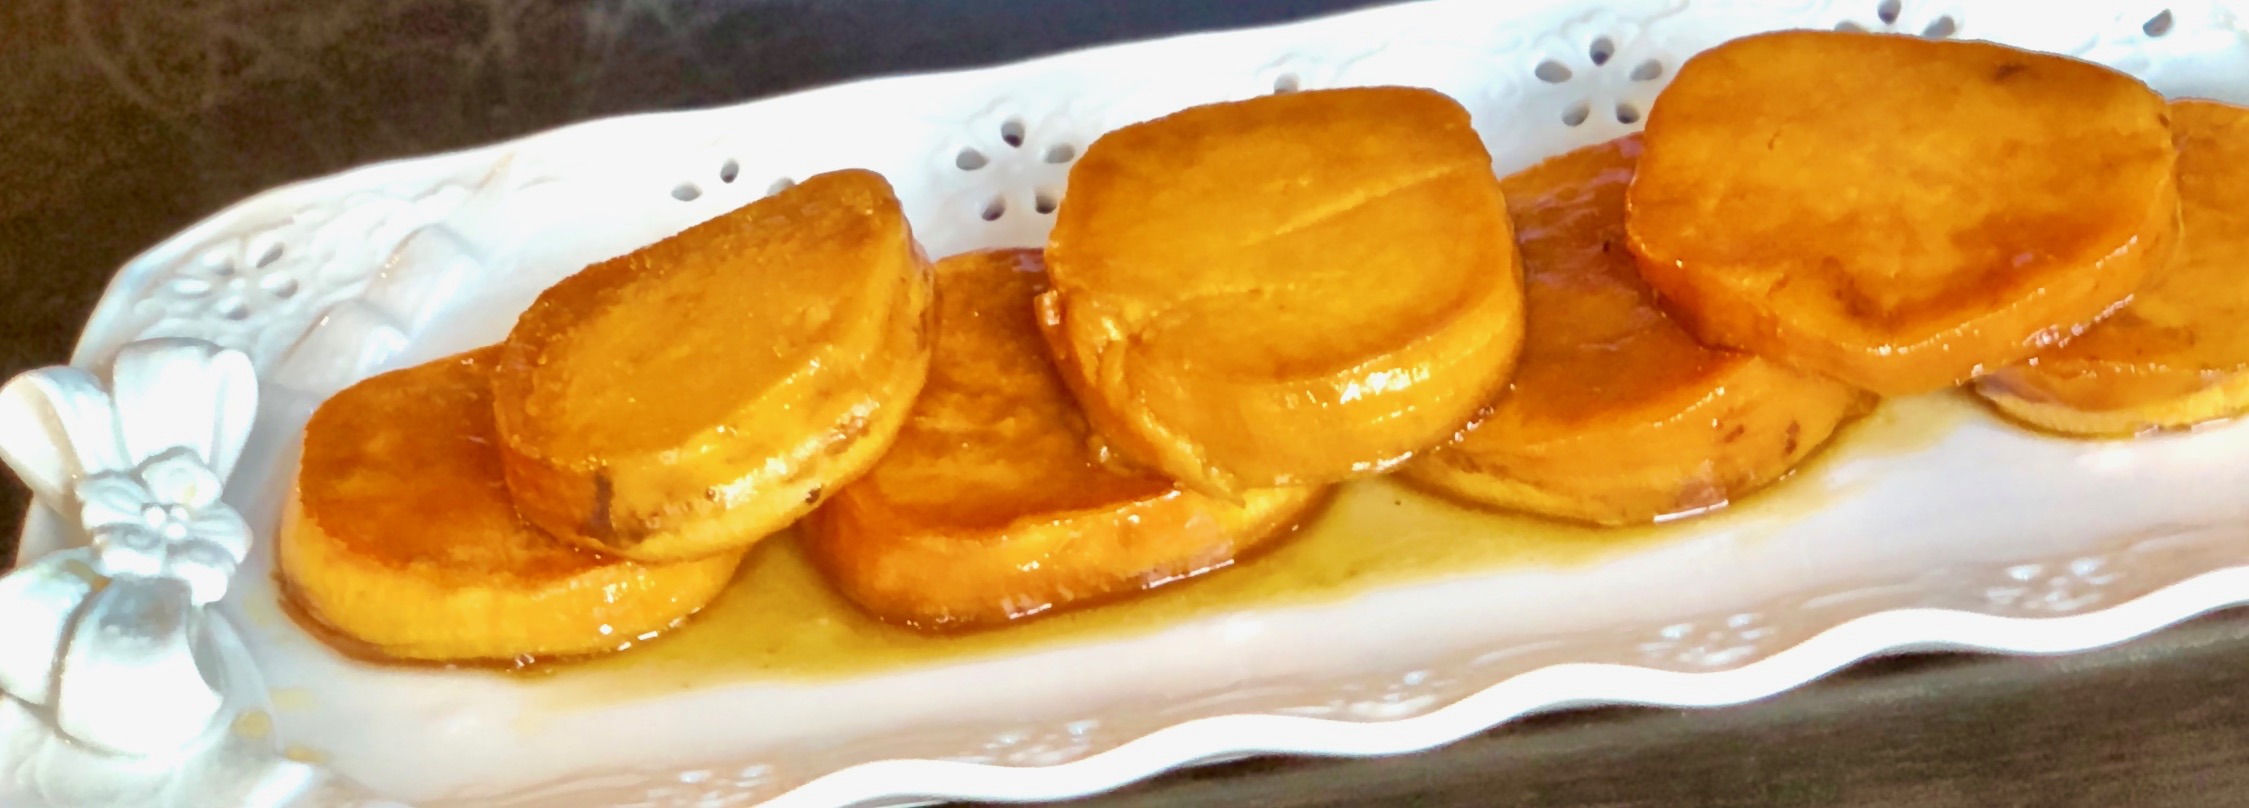
I know it is summer and you might not think you want another sweet potato dish. As I was cleaning out my pantry I noticed that I had some sweet potatoes that were in urgent need of cooking, or they would go bad. The result was so incredible, I knew I needed to share it with you.

If you ever find yourself in that position, you’re going to want to have this recipe on hand. One upside of the weather not fully agreeing with the season yet, turning on the oven to roast these wasn’t so bad! 

As it turns out, this is one of the best sweet potato recipes I have ever made. This dish will definitely be on my Thanksgiving menu, it was just that fabulous. Usually, I can never get my sons to eat sweet potatoes. They gave it a try, and they loved them so much they even asked that I make it again. (WHAT?!)

I have come to the conclusion that sweet potatoes should always be eaten in tandem with brown sugar and maple syrup. They go together like peanut butter and jelly. For this recipe, I used bourbon and it gave the sauce an additional depth of flavor that is as dramatic as it is amazing. Of course, the vanilla extract topped it off to make it just perfect.

This is an absolutely superb side dish. It is courtesy of Kosher By Design and will serve 8-10 people who will be delighted by this sweet potato dish even if it is summer!

Ingredients for Glazed Sweet Potatoes

4-5 pounds sweet potatoes, peeled
4 tbsp. (1/2 stick) margarine or butter
1 cup dark brown sugar
1 tbsp. vanilla extract
1/4 tsp. salt
1/4 cup whiskey or bourbon

Preheat oven to 375°F.

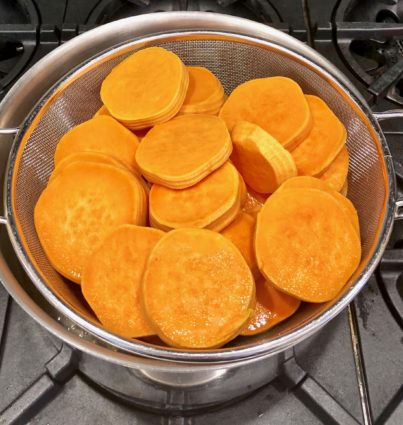
Cut the sweet potatoes into 1/2-inch slices.

Steam the sweet potatoes for 10 minutes or until soft but not mushy.

Remove potatoes from steamer and set aside.

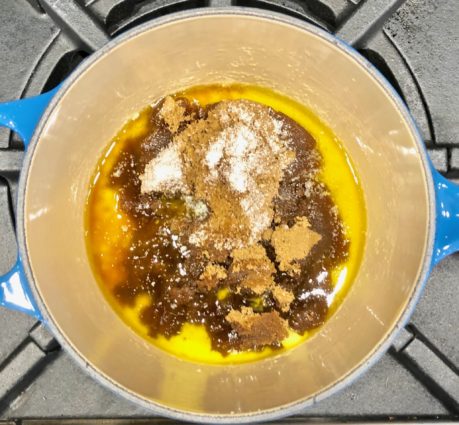
In a small saucepan, melt the butter over medium heat.

Add the brown sugar, vanilla, and salt, stirring until the sugar is dissolved.

Stir in the whiskey or bourbon and cook for 5-10 minutes or until slightly thickened, stirring occasionally.

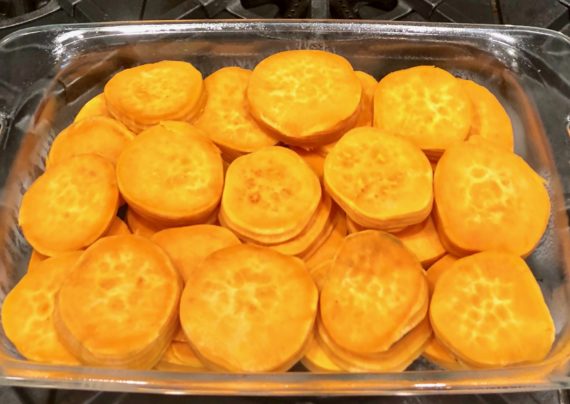
Spray a 9 x 13-inch glass baking dish with nonstick cooking spray.

Place the sweet potatoes in the pan.

Drizzle the sauce over the top.

Bake uncovered for 1 hour. 

Baste with the sauce every 10 minutes to keep the potatoes from drying out.

It’s that simple!

signature

[recaptcha]


Visiting my local farmer’s market is one of my favorite pastimes in the summer. There is nothing better than walking through and knowing that everything you buy was freshly grown. You know you are getting the highest quality food at an affordable price, as well as doing your part to help the local economy!

On my most recent visit, I got a few tomatoes, a bagful of fresh corn and some delicious treats from a baking vendor. Then I headed home to cook it all to my heart’s content. It is a wonderful way to spend a warm, sunny day in the summer.

There are some things you should know before going to a farmer’s market. It can be intimidating so here are some tips to help you get through it and thoroughly enjoy it.

Bring cash. Very few vendors I know take credit cards, and cash is always much easier.

Take a walk through the entire market before you buy anything. Take mental notes (or written if you prefer) of the booths you will want to return to. 

Bring your own large tote bag to throw all of the items you buy in. This will make them much easier to carry. 

Try something new. Last year I was visiting a vendor that had several foods I did not recognize. He let me try them. Sure enough, minutes later I was buying sea asparagus. It is a smaller version of asparagus that has several stalks emanating from the main one. It has a crunchy texture and a salty flavor. I bought it and made a delicious salad with it. Just goes to show, you never know! I will be looking for it again this year. 

Don’t be afraid to ask questions. The vendors know how the food was grown, if any pesticides were used and how is best to store them.

Pick up your big purchases last so you do not have to carry them with you the entire time of your visit.

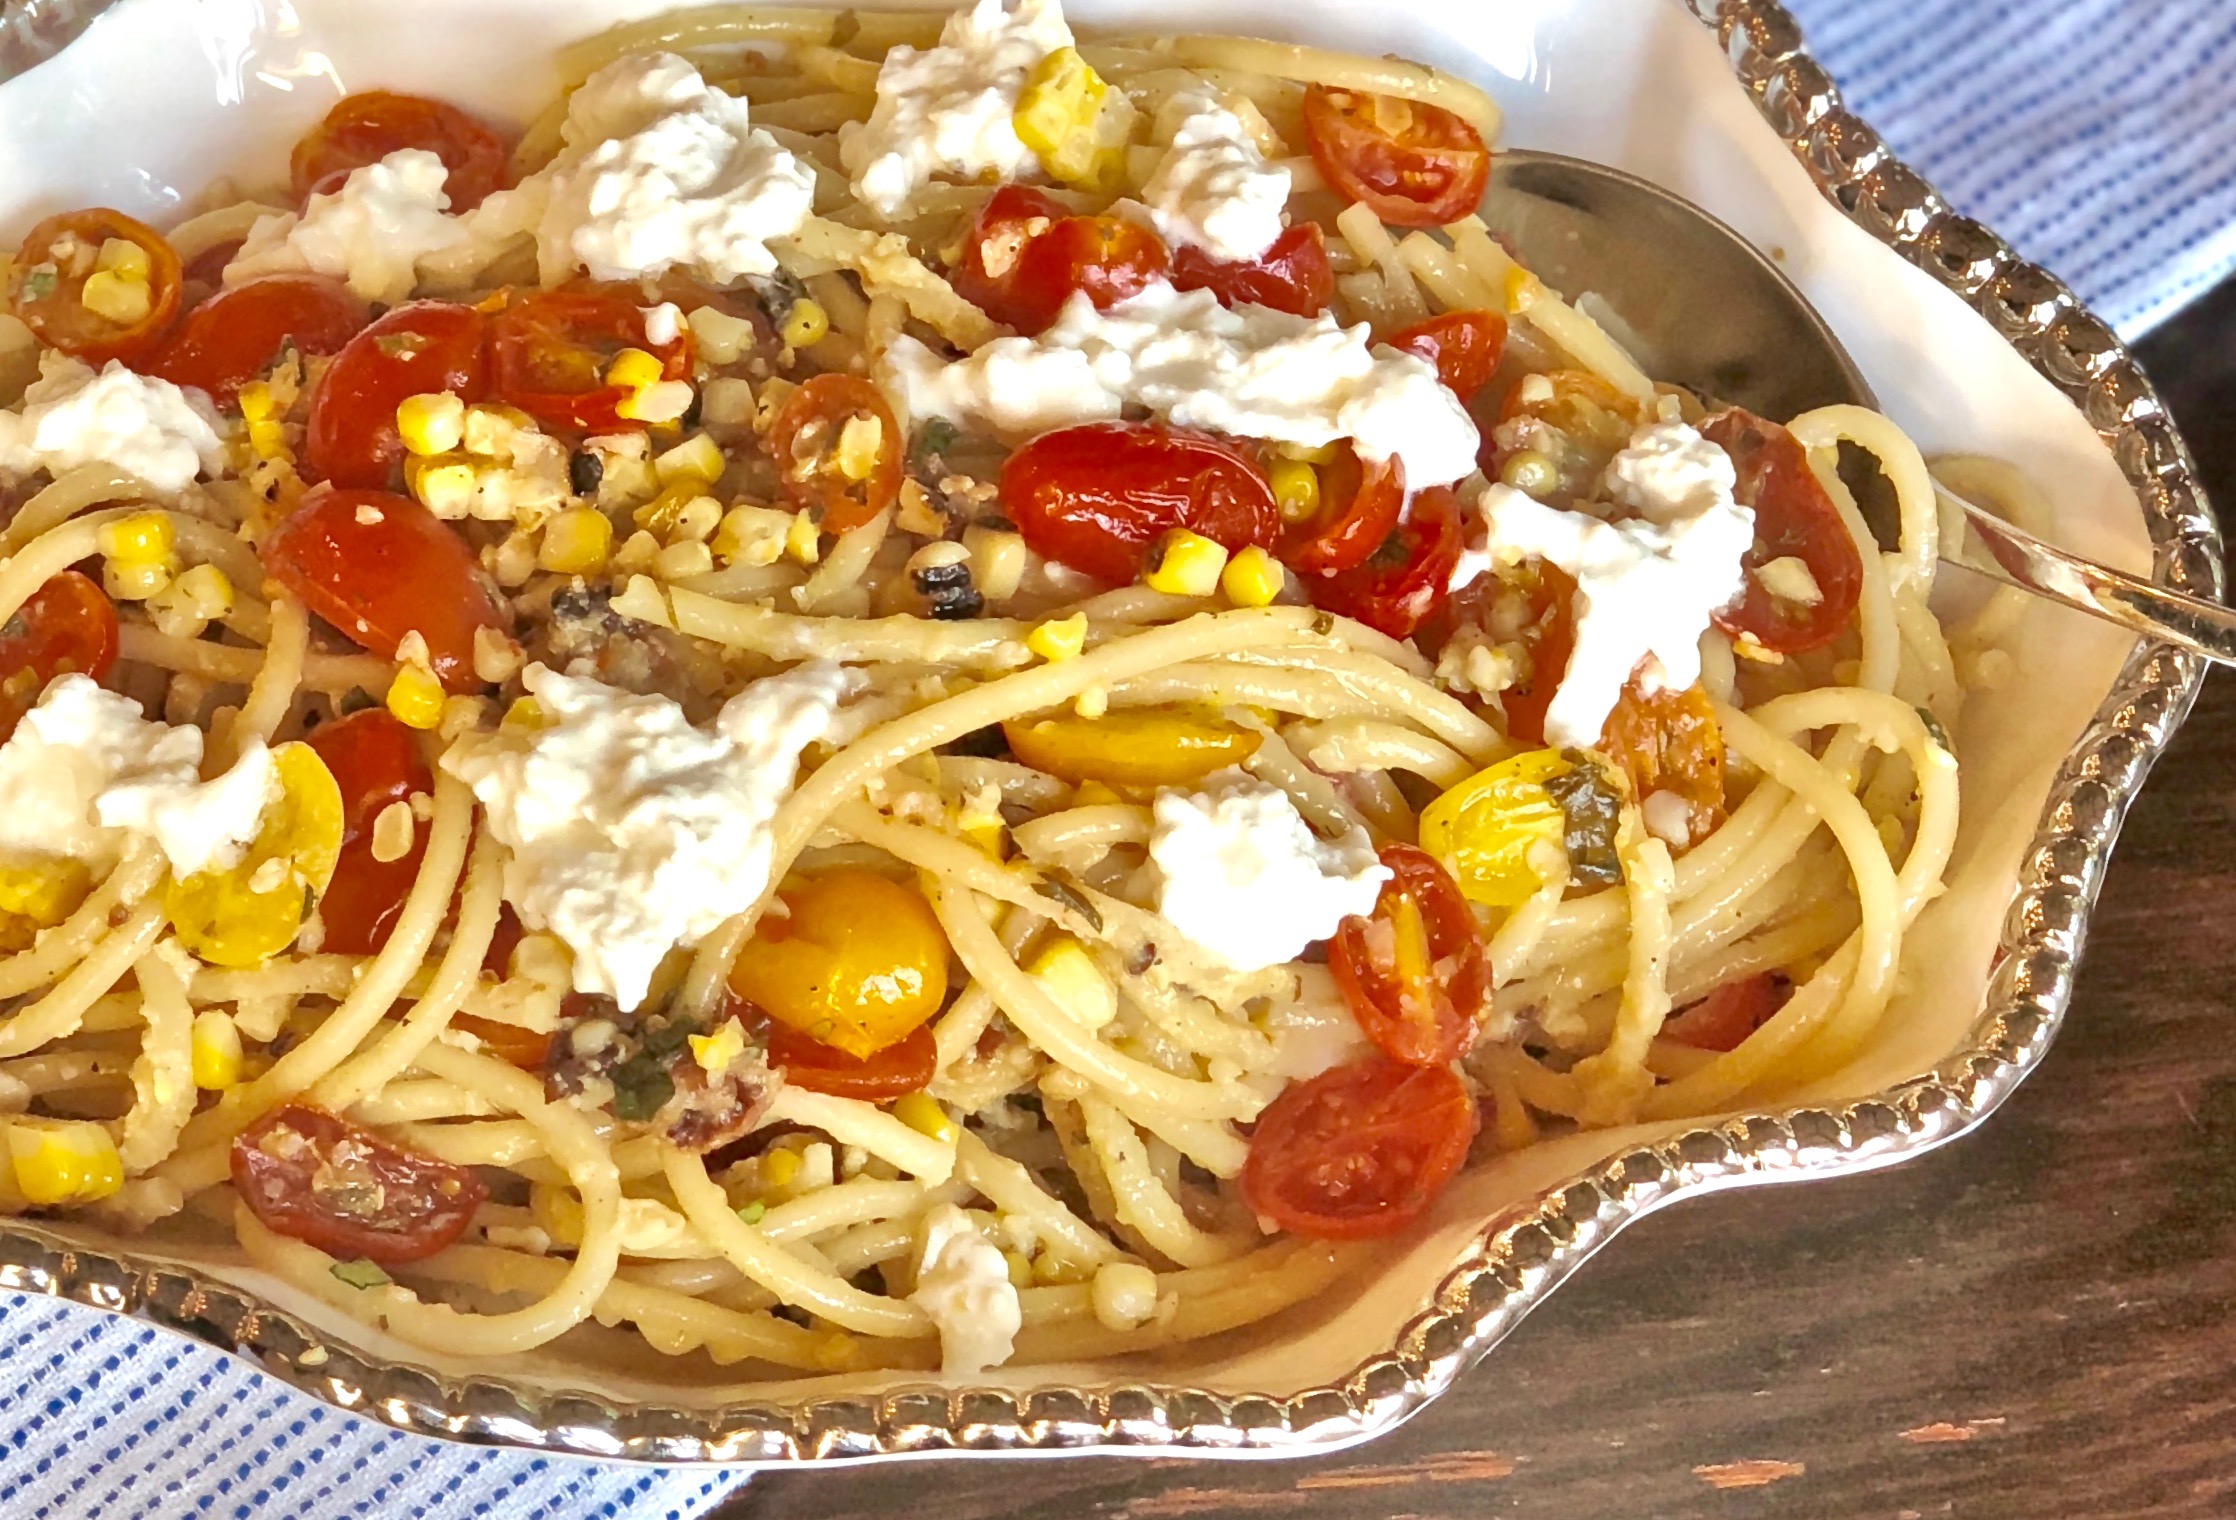
Now that you know some things about a farmer’s market, next time you visit make sure to pick up the ingredients for this recipe! It is an amazing version of a carbonara. It requires all the same ingredients plus extra veggies and a wonderful mix of aromatic herbs.

The bacon adds a nice, smoky flavor, while the cheese and corn lends a sweet and creamy texture. The crushed red pepper is a spicy surprise. This dish is finger licking good. I wouldn’t put it on your short on time list, but I would put it on your “must try” list.

This dish is courtesy of Half Baked Harvest, by Tieghan Gerard. All of her recipes are amazing, and I will be trying many more of hers in the future. It didn’t say how many people it will serve so I am going to say about 4-6 people who will relish this savory, sweet and spicy version of a summer carbonara!

Ingredients for. Summer Carbonara

2 pints heirloom or cherry tomatoes
2 tbsp. extra-virgin olive oil, plus more for serving
1/2 cup chopped fresh herbs (such as basil, oregano, and dill)
4 garlic cloves, minced or grated
Kosher salt and freshly ground black pepper
1 pound bucatini pasta
4 thick-cut bacon slices, chopped
3 large eggs, beaten
3/4 cup freshly grated Parmesan cheese
3 ears corn, grilled, roasted or boiled and kernels sliced from the cob
Zest and juice of 1/2 lemon
1/4 cup chopped fresh thyme or oregano, plus more for serving
Pinch of crushed red pepper flakes
8 ounces burrata cheese (optional)

Preheat the oven to 400°F.

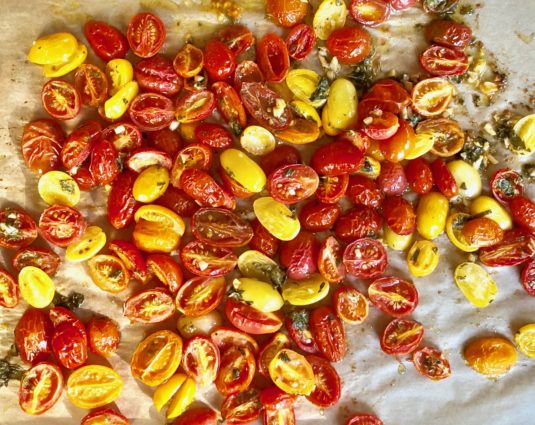
In a 9 x 13-inch baking dish, combine the cherry tomatoes, olive oil, 1/4 cup of the fresh herbs, half the garlic, and a generous sprinkle of salt and black pepper.

Toss well to coat.

Roast for 10 to 15 minutes, or until the tomatoes collapse.

Remove from oven and add the remaining 1/4 cup fresh herbs.

Meanwhile, bring a large pot of salted water to a boil over high heat.

Cook the pasta until al dente according to the package directions.

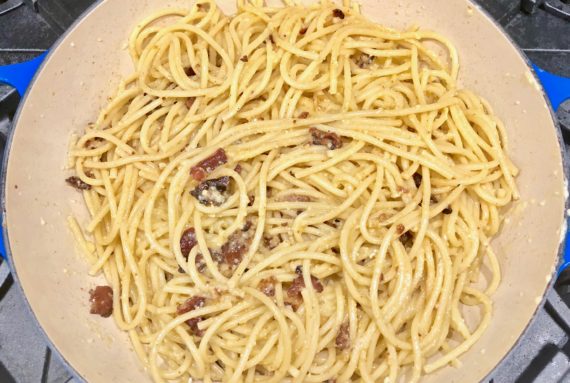
While the pasta cooks, in a large skillet, cook the bacon over medium heat until the fat renders and the bacon is crispy, 2 to 3 minutes.

Add the remaining garlic and cook 30 seconds to 1 minute, or until fragrant.

Reserve 1/4 cup of the pasta cooking water, then drain the pasta and add it to the skillet with the bacon.

Give it a good toss and cook for about 2 minutes, until warmed through.

Beat together the egg and Parmesan in a medium bowl.

Remove the pasta from the heat and pour over the egg-cheese mixture, tossing quickly to ensure the eggs do not scramble until the sauce thickens.

Thin out the sauce with just a little bit of the reserved pasta water, adding it slowly until the sauce reaches your desired consistency.

Add the tomatoes and all the juices from the baking dish, the corn, lemon zest, lemon juice, and thyme or oregano.

Gently toss to combine.

Season with black pepper, salt, and the red pepper flakes.

Divide the pasta among plates and top with a drizzle of olive oil, freshly torn burrata cheese, if desired, and fresh herbs.

It’s that simple!

signature

[recaptcha]


The weather has finally been sunny and warm here. I think it is time to lighten the menu up a bit!

Quinoa (pronounced keen-wah) is an ancient crop that has been eaten by the South American people for 5,000 years. It means “mother grain” in the Inca language. While some people refer to it as a grain, it is actually a seed. It is gluten-free, comes in different colors and is just plain delicious!

This hardy little seed looks a little bit like couscous, but is smaller in size and crunchier in texture. Quinoa has many health benefits. It is rich in lysine, which promotes tissue growth throughout the body, has a very high range of anti-inflammatory benefits and is rich in nutrients such as iron, magnesium, vitamin-E, potassium and fiber. Have I convinced you to try it yet?

Quinoa is also a very versatile food. It can be used in soups, salads, side dishes, and stuffing. I loved this recipe for so many reasons. One of which is, I love the book, The Home Cook, by Alex Guarnaschelli. I have been a huge fan of her for years. The book is really written for a home cook, because the recipes are simple, yet have bold depths of flavor to them. I think I copied about 15 recipes that I plan to make in the future. So you will be seeing a lot of Alex’s recipes coming soon.

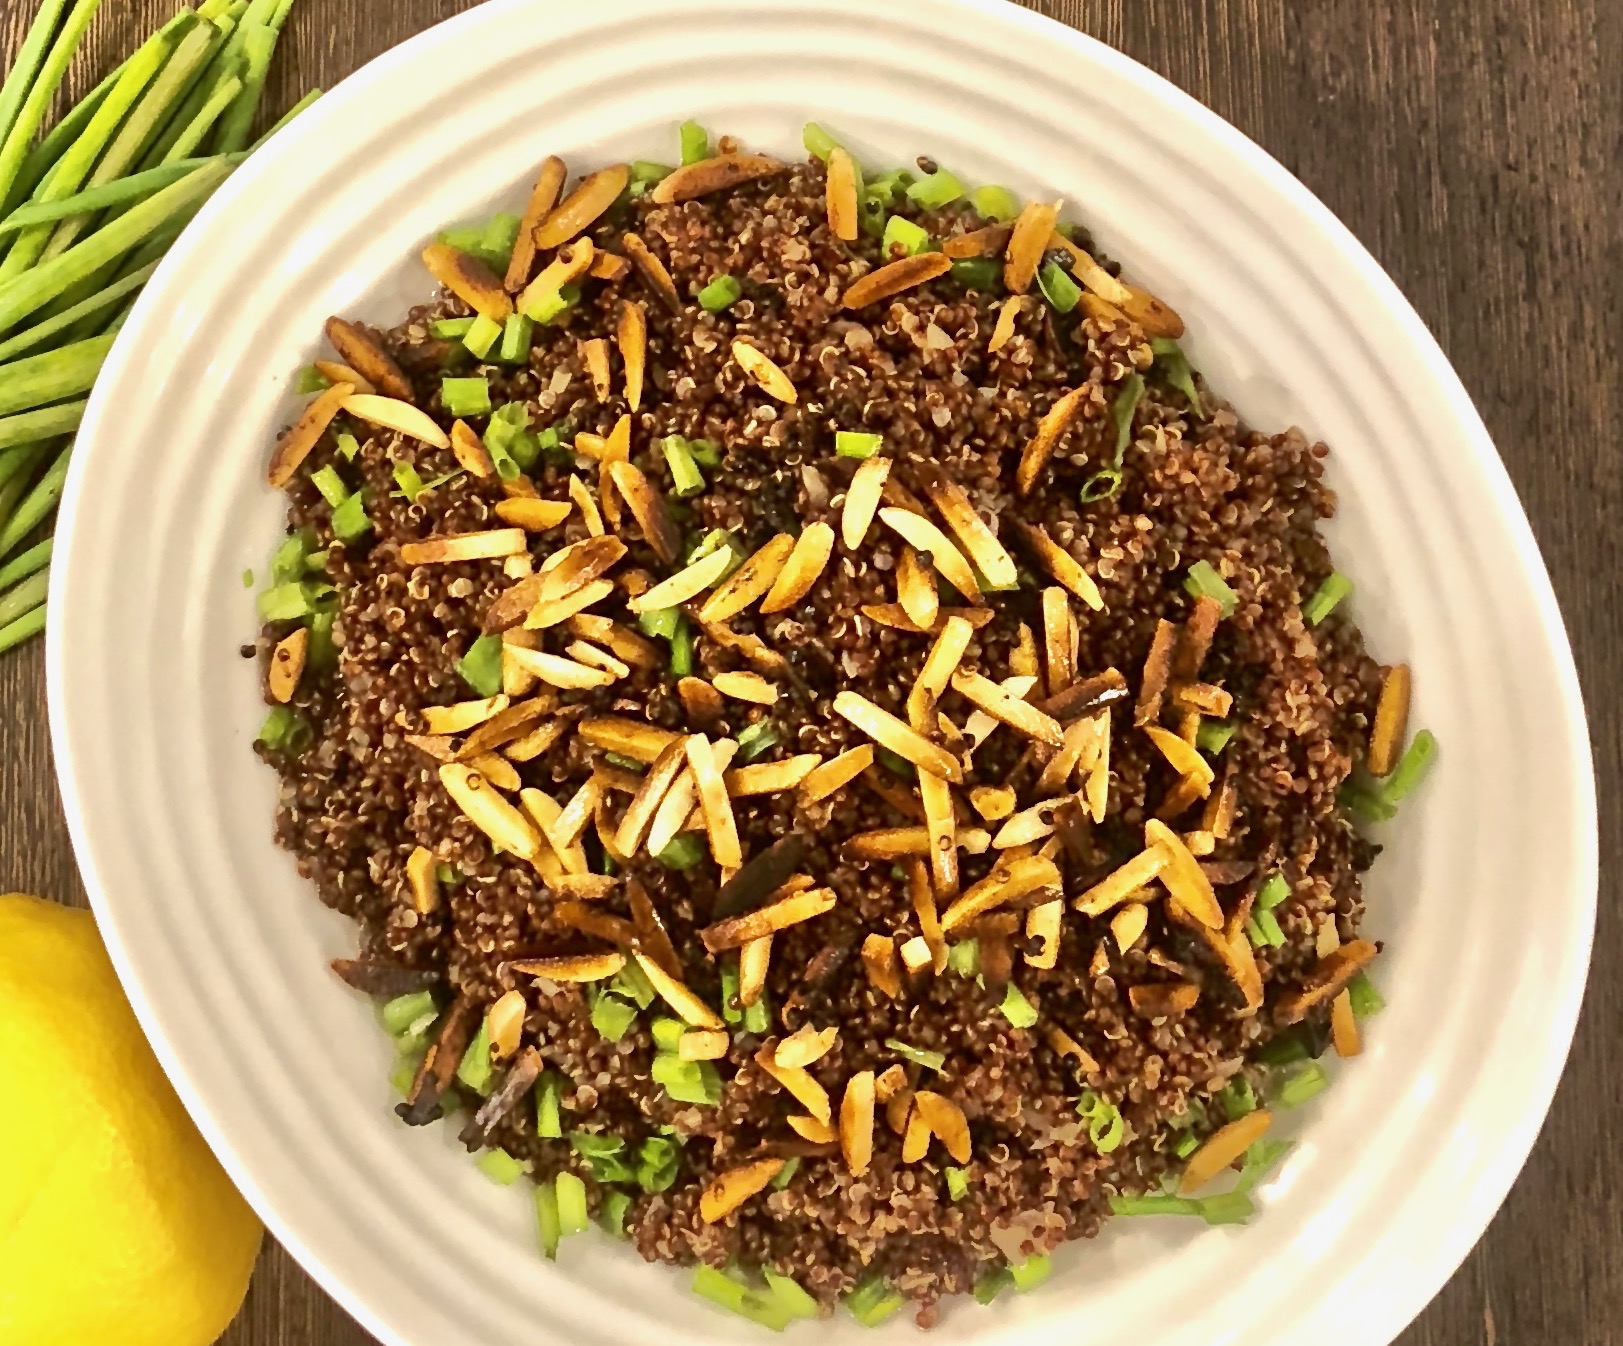
This recipe is perfect for a spring or summer day. It is filled with ingredients that blend together perfectly. The toasted quinoa gives this dish a wonderful nutty-like crunch. The vinaigrette is light and fresh. As always, the combination of lemon and honey are delightful. The toasted almonds top it off to give it some saltiness and make this a perfect side dish.

This is an absolute “must try”. Put it at the top of your list.

This recipe will serve 6 to 8 people who will love this refreshing salad with a lovely, mouthwatering \dressing.

Ingredients for Quinoa Salad

4 tbsp. (1/2 stick) unsalted butter
2 medium shallots, minced
1 medium garlic clove, minced
Kosher salt
1 1/2 cups red quinoa
1/4 cup fresh lemon juice (from 2 medium lemons)
1 tsp. honey
1/2 cup extra-virgin olive oil
2 tbsp. canola oil
1/2 cup slivered blanched almonds
1/2 cup minced fresh chives

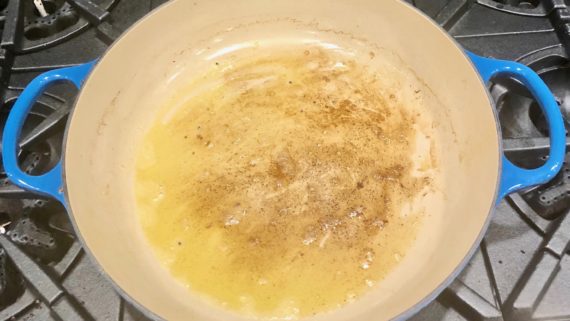
Heat a medium sauté pan over medium heat, add 2 tablespoons of the butter.

Toss in the shallots and garlic.

Season with 1 tablespoon salt and cook until the shallots become translucent, but not brown, about 3-5 minutes.

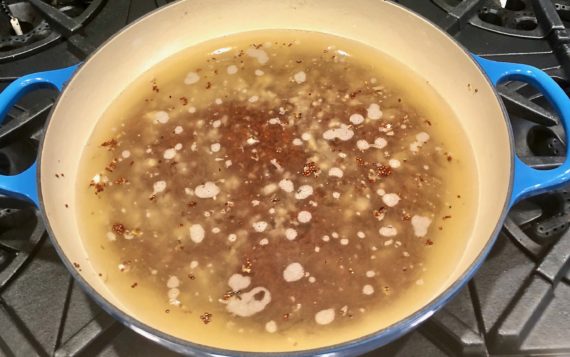
Stir in the quinoa and cook until you hear it crackling, about 2 minutes.

Add 5 cups water and stir gently.

Season with 1 tablespoon salt and bring to a simmer.

Simmer over low heat until the quinoa is tender, 25 to 30 minutes.

Remove the pan from the heat, transfer the quinoa to a bowl, and keep it warm.

In a large bowl, whisk the lemon juice, with 1 teaspoon of salt and the honey.

Gradually whisk in the olive oil and canola oil.

Taste for seasoning.

Wipe out the sauté pan you used to cook the quinoa and add the remaining 2 tablespoons butter.

Heat the butter over medium heat until it melts and starts to brown slightly.

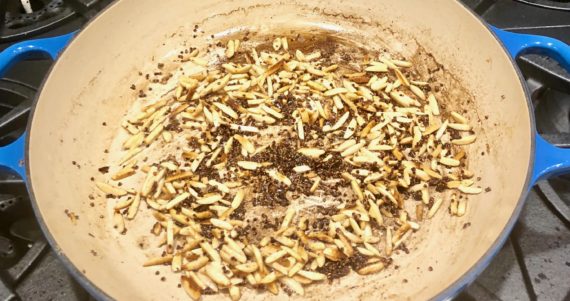
Add a few tablespoons of the cooked quinoa and the almonds and sauté until they become brown and crispy, 5 minutes.

Season with 1 teaspoon salt.

In the bowl containing the vinaigrette, stir in the cooked quinoa, 1 teaspoon salt, and the chives.

Top with the crisped quinoa and almonds.

Taste for seasoning, and serve.

It’s that simple!
signature

[recaptcha]