I certainly can’t be the only one who has this problem (speak up if you do!): I come home from the grocery store with a few extra items that I had no intention of buying. I absolutely cannot go into a grocery store and leave with only the items I need. I come out with a full basket every time, no matter how simple my next recipe. I try to keep to what I need, I really do. But all of a sudden, when I am in the grocery store, I need so much more than I thought.

When my kids were younger, I would forget what I had at home and buy double or triple of items that I already had. Though I am much more organized nowadays, I find that instead of multiples, I purchase lots of different things. I’ll often buy too much produce, thinking I am going to use it at some point, but I usually end up giving it away. My biggest pet peeve is running out of any particular item, so I end up with a surplus of soap, toothpaste, and paper towels.

In preparing to make this recipe, I read the ingredient list over carefully and looked at what I needed to purchase.  The list wasn’t long, but somehow, I came home with three bags of groceries. Some things don’t ever change, do they?

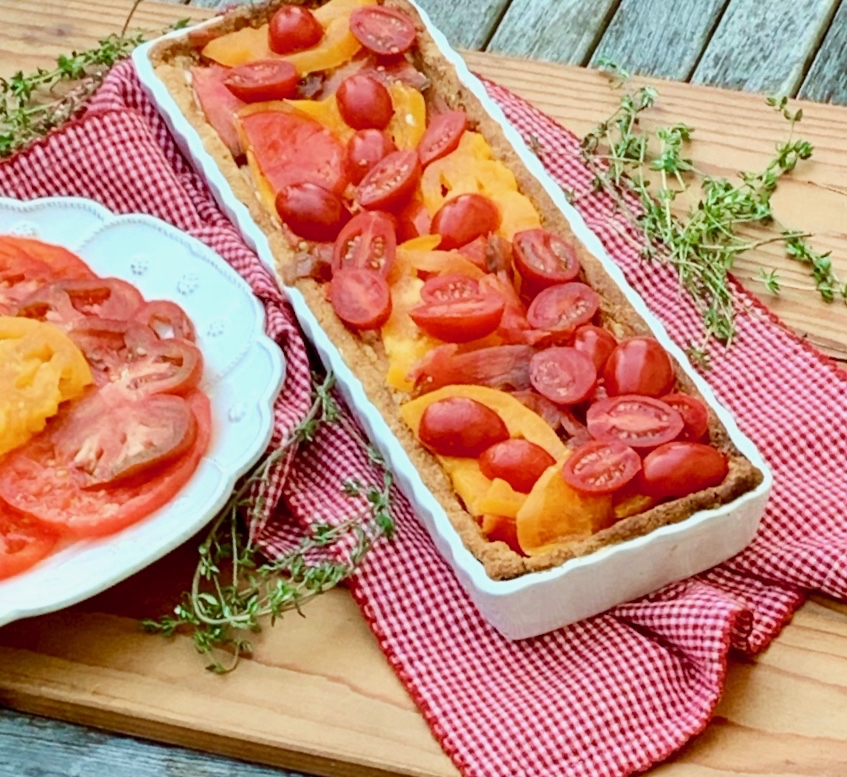
This recipe won the authors a blue ribbon at their local market and I can see why–this is one of the best tomato tarts I have had the pleasure of tasting. The tart shell is made with Parmesan cheese (yes you heard that correctly), that magically bakes into a beautiful golden crust. The combination of the goat cheese and the basil make it savory, while the heirloom tomatoes give it a very professional look.

This recipe is courtesy of Let’s Stay In and will serve 6 people who will come for the gorgeous presentation and stay for the savory flavor.

Ingredients for Blue Ribbon Tomato Tart:

For the Parmesan Crust:

1 cup all-purpose flour
1 teaspoon sea salt
1 cup finely grated Parmesan cheese
1/2 cup cold unsalted butter, cut into 1/2-inch pieces
4- 5 tablespoons ice water
2 cups granulated sugar

For the Creamy Basil Goat Cheese:

8 ounces goat cheese, at room temperature
1/3 cup heavy whipping cream
1/2 cup fresh basil leaves
Sea salt

To Assemble:

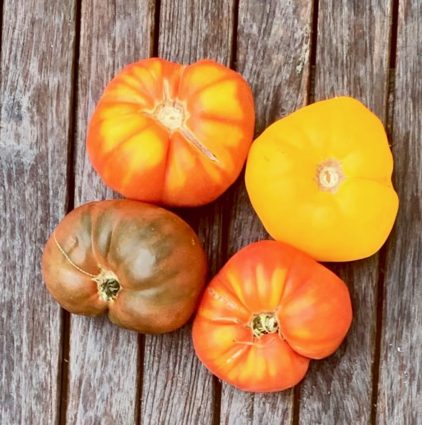
4 medium size heirloom tomatoes
1-pint cherry tomatoes
Vanilla salt
Preheat oven to 400 degrees F.

Make the Parmesan crust:

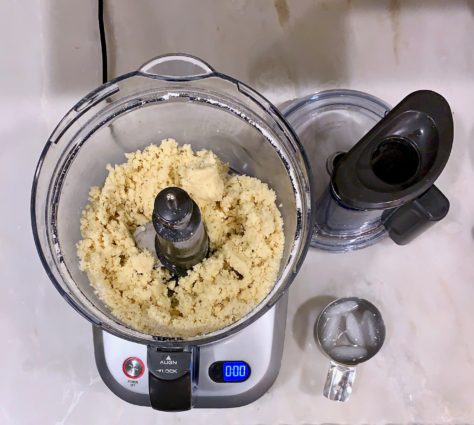
Place the flour, sea salt, and Parmesan in a food processor.

Pulse a few times to combine.

Add the butter to the processor and pulse until the mixture is mostly fine crumbs and scattered pea-sized pieces of butter remaining.

Add a few tablespoons of the ice water; then pulse again.

Continue to add more ice water until the dough just holds together when you squeeze.

Take care here not to add too much water; it shouldn’t be sticky or completely come together in the food processor.
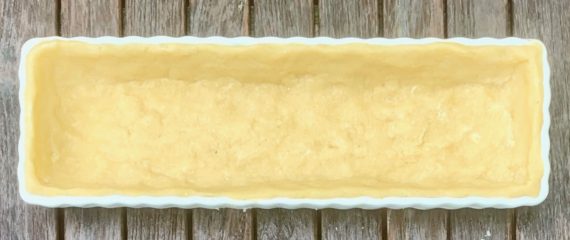
Place the dough in a 9 to 10-inch tart pan, then press it in firmly to cover the bottom and up the sides.
Lay a piece of parchment paper over the dough, and cover the sides.
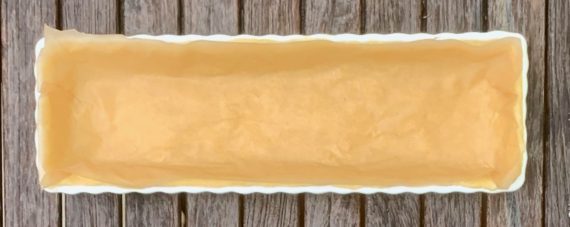
Pour in the sugar.

Gently press the sugar into all the edges, then bake for 10 to 15 minutes, or until the edges start to shift in color.
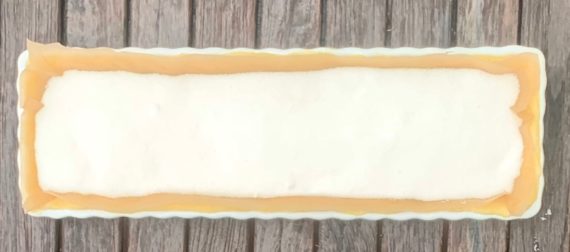
Carefully remove the parchment paper with the sugar (save the deliciously toasted sugar!), then return the tart to the oven to bake until golden throughout, another 10 to 15 minutes.

Remove from the oven and let the tart shell cool completely.

Prepare the goat cheese filling while the tart cools.

Place the goat cheese and cream in a large bowl and stir well to combine.

Mince the basil leaves finely, then stir in along with a pinch of salt.
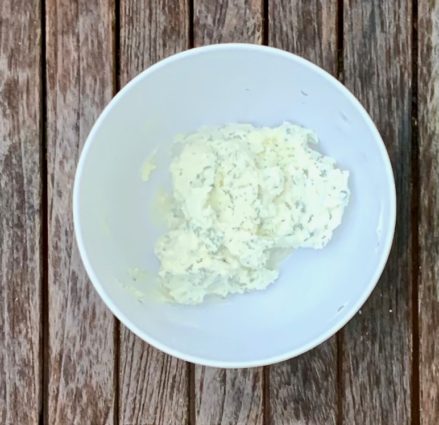
Add the goat cheese filling to the cooled tart shell.
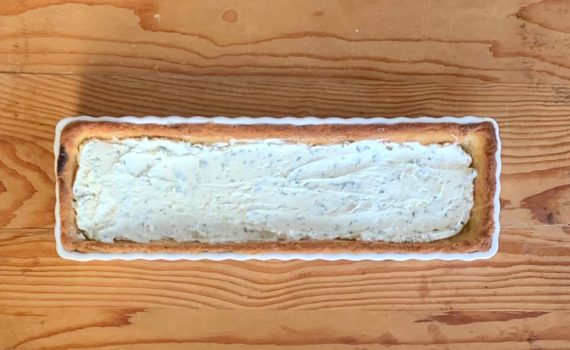
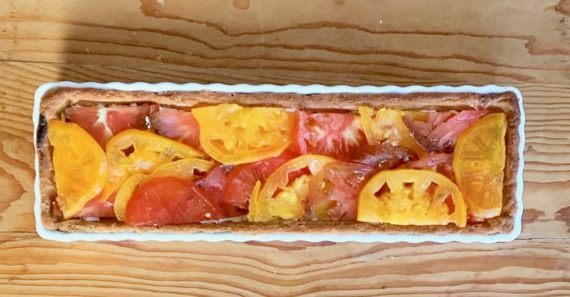
Thinly slice the heirloom tomatoes and place them on the goat cheese.
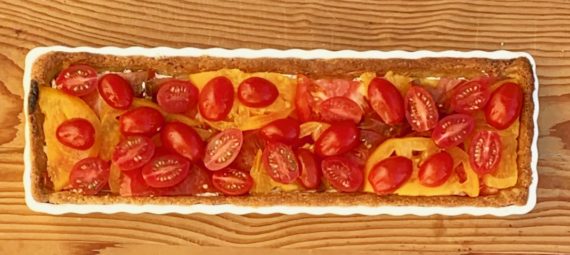
Halve the cherry tomatoes and place them on the tomatoes.
It’s that simple!
signature

[recaptcha]


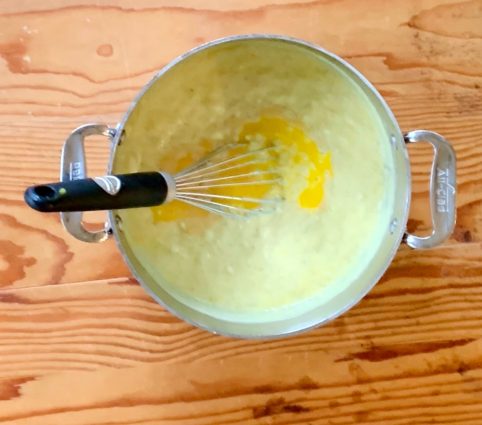
Every year on Thanksgiving, my sister invariably brings her rice pudding for dessert.  My husband is a huge fan of it; I am not. Even so, I wanted to try my hand at it. While I could have asked my sister for her recipe, the preparation of this one intrigued me. This particular recipe includes eggs (I love anything that is prepared with eggs), so I was ready to enjoy cooking and eating this rice pudding.

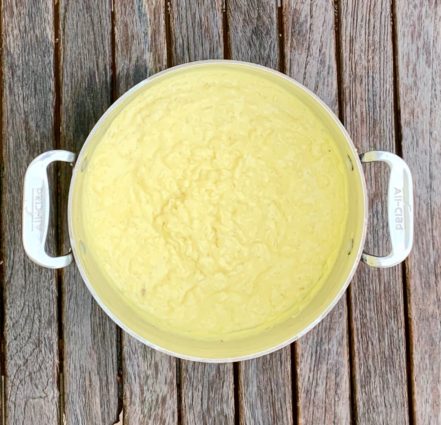
Making perfect rice is surprisingly difficult.  It requires exact measurements of liquids– the cream and milk, in this case.  As it turns out, my concerns were unnecessary because the rice turned out exquisitely. It was beautifully creamy, with a bold, rich vanilla flavor.  I used two vanilla beans instead of one to amp up the flavor.

Although optional, the addition of egg yolks was the most essential part of this recipe. They add even more luxurious texture, taste, and turn the pudding a deep golden color that makes you want to dive right in. I used pineapple for an irresistible sweetness, but feel free to add a different fruit or several kinds for an even more complex taste. 

This recipe is courtesy of Tartine All Day and will serve 8 to 10 people who will be blown away by a new take on a classic favorite.

Ingredients for Rice Pudding:

3/4 cup Arborio Rice
2/3 cup plus 3 cups whole milk
1 vanilla bean
1/4 cup sugar
1/4 teaspoon sea salt
6 large egg yolks (optional)
1 1/2 cups mixed chopped fruit

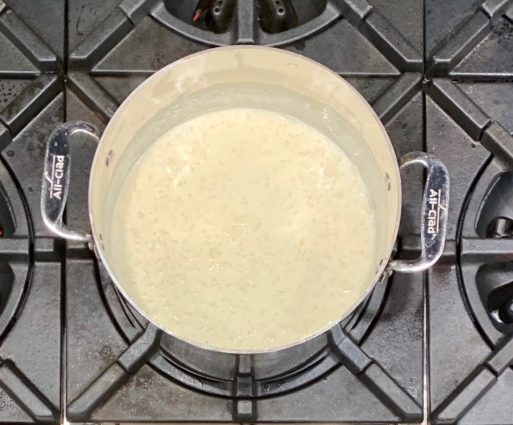
Combine the rice, cream, and milk in a saucepan.

Cut the vanilla bean in half lengthwise and, using the dull edge of your knife, scrape all the tiny black seeds into the pot.

Add the scraped vanilla pod.

Bring to a simmer over medium heat and cook until the rice is very soft and looks like it is almost bursting, about 25 minutes.

Add the sugar and salt to the rice mixture; stir to incorporate.

Remove the pot from the heat.

Whisk the egg yolks in a small bowl.

Stirring continuously, add a small ladleful of yolks to the hot rice pudding.

Once combined, stir the rest of the yolks into the pudding, mixing well to incorporate.

Cook over medium heat for two minutes, stirring continuously to prevent the yolks from curdling.

Transfer the rice pudding to a serving bowl and let cool to room temperature.

Place in the refrigerator to chill until completely cold.

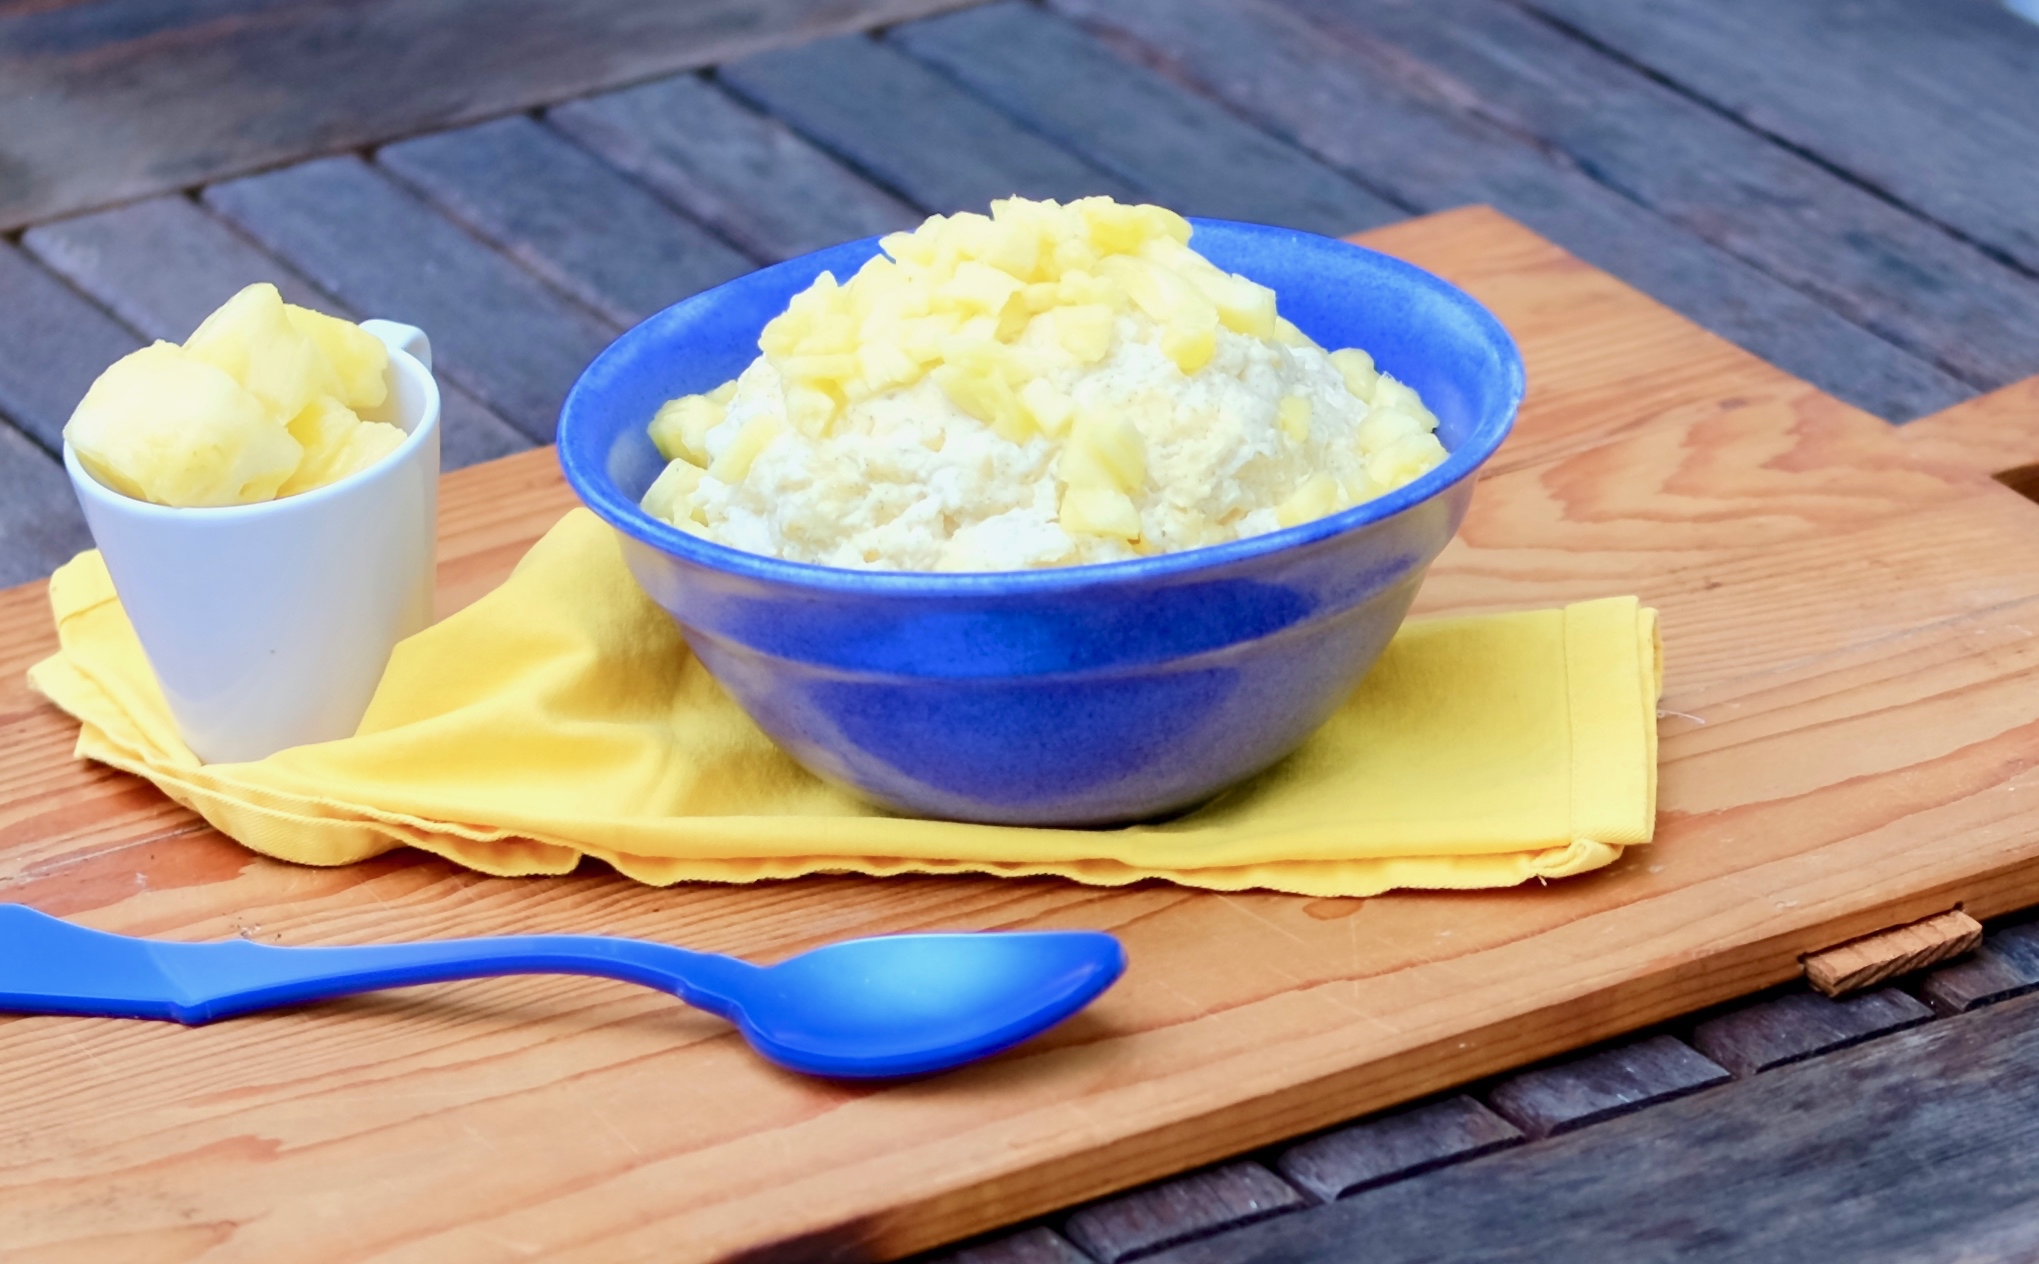
Serve chilled with a spoonful of fruit on top.

It’s that simple! 

signature

[recaptcha]


As you know, I love to read cookbooks from cover to cover. This all started when I met my friend Beth. I am pretty sure before I met her I owned one, maybe two cookbooks and mostly relied on my mother’s guidance to cook. For this reason, I did not have a huge repertoire of recipes and I pretty much made the same things all the time.

As Beth and I became close friends I noticed all of her cookbooks, she had quite the collection herself, the biggest I had ever seen! When I asked her about them, she said that she reads cookbooks. Being an avid reader myself, it just had never occurred to me to read a cookbook the way I would read a book. She told me has had always loved reading them. You must be a great cook, then, I said, and she laughed.

One Thanksgiving, when Beth was having family and some friends over, she called me frantically an hour before she was going to serve dinner. Apparently, her turkey had not fully cooked and was in fact, rare, although it had been in the oven for a couple of hours. She blamed herself for not being a good enough cook and I calmly explained that there must be something wrong with her oven. I was right, but she never fully recovered from the experience and did not cook for crowds much after that.

That really is how I began my adventures into cooking. While Beth is a good cook, but she doesn’t really enjoy it the way I do. I do benefit from all her knowledge. If I have a question about what substitutes to use, she knows the answer. I am thankful she is always one phone call away because truthfully, she knows so much more about cooking than I do. 

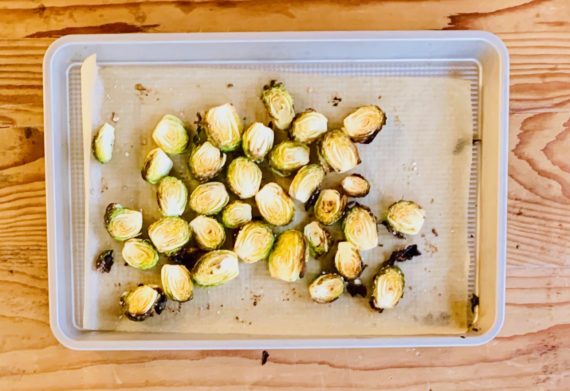
This is one recipe you do not have to have fine culinary skills to ace. I chose to prepare it because of its unusual ingredients. There are many ingredients that the author uses that I do not have access to. For example, he uses black garlic in this dish, but I couldn’t find any. Nevertheless, these Brussels sprouts are amazingly tasty! The caraway and pumpkin seeds contrast swimmingly with the tang of the lemon. The tahini sauce is the star of this dish as it adds depth to its flavor and richness to its texture.

This recipe is courtesy of Simple by Ottolenghi and will serve 4-6 people who will be amazed by the variety of flavor this side has to offer.

Ingredients for Brussels Sprouts with Browned Butter and Garlic:

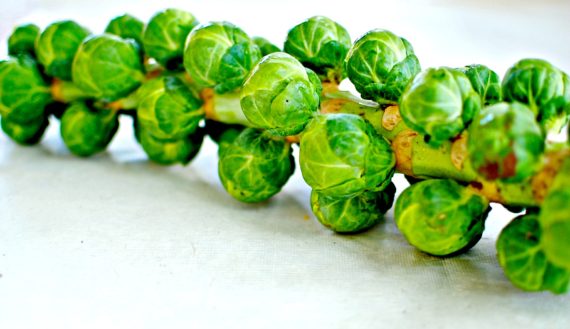
1 pound Brussels Sprouts, trimmed and cut in half lengthwise
1 tablespoon olive oil
Salt
3/4 teaspoon caraway seeds
3/4 ounce black garlic, roughly chopped (I used regular)
2 tablespoons thyme leaves
2 tablespoons unsalted butter
3 tablespoons pumpkin seeds, toasted
1 1/2 teaspoon lemon juice
1 tablespoon tahini

Preheat the oven to 450°F.

Mix the Brussels sprouts with the oil and 1/4 teaspoon of salt.

Spread out on a parchment-lined baking sheet. Roast for 10 minutes until the sprouts are golden brown but still crunchy. (This took longer than 10 minutes for me, more like 15-18.)

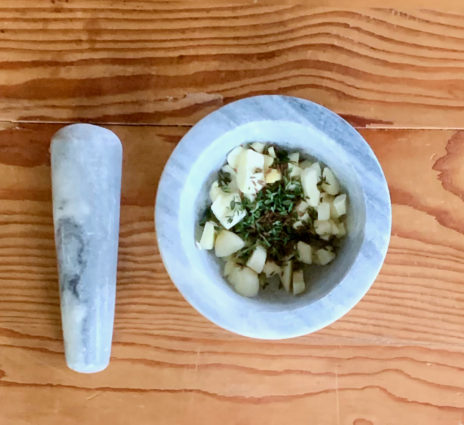
Meanwhile, lightly crush the caraway seeds with a pestle and mortar. 

Add the garlic and thyme and crush them to form a rough paste.

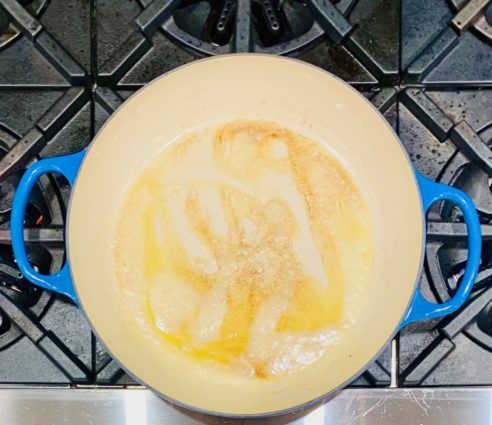
Put the butter into a large sauté pan and place over medium-high heat.

Cook for 3 minutes, until melted and dark brown.

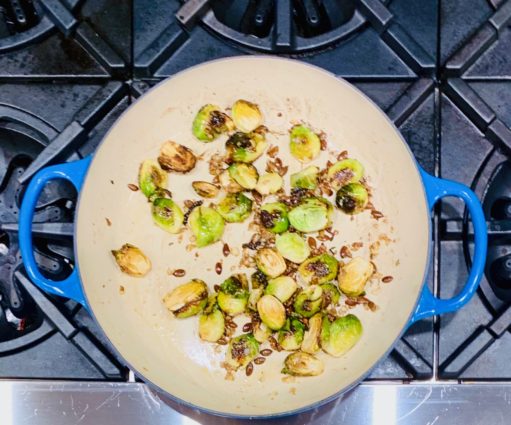
Add the crushed garlic paste, sprouts, pumpkin seeds, and 1/8 teaspoon of salt.

Stir for 30 seconds, then remove from the heat.

Stir in the lemon juice and transfer to a bowl or individual plates.

Drizzle with the tahini and serve at once.

It’s that simple!

signature

[recaptcha]


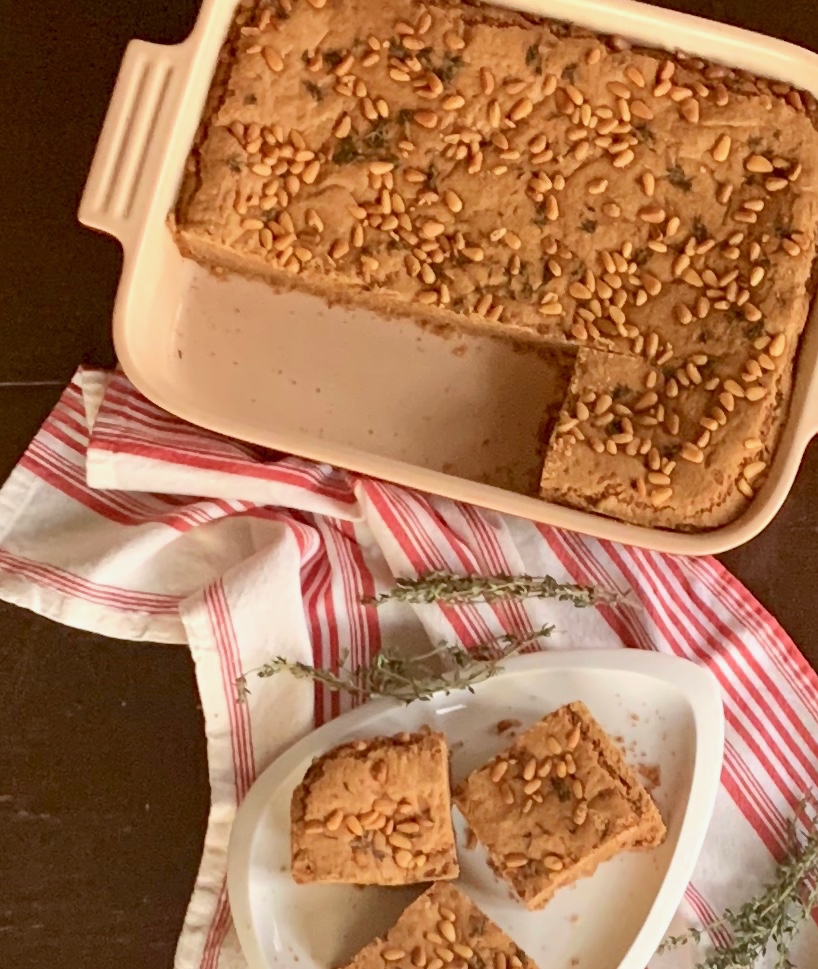
I honestly never heard of a brunette, have you? Of course, we haven’t, as the author of this recipe gave them the name herself. It is a version of a blondie, but the author and her assistant were brunettes, hence the name.

When I buy a cookbook, I read every recipe and carefully mark off the ones I would like to prepare. Since you know how many cookbooks I have, there are about a few hundred I have yet to make. This one intrigued me.  It came with a story about the author. Her name was Amy Pressman. She was all set to open up a bakery named “Short Cake” in LA when she tragically died a few months before it opened. Her assistants opened up the bakery and the bakery was well received and her “brunettes” were a hit. I felt I owed it to Amy to make them after reading that. How wonderful for her associates to still open the bakery.

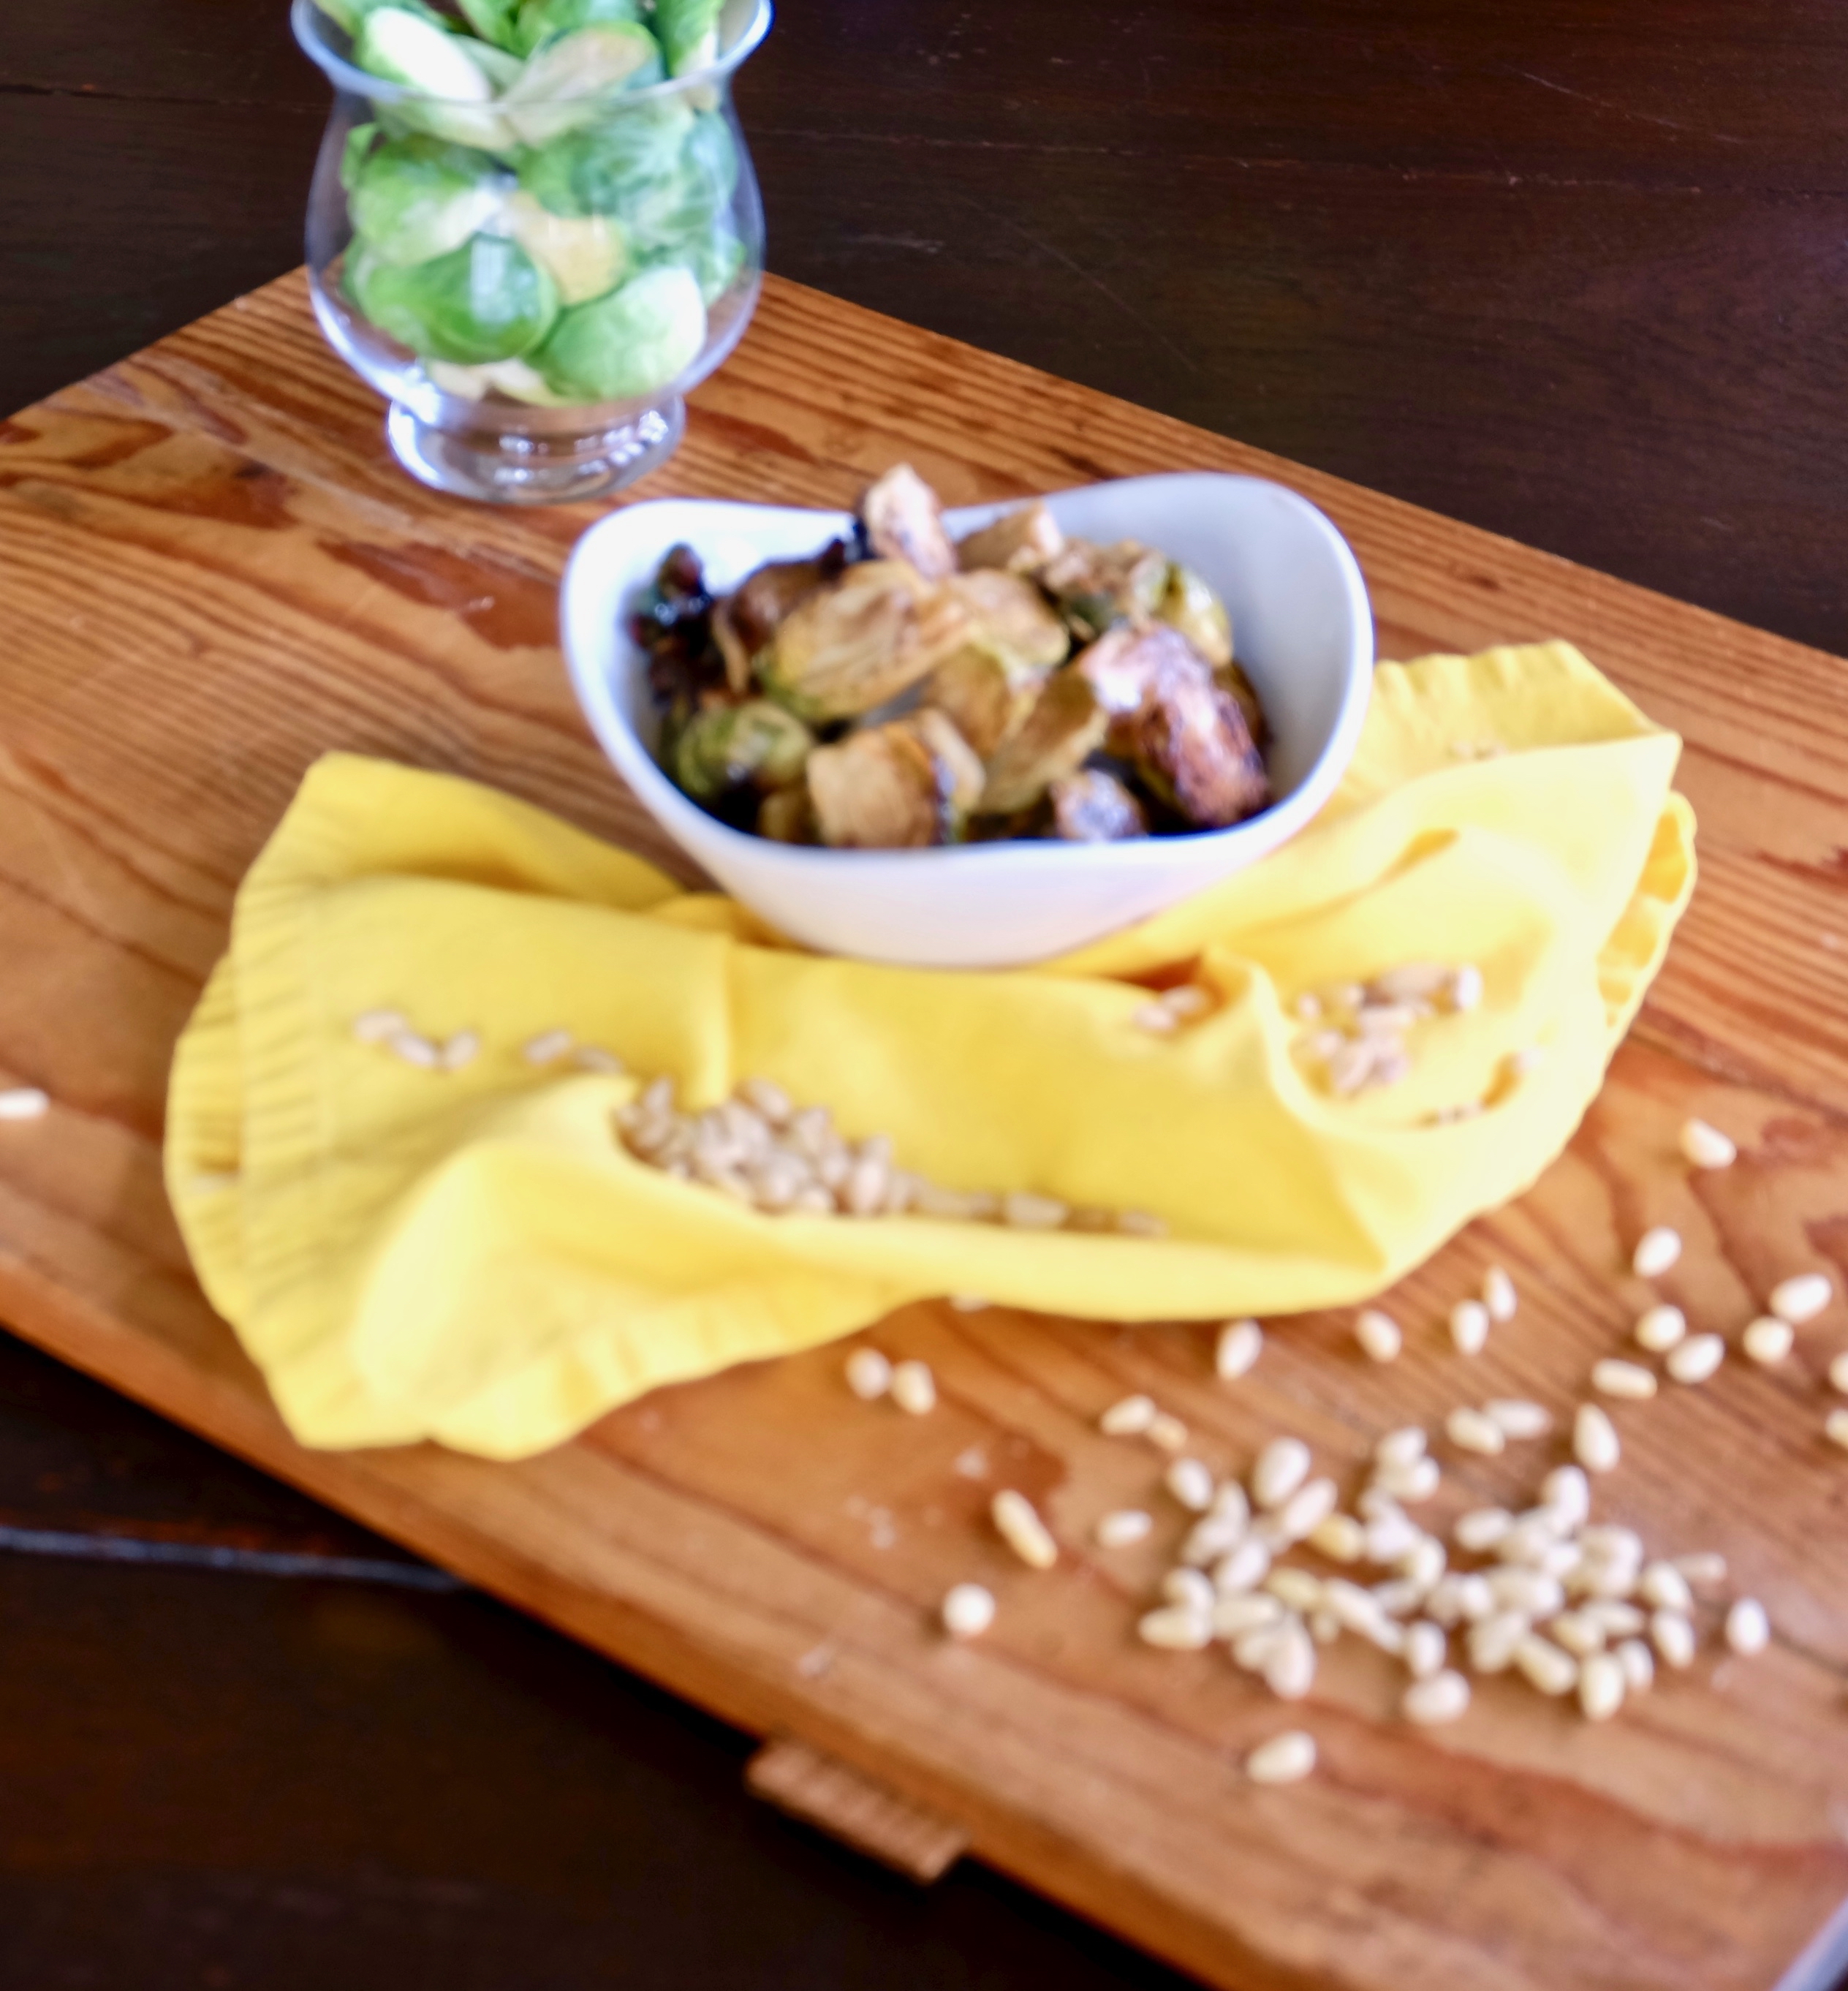
Amy borrowed this recipe from Dorie Greenspan and added the pine nuts and thyme. 

These bars are made with dark muscovado sugar, a very dark, molasses-y brown sugar. If you can’t find it, use dark sugar. These are a darker version of a blondie, though not nearly as dark as a brownie. They bake up to a beautiful golden brown. This treat is thick, almost cake-like. But don’t let that fool you. They are beautifully crusted on the outside with a brownie-textured chewy inside. I am finding it hard to describe them, they are so incredible. You enjoy one and immediately crave the next. The toasted pine nuts and thyme add in the savory, making these Brunettes perfection! 

This recipe is courtesy of Mozz at Home, and will make 24 Brunettes that will make your friends and family want more than just one. Better make two batches!

Ingredients for Amy’s Brunettes:

3 1/2 sticks of butter, cut into small cubes, plus more for greasing the pan and parchment
3 tablespoons pine nuts
3 1/2 cups unbleached all-purpose flour
3/4 teaspoon baking powder
1/2 teaspoon baking soda
1 teaspoon kosher salt
2 cups plus 2 tablespoons packed dark brown sugar
3/4 cup plus 2 tablespoons granulated sugar
1/4 cup plus 1 tablespoon dark muscovado sugar (or dark sugar)
3 extra-large eggs
1 teaspoon pure vanilla extract
1 heaping tablespoon fresh thyme leaves

Adjust an oven rack to the middle position and preheat oven to 325F.

Butter a 9 x 13-inch baking dish. Line the bottom with parchment paper, butter the parchment and set aside. (I forgot to do this and they came out easily.)

Set up a cooling rack.

Spread the pine nuts on a baking sheet and toast them in the oven for 8 to 10 minutes, until they are fragrant and golden brown, shaking the baking sheet and rotating it from front to back halfway through the cooking time so the nuts brown evenly.

Remove the pine nuts from the oven and set them aside to cool to room temperature.

Stir the flour, baking powder, baking soda, and salt together in a mixing bowl.

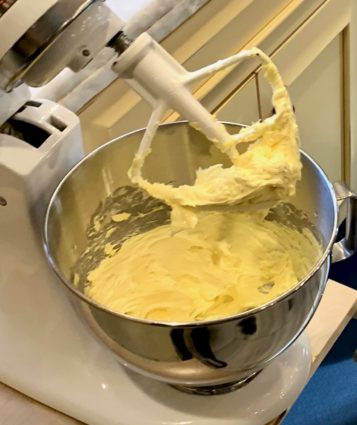
Beat the butter in the bowl of a standing mixer fitted with the paddle attachment on medium speed until it’s smooth and creamy, about 2 minutes.


Turn off the machine.

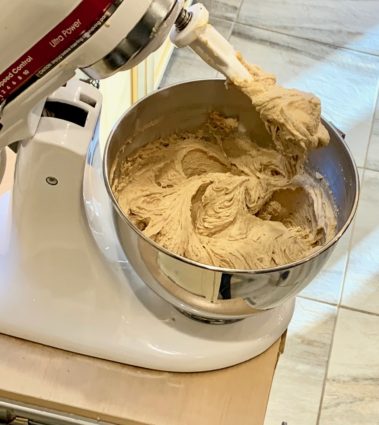
Add the brown sugar, granulated sugar and muscovado sugar and mix on medium speed until the sugars are incorporated into the butter, about 3 minutes.

Add the eggs, one by one, mixing for about 1 minute to incorporate.

Add the vanilla and mix to combine.


Reduce the mixer speed to low.

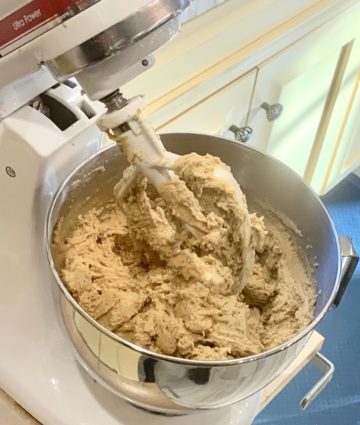
Add the dry ingredients, mixing on low speed until no flour is visible. (Add little portions of the dry ingredients at a time.)


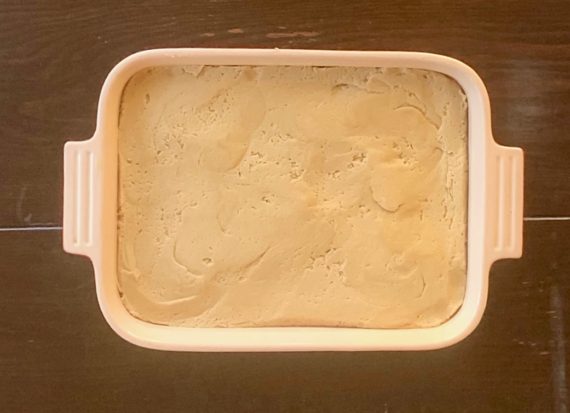
Transfer the batter to the prepared baking dish and use a rubber spatula to smooth the top. (The batter will be heavy and sticky, but will smooth out easily.)

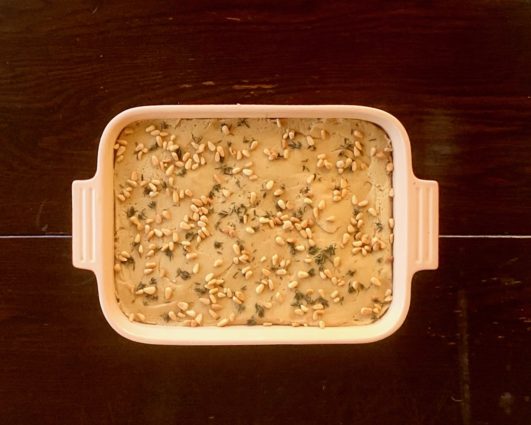
Sprinkle the pine nuts and thyme leaves over the surface.

Bake the brunettes for 1 hour and 25 minutes to 1 hour 40 minutes, until golden brown on top and the brunettes have pulled away from the sides of the pan.

Remove the pan from oven and place it on a cooling rack to cool completely.

Run a knife or offset spatula around the edges of the pan to release the brunettes from the pan.

Put a baking sheet over the brunettes and swiftly flip the baking pan and baking sheet to invert them again onto the cutting board so the decorated side is facing up.

Cut the brunettes into 24 (3 x 1 1/4-inch) bars.

Artfully stack the bars no more than two high on a cake stand, taking care not to knock off the thyme and pine nuts on top, and serve. (I obviously skipped this step!)

It’s that simple!

signature

[recaptcha]


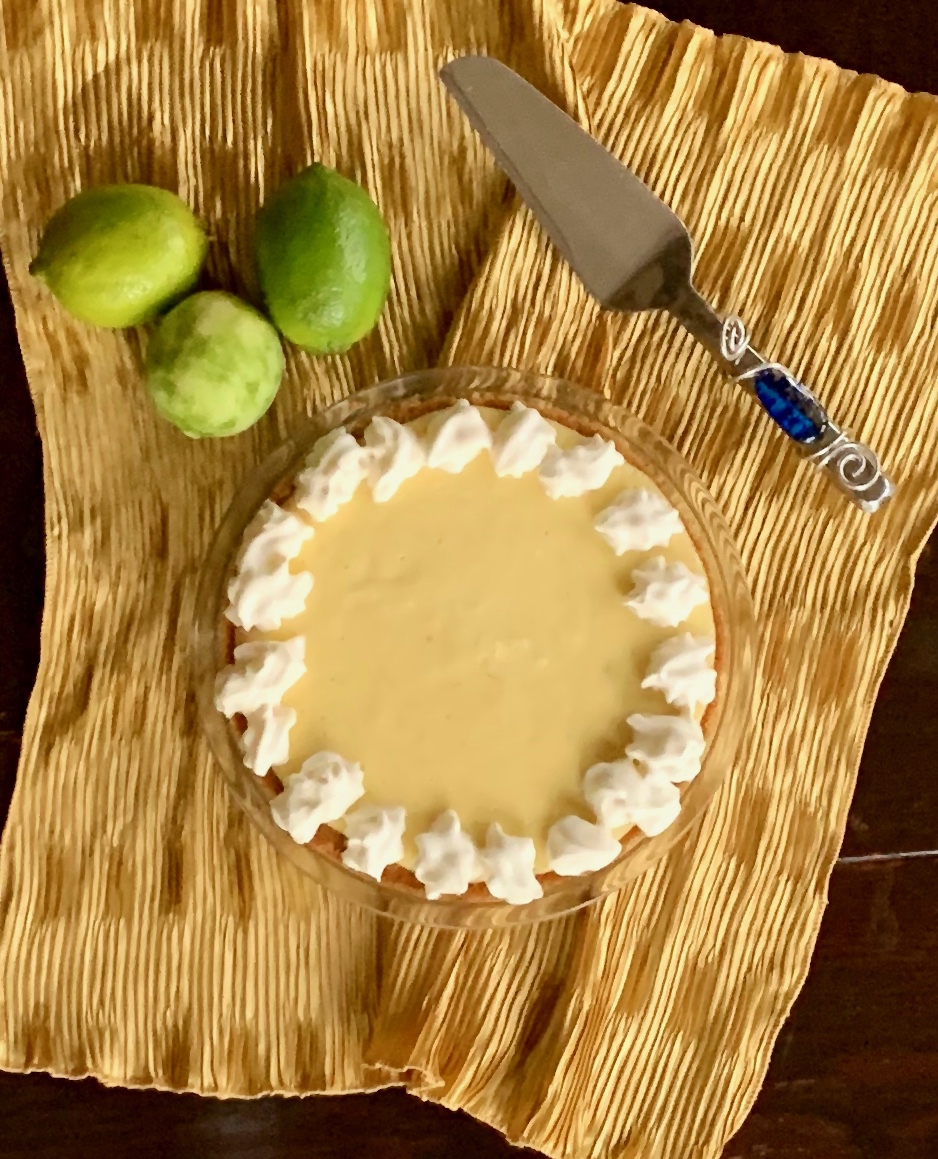
Despite my experience and all my efforts, every once in a while a recipe will not turn out so aesthetically pleasing. This was one of those times. When you take a look at the ingredients and directions, it seems so simple. As hard as it is to admit, it wasn’t the recipe, it was me.

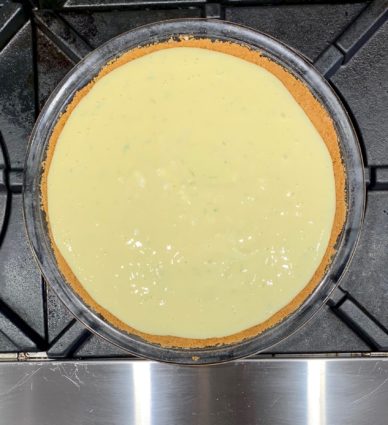
The first time I attempted to make this pie, I doubled the crust as I always do. When I made the filling, I realized I would not have enough to fill up the crust I had laid down.

It looked really bad, so I couldn’t photograph it, but it still tasted wonderful.

While we all know it’s what’s on the inside that counts, I always get a thrill out of pulling a masterpiece out of the oven. So, I made the pie a second time. I did not double the crust this time. Then I prepared the filling and once again, it did not fill up to where I thought it should be.  After it had cooled, I went to wrap the pie with saran wrap to put it in the fridge. Huge mistake. Do not do this. The saran wrap fell onto the cake and when I lifted it off, the top came off with the cake. Lesson learned: do not put saran wrap on it until it hardens in the fridge.

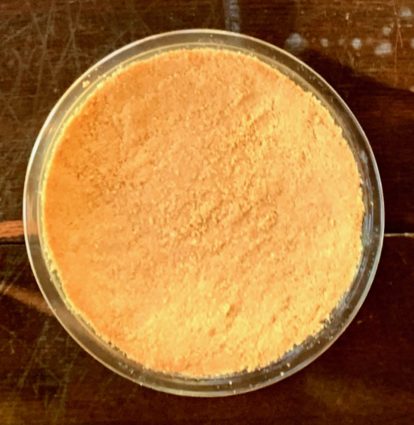
The third time was the charm. I had finally used the correct size pie plate. It was that simple a solution! This pie is simply delicious. It is tangy and not too sweet. The cream cheese gives the filling a hardy texture and makes it so smooth and creamy. The graham cracker crust is the perfect home for the delightful filling. Don’t let my mistakes prevent you from making it, if anything learn from them to make it successfully yourself!

This recipe is courtesy of Sally’s Baking Addiction and will serve 8 to 10 people who will adore this marvelous dessert.

Ingredients for Key Lime Pie:

For the Crust:

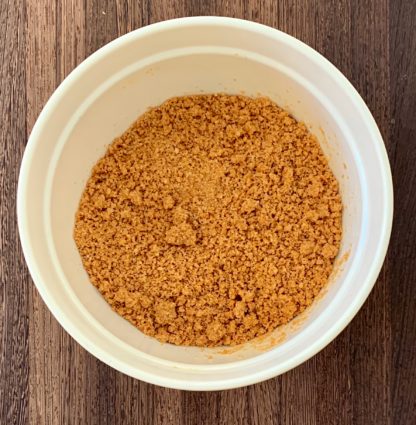
1 1/2 cups graham cracker crumbs
6 tablespoons butter, melted
1/3 cup granulated sugar

For the Filling:

4 oz. full-fat cream cheese, softened to room temperature
4 egg yolks
14-oz. can sweetened condensed milk
1/2 cup lime juice
zest of 1 lime

Adjust the oven rack to the lower third position and preheat the oven to 350°.

Spray a 9-inch pie dish with non-stick cooking spray.

Set aside.

Make the crust:

Mix the graham cracker crumbs, melted butter, and sugar together in a medium bowl until combined.

Press into the bottom of the prepared pan and only slightly up the sides.

The crust will be thick.

Bake the crust for 12 minutes as you prepare the pie filling.

Make the filling:

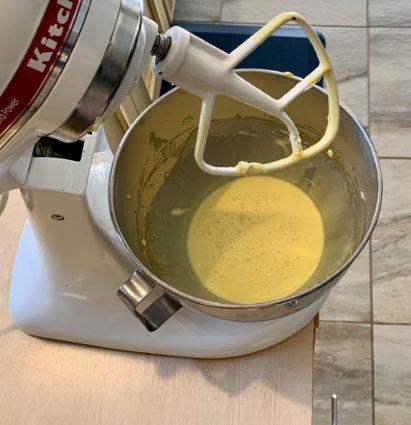
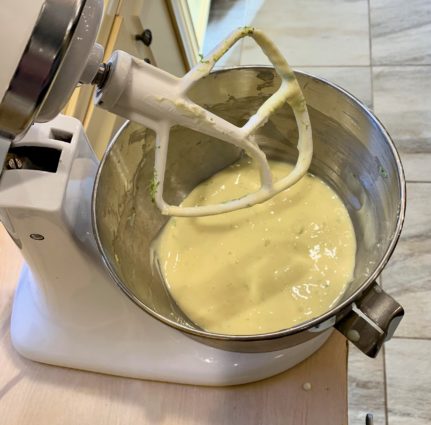
Using a hand-held mixer or a stand mixer fitted with the paddle attachment, beat the cream cheese on high speed until smooth, about 1 minute.

Beat in the egg yolks, scraping down the sides as needed.

Beat in the condensed milk, lime juice, and lime zest until combined.


Pour into the warm crust.

Bake for 16-18 minutes or until the sides are very lightly browned.

The center may slightly jiggle, which is okay.

Allow pie to cool set on a wire rack for 30 minutes. Transfer to the refrigerator and chill for at 4 hours before slicing.

Serve the pie chilled.

Cover the pie and store in the refrigerator for up to 3 days.

It’s that simple!
signature

[recaptcha]