For many, many years, I was a food blog junkie. I spent countless hours reading the blogs of several foodies, and anxiously awaiting their next post. Many of the bloggers I followed have since become famous, writing successful cookbooks. For years I dreamed of having a blog of my own, but as with all things, I hesitated because I didn’t know where to begin. I finally researched it enough to find that the first thing I had to do was pick a name and buy a website.  The entire process was so foreign to me, and I’m grateful that my niece and nephew were able to walk me through the setup process.

First, there was this thing called WordPress that I had to learn to use. My niece Simone, learned how to use it and taught me. She had the patience of a saint, I have to say. Her brother Evan would come by often to help me learn too. Teaching an old dog like me took a lot of patience, and thankfully Simone and Evan had a lot of it. I love them for that.

Since I started writing this blog, I have embarked on a new and wonderful food journey. At first, I used all my own recipes, but as they ran out I had to learn to make new recipes. My repertoire has increased enormously. This is one reason my family loves to come on Thanksgiving: they get to try all the new ones before they end up on the blog.

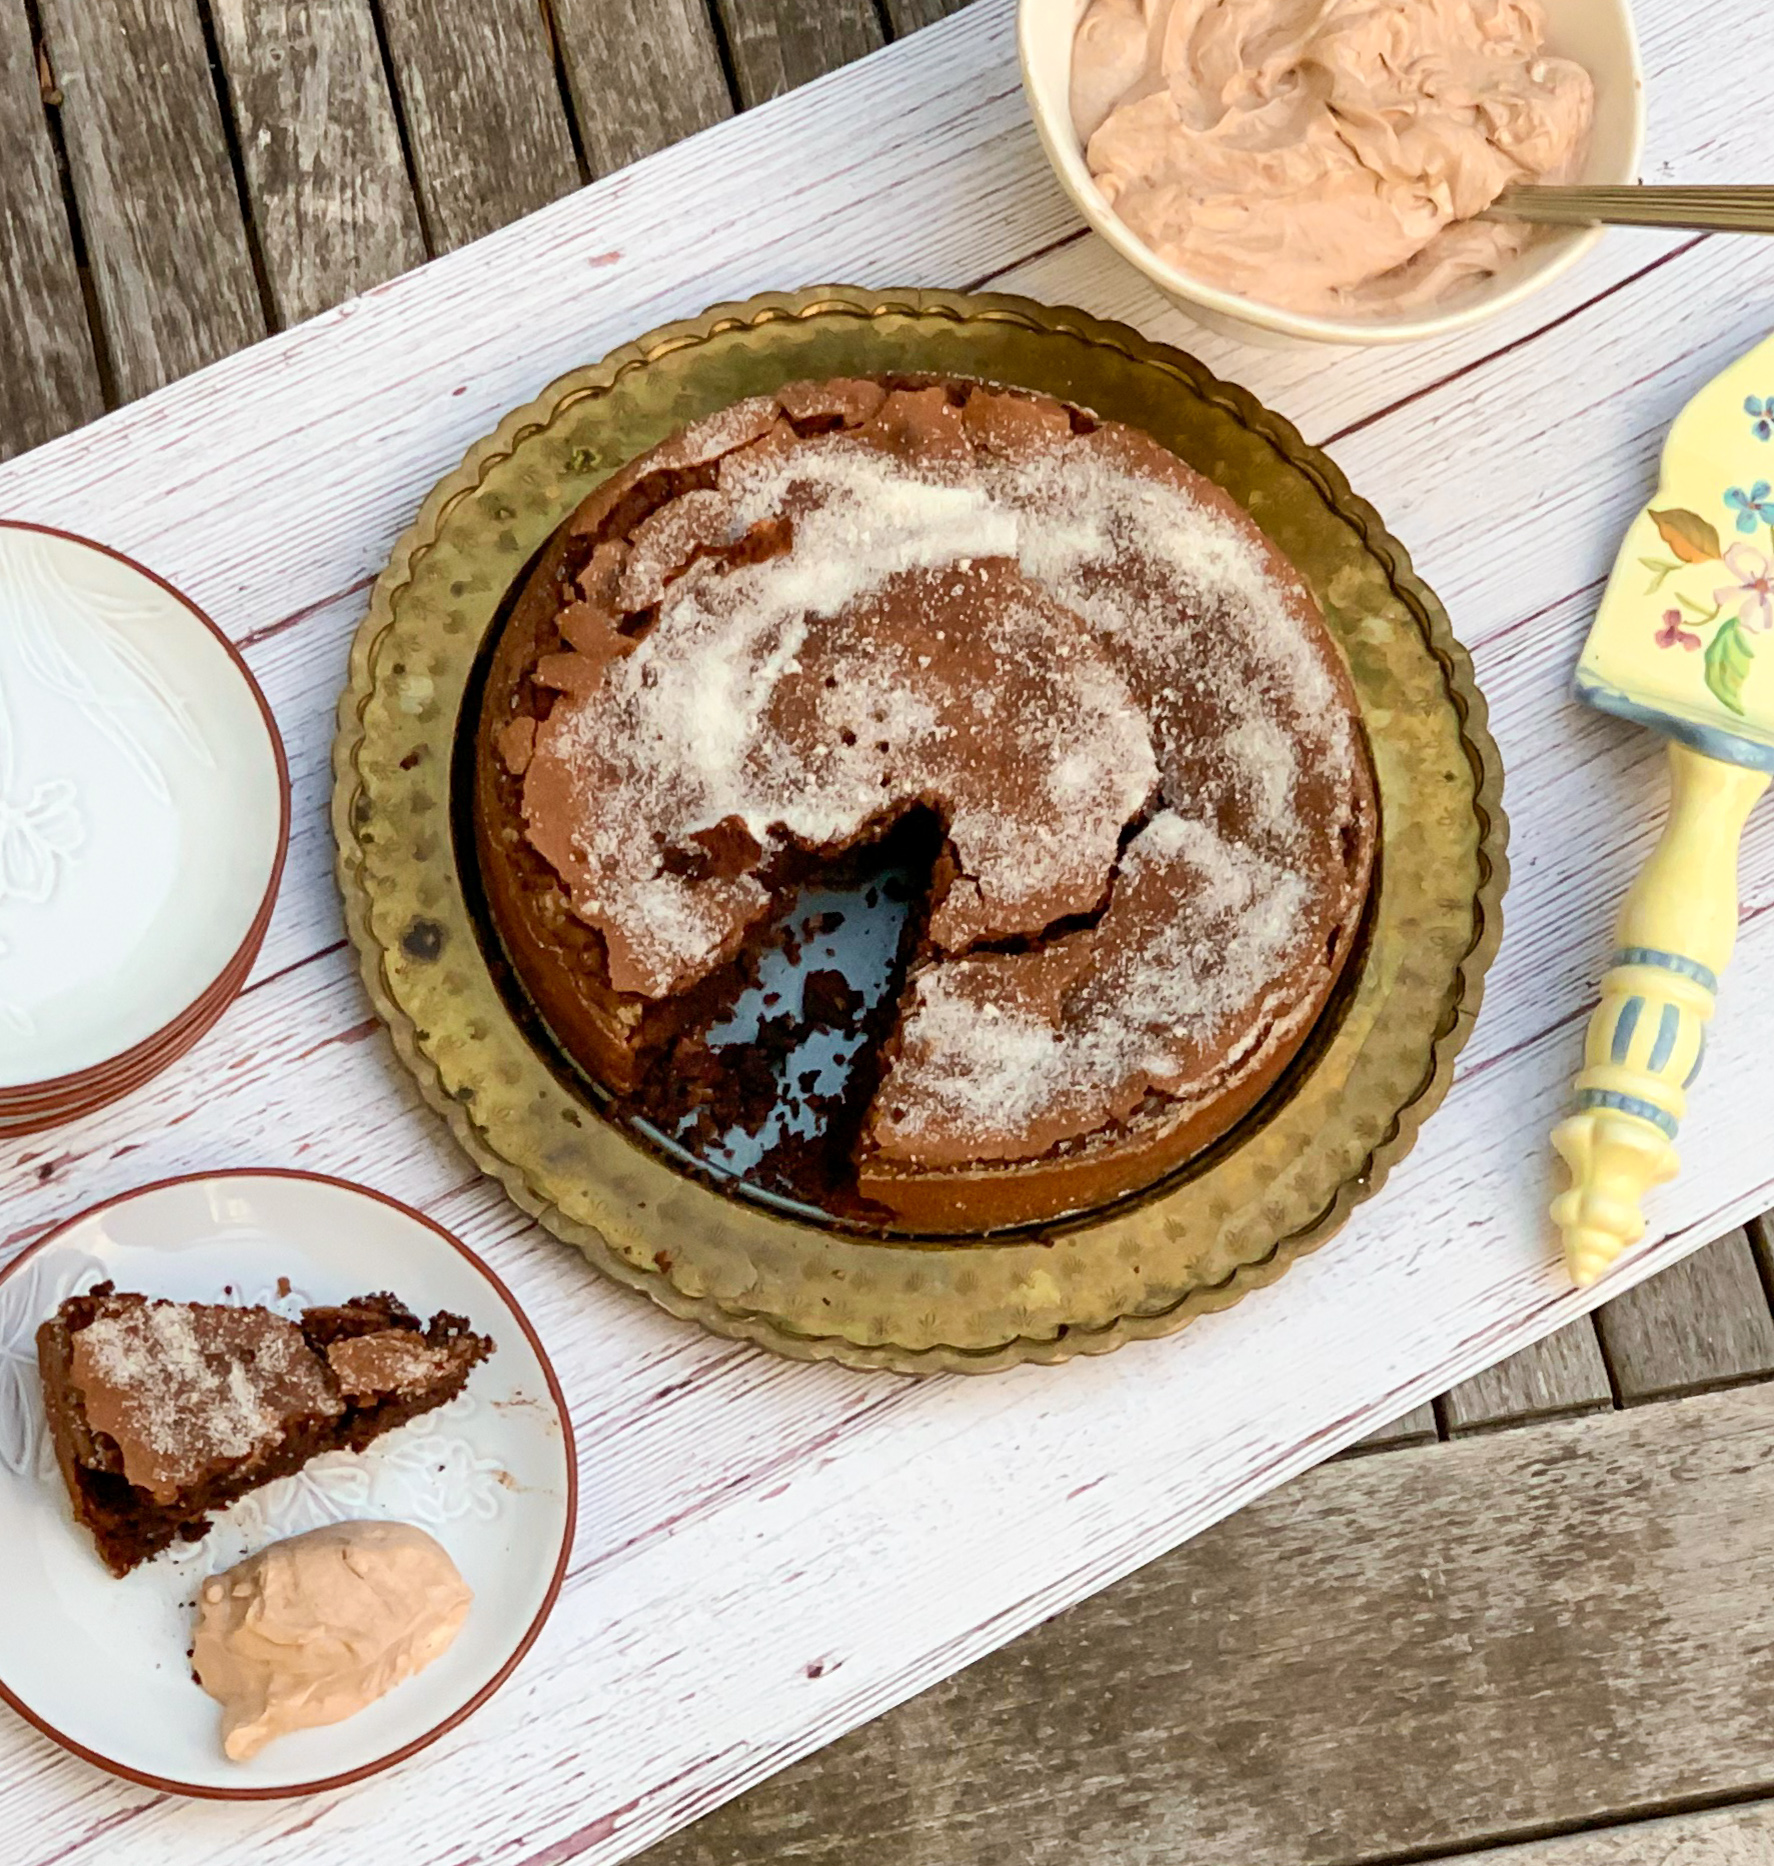
This is one that will definitely be on the menu this year. It is just that damn good. Alison Romans’ cookbook, “Nothing Fancy,” has so many good recipes in it. This one was no exception. This is a nice and chocolatey cake, so if you are a chocolate lover, you are going to eat this one up fast. The Nutella combines nicely with the chocolate, and the almond flour gives it a whole other depth of flavor. The topping is so delicious and marries well with the cake, so don’t be freaked out by the sour cream. It is not too sweet, and it is so creamy, adding even more flavorful goodness to this luxurious treat. This is a “must try.” And by the way is it also gluten-free, so even more people can enjoy it!

This recipe is courtesy of Alison Roman, and will serve 8 to 10 people who will certainly want to come back for seconds!

Ingredients for Crispy Chocolate Cake with Hazelnut & Sour Cream:

For the cake:

1/2 cup (1 stick) unsalted butter, plus more for greasing the pan
3/4 cup plus 2 tablespoons granulated sugar, plus more for the pan
8 ounces bittersweet chocolate, at least 67% cacao, finely chopped
1/2 cup Nutella, hazelnut spread, almond butter, or tahini (see Note)
6 large eggs
1/2 cup hazelnut or almond flour
2 tablespoons unsweetened cocoa powder
1 teaspoon kosher salt

For the topping/accompaniment:

1 cup heavy cream
1/4 cup confectioners’ sugar
1 pinch kosher salt
1 cup sour cream
1/4 cup Nutella
Brandied, maraschino, or Luxardo cherries (optional)

Preheat the oven to 350°F. Lightly grease a 9-inch spring form pan with softened butter or nonstick cooking spray. (You can use any 9-inch cake pan, but line it with parchment paper with some overhang so you can easily remove the finished cake.)

Sprinkle the inside with sugar and rotate the pan to coat the bottom and sides evenly; tap out excess.

Make the cake:

Combine the chocolate, Nutella, and butter in a large heatproof bowl.

Set the bowl over a small pot of simmering water and heat, stirring often, until the chocolate and butter have melted and you can stir everything together to a smooth, creamy mixture.
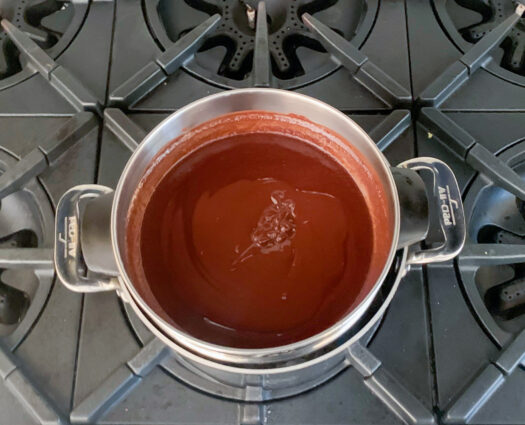
Remove from the heat and set aside. (Alternatively, microwave in 30-second increments until evenly melted.)

Separate 4 of the eggs, placing the whites in a large mixing bowl (either a bowl fitted for a stand mixer or a bowl large enough to handle a hand mixer).

Place the yolks in another large bowl and add the hazelnut flour, cocoa powder, salt, and the remaining 2 whole eggs and whisk to blend well.
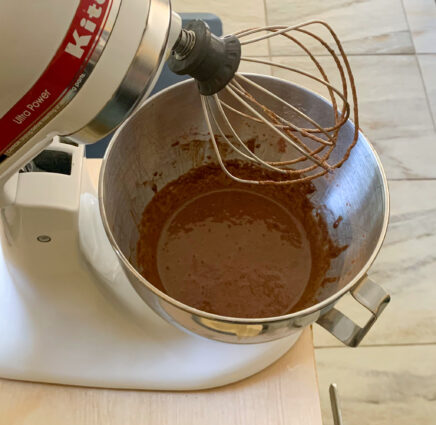
Using a spatula, gently and gradually mix the egg yolk mixture into the melted chocolate mixture (don’t use a whisk here; the batter is quite thick and will get stuck in the wires).
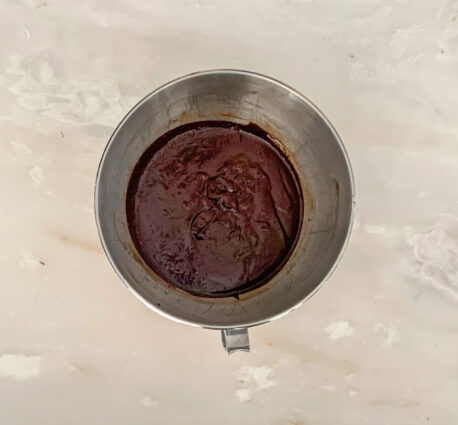
With the mixer on high, beat the egg whites.
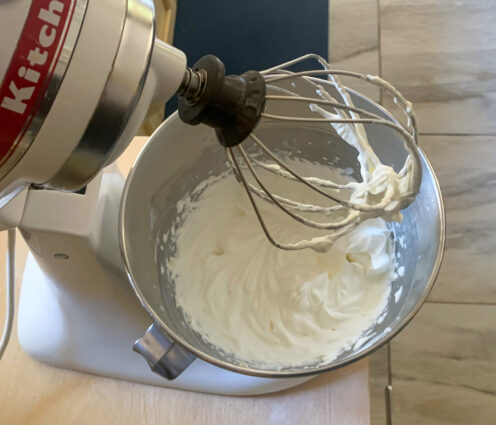
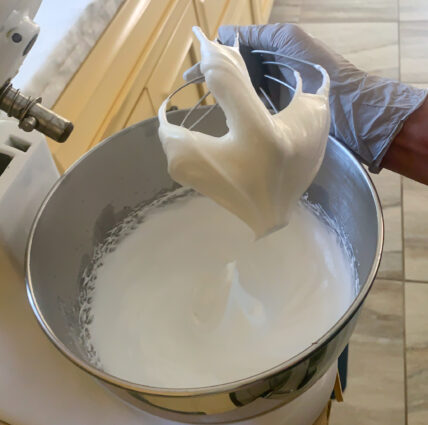
When they start to get light and foamy, gradually add ¾ cup sugar, a tablespoon or two at a time, and continue to beat until egg whites have tripled in volume and are light, fluffy, opaque, and hold stiff peaks.

They should look like a very good meringue that you could frost a cake with (that’s not what you’ll be doing, but just saying).
Using a spatula, gently fold the egg whites into the chocolate mixture until just combined and no obvious white streaks remain (this will look cool—maybe take a picture!); avoid overmixing (that would deflate all that air you worked so hard to build into those egg whites).
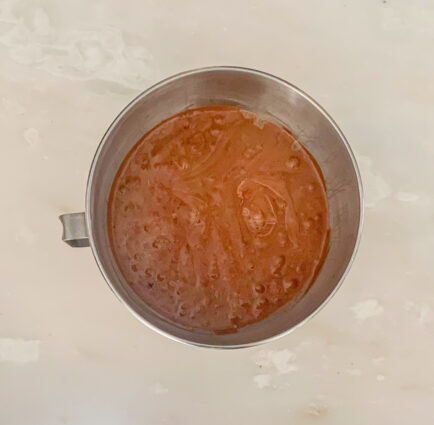
Pour the batter into the prepared pan and smooth the top.

Sprinkle with the remaining 2 tablespoons granulated sugar.
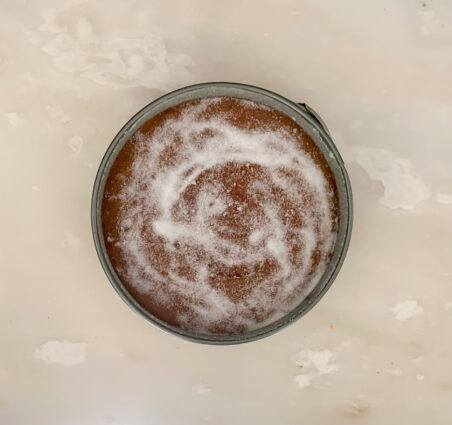
Bake until the edges begin to pull away from the sides of the pan and the top looks puffed and lightly cracked, like a soufflé (it should still have a little jiggle), 35 to 40 minutes.

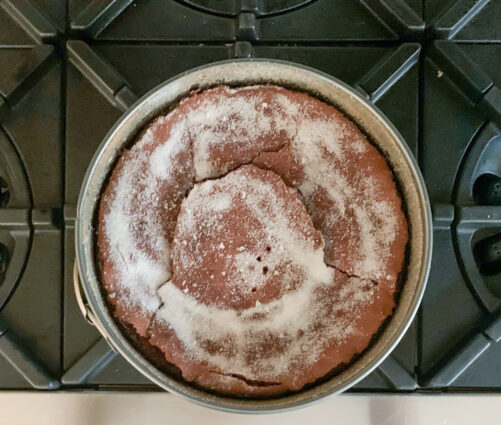
Let cool completely (if you have a wire rack, use it). During this time, something seemingly tragic will happen—the center of the cake will collapse, causing further cracking around the edges. This is the intended effect, so don’t worry—it’s where those crispy edges come from, the reason we are all here.
Prepare the topping/accompaniment:

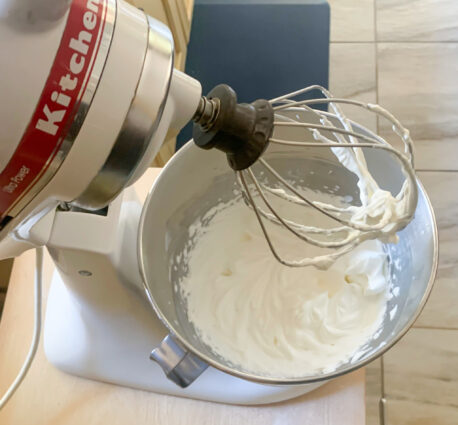
Using an electric mixer (or a good old-fashioned whisk and elbow grease), whip the cream, confectioners’ sugar, and salt in a medium bowl until you’ve got medium-stiff peaks, then whisk in the sour cream.
For a streaky effect, fold in the Nutella using a spatula or if, you know, who cares, just whisk it in.
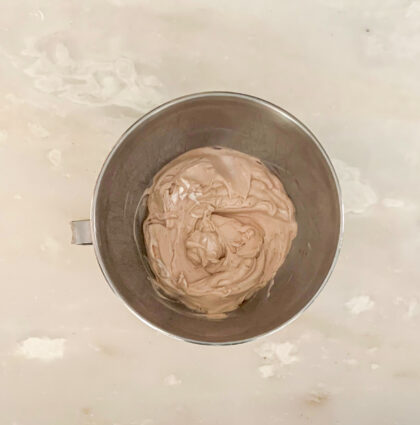
Use this mixture to top the cake, but I prefer to eat it on the side (so as to not ruin the cake’s crispy texture) with some delicious cherries for snacking on in between bites.

 Do Ahead: You can bake this cake up to 2 days ahead, wrap it tightly, and store at room temperature.

Author’s Note: Using an unsweetened spread like almond butter or tahini will give you a slightly less sweet version of this cake, which for my taste, is still perfectly sweet enough.

It’s that simple! And delicious!


signature

[recaptcha]


The first time I wrote a blog post, I was terrified to press the publish button. I knew so little at the beginning, that I believed it would go live, typos and all. I didn’t know that you could “schedule” the post to go up at a certain time, so I had woken up really early to get it out there so everyone would see it on Facebook in the morning. I was not certain that I wanted to become so public, but after one year of posting, I began to let people know more about me. Now I truly enjoy writing these posts, and I get so much joy knowing that many of you follow me. 

I used all my own recipes at first, but they quickly ran out. I began to research recipes, promising to post two times a week. I found that I was good at choosing approachable recipes from professional chefs, celebrity personalities, and bloggers. I also still find time to make my own recipes now and then, and of course, they are the ones I am most proud of.

Recently, my family told me how much they missed me making my old recipes, because I began to serve them new dinners that I had researched and made for them. You know–those recipes you always turned to when you just had to get dinner on the table. Like my roasted chicken, grilled steak, and Cornish hen recipes. They wanted them back. Those “standby” recipes are very special to them, and I had let them slip in favor of newer recipes. Nowadays, I sometimes end up making two dinners. My husband’s office staff are happy about that.

While this recipe is not mine, I know it will become a staple in my house.  When I saw this recipe, I knew it was perfect for the blog. Not only does this cake make a beautiful presentation, but it is so moist, decadent, and best of all, easy to make. The batter is whisked together by hand, giving it a rustic, hands-on feel. The buttermilk and oil gives it a creamy texture. The batter buckles around the raspberries, so every bite has bursts of delicious fresh raspberry flavor. You must use the honey, it added even more sweet goodness that completes this delightful dessert.

This recipe is courtesy of Nothing Fancy, by Alison Roman, and will serve 8 to 10 people who will appreciate you trying a new recipe.

Ingredients for Crushed Blackberry and Cornmeal Cake:

1/2 cup (1 stick) unsalted butter, melted, plus softened butter for greasing the pan and for serving (optional)
2 pints fresh raspberries or blueberries, or blackberries 
1/3 cup plus 2 tablespoons granulated sugar
1 cup all-purpose flour 
3/4 cup medium-grind yellow cornmeal 
2 teaspoons baking powder 
1/4 cup light brown sugar 
1 teaspoon kosher salt 
2 large eggs 
1/2 cup buttermilk 
1/4 cup canola oil
Good quality honey (optional)

Preheat the oven to 350 degrees.

Lightly grease a 9-inch round cake pan with softened butter or nonstick cooking spray.

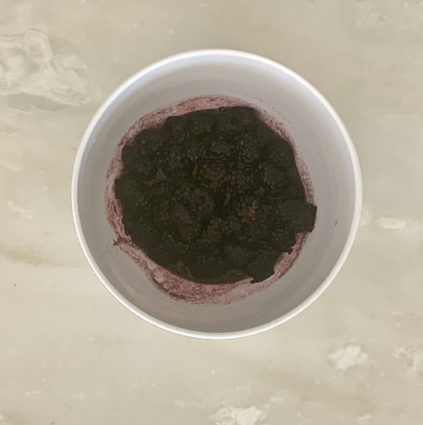
Put the berries and the 2 tablespoons of granulated sugar in a medium bowl.

Use your hands or a fork to crush the berries to break them up a little and release their juices.

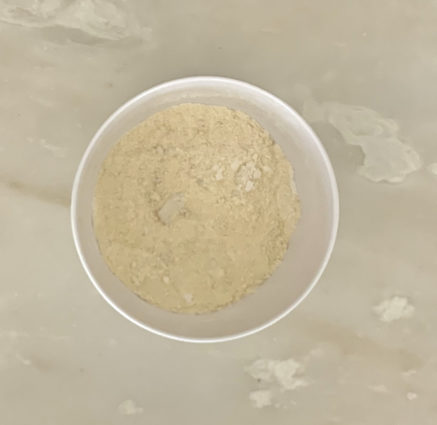
Whisk the flour, polenta, baking powder, brown sugar, salt, and the remaining 1/3 cup of sugar in a medium bowl.

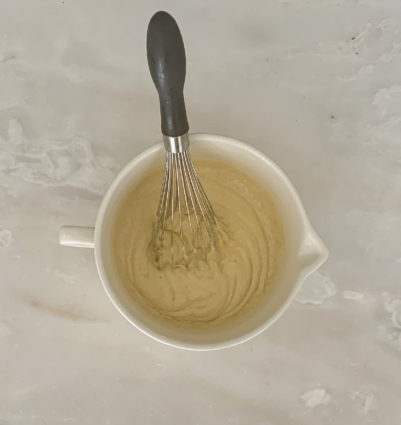
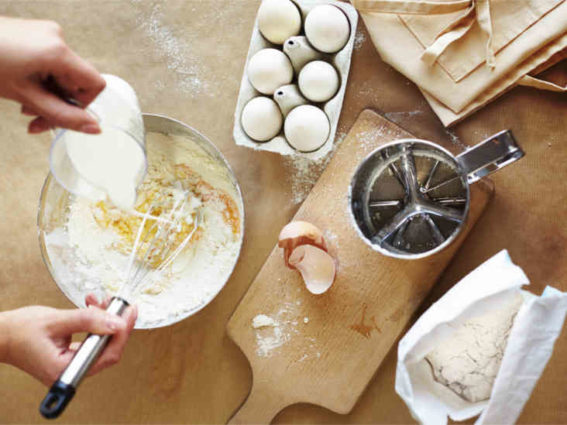
Whisk the eggs and buttermilk together in another medium bowl or measuring cup.

Whisk into the dry ingredients until just combined, then add the melted butter and the oil, whisking until no lumps or dry spots remain.

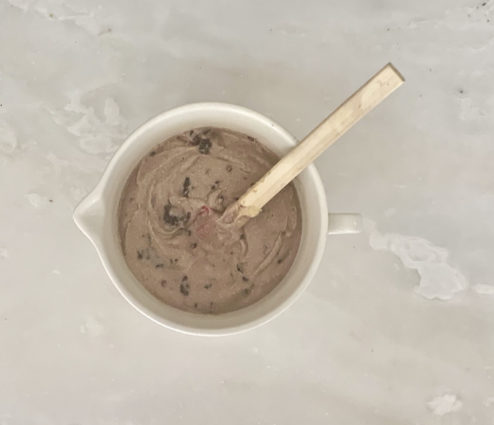
Add half the crushed berries and gently fold, encouraging the juices to streak.

Pour the batter into the cake tin and scatter the top with the remaining berries and their juices.
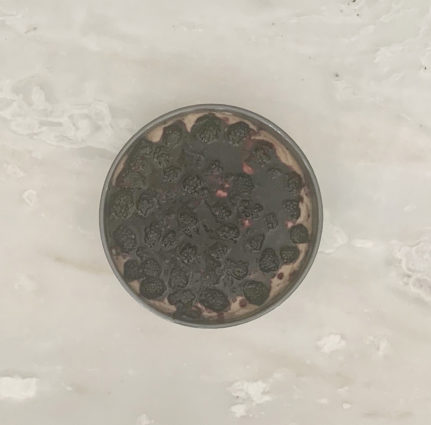
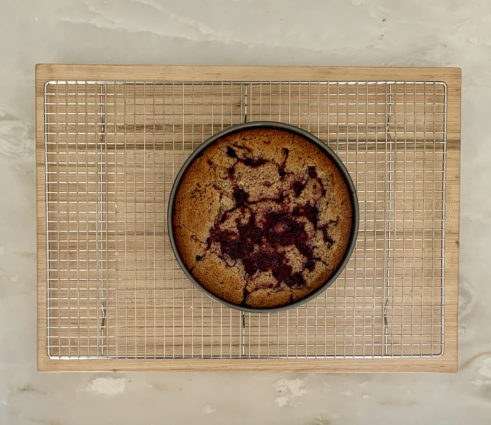
Bake for 45-50 minutes or until the edge of the cake starts to pull away from the side of the tin and is turning a deep golden brown – cover with foil if it’s getting too dark in the oven.

Let the cake cool slightly before eating with some honey and softened butter, if you like.

It’s that simple!

signature

[recaptcha]


I love to read cookbooks. When I receive a new cookbook, I read it cover to cover. I have accumulated quite the library through the years (and I mean it is a library). I love to see all the beautiful photography and admire the creativity of both the chefs and food photographers. I mark the recipes I would like to make (there must be hundreds by now!) and star the more important ones.

In addition to all the books I read, I also have subscriptions to the more popular food magazines. Most of my summer reading is getting through all those magazines. I tear out the recipes I want to make and keep those in a basket in my library so I can easily find my favorites. 

Though I have my favorite magazines and books, I am not a recipe snob. As any home cook does, I have my favorite chefs but I will try any recipe no matter its origin. As you all know, some of the best recipes have come from the back of a cereal box or from a box of pasta–the original Tollhouse cookie recipe is a true classic.

But those are also not the only way I find recipes. Sometimes even Real Simple or Better Homes and Gardens has a gem in there somewhere. Some of those recipes are sent in by their readers and who knows, maybe they just have the best omelets around. If a recipe looks good on paper, you can be sure I’ll give it a go. If I test it out and it is good, you can be sure that I will pass it on to you.  

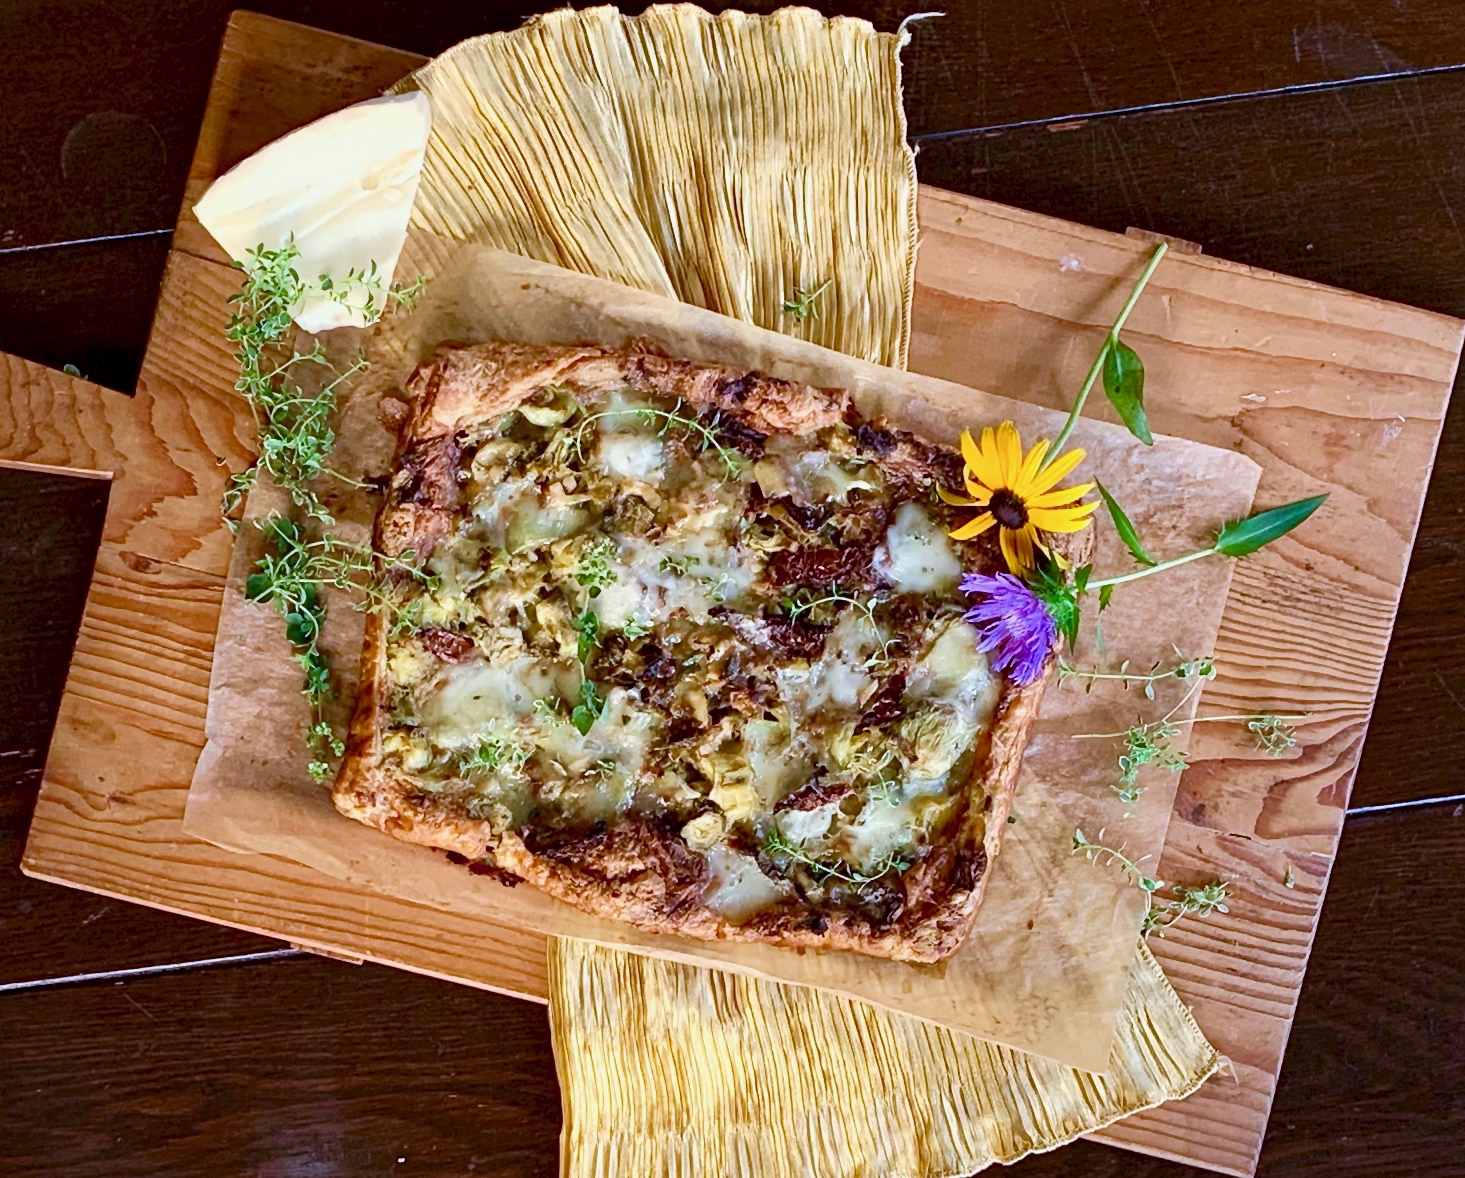
Although this galette does not come from such humble origins, it is definitely blog-worthy. I absolutely love artichokes, so I knew I had to try it. This side dish is packed with flavor. The artichokes, sun-dried tomatoes and cheese combine beautifully into this galette. The brie is the perfect pairing for the veggies, adding creamy gooeyness and savory depth. The bed of puff pastry is light, making each bite a little bit of heaven. Put this on your “must try this summer” list, it is that good.

This recipe is courtesy of Fine Cooking and will serve 4 people who will be happy for your discerning palette.

Ingredients for Herbed Artichoke Galette:

1 Tbs. olive oil
2 large leeks, trimmed and thinly sliced (about 2 cups)
3 large cloves garlic, very thinly sliced
1 14-oz. can quartered artichoke hearts, rinsed and well drained on paper towels
6 large sun-dried tomatoes, cut into thin strips
2 Tbs. chopped fresh flat-leaf parsley
1 Tbs. fresh thyme leaves
Kosher salt and freshly ground black pepper
All-purpose flour
1 sheet frozen puff pastry, preferably Dufour, thawed according to package directions
8 oz. Brie, rind removed

Position a rack in the center of the oven, and heat the oven to 400°f.

Heat the oil in a large nonstick skillet over medium-high heat.

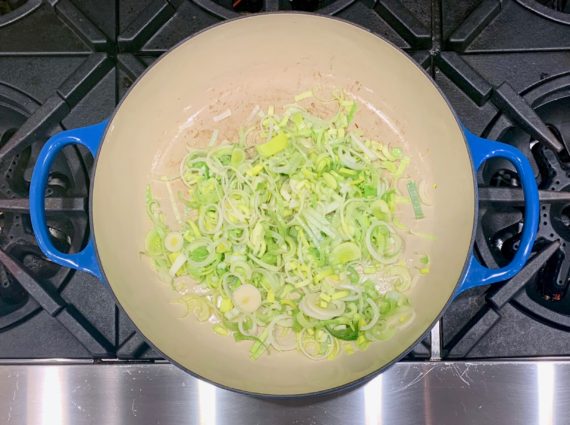
Add the leeks and cook, stirring occasionally, until soft and lightly browned, about 5 minutes.

Add the garlic and cook until aromatic, about 1 minute.

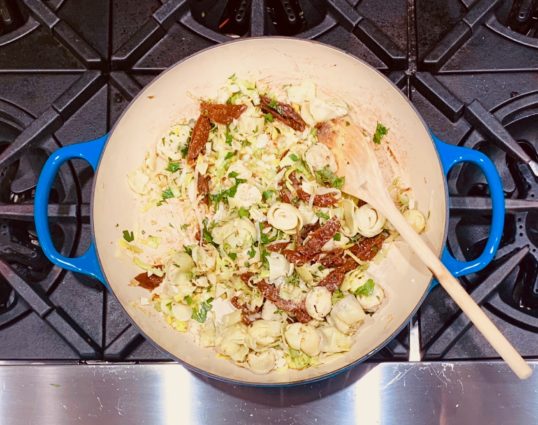
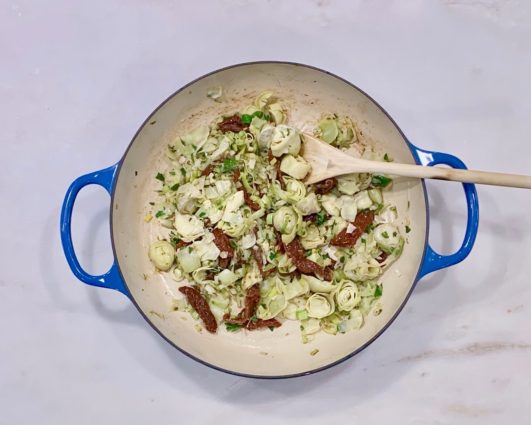
Stir in the artichokes, sun-dried tomatoes, parsley, thyme, 1/4 tsp. salt, and 1/4 tsp. pepper.

Remove from the heat.

Lightly flour a work surface.

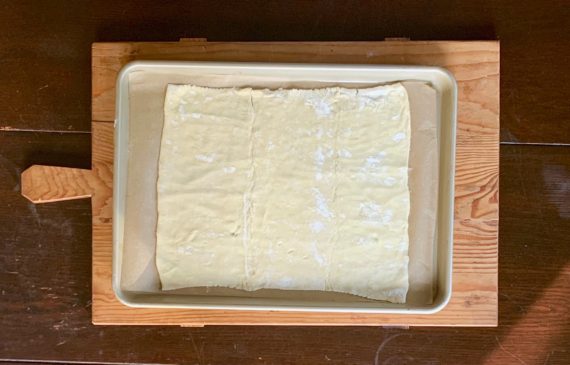
Roll the puff pastry on a sheet of lightly floured parchment and cut into a 12-inch square.

Slide the parchment onto a large rimmed baking sheet.

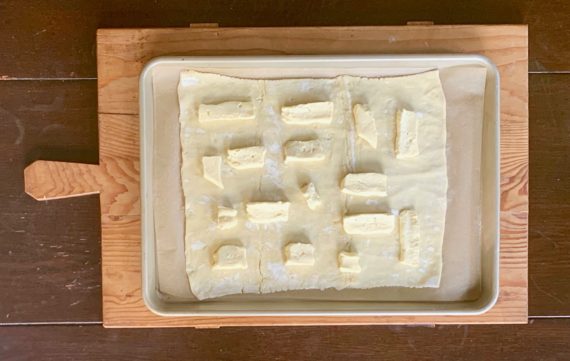
Cut the cheese crosswise into thin slices.

Leaving a 1/2-inch border, scatter three-fourths of the cheese over the pastry.

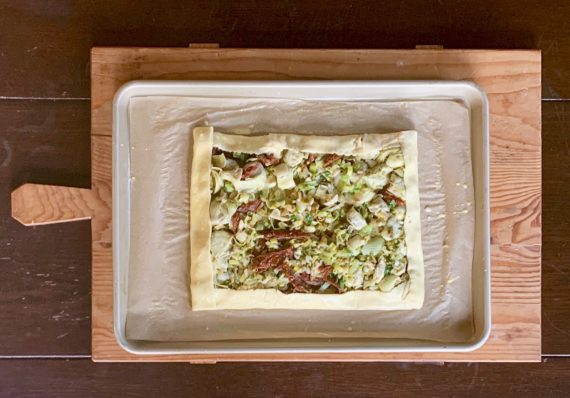
Spoon the leek mixture on top of the cheese.

Brush the pastry edges lightly with water and fold the edges over and onto the filling, pressing down lightly to seal.

Bake until golden brown, about 30 minutes.

Break the remaining cheese into small pieces and dot the top of the galette with the cheese.

Let stand until cheese melts, about 10 minutes.

Slice and serve.

It’s that simple!

signature

[recaptcha]


As you may know, I love to research new recipes. I have a very large collection of cookbooks, and I try to read each and every one. As I go, I use stickies to mark the recipes I would like to prepare… eventually.  Most of the books have so many stickies, I know it will be impossible to make every recipe I marked.

Even as recipe websites become more common, I will never stop buying cookbooks. I enjoy holding a book in my hands, seeing the creative covers and admiring the beautiful pictures that accompany the recipes. I used to cook with the recipe open on the table, but now I make a copy of the recipe that I am using so there is no damage. Still, the pages of some of my favorites are worn and dirty, since I was not always this clever.  Now the books stay crisp and fresh, ready to hand down to my nieces.

Sometimes, when I find a recipe I would like to use, I research similar recipes, write down the ingredients from each, and combine them to make it my own. It takes time and effort, but I feel very accomplished when it becomes, as they say in my home, “blog-worthy.” Not all are winners, but the process is enjoyable and rewarding nonetheless.

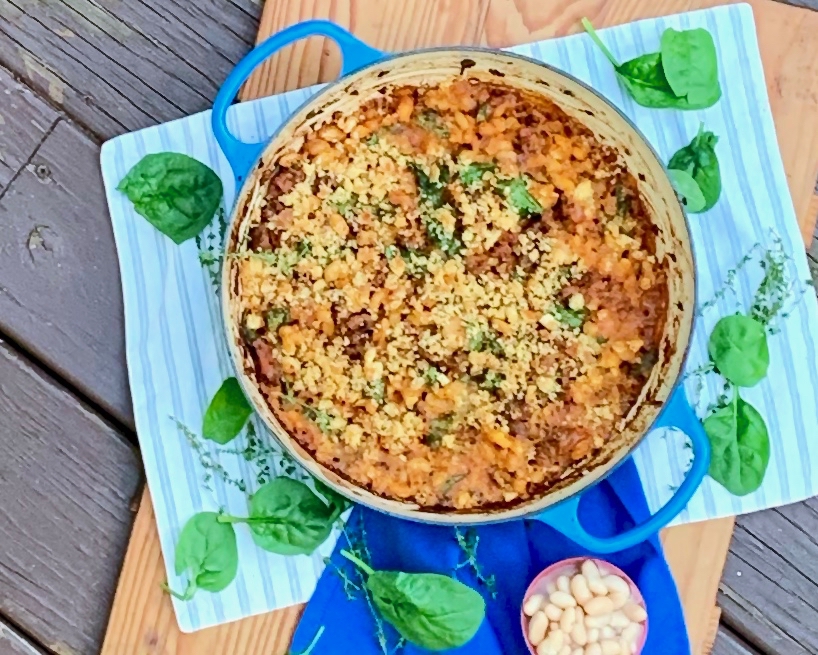
This healthy dish is not my own, but it is certainly blog-worthy. The beans add a nice texture and taste, and the sausage provides a delicious sweetness. Thyme, onion, and tomato paste give it a homey, savory flavor. Each bite has a delightful crunch of breadcrumbs. Put this one on your “must try” list– it is a crowd pleaser for sure.

This recipe is courtesy of Keepers and will serve 6 people who will want this hearty, healthy dish for their own collection.

Ingredients for Sausage and White Bean Gratin:

2/3 cup panko or regular dried breadcrumbs
2 tablespoons unsalted butter, melted
Salt
2 tablespoons olive oil
1 pound sweet Italian sausages, casings removed
1 small yellow onion, chopped
4 garlic cloves, minced
1 heaping tablespoon tomato paste
1 scant tablespoon fresh thyme leaves or 1 scant teaspoon dried
1/2 cup dry white wine
1 1/2 cups low-sodium chicken broth
Two 15.5-ounce cans white beans, such as cannellini or Great Northern, drained and rinsed
Pepper
4 large handfuls of baby spinach (optional)

Preheat oven to 425 degrees F.

Place rack in middle position.

In a small bowl, combine the panko and butter, season with salt, and set aside.

In a large skillet, heat the olive oil over high heat until it shimmers.

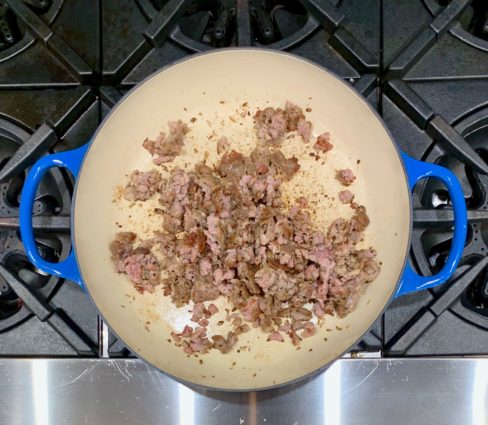
Add the sausages and cook, stirring often and breaking up the meat, until browned, about 4 minutes.

Leaving as much oil in the pan as possible, transfer the sausage to a medium bowl and set aside.

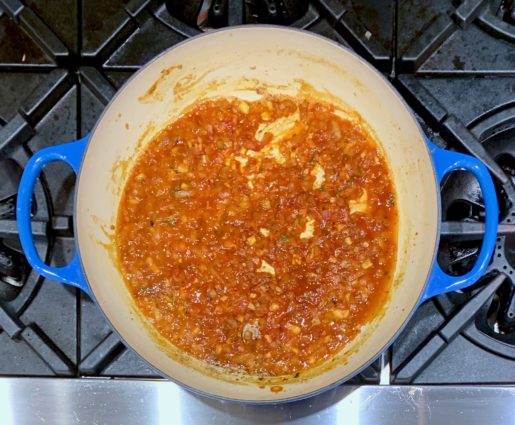
Reduce the heat to medium-low, add the onions and garlic and cook, stirring occasionally, until the onions are softened, about 8 minutes.

Add the tomato paste and thyme, and stir for about 30 seconds.

Add the wine and briskly simmer, scraping up any caramelized bits from the bottom of the pan, until almost evaporated, about 2 minutes.

Add the broth and bring to a simmer.

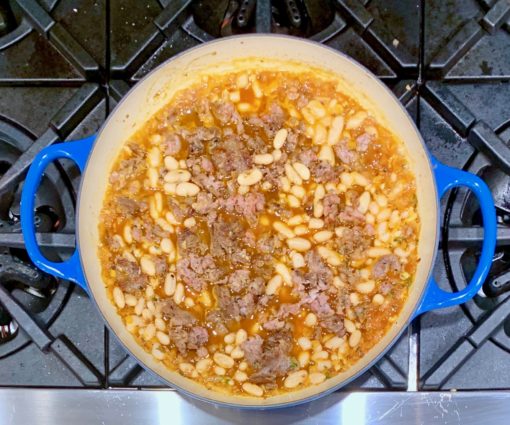
Then add the beans, cooked sausage, and any juices.

Season with salt and pepper and simmer, stirring occasionally, until heated through and some of the liquid is absorbed, about 5 minutes.

The mixture should be wet, but not drowning in liquid.

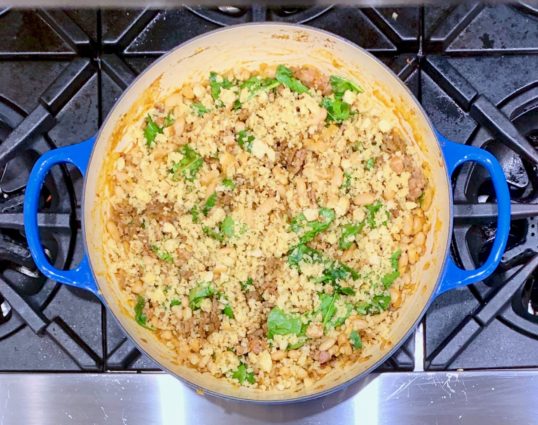
Off the heat, stir in the spinach (if using).

Check the seasonings, then transfer the mixture to a 3-quart baking or gratin dish.

Top evenly with panko mixture and bake until bubbling and the top is golden brown, about 15 minutes.

Let rest for 5 to 10 minutes before serving.

It’s that simple!

signature

[recaptcha]


2019 is a big birthday year for me and my husband, though we’re unsure how (or if) we want to celebrate it. Our birthdays are both right around the end of summer. At that time, three of our closest friends’ children are getting married, as well as our niece. Just the thought of this fall and all the holidays and celebrations is exhausting.  

Even though we will be crazy busy, I always start planning for Thanksgiving in August. While many of my nieces and nephews have to switch locations every other year, this year is my year, and I think I will be the happiest person on earth. And yet there is the never-ending question of how to celebrate our birthdays. Going away on a nice vacation is too time-consuming. A party? Oh, I don’t know about that, since my close friends will be so busy planning weddings.  So I think we might pass on a big celebration, and that is fine with me. Maybe I will just stay home with my head under the covers and make believe I’m not having another birthday. Now that sounds like an idea.

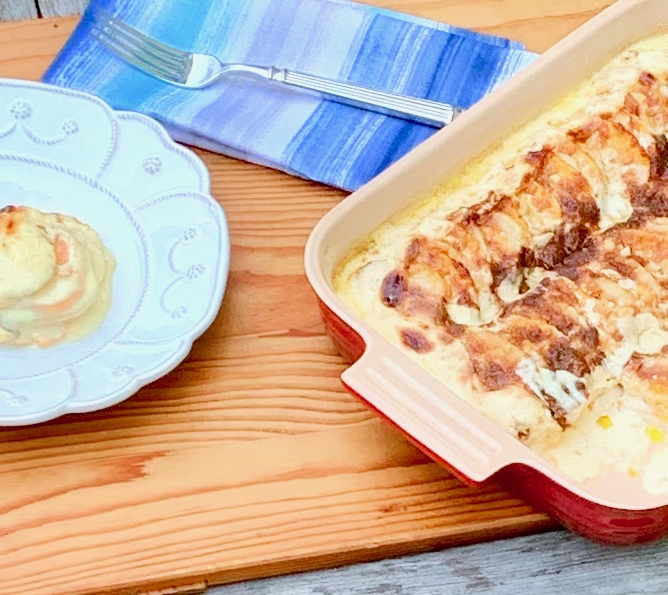
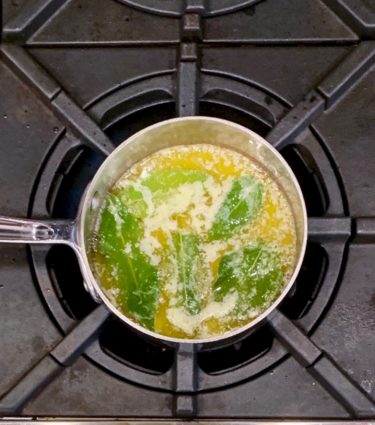
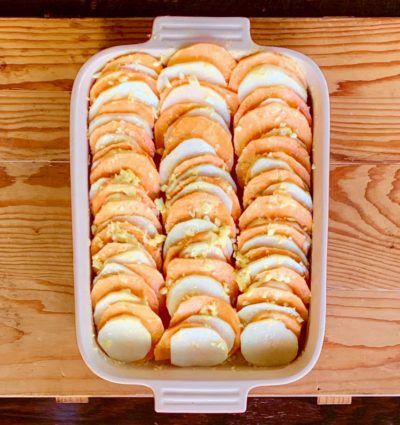
Speaking of the Fall, I know that bathing suit season is on its way, but I couldn’t resist sharing this savory recipe with you. This is a great recipe for a Mother’s Day brunch, and if you don’t use it now, have it on hand because this is a keeper.  The white and sweet potatoes together make a lovely presentation. They are beautifully arranged in the baking pan with aromatic bay leaf butter and lots of garlic, and all surrounded by cream. I thought there was just a little too much cream so I cut it back to 2 1/2 cups. The Parmesan cheese (I used at least 1 cup) was the perfect topping for this delectable dish. The white and sweet potatoes together make a lovely presentation. They are beautifully arranged in the baking pan with aromatic bay leaf butter and lots of garlic, and all surrounded by cream. Save it for the Fall if you wish, but you will be missing out on a surefire hit this Sunday.

This recipe is courtesy of Let’s Stay In and will serve 10 to 12 people who will be as passionate about this dish as they are about Mother’s Day!

Ingredients for Sweet and White Potato Gratin with Bay Butter:

1/2 cup unsalted butter
5 dried bay leaves
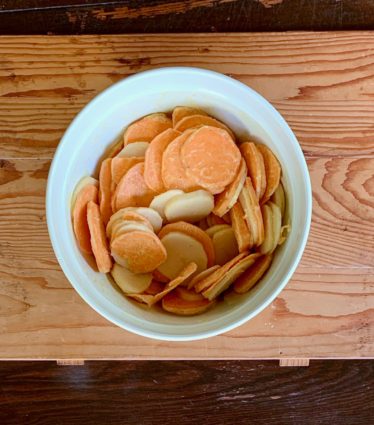
2 pounds sweet potatoes, thinly sliced
4 pounds russet potatoes, thinly sliced
3 1/2 teaspoons sea salt
1/2 teaspoon freshly ground black pepper
5 garlic cloves, roughly chopped
3 1/2 cups heavy whipping cream (I used less)
1/2 cup Parmesan cheese (I used more)

Preheat the oven to 400 degrees F.

Place the butter and bay leaves in a small saucepan.

Melt the butter and simmer for 1 minute, then turn off the heat and allow the bay leaves to steep for 10 minutes.

Place the sweet and russet potatoes in a large bowl.

Pour the bay butter over the potatoes.

Take out the bay leaves and set aside.

Add the sea salt and pepper, toss to combine.

Stack the potatoes in tight rows in a 13 x 9 inch glass baking dish.

Tuck the garlic and bay leaves in between some of the potato slices.

Pour the cream over the potatoes.

Sprinkle the Parmesan cheese over the top.

Put the baking dish on a sheet pan and bake for 1 hour, or until the potatoes are tender.

Serve warm.

It’s that simple.

signature

[recaptcha]