This is the 6th year anniversary of my blog! I simply cannot believe it! It has gone so fast and I have loved every minute I put into it. I want to thank you all for following me, even when I had to take a break when I remodeled my kitchen.  I see all those familiar names on Facebook, and I’ve loved getting to know you through online interactions. I am so grateful to everyone who comes to read and share my passion for cooking.

I love to read recipes and cookbooks. Antiquated, I know but I get a rush out of seeing the covers, turning the glossy pages, and looking at the beautiful pictures that accompany them. Most people get their recipes off the internet nowadays, and I do that as well, but I know I will never stop buying cookbooks. 

When I get a new cookbook, I read it through completely and mark the recipes I would like to try. I copy the recipe I am going to use so there is no chance I get my cookbooks dirty while I am making it. Before I did that, my cookbook pages, especially the ones I used repeatedly, became worn, dirty, yellow. But, not anymore! They stay clean and crisp and always feel brand new.

When I find a recipe I would like to use, I search the internet for similar recipes. Then I write down all the ingredients I would like to add and make it my own. It takes time and effort, but I enjoy doing this and feel especially accomplished when my recipe turns out to be, as we call it in my home, “blog-worthy”. Sometimes it takes more than one attempt, and I have certainly made countless recipes that have ended up in the garbage.

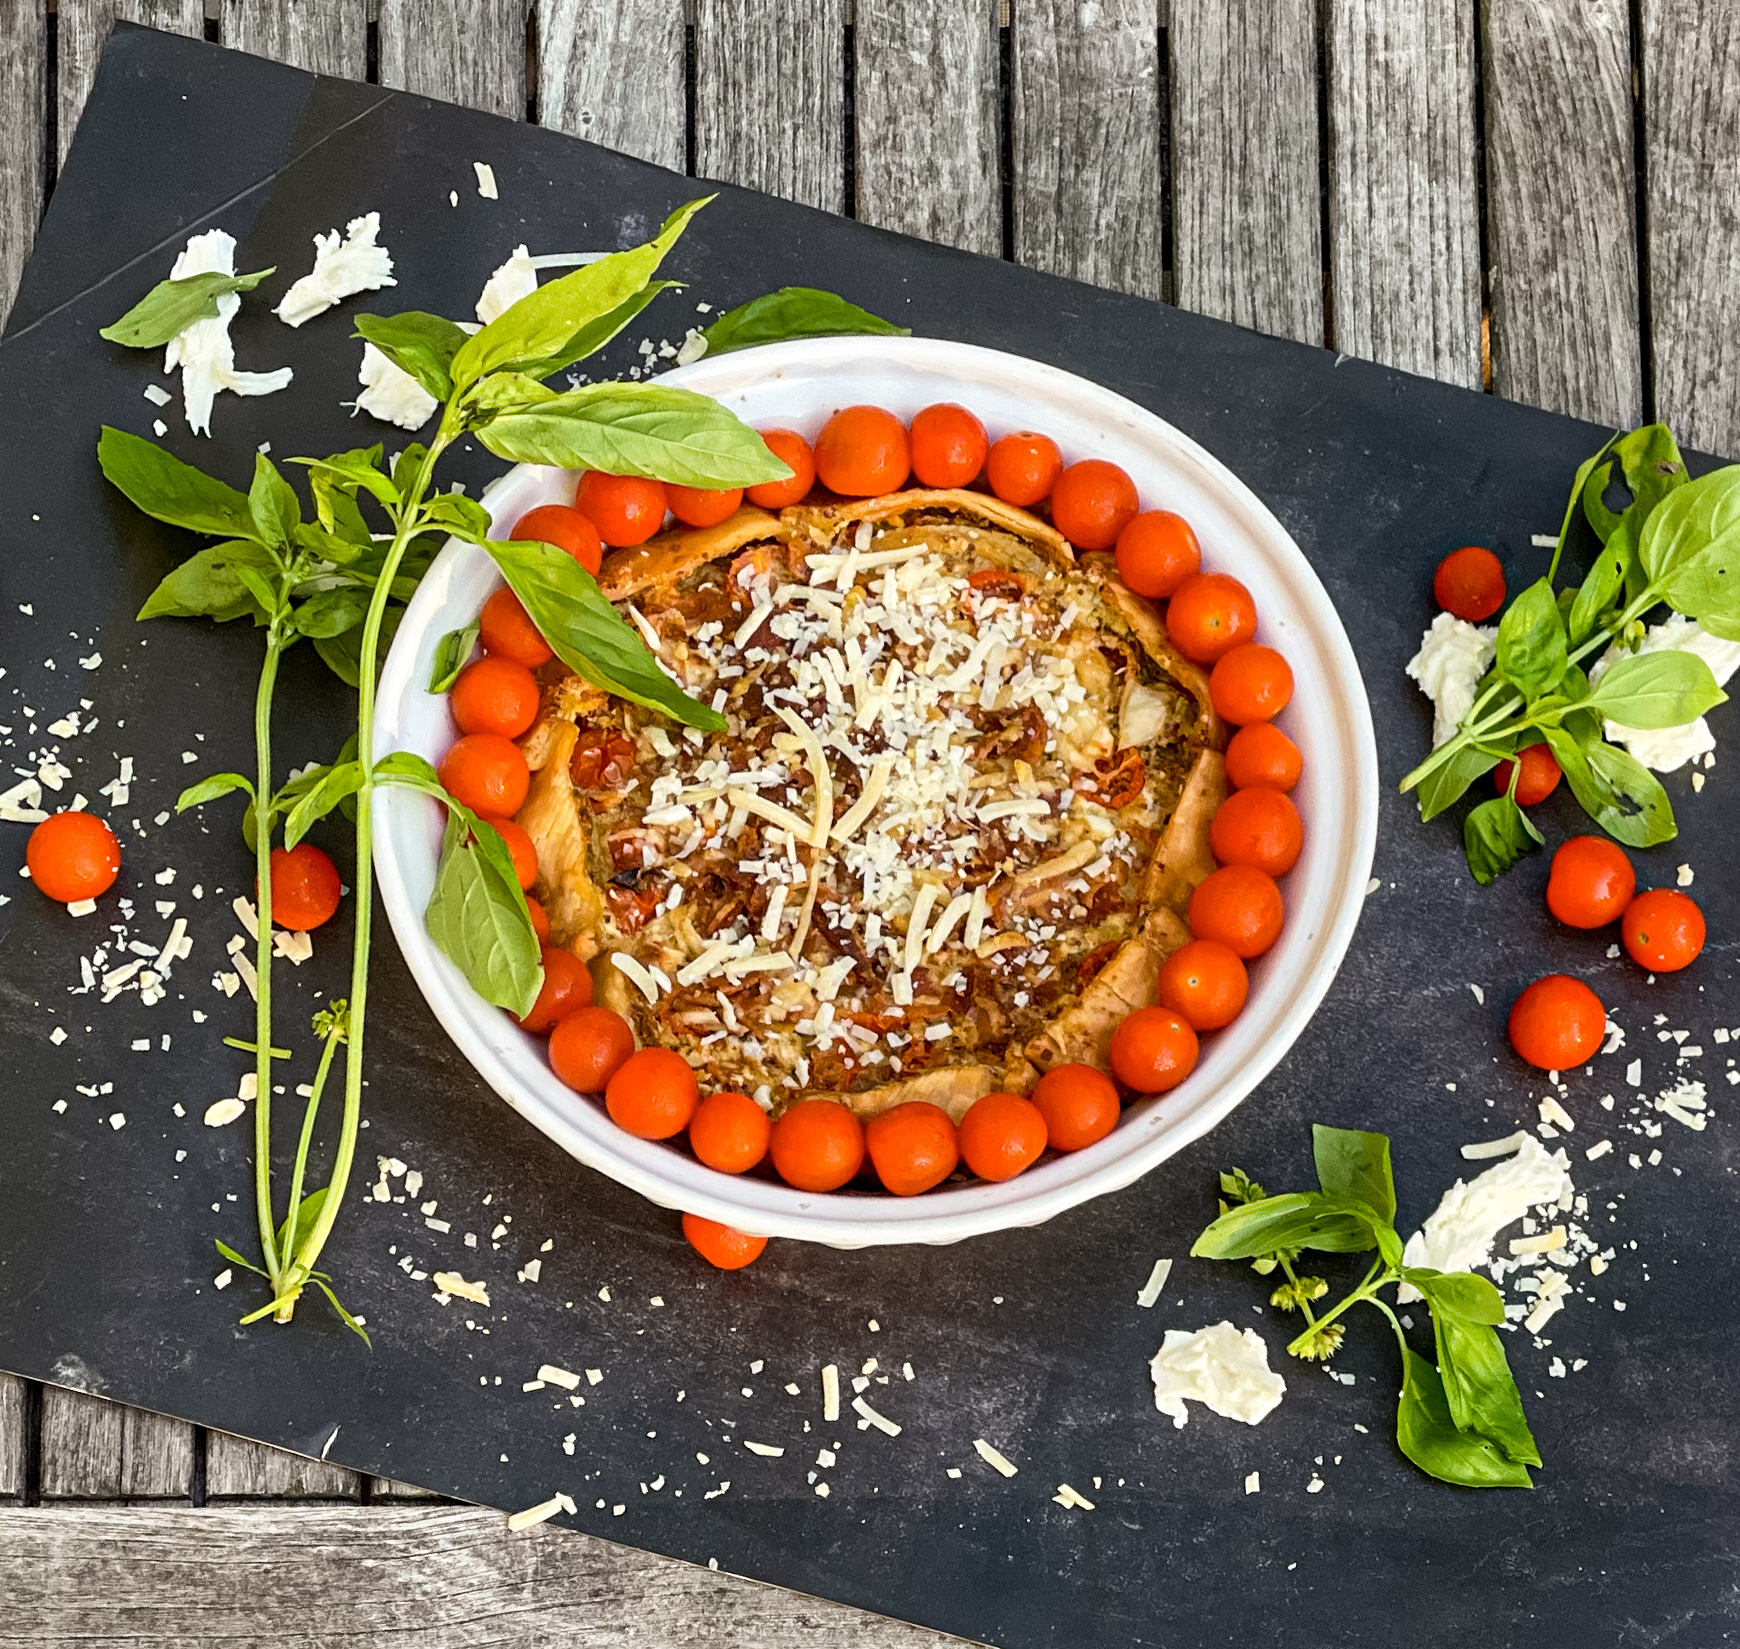
This dish is one of my successful creations.  Perfect for any summer meal, this is a winner. The tomatoes are combined with delicious onions, and mozzarella and basil provide a perfect accompaniment. The bacon and Parmesan cheese make this pie perfection. It is housed in a moist, delicate pie crust that is yummy goodness in every bite. Don’t miss this one, your family is going to love it. It is also a wonderful and beautiful dish to serve to company, and so easy to prepare!

This recipe is truly Simple By Cindy, and makes 6 to 8 servings of a surprising and delicious savory treat.

Ingredients for Rustic Tomato Pie:

Frozen pie dough for single-crust pie
1 pound mixed tomatoes, seeded and cut into 1/2-inch slices
1/2 pound cherry or grape tomatoes, cut in half
1/4 cup thinly sliced yellow onions
1/4 cup mayonnaise
4 tablespoons stoned ground mustard
1/2 cup shredded mozzarella  cheese
2 tablespoons fresh basil, chopped
1 teaspoon salt
1/2 teaspoon pepper
2 bacon strips, cooked and crumbled
1/2 cup grated Parmesan cheese

Preheat oven to 400°. 

On a lightly floured surface, roll dough to a 1/8-in.-thick circle; transfer to a 9-in. pie plate. 

Trim crust to 1/2 in. beyond rim of plate. 

Place half of the tomatoes and half of the onions in crust.
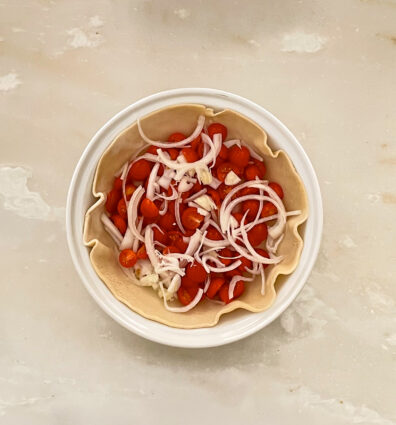
Combine mayonnaise, mustard, mozzarella, basil, salt and pepper.
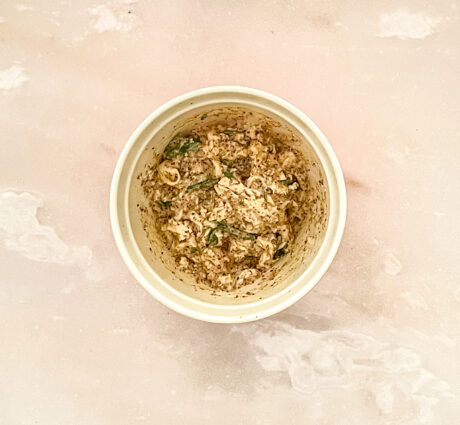
Spread over tomatoes.
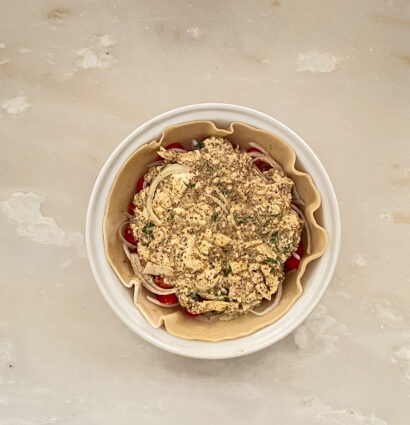
Top with remaining onions and tomatoes.

Fold crust edge over filling, pleating as you go and leaving an 8-in. opening in the center.
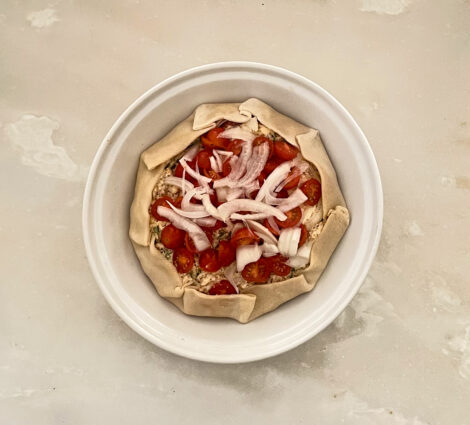
Sprinkle with bacon and Parmesan cheese.
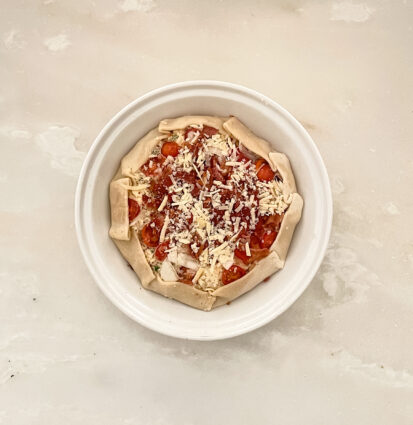
Bake on a lower oven rack until until crust is golden and filling is bubbly, 30-35 minutes.

Let stand 10 minutes before cutting.

If desired, sprinkle with additional basil.

It’s that simple!


signature

[recaptcha]


As I grow older I can see how our experiences in childhood affect the kind of adults we become. I recently attended the funeral of my best friend’s mother. As he spoke about his mom, it became clear to me that we had similar childhoods. Our moms were both tough cookies, and it made us more focused and driven as adults.  I know that he had a difficult time with his mother, but it was clear that he loved her nonetheless, and would miss her terribly.

When I was growing up, my mother had expectations of who I would become. As a child, I never met those exceptions, and the more I withdrew, the more she tried to pull me out.  There is no set recipe or rules that ensure what kind of adults we become, but I think this experience formed a lot of who I am today.  

My parents were very hard workers, and they instilled that work ethic in their children. When I was younger, I was more interested in athletics than in math and science. This infuriated my mother. Her parents had fled the holocaust, and as a very poor family in the United States, they had to work hard to make ends meet. The most important thing to them was that their children be educated.  Being an athlete wasn’t high on their list of priorities.

Although I resisted, I eventually ended up with a master’s degree, which surprised my mother and made her very proud. Criticism, feeling neglected, micromanaging, and not feeling appreciated affects us all in different ways. We all walk out of childhoods with some emotional bumps and bruises. All of these things–bad, good, and everything in between– come together to make us the people we are. Our childhoods are part of us, we cannot go back and change it, but we can choose to look at it through a different lens.  Once we’ve accomplished that, we can try to heal ourselves to do better for the next generation. 

In that process, we might also begin to look more kindly at our parents, faults and all.  My mother became the most influential person in my life, even despite her mistakes. I took all her criticisms and turned them into a positive mindset, which helped me learn to work very hard and be the best person I can be as a friend, wife, daughter, and mother.

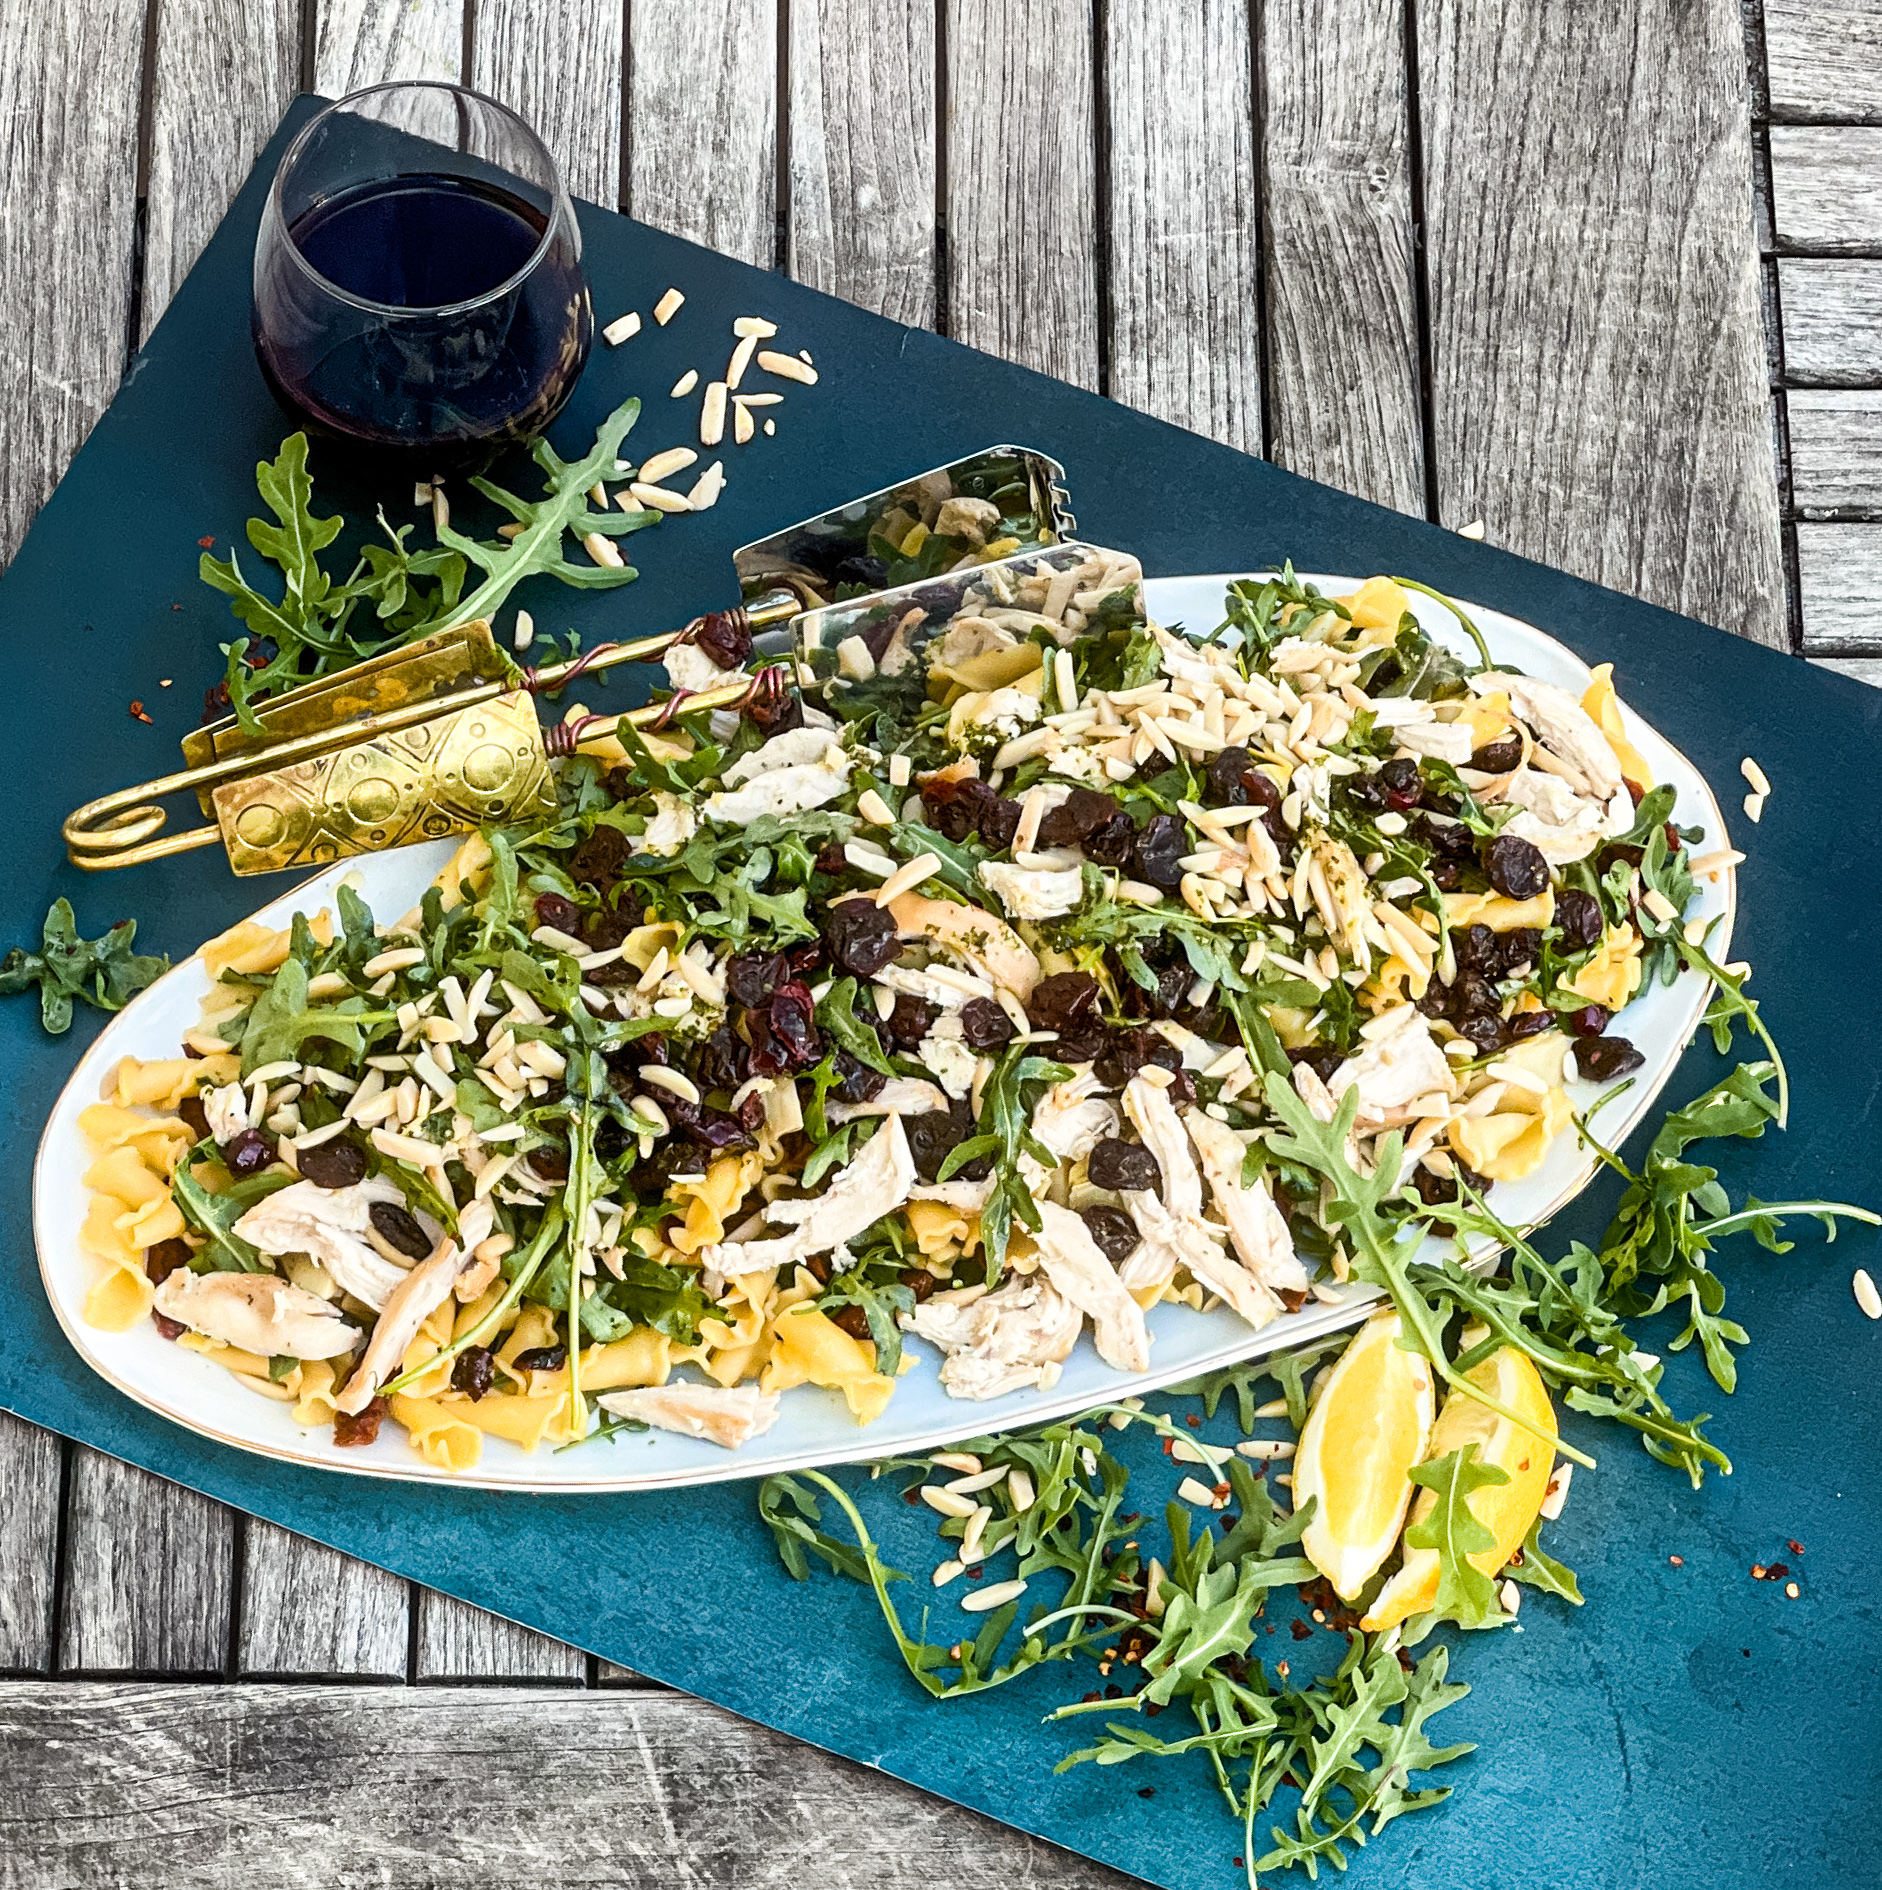
On to the recipe. While this salad is simple enough to make, it is packed with flavor. Rocket refers to the arugula in the salad. The chicken, cranberries and artichoke hearts make this salad a hearty, satisfying meal. The sun-dried tomatoes and arugula add a nice texture and tang. The pasta is delicious and filling, truly making this dish a satiating meal. The dressing is the star of this dish. The oregano and the parsley are the savory, while the crushed red pepper and the cayenne pepper give it a nice kick. The lemon adds just the right amount of lip puckering deliciousness.

This recipe is courtesy of Meant to Share, by Danielle Kartes and will serve 4 to 6 people who will want a second bowl of this delicious and healthy chicken salad.

Ingredients for Italian Rocket and Chicken Salad:

For the Dressing:

1 cup olive oil
1/2 cup cilantro
1/2 cup fresh flat leaf parsley
Juice of 1 lemon
1 clove fresh garlic
1/2 teaspoon dried oregano
1/4 teaspoon crushed red pepper flakes
1/4 teaspoon ground cayenne pepper
Salt and pepper to taste

For the Salad:

6 cups young rocket (baby arugula)
3 cups prepared shredded chicken (rotisserie rests work great)
1 cup dried cranberries
1 cup marinated artichoke hearts
1 cup slivered almonds
1/2 cup diced sun-dried tomatoes in oil
1 pound farfalle pasta

Place all dressing ingredients into a food processor or high-speed blender and pulse until dressing is thoroughly combined.

You can finely chop and whisk by hand as well.

Set aside.

Place all the salad ingredients in a large salad bowl.

Add half the dressing and toss, and reserve the rest to spoon over individual portions.

It’s that simple!
signature

[recaptcha]


When I was growing up, I had a very limited diet. I ate only bread, peanut butter, and eggs, and it drove my mom crazy.  On occasion, I would maybe eat some steak or chicken. Any vegetable was a no for me. I think that was caused by the way vegetables were presented at that time: soggy, unappealing mush. Of course I wouldn’t eat them!

My absolute favorite food choice was lemons, and lots of them. My mother would buy me lemons, knowing full well that I would eat them raw right in front of her.  My mom was especially upset at this because she felt I was too skinny. My nickname was “Toothpick,” and it stuck for many years. I hated that name, but because my food choices were so limited, and because I loved to play sports, I couldn’t put on any weight. 

As I got older, my tastes increased. Once, when I was a teenager, my brother ordered fried calamari at a restaurant. He told me it was fried chicken, and why would I not believe it? My mother kept a kosher home, so I had never even heard of calamari. I tried it, and I LOVED it. It was not until the way home in the car, that my brother told me the truth. I was shocked, but continue to love it to this day. 

It was not until I met my husband that I had my first lobster. He was astonished that I had never had one. Of course, I ordered what I knew I would like, but I was able to get a taste of his. And again, I loved it. How had I been missing on this food all my life? That moment changed things for me. I became unafraid to try new foods, and my diet improved quickly. 

When my oldest son was a child, he, like me, would eat only a small range of food, though he was even pickier than I was. I homemade all the baby food for my kids, so I knew that he was eating well.  But as he grew, he learned how to say “no.”  Forcing him to eat was an uphill battle, so I simply made his dinners separately from the rest of the family. I had a feeling that he, like me, would find that his tastes would change later down the line. And of course, they did, and now he is a very healthy eater.

In contrast, my younger son would eat anything. When he had his tonsils out at four, my husband told him he would get him some chicken soup. He was still in the recovery room at that time. He yelled at my husband and said, “no chicken soup, I want schwimp.” The nurses burst out laughing. So out my husband went, trying to recover some shrimp for our precocious four year old.

Things are so different now: children now grow up trying an enormous range of foods. My great-nephew and niece have terrific diets and will try most foods. And their mother, my niece Leslie, was an even pickier eater than I was! Because of the varieties in stores and in restaurants, kids can be exposed to lots of foods early on, and with better understanding of nutrition, parents can make more informed decisions. 

Now this is a recipe that adults and children can agree on. The cream cheese and sour cream whip up to a delightfully creamy and incredibly smooth filling.  It is then combined with a citrus, which takes this tart to a whole other level, giving it a slight tang. Sweet and salty? I’m all in! This delicious filling is housed in a buttery, salty, crunchy base of cracker crust that makes this tart absolute perfection. Even your younger kids will love it too!

This recipe is courtesy of Nothing Fancy, by Allison Roman and will serve 8 to 10 of the pickiest children around.

Ingredients for Sweet and Salty Cream Cheese Tart:

For the crust:

5 oz.  Ritz crackers or Nilla wafers
2 tbsp. light brown sugar
4 tbsp. unsalted butter, melted
Pinch of kosher salt

For the filling:

16 oz. full fat cream cheese, at room temperature
1 cup sour cream or full-fat Greek yogurt
½ cup granulated sugar
2 large eggs
3 tbsp. fresh citrus juice (grapefruit, lemon, lime or orange)
Flaky sea salt, such as Maldon, for finishing

Heat the oven to 325˚ F.

Make the crust:

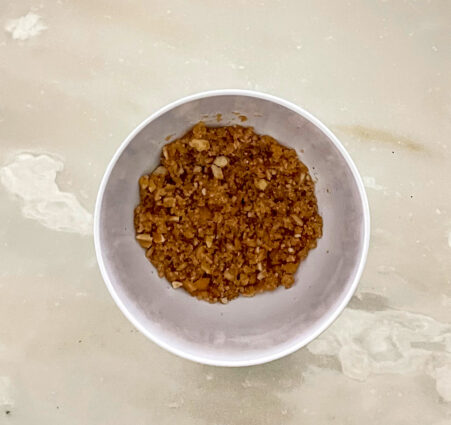
Pulse the crackers or wafers in a food processor until you’ve got a fine crumb (crumb, not powder!). You can also do this by hand by placing the crackers in a resealable bag and crushing or smashing with a skillet or rolling pin.  This is a great job for a little helper!

Transfer to a medium bowl and add the brown sugar and butter.

Using your hands, mix until the crumbs are evenly coated and you have a wet sand texture.


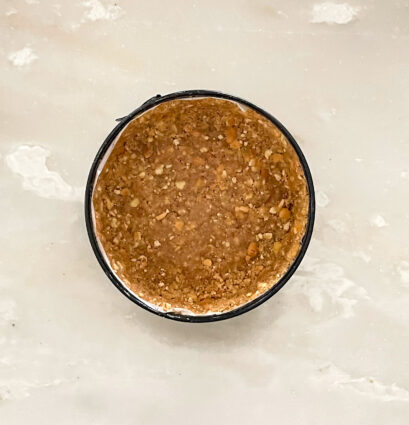
Press mixture into an unlined 9-inch tart or springform tin, or a cake pan lined with parchment paper.

You can use a lined 8-inch square baking pan here, although expect a slightly thicker outcome (maybe that is your preference).

Using the bottom of a measuring cup or small bowl, really press the crumb mixture in there–otherwise it can be challenging to cut later on.

Bake until crust is lightly golden brown at the edges (it gets baked one more time, so best not to overdo it here),  10-15 minutes.

Make the filling:

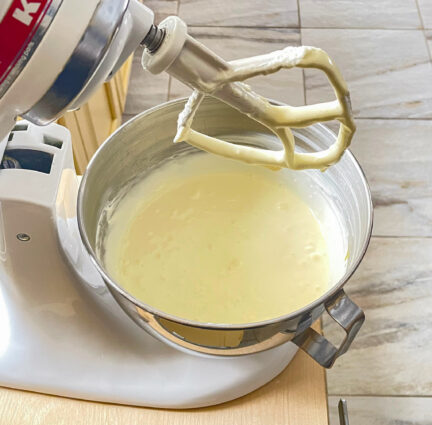
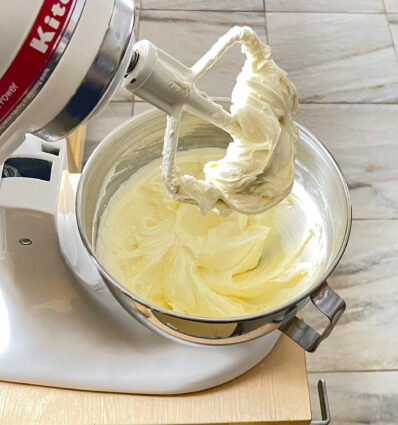
Combine the cream cheese, sour cream and granulated sugar in a food processor and process until impossibly smooth and well blended, scraping down the sides as needed to incorporate any stubborn chunks of cream cheese.

Add the eggs, fruit juice and a pinch of sea salt, and keep processing until it is even smoother and creamier than before.

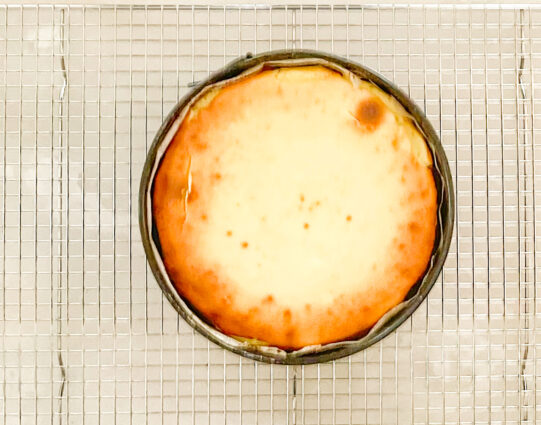
Pour the mixture into the baked crust and bake until the whole thing is set and no longer jiggles when tapped, for 25-35 minutes (it should not brown at all).

(Oh, oh, mine did turn brown, but still tasted great!)

Turn the oven off and open the door a crack.

Let the tart sit in there for about 15 minutes, before transferring it to a wire rack on a counter to cool completely.

Place the tart in the fridge to chill for at least 1 hour, (this gradual cooling is to prevent any unsightly cracks appearing on the surface which can appear when there is a sudden change in temperature).

To serve, sprinkle with a little flaky salt and serve with some fresh citrus of your choosing if you like.

It’s that simple!
 

signature

[recaptcha]


Carbonara is an Italian dish from Rome. The ingredients usually include a long pasta, such as spaghetti, fettuccine, linguine or bucatini, as well as egg, a hard cheese, and pancetta or bacon.

It never calls for cream, the eggs are the substitution for it in this dish. The eggs are cooked gently by the heat of the pasta, and becomes thick and creamy. Once the pasta is placed in the egg and cheese mixture, it must be stirred in very quickly and thoroughly to coat the pasta perfectly.

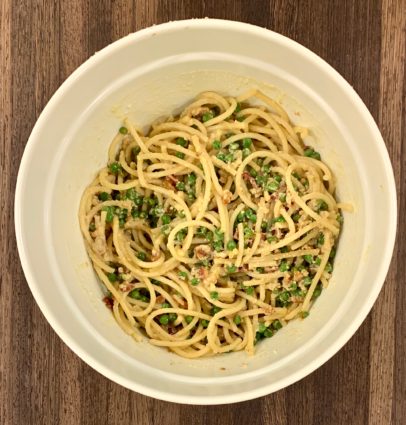
This was my second attempt at making a pasta carbonara. We won’t even mention the first time, because it wasn’t pretty, fun or edible. Second time’s the charm, I guess! Preparing this dish was not as intimidating as I thought it would be. I know many of you are probably fantastic at making this dish, but I am just a novice. I worked slowly and followed the directions carefully. To my delight, this recipe was a winner! My kids were eating this dish up as fast as I gave it to them. This is a perfect way to make a carbonara. The only thing the author left out was reserving some of the pasta water, (I am assuming she put the pasta right from the pot into the egg mixture without draining it first). So, I did add in a reminder for you to reserve a cup of the water before you go and drain it all out. The reserved water is really important because it will determine the thickness and creaminess of your sauce.

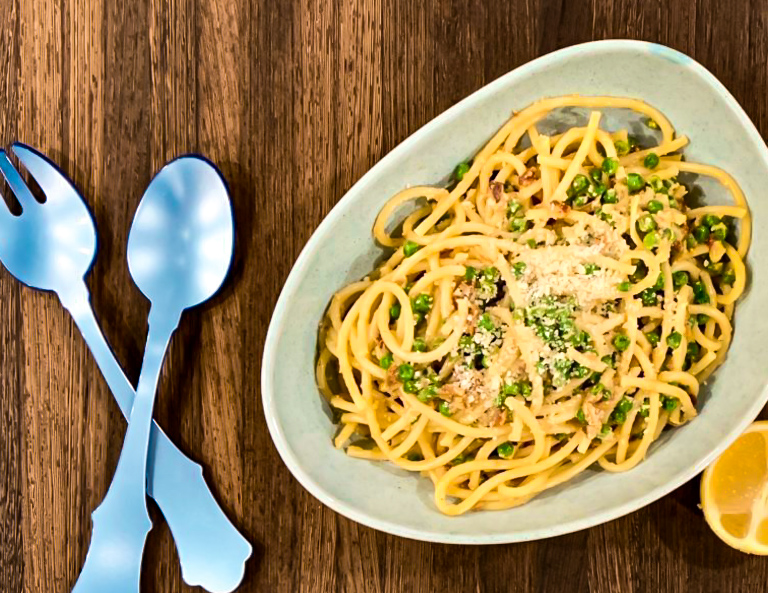
This dish is so exceptionally delicious. The bucatini becomes covered with egg and cheese mixture, adding a velvety texture to each bite. The lemon gives it a nice tang, and the Parmesan makes this dish perfect. I love the simplicity of this dish. It is perfect to make on a Sunday night served with some good garlic bread and a salad. Give this a try. It is so worth it.

This recipe is courtesy of Let’s Stay In and will serve 4 to 6 people who will think you’re a pro pasta carbonara maker, even if you aren’t!

Ingredients for Lemony Carbonara with Peas:

6 ounces pancetta or bacon, cut into 1/2-inch strips
4 garlic cloves, thinly sliced
10 ounces fresh or frozen peas
1-pound spaghetti or bucatini pasta
1 cup grated Parmesan cheese, plus more to finish
3 large eggs
1 teaspoon freshly ground black pepper. plus more to finish
2 teaspoons finely grated lemon zest, plus more to finish
3 tablespoon freshly squeezed lemon juice

Pour in enough water to fill a large Dutch oven or stock-pot halfway up, then stir enough of the sea salt to make the water taste of the sea.

Bring it to a boil.

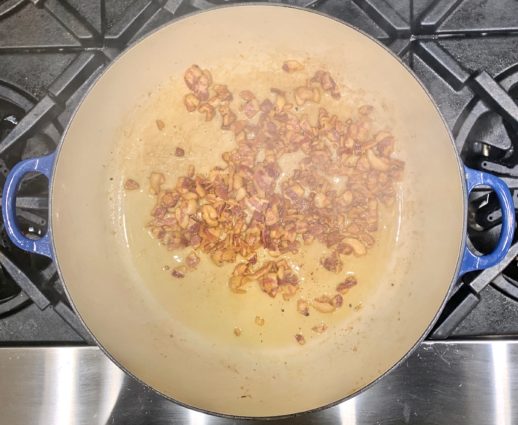
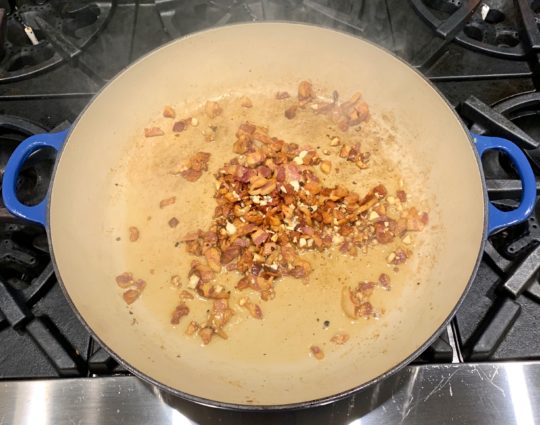
While the water comes to a boil, crisp up the pancetta in a large skillet over medium heat. 5 to 7 minutes.

(sorry this is so smokey!)

Add the garlic and cook until golden and crisp, 3 to 4 minutes.

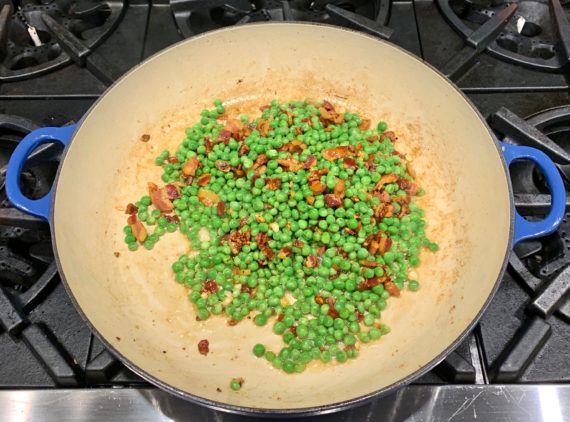
Stir in the peas and cook just until their color brightens, 1 to 2 minutes.

Remove from the heat.

Cook the pasta in the salted water until al dente, 10 to 12 minutes.

Reserve 1 cup of the pasta water.

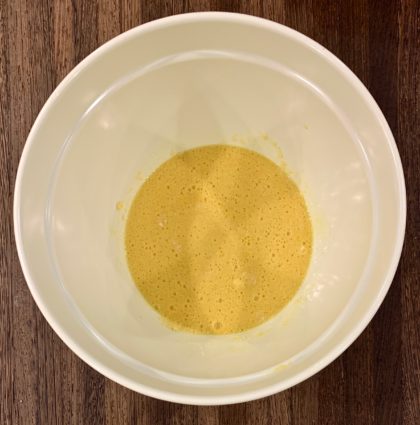
In a large bowl, stir together the Parmesan, eggs, and pepper until thoroughly combined.

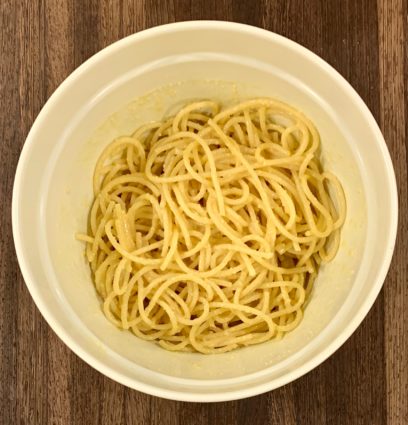
Add the hot pasta directly to the egg mixture and stir well and quickly so as not to scramble the eggs.

Add a bit of the pasta water as needed to create a creamy sauce.

To the pasta, add the pancetta mixture, then stir in the lemon zest and juice.

Transfer the pasta to a serving platter, then top with more grated Parmesan, lemon zest and pepper.

It’s that simple!
Mitzie and Macy

signature

[recaptcha]


This recipe is authored by Marcy Goldman, and is taken from her Jewish Holiday Baking cookbook. It is one of the best baking cookbooks out there. My friend Beth bought this for me almost 20 years ago – it was one one of my first cookbooks – and I was instantly hooked. It continues to be one of my favorite cookbooks to this day.

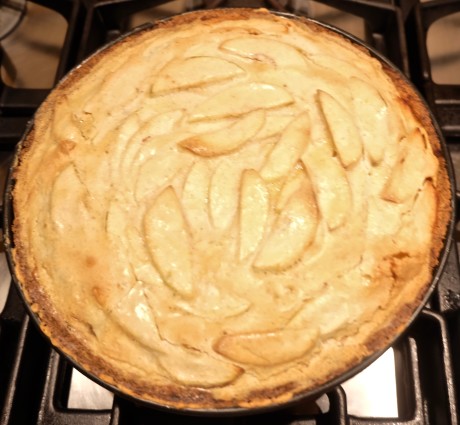
Marcy named this recipe “My Mother’s Fancy Apple Cake”. She writes that it is one of her best childhood memories. I can understand why. This cake is mostly made up of apples that are combined with a scrumptious vanilla sauce. The crust that surrounds the cake is light, delicious and easy to prepare.

To be completely honest with you, this recipe is not simple. However, it is not very complicated either. It just requires a long prep time. Peeling and slicing the apples takes a while, so if you are planning to make this cake (and you definitely should) give yourself a little extra free time for this one.

To this day, it remains my family’s favorite dessert. So I take the time to make it. What better reason could I have than that? The lemon gives the apples even more enhanced tangy flavor. The vanilla extract and the cinnamon add a nice savory goodness to every bite. The crust is the perfect home for this delicious cake. I bet you won’t even leave a crumb. Enjoy!

You should too. You will not be sorry you did!

Ingredients for the Apple Cake:

For the Cake Crust:

1/2 cup of granulated sugar
1/2 cup (1 stick) unsalted butter or margarine, melted and cooled
1 egg
1 tsp. vanilla extract
1/4 tsp. salt
1 1/2 cups all- purpose flour
1 1/2 tsp. baking powder

For the Apple Filling:

7-9 cups peeled and sliced apples ( or enough to fill up your cake pan)
Juice of 1/2 lemon, to sprinkle on the apples
1/4 cup granulated sugar

For the Vanilla Sauce:

3 tbsp. unsalted butter or margarine, melted
1 cup granulated sugar
2 large eggs
1 tsp. vanilla extract
1/2 tsp. ground cinnamon

For the Topping:

Confectioners’ sugar for dusting

Make the Crust:

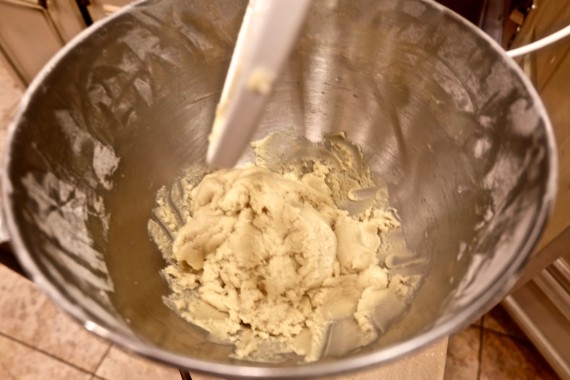
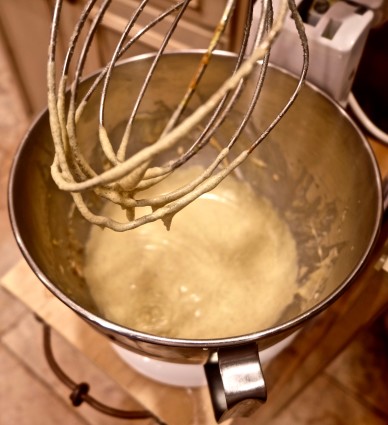
In a large bowl, combine all of the crust ingredients to make a soft but stiff dough. 

fancy cake dough in mixer

Add a bit more flour if needed to ensure that you do not have a batter, but a soft dough.

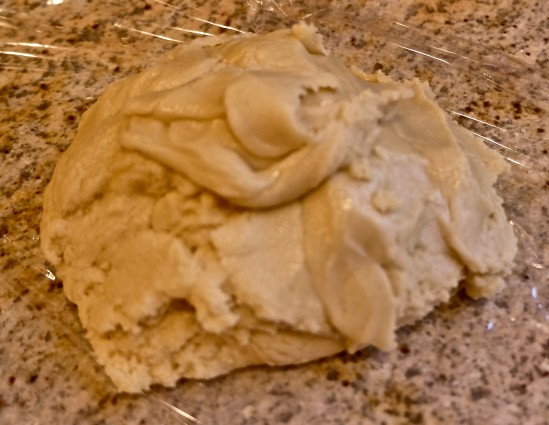
Cover the dough with plastic wrap and chill for 10-15 minutes.

fancy cake dough

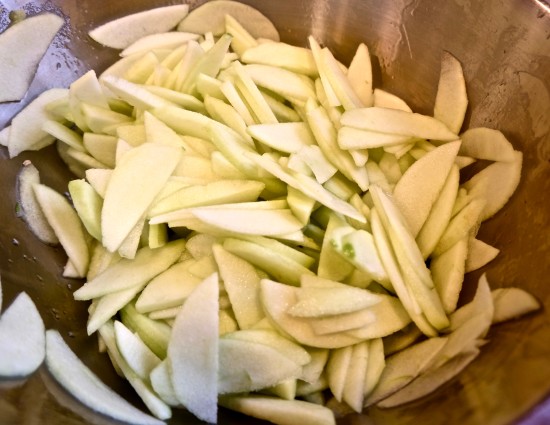
Make the Filling: In a bowl, toss the apples with the lemon juice and sugar.

fnacy cake apples in lemon

Brush the bottom and sides of a 10- inch springform pan with melted butter.

Preheat oven to 350.

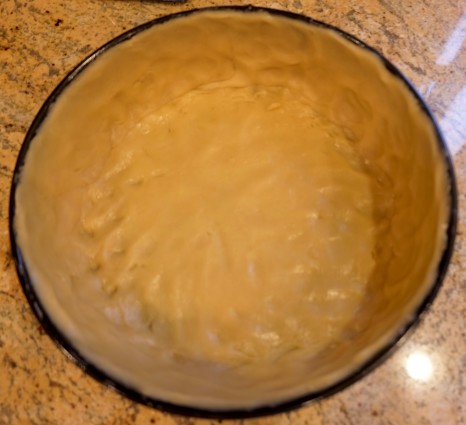
Pat the dough evenly over the bottom and the sides of the pan (it should be between 1/8 and 1/4 inch thick).

fancy cake dough lined pan

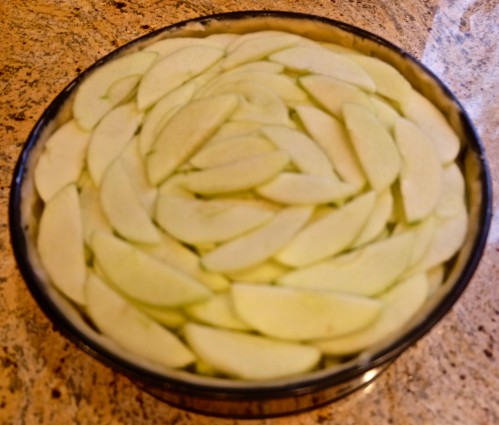
Fill with the apple slices, pressing gently. 

Fancy cake apples filled to top

Cover the pan with aluminum foil.

Bake the cake for 1 to 1 1/2 hours. Remove foil after 15 minutes or until the apples are soft. The top apples will seem dry; the interior apples should begin to feel soft to the touch. 

Make the Vanilla Sauce:

In a bowl, combine the ingredients for the sauce in the order given.

fancy cake vanilla sauce 

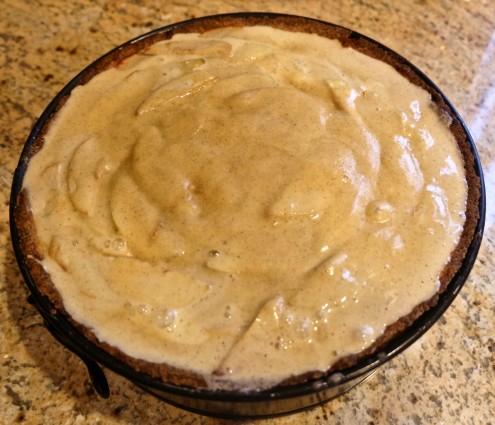
Pour the sauce over the hot cake, trying to get it to drip into all the crevices.

fancy cake apples with vanilla

Bake for an additional 20 minutes.

fancy cake finished bake in pan

Refrigerate for at least 4 to 6 hours or overnight.

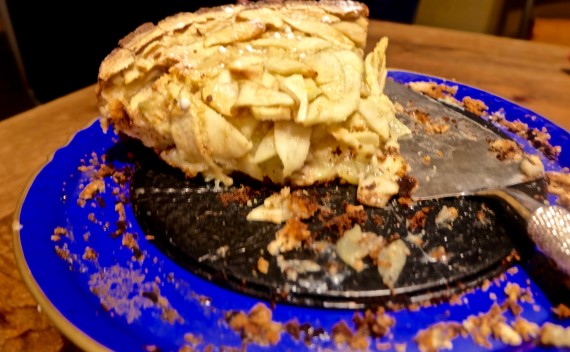
Dust it with confectioners’ sugar before serving.Fancy cake eaten

It’s that simple!
signature

[recaptcha]