Unfortunately for me, I was sick this Thanksgiving. Like so many of you, our holiday guest list this year was reduced to only our immediate family, but even still, I wasn’t sure if I would be able to make it downstairs to the kitchen, let alone make some semblance of a Thanksgiving meal for my family.

I am writing to tell you all this, because I made mistakes making the turkey (I’ll blame it on the illness) and I think we all can learn something from it. I usually make two 20 pound turkeys, but this year, I only needed to make one, and boy did I mess it up.

Thankfully, I had a nearby relative come and dress the turkey the night before so it was ready to take out and place in the oven on Thanksgiving. Thursday morning, I slowly (very slowly) made my way downstairs to finish dressing the turkey and put it in the oven. I am going to share with you how I usually make my turkey, and more importantly, where I went wrong.

Usually, I place the turkey in a snug roasting pan. I put it in the oven at 425 degrees F. for 40 minutes uncovered so it browns up beautifully. Then I take it out, cover it very, very tightly with aluminum foil, and turn the oven down to 350 to continue the cooking.  Covering it so snugly lets the turkey steam, and not cook, so you are more likely to have a nice, juicy turkey. 

I followed my instructions, but after I covered the turkey, I forgot to turn the oven down. I placed a meat thermometer in the turkey so I could follow the cooking process and take it out at the temperature I usually do. As I watched the thermometer, the temperature began to accelerate at a very fast rate. Not remembering that I did not turn down the temperature, I was truly baffled as to why this was happening. I took the bird out when it hit 150 degrees. The recommendation is 165 degrees, but remember, the turkey will continue to cook when you remove it from the oven, so you have to take it out, (as you do with any poultry or meat), ten degrees sooner than the recommendation.

I really was bewildered that the turkey cooked so rapidly. After I removed the turkey from the oven, it did not continue to cook as it usually does. The temperature was the same as when I took it out of the oven. When my husband began to carve the turkey, it was slightly raw. I told him to continue to carve it. We then placed all the meat back into the pan with all the juice that it had made when it was cooking. That’s when I realized the oven was still at 425 degrees. I turned it down, and placed the carved turkey back into the oven for 30 more minutes, hoping that it might be fully cooked after that.

To my surprise, the turkey was cooked perfectly. It was the best turkey I think I have ever made. We all make mistakes in the kitchen, and, as I have told you before, it is singularly the best way to learn. It reminds me of learning to ride a bicycle– how many times do we have to fall before we master it? When I learned to ride a bike, I knocked out my two front teeth but I didn’t let it stop me. Soon I was riding with no hands and loving every minute of it. When I fell, I just picked myself up and got back on. Learning takes time, patience and lots of bumps.  

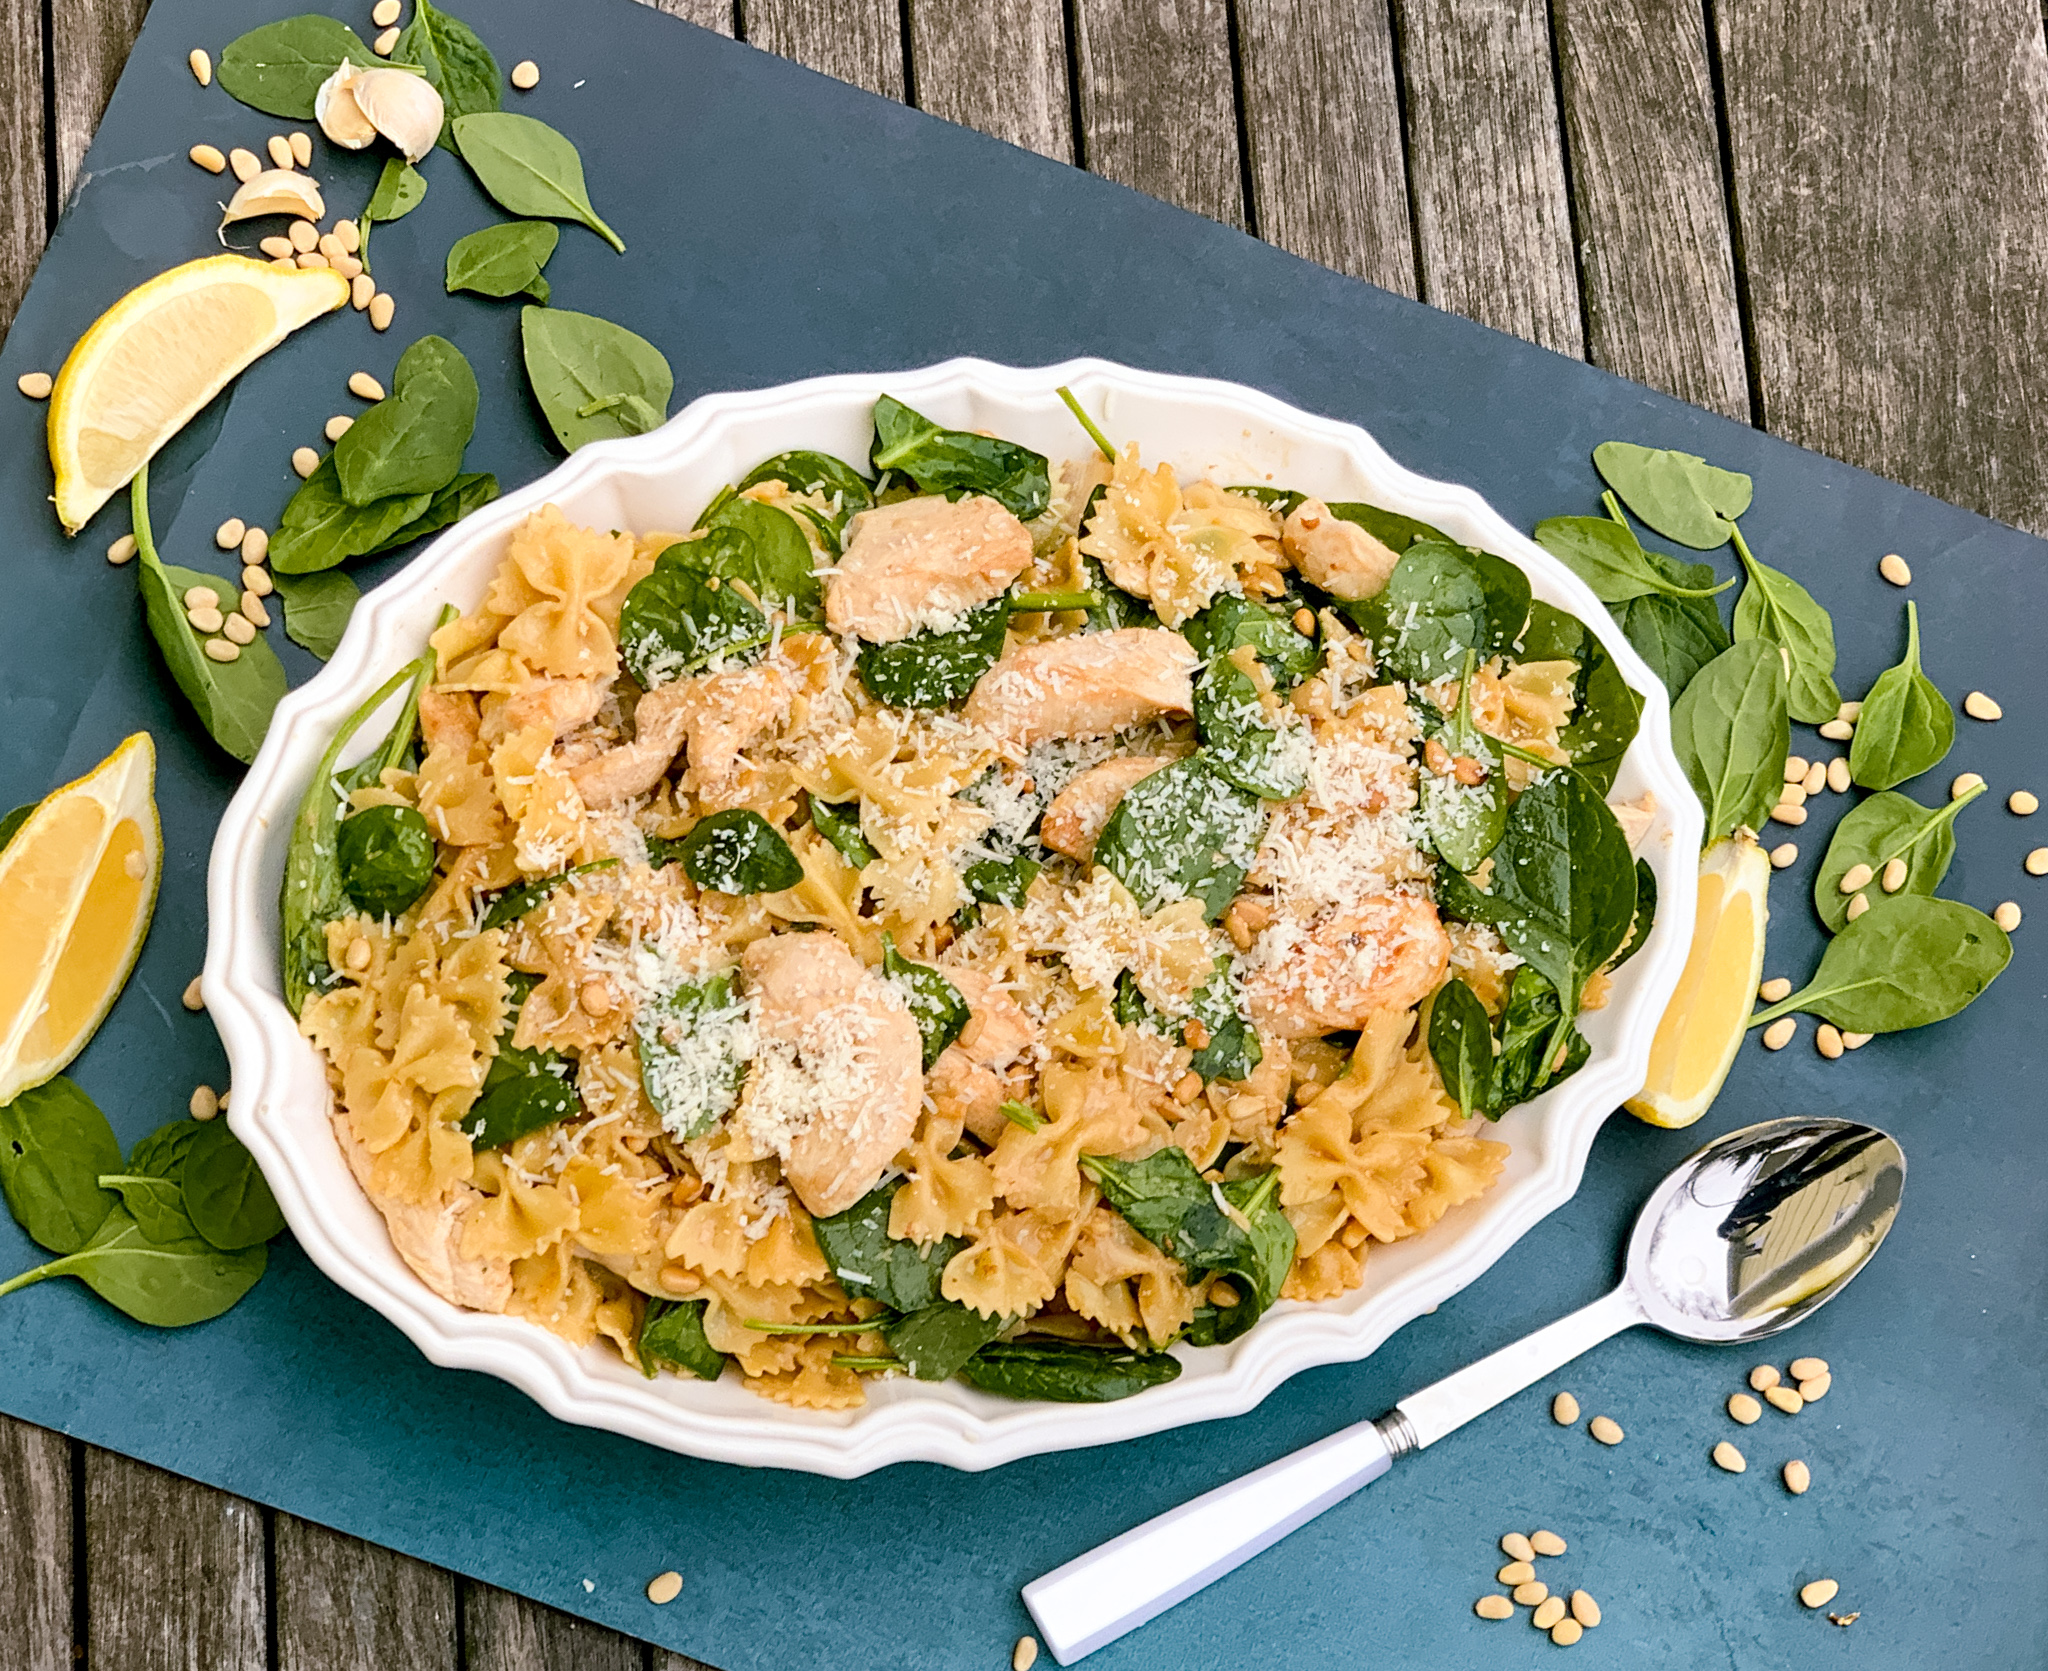
This is one recipe you won’t have to worry about messing up. It is so easy to make, and is packed with delicious, home cooked flavor. The chicken breasts are cooked in butter, giving them a delightful sweet flavor. It is then combined with heavy cream, which adds a creamy, delicate sauce. The sauce is flavored with garlic, pine nuts, and spinach which provide the savory goodness to this dish. The lemon juice and zest delivers a nice tang and the Parmesan cheese makes this dish perfection.

This recipe is courtesy of America’s Test Kitchen and will make a beautiful main dish for 6 to 8 people.

Ingredients for Chicken and Spinach Farfalle:

2 boneless, skinless chicken breasts (about 3/4 lb.), cut crosswise into 1/4″ thick pieces.
Salt and pepper
2 tablespoons unsalted butter
2 garlic cloves, minced
1/2 cup heavy cream 
2 tsp. grated zest and 3 tablespoons juice from 1 lemon
1 lb. farfalle pasta (Bowtie)
1 6oz bag baby spinach
1/2 cup grated Parmesan cheese
1/3 cup pine nuts, toasted

Bring 4 quarts. of water to a boil in a large pot. 

Meanwhile, pat chicken dry with paper towels and season with salt and pepper. 

Melt 1 tablespoon butter in large skillet over medium-high heat. 

Cook half of chicken until no longer pink, about 3 minutes, transfer to plate. 
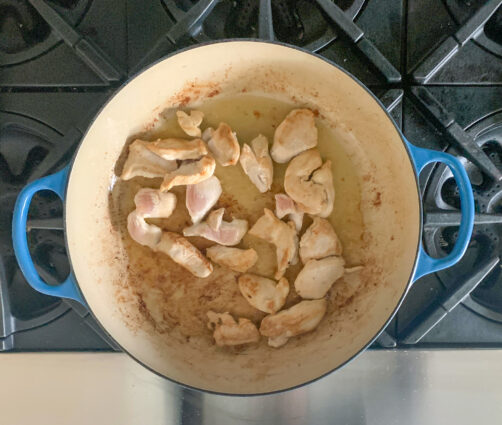
Repeat with remaining butter and chicken. 

Add garlic to empty skillet and cook until fragrant, about 30 seconds. 

Stir in cream, lemon zest and juice, and simmer until sauce is slightly thickened, about 5 minutes. 
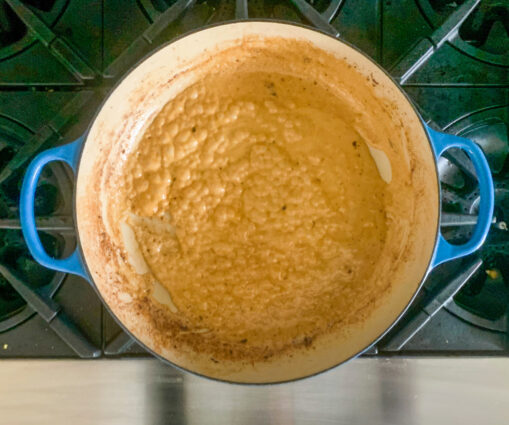
Remove from heat and cover. 

Meanwhile, add 1 tablespoon salt and farfalle to boiling water and cook until al dente. 

Reserve 1/2 cup cooking water, drain pasta, return to pot. 

Toss in spinach.
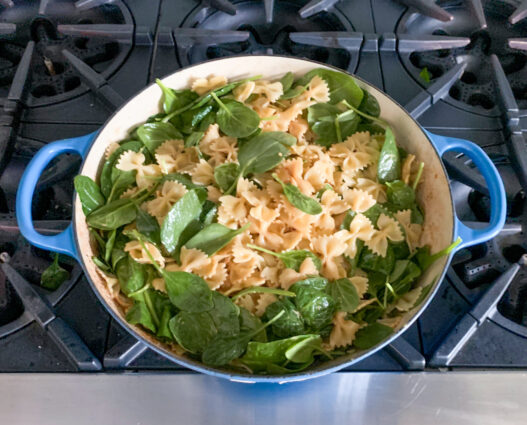
Add Parmesan, pine nuts, and cooked chicken to pot and toss to combine, adding reserved pasta water as needed.
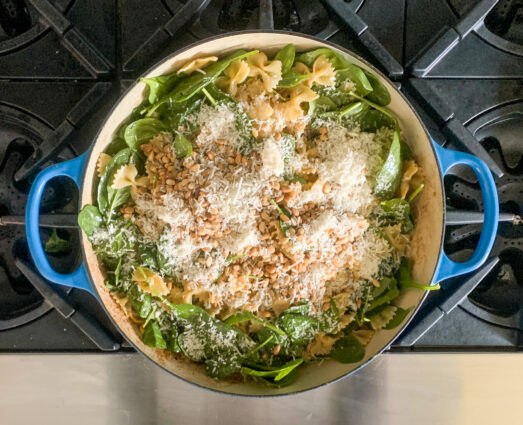
 

Season with salt and pepper. 

Serve. 

It’s that Simple!
 

signature

[recaptcha]


I know I already wrote a blog post about household chores, but stick with me here.  In writing that, I kept thinking about how versatile vinegar is, so consider this part two– all about vinegar From shower heads to windows to microwaves, vinegar is a resourceful cleaner (especially distilled white vinegar) and will save you money as well. Good to know, right? Here are some uses for you.

Microwave: Bring 1/4 cup of vinegar and 1 cup of water to a boil in your microwave. Heat it until you see steam forming on the window. Then carefully take the solution out of the microwave and wipe clean.  The gunk should come off easily.

Automatic coffee makers: Fill the reservoir with white vinegar and run your coffee maker through a full cycle. Pour out the vinegar and refill the pot with plain water and run it through another cycle. Now you will have a fresh clean pot with no bad tasting residue.

Flowers: Yes, you read that correctly. Fresh flowers will last much longer if you add 2 tablespoons of vinegar and 2 tablespoons of sugar to the water. Be sure to change the water as it gets cloudy, and cut the stems too.

Use it as an all-purpose cleaner: Ditch your chemically-based cleaners and fill a spray bottle with one part vinegar and one part water. You can eliminate the vinegar smell if you don’t like it by adding a drop or two of your favorite scented oil. Fresh lemon works well, and it, too is a cleaner because it helps to cut grease and odors.

Stainless Steel: Forget about those expensive cleaners for your stainless-steel appliances. Spray some vinegar straight-up (no water), and then buff with a soft cloth. Your stainless steel will shine like new.

Showerhead cleaner: Put some undiluted vinegar in a plastic bag, and wrap it around your showered. Leave it on for two hours or more, then remove it and run the shower for a minute or two.  Good as new!

Vinegar as a weed killer: I did not know about this, but I am definitely going to try it in my garden next spring. You need to use vinegar with a high acidity (about 20 percent). Apply to areas that weeds grow. Forget about the chemical weed killers, especially if you have pets that go outside near the area that you need to kill the weeds.

Oh, I could go on and on about vinegar and it’s many resourceful uses. it is truly one of the best all-purpose items out there. From cooking to cleaning to personal use, there really are endless uses for vinegar. Of course, balsamic and red wine vinegar, as with all mixed vinegars, are not to be used for cleaning purposes. High acidity vinegar should only be used for cleaning purposes. Apple cider vinegar can be used for both cleaning and cooking, and it has health benefits too.

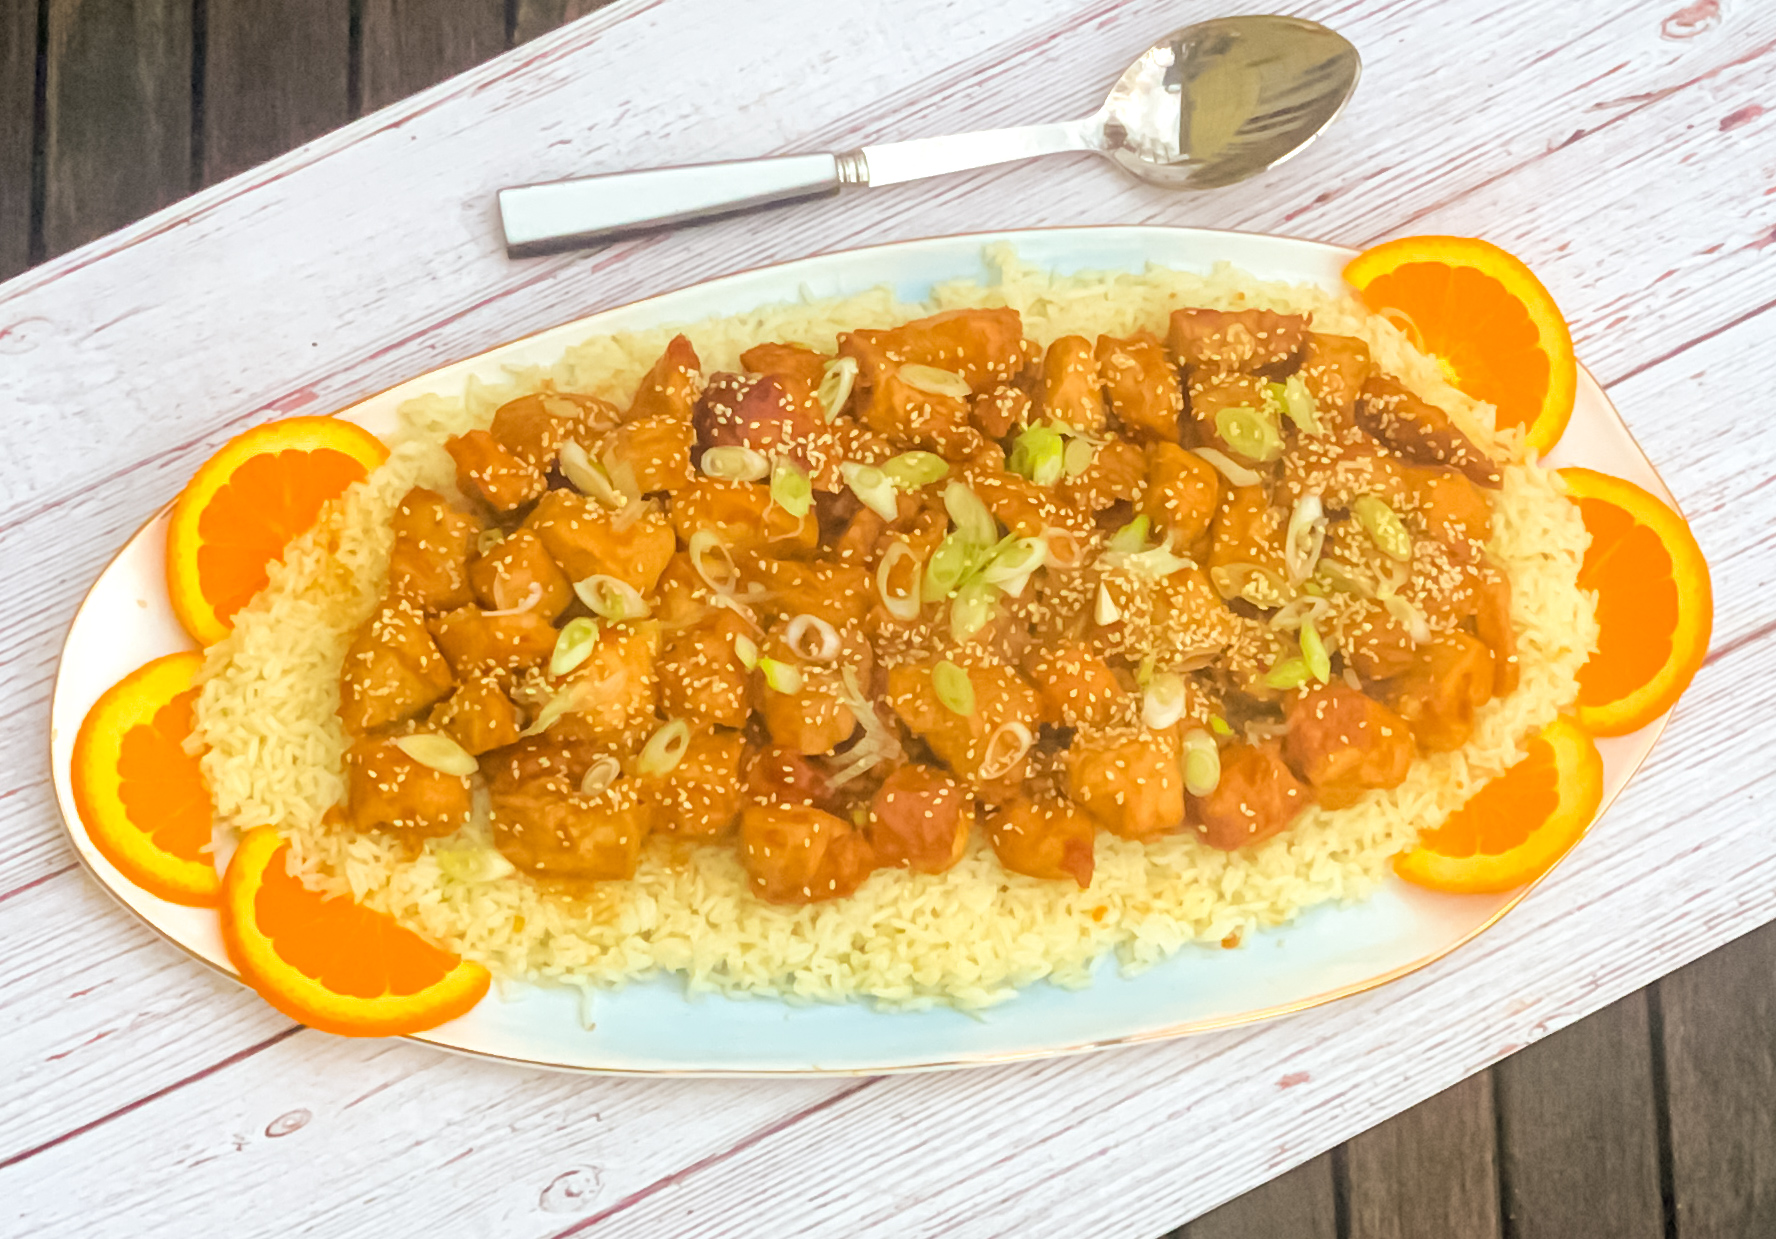
For this dish, we are using rice vinegar, which is a sweet, delicate vinegar that adds a nice tang to any recipe. Rice vinegar is usually found in Asian cuisine. I know we all like our Chinese take-out, but this is a made-at home fresh version, which I recommend highly.  This dish will stand up to even the most delicious take out, and it’s probably healthier too! The soy sauce, hoisin sauce, and rice vinegar give this dish a tangy and sweet flavor. The sesame seeds and oil add authentic seasoning. The chicken is transformed into orange, zesty goodness. The crushed red pepper flakes and garlic give it enough heat to be tasty, but not so much as to overwhelm picky eaters. This dish is so much better than anything you can get in a restaurant. Trust me.

This dish is courtesy of Super Simple, by  Tieghan Gerard and will serve 4 to 6 people who will never order orange chicken again.

Ingredients for Kai’s Favorite Sesame Orange Chicken:

1.5 lbs boneless, skinless chicken breasts cut into bite size pieces. I used chicken breast tenderloins 
4 Tablespoons of Soy Sauce
1/4 Cup of all purpose flour 
1 inch of ginger 
2 garlic cloves, grated (I used minced)
Juice of 1/2 orange
2 Tablespoons of hoisin sauce 
2 Tablespoons of rice vinegar 
1-2 Tablespoons of crushed red pepper flakes 
1 Tablespoon of toasted sesame oil 
2 Tablespoons of olive oil 
2 green onions chopped 
White Rice 
2 Tablespoons of toasted sesame seeds

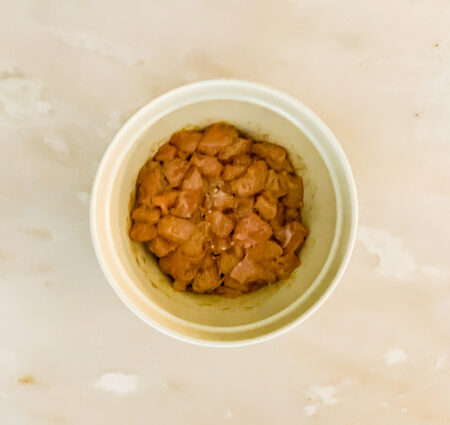
In a medium bowl, combine the chicken, 2 tablespoons of the soy sauce, and the flour.


Toss, making sure the flour had evenly coated the chicken.

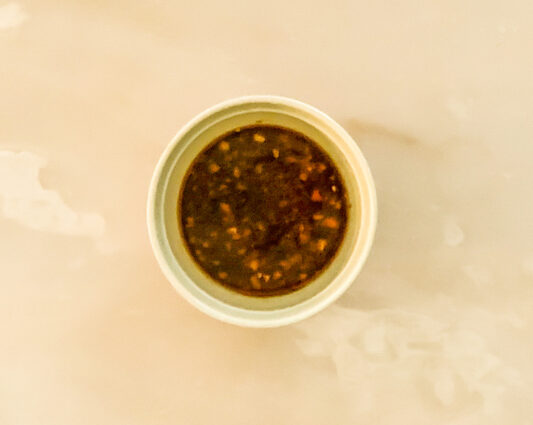
In a small bowl or glass measuring cup, whisk together the remaining 2 tablespoons of soy sauce and the ginger, garlic, orange zest, orange juice, hoisin sauce, vinegar and red pepper flakes, and toasted sesame oil.

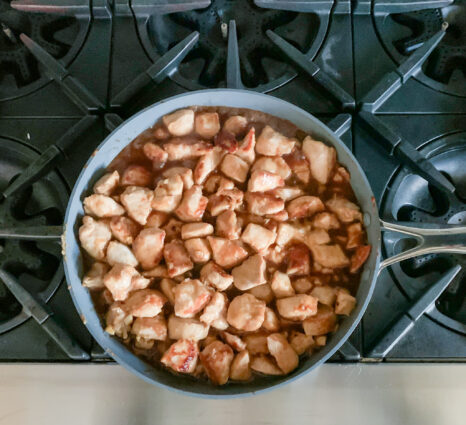
Heat the olive oil in a large skillet over medium-high heat.

When the oil shimmers, add the chicken in an even layer and cook, stirring until browned all over, about 5 minutes.

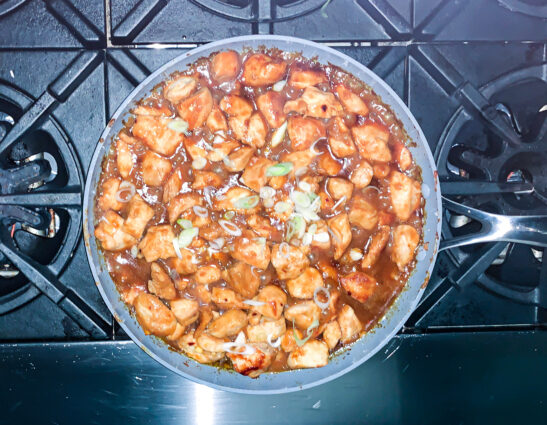
Pour in the sauce and bring to a boil, then reduce the heat to medium-low and simmer, stirring occasionally, until the sauce thickens and the chicken is coated, 5 to 10 minutes.

Remove the skillet from the heat and stir in the green onions.

Serve the chicken over rice and top with more green onions and toasted sesame seeds.

It’s that simple!

signature

[recaptcha]


My mother was a great cook. I have great memories of many of her meals. As I remember now, she had a relatively small repertoire of recipes. We were never served broccoli, cauliflower or eggplant. Corn on the cob and green beans from a can are two of the vegetables I remember. She also had a pretty strict routine for her cooking. Wednesday was spaghetti and meatballs Thursday was veal, Friday was fried chicken (oh so good), Sunday was steak, get how it goes here? Even her holiday menus were routine. As a young child, I never got tired of it, and always looked forward to her meals. 

For the first few years, after I was married, I never cooked. My husband was not always home for dinner, and I wasn’t going to just cook for myself. It wasn’t until I had children, that I really needed to start cooking. I began cooking basically the same way my mom did, but my repertoire grew instinctually. I found that I really enjoyed it and hungrily (no pun intended) looked up recipes.

During this lockdown, I find that I am actually cooking more simply. Of course my son’s appetites are simple, and they don’t need anything fancy. When I do actually prepare a more complicated meal, I end up giving it away. I am excited to share this recipe with you, because it was finally one my family loved and it is so easy to prepare.

This is a really simple way to make chicken Parmesan, because everything is store bought and comes together effortlessly. The chicken soaks up the flavor of the marinara sauce beautifully. The crushed red pepper flakes give it just the right amount of heat. The basil and the garlic adds a nice savory touch and the Parmesan and mozzarella are the perfect topping for this delectable dish.

This recipe is courtesy of Allrecipes and will serve 6 people who will definitely be asking for seconds!

Ingredients for Parmesan Chicken Bake:

2 tablespoons olive oil
2 cloves garlic, crushed and finely chopped
¼ teaspoon crushed red pepper flakes, or to taste
6 skinless, boneless chicken breast halves
2 cups prepared marinara sauce
¼ cup chopped fresh basil
1 (8 ounce) package shredded mozzarella cheese, divided
½ cup grated Parmesan cheese, divided
1 (5 ounce) package garlic croutons 

Preheat oven to 350 degrees F (175 degrees C).

Coat the bottom of a 9×13 inch casserole dish with olive oil, and sprinkle with garlic and hot red pepper flakes.

Arrange the chicken breasts in bottom of the dish. 

Pour marinara sauce over chicken and sprinkle with basil.

Top with half the mozzarella cheese, followed by half the Parmesan cheese.

Sprinkle on the croutons.  

Top with the remaining mozzarella cheese and remaining Parmesan cheese. I used up the rest of the marinara sauce as well.

Bake in preheated oven until cheese and croutons are golden brown and the chicken is no longer pink inside, about 35 minutes to an hour, depending on the shape and thickness of your chicken breasts.

An instant-read thermometer inserted into the thickest part of a chicken breast should read at least 160 degrees F (70 degrees C).

It’s that simple!


signature

[recaptcha]


Food is now so important to us, it has become inspirational at times. Our connection to food has grown stronger as we’ve come to understand how it influences our physical and mental health. Dinner is not just a meal, it is an important place for families to gather, talk, laugh, and share stories.

Because of advancements in agriculture and food science, food is now more enriching, nourishing, and pleasant to all of our senses. Food can conjure memories of distant times and places, and best of all, it doesn’t have to be fancy food: a beautiful dish placed in front of you at a fancy restaurant can mean as much as a homecooked dish that has been in your family for years. It makes no difference if it is served on priceless china or your grandmother’s old fiestaware.  Food has surpassed a means of survival, it has become an experience.

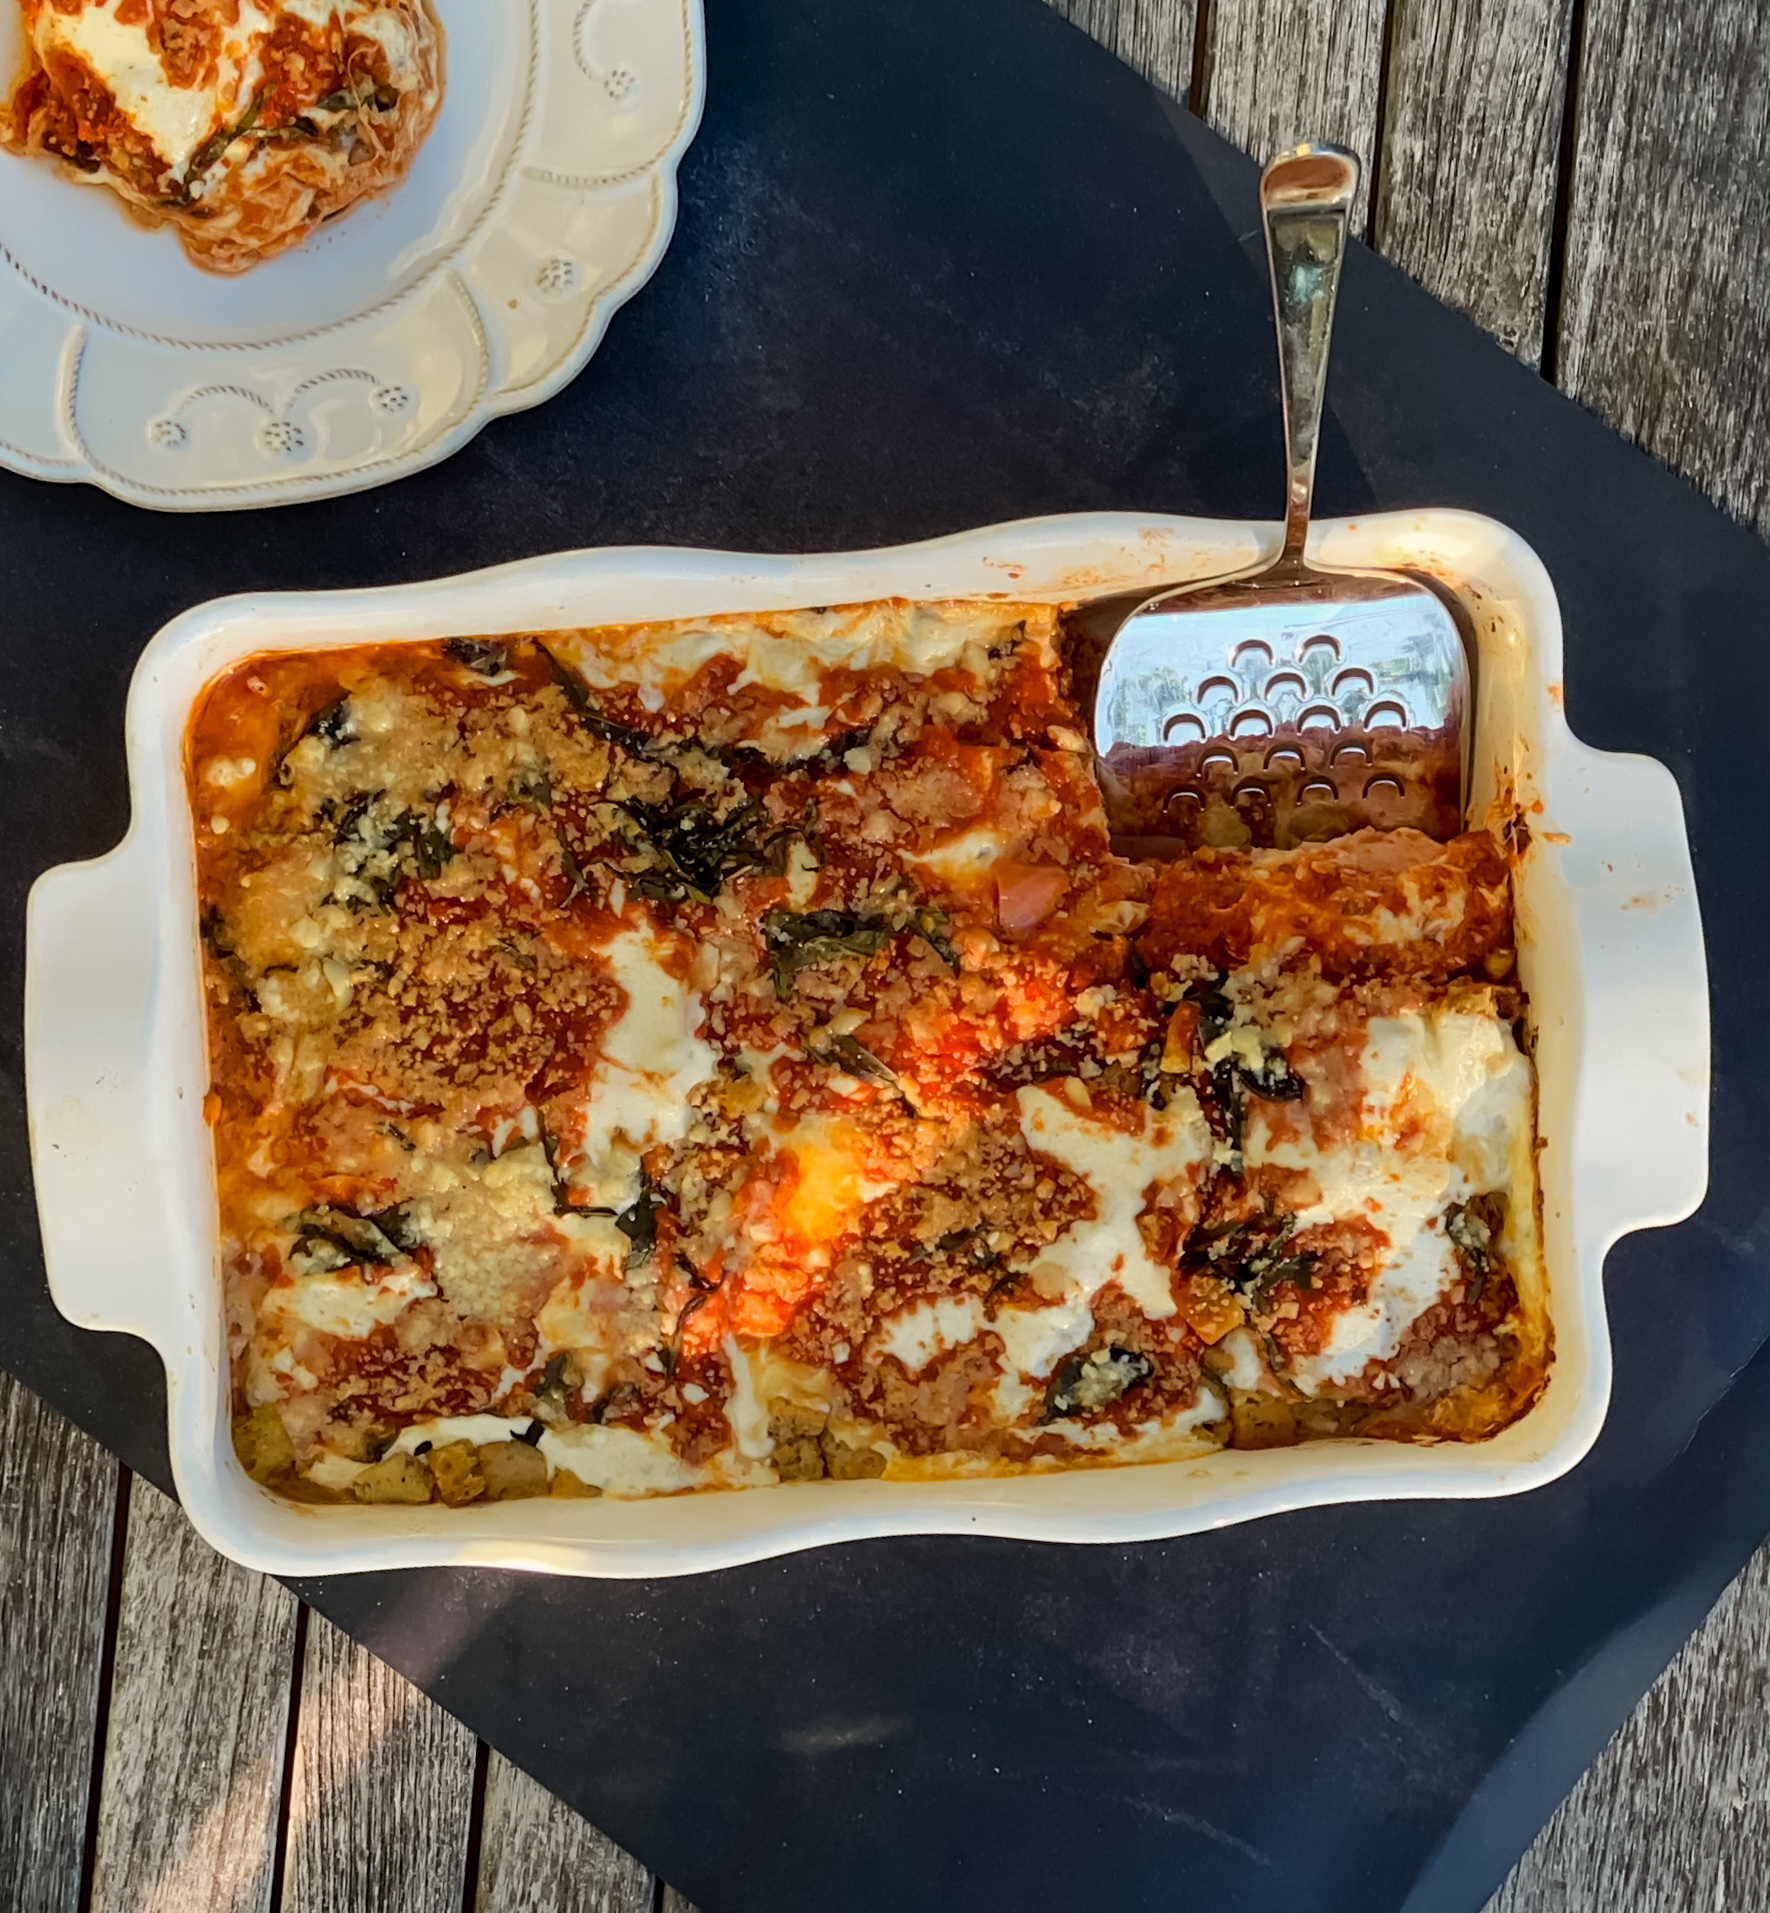
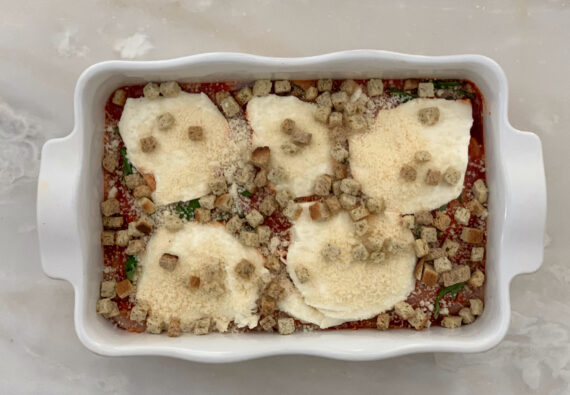
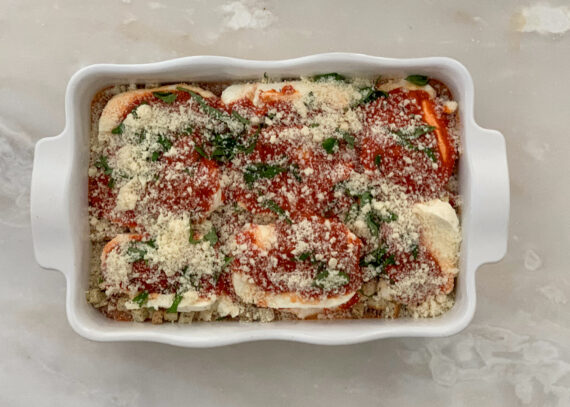
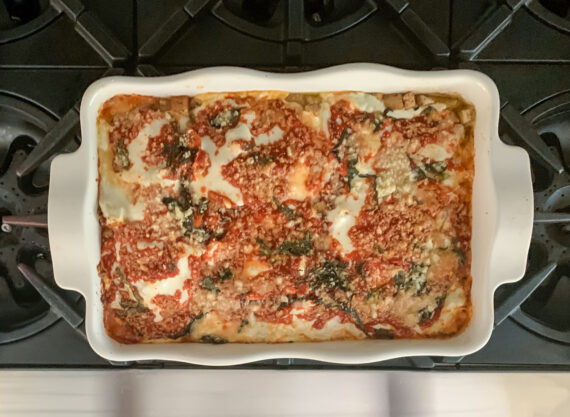
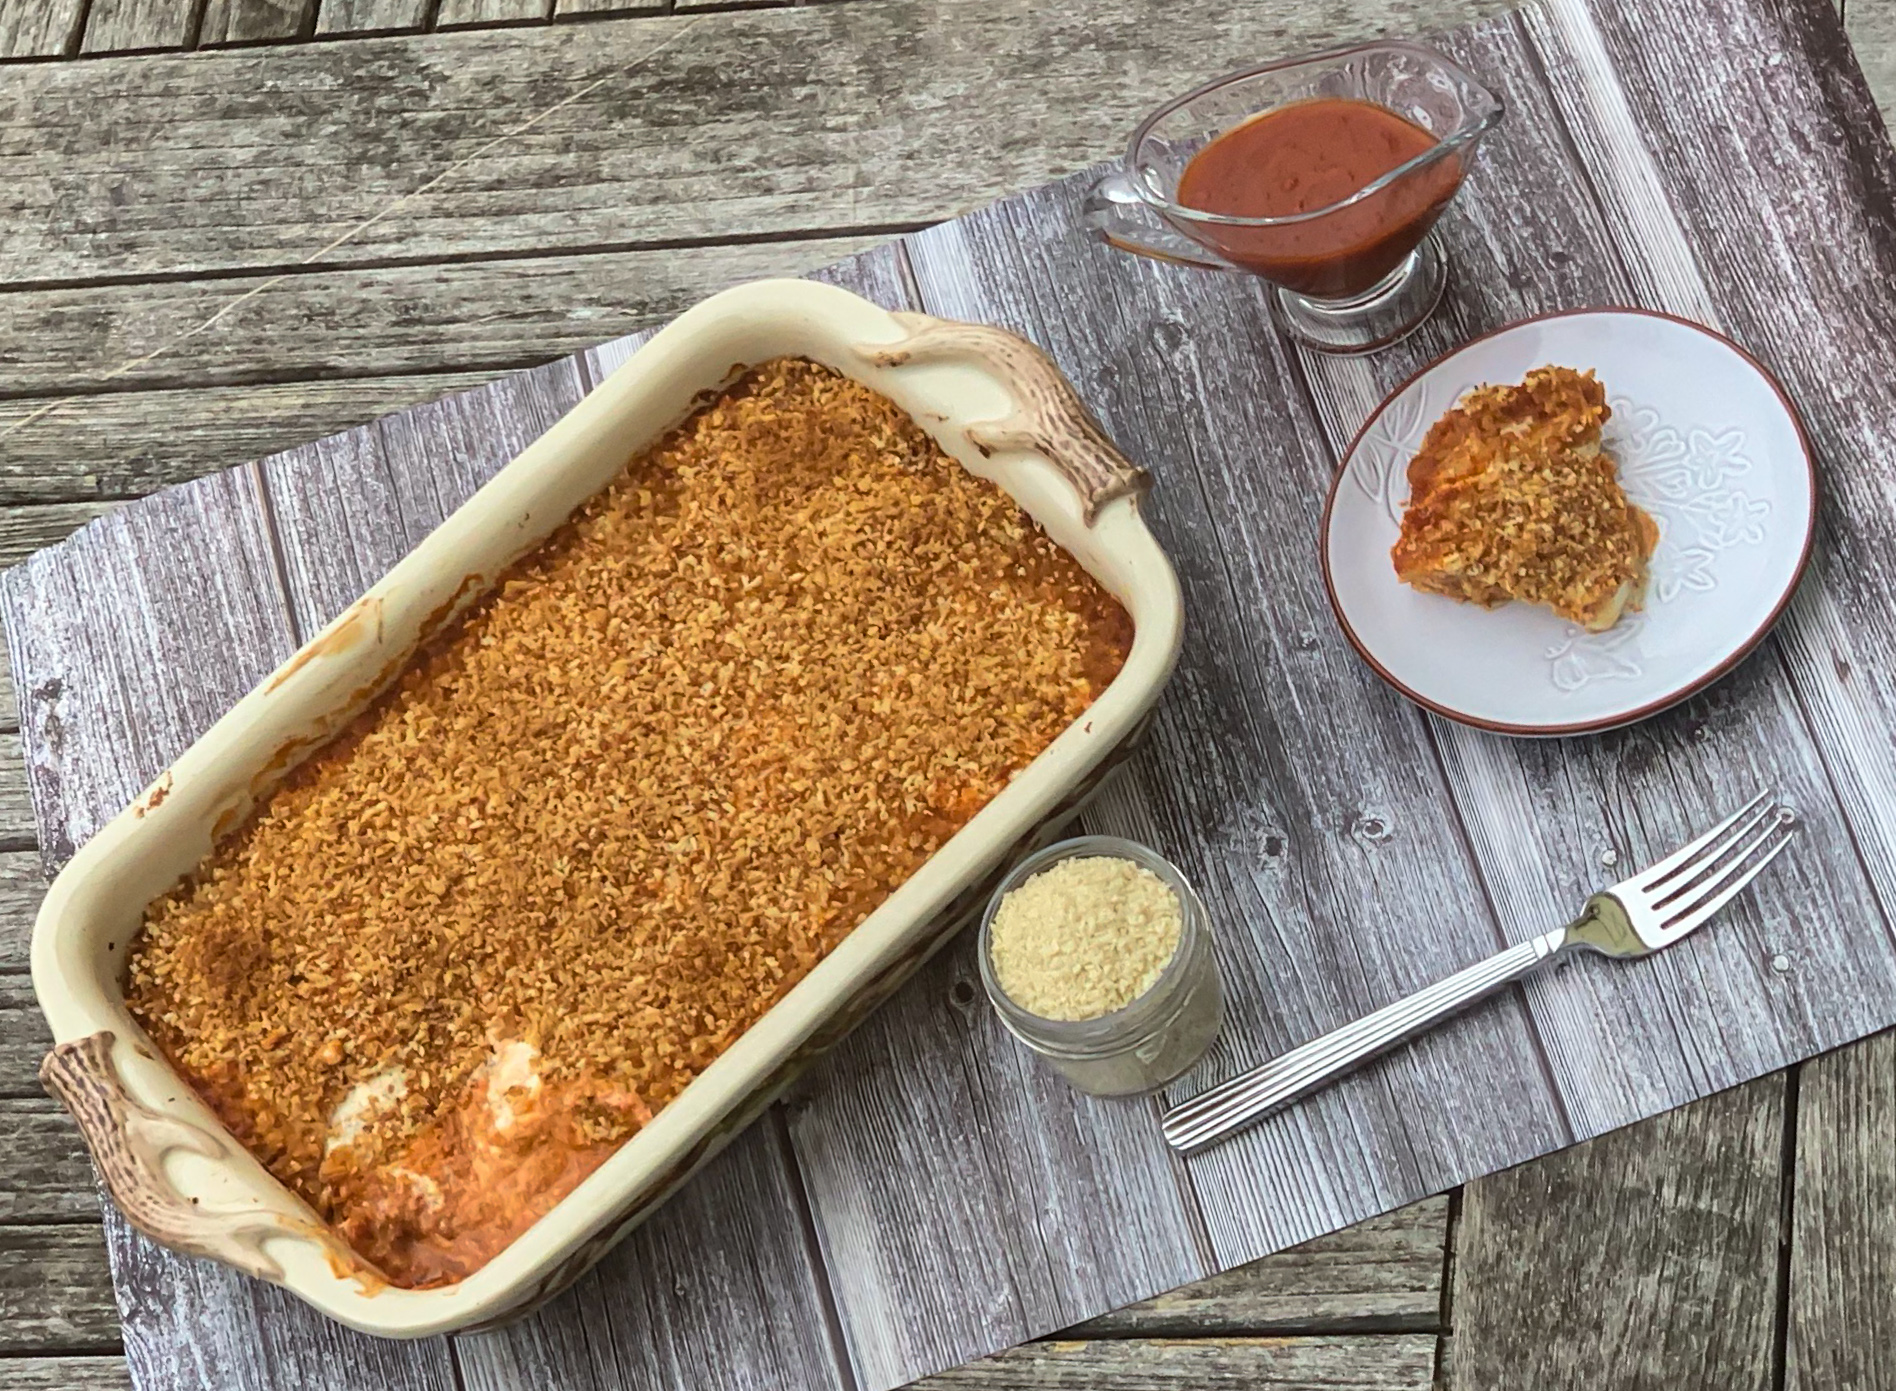
During these times, I think we are all in need of  a little comfort food. It may be pasta with some butter on it, pizza, or a bowl of nice homemade chicken soup. For some of you it could be your mother’s lasagna. If it is, then this is a perfect accompaniment. The chicken bakes up beautifully in the luscious sauce. The combination of cheeses is so gratifying and luxurious. The panko crumbs add another layer of texture and crunch. Whether you make your own pasta sauce or purchase it from the store, this dish will be perfection.

This recipe is courtesy of Cooks Country and will serve 6 people who will enjoy a little taste of home.

Ingredients for Baked Ricotta Chicken

For the breadcrumbs:

I doubled this.

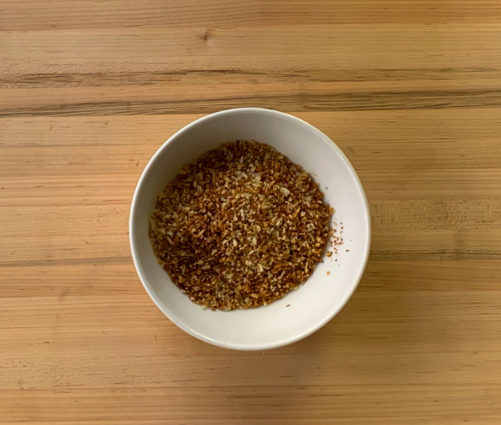
½ cup panko bread crumbs
1 tablespoon extra-virgin olive oil
⅛ teaspoon salt
⅛ teaspoon pepper

For the chicken:

8 ounces (1 cup) whole-milk ricotta cheese
1 ½ ounces Parmesan cheese, grated (3/4 cup)
1 teaspoon dried oregano
Salt and pepper
¼ cup extra-virgin olive oil
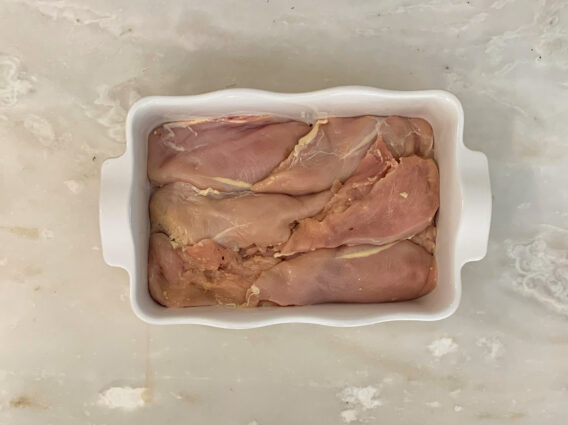
4 (6- to 8-ounce) boneless, skinless chicken breasts, trimmed and pounded 1/2 inch thick
1 ½ cups jarred pasta sauce
2 tablespoons coarsely chopped fresh basil

 Make the breadcrumbs:

Combine all ingredients in bowl.

Microwave until panko is light golden brown, 1 to 2 minutes, stirring occasionally; set aside.

Make the chicken:

 Adjust oven rack to upper-middle position and heat oven to 425 degrees.

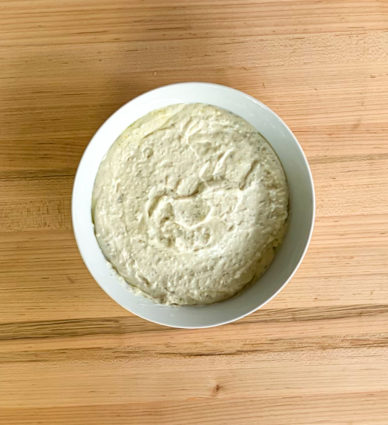
 Process ricotta, Parmesan, oregano, 1/4 teaspoon salt, and 1/4 teaspoon pepper in food processor until smooth, about 10 seconds.

 With processor running, slowly add 3 tablespoons oil until incorporated; transfer ricotta mixture to bowl and set aside.

Pat chicken dry with paper towels and season with salt and pepper.

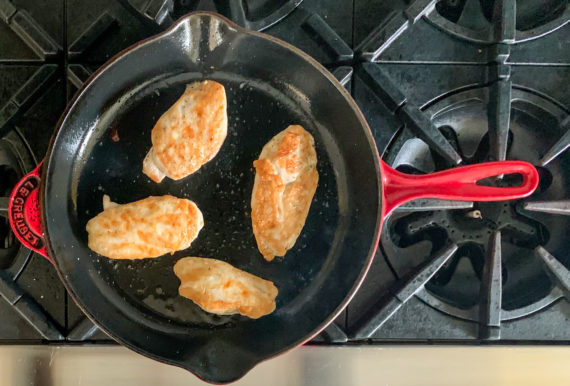
 Heat remaining 1 tablespoon oil in 12-inch skillet over medium heat until shimmering.

 Add chicken and cook until browned on both sides, about 6 minutes.

Do not overcrowd pan, chicken will not brown properly.

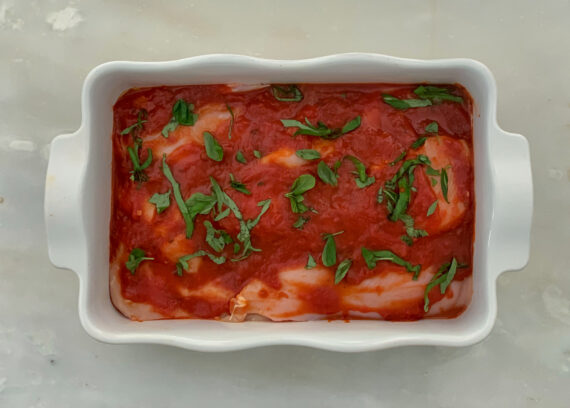
 Evenly spread ¾ cup sauce in bottom of 13 by 9-inch baking dish.

 Transfer chicken to dish, shingling breasts in center of dish on top of sauce.

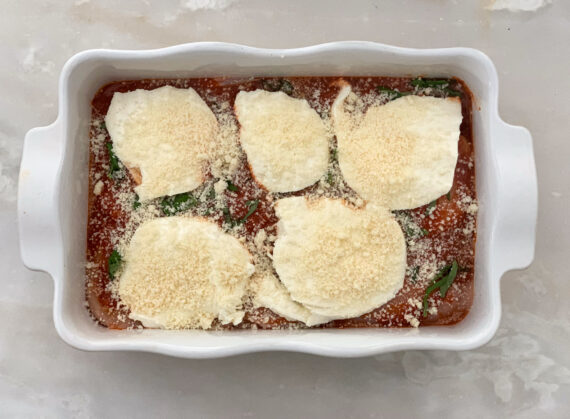
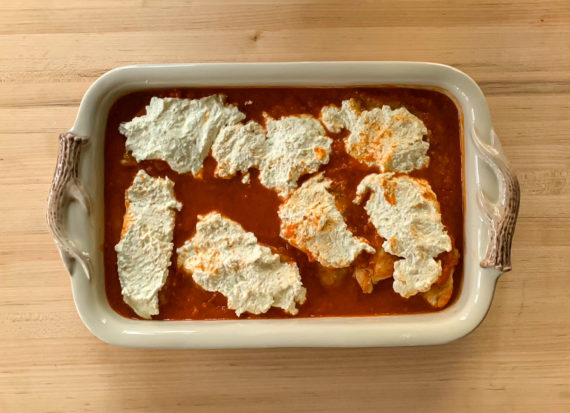
 Pour remaining 3/4 cup sauce over chicken, then top each piece with 1/3 cup ricotta mixture.

I had extra chicken, so I just put them all in the pan.

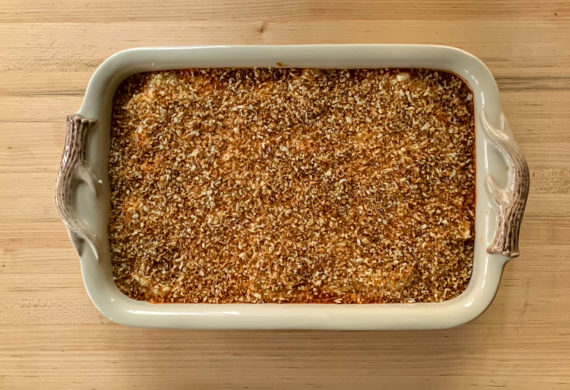
 Sprinkle chicken evenly with panko mixture.

 Bake until chicken registers 160 degrees, about 15 minutes.

 Sprinkle with basil and serve.

(I did not have basil and it was still delicious!)

 It’s that simple!


signature

[recaptcha]


Have you ever been served a soggy salad? So have I.  The sad, unappealing lettuce haunts my nightmares. Even if you put the lettuce through a salad spinner, it does not dry completely. Some of the water stays on the lettuce, and when you prepare a salad with it, you are adding the water as well. You need to make sure all of the ingredients you wash are dried thoroughly so your salad does not come out mushy. People who do not understand this need to be enlightened.

I prefer to “dress” my salads so that they have a thin coat of dressing that makes the salad bright and glistening. If you overdress, the salad will be goopy and wilted. It will have a heavy, thick liquid, that, when combined with the water, will create a dish that is visually unappealing as well as unappetizing. It is important to add the dressing in small amounts, just until the salad is bright and shiny. You can always place some dressing on the side for the guest who prefers more, but please educate them as you do.

For this salad, I halved the amount of mayonnaise and added some mustard to lighten it up. It still has that creamy goodness, just less of a heavy mayo flavor. I also used chicken thigh meat, because it is more moist and just tastes better than white meat. It is perfect on a bed of lettuce, baguette, or in a sandwich.

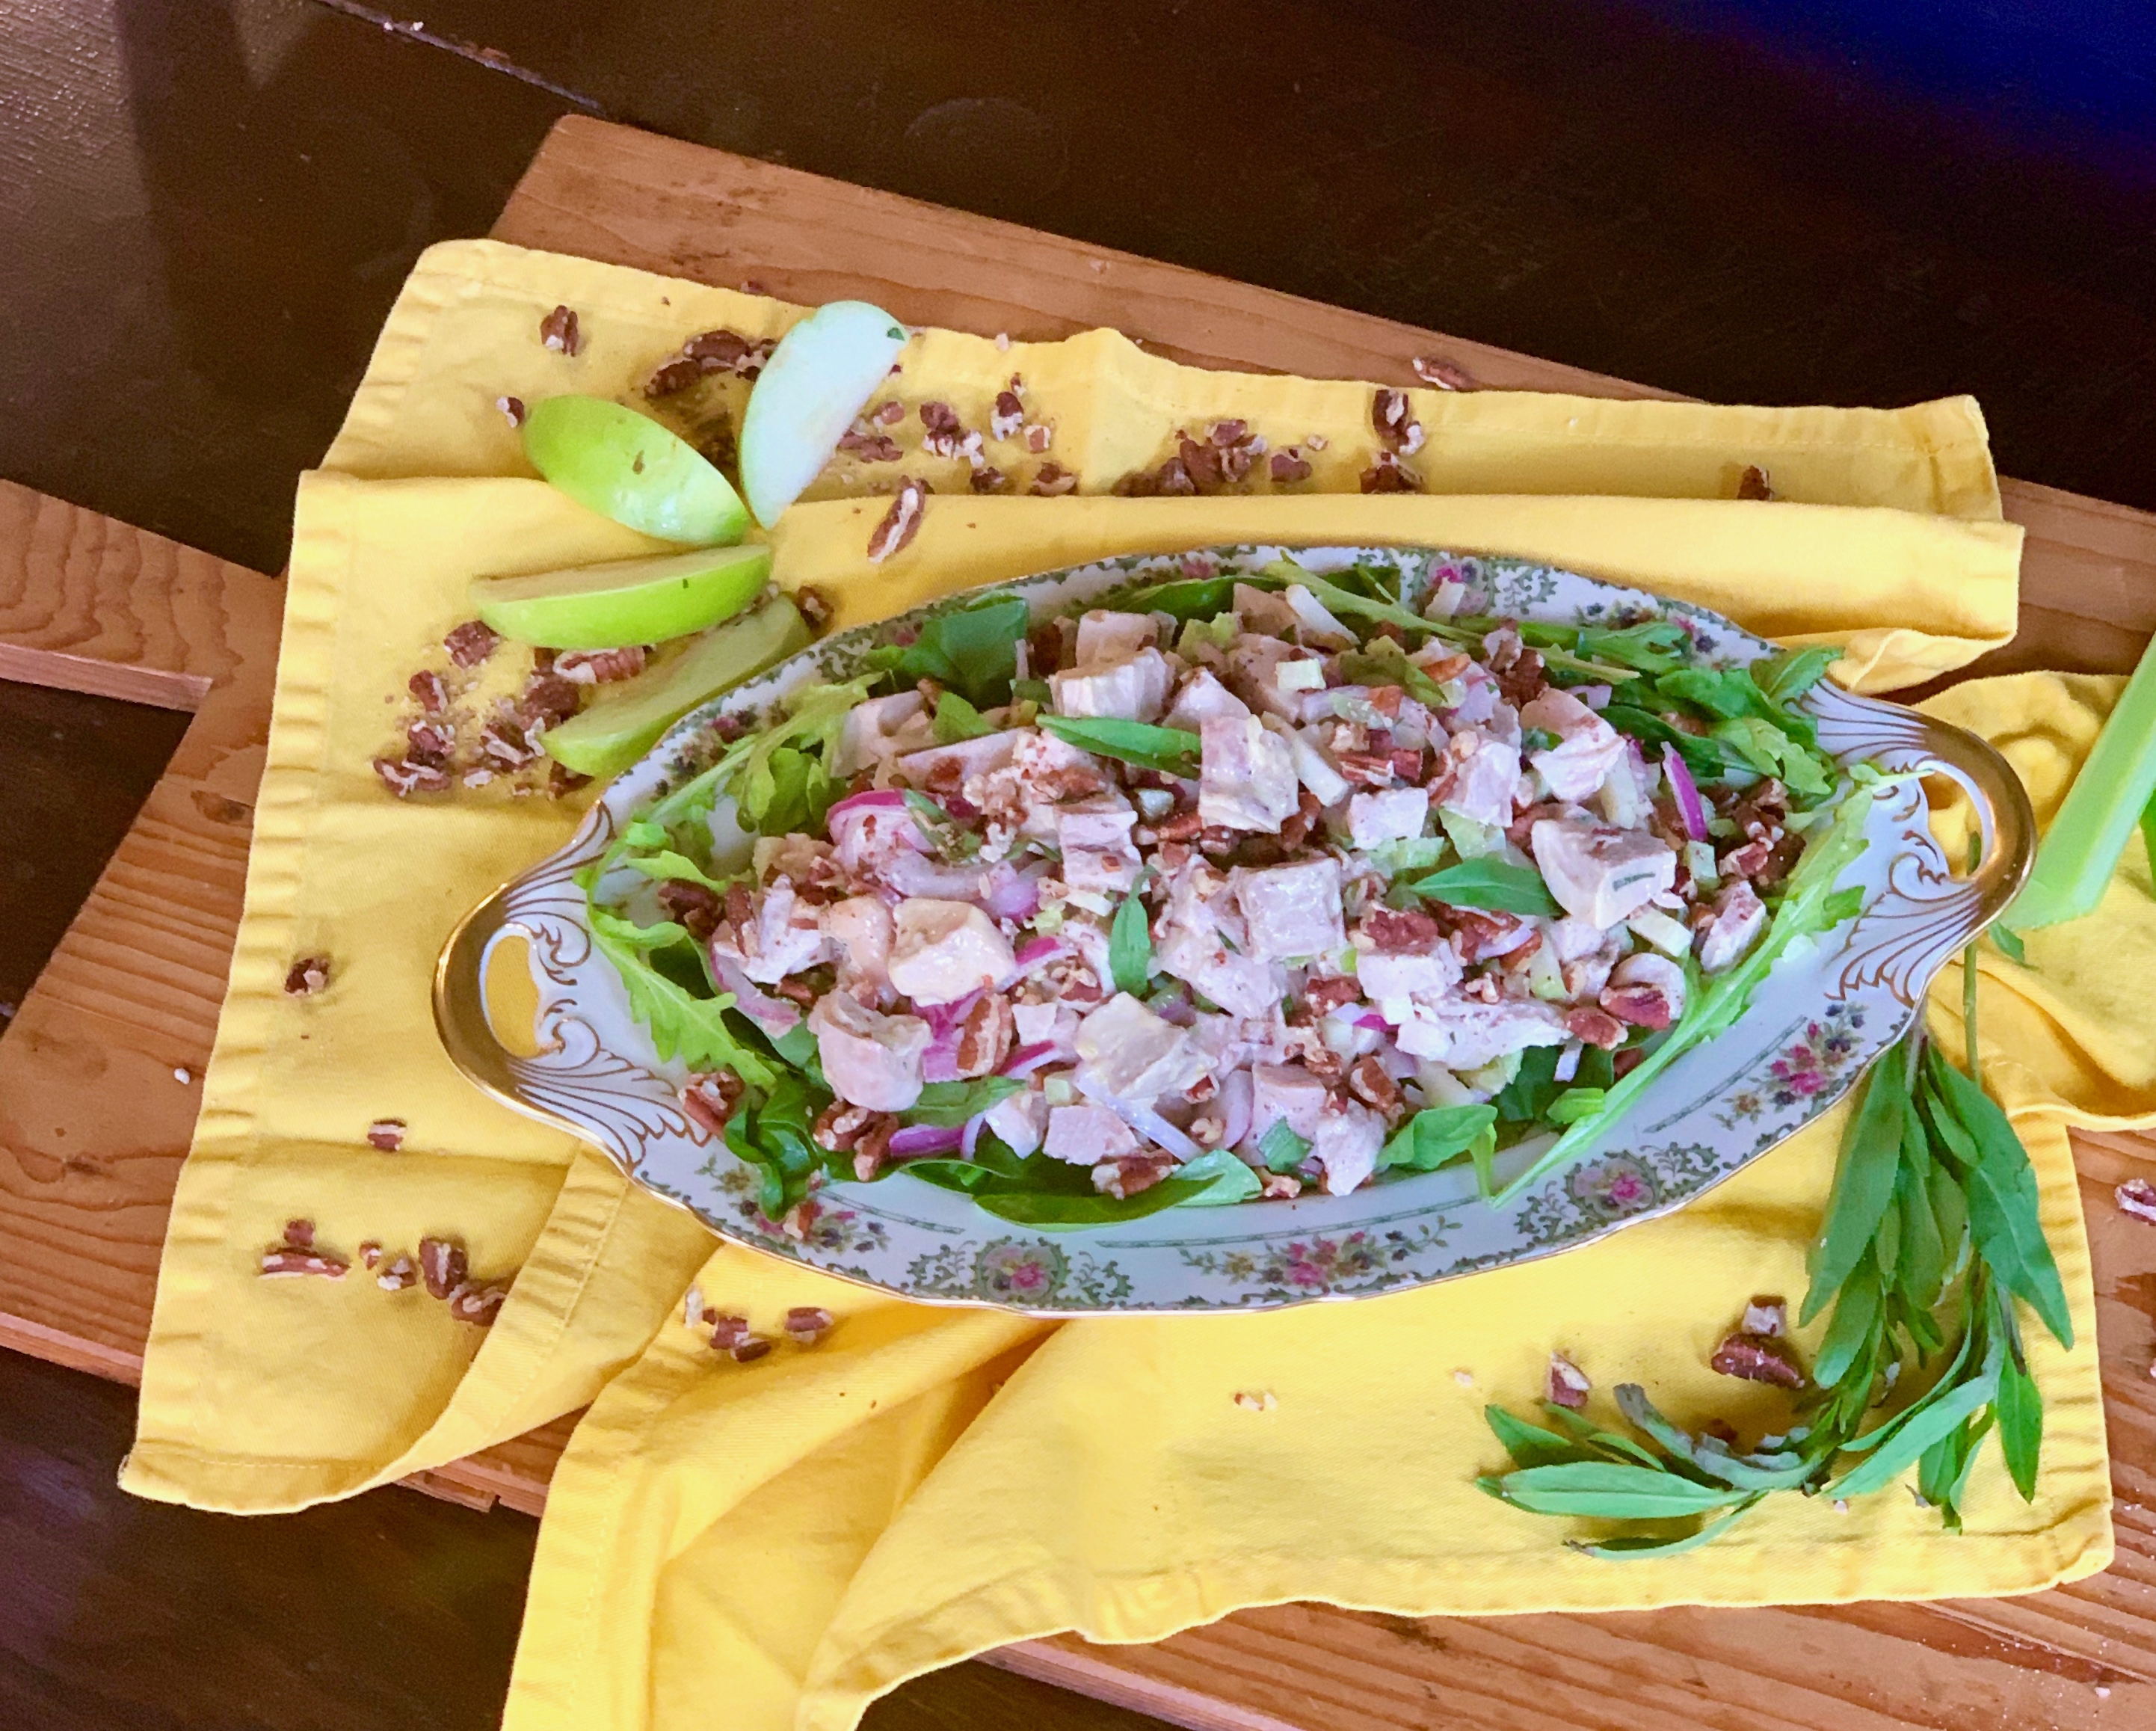
This salad has become one of my favorites. It is a classic that combines juicy, tender bites of chicken with ingredients that complement it. The mustard and tarragon give it a savory essence. The onions and celery make every bite crunchy, and the apples complete this salad with a little bit of tang. It is super easy to make, and really is chicken salad perfection.

This recipe will serve 4 to 6 people who will adore every bite of this (not overdressed) salad.

 Ingredients for Tarragon Chicken Salad:

3 cups chopped cooked chicken thighs
1/2 cup red onion, thinly sliced
1 1/2 cup Granny Smith apples, diced
1 cup celery, diced
1/2 cup mayonnaise
1/4 cup whole grain mustard
3 tablespoons fresh tarragon, chopped
1 cup toasted pecans, chopped
2 tablespoons fresh lemon juice
1 teaspoon lemon zest
Kosher salt
Freshly ground black pepper

Preheat oven to 350 degrees F.

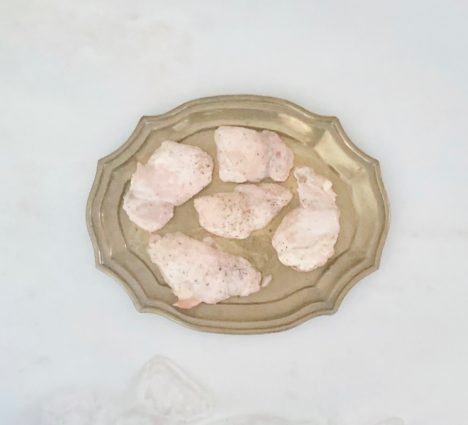
Trim any fat off of chicken thighs.

Line a baking sheet with parchment paper.

Place chicken thighs on baking sheet.

Set timer and bake for 20-25 minutes.

Place chopped pecans on another baking sheet lined with parchment paper (or you could just use a small aluminum pan for easier clean-up).

Set new timer and roast in the same oven as chicken for 5 to 8 minutes. 

Do not forget about the pecans!

When chicken is finished, cut into 1-inch cubes.

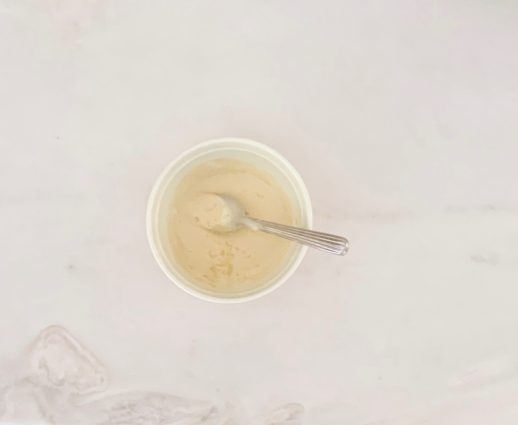
Whisk together the mayonnaise, whole grain mustard, lemon zest, and juice in a small bowl.

Set aside.

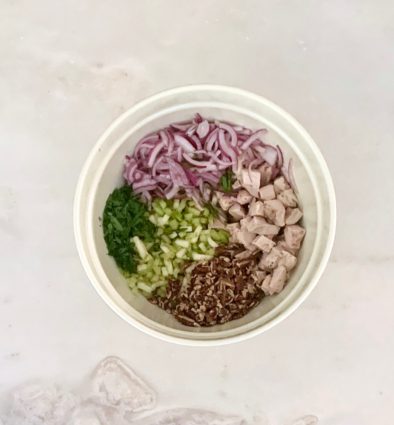
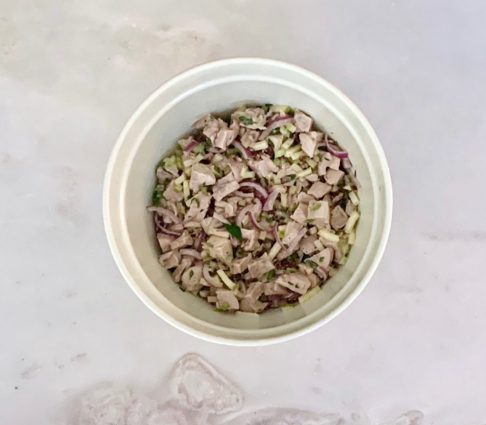
In a large bowl, mix together the chicken, 1/2 cup pecans, celery, onion, tarragon, and apples.

Slowly begin to add the dressing, small amounts at a time, until salad is lightly coated.

Taste, taste, taste!

Add more dressing as needed, bearing in mind that you do not want to overdress.

Now add salt and pepper to taste.

I recommend at least 1 teaspoon or more of the salt, and 1/2 teaspoon of the pepper, but you are the best judge.

Cover and chill for 2 to 24 hours to allow flavors to combine.

Sprinkle with remaining pecans.

It’s that simple!


signature

[recaptcha]