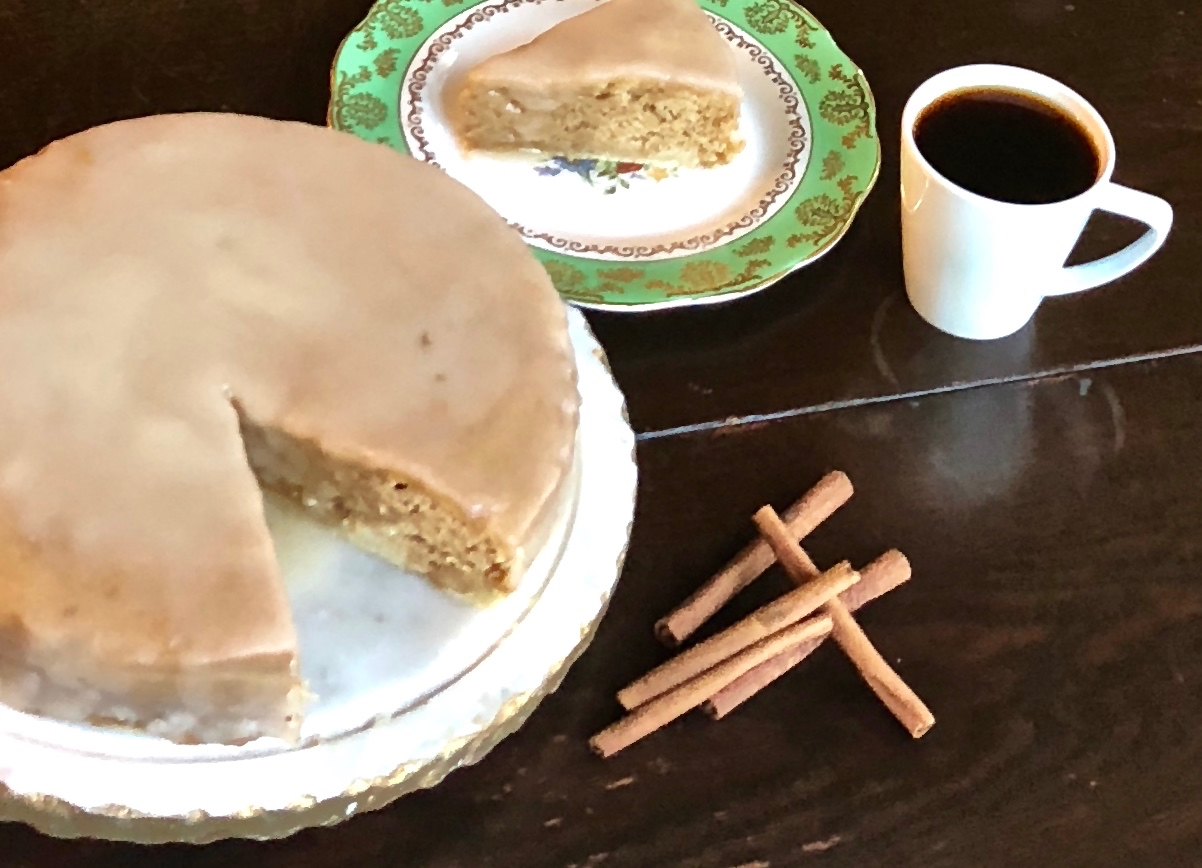
When I was growing up, my mother always had coffee cake in the house because she entertained regularly. There were even times when people would just show up after dinner unannounced, and she was always prepared. Impromptu company is not as common for me, but I can’t resist making a good coffee cake from time to time.

Coffee cake can be made many different ways. It is usually topped with things like cinnamon and sugar, glaze, nuts or raisins. It can come in different shapes such as round, rectangular or square. Some of the more intricate ones have a streusel swirl in them or are filled with fruit, nuts or chocolate.

When I was younger, I wondered why it is called coffee cake when it isn’t made with coffee.Turns out, it’s actually because it is usually eaten in the morning or after dinner with a good cup of coffee.They were thought to have originated in Germany. Now these little snack cakes are popular here because they are very easy to make and taste wonderful. These days everything seem to have its own celebration day, so FYI, National Coffee Cake Day is April 7th!

This coffee cake comes out so moist and delicious. Every single bite is luxurious and oh, so satisfying. There is scrumptious cinnamon every time you bite into it. The glaze is added sweet delishiness and tops the cake to give it a beautiful presentation. It is so easy to make and I am sure you have all the ingredients in your pantry. 

This recipe is courtesy of Dinner then Dessert and will serve 12 people who just might start popping over unexpectedly after dinner.

Ingredients for Cinnamon Roll Coffee Cake

3 cups flour
1/2 tsp. salt
1 cup sugar
4 tsp. baking powder
1 1/2 cup milk
2 eggs
4 tsp. vanilla
1 stick butter – melted
1 cup brown sugar
1 tbsp. cinnamon
3 cups powdered sugar
1 tsp. vanilla
1-2 tbsp. water

Preheat oven to 350°F.

Mix flour, salt, sugar, baking powder with a whisk. 
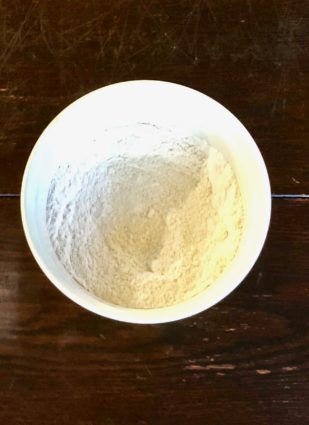
In a separate bowl, mix the milk, eggs and vanilla.

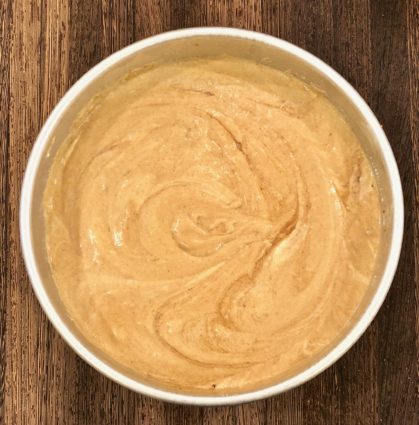
Mix the wet and dry together, then add in the melted butter.

Mix until well combined.
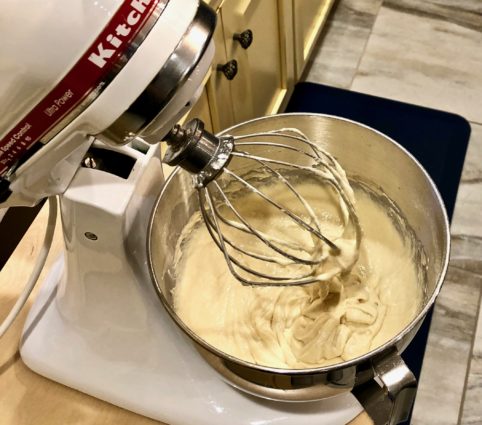
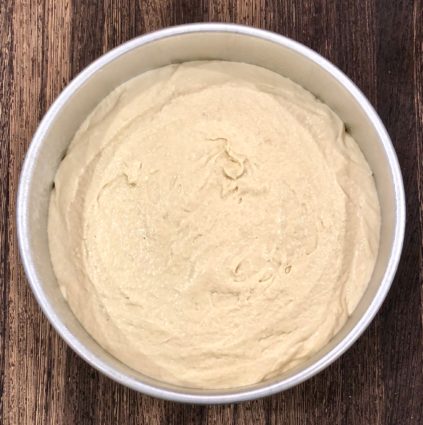
Use baking spray to spray a rectangular cake pan, 9 x 13-inch, then pour the batter evenly into the pan.
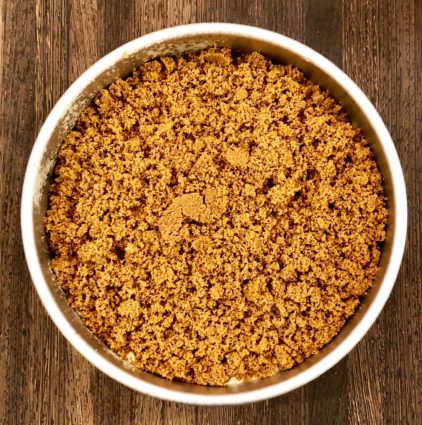
Mix brown sugar and cinnamon together and spread evenly on the cake. Use a knife or fork to swirl the sugar and cinnamon into the batter. 
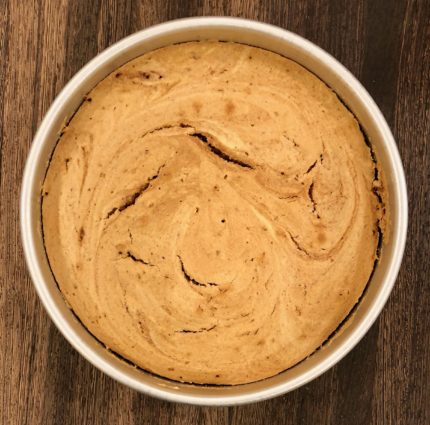
Bake for 30 minutes, let cool completely.
Mix the powdered sugar, 1 teaspoon vanilla and water until it is a consistency like pancake syrup.

Pour over the cake and it will set into a harder glaze.

Enjoy with a fantastic cup of coffee.

It’s that simple!

signature

[recaptcha]


Because I have an extensive guest list for Thanksgiving, I have to start thinking about it very far in advance, and I do! Right about now I begin to think of a theme for the holiday festivities. In the past, each year I think of a specific idea and buy my decorations accordingly. But as the years have gone by and more people started coming every year, it became harder to think of different themes.

Further than that, I began to realize the themes took away from the significance of Thanksgiving itself. Because I have so many great-nieces and nephews now, I thought this is what we should be celebrating. I always emphasize the importance of giving thanks, appreciating all we have and the value of family being together. 

What I do now is pick a color scheme I would like and create an ambiance with. I have already chosen one for this year and I know it will be beautiful.

I will be posting many recipes from now until the holidays that I think would be great to use, whether you are entertaining or not. I will try to create a list of them early on so you can plan and decide which ones you would like to use!

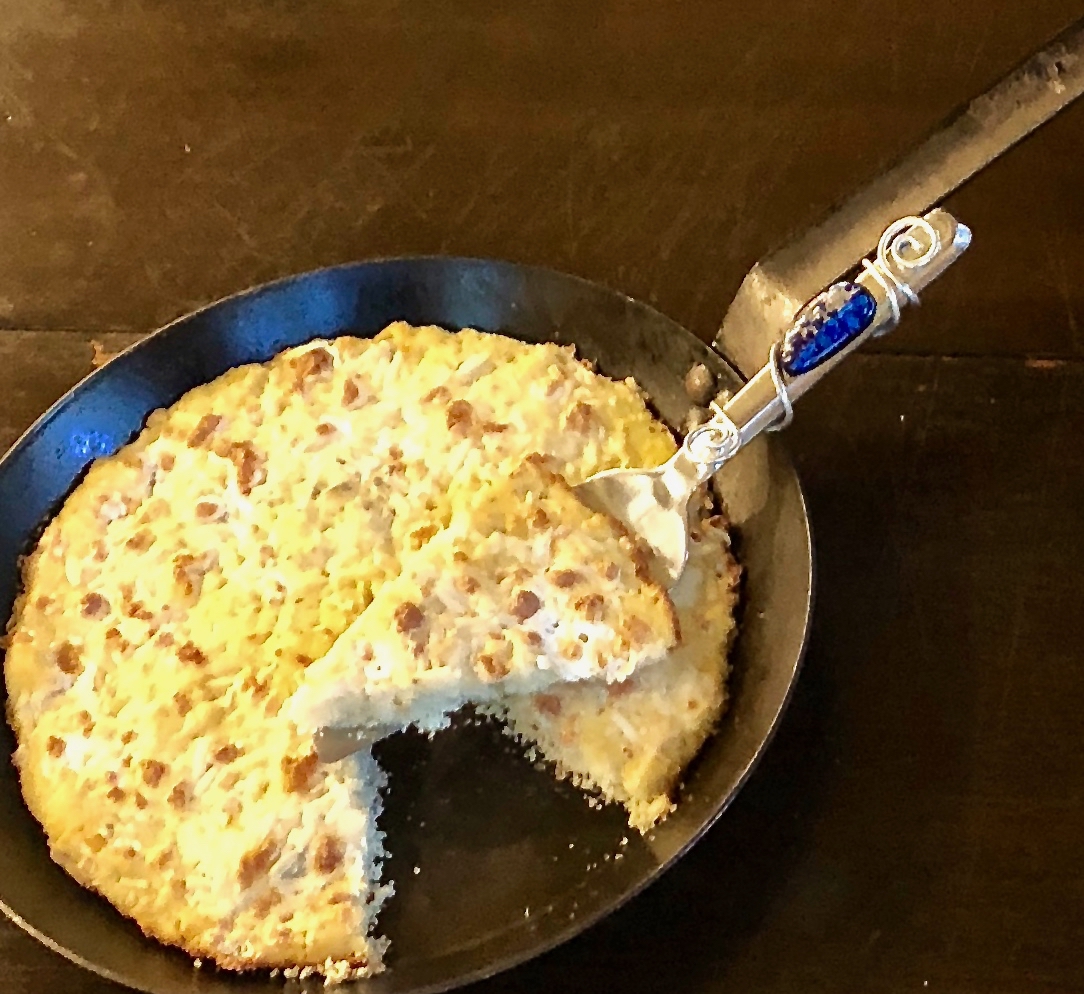
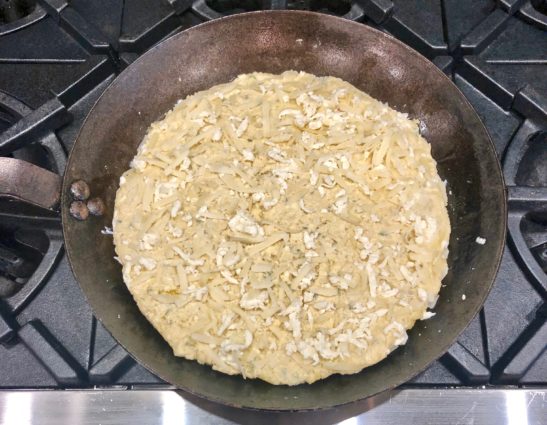
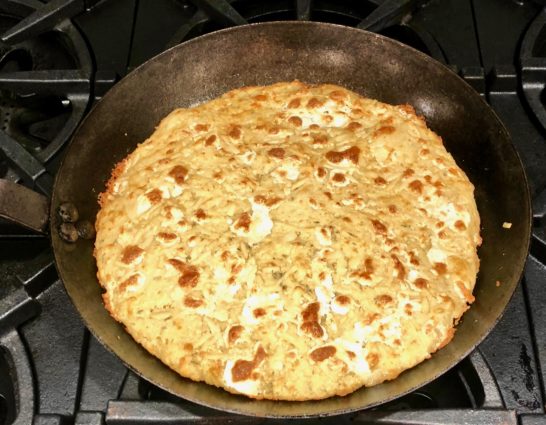
This cornbread is perfect for your holiday menu. It comes out so moist and delicious. The addition of cheeses gives it a nice, gooey texture. The rosemary and thyme add a savory fragrance. If every day leading up to your holiday is as hectic as mine, you will appreciate how easy it is to make.

This recipe is courtesy of Tasteofhome and will serve 8 people who will devour every last bite.

 Ingredients for Herb and Olive Oil Cornbread

3/4 cup cornmeal
1/2 cup all-purpose flour
1 tbsp. sugar
1 tbsp. grated Parmesan cheese
1 1/2 tsp. baking powder
1 tsp. minced fresh rosemary or 1/4 tsp. dried rosemary, crushed
1 tsp. minced fresh thyme or 1/4 tsp. dried thyme
1/2 tsp. salt
1 large egg
3/4 cup buttermilk
3 tbsp. good olive oil, divided
1/2 cup plus 2 tbs. shredded Italian cheese blend, divided

Preheat oven to 425°F.

Place an 8-inch cast iron skillet in oven; heat skillet 10 minutes.

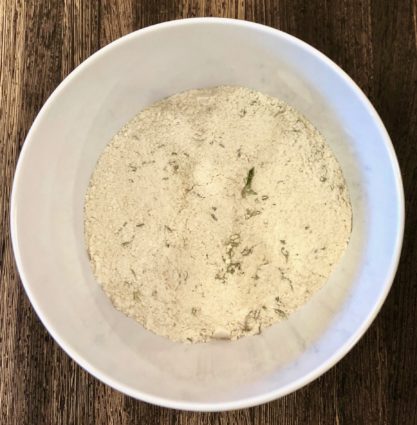
Meanwhile, in a large bowl, whisk the first eight ingredients. 

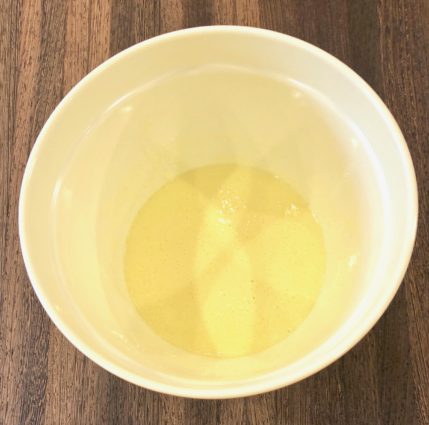
In another bowl, whisk egg, buttermilk, and 2 tablespoons olive oil until blended.

Add to the cornmeal mixture; stir just until moistened.

Stir in 1/2 cup cheese.

Carefully remove hot skillet from oven.

Add the remaining oil to skillet; tilt pan to coat bottom and sides.

Add batter, spreading it evenly.

Sprinkle with the remaining cheese.

Bake 12-15 minutes or until golden brown and a toothpick inserted in center comes out clean. 

Cut into wedges and serve warm.

It’s that simple!

My beautiful orchid!

signature

[recaptcha]


Fresh produce is always the best choice when cooking. Using ingredients that you know have not come in contact with pesticides or other artificial substances is an excellent way of improving your health. You should also always try to avoid packaged foods, as they contain a lot of food dye, sugar or artificial sweeteners. Did you know that if “natural flavors” is listed under ingredients it is actually full of GMOs? A GMO is a plant, animal or organism whose makeup is modified in a laboratory using genetic engineering.

A general rule of thumb when looking at an ingredient list: anything you can’t pronounce is going to be bad for you. Some examples are erythrosine (food coloring), glyphosate (a chemical used to kill weeds) potassium benzoate (a preservative used to prevent mold from growing), and butylated hydroxyanisole (potentially cancer-causing preservative, and who can pronounce that?). You could be consuming these chemicals without even knowing! Is your stomach turning yet?

Oftentimes, processed foods and canned foods have many additives that are unacceptable and unhealthy for you. Although it will take a little more time, reading labels at the grocery store can help you make better choices. Not only do fresh ingredients provide more nutrients compared to processed foods, they also deliver truer flavor.

The purpose of food is to nourish you, so you should always buy fresh when you can. If you can’t buy fresh, buy frozen.

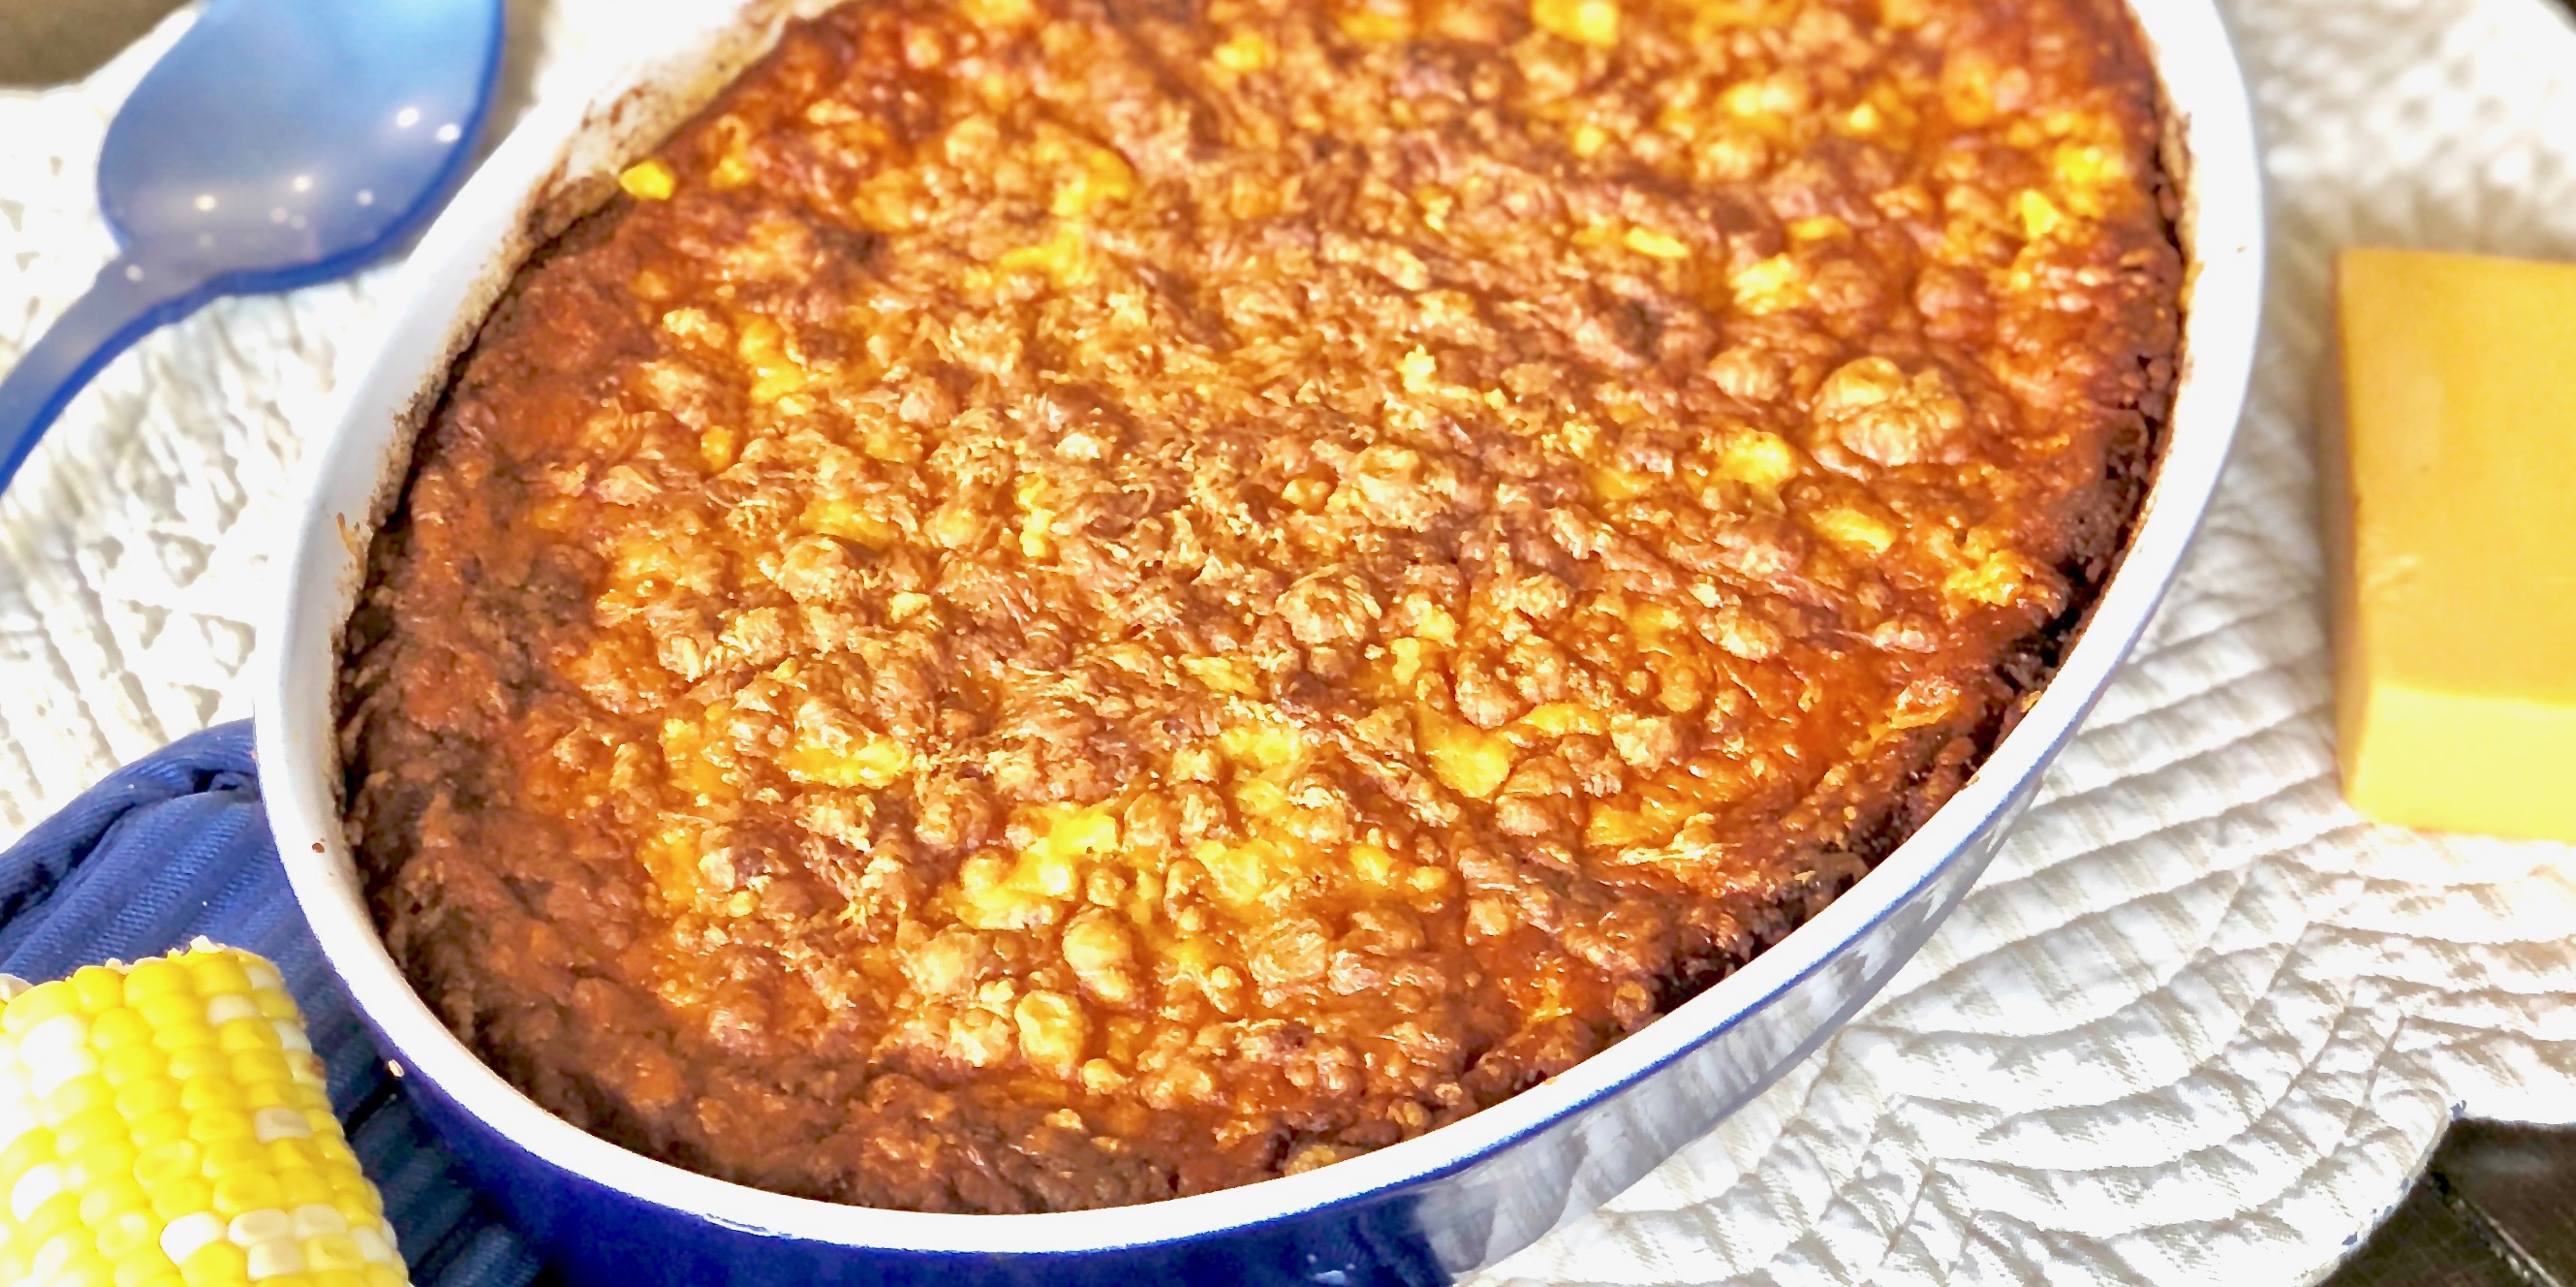
This dish offers natural and valuable nutrients, not to mention is it delicious! The sweet corn and cheddar cheese combination provide a sharp contrast that will tease and excite your taste buds. The eggs make it light and fluffy, and the jalapeno gives it the perfect amount of heat. Everything is favorable about this splendid, satisfying dish. This is one I am going to make again and again. By the way, it does not have cream in it!

This recipe is courtesy of Delish.com and will serve 6 people who will go corn-crazy! 

Ingredients for Baked Creamed Corn

Cooking Spray

8 slices bacon, cooked and chopped
3 cups corn kernels, (fresh, or frozen and thawed)
1/4 cup all-purpose flour
2 cups cheddar cheese, shredded
1 jalapeno, minced
1 tbsp. sugar
2 large eggs, lightly beaten
1/4 cup melted butter
1 cup milk
1 tsp. kosher salt
1/2 tsp. freshly ground black pepper

Preheat oven to 375°F.

In a medium skillet over medium heat, cook bacon until crisp.

Transfer to a paper towel-lined plate, drain.

Spray a baking dish with cooking spray.

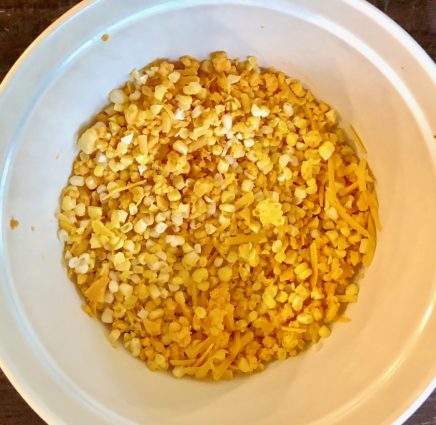
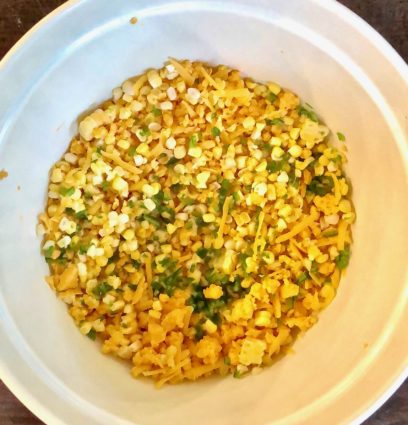
Add corn, flour, 1 1/2 cups cheddar cheese, sugar.

Add jalapeno.

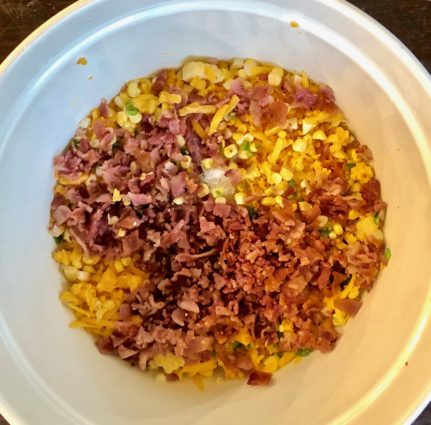
Add bacon.

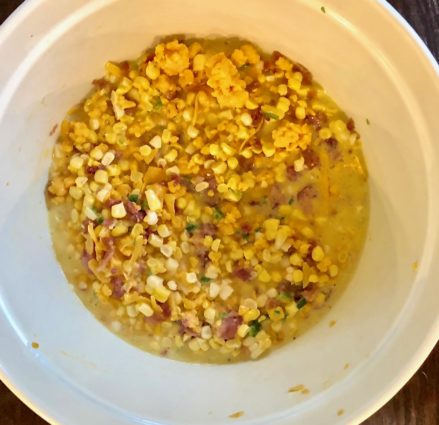
Pour in eggs, butter, and milk.

Season generously with salt and pepper and mix together until combined.

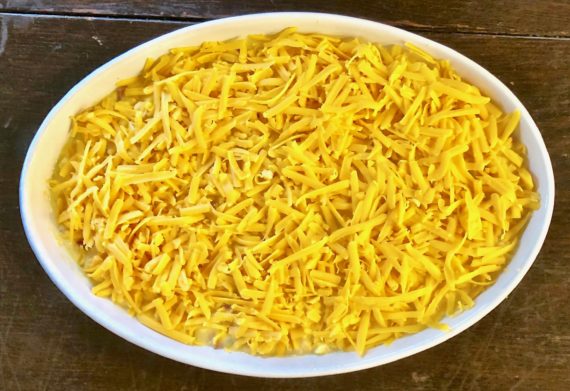
Top with remaining 1/2 cup cheddar.

Bake 1 hour, then let cool 20 minutes to firm up.

It’s that simple! 
Flowers from my garden

signature

[recaptcha]


The best thing to do during the summer months is take things outside and use your grill. Juicy burgers and steaks are summer staples, my mouth waters just thinking about them. You can grill your favorite vegetables, too! Instead of pasta, try spiralizing zucchini, squash or sweet potatoes. You can even grill summer fruit like peaches, pineapple or watermelon. The grilling process can caramelize the natural sugar, making them even more sweet and delightful.

Summer is the time for salads, fruity desserts, and frosty drinks. It is great to have lemonade or iced tea on hand so I make a pitcher or two a week. What I enjoy even more is whipping up some frosty margaritas, daiquiris or Pina Coladas. Here’s a tip: you can use your leftover berries to make pies or jam!

This dessert or snack is perfect for summer because you do not need to use your oven. These Special K bars are almost too easy to make. Inside is peanut butter combined with sweet delights like maple syrup and honey, then it is topped with a chocolatey shell. Are you drooling yet? Just place it in the fridge and you have a crunchy, enticing surprise that no one will be able to pass up!

This recipe is courtesy of Half Baked Harvest, by Tieghan Gerard. All of her recipes are so special. This one will make 18 to 20 bars, and trust me it is impossible to just have one!

Ingredients for Mom’s Special K Bars

Nonstick cooking spray, for greasing
1 cup creamy peanut butter
1/2 cup honey
1/2 cup pure maple syrup
1/2 cup sugar
6 heaping cups cornflakes
3 to 4 cups semisweet chocolate chips, melted

Grease a 9 x 13-inch pan with cooking spray.

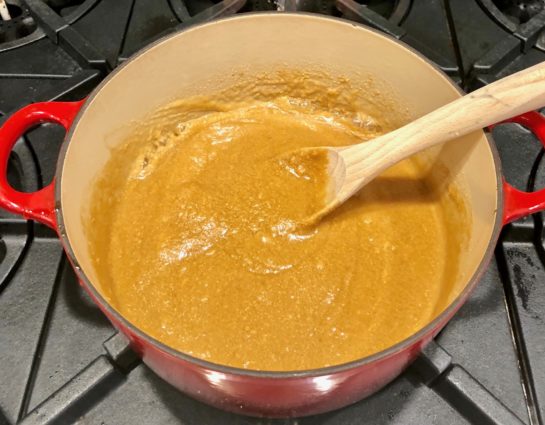
In a large pot, combine the peanut butter, honey, maple syrup, and sugar.

Cook over medium heat, stirring until the mixture begins to bubble and the sugar has dissolved about 5 minutes – be careful not to let the peanut butter burn.

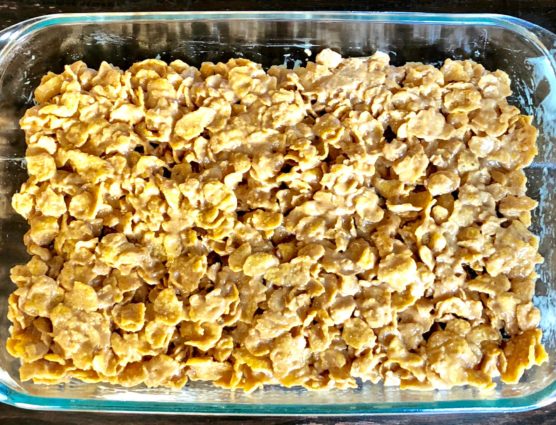
Remove the pot from the heat and immediately stir in the cornflakes.

Spread the mixture unto the prepared baking dish.

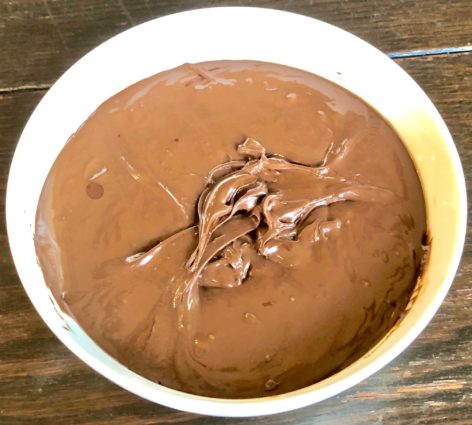
Put the chocolate chips in a medium microwave-safe bowl.

Microwave in 30-second intervals, stirring in between, until melted and smooth.

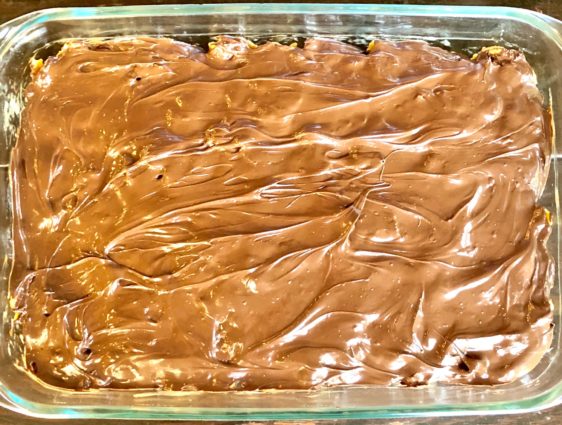
Spread the melted chocolate in an even layer over the peanut butter-cornflake mixture.

Tap the pan against the counter to smooth if needed.

Cover with plastic wrap and place in the fridge to harden for at least 2 hours.

Remove from the fridge 10 minutes before serving.

Cut into bars and devour.

It’s that simple!
(How cute are these dogs dishes I just bought?!)

signature

[recaptcha]


It is finally time to tend to my garden! I have been working on it for about 20 years now. I love to plant, it is so wonderful to watch flowers bloom and herbs flourish year after year.

I plant perennials every year in my yard. Why? Because many of them don’t come back like they are supposed to! When my garden begins to grow again, I have to take note of all the bare spots. I don’t quite understand this phenomenon. Last year our garden was lush and beautiful, yet here spring is, and I see those annoying bare spots that must be filled. Although I intentionally plant flowers that are meant to return with the good weather, I still end up spending the same amount of time and attention on my garden every year.

I really don’t mind, because I do love taking trips to the plant nursery. The one that I go to near my house is gorgeous, and I enjoy every minute I get to visit it. I just wish I knew their secrets!  I will keep you updated with pictures of my garden while it is growing. I go out there every morning to check on it and marvel at how lovely and sweet smelling it becomes. 

Speaking of sweet, summer is rapidly approaching, which usually means lightening up your diet a bit, but you have to give into your sweet cravings once in a while! This is the perfect recipe for transitioning into everyone’s favorite season.

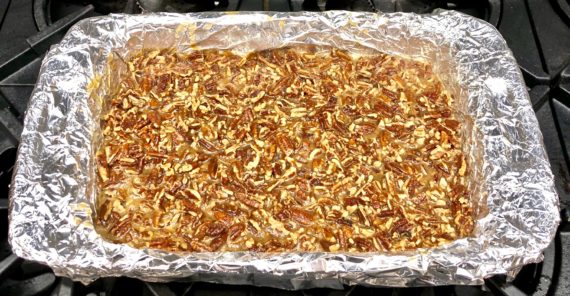
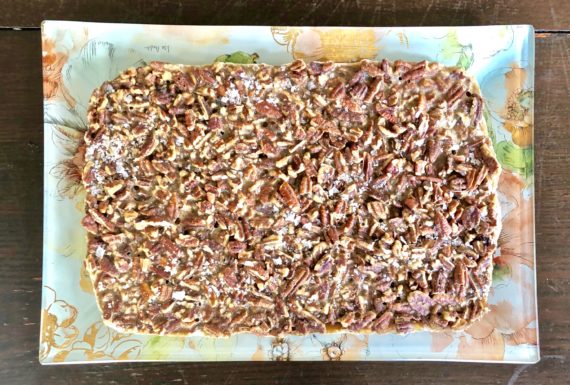
The crust tastes light, yet it is rich with flavor and is the perfect home for the nutty, candied topping. The filling has just the right amount of sweetness with the combination of brown sugar and butter. The corn syrup adds that sticky, melt in your mouth perfection. Each bite is better than the last. I’ll bet you can’t eat just one. And, although the recipe calls for the flakey salt as optional, do not leave it out! It is the crown of these delicious bars. Trust me, you are missing out on something really special if you don’t indulge.

This recipe is courtesy of The Perfect Cookie, by America’s Test Kitchen. It will make 24 bars that people will be going “nuts” for!

Ingredients for Ultra nutty Pecan
Crust:

1 3/4 cups all-purpose flour
6 tbsp. granulated sugar
1/2 tsp. salt
8 tbsp. unsalted butter, melted
Ingredients for Topping:

3/4 cup packed light brown sugar
1/2 cup corn syrup
7 tbsp. unsalted butter, melted and hot
1 tsp. vanilla extract
1/2 tsp. salt
4 cups (1 pound) pecan halves, toasted
1/2 tsp. flake sea salt (optional)

For the crust:

Adjust oven rack to lowest position and heat oven to 350°F.

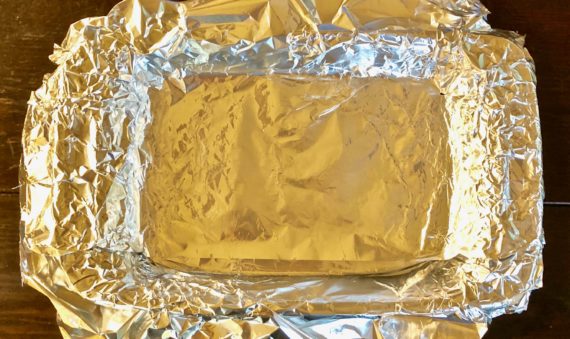
Make foil sling for 13 by 9-inch baking pan by folding 2 long sheets of aluminum foil.

First sheet should be 13 inches wide, the second sheet should be 9 inches wide.

Lay the sheets of foil in pan perpendicular to each other, with the extra foil hanging over pan.

Push foil into corners and up the side of the pan, smoothing foil flush to pan.

Grease foil.

Whisk flour, sugar and salt together in bowl.

Stir in the melted butter with a wooden spoon until dough begins to form.

Using your hands, continue to combine until no dry flour remains and small portion of dough holds together when squeezed in palm of your hand.

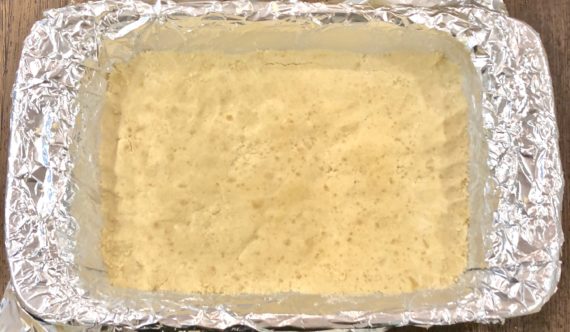
Evenly scatter 1-tablespoon pieces of dough over surface of pan.

Using your fingertips and the palm of your hand, press and smooth dough into an even thickness in bottom of pan.

For the topping:

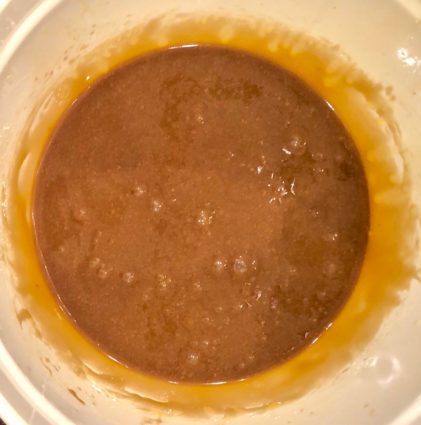
Whisk brown sugar, corn syrup, melted butter, vanilla, and salt in bowl till smooth (mixture will look separated at first but will come homogeneous), about 20 seconds.

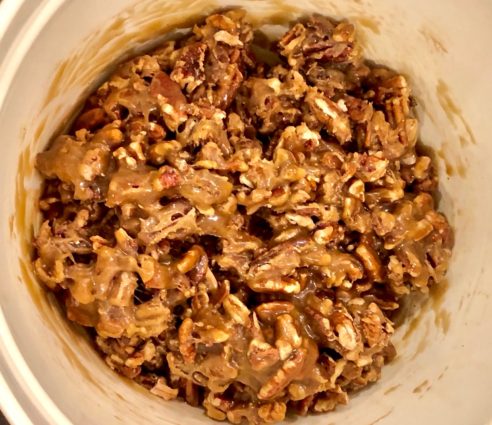
Fold pecans into sugar mixture until nuts are evenly coated.

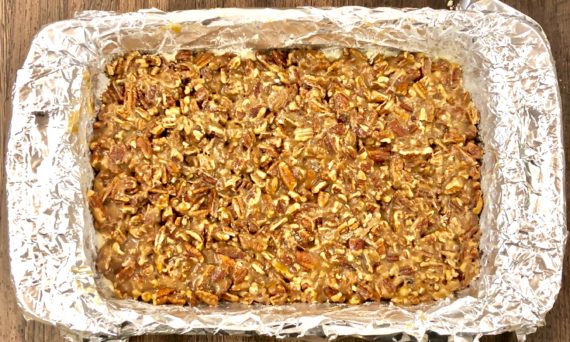
Pour topping over crust and spread into an even layer with spatula, pushing edges into corners. (there will be bare patches.)

Bake until topping is evenly distributed and rapidly bubbling across entire surface, 23 to 25 minutes.

Transfer pan to wire rack and sprinkle bars with sea salt, if using. Let bars cool completely in pan, about 1 1/2 hours.

Using foil overhang, remove bars from pan. 

Cut into 24 pieces before serving. 

Bars can be stored at room temperature for up to five days.

It’s that simple! 

signature

[recaptcha]