Hosting a dinner party for my friends is one of my favorite things.  Even when there are only four of us, it takes time, effort, and love to prepare a cohesive dinner menu. The main course is easy for me to choose; it’s always the sides–I tend to whip up two or three–that take the most time to pick. More than anything else, I try hard not to make the same recipes all the time. I enjoy the hunt for new side dishes, and since I’m always looking, this blog has become a sort of repository for my recipes. 

On the other hand, the preparation of the main course used to take up so much of my time that I wasn’t able to make a dessert, and I would ask guests to bring something. I also didn’t bake very often, so I felt my talent was better used on the main course.

To my benefit, I have discovered that there are many desserts that can be made well in advance. One such dessert was a cake I prepared the day before I was to host.  No worries, right? The dinner was a success… until I brought out the cake. My husband cut into it and we all found a mushy mess! I thought the toothpick had come out clean, but I was so wrong. Luckily, he had brought home some pastries that morning and they ended up being my saving grace. Now I always try to bake a dessert, but I make sure I have a backup, just in case. 

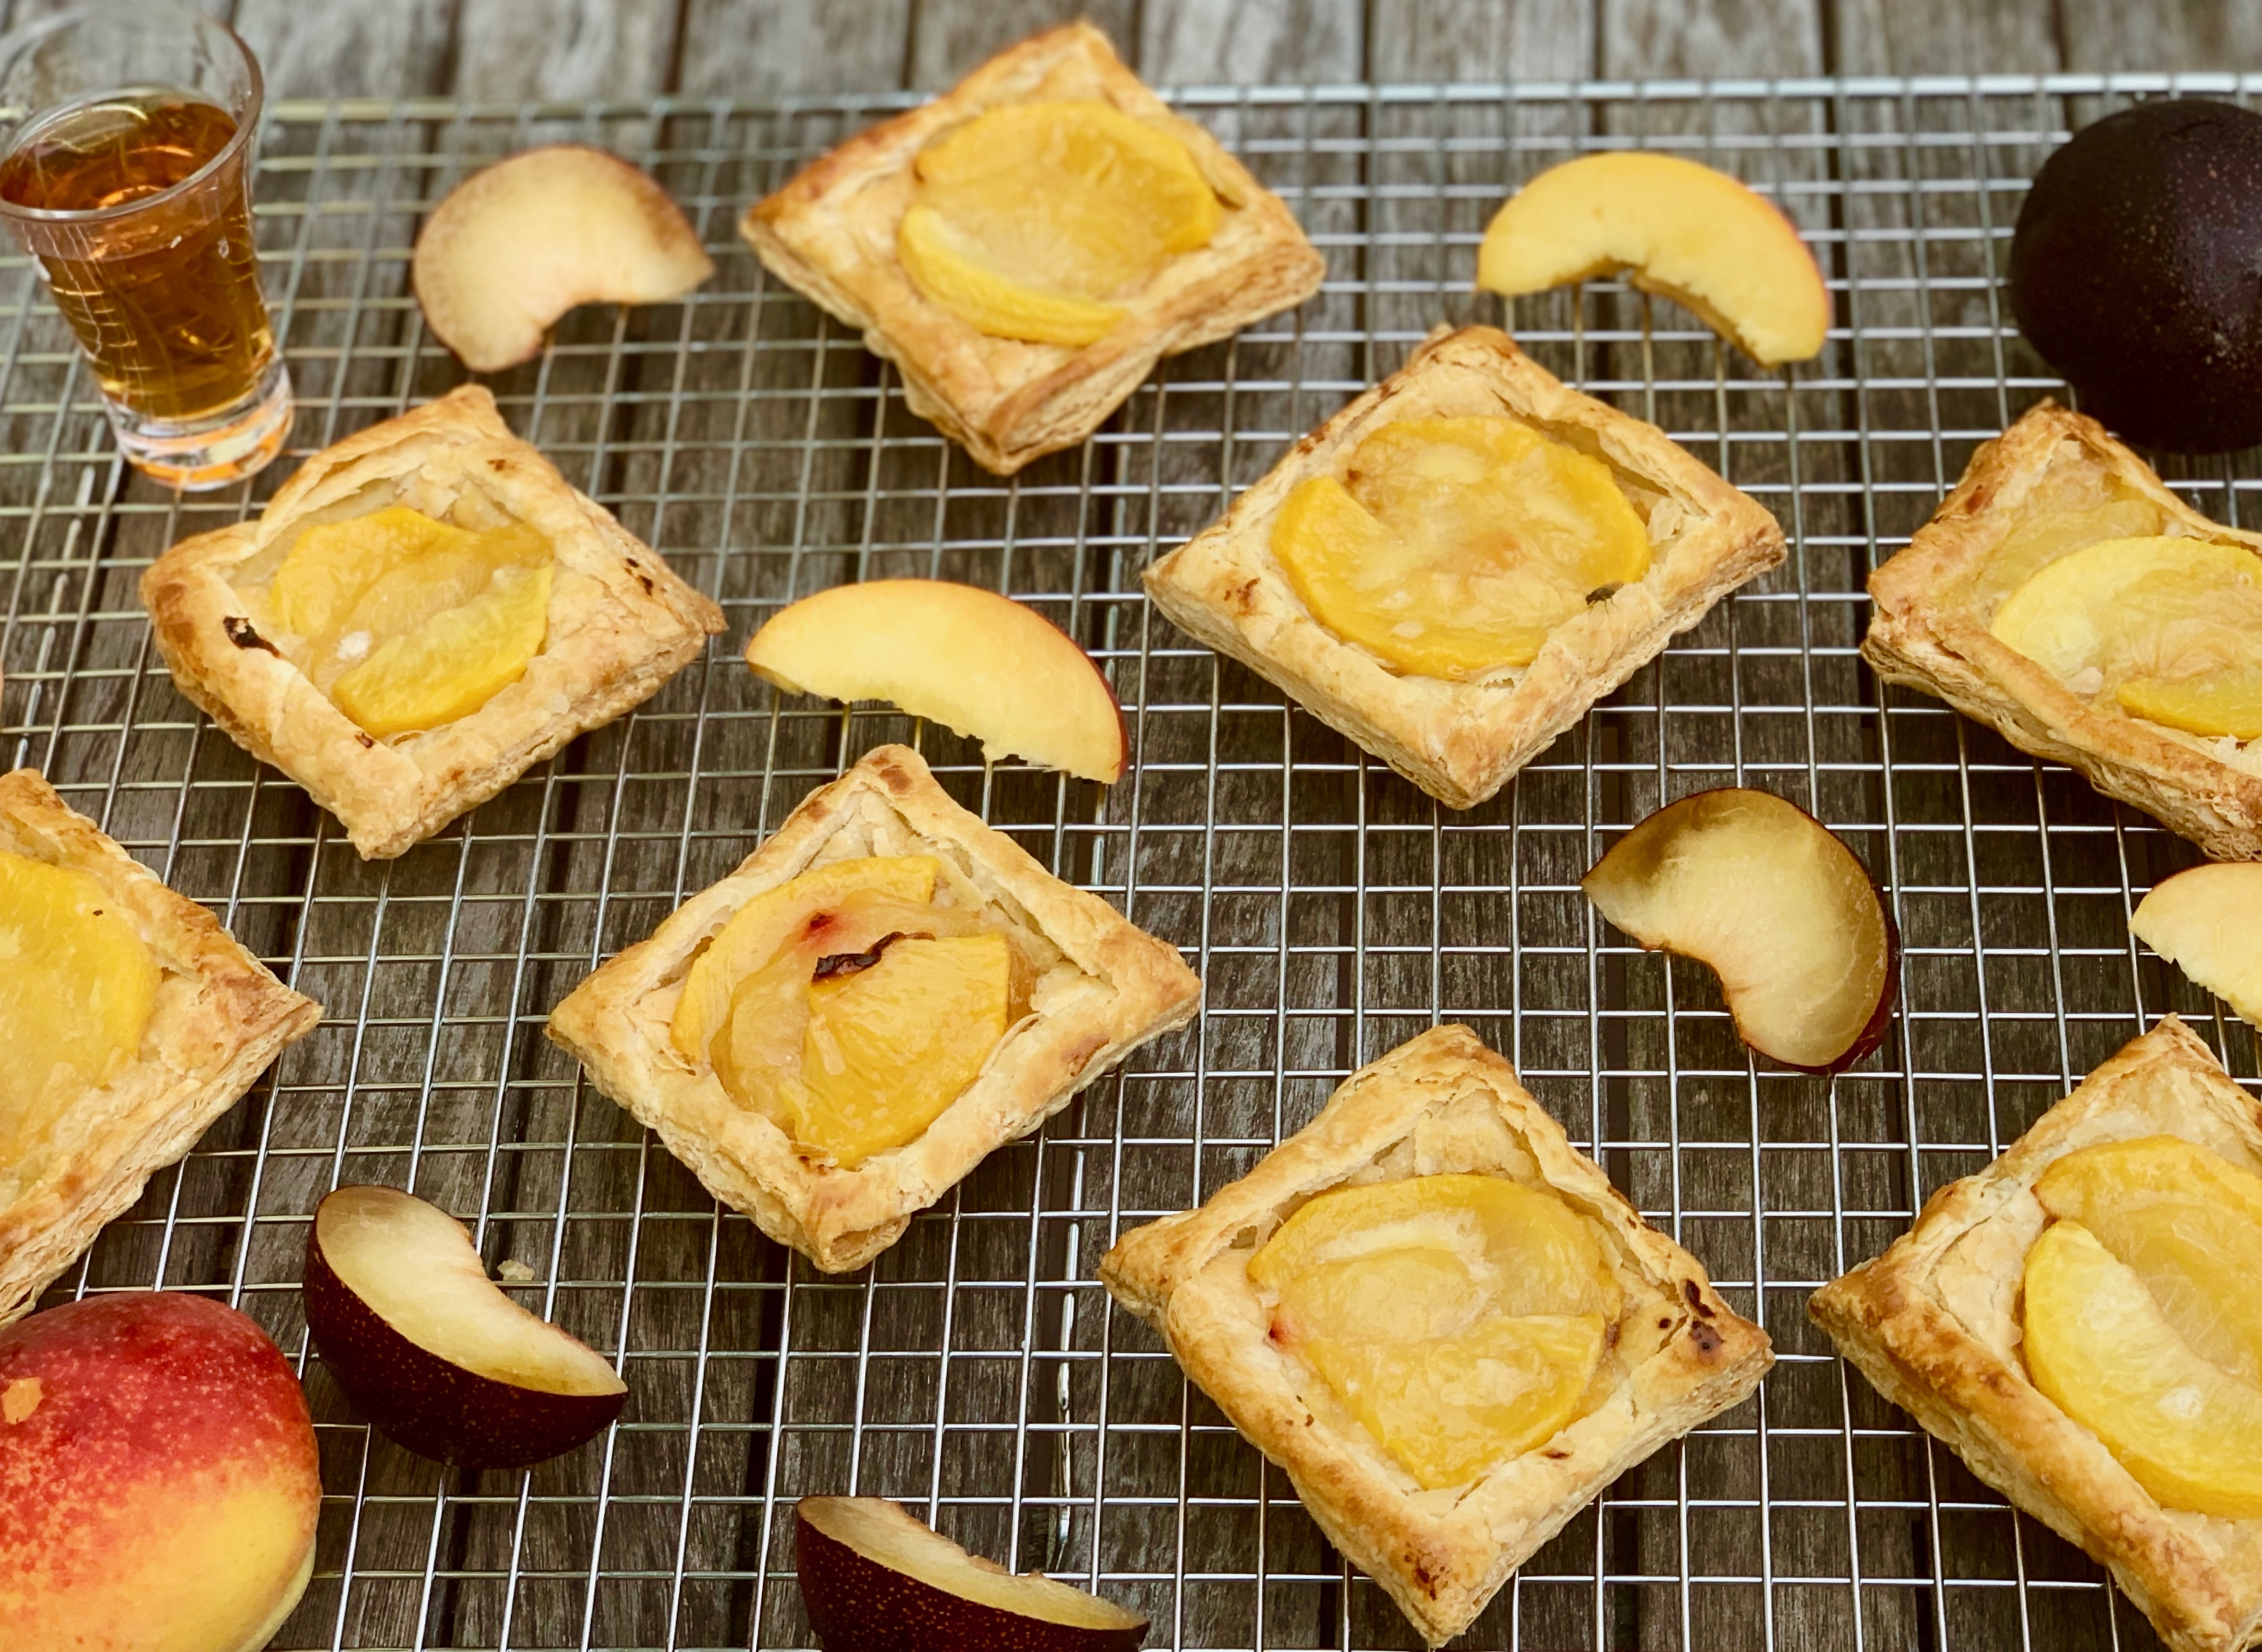
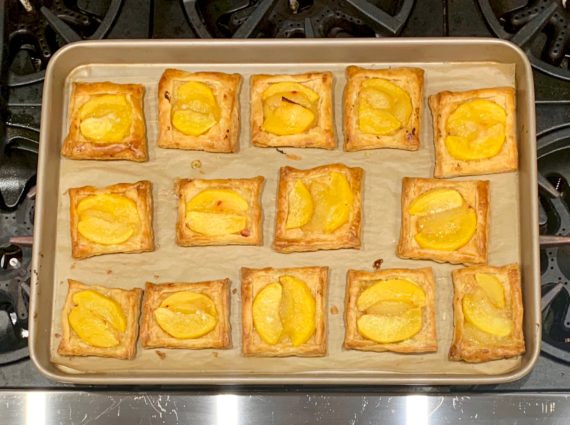
Now, this is a reliable dessert you can make ahead of time, and it is so easy to boot! A little fruit and some puff pastry and you’re good to go. You may even have all the ingredients in your pantry already. It is a perfect way to use up all those peaches and plums that might be starting to edge past their prime.

The fruits are roasted to perfection, then topped with a sugar-bourbon mixture that compliments the fruit and brings out a beautiful summer sweetness. The puff pastry is the splendid home for the fruit, giving it a rustic, yet dainty deliciousness. It is a crowd-pleaser for sure, and everyone is going to ask for seconds.

This recipe will serve 9 to 12 people who will love and appreciate the forethought you put into this gorgeous dessert.

Ingredients for Roasted Peach and Plum Tarts:

2 peaches, peeled sliced and roasted
3 plums, peeled sliced and roasted
2 sheets frozen puff pastry sheets, thawed
1/4 cup granulated sugar
1/4 cup butter, melted
1 tablespoon Bourbon (or more if you would like)
1 egg, beaten
1 teaspoon water
Sea salt flakes (such as Maldon)

Preheat oven to 425°F.

In a small bowl combine brown sugar, melted butter, and bourbon.

Line a baking pan with parchment paper.

Spread the sliced fruit on the parchment paper.
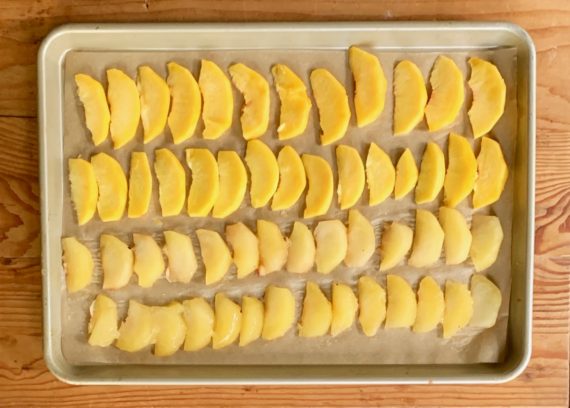
Roast 15 minutes.

Remove fruit. 

Set aside.

Line another baking sheet with parchment paper.

On a lightly floured surface, unfold puff pastry and cut into eighteen 3-inch squares.

Using a small knife, make a shallow cut around each square 1/4 to 1/2-inch from the edges.
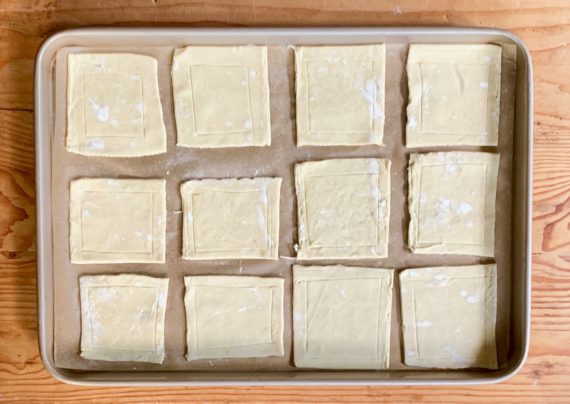
Generously prick centers with a fork.

Place 1-inch apart on prepared baking sheet.
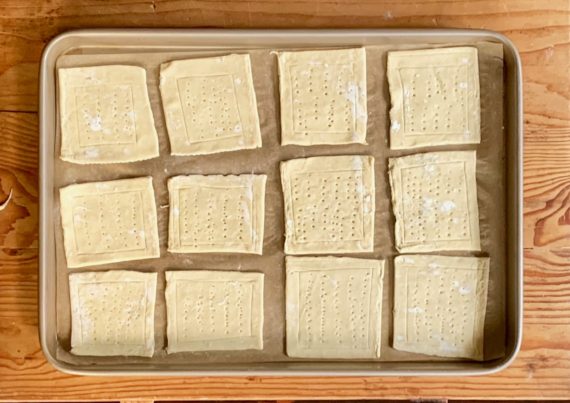
Bake 10 minutes.
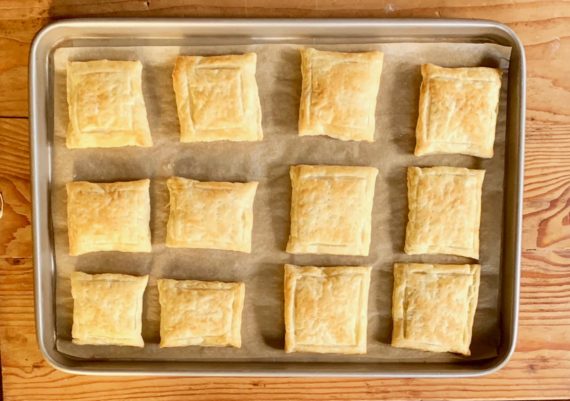
Using the back of a spoon, lightly press down the center of each square.  You might have to run your knife along the scores you have already made to loosen it up.
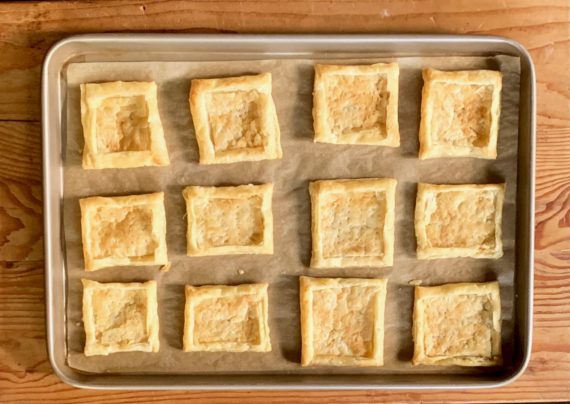
Place peaches and pears into centers of tarts. You may have to cut some of them to fit it. I was able to get 2 slices of peach and 1 slice of plum onto each square.
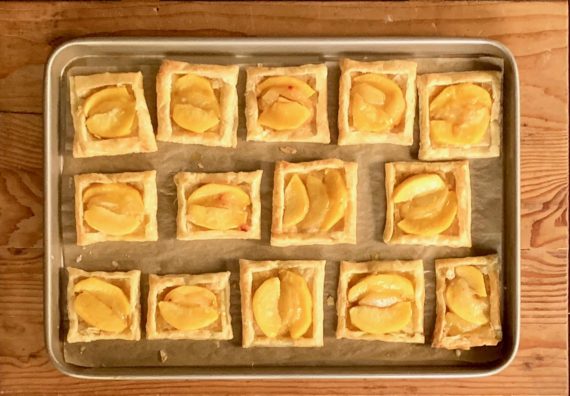
Drizzle fruit in each tart with 2 tsp. of the sugar mixture.

In a small bowl, combine beaten egg and water.

Brush the edges of the tarts with egg mixture.

Bake 7 to 10 minutes more or until pastry is light brown.

Drizzle tarts with remaining sugar mixture

Sprinkle with salt.
It’s that simple!

signature

[recaptcha]


I honestly never heard of a brunette, have you? Of course, we haven’t, as the author of this recipe gave them the name herself. It is a version of a blondie, but the author and her assistant were brunettes, hence the name.

When I buy a cookbook, I read every recipe and carefully mark off the ones I would like to prepare. Since you know how many cookbooks I have, there are about a few hundred I have yet to make. This one intrigued me.  It came with a story about the author. Her name was Amy Pressman. She was all set to open up a bakery named “Short Cake” in LA when she tragically died a few months before it opened. Her assistants opened up the bakery and the bakery was well received and her “brunettes” were a hit. I felt I owed it to Amy to make them after reading that. How wonderful for her associates to still open the bakery.

Amy borrowed this recipe from Dorie Greenspan and added the pine nuts and thyme. 

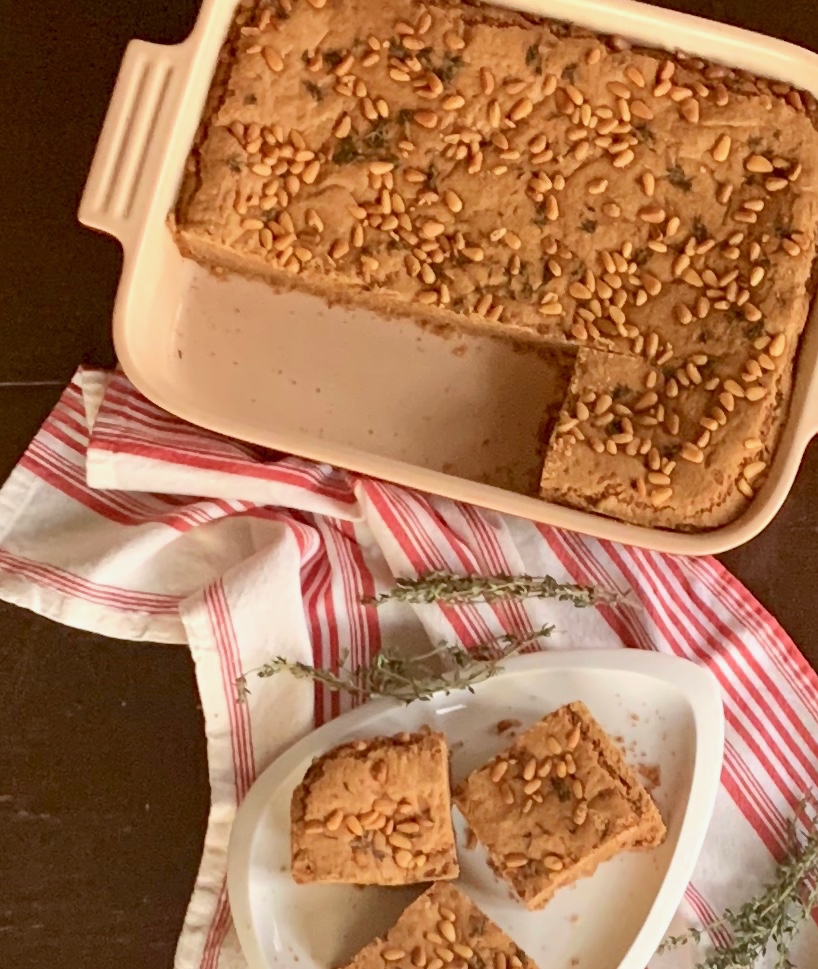
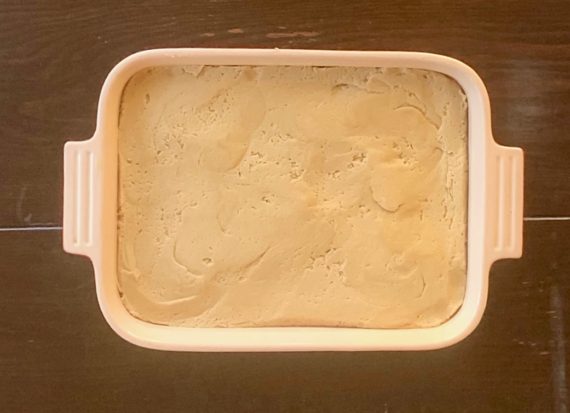
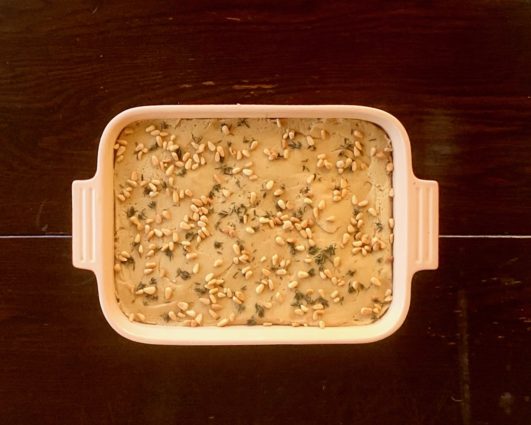
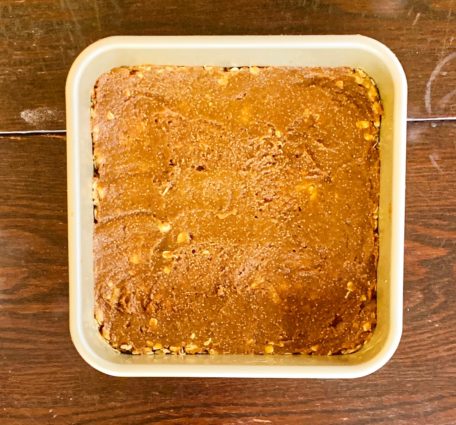
These bars are made with dark muscovado sugar, a very dark, molasses-y brown sugar. If you can’t find it, use dark sugar. These are a darker version of a blondie, though not nearly as dark as a brownie. They bake up to a beautiful golden brown. This treat is thick, almost cake-like. But don’t let that fool you. They are beautifully crusted on the outside with a brownie-textured chewy inside. I am finding it hard to describe them, they are so incredible. You enjoy one and immediately crave the next. The toasted pine nuts and thyme add in the savory, making these Brunettes perfection! 

This recipe is courtesy of Mozz at Home, and will make 24 Brunettes that will make your friends and family want more than just one. Better make two batches!

Ingredients for Amy’s Brunettes:

3 1/2 sticks of butter, cut into small cubes, plus more for greasing the pan and parchment
3 tablespoons pine nuts
3 1/2 cups unbleached all-purpose flour
3/4 teaspoon baking powder
1/2 teaspoon baking soda
1 teaspoon kosher salt
2 cups plus 2 tablespoons packed dark brown sugar
3/4 cup plus 2 tablespoons granulated sugar
1/4 cup plus 1 tablespoon dark muscovado sugar (or dark sugar)
3 extra-large eggs
1 teaspoon pure vanilla extract
1 heaping tablespoon fresh thyme leaves

Adjust an oven rack to the middle position and preheat oven to 325F.

Butter a 9 x 13-inch baking dish. Line the bottom with parchment paper, butter the parchment and set aside. (I forgot to do this and they came out easily.)

Set up a cooling rack.

Spread the pine nuts on a baking sheet and toast them in the oven for 8 to 10 minutes, until they are fragrant and golden brown, shaking the baking sheet and rotating it from front to back halfway through the cooking time so the nuts brown evenly.

Remove the pine nuts from the oven and set them aside to cool to room temperature.

Stir the flour, baking powder, baking soda, and salt together in a mixing bowl.

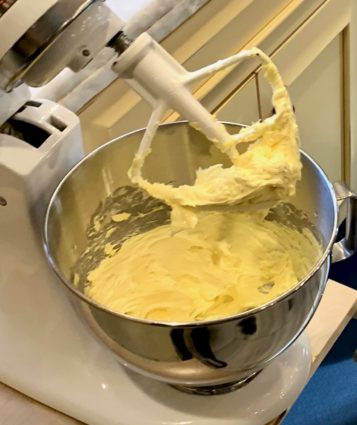
Beat the butter in the bowl of a standing mixer fitted with the paddle attachment on medium speed until it’s smooth and creamy, about 2 minutes.


Turn off the machine.

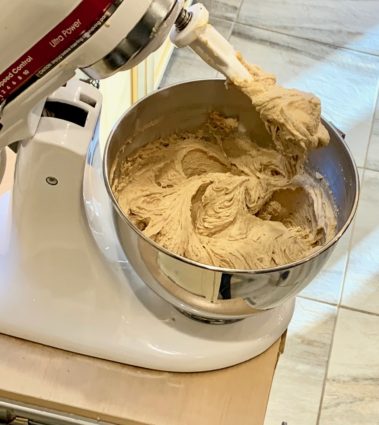
Add the brown sugar, granulated sugar and muscovado sugar and mix on medium speed until the sugars are incorporated into the butter, about 3 minutes.

Add the eggs, one by one, mixing for about 1 minute to incorporate.

Add the vanilla and mix to combine.


Reduce the mixer speed to low.

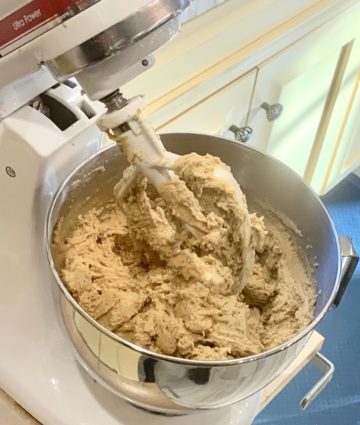
Add the dry ingredients, mixing on low speed until no flour is visible. (Add little portions of the dry ingredients at a time.)


Transfer the batter to the prepared baking dish and use a rubber spatula to smooth the top. (The batter will be heavy and sticky, but will smooth out easily.)

Sprinkle the pine nuts and thyme leaves over the surface.

Bake the brunettes for 1 hour and 25 minutes to 1 hour 40 minutes, until golden brown on top and the brunettes have pulled away from the sides of the pan.

Remove the pan from oven and place it on a cooling rack to cool completely.

Run a knife or offset spatula around the edges of the pan to release the brunettes from the pan.

Put a baking sheet over the brunettes and swiftly flip the baking pan and baking sheet to invert them again onto the cutting board so the decorated side is facing up.

Cut the brunettes into 24 (3 x 1 1/4-inch) bars.

Artfully stack the bars no more than two high on a cake stand, taking care not to knock off the thyme and pine nuts on top, and serve. (I obviously skipped this step!)

It’s that simple!

signature

[recaptcha]


Bread pudding was not in my mother’s repertoire of recipes, so I never had it until after I was married. Even when we went out for dinner, we would only go to one of three restaurants, and there was no bread pudding on the menu at any of them. I grew up in a home that was centered on routine. Sunday we ate steak, Friday fried chicken, Thursday veal, and so on. Dessert was not a constant, although there were the occasional ice cream treats or fruit if you asked politely. Instead, dessert was served on holidays or at family gatherings. 

When I was in college, my friends and I never went out to dinner (who could afford to?). During the few times that we did treat ourselves, bread pudding was not on the menu! I am not exaggerating when I tell you, I honestly hadn’t even heard of bread pudding.

It wasn’t until dinner at our friend’s home that bread pudding had entered my life. Once I took my first taste, I instantly knew what I’d been missing. I went crazy for the dessert, and because I knew nothing about preparing one, I thought my friend was the greatest dessert maker in the world (little did I know how easy it was to prepare). I cherished every bite that I took.

Now, if you couldn’t tell, I am obsessed with bread pudding. We are lucky to have a restaurant near us whose chef was a contestant on the show Top Chef. She too, is a huge fan of bread pudding and a new one is featured there every night. When I asked her husband about her passion for bread pudding, he said it was born out of a way to use up their leftover bread. Genius! Her bread puddings are so elaborate and delectable. I have to try it every time I go.

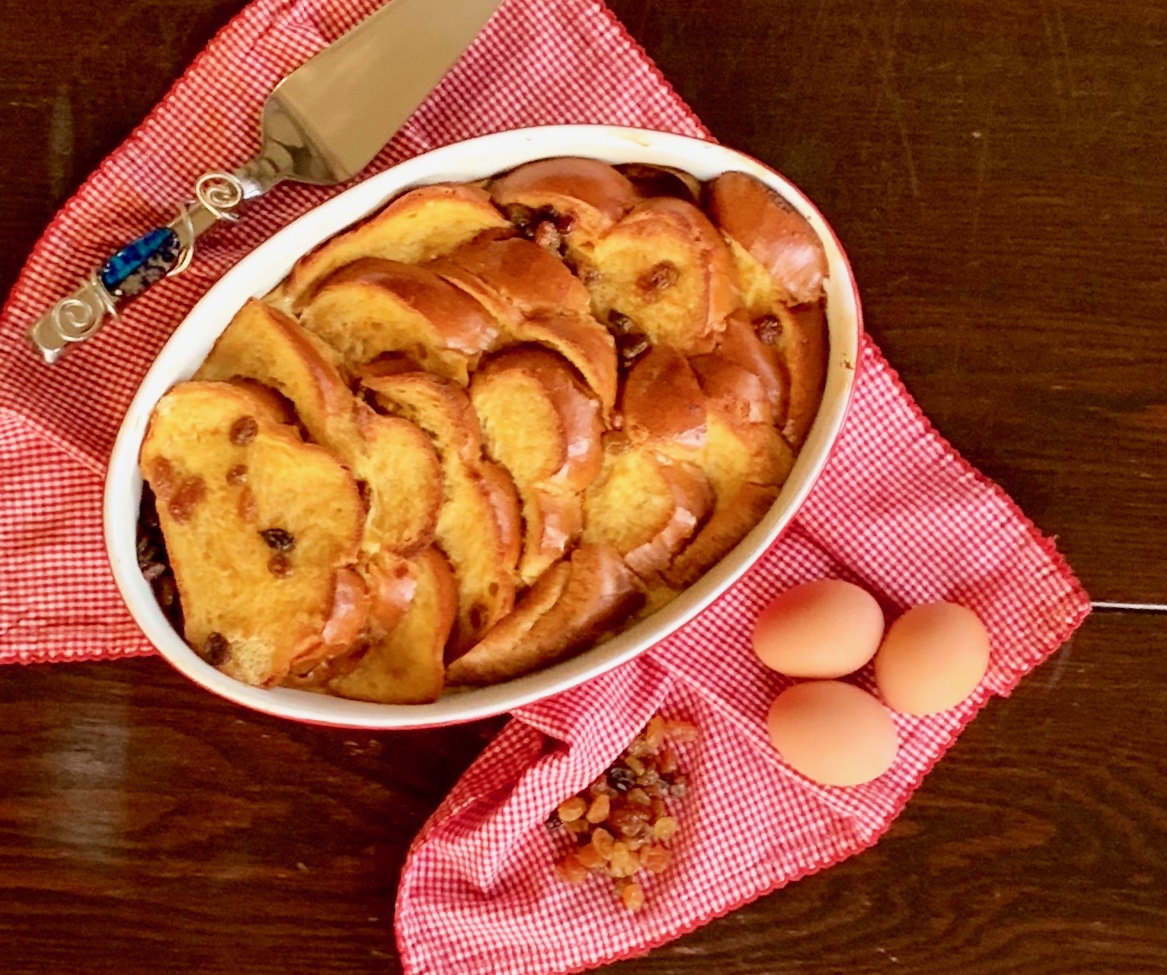
This is an easy one to make, so it is perfect if this is your first try. Ina called for brioche bread, but I only had challah bread and I am sure it tastes just as delicious. Challah is always a good choice to make bread pudding with because of its thickness. Personally, I think challah was the perfect home for the delectable sauce in this dessert. The rich vanilla flavor makes this bread pudding irresistible. The honey and raisins give it an unavoidable sweetness, which is further complemented by the citrus in the orange zest. I did not think it needed the maple syrup that is recommended, though it would make it more breakfast-y indeed. 

This recipe is courtesy of Ina Garten, and will serve 8-10 people who will develop their own obsession with this unique dessert (or breakfast!).

Ingredients for Breakfast Bread Pudding:

5 extra-large whole eggs
2 extra-large egg yolks
2 1/2 cups half and half
1/3 cup honey
1 1/2 teaspoon pure vanilla extract
2 teaspoons orange zest (2 oranges)
1/2 teaspoon kosher salt
Brioche loaf (I used Challah)
1/2 cup golden raisins
Maple syrup, to serve

Preheat the oven to 350°F.

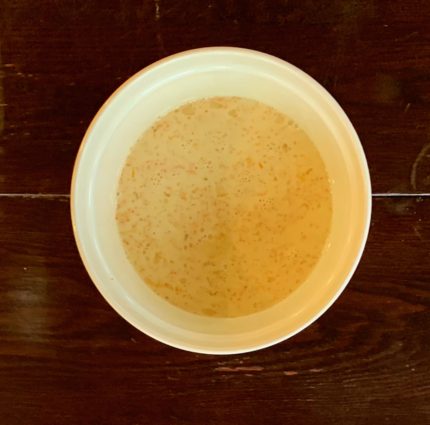
In a medium bowl, whisk together the whole eggs, egg yolks, half and half, honey, vanilla, orange zest and salt.

Set aside.

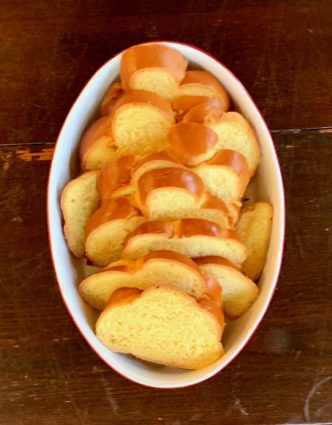
Slice the brioche (or any bread you choose to use) into 6 1-inch thick peices.

Lay half the bread slices flat in a 9 by 14 by 2-inch oval baking dish.

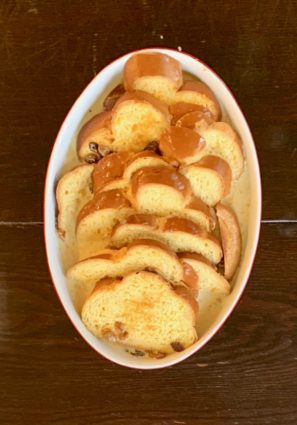
Make sure that the raisins are between the layers of bread or they will burn while baking.

Pour the egg mixture over the bread and allow to soak for 15 minutes, pressing down gently.

Bake for 55 to 60 minutes or until the pudding puffs up and the custard is set.

Remove from the oven and cool slightly before serving.

It’s that simple!
Macy, my beautiful old lady.

signature

[recaptcha]


I have never been a fan of driving in the snow. I remember one snowy day when I was in college, driving to work on the highway and sliding all over the place. I lived in the dorm at school, but my home was not far away, so when I heard it was going to snow I would sleep at home so my father would not have to shovel.

Those were the days when you shoveled the snow for your elderly neighbors, and I had two couples on each side so I would shovel for them as well. Not the greatest of memories.

When I got married, we moved to Miami and I thought it would be ideal to have no snow at all. The idea of warm weather and beautiful night breezes swaying the palm trees excited me. Much to my surprise, I did not like Miami, because the summers were sweltering hot and Christmas just didn’t feel like Christmas. I missed the smell of when spring was around the corner and yes, the snow. My husband was offered a job back up in the North East and I was happy to return. From that point on, I didn’t mind the snow, my kids loved playing in it and we all learned to ski.

All was fine, until I got caught in this year’s biggest storm for 4 hours, only 2 miles from my home. I still love the snow, but I will never come around to driving in it. We had snow on Wednesday. I canceled everything for the day to stay in and baked. It was a perfect snow day for me. 

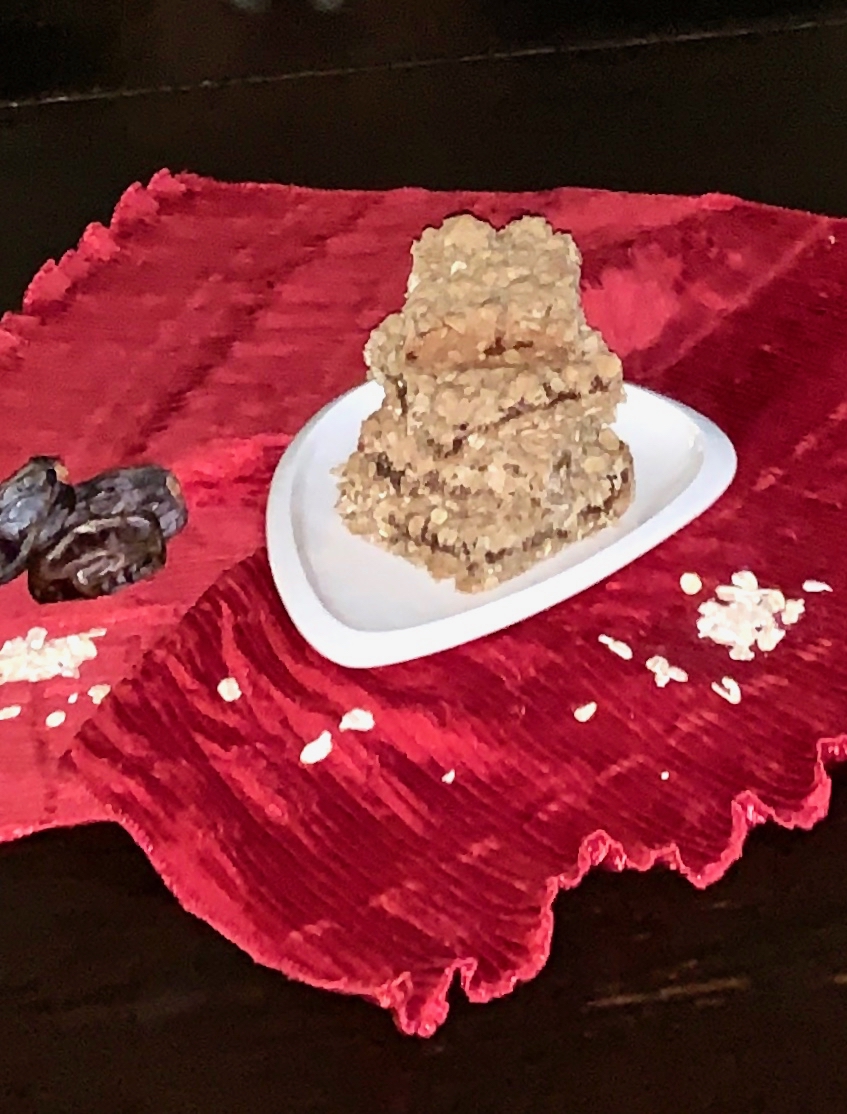
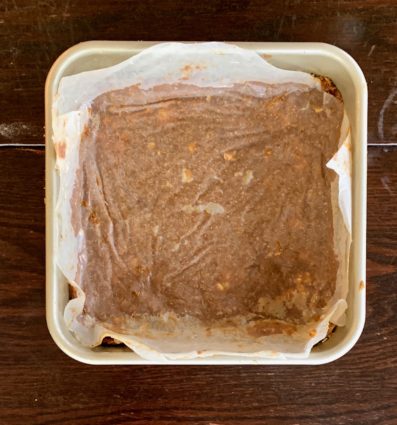
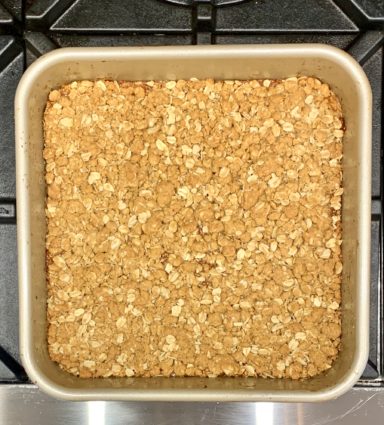
This is one of the recipes I baked that day. I am a serious fig and oat lover, so when I saw this recipe, I had to try it. It was a little tricky, but once you get the hang of spreading the fig filling, it isn’t too hard. These sweet and lovely fig bars would brighten anyone’s day. The heavenly fig filling fills your mouth with happiness and the oats give it a wonderful, hearty feel and crunchy texture. So versatile, too. They are perfect for breakfast, dessert or as a snack!

This recipe is courtesy of Alidaskitchen and will make 16 bars that will have you wondering where they have been all your life.

Ingredients for the Oatmeal Fig Bars:

1 cup chopped dry figs, stems removed (8 ounces)
1/2 cup water
1 tablespoon lemon juice
1 teaspoon lemon zest
1 1/2 cups rolled oats (you can use instant)
1 cup all-purpose flour
3/4 cup packed brown sugar
1/2 teaspoon baking soda
1/4 teaspoon salt
1/3 cup butter, melted
1 egg white
Cooking spray

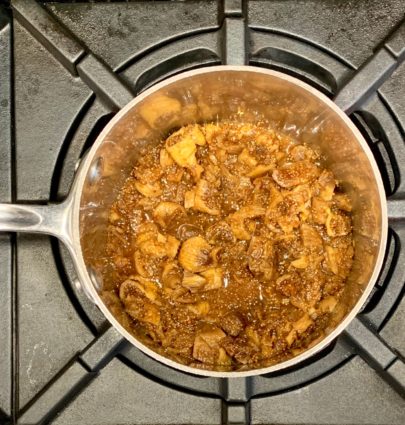
In a small saucepan, put figs water, lemon juice and zest, and bring to a boil.

Simmer until mixture starts to thicken (about 3 minutes).

Let cool for 5 minutes.

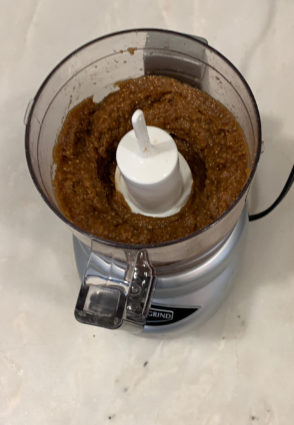
Put filling in food processor and process until smooth.

Set aside.

Preheat oven to 350°.

Spray an 8-inch baking pan with cooking spray and set aside.

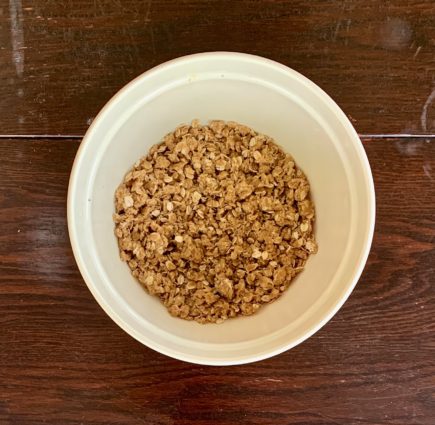
In a large bowl, whisk together the oats, flour, sugar, baking soda and salt.

Add butter and egg white to oat mixture and stir until combined.

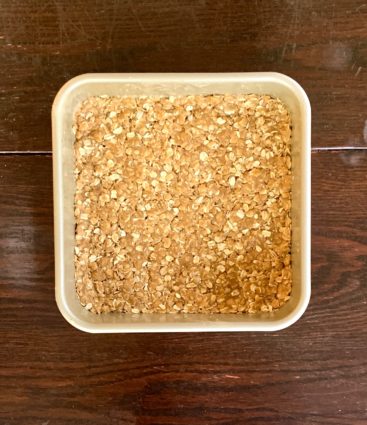
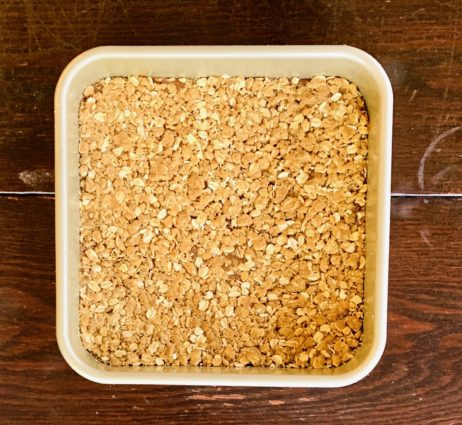
Press half of the oat mixture into the prepared baking pan. (The author noted that she used wax paper to press and spread the mixture into pan).

Next, carefully spread with fig mixture. (You can use wax paper.)

Last, drop pieces of remaining oat mixture over the fig mixture so it appears crumbly and then gently pat it down. (You can use wax paper.)

Bake for 20 to 25 minutes or until lightly browned.

Cool on wire rack.

It’s that simple!
signature

[recaptcha]


When my husband and I were only married a few years we decided to move to Miami, Florida with our young son. We thought it would be a wonderful way of life, having beautiful sunny days. We also made the move because my brother and sister-in-law lived there with my two nieces. Since we are so close with them, I was excited to do holidays with them and watch my nieces grow up.

When we first moved down there, my sister-in-law Shelley,(the same Shelley famous for her brisket, chicken, and barley on my blog) told me that I should host Thanksgiving, and she would host the other holidays. I think I went into shock. My husband and I had lived in New York city for 5 years. I worked three jobs and he worked full time as well. Who had time to cook? I think I used my oven one time during those five years. Seriously. I knew nothing about cooking!

Further than that, Shelley and her mom, Julia, were amazing cooks. Julia also lived in Florida and would be celebrating all the holidays with us. I was in a full panic. How could I possibly prepare a meal for the two best cooks I know, when I had never cooked one before?

I am not sure how I did it. Maybe Shelley and her mom were merely being nice (they are always lovely), but I got high praises from them, and they made feel like they really enjoyed it. Little did we know that cooking would become a passion of mine!

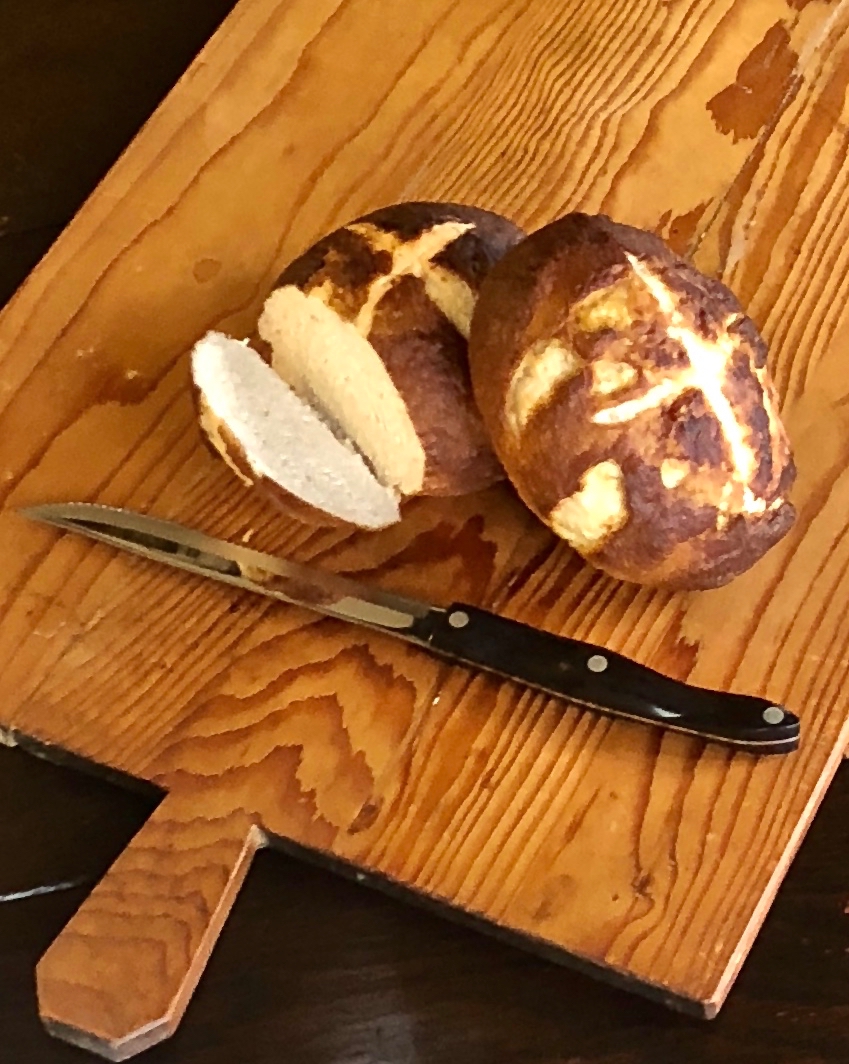
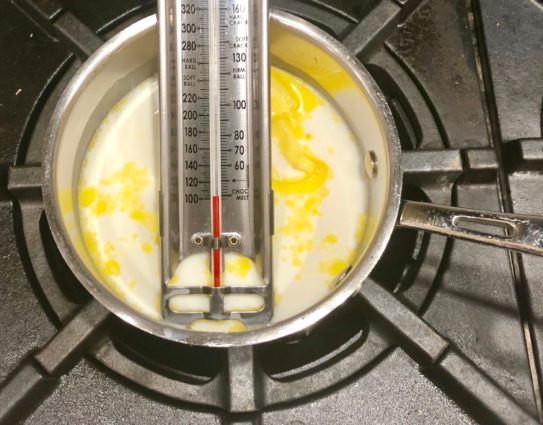
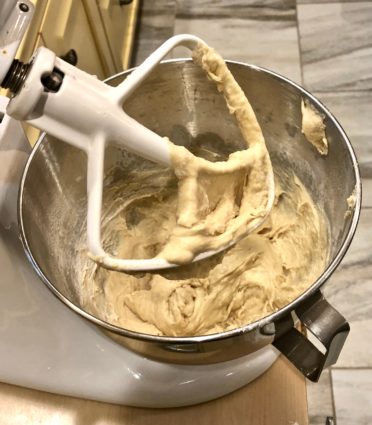
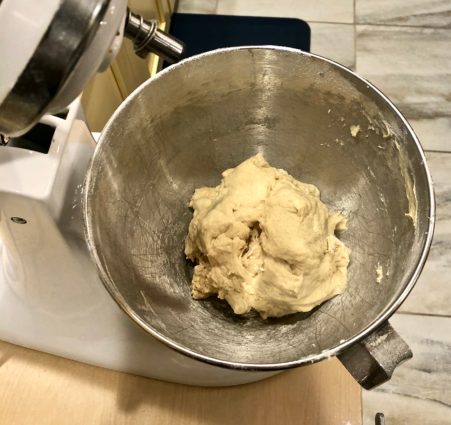
It just goes to show, there is a first time for everything. Which brings me to this recipe, which was another first for me. I have never made bread before. Why? Because it just seems so intimidating.I didn’t think this recipe would be so hard, so I gave it a try. As it turns out, it was fairly easy. I had a candy thermometer to make sure the water-yeast mix was heated correctly which worked perfectly. You have to knead it for 8 to 10 minutes, but that really wasn’t bad, and it went by pretty fast (I used a timer for this). The result? A beautiful, loaf of pretzel bread!

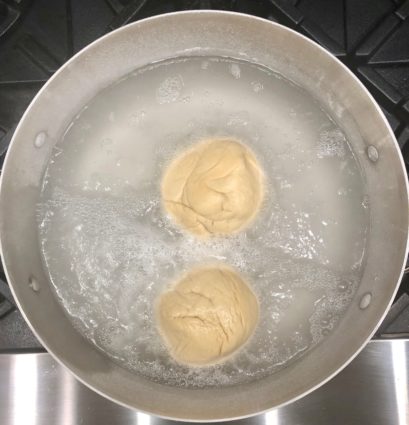
Pretzel bread is different from regular bread because you boil it before baking it. Once it makes contact with the hot water, the starches on the surface of the dough gelatinize, forming a protective crust. It comes out browned and shiny, making your mouth water for a piece. The inside is soft, with just the right amount of sweetness to it. Get your big boy pants on and try this. You will never want to eat store-bought pretzel bread again!

This recipe is courtesy of All Recipes and will serve 12 people who will be amazed at your talents.

Ingredients for Pretzel Bread:

Dough:

1 cup milk
2 tbsp. butter or margarine
2 tbsp. brown sugar
1 envelope rapid rise yeast
2 tsp. salt
3 cups all-purpose flour, or more as needed

Boiling Solution:

3 quarts water
3/4 cup baking soda

Egg Wash:

1 egg
1 tsp. water

Heat milk and butter until warm (100° to 110°); the butter will not completely melt.

Combine with undissolved yeast and brown sugar in a large mixer bowl.

Stir in salt and 2 cups flour, beat for 3 minutes.

Gradually add enough remaining flour to make a soft dough.

Knead on a floured surface until smooth and elastic, about 8 to 10 minutes.

Place in a greased bowl, cover and let rise for 1 hour, or until doubled in size.

Preheat oven to 400°F.

Combine boiling solutions and bring to a boil.

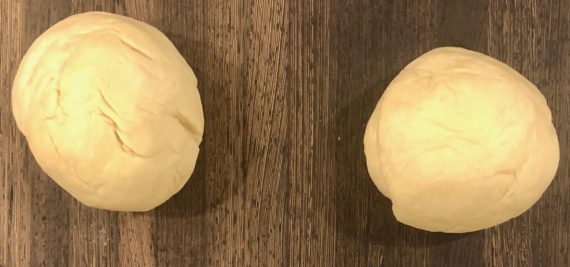
Punch dough down and divide into 2 equal pieces.

Form each piece into a tight, smooth ball.

Boil each loaf in the solution for 2 minutes, turning after 1 minute.

Remove loaves from pot using a slotted spoon and place on a greased baking sheet.

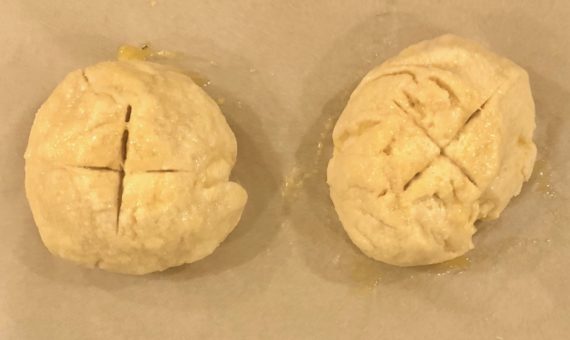
Brush with egg wash and cut a cross in the top.

Bake for 15 minutes then reduce the temperature to 350°F.

Bake an additional 10 to 12 minutes until the loaves are evenly browned.

Remove from the pan and cool on a wire rack.

It’s that simple! 
signature

[recaptcha]