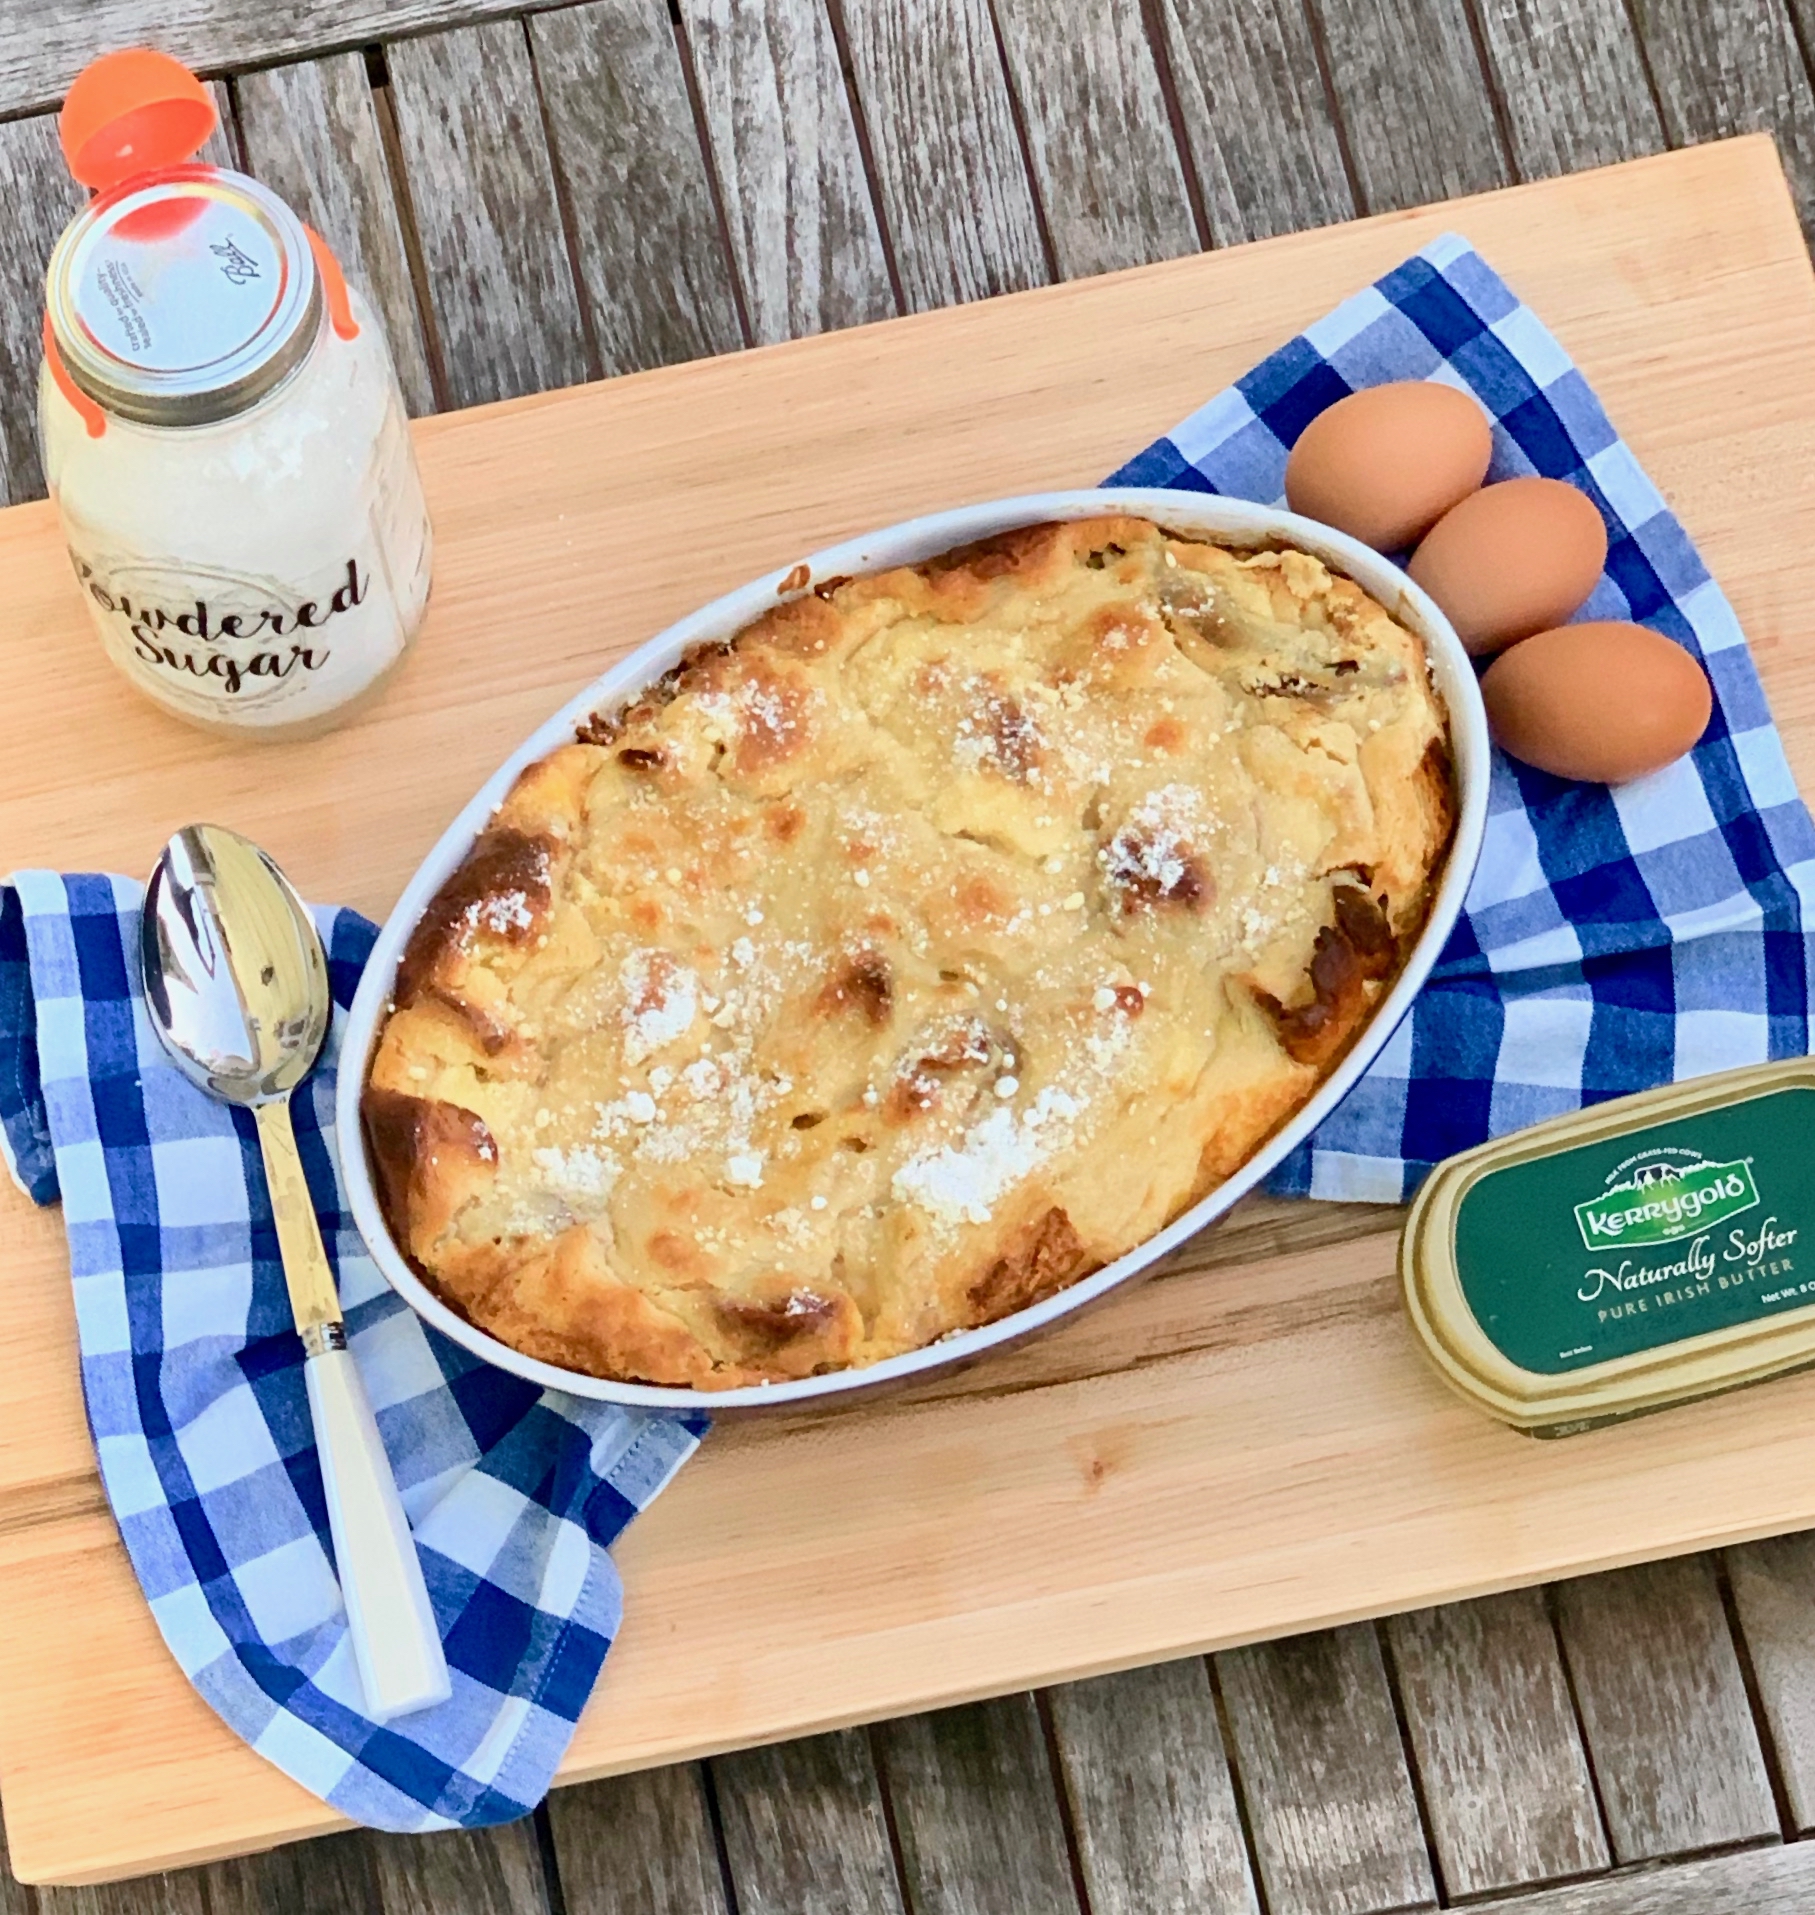
I waited a long time to have my first taste of bread pudding–too long, in fact. My lack of bread pudding wasn’t by choice, I simply had never heard of it until I had children of my own. Though I grew up with Mandel bread, babka, and rugelach, we never had bread pudding. Well into adulthood, a friend brought it to a party I attended, and as soon as I tasted it, I was hooked. It left an indelible mark on my memory.

Our favorite restaurant in town serves a different bread pudding every day, using the bread from the day before to make it– what a great way to reuse the leftover loaves! Now, every time I am there, I have to try it. Even if the ingredients don’t sound appealing to me, I always try it, and it is always so delicious. It is perfect for dessert or brunch.

Bread pudding is layers of bread mixed with a delicious, creamy custard made from eggs, sugar, and cream or milk. Using heavy cream alone will give the richest, most delicious results, but you can use milk, half-and-half, or a combination.

It is very easy to make and there are so many possibilities when choosing ingredients. Raisins, apples, almonds, white chocolate, chocolate chips, bourbon, caramel sauce… the list goes on! Use just one, or two that pair well together. There are also many bread choices to make it with. My favorite is challah bread, but you could use brioche, French or Italian bread. No matter the bread, it always comes out perfect.

This dessert is a winner. It is kind of more like a souffle because of all the eggs, but still a bread pudding in my book. The vanilla bean, cinnamon, and orange lend savory essence. The egg and egg yolks, milk, and cream come together into a creamy custard that makes an exquisite, luxurious dessert. This is one recipe you will find yourself making again and again. Bring it to a friend’s home, they will think you’ve been baking all day!

This recipe is courtesy of The Kosher Palate and will serve 6 to 8 people who will be tempted to try their own flavor combinations.

Ingredients for Challah Souffle:

1 medium challah, 4 challah rolls or 4 large croissants
1 (8-ounce) package cream cheese, softened
1/2 cup (1 stick) butter, softened at room temperature for 15 minutes, plus extra for serving on the side
3/4 cup maple syrup (not pancake syrup) divided, plus extra for serving on the side
10 large eggs
3 cups light cream
1 teaspoon cinnamon
2 tablespoons confectioners’ sugar

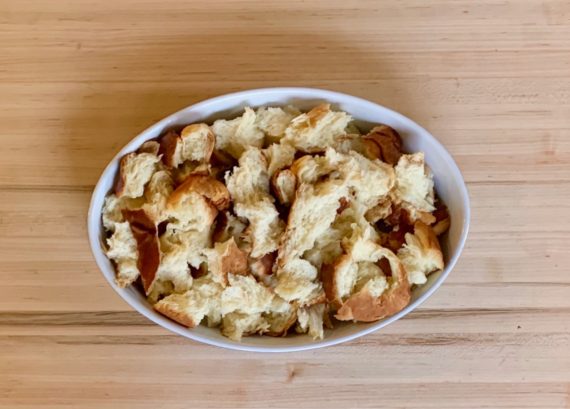
In the bowl of a food processor fitted with a metal blade, coarsely chop the challah or croissants (or just break them into pieces with your hands).

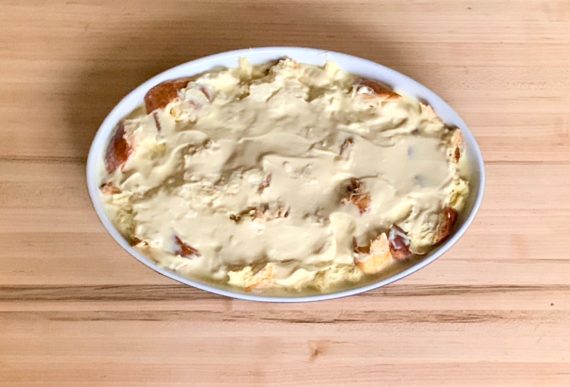
Distribute chopped bread evenly over the bottom of a 9 by 13-inch casserole or baking dish.
Combine the cream cheese, butter, and 1/4 cup maple syrup in the food processor; pulse until smooth.
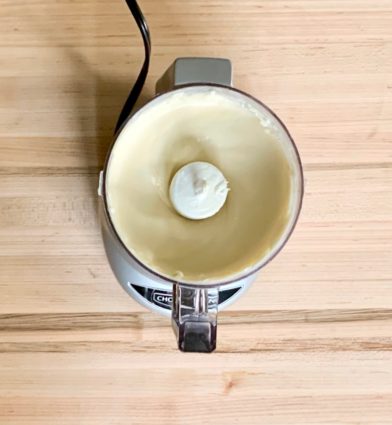
Spread over the chopped bread.
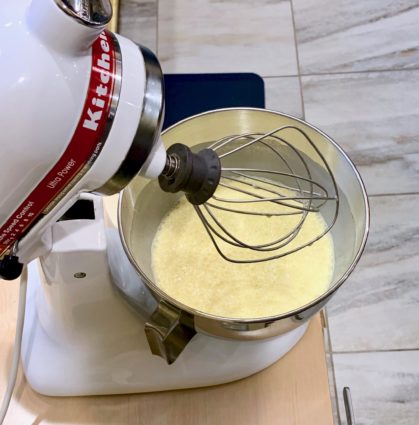
In a separate medium bowl, beat the eggs, remaining 1/2 cup maple syrup, and cream.
Pour over the mixture.

Sprinkle with the cinnamon.

Cover and refrigerate overnight.

Preheat oven to 350 degrees.

Uncover the souffle and bake for 45 to 50 minutes or until puffed and golden.
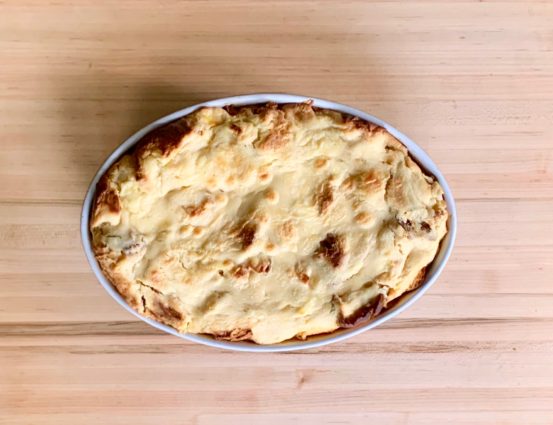
Sprinkle with confectioners’ sugar.

Serve with warmed maple syrup and softened butter.

It’s that simple!

signature

[recaptcha]


The summer always goes so fast. I think most of us would say that most of the things we would like to accomplish in the summer do not get done because it is over before we can blink an eye. Though we may be missing the lazy summer days, the fall brings us beautiful clear skies, and that crisp feeling in the air. 

One of my favorite Fall activities is antiquing. My husband also enjoys antiquing, and it is something we love to do together. Over the years, we collected antique china plates, each different from the next. It took a lot of labor, but it was done with love, and my husband and I are very proud of it.  My Thanksgiving tables of 50, give or take, looks beautiful and eclectic, thanks to our diligence. It has taken several years to collect 60 salad and dinner plates, and now I am on the hunt for antique wine glasses. This is not such an easy task, as most people do not sell single wine glasses, but rather sets of six or four. But I think they will complete my holiday table and make it look genuine. 

September moves very quickly, and soon the holidays will be among us. Planning menus take time, and I think appetizers are among the hardest to find. They need to be simple and easily prepared. I saw this one and knew I had to share it with you.

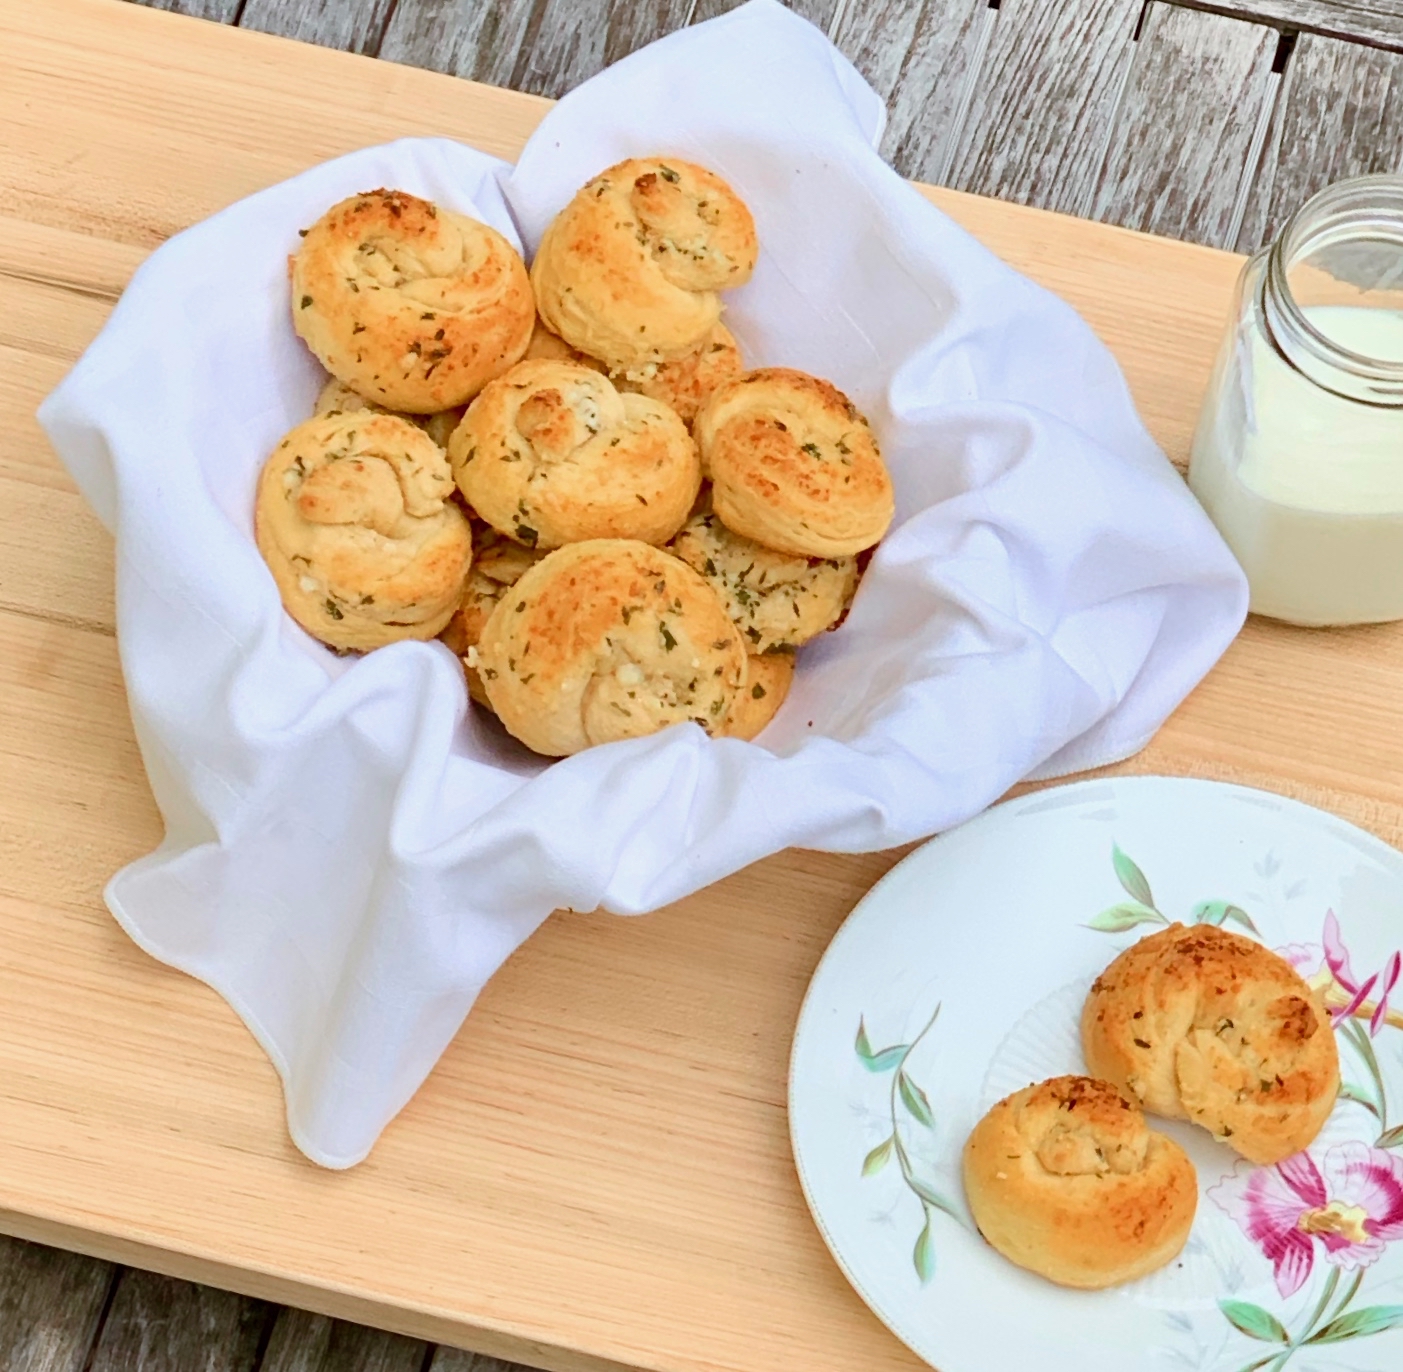
These rolls take little effort to prepare, and they are so delicious and make a beautiful presentation. The buttermilk biscuits are moist and delicate. The Parmesan, garlic, oregano, and parsley doctor them up and make them savory and scrumptious. Pop one into your mouth and it is simply heavenly. Here is a warning; you won’t be able to eat just one, so double the recipe for your guests to enjoy as many as they want.

This recipe is courtesy of Damn Delicious and will serve 16 people who will come back for seconds– and then ask for the recipe!

Ingredients for Easy Garlic Parmesan Knots:

1/4 cup unsalted butter, melted
2 tablespoons freshly grated Parmesan
3/4 teaspoon garlic powder
1/2 teaspoon dried oregano
1/2 teaspoon dried parsley flakes
1/4 teaspoon salt
1 (16-ounce) tube refrigerated buttermilk biscuits

Preheat oven to 400 degrees F.

Lightly oil a baking sheet or coat with nonstick spray.

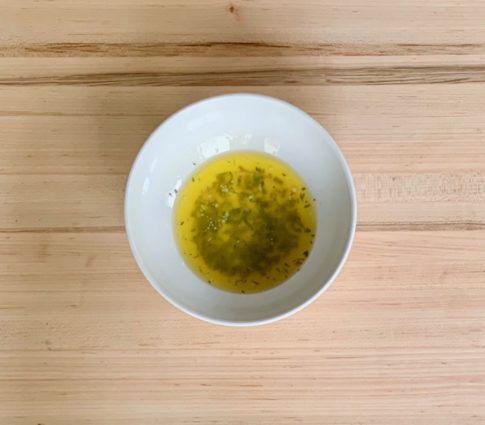
In a small bowl, whisk together butter, Parmesan, garlic powder, oregano, parsley and salt; set aside.

Halve each of the 8 biscuits, making 16 pieces.

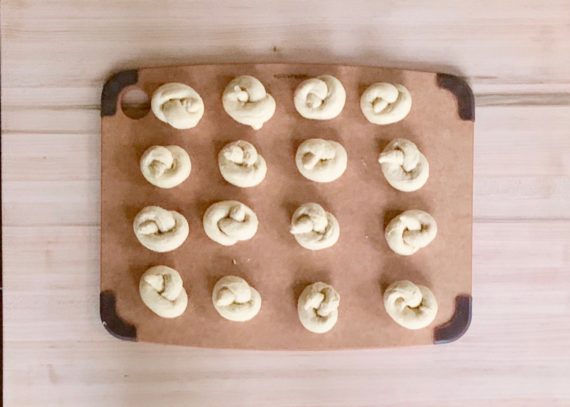
Roll each piece into a 5-inch rope, about 1/2-inch thick, and tie into a knot, tucking the ends.

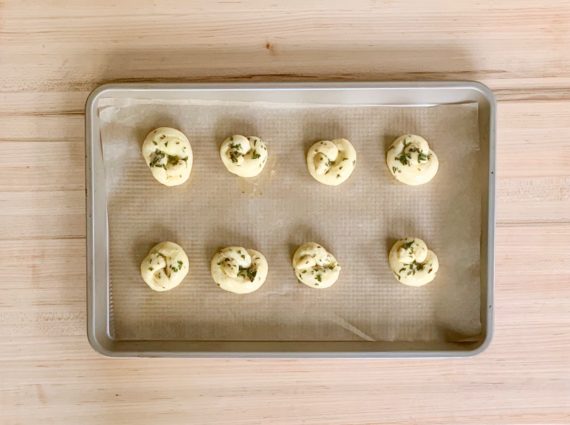
Place knots onto the prepared baking sheet and brush each knot with half of the butter mixture.

Place into oven and bake until golden brown, about 8-10 minutes.

Serve immediately, brushed with remaining butter mixture.

It’s that simple!

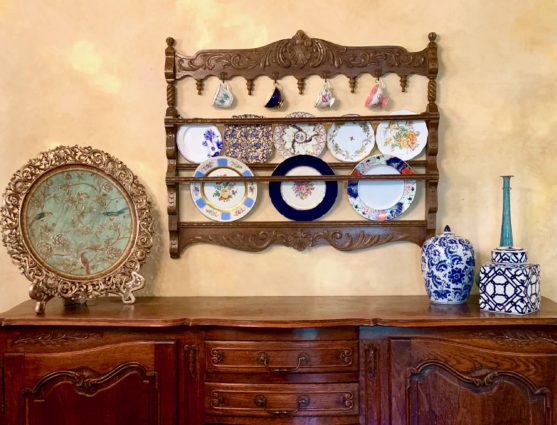
A friend of mine gave me an antique plate holder to diplay some of my antique plates and teacups. I found the perfect  place to hang it, and I just love how it looks!


signature

[recaptcha]


Baking has always intimidated me. Too many failures does not make one want to continue trying. Now that I have some experience, I find that I really do enjoy baking, and it is not that hard… if you know what you’re doing.

Ever heard the phrase “measure twice, cut once?”  Same applies here. Carefully read the recipe ingredients and instructions twice. This will make you familiar with both the ingredients and the instructions.  You don’t want to combine your ingredients, only to discover you were supposed to mix them in separately.

Make sure you have all the right equipment. You don’t want to mix up some batter and then find out that your nine-inch pan is only eight inches.

Make a checklist of all necessary ingredients. It will save you a late night grocery store run.

Learn the lingo. “1 tablespoon chopped nuts” means you chop the nuts first and then measure out a tablespoon. “1 tablespoon nuts, chopped” means you should measure out a tablespoon of nuts and then chop them. If the recipe calls for eggs, it usually means large eggs.  “Butter” almost certainly means unsalted butter too.

Work by the principle of mise en place.  A French phrase that means roughly “everything in its place,” mise en place means that you should gather, measure, and prepare the ingredients before starting to bake. You won’t have to rush to chop anything ever again.

Look for ingredients you may have to take out of the refrigerator and bring to room temperature. This often takes 1 hour. 

If a recipe is properly written, the ingredients will be listed in the order that they will be used in the recipe. I line the ingredients up in that order so I can easily find them.

Preheat your oven if necessary.

Finally, remember that cooking is a journey and you learn through experience. Find the way that works for you and enjoy it. Soon, everything will come with ease.

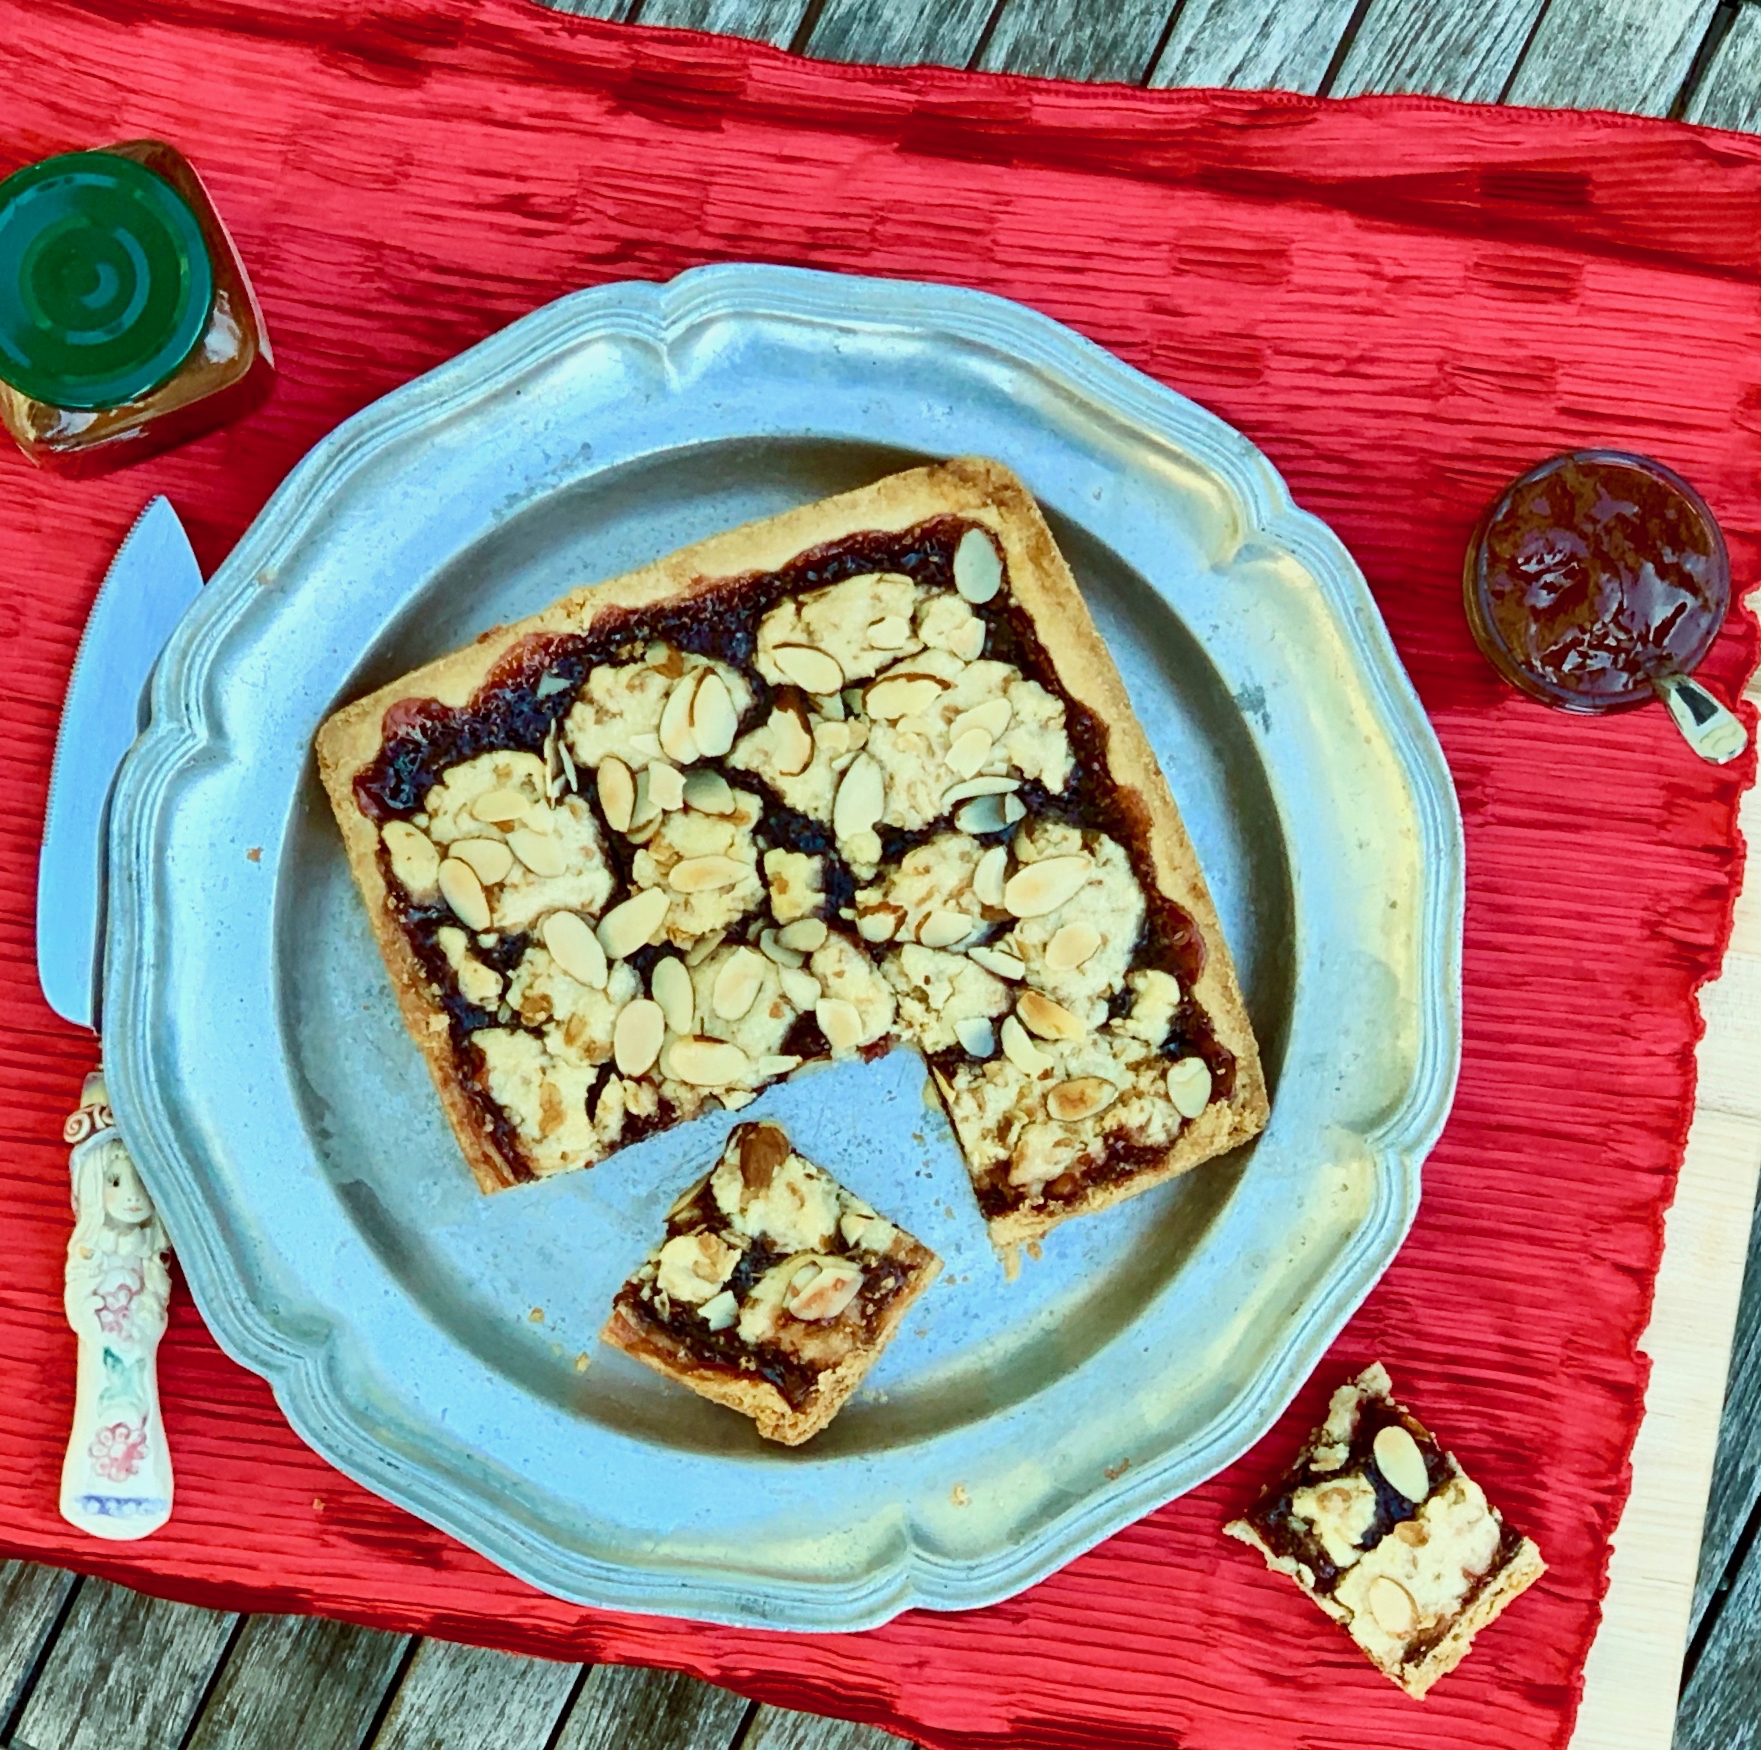
This recipe, to my great surprise, calls for raspberry jam and not the real ones. But, as always, Ina knows her stuff and these bars are a real sweet treat. The raspberry jam gives it just the right combination of tart and sweet. The granola always adds delicious flavor and texture. The almonds offer a nice crunch to finish. This is so delightfully enjoyable, you will almost certainly find yourself eating a little more than you want to.

The recipe is courtesy of Ina Garten and will make 9 to 12 bars for people who will thank you for reading the recipe twice!

Ingredients for Raspberry Crumble Bars:

1/2 pound (2 sticks) unsalted butter at room temperature
3/4 cup sugar
1 teaspoon pure vanilla extract
2-1/3 cups all-purpose flour
1/2 teaspoon kosher salt
10 to 12 ounces good raspberry jam, such as Hero
2/3 cup good granola without dried fruit
1/4 cup sliced almonds
Confectioners’ sugar, for sprinkling

Preheat the oven to 350 degrees.

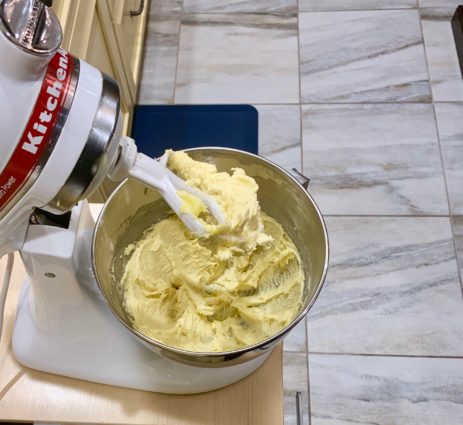
Place the butter and sugar in the bowl of an electric mixer fitted with the paddle attachment and mix on medium speed just until combined.

With the mixer on low, add the vanilla.

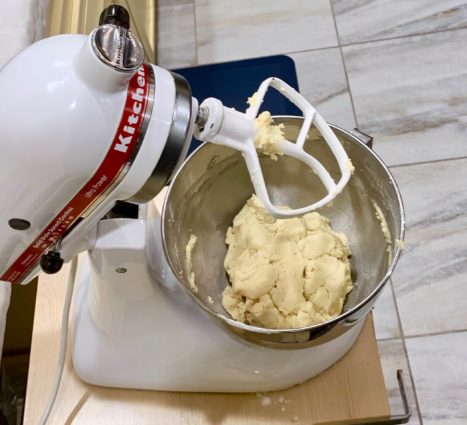
Sift the flour and salt together and, with the mixer on low, slowly add to the butter mixture, mixing until it almost comes together in a ball.

Turn the dough out on a board.

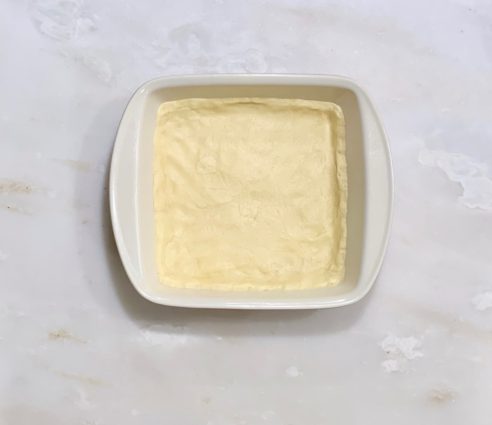
Lightly pat two-thirds of the dough evenly on the bottom of a 9-inch square baking pan and about ¼ inch up the sides.

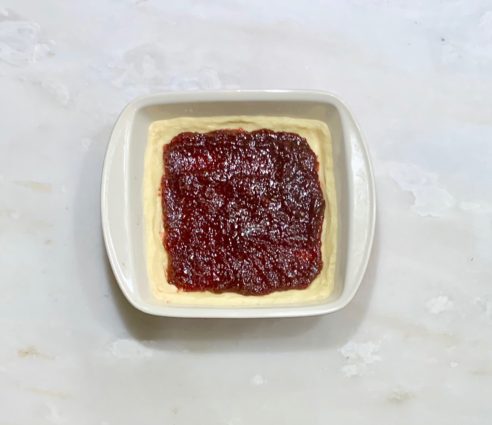
Spread with the jam, leaving a ¼-inch border.

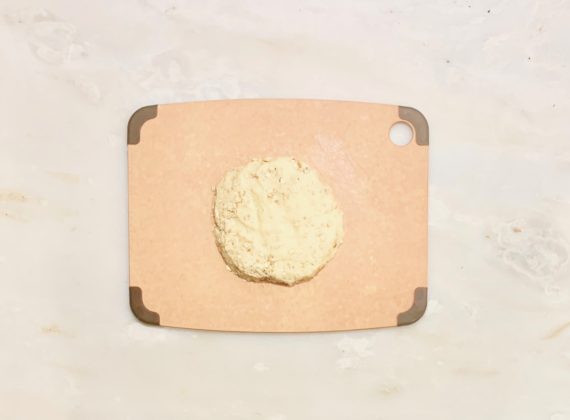
Mix the granola into the remaining dough with your hands.

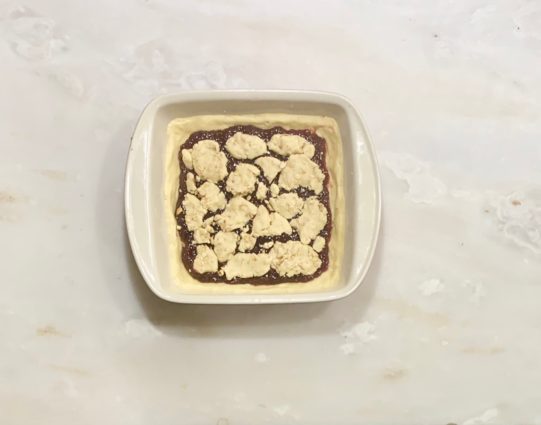
Break the dough into small bits and distribute it on top of the jam, covering most of the surface. Sprinkle the almonds on top.

Bake the bars for 45 minutes, until lightly browned.

Cool completely and cut into 9 or 12 bars. Sprinkle lightly with confectioners’ sugar.

It’s that simple!
 

signature

[recaptcha]


There are so many reasons to be sad when the summer ends. It is nice not to have a schedule and be more leisurely. People miss the flexibility of doing whatever they want: day trips to the beach, long walks, BBQs, ice cream, and afternoons at the pool. No hectic schedules, no packing lunches, no waking up early, and no homework.

On the other hand, September is a landmark month. It is the month that every student dreads, and many moms anticipate the anxiety in their children. School is starting, the weather changes, the days become shorter, and the holiday season begins.  New schedules, new jobs, new school year, and new homework assignments. It can be a hard transition, so let’s look on the bright side.

Autumn weather is perfect. No humidity, and just a touch of cold to make your cheeks pink. It’s nice to break out light jackets, scarves, and boots. The leaves change color and create beautiful blankets of color against a crisp, blue sky. There are so many Fall activities too! Apple and pumpkin picking, football season, Halloween, and Thanksgiving. The Fall season is about making memories with friends and family, old and new. 

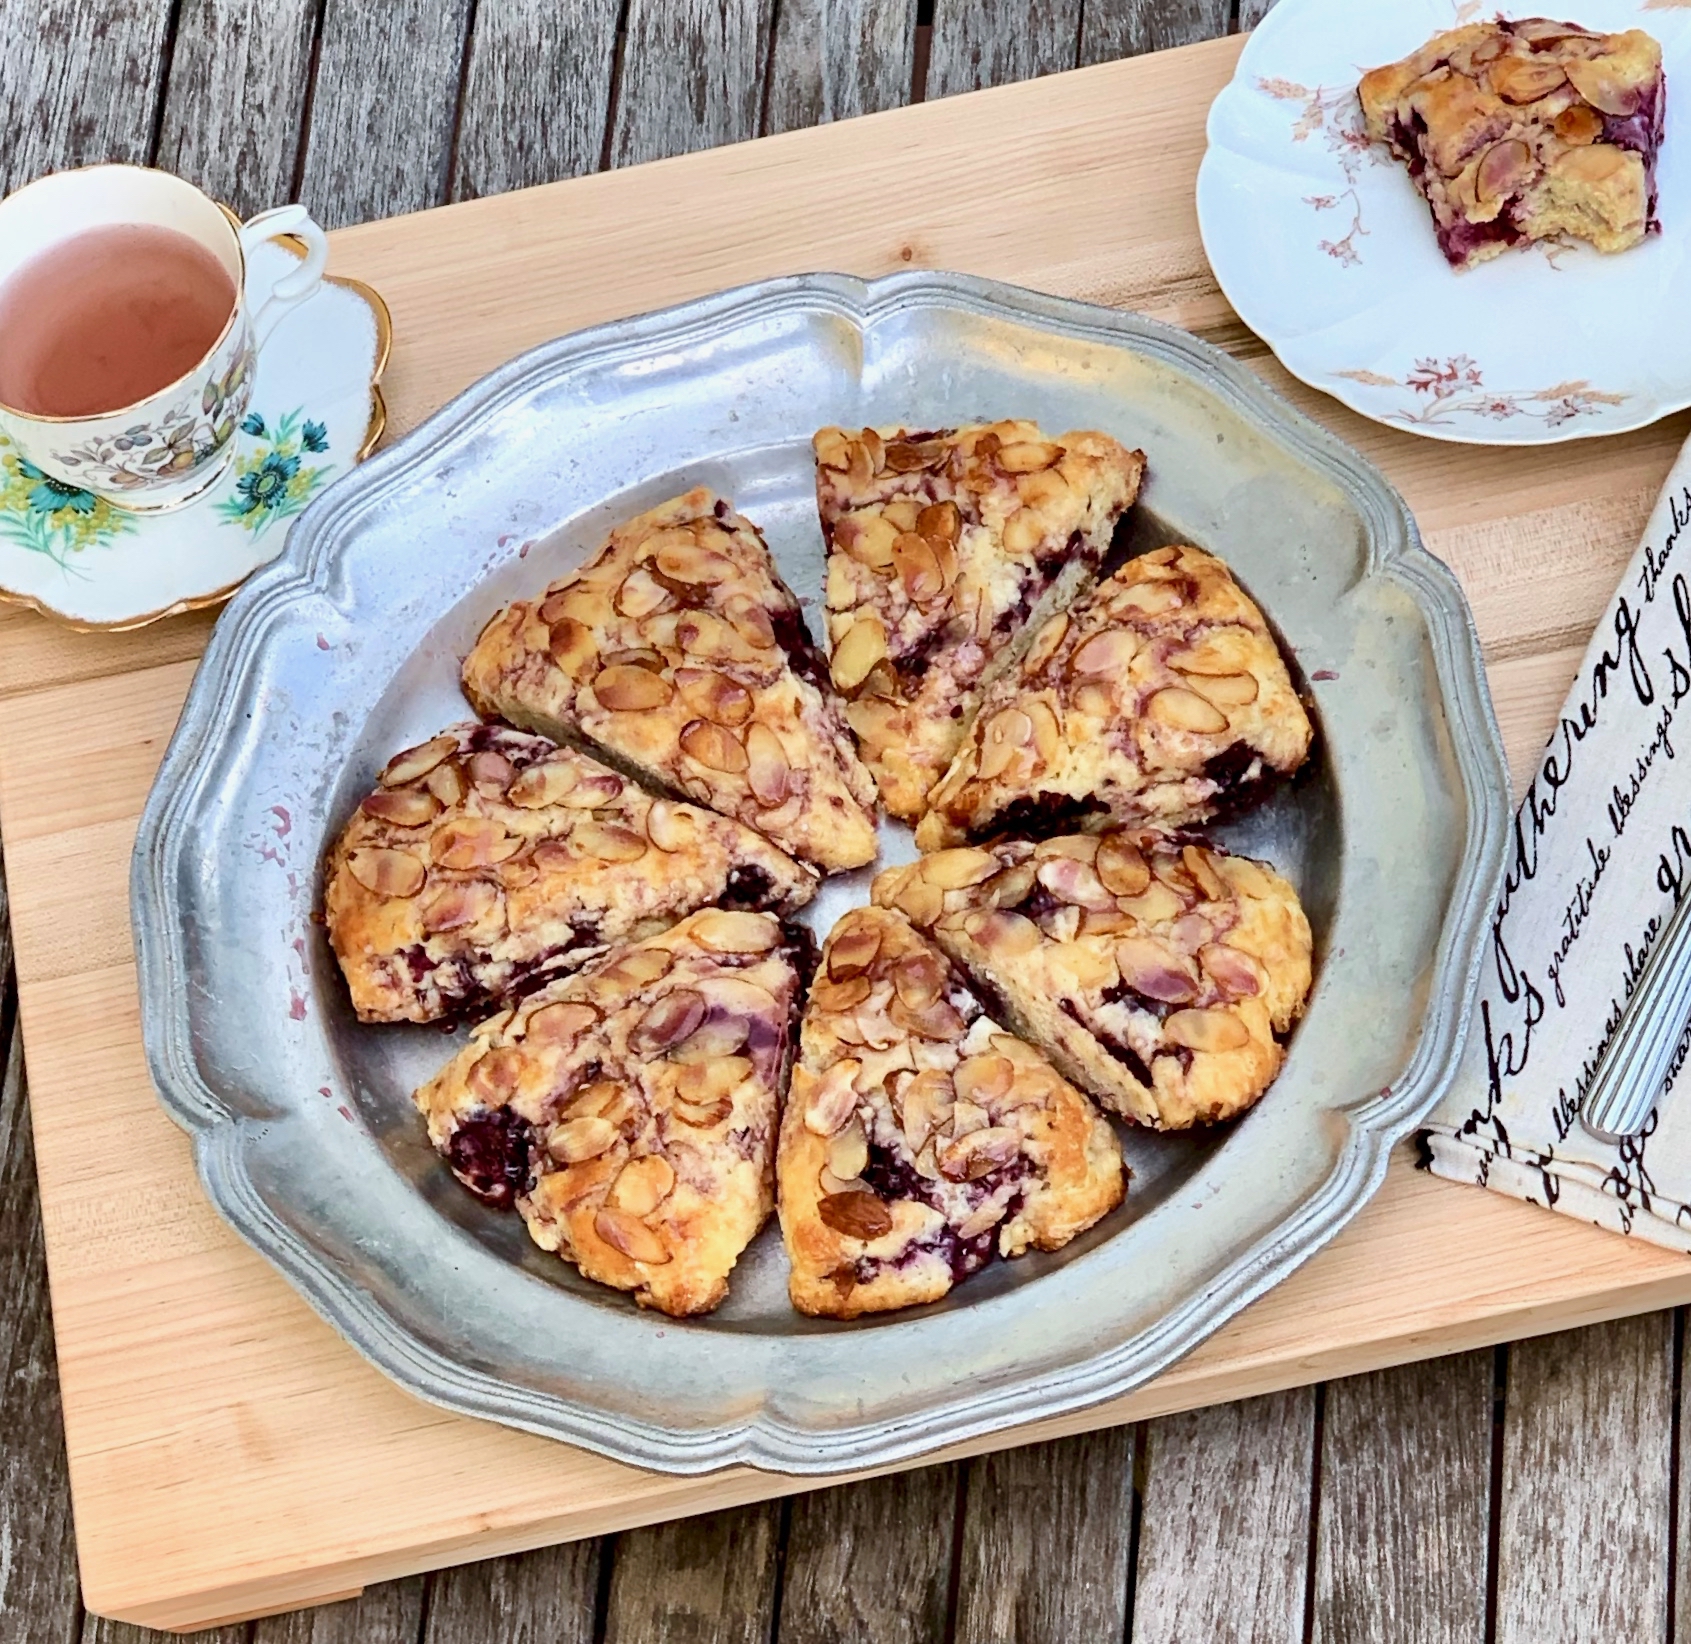
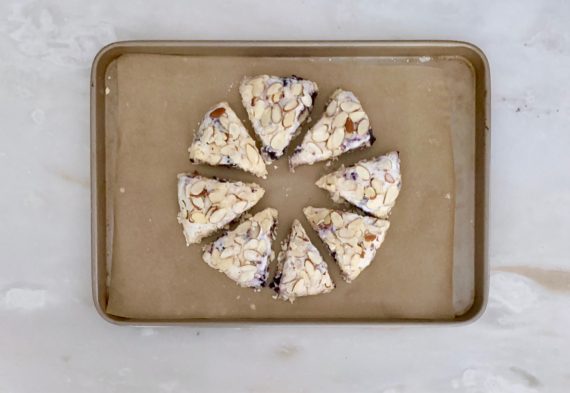
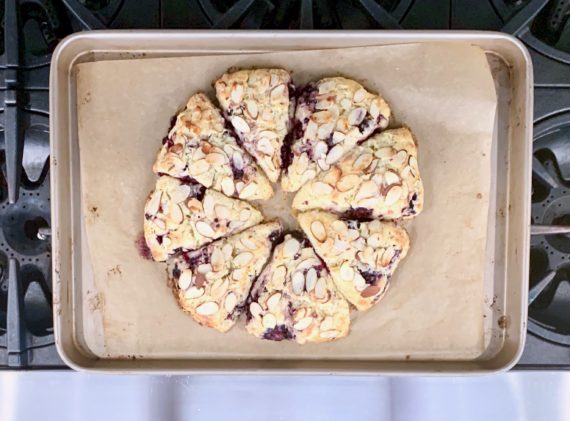
With that said, it’s been a wonderful summer, and it deserves a sweet sendoff featuring one last lovely berry: the humble raspberry. Sweet, tart, or in between, I love them all. This recipe pairs as well with your morning coffee as it does as an after-dinner treat. These scones are so moist and flaky, it feels like you are biting into sweet air. The buttermilk gives it some substance, and the combination of vanilla and almond extract add a savory taste. The raspberries, of course, are the stars of these luscious treats, adding tart and sweet flavors together.

This recipe is courtesy of My Baking Addiction, and will serve 8 people who will enjoy this treat to usher in a beautiful fall.

Ingredients for Raspberry Almond Buttermilk Scone:

2 cups all-purpose flour (spooned & leveled), plus more for hands and work surface
1/2 cup granulated sugar
2 and 1/2 teaspoons baking powder
½ teaspoon salt
1/2 cup unsalted butter, frozen
1/2 cup + 2 tablespoons buttermilk, divided
1 large egg
1 teaspoon pure vanilla extract
1/2 teaspoon almond extract
1 package (6 ounces, or 1 and 1/4 cups) raspberries
1/3 cup sliced almonds

For the Fresh Raspberry Icing:

1/2 package (3 ounces or about 1/2 cup) raspberries
2 teaspoons granulated sugar
1 and 1/2 cups confectioners’ sugar
1 tablespoon cream or milk

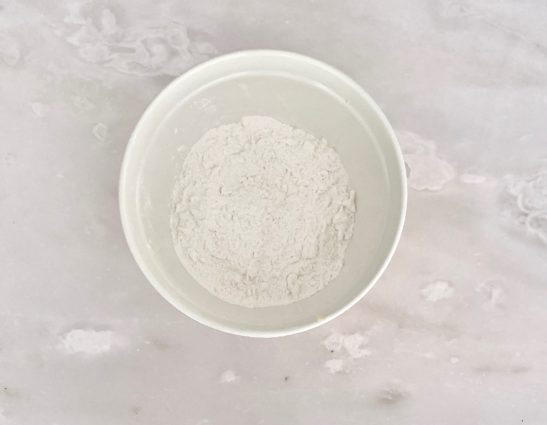
Whisk flour, sugar, baking powder, and salt together in a large bowl.

Grate the frozen butter using a box grater

Add it to the flour mixture and combine with a pastry cutter, two forks, or your fingers until the mixture comes together in pea-sized crumbs.

Place in the refrigerator or freezer as you mix the wet ingredients together.

Whisk 1/2 cup buttermilk, egg, vanilla extract, and almond extract together in a small bowl.

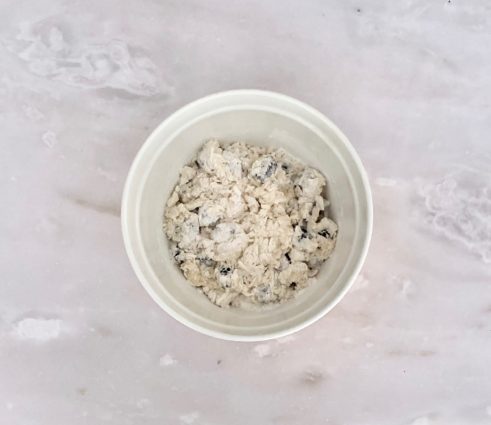
Drizzle over the flour mixture, add the raspberries, then mix together until everything appears moistened.

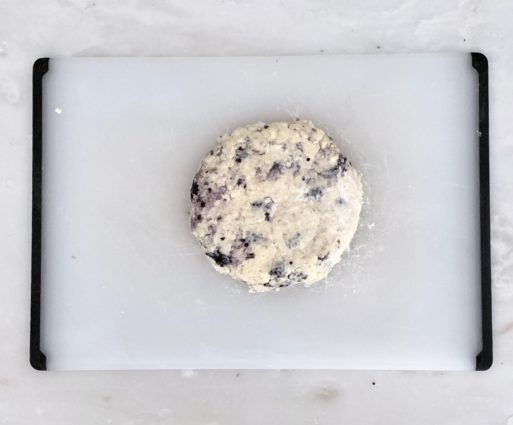
Pour onto the counter and, with floured hands, work dough into a ball as best you can.

Dough will be sticky. If it’s too sticky, add a little more flour.

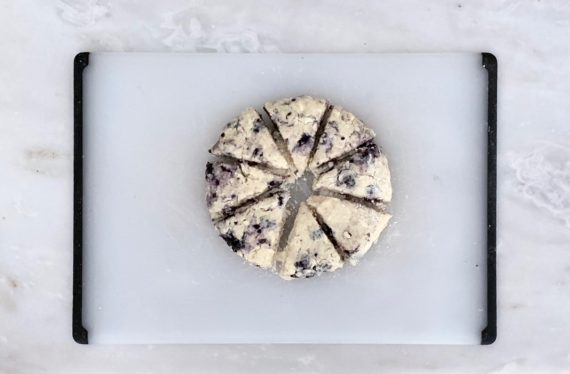
Press into an 8-inch disc.

Using a sharp knife or bench scraper, cut into 8 wedges.

Brush scones with remaining buttermilk and top with sliced almonds. (You can do this before or after refrigerating in the next step.)

Place scones on a plate or lined baking sheet (if your fridge has space!) and refrigerate for at least 15 minutes.

Meanwhile, preheat oven to 400°F (204°C).

Line a large baking sheet with parchment paper or silicone baking mat. After refrigerating, arrange scones 2-3 inches apart on the prepared baking sheet(s).

Bake for 22-25 minutes or until golden brown around the edges and lightly browned on top. Remove from the oven and cool for a few minutes as you prepare the icing.

Make the icing:

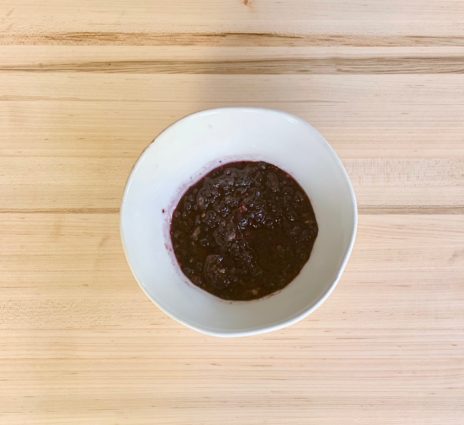
Toss the raspberries and granulated sugar together.

Vigorously stir to break up the raspberries.

Allow to sit for 5 minutes as the raspberries let out their juices.

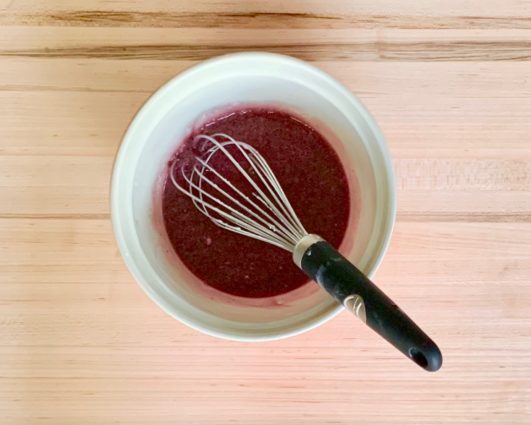
Strain the raspberries through a fine mesh sieve over a medium bowl.

Use a spoon to press them through, extracting all the juices.

You’ll have about 3 Tablespoons of juice.

Whisk in the confectioners’ sugar and milk.

Add a little more confectioners’ sugar to thicken or more milk to thin, if desired. Drizzle over warm scones.

Leftover iced or un-iced scones keep well at room temperature for 2 days or in the refrigerator for 5 days.

It’s that simple!
signature

[recaptcha]


You may have heard that breakfast is the most important meal of the day. Eating a good, nutritious meal first thing kick-starts your metabolism and actually increases the number of calories you burn throughout the day. 

Many studies show that eating a good breakfast will help you concentrate better throughout the day. It provides you with the energy to be more focused and be more efficient with your daily tasks. When you wake up in the morning, your blood sugar is low and you need food to optimize your physical and mental function throughout the day. Breakfast can lower your levels of LDL cholesterol (aka “bad” cholesterol) as well as lowering your chances of getting diabetes, heart disease, and becoming overweight.

Whether you are enjoying a leisurely weekend morning or running off to work, it is essential that you provide your body with the fuel it needs to carry you through your day. If you are the kind of person who wakes up grumpy or lethargic, breakfast can offer a jump start to your body and mind.

Please sign up for my weekly newsletter, and if you are fan, like me on Facebook!

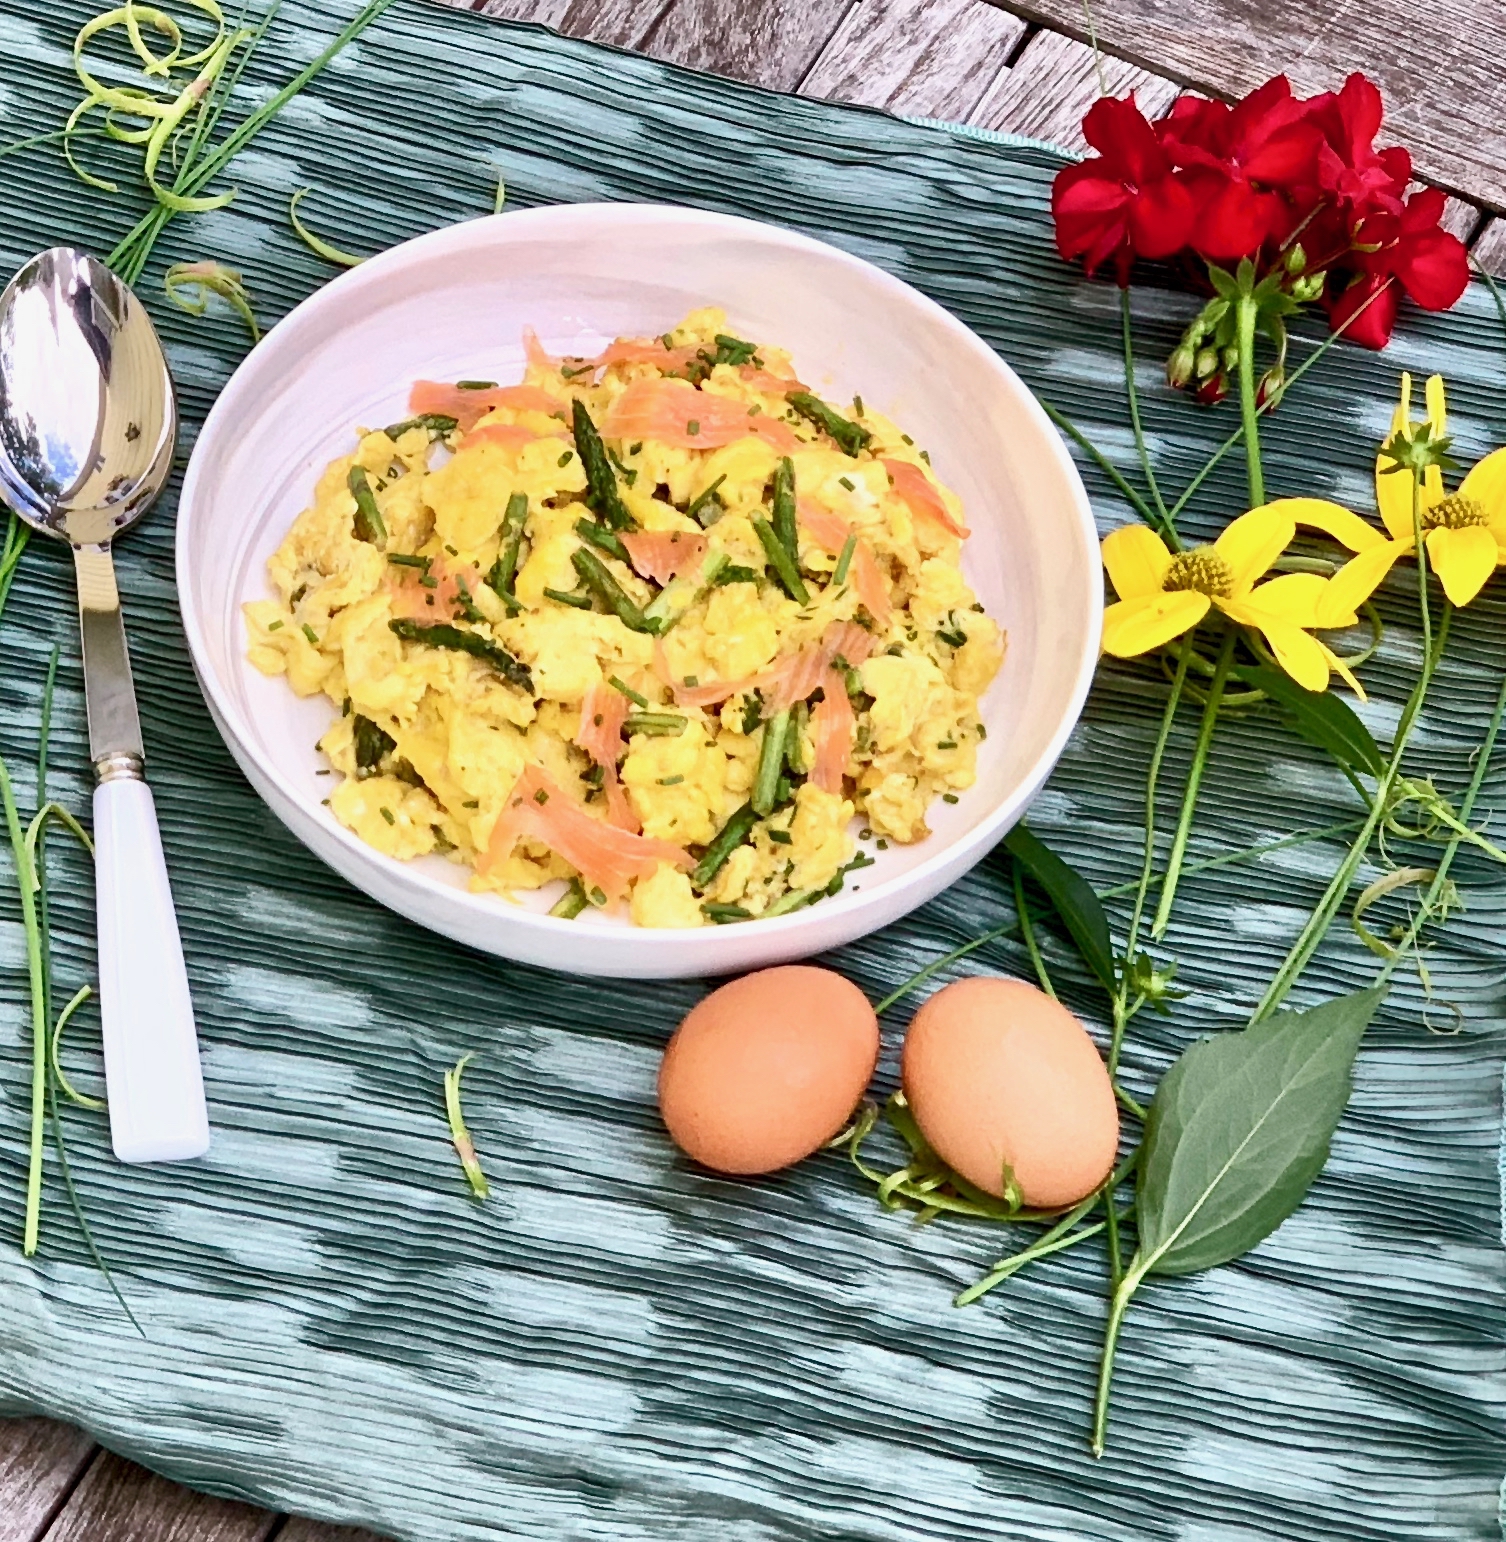
This breakfast goodie may be the one that helps you do just that. It is filled with nutritious ingredients that are so delicious all together. The asparagus and chives add savory goodness. The smoked salmon speaks for itself. It is the perfect topping that takes this dish to a whole new level of perfection. Start your day with this and I can honestly predict you will be so happy.

This recipe is courtesy of Cooks Illustrated and will serve 4 people who will adore this savory morning treat.

Ingredients for Scrambled Eggs with Asparagus, Smoked Salmon and Chives:

8 large eggs
3 tablespoons extra-virgin olive oil, divided
2 tablespoons minced fresh chives, divided
1/2 teaspoon salt
1/4 teaspoon pepper
1 garlic clove, minced
8 ounces thin asparagus, trimmed and cut into 1/2-inch pieces
2 tablespoons water
2 ounces smoked salmon, torn into 1/2-inch strips

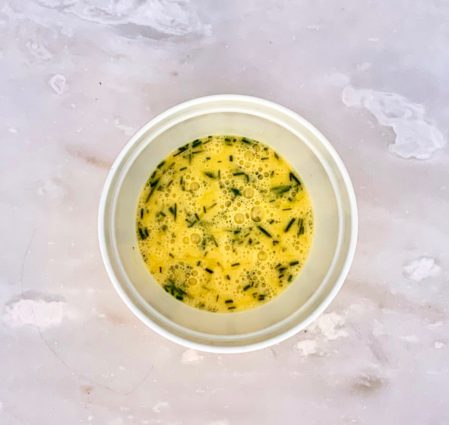
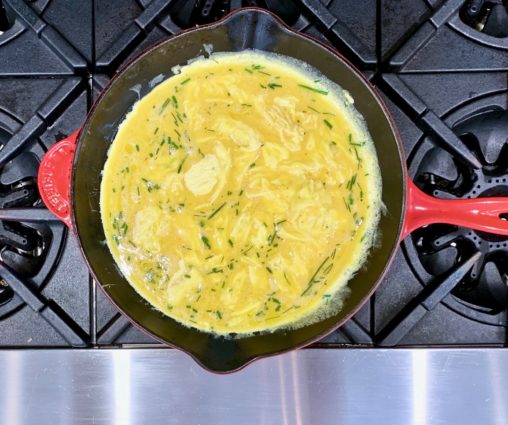
In medium bowl, beat eggs, 2 tablespoons oil, 1 tablespoon chives, salt, and pepper with fork until no streaks of white remain.

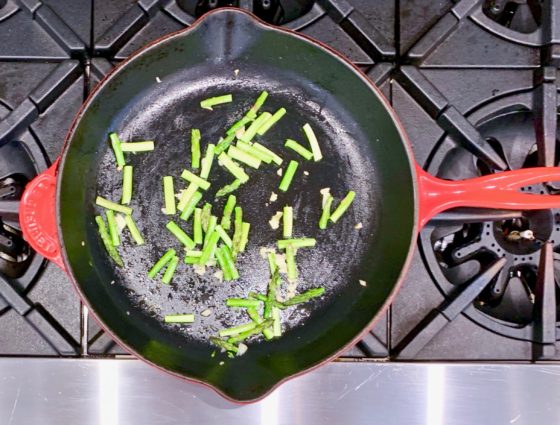
Heat 1 teaspoon oil and garlic in 12-inch nonstick skillet over medium heat until fragrant, about 1 minute.

Add asparagus and water, cover, and cook, stirring occasionally, until asparagus is crisp-tender, 3 to 4 minutes.

Uncover and continue to cook until moisture has evaporated, about 1 minute longer.

Transfer asparagus mixture to small bowl and set aside.

Wipe skillet clean with paper towels.

Heat remaining 2 teaspoons oil in now-empty skillet over medium-high heat until shimmering.

Add egg mixture and, using a rubber spatula, constantly and firmly scrape along the bottom and sides of skillet until eggs begin to clump and spatula just leaves trail on bottom of skillet, 30 to 60 seconds.

Reduce heat to low and gently but constantly fold eggs until clumped and just slightly wet, 30 to 60 seconds.

Fold in asparagus mixture.

Transfer to serving dish, top with salmon, sprinkle with remaining 1 tablespoon chives, and serve.

It’s that simple!
Macy

signature

[recaptcha]