Dorothy was so right: there is no place like home. 

During the last years of my husband’s education, we lived together in Manhattan. After that, we could have moved anywhere. I wanted to live close to family, so we moved to Miami, Florida, where my brother and sister-in-law lived with their two girls. That is where we bought our first home. At that point, I was working full time and our son was 6 months old. But for some reason, Miami never felt like home to me. I was born and raised in the northeast, and I always felt out of place there, however I loved being near my family, especially my two nieces, whom I still hold very dear.

My husband wasn’t happy with his job, and it became clear that Miami was not for us. While we were talking about moving to another city in Florida, hurricane Andrew hit. Our home was destroyed and we had no place to go. We moved eight times in one month with our son, and our possessions in three small boxes. I was in shock. We had to find a temporary place to live until we decided where to go, so we rented an apartment on Miami Beach. My commute to get my son to preschool, and me to work, became a nightmare.

Out of the blue, my husband got a job opportunity from a colleague back in the northeast. After a brief discussion, my husband wanted to take the position. In the moment, I didn’t know what I wanted to do, but this was my chance to move back home, to a place where I was comfortable and safe. The horrible tragedy of hurricane Andrew became somewhat of a blessing.

We moved back and purchased a home. This one really felt like home to me, and I was finally at peace. A home is where you can cozy up on a rainy day. Where you feel relief pulling into the driveway after a long trip. Where you feel at ease when you walk in the door. The sound of my children laughing and playing echo in the hallways.  And of course, the delicious scent of dinner in the oven, or the delightful smell of a pie or muffins baking in the oven.

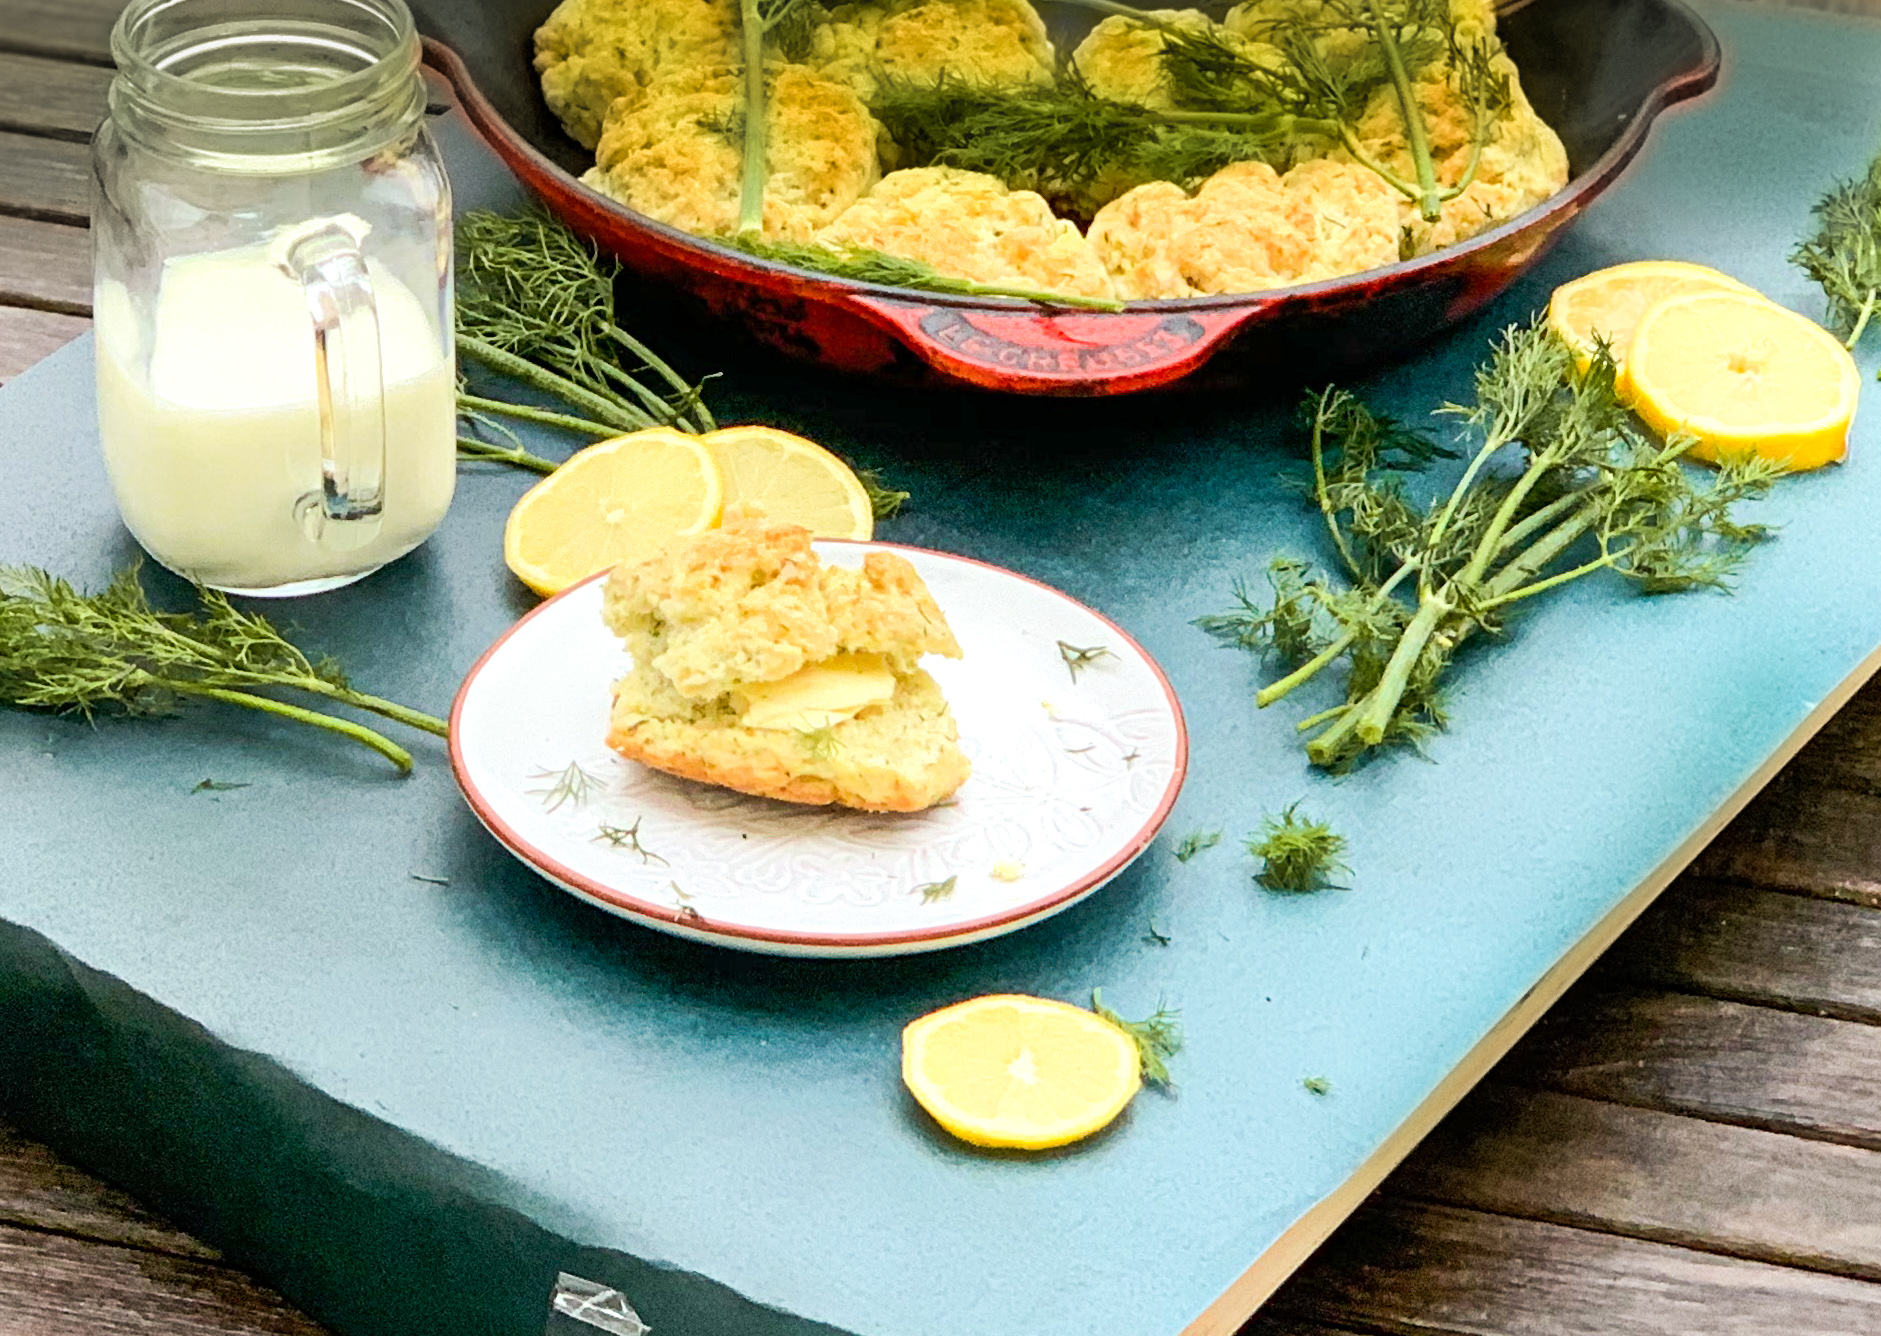
So, this is one really good recipe that will make anywhere you are feel like home.  These biscuits are so light and fresh. The lemon and the dill are flavors, though they don’t sound great on paper, I found combine well together.  They are the tang and the savory that make these delightful treats so irresistible. Have them for breakfast, a snack or dessert, anytime is a good time to eat them. A pat of butter really brings out the rich flavor of these biscuits.

This recipe is courtesy of Cook’s Country and will make 8 biscuits for people who will truly feel at home in your home.

Ingredients for Lemon-Dill Biscuits:

3 cups (15 ounces) all-purpose flour
⅓ cup minced fresh dill
1 tablespoon grated lemon zest
1 tablespoon baking powder
½ teaspoon baking soda
1 teaspoon salt 
8 tablespoons unsalted butter, cut into 1/2-inch pieces and softened, plus 1 tablespoon melted
4 tablespoons vegetable shortening, cut into 1/2-inch pieces
1 ¼ cups buttermilk

 Adjust oven rack to upper-middle position and heat oven to 425 degrees.

Grease 12-inch cast-iron skillet.

Whisk flour, dill, lemon zest, baking powder, baking soda, and salt together in a large bowl.
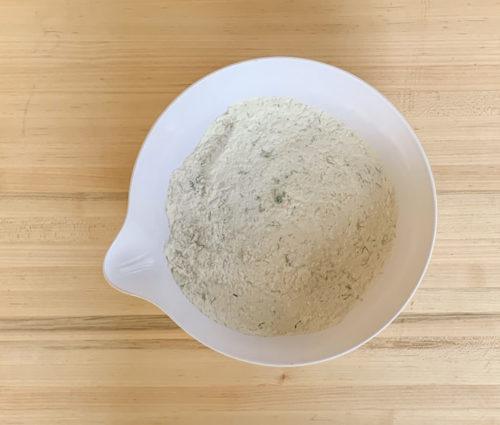
Using your hands, rub butter and shortening into flour until mixture forms a coarse meal.
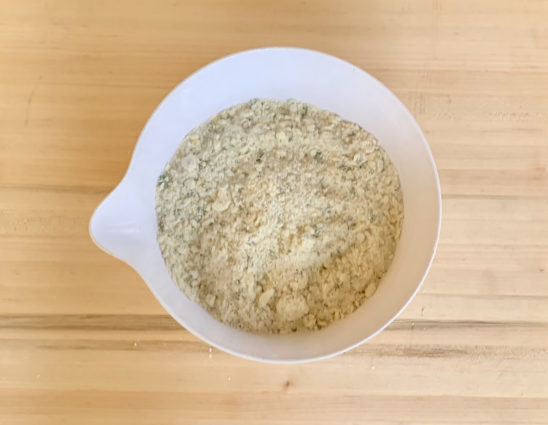
Stir buttermilk into flour mixture until just combined.
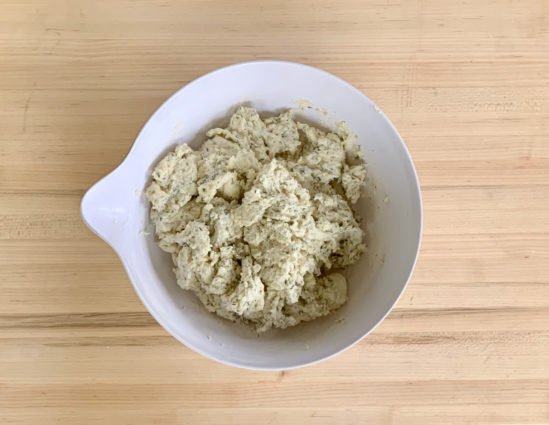
Using greased ⅓-cup dry measuring cup, scoop out and drop 8 mounds of dough evenly into prepared skillet.

Brush biscuits with 1 tablespoon melted butter.
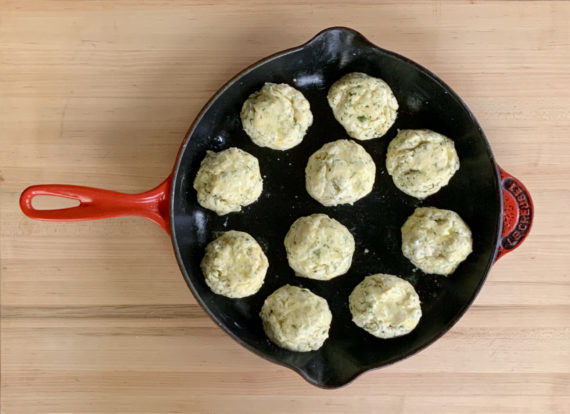
Transfer skillet to oven and bake until biscuits are puffed and golden brown, 20 to 25 minutes, rotating skillet halfway through baking.

Using potholders, transfer skillet to wire rack and let biscuits cool for at least 15 minutes before serving.
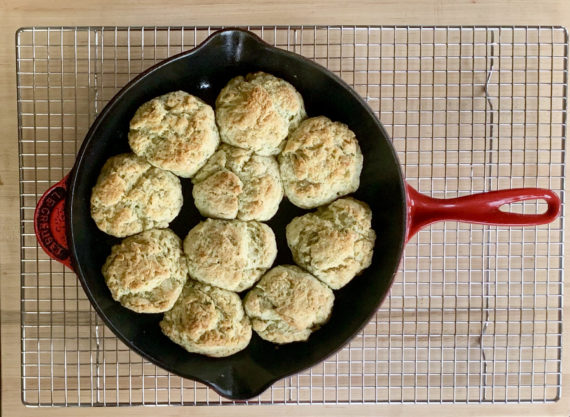
It’s that simple!

signature

[recaptcha]


When my oldest son was a toddler, he was a very picky eater. My son had three or four foods he would eat, and boy was I grateful for those. For a while, I was able to get good nutrients into him, but those days were short lived. At some point, he began to eat only chicken fingers, pasta with butter, and pizza.  As a young mother, this behavior worried me, but I knew he would grow out of it.

My younger son was the exact opposite. I home-made his baby food, but he had none of it. He wanted the same food the adults had, and gave up baby food at a very young age. I remember when he had his tonsils removed. In the recovery room, my husband told him he would go get him some ice cream. “NO” he yelled, “I want shrimp.” My husband and I and all the nurses in the recovery room cracked up.

Nowadays, my older son has a much healthier diet, but does not like vegetables. Sometimes the dinner menu is hard because of that, but I manage. My own diet has changed through the years too. I find that I can’t eat like I used to–I read the ingredients list carefully, and don’t eat anything with an ingredient I can’t pronounce. Both of my sons live with me, and I have changed their diets to include natural, fresh food. I only buy snacks that have beneficial ingredients, and I find that we are all adapting well.

This is one recipe that my family all agrees on. Leave it to Ina to come through for me. The potato makes this dish a hearty meal, so you can serve it anytime of the day. The ricotta cheese and the gruyere are a perfect combination of deliciousness. The basil is the savory touch in this dish and adds wonderful flavor that transfers beautifully into this irresistible frittata. This is a “must try!”

This recipe is courtesy of Ina Garten and will serve 8 of even the most picky eaters.

Ingredients for Potato Basil Frittata:

8 tablespoons (1 stick) unsalted butter, divided
2 cups peeled and 1/2-inch-diced boiling potatoes (4 potatoes)
8 extra-large eggs
15 ounces ricotta cheese
3/4 pound Gruyère cheese, grated
1/2 teaspoon kosher salt
1/2 teaspoon freshly ground black pepper
3/4 cup chopped fresh basil leaves
1/3 cup all-purpose flour
3/4 teaspoon baking powder

Preheat the oven to 350 degrees F.

Melt 3 tablespoons of the butter in a 10-inch oven-proof omelet pan over medium-low heat.

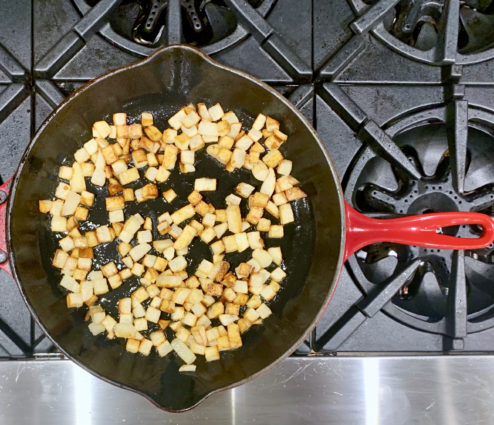
Add the potatoes and fry them until cooked through, turning often, 10 to 15 minutes.

Melt the remaining 5 tablespoons of butter in a small dish in the microwave.

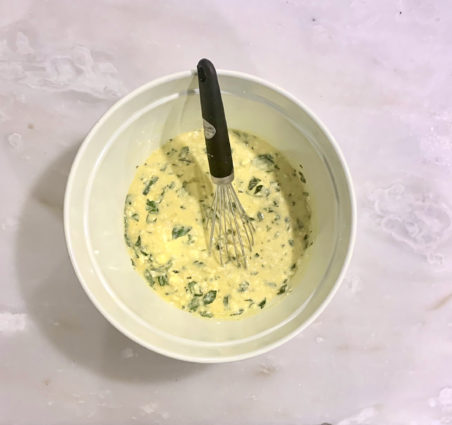
Meanwhile, whisk the eggs in a large bowl, then stir in the ricotta, Gruyère, melted butter, salt, pepper, and basil.

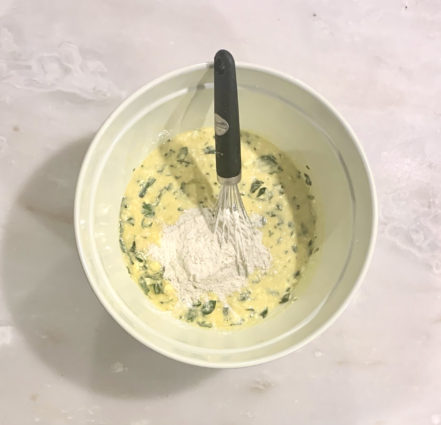
Sprinkle on the flour and baking powder, and stir into the egg mixture.

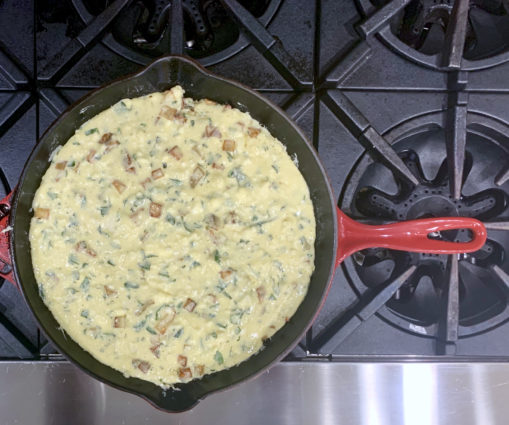
Pour the egg mixture over the potatoes and place the pan in the center of the oven.

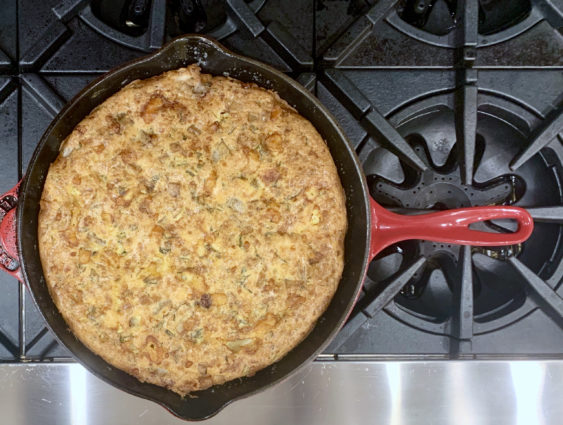
Bake the frittata until it is browned and puffed, 50 minutes to an hour.

It will be rounded and firm in the middle, and a knife inserted in the frittata should come out clean.

Serve hot.

It’s that simple!
signature

[recaptcha]


As the year comes to an end, many of us make resolutions for the new year. Unfortunately, most of us don’t keep them, and in our day to day business, we most often forget about them. 

I do not make resolutions, but I do set new goals for myself, especially in the kitchen. I will share some of them with you, just in case you’re looking for some ideas for yourself:

Use more fresh herbs. They are so much better than dried ones, and most supermarkets sell them fresh in their produce department all year long.

Make my kitchen workplace a more beautiful one. I love my kitchen, but it can always be better! I know what I’m adding, but you might try to put out your favorite piece of pottery, or buy a nice plant or succulent to add life. Bring in some speakers and cook to music. It just might make you sing or dance a little too!

Nutrition is important. Take the time to read ingredients, and make choices that suit your lifestyle.  What you put into your body is important. 

Share some recipes and look for new ones.  Because of the blog, I’m always on the lookout for new recipes.  It’s a great habit to pick up. If you go to someone’s home and they serve something you love, ask them for the recipe. They will be flattered.  Then pay it forward and give recipes to your friends when they ask.

Encourage your kids to cook. They will be much more likely to eat the food they helped prepare, and will be very proud of the work they do. Messes can be hard to clean up, but the photos will make you laugh years later.

The only ingredient you really need is a four-letter word, LOVE, which I hope the new year brings to you!

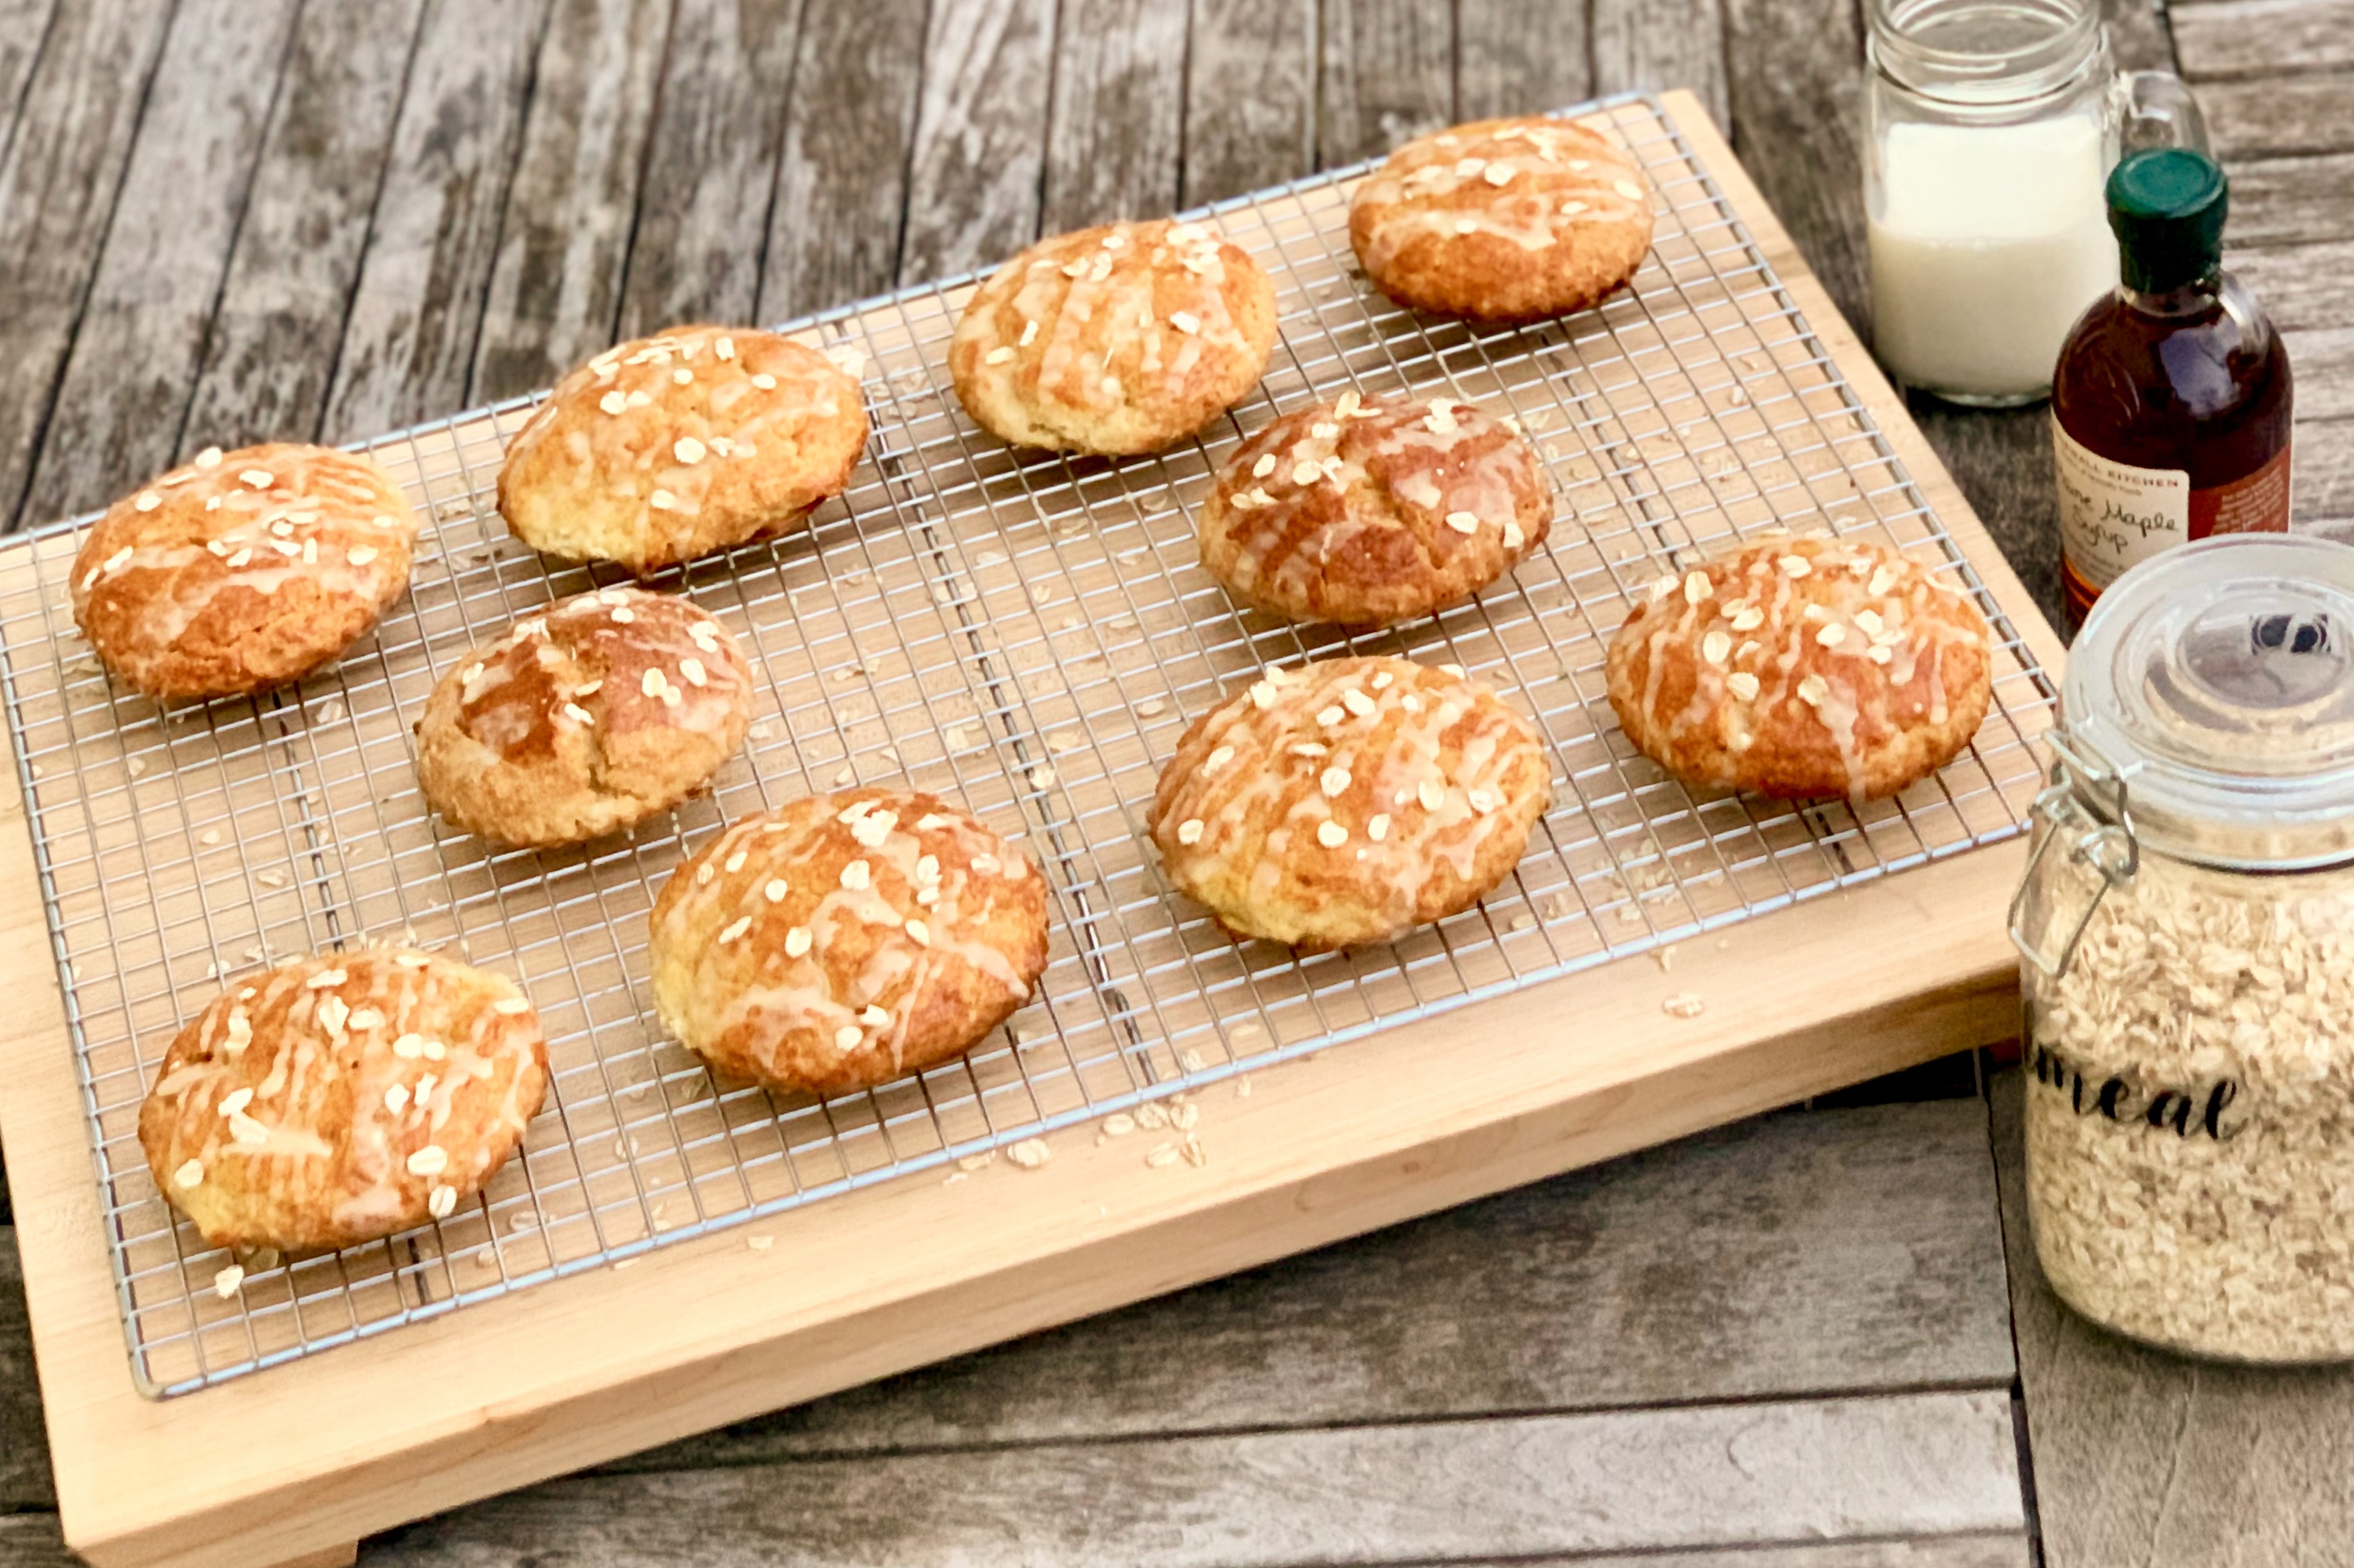
These scones will definitely taste like love when you serve them. The buttermilk ensures a soft, moist center. The oats add a nice texture, and the sugars combined with the maple syrup is just the perfect amount of sweetness for these tasty anytime treats. The glaze adds just the right savory and sweet. It’s the perfect topping for these delicious little delicacies.

This recipe is courtesy of Ina Garten (so you know it is truly perfection) and will make 14 scones for people who will love these as a daytime snack over the holidays.

Ingredients for Maple Oatmeal Scones:

3 1/2 cups all-purpose flour
1 cup whole-wheat flour
1 cup quick-cooking oats, plus additional for sprinkling
2 tablespoons baking powder
2 tablespoons granulated sugar
2 teaspoons salt
1 pound cold unsalted butter, diced
1/2 cup cold buttermilk
1/2 cup pure maple syrup
4 extra-large eggs, lightly beaten
1 egg beaten with 1 tablespoon milk or water, for egg wash

For the Glaze:

1 1/4 cups confectioners’ sugar
1/2 cup pure maple syrup
1 teaspoon pure vanilla extract

Preheat the oven to 400 degrees F.

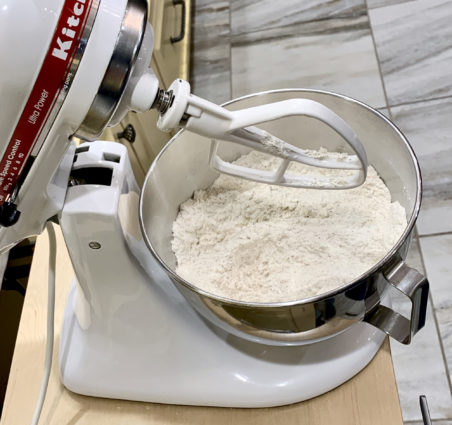
In the bowl of an electric mixer fitted with a paddle attachment, combine the flours, oats, baking powder, sugar, and salt.

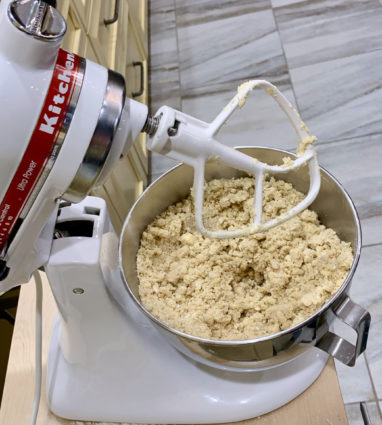
Blend the cold butter in at the lowest speed and mix until the butter is in pea-size pieces.

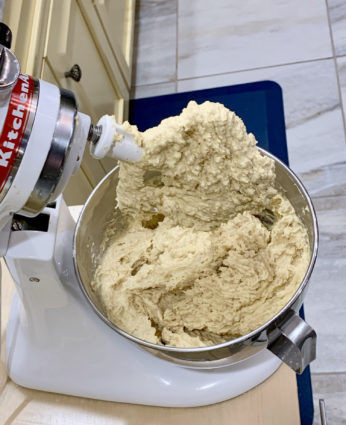
Combine the buttermilk, maple syrup, and eggs and add quickly to the flour-and-butter mixture.

Mix until just blended.  The dough may still be sticky.

Dump the dough out onto a well-floured surface and be sure it is combined.

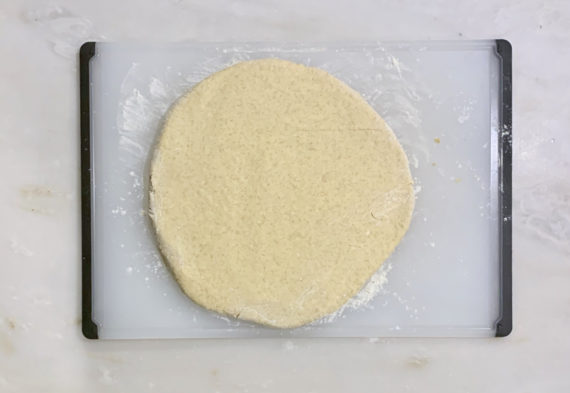
Flour your hands and a rolling pin and roll the dough 3/4 to 1 inch thick.

You should see lumps of butter in the dough.

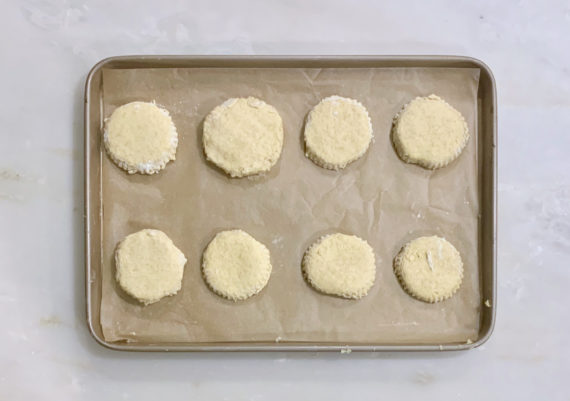
Cut into 3-inch rounds with a plain or fluted cutter and place on a baking sheet lined with parchment paper.

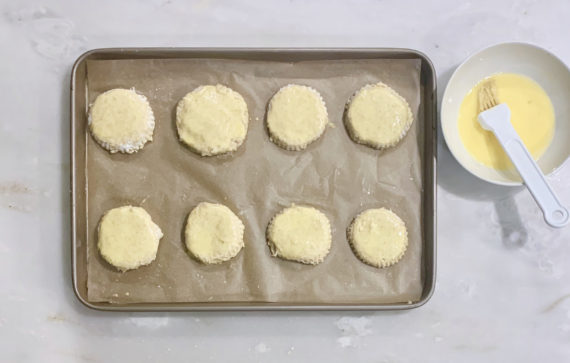
Brush the tops with egg wash. Bake for 20 to 25 minutes, until the tops are crisp and the insides are done.

To make the glaze, combine the confectioners’ sugar, maple syrup, and vanilla.

When the scones are done, cool for 5 minutes, and drizzle each scone with 1 tablespoon of the glaze.

I like to garnish the top with some uncooked oats.

The warmer the scones are when you glaze them, the thinner the glaze will be.

It’s that simple!
signature

[recaptcha]


As you may have seen on the news, it snowed here in the Northeast. I love to watch the trees become magically dusted, turning into a true winter wonderland. I love the quiet of the beautiful white snow falling. Everything seems to come to a standstill. Normally bustling streets become still as the snow gives us an excuse to pause and breathe and enjoy the moment. Usually I keep some comfort food in the freezer,– a brisket, maybe– and take it out the night before I know it is going to snow, just to have something warm to eat when we’re all at home together.

I stay home when it snows. I hate driving in it. It always seems to be such a nightmare on the road. I remember being in college and having to drive about half an hour to get to work. The parkway would be so treacherous. I was driving a very old car and I distinctly remember the fear of the car getting stuck or slipping into another car. Or even worse someone slipping into my car, causing me to crash. Last year, I got stuck on my way home from the grocery store. There were so many accidents on the road, an 8-minute drive took me four hours. So, from now on, when it snows, I stay home and look out the window and enjoy the beauty of it from there.

When the clouds loomed over my house this weekend, instead of making a meat dish, I choose to make a comfort breakfast. I had so many eggs left over from Thanksgiving, so I used them up. Who doesn’t love eggs any time of the day?

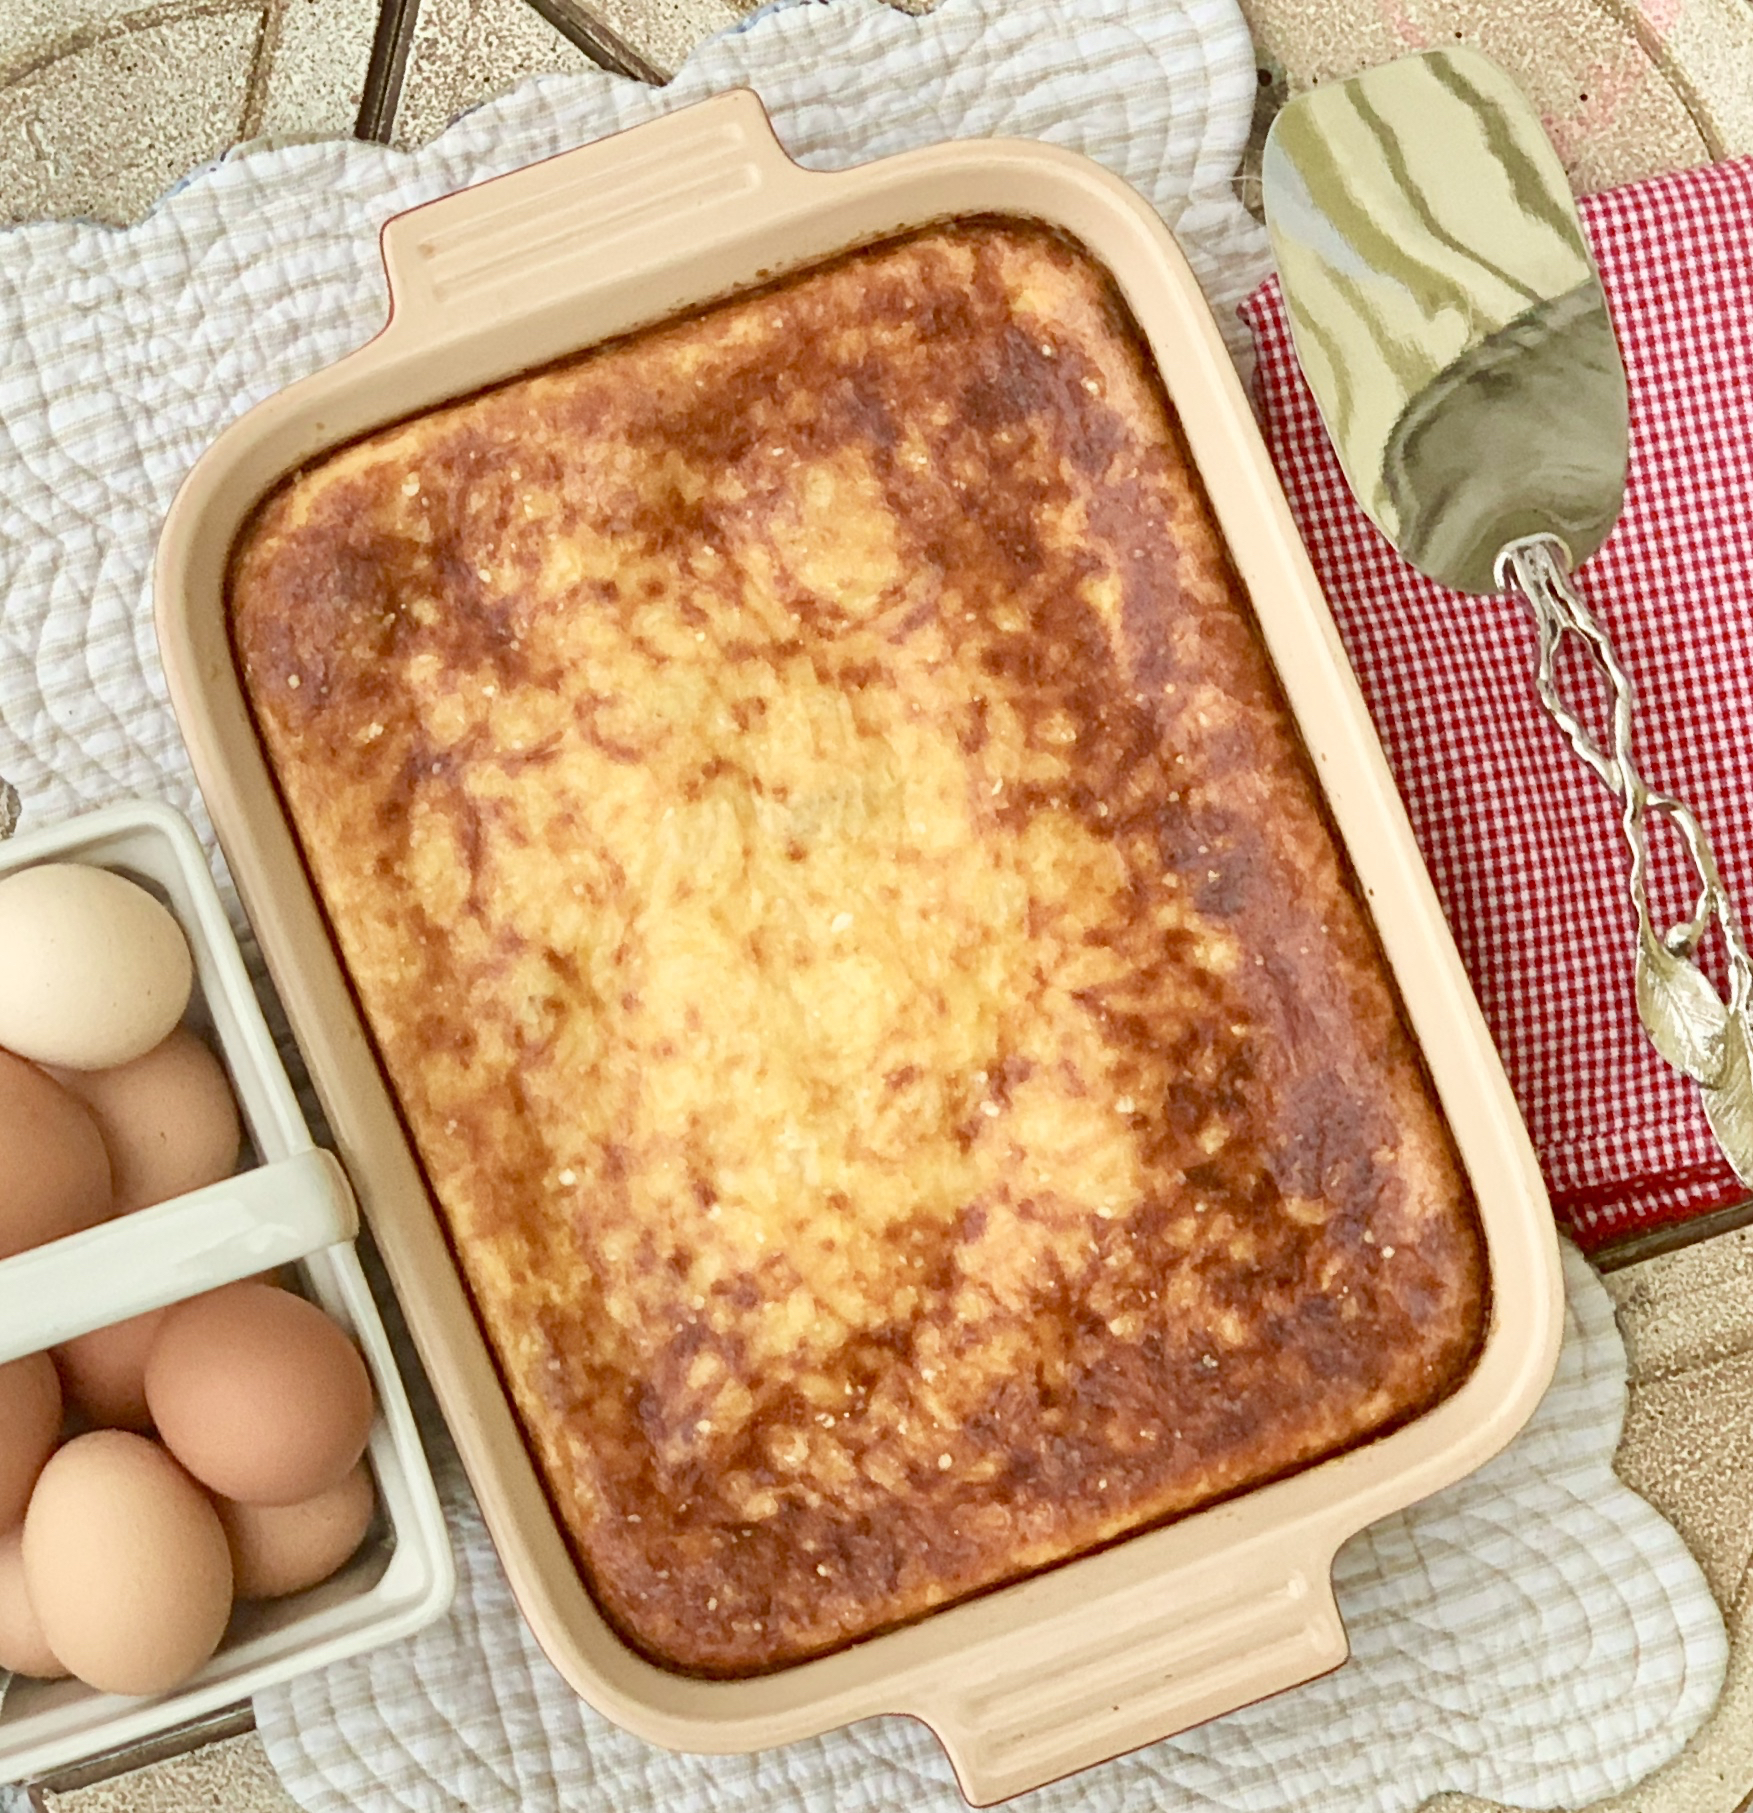
This dish has comfort food written all over it. This buttery, easy casserole is packed with cheesy, savory goodness. The cottage cheese adds another depth of flavor that combines beautifully with the other cheeses. It is also a very versatile dish. You can add sausage, chives, Italian seasoning or any vegetables you have on hand. It has become a family favorite and they love eating breakfast for dinner. It sounds strange, but once you have tried this dish, you will too.

This recipe will serve 8 people who will love a hearty breakfast meal for dinner!

Ingredients for Cheesy Baked Eggs with Bacon:

1 Tbsp. butter
12 eggs
½ tsp. salt
Pepper to taste, freshly ground
1 (16-ounce) container cottage cheese
1 cup sharp cheddar cheese, grated
1/2 cup flour
1 teaspoon baking powder
1/4 cup Parmesan cheese
1 lb. bacon, cooked and crumbled into small pieces

Preheat oven to 350 degrees F.

Brush melted butter on the bottom and sides of the pan.

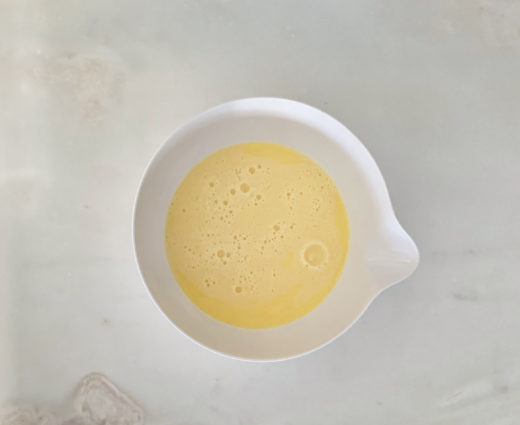
Whisk together eggs in a large bowl.

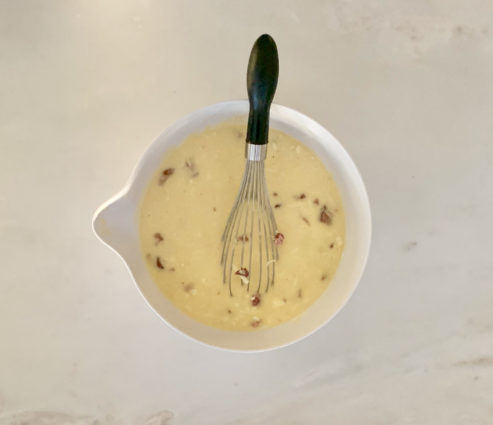
Add salt and pepper, half and half, cheddar cheese, bacon, flour, and baking powder.

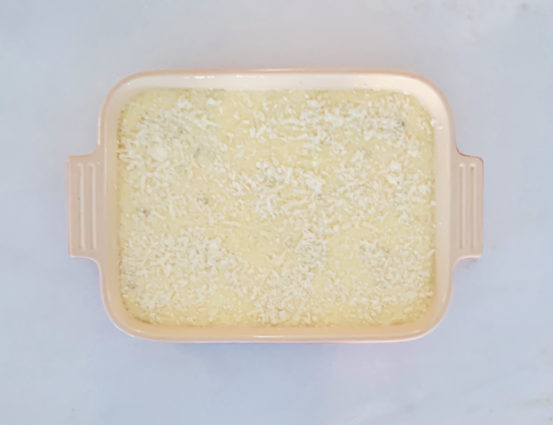
Pour into prepared baking dish. 

Sprinkle Parmesan cheese over the top of the egg mixture.

Bake until eggs are firm and set, and the top is golden about 50 minutes to 1 hour.

It’s that simple!
signature

[recaptcha]


Most folks love apples. They are good any time of the day, from chopped apples in your morning oatmeal, to placing them in between two slices of turkey for lunch, or cutting them into sticks and served in a stir fry for dinner. Eat them raw with peanut butter as a snack, or bake them into a lovely fall dessert.

We know that apples are a healthy treat as well as a delicious one.  The old saying “an apple a day keeps the doctor away” turns out to be based in fact as well. Apples are a great source of vitamin C, potassium, and fiber. They also contain pectin, which becomes food for healthy gut bacteria. As it turns out, they are also are rich in antioxidants and phytonutrients that may reduce the risk of developing cancer, hypertension, diabetes, and heart disease.

But which apples are best to cook for specific recipes? Here are a few recommendations based on the Farmer’s Almanac:

Braeburn: Tart, sweet, aromatic, tall shape, bright color, best for applesauce.

Cortland: Tart, crisp, larger than McIntosh, best for pies, fruit salad, and applesauce.

Fuji: Sweet, juicy, firm red skin, best used for baking.

Gala: Mild, sweet, juicy, crisp, yellow-orange skin with red striping (resembles a peach), best used for cider.

Granny Smith: Moderately sweet, crisp flesh, green skin, best used for baking.

Jonagold: Tangy-sweet, yellow top, red bottom, best used for pies and applesauce.

McIntosh: Juicy, sweet, pinkish-white flesh, red skin, best used for applesauce.

Rome Beauty: Mildly tart, crisp, greenish-white flesh, thick skin, best used for baking and cider.

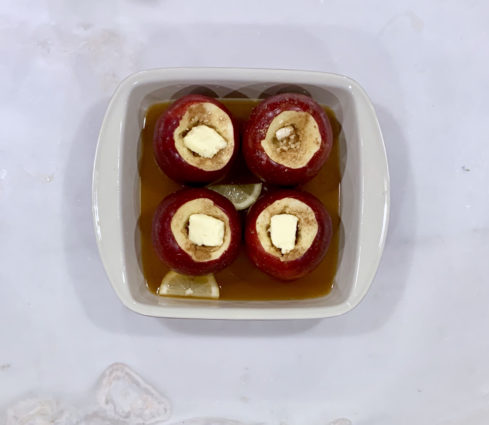
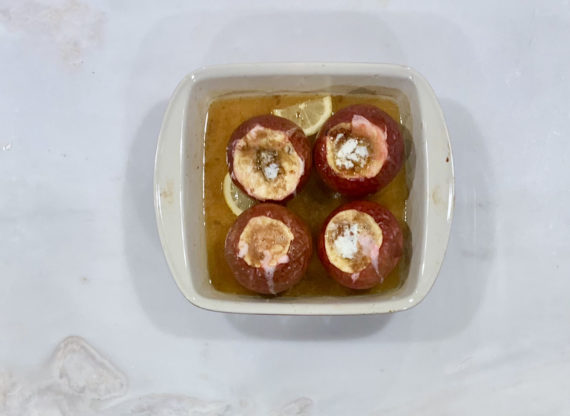
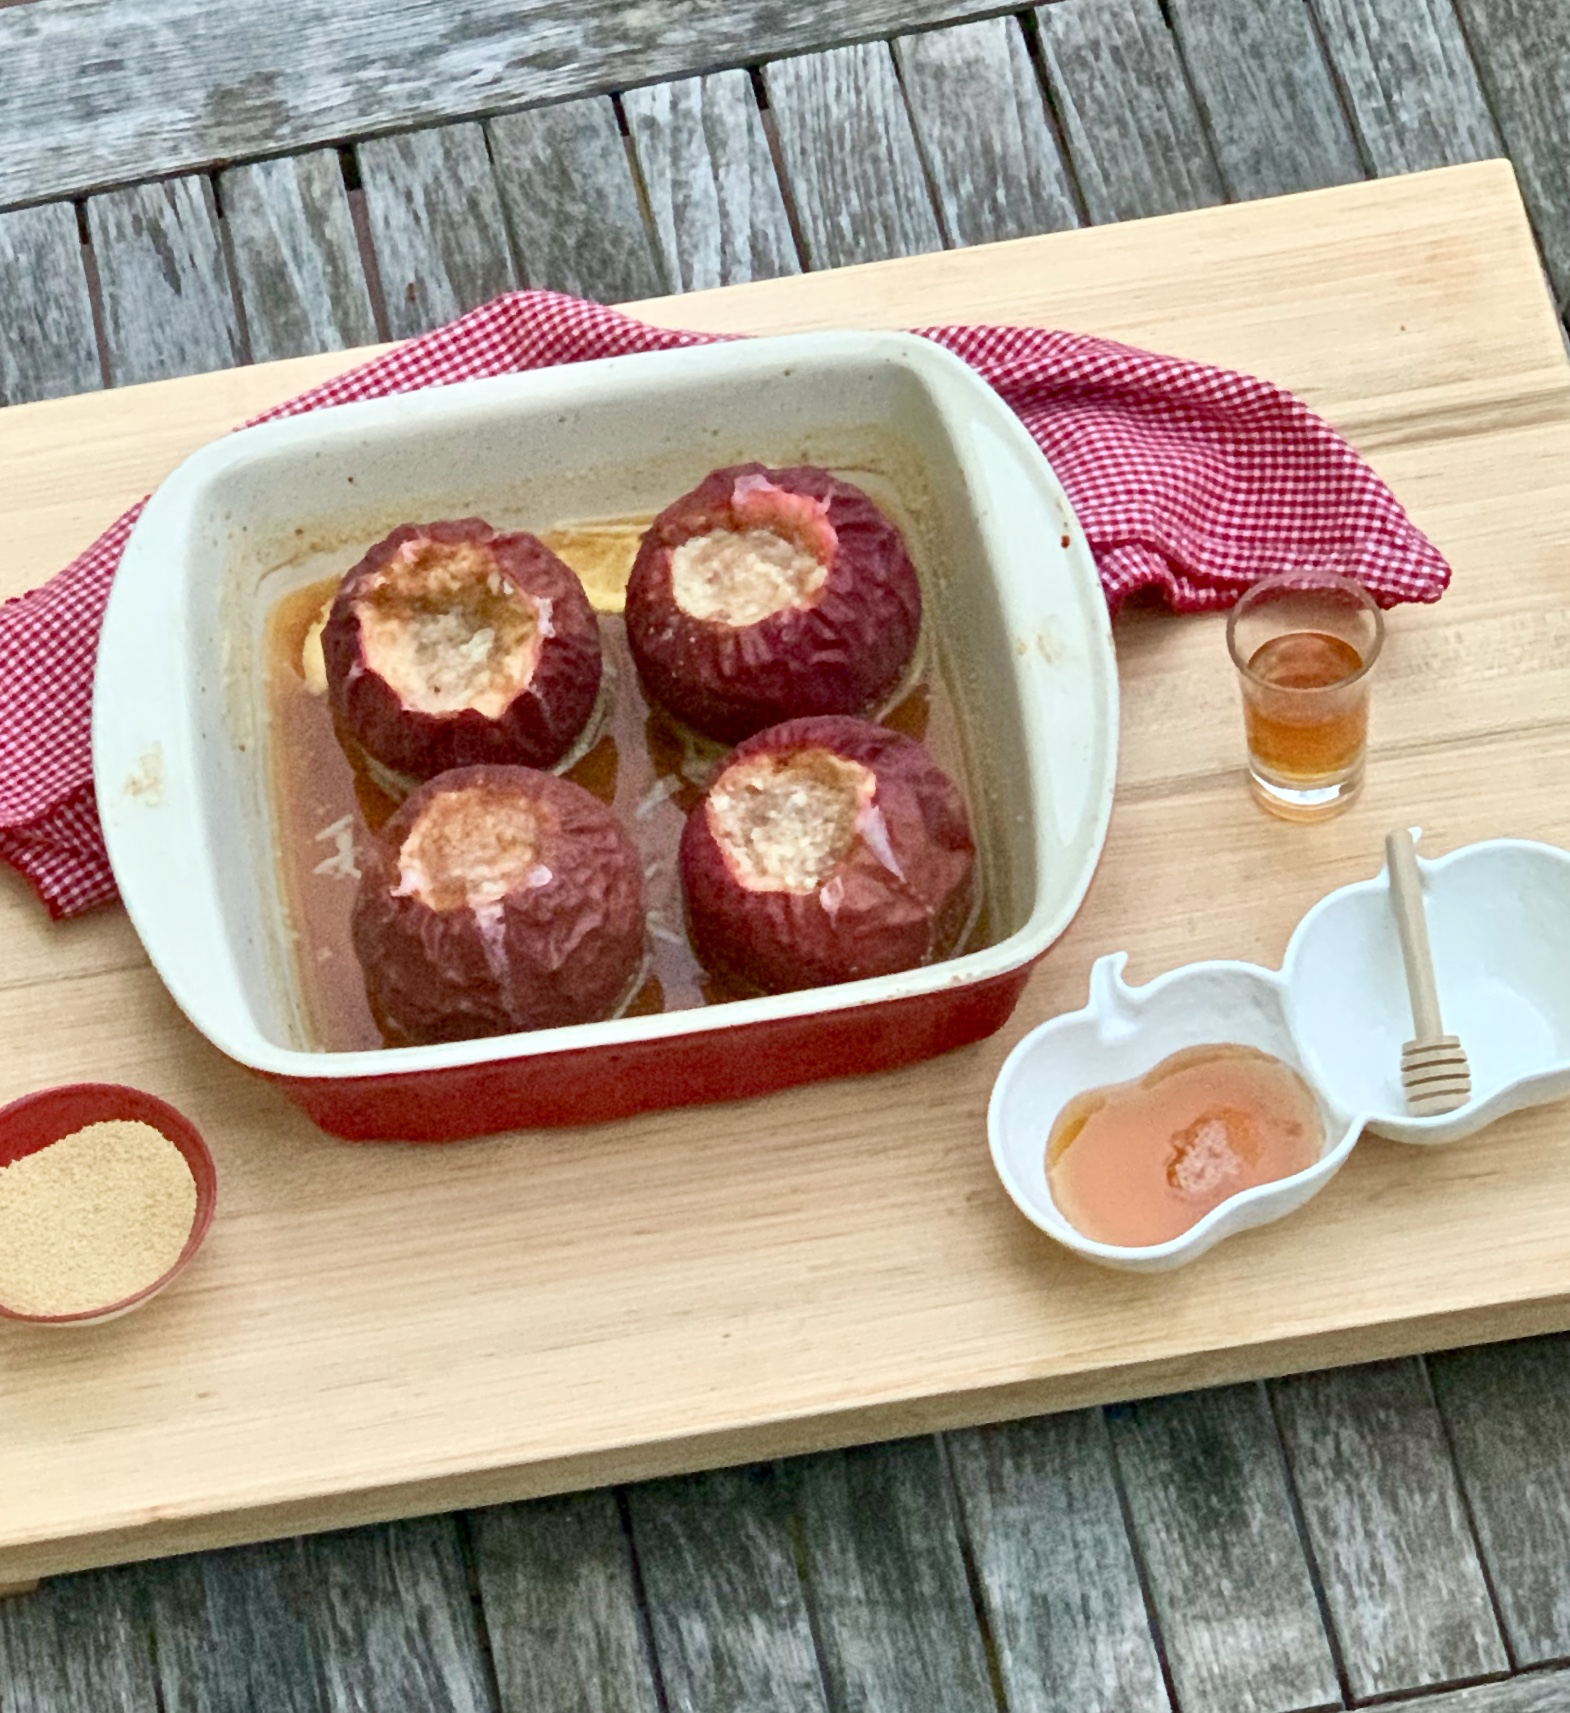
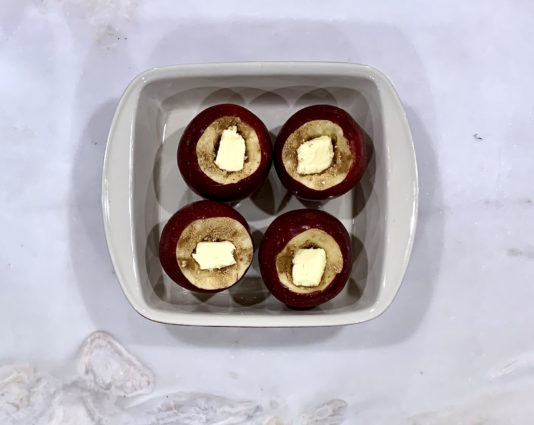
I used beautiful, deep red Rome apples for this recipe. I’m sure a lot of you have your own baked apple recipe, but surely some who do not. I never had one growing up, and it wasn’t until I was married for several years before I even tried one. Now I am hooked.

This sweet treat is rich in savory wholesomeness. It is a very simple, old-fashioned dessert. The sweet honey and brown sugar, combined with the cinnamon and nutmeg make this a delicious, luscious delicacy. Perfect for a cool, fall day— or any other day!

They do not photograph well after baking, hence the feature.  

Better to just eat them.

This recipe will serve 4 people who will feel the fall spirit.

Ingredients for Baked Apples:
4 large baking apples, like Rome Beauty
2 lemon wedges
2 to 3 dried apple rings, cut into bits
1 teaspoons honey for each apple, plus 1-2 more for liquid
A pinch of nutmeg for each apple
A pinch of cinnamon for each apple
1/2 teaspoon brown sugar for each apple
1 tablespoon salted butter
1 cup apple cider or juice
1/4 cup bourbon
Heavy cream, whipped cream or ice cream, for serving (optional)
Cinnamon, for dusting (optional)

Center a rack in the oven and heat to 375.

Line a baking sheet with parchment paper or foil, and set a 9- or 10-inch glass pie dish on top.

Cut a small cap off the top of each apple.

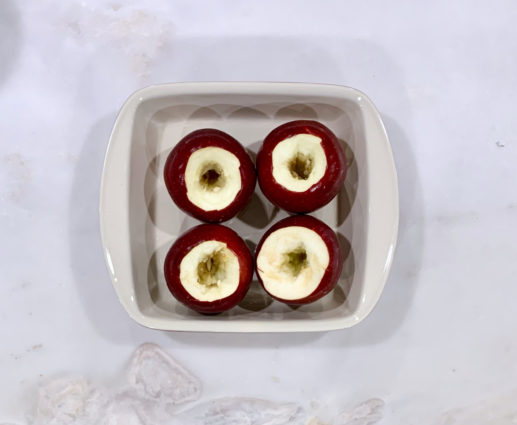
Using a paring knife or corer, core the apples, making sure not to go all the way to the bottom.

Cut away and reserve about 1/2 inch of peel around the tops of the apples.

Rub the peeled portions of the apples with the lemon, squeezing a little juice into each opening.

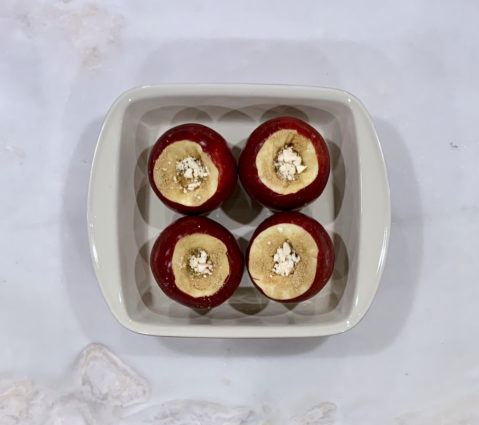
Fill each apple with an equal amount of dried apple, pressing down lightly as needed to push bits into the opening.

Pour 1/2 teaspoon honey and sprinkle brown sugar over the dried fruit in each apple.

Top with a pinch of nutmeg and cinnamon.

Cut the butter into 4 pieces, and top each apple with a pat. 

Take apples out of dish; set aside.

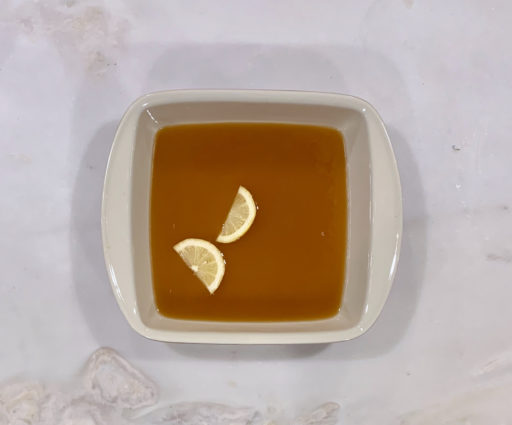
Pour in the cider or juice, bourbon and stir in 1 to 2 teaspoons honey.

Add lemon wedges and a few of the reserved peels into the pie dish. 

(The honey won’t blend evenly into the cider, and that’s fine.)

Add apples back into baking dish.


Bake the apples, basting occasionally with the cider mixture, until you can poke them with a skewer or the tip of a knife and not meet much resistance, 50 to 70 minutes.

Since apples are so variable, check early and often, as you might need more or less time.

It’s that simple!
signature

[recaptcha]