When I was growing up, I had a very limited diet. I ate only bread, peanut butter, and eggs, and it drove my mom crazy.  On occasion, I would maybe eat some steak or chicken. Any vegetable was a no for me. I think that was caused by the way vegetables were presented at that time: soggy, unappealing mush. Of course I wouldn’t eat them!

My absolute favorite food choice was lemons, and lots of them. My mother would buy me lemons, knowing full well that I would eat them raw right in front of her.  My mom was especially upset at this because she felt I was too skinny. My nickname was “Toothpick,” and it stuck for many years. I hated that name, but because my food choices were so limited, and because I loved to play sports, I couldn’t put on any weight. 

As I got older, my tastes increased. Once, when I was a teenager, my brother ordered fried calamari at a restaurant. He told me it was fried chicken, and why would I not believe it? My mother kept a kosher home, so I had never even heard of calamari. I tried it, and I LOVED it. It was not until the way home in the car, that my brother told me the truth. I was shocked, but continue to love it to this day. 

It was not until I met my husband that I had my first lobster. He was astonished that I had never had one. Of course, I ordered what I knew I would like, but I was able to get a taste of his. And again, I loved it. How had I been missing on this food all my life? That moment changed things for me. I became unafraid to try new foods, and my diet improved quickly. 

When my oldest son was a child, he, like me, would eat only a small range of food, though he was even pickier than I was. I homemade all the baby food for my kids, so I knew that he was eating well.  But as he grew, he learned how to say “no.”  Forcing him to eat was an uphill battle, so I simply made his dinners separately from the rest of the family. I had a feeling that he, like me, would find that his tastes would change later down the line. And of course, they did, and now he is a very healthy eater.

In contrast, my younger son would eat anything. When he had his tonsils out at four, my husband told him he would get him some chicken soup. He was still in the recovery room at that time. He yelled at my husband and said, “no chicken soup, I want schwimp.” The nurses burst out laughing. So out my husband went, trying to recover some shrimp for our precocious four year old.

Things are so different now: children now grow up trying an enormous range of foods. My great-nephew and niece have terrific diets and will try most foods. And their mother, my niece Leslie, was an even pickier eater than I was! Because of the varieties in stores and in restaurants, kids can be exposed to lots of foods early on, and with better understanding of nutrition, parents can make more informed decisions. 

Now this is a recipe that adults and children can agree on. The cream cheese and sour cream whip up to a delightfully creamy and incredibly smooth filling.  It is then combined with a citrus, which takes this tart to a whole other level, giving it a slight tang. Sweet and salty? I’m all in! This delicious filling is housed in a buttery, salty, crunchy base of cracker crust that makes this tart absolute perfection. Even your younger kids will love it too!

This recipe is courtesy of Nothing Fancy, by Allison Roman and will serve 8 to 10 of the pickiest children around.

Ingredients for Sweet and Salty Cream Cheese Tart:

For the crust:

5 oz.  Ritz crackers or Nilla wafers
2 tbsp. light brown sugar
4 tbsp. unsalted butter, melted
Pinch of kosher salt

For the filling:

16 oz. full fat cream cheese, at room temperature
1 cup sour cream or full-fat Greek yogurt
½ cup granulated sugar
2 large eggs
3 tbsp. fresh citrus juice (grapefruit, lemon, lime or orange)
Flaky sea salt, such as Maldon, for finishing

Heat the oven to 325˚ F.

Make the crust:

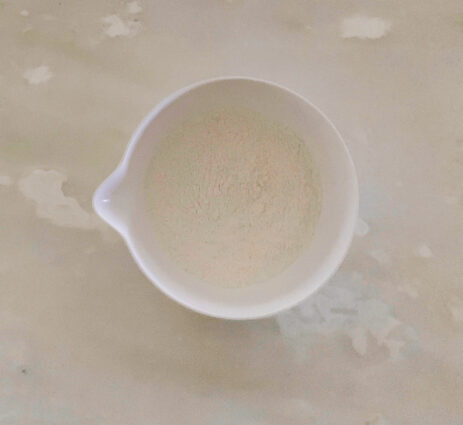
Pulse the crackers or wafers in a food processor until you’ve got a fine crumb (crumb, not powder!). You can also do this by hand by placing the crackers in a resealable bag and crushing or smashing with a skillet or rolling pin.  This is a great job for a little helper!

Transfer to a medium bowl and add the brown sugar and butter.

Using your hands, mix until the crumbs are evenly coated and you have a wet sand texture.
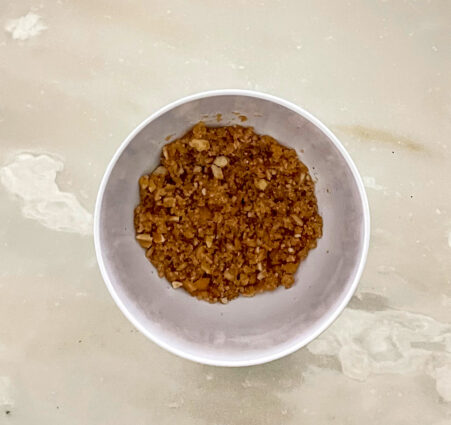
 

Press mixture into an unlined 9-inch tart or springform tin, or a cake pan lined with parchment paper.
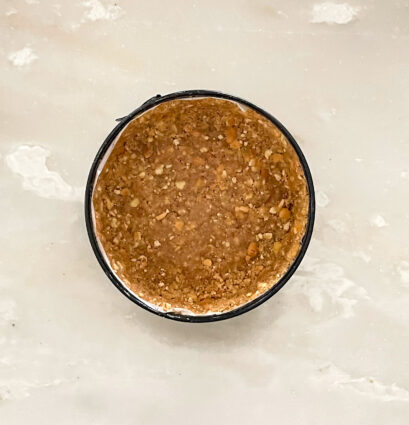
You can use a lined 8-inch square baking pan here, although expect a slightly thicker outcome (maybe that is your preference).

Using the bottom of a measuring cup or small bowl, really press the crumb mixture in there–otherwise it can be challenging to cut later on.

Bake until crust is lightly golden brown at the edges (it gets baked one more time, so best not to overdo it here),  10-15 minutes.

Make the filling:

Combine the cream cheese, sour cream and granulated sugar in a food processor and process until impossibly smooth and well blended, scraping down the sides as needed to incorporate any stubborn chunks of cream cheese.
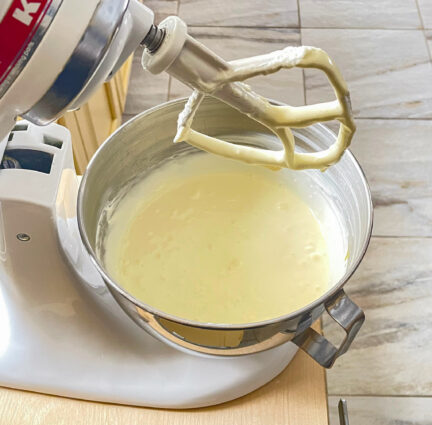
Add the eggs, fruit juice and a pinch of sea salt, and keep processing until it is even smoother and creamier than before.
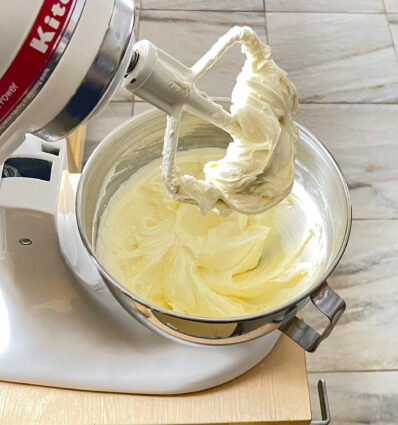
Pour the mixture into the baked crust and bake until the whole thing is set and no longer jiggles when tapped, for 25-35 minutes (it should not brown at all).

(Oh, oh, mine did turn brown, but still tasted great!)
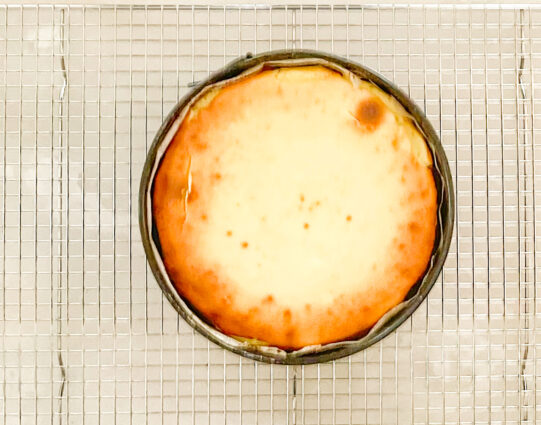
Turn the oven off and open the door a crack.

Let the tart sit in there for about 15 minutes, before transferring it to a wire rack on a counter to cool completely.

Place the tart in the fridge to chill for at least 1 hour, (this gradual cooling is to prevent any unsightly cracks appearing on the surface which can appear when there is a sudden change in temperature).

To serve, sprinkle with a little flaky salt and serve with some fresh citrus of your choosing if you like.

It’s that simple!
 

signature

[recaptcha]


Have you ever bought way too much at the grocery store?  You go just for some milk and bread, and come back with Brussels sprouts, a salmon fillet, and a brand new type of fruit that you’ve never seen before? Yeah, me too. For some reason, I always bought two of everything just in case I made a mistake preparing a recipe. I still do this from time to time, although as my cooking skills improved, I try to curb my purchases to only what I need. Sometimes the store still gets the better of me. Oh well.

One thing I have learned is that more ingredients do not mean a better outcome. A lot of cooks out there think that adding all these spices to a dish will make them taste better. Don’t let yourself be fooled by this kind of thinking: quality always wins out over quantity. 

Firstly, you should choose a recipe that lines up with your cooking skills. Read a couple recipes first, and settle upon one that is not too difficult. By looking at more than one recipe, you can also choose the one that suits your tastes the best. A lot of recipes out there on the internet may fall short of your expectations–oftentimes these recipes aren’t tested thoroughly, so they might be impossible to make, even under the best of days.  Of course, if you follow a specific author or blogger who you know is reliable, then go right ahead and stay faithful to them.

Read the reviews of the recipes. People who have made and reviewed the recipe are usually pretty honest about the results, for better or for worse. They may even give new ideas or ingredients that worked for them. If you can find a recipe with an outpouring of positive reviews, then you should definitely go with that one.

Taking the time to try new recipes can be intimidating for a lot of us. If the outcome of a new recipe was disappointing, don’t worry too much. You can use the things you have learned and improve upon it the next time around. I cannot tell you how many times I have prepared two or three times and it still did not come out accurately–it’s just part of life.  Most of the authors I work from are pretty reliable and I still can’t get it right. Before you start thinking it’s something you have done, know that these things happen, and stop raking yourself over the coals. Move forward with courage, because this is how you learn best. And hey, it may not even be your fault, the error may be caused by the author of the recipe, or even the weather!

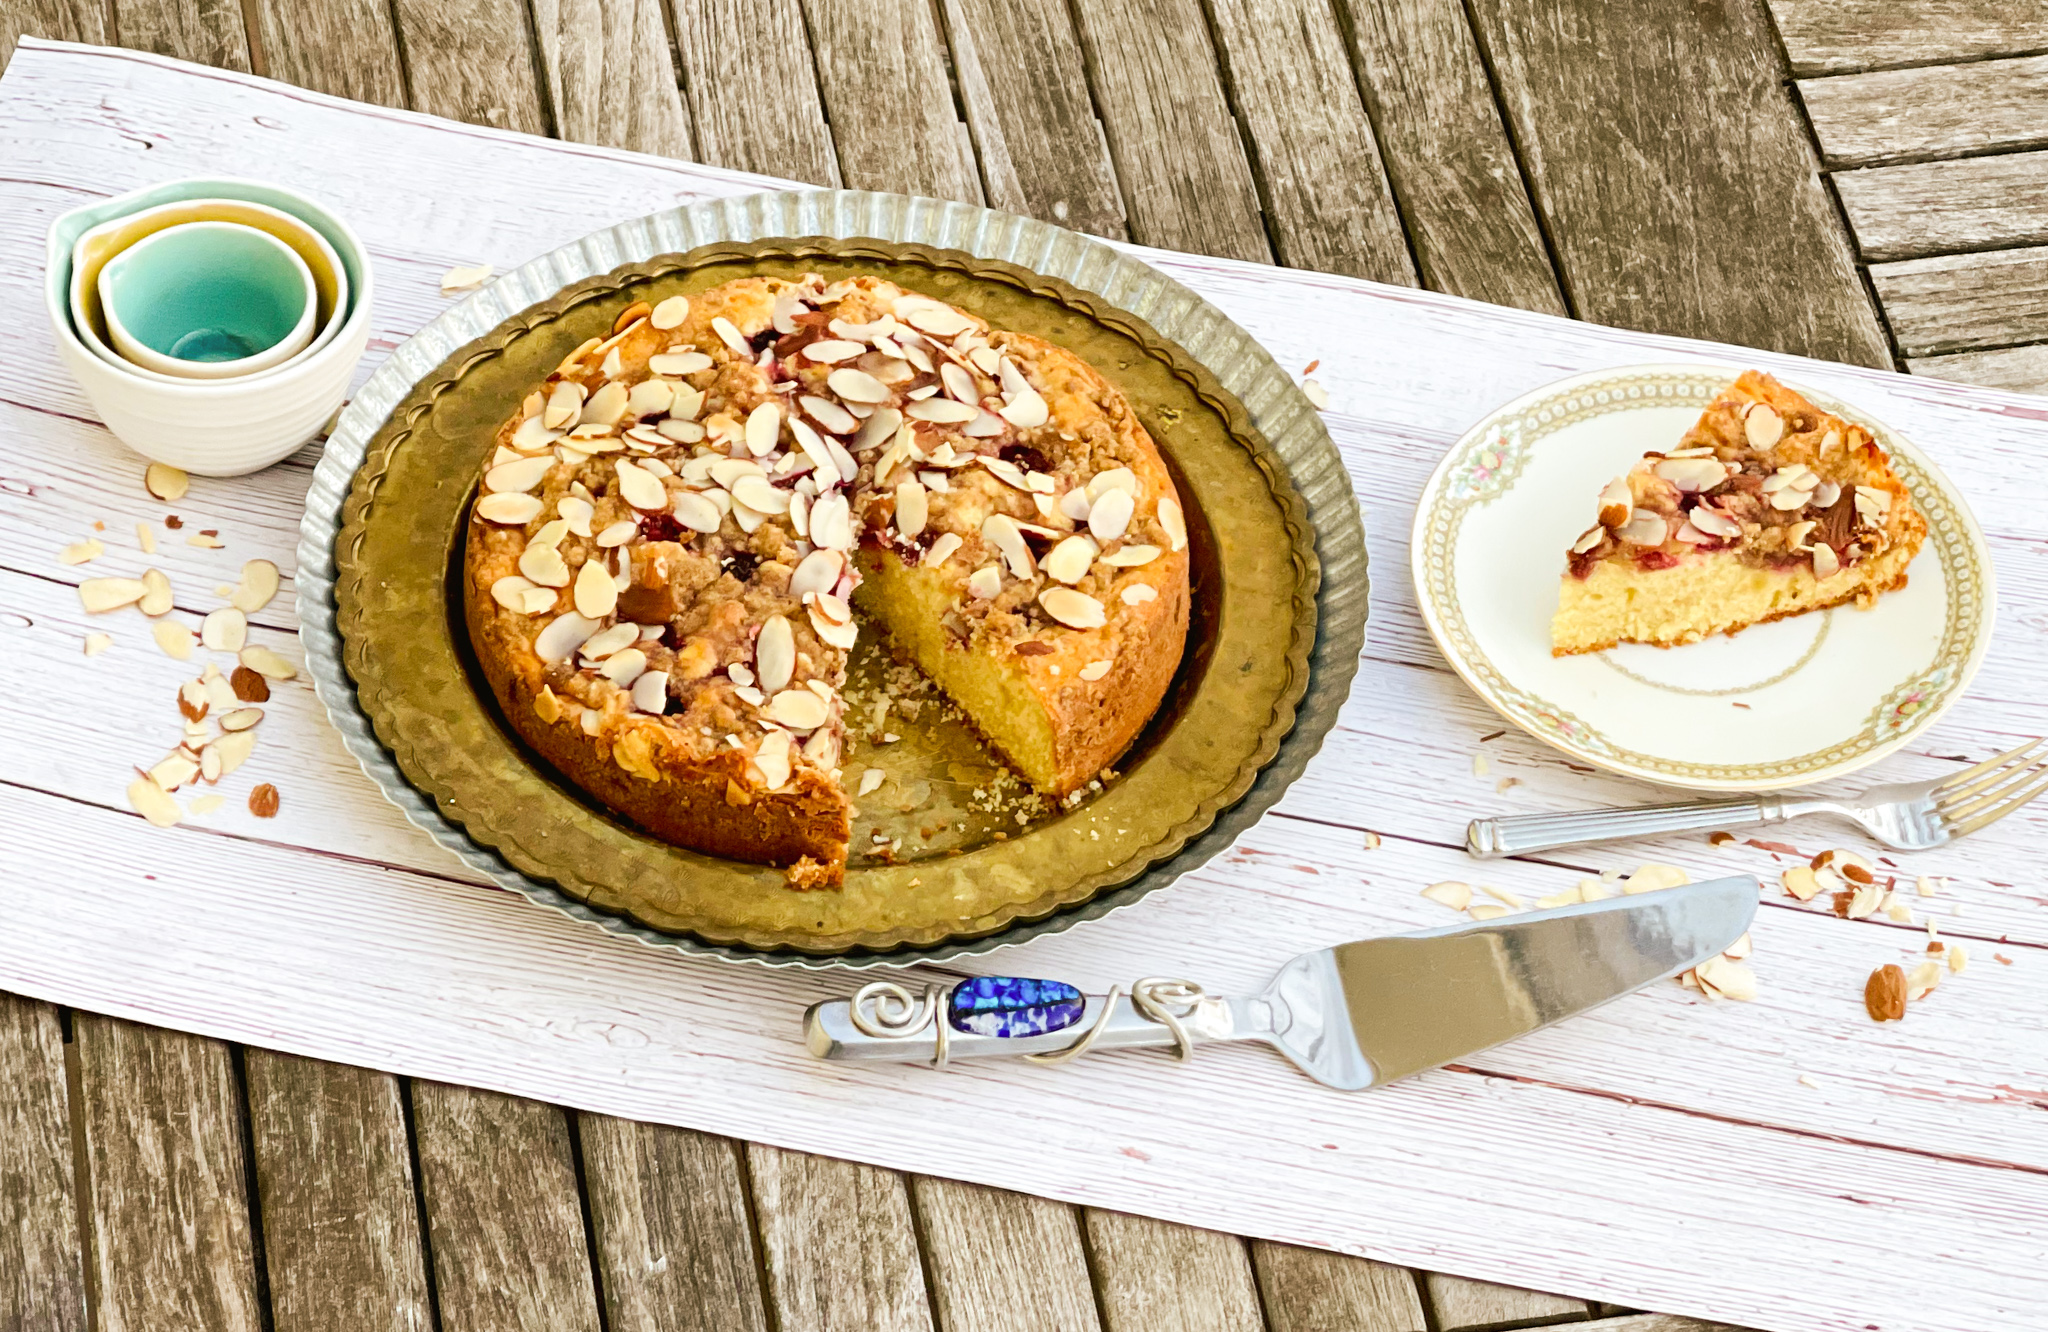
If you are looking for something fun, easy, and reliable, then this is the dessert for you. The sour cream ensures a moist, fluffy finish. The combination of the vanilla and almond extract combines beautifully, giving it a nice savory flavor. The cinnamon adds a little tang and sweetness. It is then topped with almonds, which adds crunchy goodness, and the raspberries are a sweet finish to this delicious dessert. This is the perfect delicacy for breakfast, snack, dessert, or anytime of the day for a little pick-me-up.

This recipe is courtesy of Sally’s Baking Addiction and will serve 8 people who will definitely want a second slice of this beautiful little cake.

Ingredients for Raspberry Almond Crumb Cake:

1 and 1/3 cups all-purpose flour (spooned and leveled)
1 teaspoon baking powder
1/4 teaspoon baking soda
1/4 teaspoon salt
1/2 cup unsalted butter, softened to room temperature
3/4 cup granulated sugar
2 large eggs, at room temperature
1/2 cup full-fat sour cream, at room temperature
1 teaspoon pure vanilla extract
3/4 teaspoon almond extract

For the Topping:

1/4 cup all-purpose flour
1/4 cup packed light or dark brown sugar
1/4 teaspoon ground cinnamon
2 tablespoons unsalted butter, melted
1 heaping cup frozen raspberries (do not thaw)
3/4 cup sliced almonds

Optional: confectioners’ sugar for dusting

Preheat the oven to 350°F. 

Grease and lightly flour a 9-inch springform pan.

Make the Cake:

Whisk the flour, baking powder, baking soda, and salt together.

Set aside.

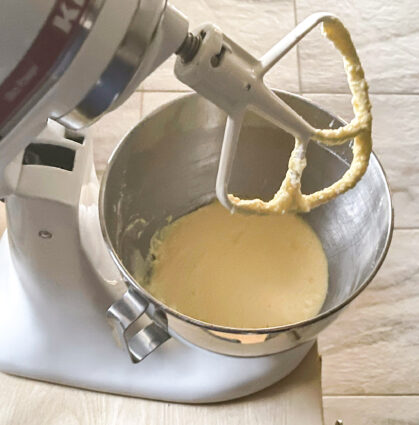
In a large bowl using a hand mixer or stand mixer fitted with a paddle or whisk attachment, beat the butter and granulated sugar together on high speed until smooth and creamy, about 2 minutes.

Scrape down the sides and up the bottom of the bowl with a rubber spatula as needed.

 Add the eggs, sour cream, vanilla extract, and almond extract.

Beat on medium-high speed until combined.

The mixture may look curdled; that’s ok.

Scrape down the sides and up the bottom of the bowl as needed.

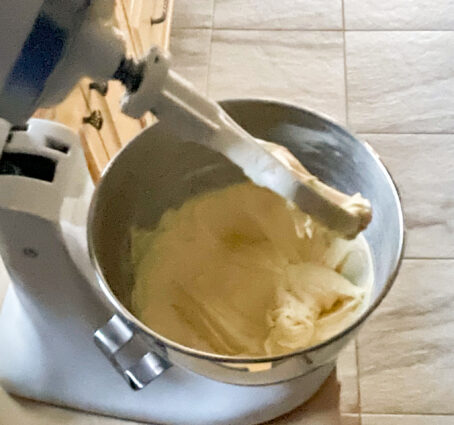
With the mixer on low speed, mix in the dry ingredients until smooth.

Do not overmix.

The batter will be thick.

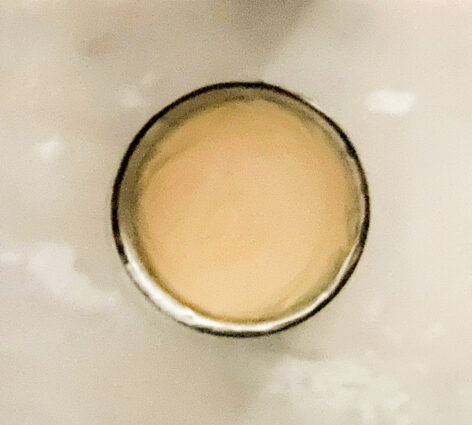
Spread into prepared pan.

Set aside.

Make the Topping:

With a fork, mix the flour, brown sugar, and cinnamon together.

Stir in the melted butter until crumbs form.

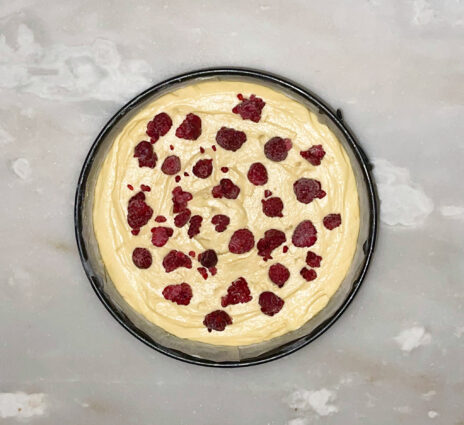
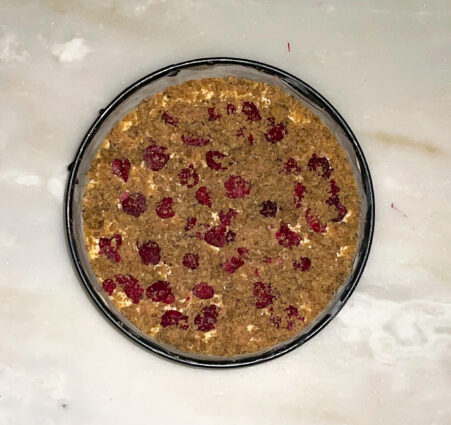
Dot raspberries all over the top of the cake batter.

Sprinkle crumbs on top.

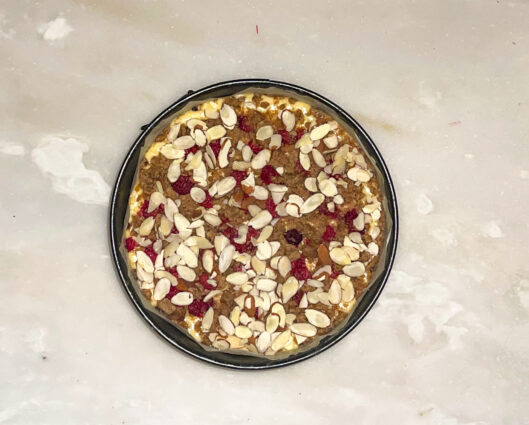
Add almonds.

Bake for 35-40 minutes.

Baking times vary, so keep an eye on yours.

The cake is done when a toothpick inserted in the center comes out clean.

If you find the top of the cake is browning too quickly in the oven, loosely cover it with aluminum foil.

Remove the cake from the oven and set on a wire rack.

Allow to slightly cool for a few minutes before slicing.

Sally suggests serving with a dusting of confectioners’ sugar!

It’s that simple!

signature

[recaptcha]


During this pandemic, and especially during the lockdown, a lot of people decided to adopt or foster a dog. I think this is an amazing idea, because dogs really are a person’s best friend. I should know– I’ve had a few, and I would love nothing more than to tell you why you should get one too.

Dogs are one of the most common domestic animals in the world. This is because they are so sweet, expressive, and friendly. They are always there for you when you need them, and they will always take the love you give to them and return it back tenfold. 

Dogs give you a reason to get outside and walk. They need this for their health and it will make you healthier as well. Walking a dog daily gets both your heart rates up and helps you de-stress. According to Sykesville Veterinary Clinic, walking your dog 20 minutes a day can help reduce your risk of heart disease.  How convenient is that?

They are always happy. Dogs get excited when they see a treat, their favorite toy, or their favorite person. Their happiness is infectious and it is always good to have someone happy to see you when you get home (especially if you have teenage children, lol).

They make you laugh. Dogs can be downright hilarious.  Whether they sleep in funny positions, roll off the couch, scarf down some people food, or insist they sit on your lap no matter what, you’re sure to get a belly laugh. It gives us pleasure to see them enjoying running after a ball or just dashing around your house for no reason. 

They are very intelligent. Of all the pets out there, dogs can be some of the smartest. They have a very good understanding of things that other animals do not. This makes it easy for them to understand you and your feelings because of their keen senses of sight, smell, and hearing. 

Some breeds  make excellent watchdogs. They innately know when something bad is coming your way.  Their barking will stop potential burglars and are very good at alerting you to something that is going on that is odd or suspicious.  With proper training, a guard dog could be a huge asset to your family.

No matter what, you will have an incredible bond with your dog. These magical, euphoric feels that emerge that are not just in your imagination. Locking eyes with your furry friend and watching him gaze back at you so lovingly increases the release of oxytocin, which is our “feel good drug.”

If you rescued a dog, I would love to hear from you!  How did you find your pet?  What was their situation like before?  Did you adopt a puppy or adult dog?  What’s your favorite thing about them?

On to the recipe for today. 

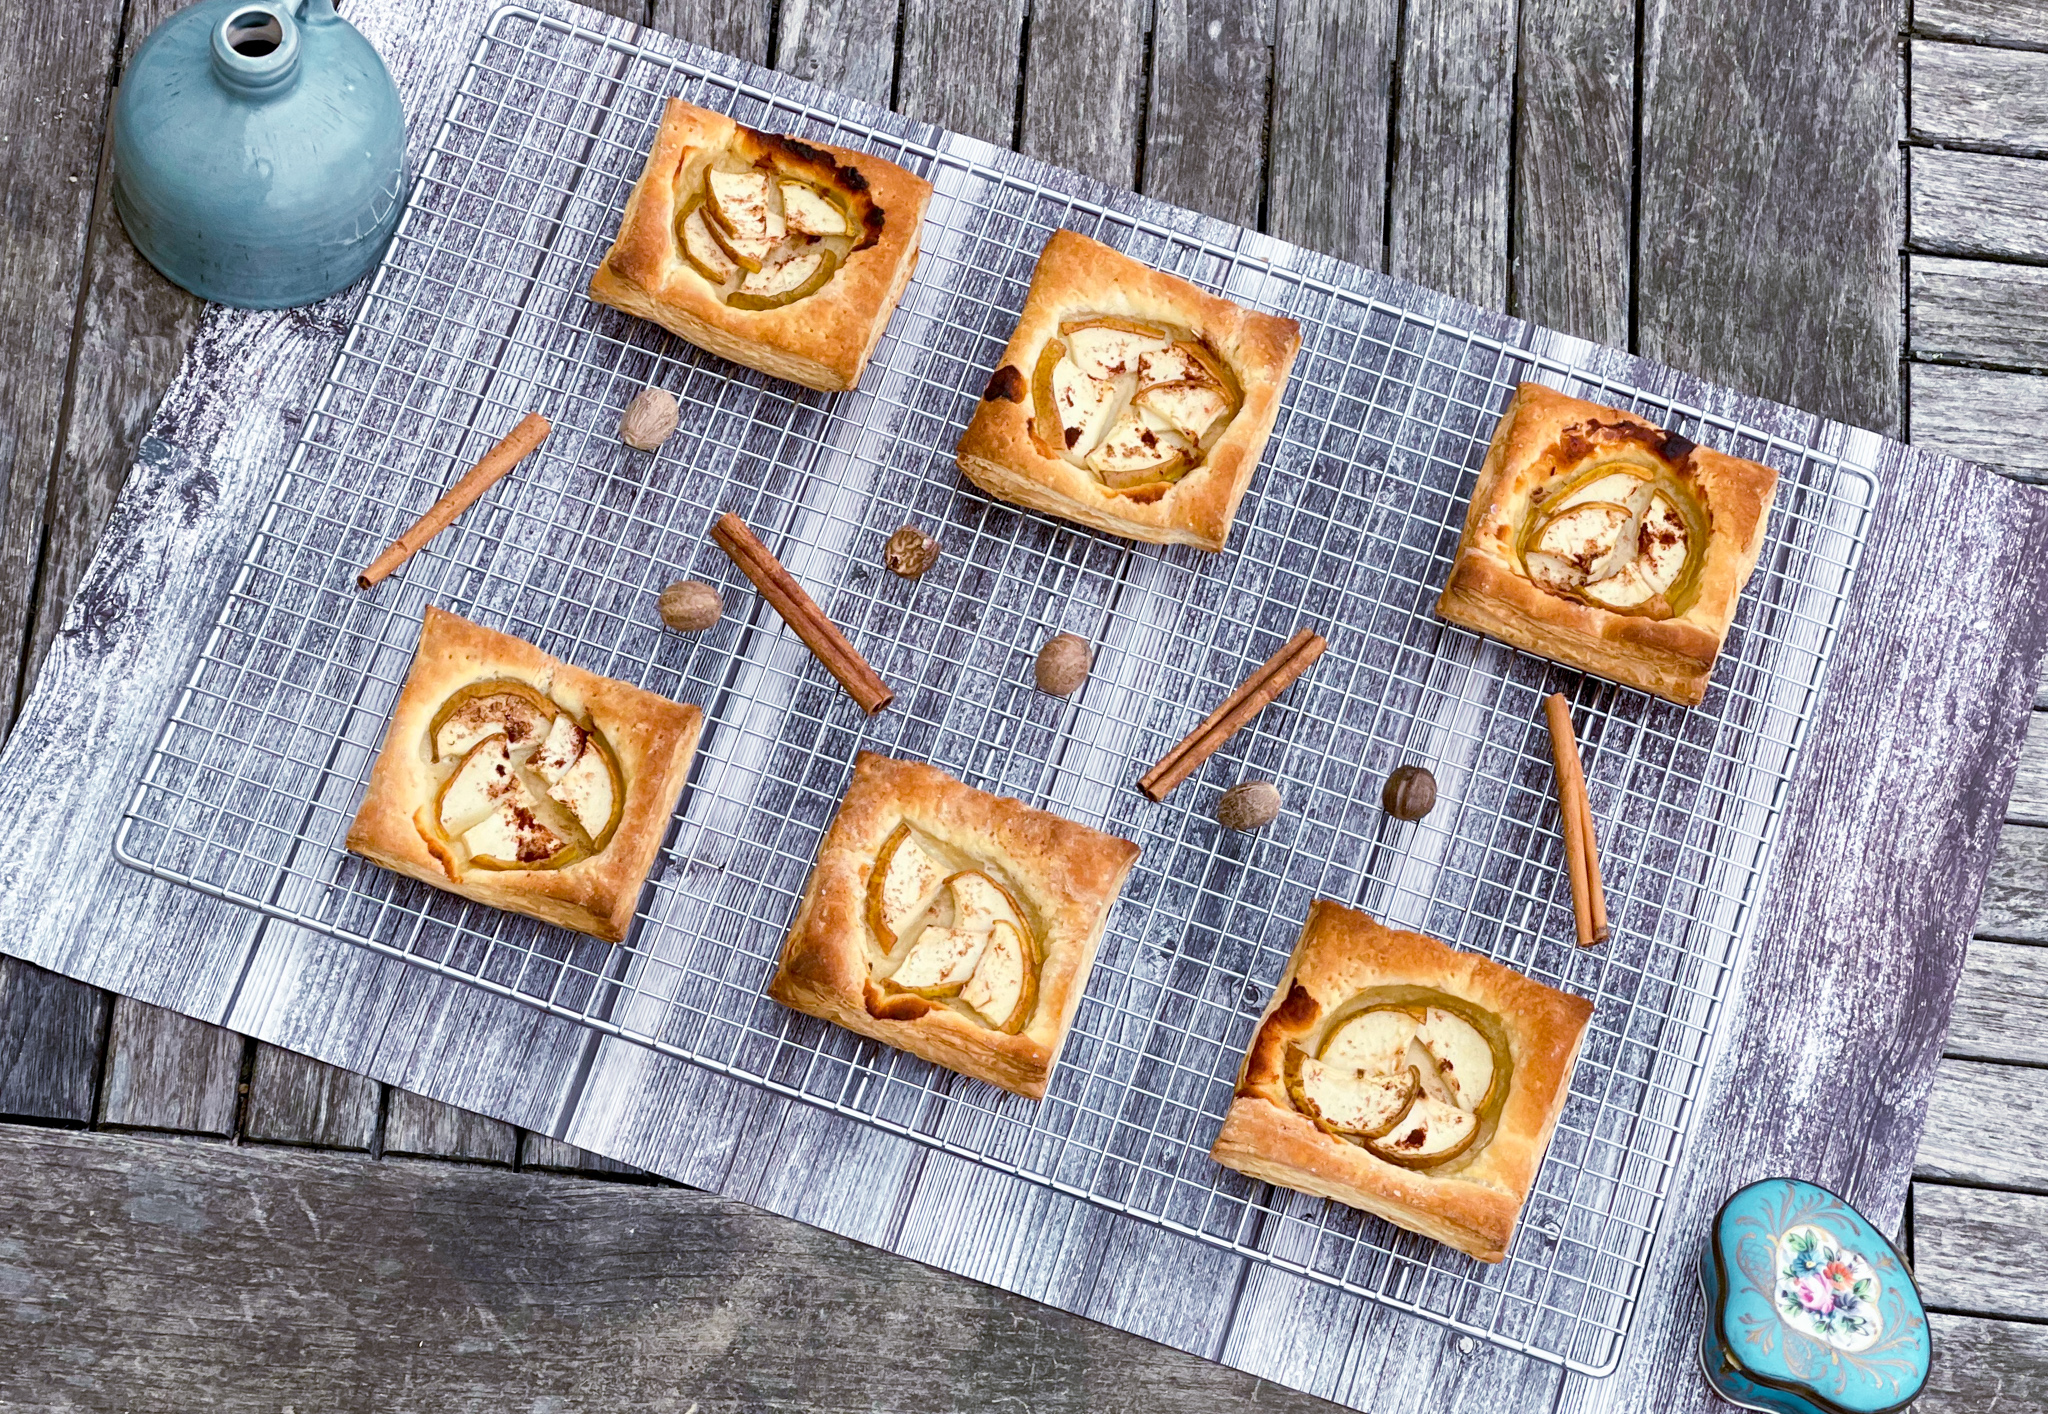
These tarts are so delicious. They have very few ingredients and are so easy to make. The honey and sugar really brings out the sweetness of the pears as they bake. They are housed in a light and fluffy pastry, which combines beautifully with the fruit. There is pure deliciousness in every bite, and although you didn’t have to work so hard to make them, they taste as if you have been baking all day. What a win!  Though it sounds strange, don’t skimp on the salt in this recipe, it really brightens the entire taste of these yummy tarts.

Just a few notes, I used pears for these tarts, although there are several different fruits you can choose to use, including plums, apricots, and peaches. I also used more like 4 tablespoons of honey, because I really wanted the pears coated completely– so delicious!

This recipe is my own and will make six personal tarts for people who will enjoy this fancy looking dessert.

Ingredients for Pear Tarts with Honey:

1 sheet frozen puff pastry, thawed according to package directions
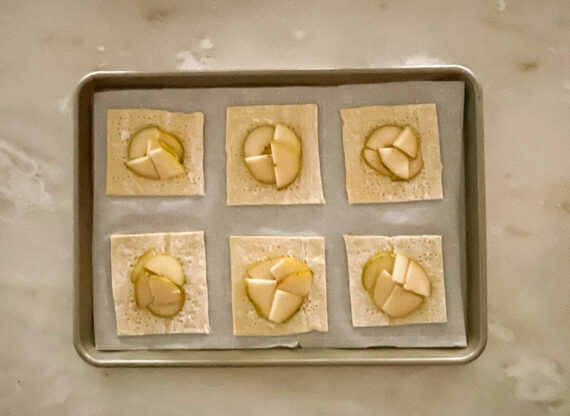
1 pound pears (or any fruit of your choice) cut into ½” wedges
¼ cup sugar
2 tablespoons of ground cinnamon
2 tablespoons of ground nutmeg
Freshly ground black pepper
2 tablespoon honey
Flaky sea salt (such as Maldon)

Preheat oven to 425°.

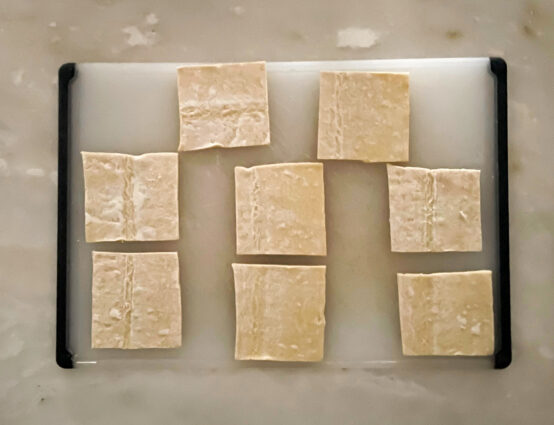
Cut pastry into six or eight 4” squares, place on a parchment-lined baking sheet, and prick all over with a fork.

Top with plums, leaving a ½” border.

Mix the cinnamon and nutmeg together in a bowl.

Sprinkle with sugar and honey; season with the cinnamon and nutmeg and a few grinds of pepper.

Bake tarts, rotating pan halfway through, until edges of pastry are puffed and golden brown, 25–30 minutes.

Drizzle with honey and sprinkle with salt just before serving.

You can also try sprinkling on a little goat cheese to boost the flavor too!

It’s that simple! 

Mazel

signature

[recaptcha]


Do you ever get the urge to indulge in a perfect cookie and a tall glass of milk, or a cup of coffee or tea?  I think we all do.  For some, the taste is nostalgic.  For others, it’s just plain delicious.

The portable size makes cookies perfect to bring anywhere you go. Have you ever brought home a piece of cake or some other dessert from a restaurant just to have it crushed and unappetizing?  With a cookie, it is so easy to pack them in a baggie, and you are good to go.  For your lunch, or your children’s lunches, cookies make a delicious, well portioned treat. If you make them just the right size, you’ll be satisfied by the whole thing too!

They are so versatile you can enjoy them for breakfast, a snack or dessert. One of the best things about them is that there are so many varieties and choices. There is the classic chocolate chip, oatmeal raisin, the ever-popular sugar cookie, or newer gourmet macarons. They also come in all shapes and sizes, patterns and colors. You can always find ones that make you smile– and it’s sure to be delicious. There are cookies that have logos, happy faces, holiday themes, or customized with your name. They are relatively easy to make. All you need is ingredients you probably have in your pantry such as sugar, flour, butter and eggs. You can make them fat-free, gluten-free or dairy-free. There is a cookie for everyone. 

While you’re at it, you can easily make an extra batch and bring them a friend. It will make their day, especially with the current situation. Give one to someone and you may make a new friend.

Even raw cookie dough is a special treat for some of us. It may remind us of helping our Mother or Grandmother make them. I know my own son is right behind me when I make cookies, eating the raw dough and licking the spoon clean. It is a comfort food that also satisfies our craving before the real treat is baked. Indulging in the soft gooey dough is easy, and fills us with pure happiness.

There is no dessert that comes in more flavors, textures, sizes and shapes. People are getting more creative in creating the world’s favorite treat. But can you eat just one? I know I can’t. Although everyone’s definition of the perfect cookie is different, one thing we can always agree to love cookies. 

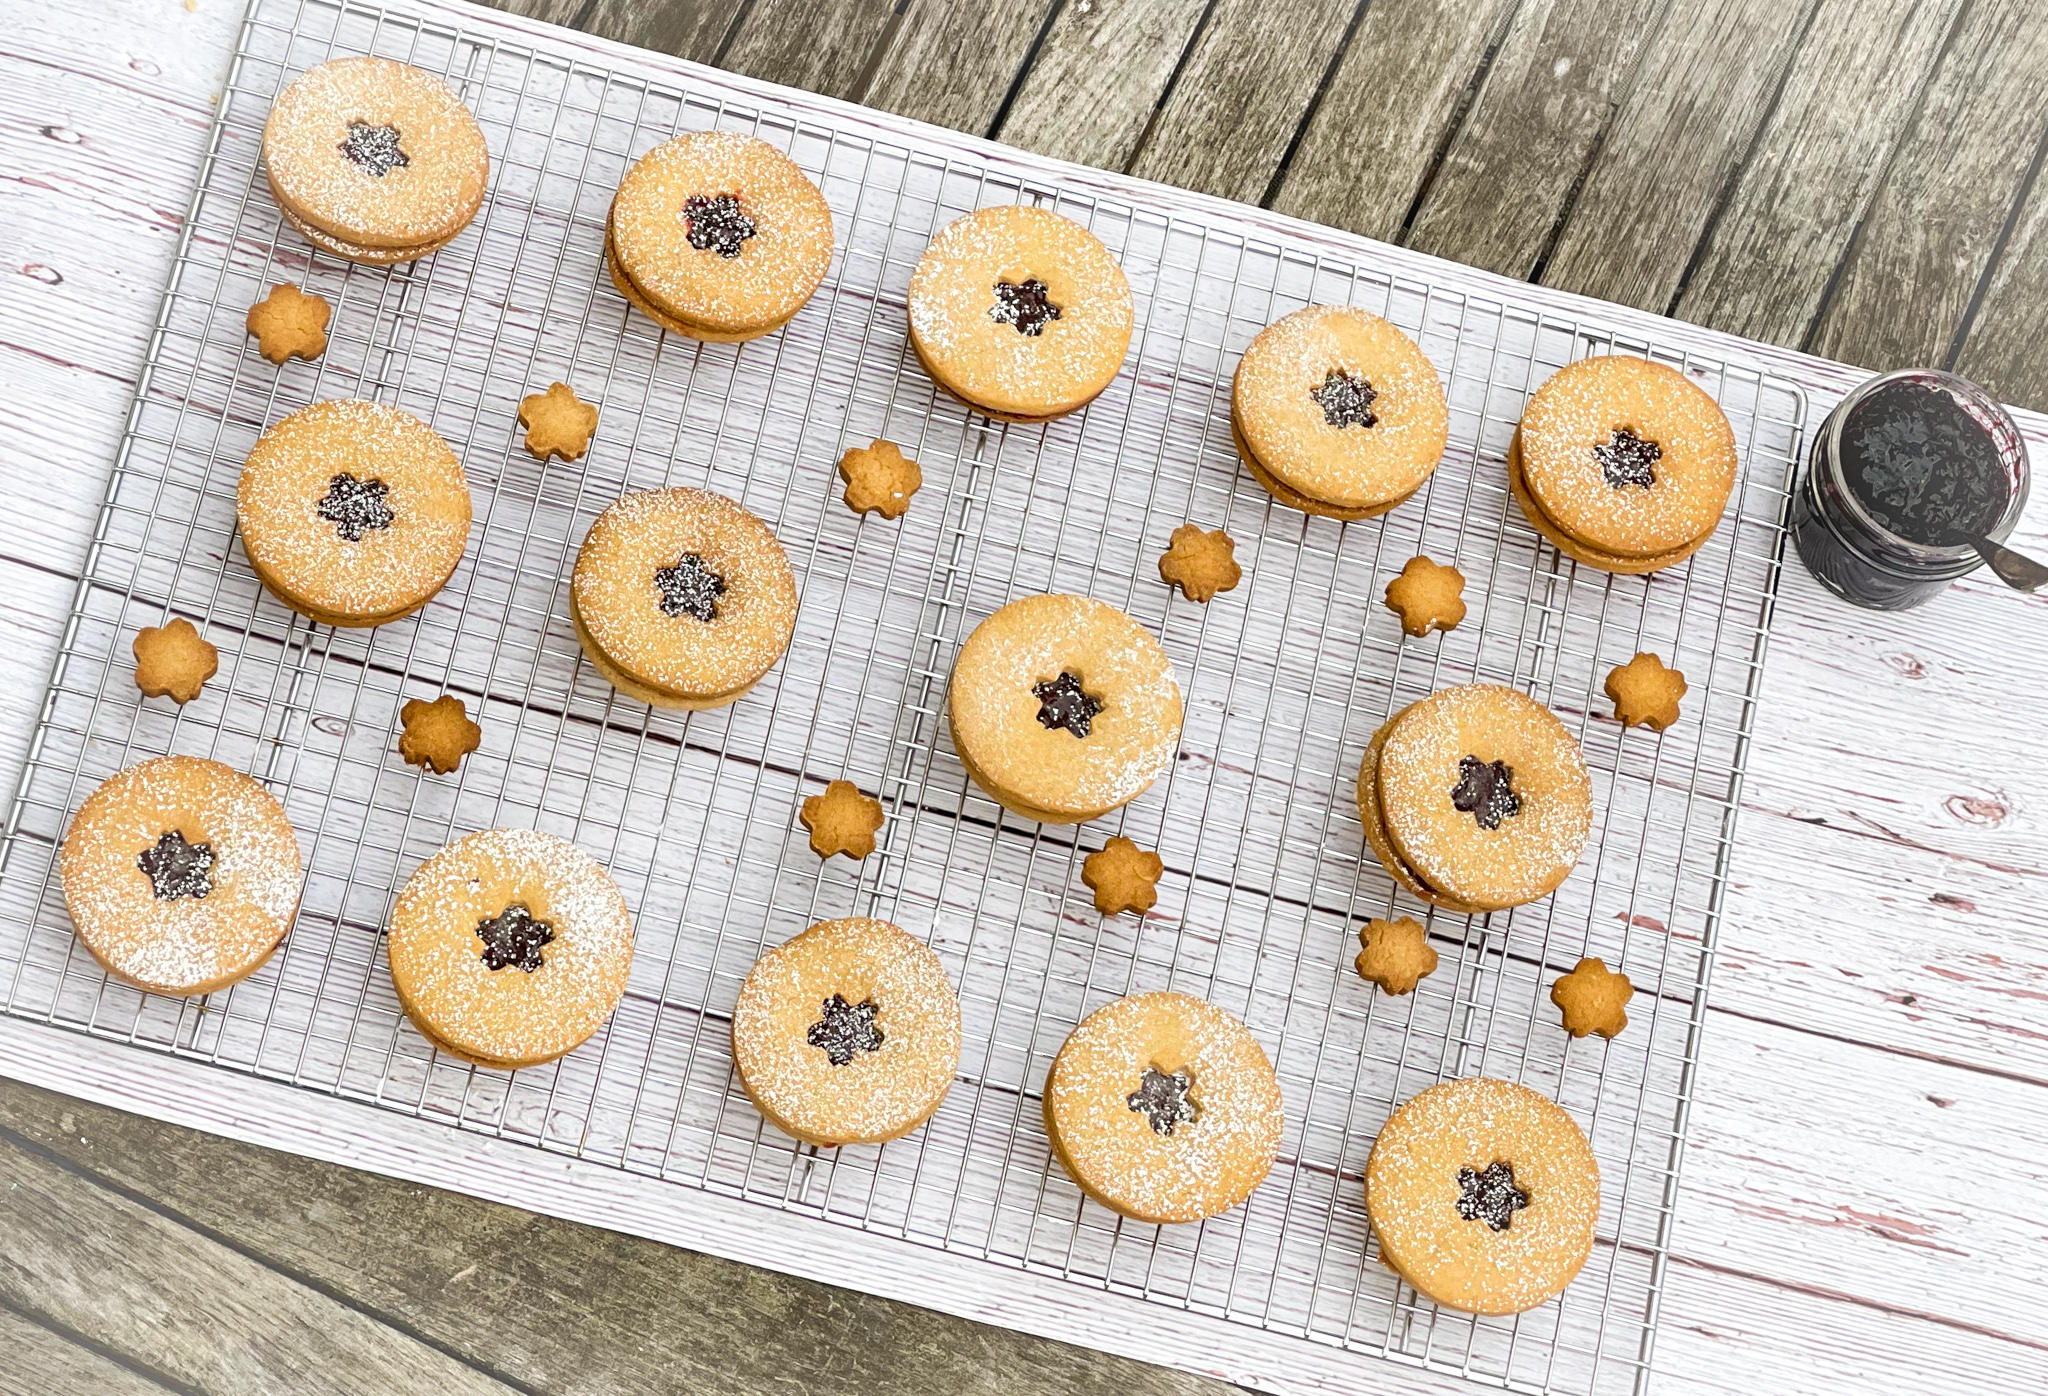
That said, this one cookie I think will please everybody. Linzer cookies are a traditional Austrian pastry, where two shortcake cookies are filled with a filling of your choice– you’ve probably seen them beautifully arranged in cafes. These cookies are even more special with the addition of peanut butter, giving them added flavor and texture. The two kinds of sugar make this sweet, but not too sweet– it is truly a perfect combination. The two cookies are then made into a sandwich with strawberry filling, making them heavenly and each bite is luscious and satisfying. If you don’t like strawberry jam, you can use any flavor you’d like!  They are so easy to make, there is no reason not to. 

This recipe is courtesy of Bake from Scratch and will make 18 finished sandwich cookies for people who will love this little piece of heaven.

Ingredients for Peanut Butter-and-Jelly Linzer Cookies:

1 cup unsalted butter, softened 
½ cup granulated sugar 
½ cup packed light brown sugar 
½ cup creamy peanut butter 
1 large egg yolk 
1 teaspoon vanilla extract 
3 cups all-purpose flour 
½ teaspoon kosher salt 
½ teaspoon baking powder 
½ cup powdered sugar 
½ cup strawberry jam

Preheat oven to 375°F with oven racks in the top third and bottom third of oven.

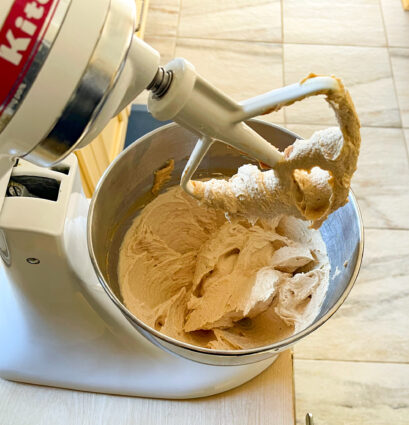
Beat butter, granulated sugar, brown sugar, and peanut butter with an electric mixer on medium speed until smooth, about 1 minute.

Add egg yolk and vanilla, and beat on low speed just until incorporated.

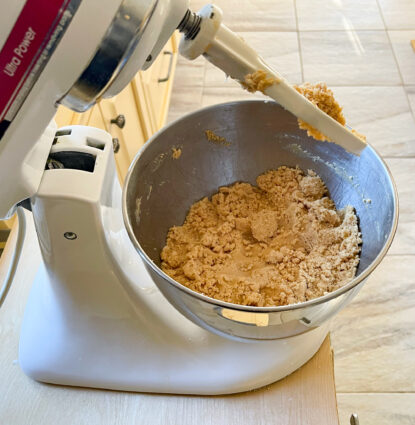
Whisk together flour, salt, and baking powder, and gradually add to butter mixture, beating on low speed just until incorporated. (I found the batter to be very crumbly)

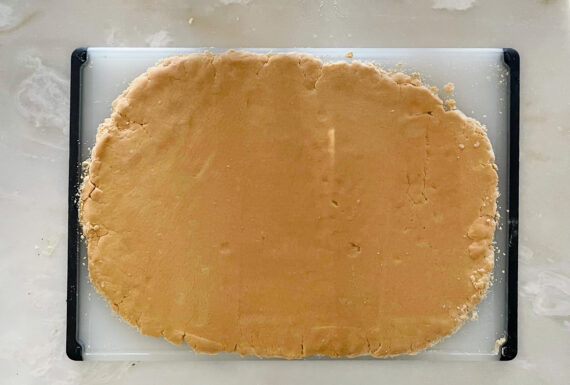
Place dough on a well-floured surface, and roll to 1/4-inch thickness.

Cut dough with a 2 1/2-inch round cutter.

Gently reroll scraps once, and repeat process with round cutter.

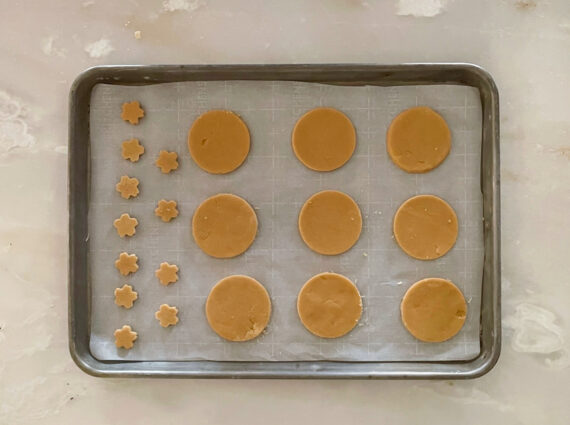
Place half of the dough rounds on parchment paper-lined baking sheets.

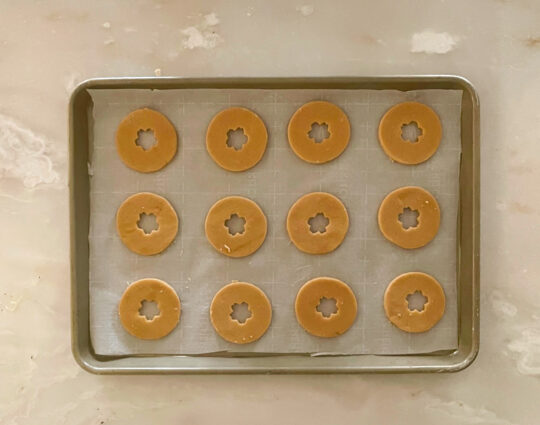
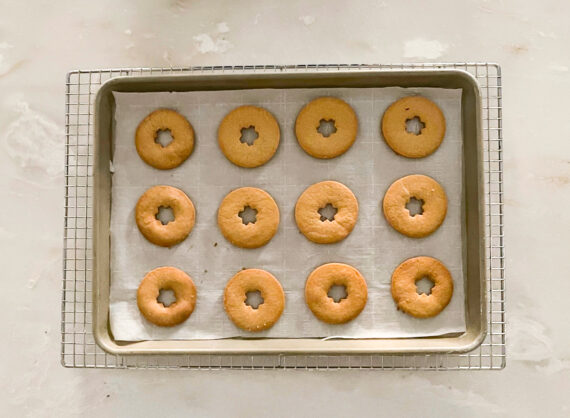
Using a 1-inch star-shaped cutter, cut out and remove dough star shapes from the center of the remaining half of dough rounds. (Reserve and bake dough star cutouts for later, if desired.)

Transfer dough rounds with star cutouts removed to lined baking sheets.

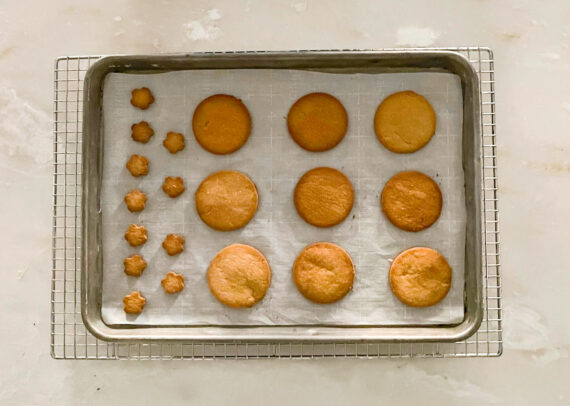
Bake cookies in preheated oven until cookies are set and beginning to brown, 12 to 13 minutes, switching pans top rack to bottom rack halfway through baking.

Transfer pans to wire racks, and cool cookies completely, about 30 minutes.

Sift powdered sugar over cookies with star cutouts.

Spread 1 1/2 teaspoons jam on 1 side of remaining cookies.

Place a star cutout cookie, powdered sugar side up, over each jam covered cookie, and gently press.

It’s that simple!


signature

[recaptcha]


According to the men who installed my countertops, I’m supposed to clean them with a product called Bar Keeper’s Friend. After doing a little research, I found that not only can it be used to clean countertops beautifully, but it can also be used on stainless steel and enamel pots. What good news that was!  I had some grubby old pots that my mother gave me when I got married. I remember their bright copper bottoms, completely black after years of use. I never really used them anymore, but I kept them for their sentimental value. Rather than get rid of them, I finally decided to clean them with Bar Keeper’s Friend.

Wow! What amazing results! Not only did the black burns come off, the copper bottoms were completely clean. I didn’t even have to scrub that hard! You do have to firmly clean the pot by just continuing to scrub over the same spot several times before it comes off, but that’s a small price for a good-as-new pot. As I scrubbed, the copper slowly started to shine through, and soon enough those old pots looked brand new. If you have a cast-iron skillet, and are confused on how to clean it, Bar Keeper’s Friend is the way to go. This cleaner takes all the mystery out of cleaning old, varnished pots and pans, and cast iron skillets too!

I love to use my cast iron skillet to cook and bake. It distributes the heat evenly, and now, because of Bar Keeper’s Friend, they are easy to clean. Buy this product now. I think you will find yourself on a pot-cleaning binge simply to get all those old pans looking brand-spanking new again.

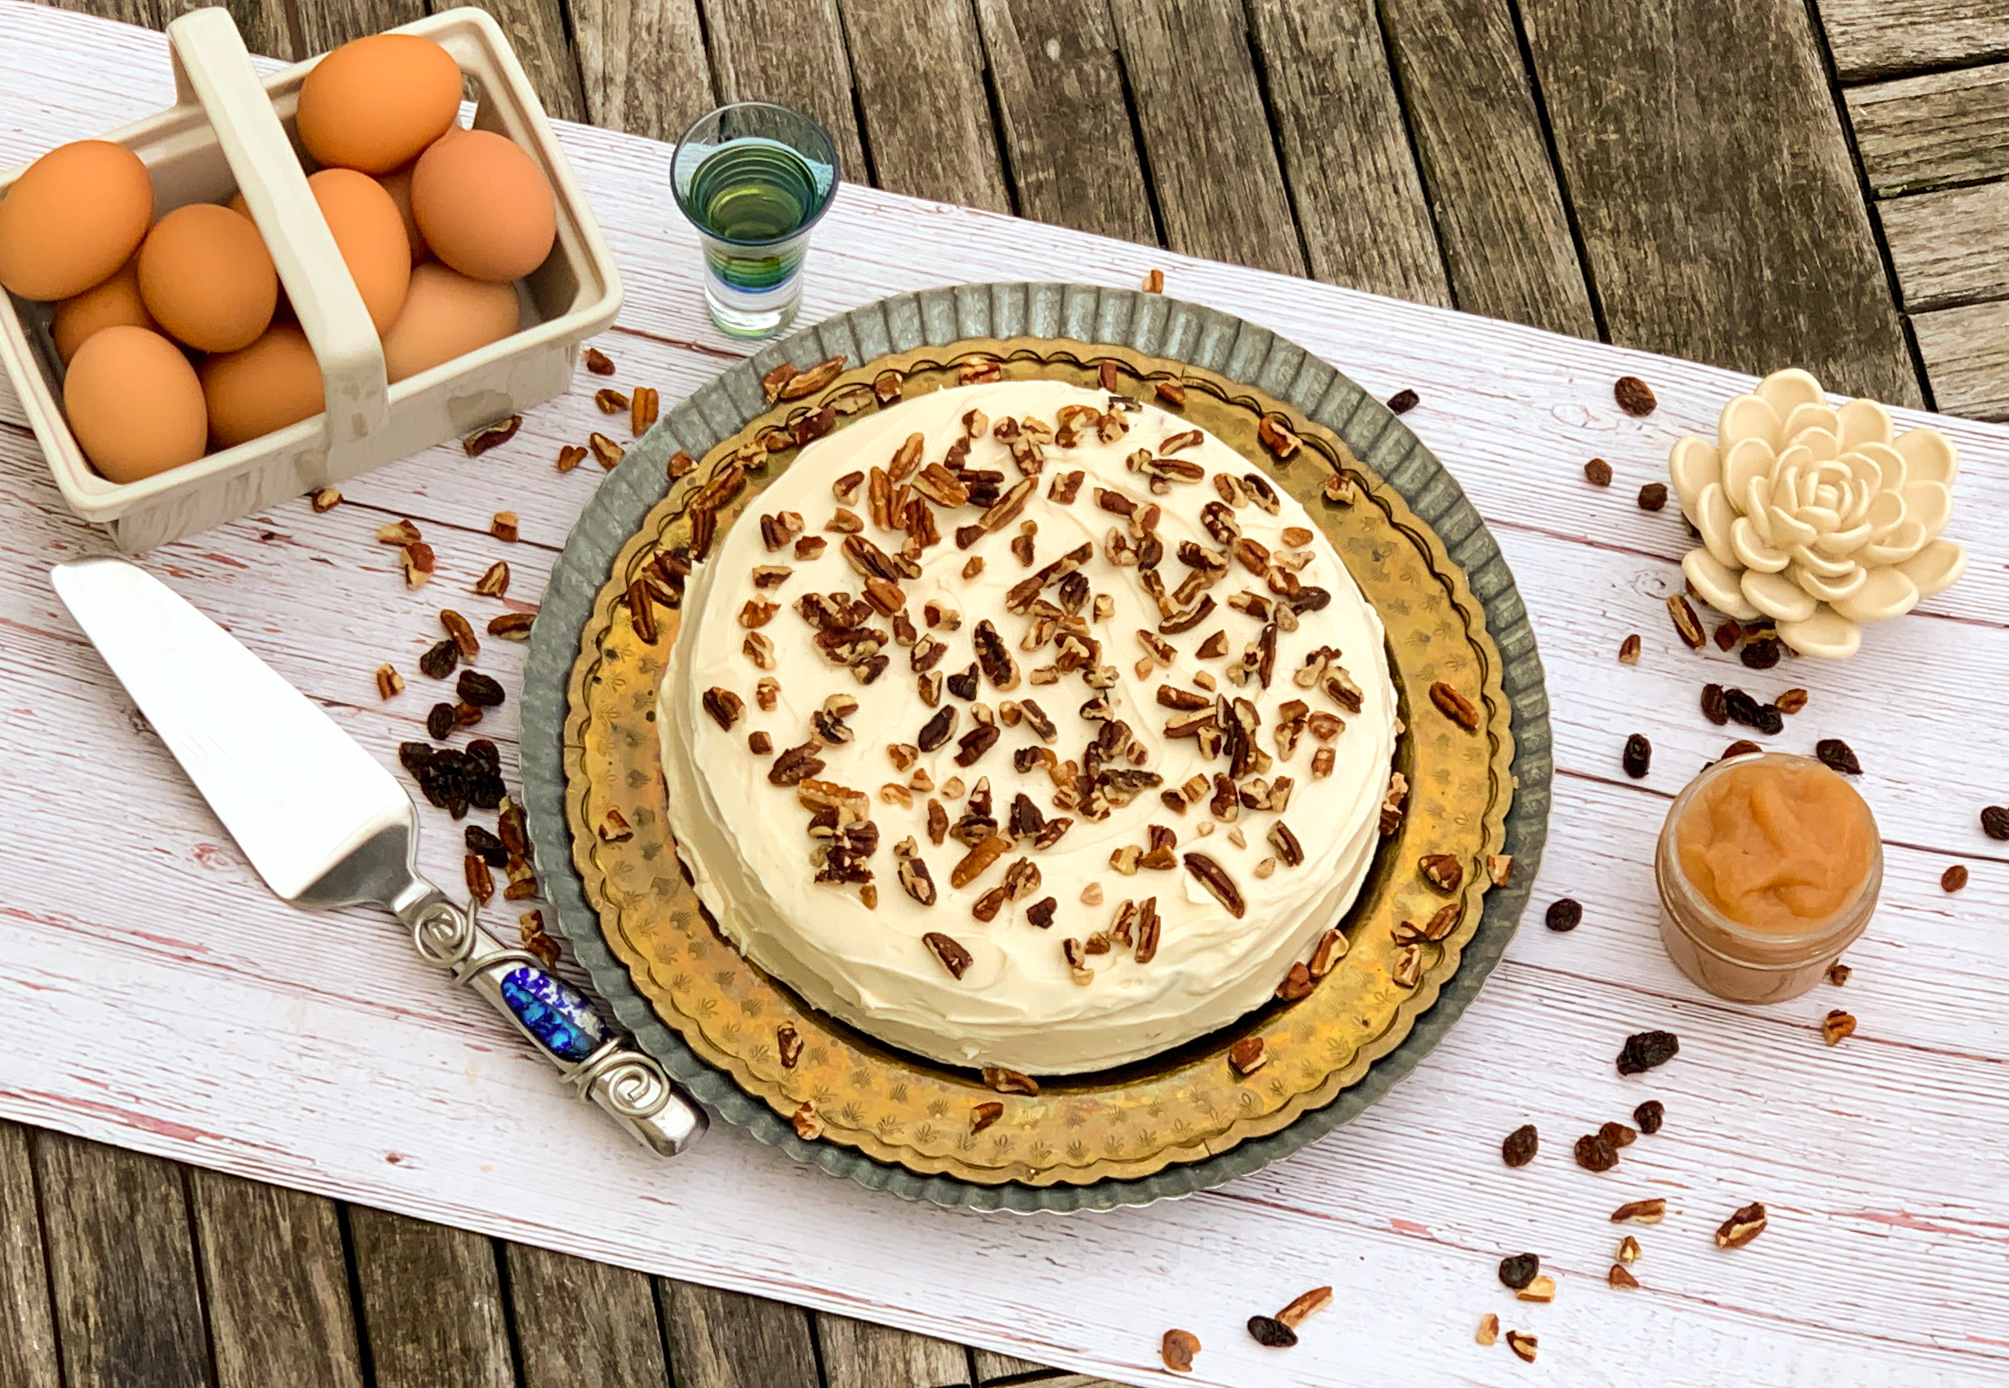
Keep the Bar Keeper’s Friend out, because you are going to want to clean the baking pan you use for this dessert. This dessert is just dreamy, and absolutely perfect for these long winter months. The applesauce ensures a nice, moist, fluffy finish. The raisins and pecans add a perfect blend of gooey goodness and a little crunch. The cinnamon, nutmeg, cloves, and vanilla are all the savory here, making you want just one more bite (but you know that you’ll have more later). The bourbon, when infused with the raisins, and the apples gives this treat a comforting sweetness. It adds a little more depth of flavor, so don’t skimp on it. The cream cheese frosting is the perfect home for this cake, infusing it with a little more bourbon and giving it more warmth and zing. This is the perfect delicacy for breakfast, snack, dessert, or anytime of the day for a little pick-me-up.

This recipe is courtesy of Ina Garten, in her new book, Modern Comfort Food, and will serve 8 people who will love to pick at this cake all through the day.

Ingredients for Applesauce Cake with Bourbon Raisins:

¾ cup golden raisins
2 tablespoons good bourbon, such as Maker’s Mark
10 tablespoons (1¼ sticks) unsalted butter, at room temperature, plus extra to grease the pan
¾ cup granulated sugar
¾ cup light brown sugar, lightly packed
2 teaspoons pure vanilla extract
2 extra-large eggs, at room temperature
1¾ cups all-purpose flour, plus extra for the pan
1½ teaspoons baking soda
1 teaspoon ground cinnamon
¼ teaspoon ground nutmeg
¼ teaspoon ground cloves
1 teaspoon kosher salt
1½ cups unsweetened applesauce, such as Mott’s
½ cup coarsely chopped pecans
Bourbon Cream Cheese Frosting (recipe follows)
Whole pecans halves, for decorating

Preheat the oven to 350 degrees.

Butter a 9 × 2-inch round cake pan, line with parchment paper, then butter and flour the pan.

Tap out the excess flour.

Combine the raisins and bourbon in a small bowl, cover, and microwave for 30 seconds.

Set aside for 15 minutes.

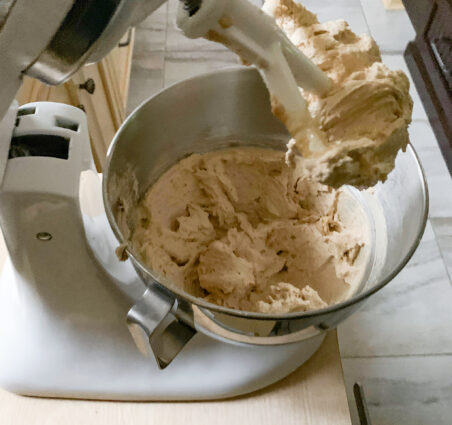
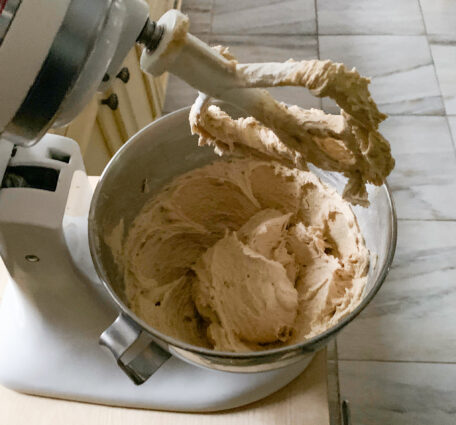
Place the butter, granulated sugar, and brown sugar in the bowl of an electric mixer fitted with the paddle attachment and beat on medium speed for 3 minutes, until light and fluffy.

Scrape down the bowl with a rubber spatula.

With the mixer on medium, add the vanilla and the eggs, one at a time, and mix until smooth.


Meanwhile, in a medium bowl, whisk together the flour, baking soda, cinnamon, nutmeg, cloves, and salt.

With the mixer on low, slowly add the flour mixture to the batter, mixing just until combined.

Stir in the applesauce.

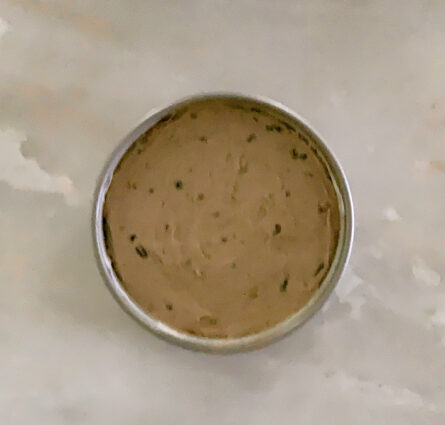
Fold in the raisins (including the liquid) and chopped pecans with a rubber spatula and mix well.

Pour into the prepared pan and smooth the top.

Bake for 40 to 45 minutes, until the top springs back when lightly touched and a cake tester inserted in the middle comes out clean.

Cool for 30 minutes, turn out onto a cooling rack, rounded side up, and cool completely.

For the Bourbon Cream Cheese Frosting: (Frosts one 9-inch round cake)

6 ounces cream cheese, at room temperature
6 tablespoons (¾ stick) unsalted butter, at room temperature
1 tablespoon good bourbon, such as Maker’s Mark
½ teaspoon pure vanilla extract
½ pound confectioners’ sugar, sifted (see note)

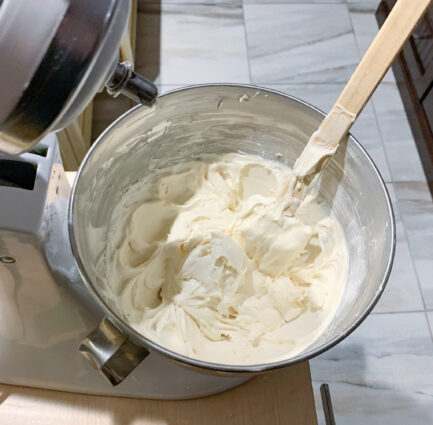
Place the cream cheese, butter, bourbon, and vanilla in the bowl of an electric mixer fitted with the paddle attachment and beat on medium speed until smooth.

With the mixer on low, slowly add the sugar and mix well.

Scrape down the sides and stir well with a rubber spatula.

Spread the Bourbon Cream Cheese Frosting in just the top of the cake (I did frost the sides, because you know more frosting can only make it better!) and artfully place the pecan halves on top.

Serve at room temperature.

It’s that simple!
 

Peek-a-Boo!

signature

[recaptcha]