My niece, Leslie, spent quite a few years living in Switzerland. It was a difficult time for her and her mother, Shelley. They are very close, and being so far away from each other was hard. Leslie and her husband, David, had two children while living in Switzerland, and Shelley missed them desperately. She skyped twice a day, reading stories to the kids or just watching them while they played. This worked well, as both kids got to know their grandparents, despite the physical distance between them.

I went to visit them frequently. My family and I would meet them to ski,  which was an unbelievable experience in the most beautiful mountain terrain. I do not ski, so I had the greatest pleasure of my life–babysitting the children while everybody went skiing. I learned that life is very different in Switzerland. 

Everything in Switzerland is top quality. The streets are immaculate, there isn’t a lot of crime, and there are almost no homeless people.  In fact, there is no child crime at all in Switzerland. I was amazed that mothers would leave their children sleeping in their carriage outside their apartments, unattended while they went upstairs to catch up on chores. We would never do that here!

The trains are beautiful and will take you anywhere in Europe. You can pinpoint almost any location and get there by public transportation. Switzerland is divided into three different sections, and depending on which country you are closest to, you will speak a different language. For example, the people in the region that borders Italy will speak Italian, ditto with the area near France and Germany.  Each of those also has a different and unique Swiss accent and dialect, and it can be quite hard even for native French speakers to understand Swiss French.  Imagine that!

There is also a wealth of food.  Chocolate, pastries, cheese, fondue, beer, wine, and lots of local foods, all covered with melted cheese.  I wouldn’t say the food there is that great in general, but the high-end restaurants are very good and a pleasure to eat at. The Swiss don’t eat a lot of processed food, but people eat seasonally and locally. That’s not because it’s trendy like it is at home – that’s just how they eat. Everything you buy is fresh, there are no big supermarkets, just small ones that people frequent on a daily basis to buy food to prepare each night.

When my niece and her husband and kids moved back to the United States, my niece was petrified. Life here is different, you cannot leave your kids alone for a second, and the pace is much faster. In Switzerland, they value their free time and have fewer work hours as a result. But I do think my niece is grateful for big stores like Bed, Bath and Beyond, Home Goods, and Target. There is something to be said for stocking up on items and not having to go out and buy it every time you need it.

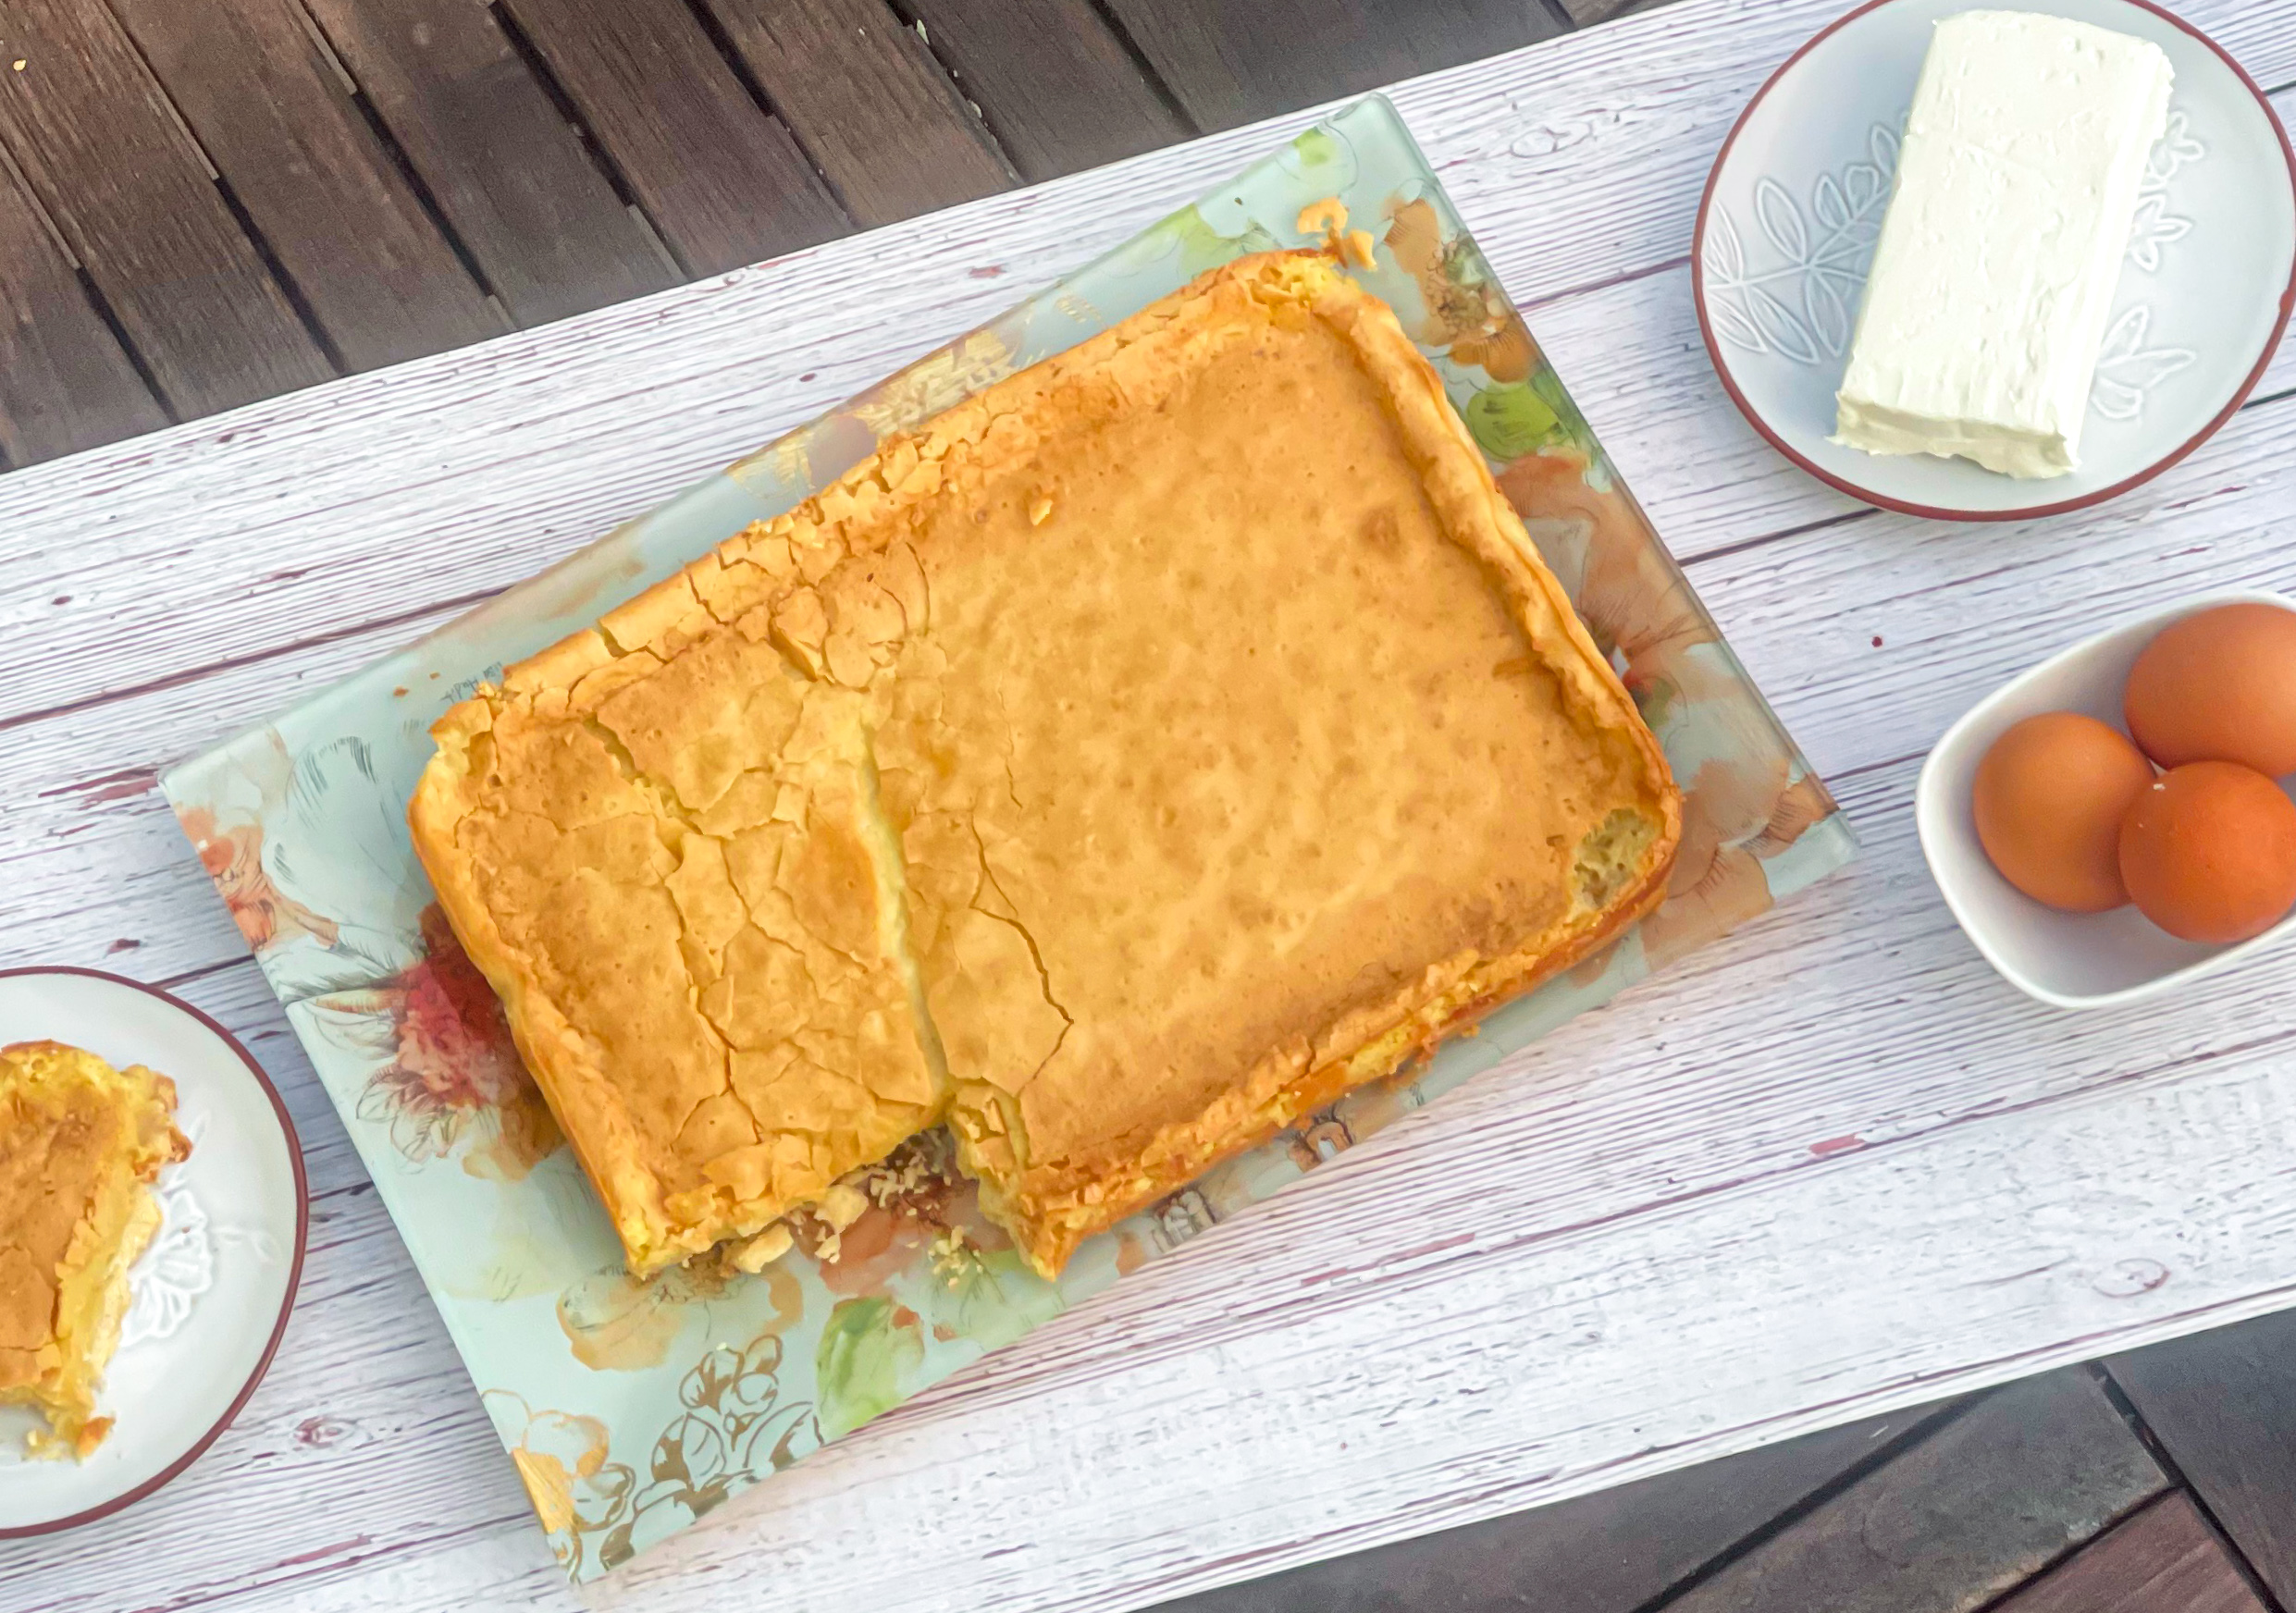
So, while their desserts and chocolates win over ours anytime, here is a nice treat you can make and be proud of. These delicious bars are made up of three layers: the nice buttery crust, a middle layer that is full of custardy goodness and a delectable, chewy, meringue-like top. The cheese, eggs, and butter ensure a smooth, pudding-like consistency, and the salt balances out the bar’s sweet filling. When baked, this layer is transformed into gooey deliciousness and forms a pretty crackled top. This is perfect for breakfast, a snack, or dessert or just because you feel like it. 

This recipe is courtesy of Cook’s Country and will satisfy the sweet tooth of 10 to 12 lucky people.

Ingredients for Gooey Butter Cake Bars:

2 1/2 cups (12 1/2 ounces) all-purpose flour
3/4 cup (3 ounces) confectioners’ sugar
3/4 teaspoon salt
12 tablespoons unsalted butter , melted

For the Filling:

8 ounces cream cheese, softened
8 tablespoons unsalted butter , softened
4 cups (1 pound) confectioners’ sugar, plus extra for dusting
2 large eggs plus 2 large yolks
2 tablespoons vanilla extract
1/4 teaspoon salt

Preheat the oven to 350ºF.

Line a 9×13-inch metal baking pan with tin foil, making sure to have it hang over the sides.

Grease with oil spray.

Set aside.

Make the Crust:

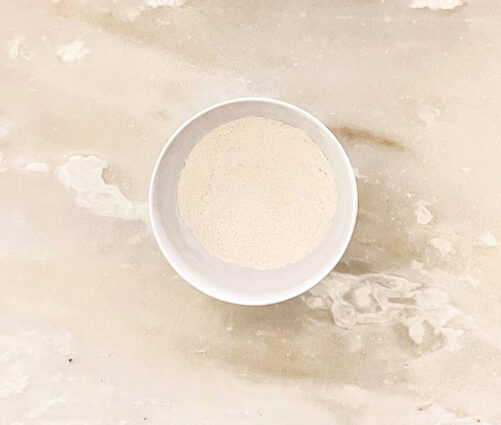
Combine the flour, sugar and salt in a medium bowl.

Stir in the melted butter with a rubber spatula until evenly moistened.
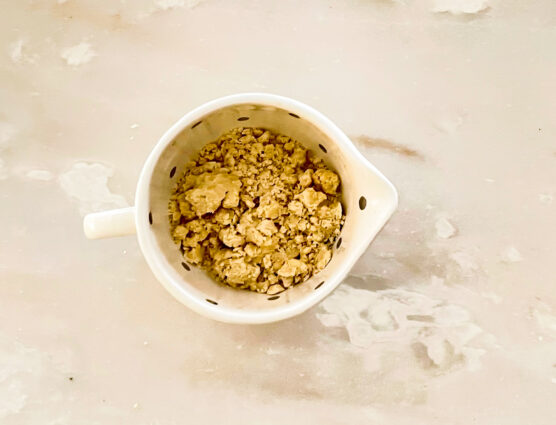
Crumble the dough evenly over the prepared pan.

Using the bottom of a measuring cup, gently press the dough into the bottom of the pan.

Poke the dough all over with the tines of a fork, about 20 times.

Place in the preheated oven and bake for about 20 minutes, or until the crust is a light golden brown.
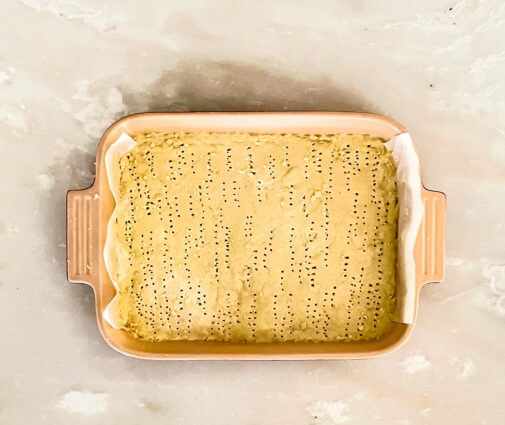
Transfer to a cooling rack and let cool completely before filling, about 30 minutes.

Maintain the oven temperature while it cools

Make the filling:

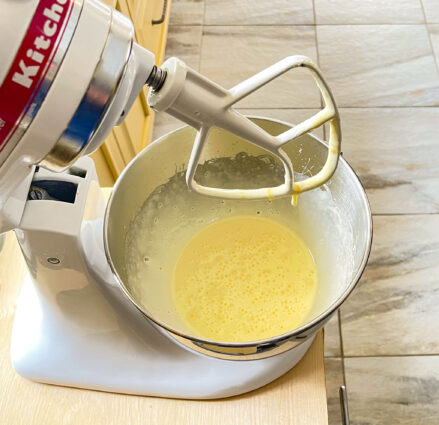
In the bowl of a stand mixer fitted with the paddle attachment, combine the cream cheese and butter.

Mix on medium speed until combined.

With the mixer running on low speed, pour in the sugar and beat until fully combined, about 1 minute.

Scrape down the sides of the bowl and increase the speed to medium-high and beat until fluffy, about 2-3 minutes.
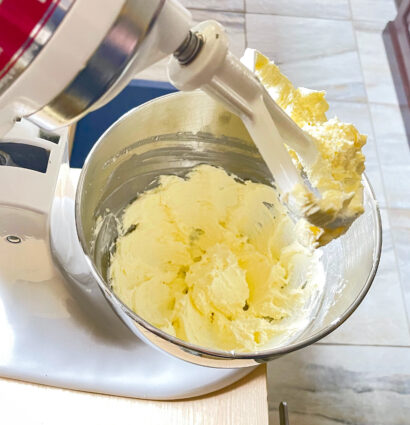
Reduce the speed to low and mix in the eggs and yolks, one at a time, mixing well between additions.

Mix in the vanilla extract and salt and mix until combined, about 30 seconds.
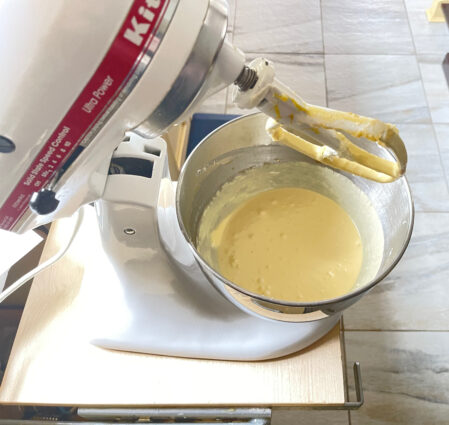
Scrape down the sides of the bowl and increase the speed to medium-high and beat until light and fluffy, about 2 minutes.
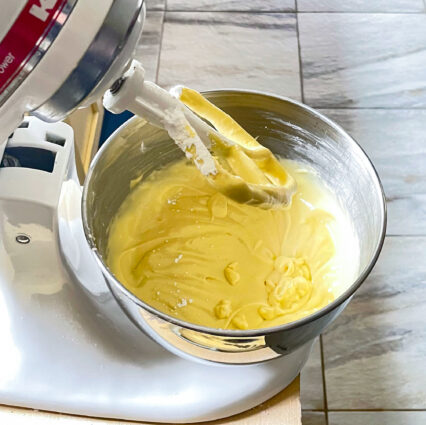
Spread the filling over the cooled crust in an even layer.
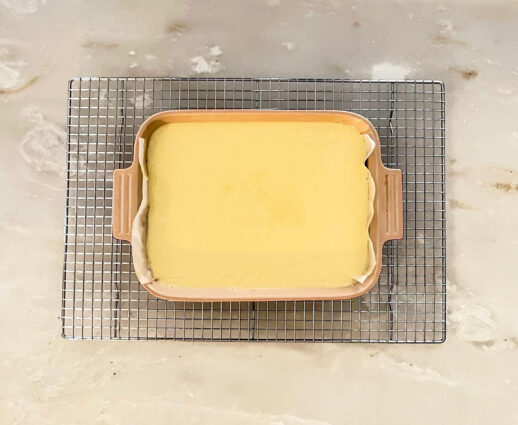
Gently tap the pan on the counter to release any air bubbles then place in the oven and bake about 30 minutes until golden brown and the edges have cracked, and the center just jiggles when gently shaken.

Transfer the pan to a cooling rack and let cool completely.

Once the bars have cooled completely, carefully remove the bars by lifting the tinfoil up.

Place on a cutting board and slice the bars into 12 pieces.

Dust with confectioners’ sugar and serve.

Store any leftovers in an air-tight container at room temperature up to 3-4 days.

It’s that simple!


signature

[recaptcha]


Many of my friends would rather go out to eat or order in than to cook for themselves. I personally think it is easier to throw a chicken in the oven, rather than figure out the kind of food we all want to eat and where to go– what a hassle that all is!  Especially with the concern around COVID-19, it’s so much easier. Let’s see if I can convince you too. 

First, cooking saves you money. Eating simple, homemade food is much cheaper than eating at a restaurant. Even purchasing processed food at the grocery store will cost you more than cooking from scratch.  You can do cost-effective planning, like eating seasonal vegetables that are cheap and fresh, choosing cuts of meat that are on sale, and making larger portions so you will have leftovers. Most families (mine included) love leftovers!

Second, you know exactly what is going into your food. When I go to a restaurant, I ask a million questions about the preparation of the dish and what ingredients they use. Cooking at home will ensure that you have control of the sugar, oils, and salt in your food.

Third, cooking keeps you healthy. Let’s face it, with all the work that goes into deep frying, you probably will not be making french fries at home. You will choose something easier, with simple ingredients that will help you maintain a healthy lifestyle– like baking your potatoes instead!

Finally, cooking at home brings the family together in a comfortable, healthy environment. This is truly the most important aspect about cooking at eating at home.  Time in the kitchen and around the table strengthens family bonds, gets everyone to talk and just be together (and you know I’m all about that).

This is one healthy snack you can make for your family, and there is no actual cooking involved. The different sugars make these a sweet little bite, but not so sweet that they’re overpowering. The peanut butter and milk add creamy goodness and the vanilla is the savory touch that these cookies need. The oats give them a nice crunch texture and the salt allows the flavors to shine and brings an elevated taste. Perfect for breakfast, snack or pick-me-up any time of the day.

This recipe is courtesy of  Delish and will make 2 dozen cookies for people who will totally dig this special little cookie.

Ingredients for Peanut Butter No Bake Cookies:

1 cup granulated sugar
3/4 cup packed brown sugar
1/2 cup (1 stick) butter, cut into cubes
1/2 cup milk
1 cup smooth peanut butter
2 teaspoons pure vanilla extract
1/2 teaspoon kosher salt
2 1/2 cup old-fashioned oats

Line a large baking sheet with parchment paper.

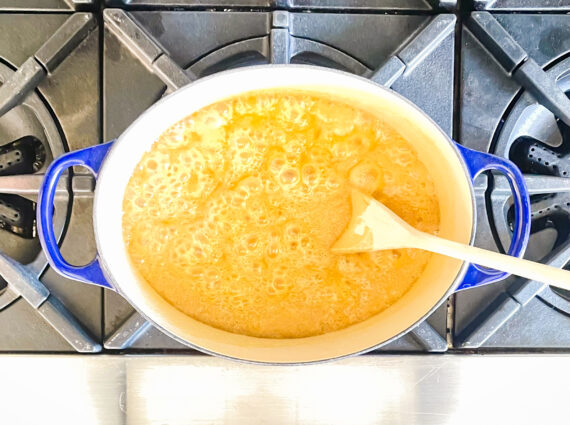
In a medium saucepan over medium heat, combine sugars, butter, and milk.

Bring mixture to a boil and boil 1 minute.

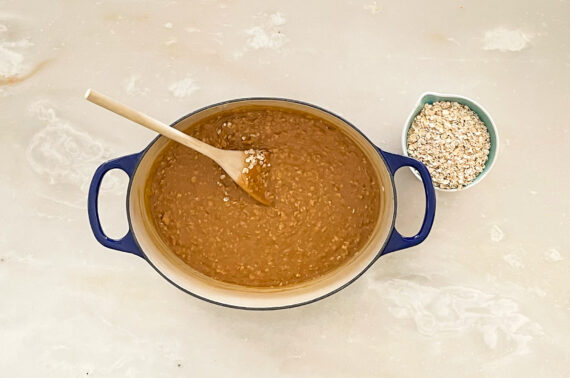
Remove from heat and stir in peanut butter, vanilla, and salt until combined, then stir in oats.

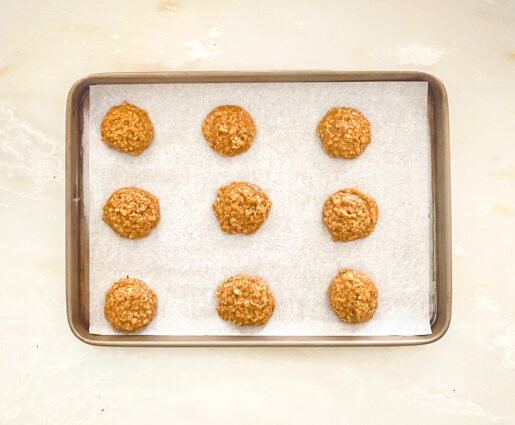
Drop tablespoonful’s of mixture onto prepared baking sheet and let set until cooled and hardened, about 30 minutes.

It’s that simple!

signature

[recaptcha]


“The year of the pandemic” has been a challenge in so many ways. Across the country, almost within a day, everything was shut down and we were required to stay in our homes to keep the virus at bay.  Even still, hundreds of thousands of lives have been lost, and countless others changed forever.  When the first lockdown was announced, I remember being overwhelmed with the fact that not only had the United States shut down but almost every country in the world had done the same. No matter where you looked, everything had stopped.

As I spoke to my friends, I constantly told them that it wasn’t only us who had been stopped in our tracks, it was everyone everywhere. When we finally managed to venture out for supplies, we were met with lines that reached around the block, and stockouts in once-common items at the store. No one saw this coming (well, those who did see it didn’t do anything about it), and so many of us had a very difficult time with making adjustments to our well-worn routines. But we all complied, hoping we would change the direction of the virus and slow it down, eventually stopping it entirely.

Because of the inability to do our daily activities, life should have become simpler, but it got ever more complex.  Many of us faced extreme anxiety due to the isolation and pressure to continue working. Moms and Dads with school aged children had to suddenly stop working and homeschool their kids– or worse, continue working and homeschool their kids. Let’s face it, teaching is the hardest job there is, and not all of us are good at it. Education has changed so much since we were in school. Math, english and history are now taught differently than we learned them. We first had to learn the new way ourselves in order to teach our kids in the way that they were expected to learn. 

Some of you had the responsibility of work, teaching your kids, and entertaining them all at the same time. This is a near impossible task for those who haven’t had teaching experience. Many of us were also making three meals a day. We would make breakfast, clean up, then find it was time to make lunch and clean that up. Then came the challenge of making dinners, especially for the people who don’t enjoy or know how to make them– that’s not even taking into the account that some were cooking with very limited ingredients. Going out was always the easier option and that wasn’t even available to us anymore.

Finally, there was the terror of not knowing what would come next.  

Are we going to get sick in the store?  Do we have to wash our bag of chips?  Should we not be ordering takeout so avoid food contamination?  How are we going to go to see our doctors and our dentists?  What happens if we, God forbid, end up needing to go to the hospital for some reason?  How risky is it to give our elderly loved ones a hug?  These are questions that we had to learn along the way, and keep up to date on the newest information out there.

But here we are, one year later. Some of us still have problems because our kids are still not in school full-time. Some of us did end up getting the virus and recovering.  Others are still suffering after-effects.  Now that the vaccine rollout has begun in earnest, I am hopeful that we are at the tail-end of this unprecedented time. We got through the darkest days and now there seems to be a light at the end of the tunnel.

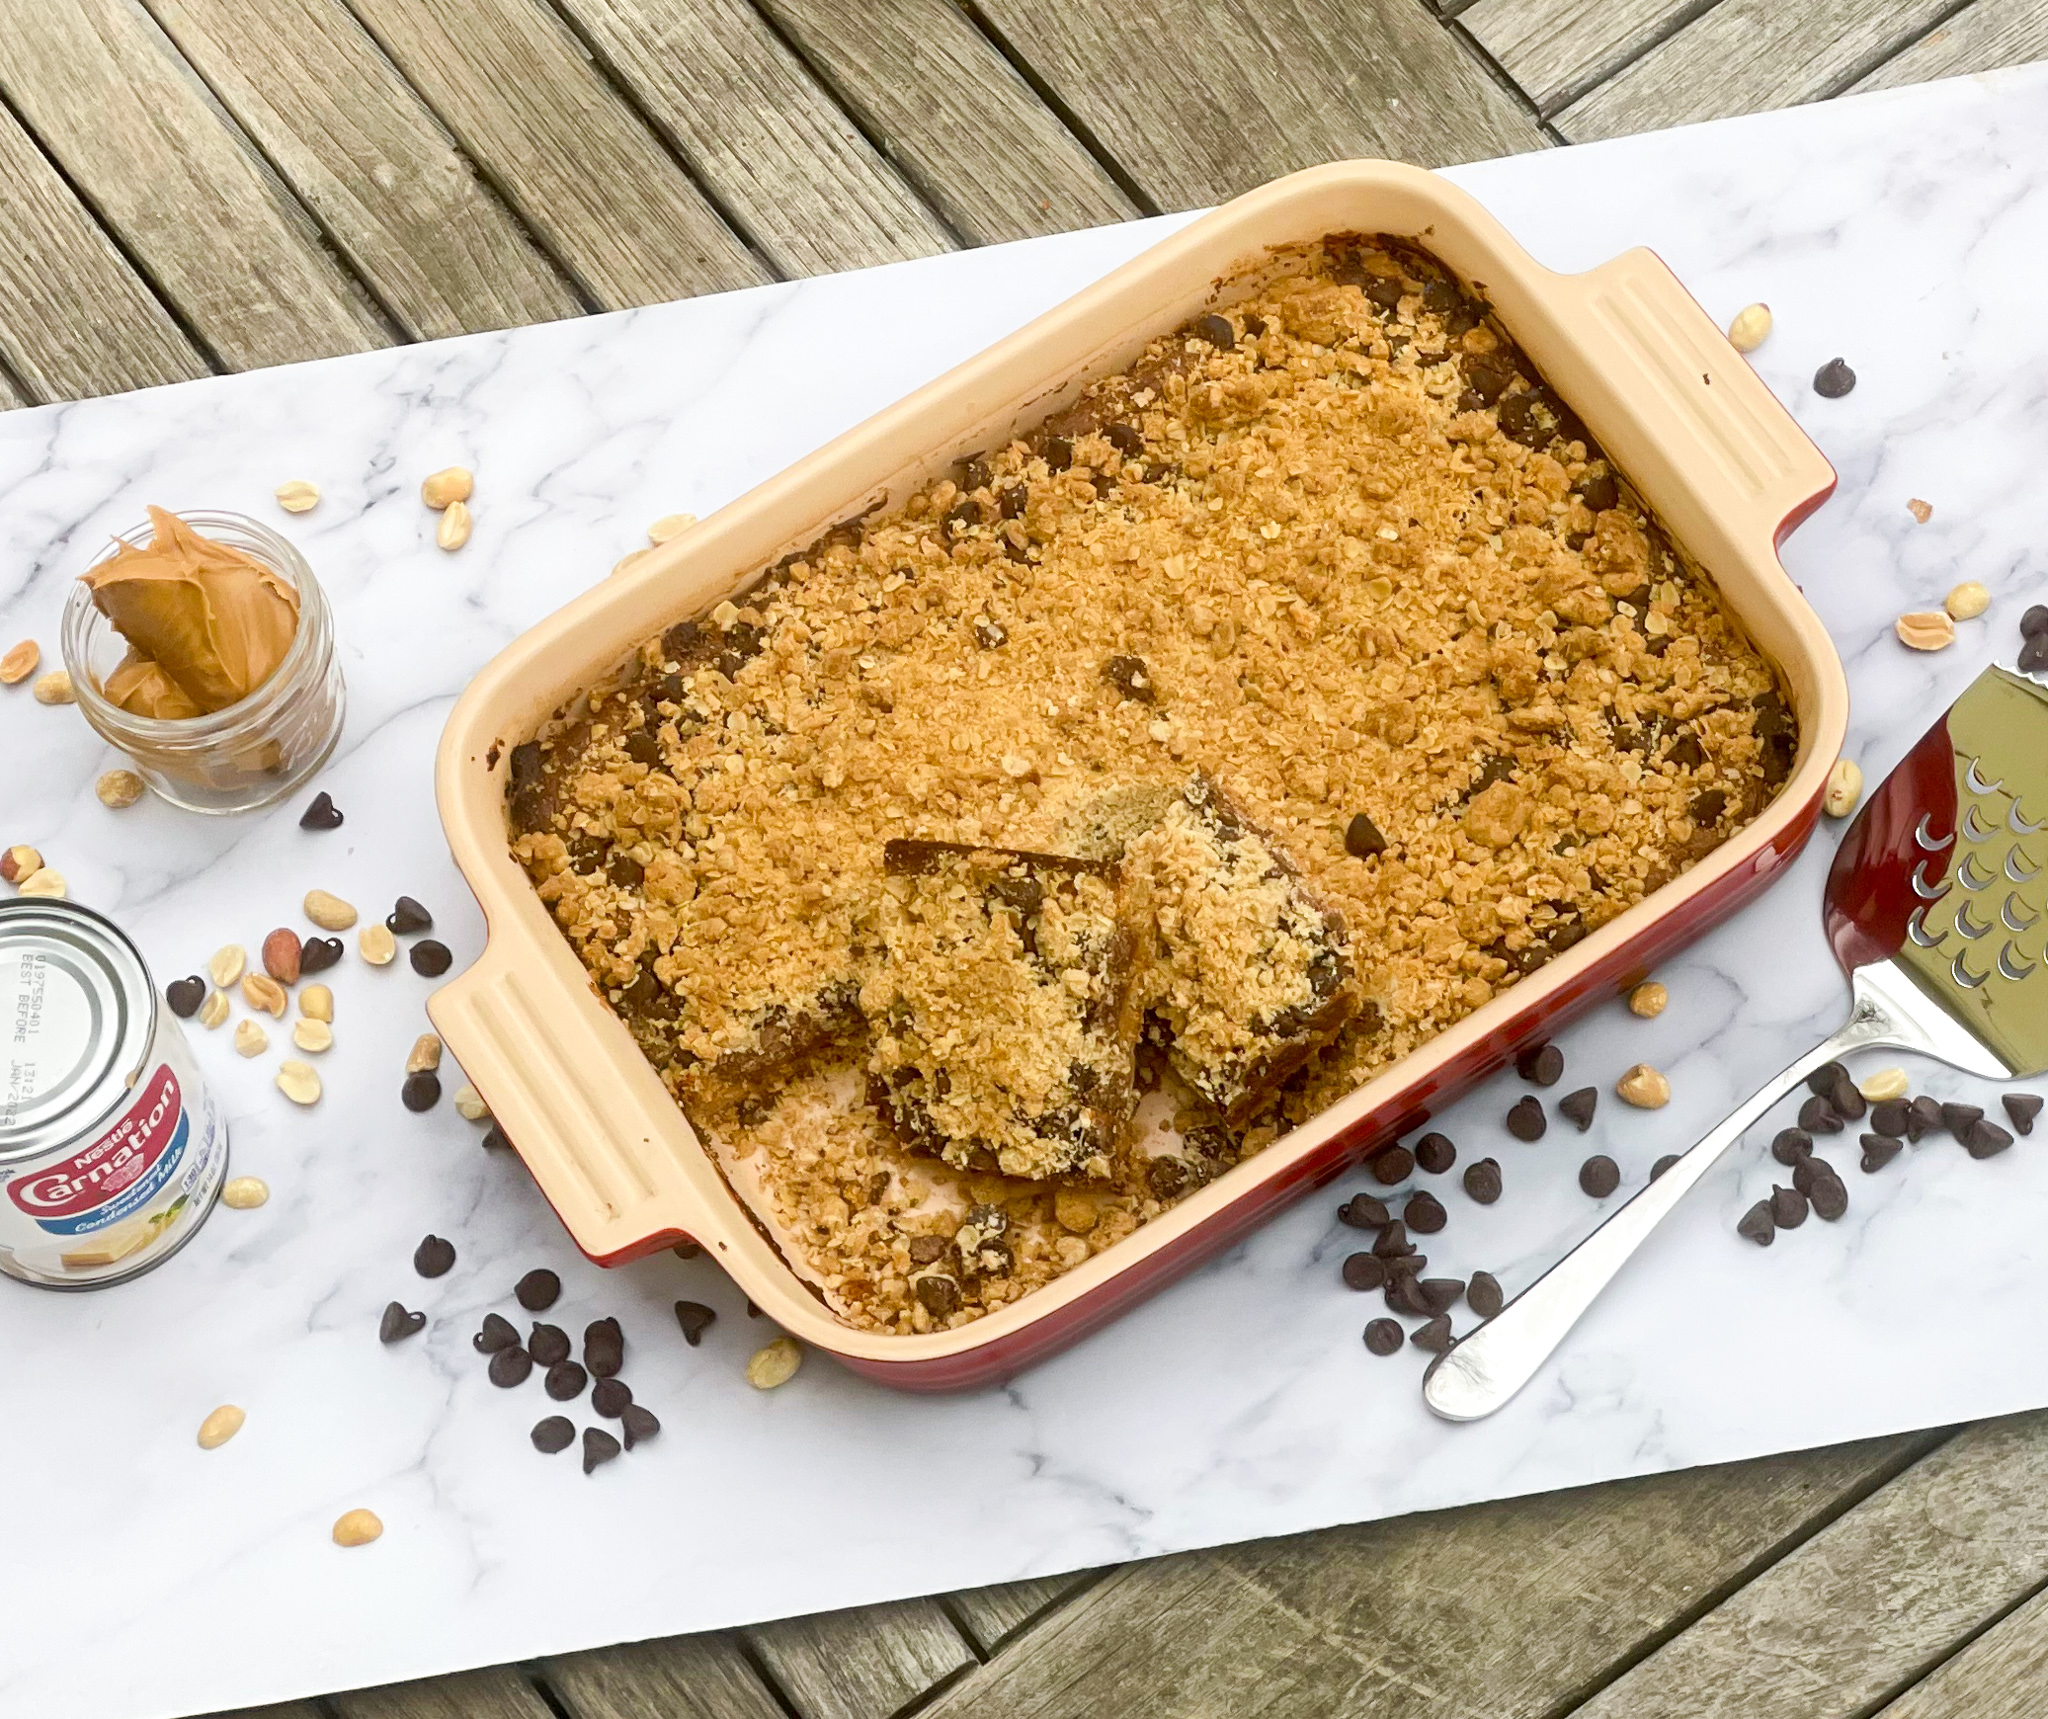
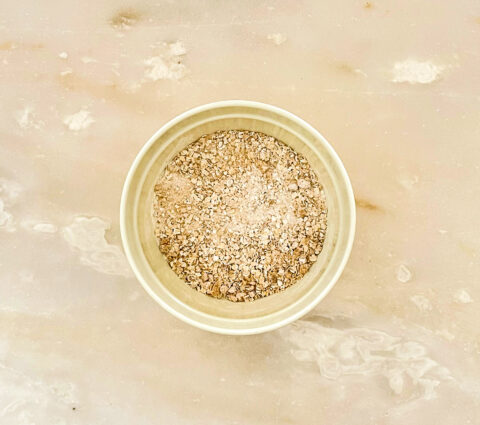
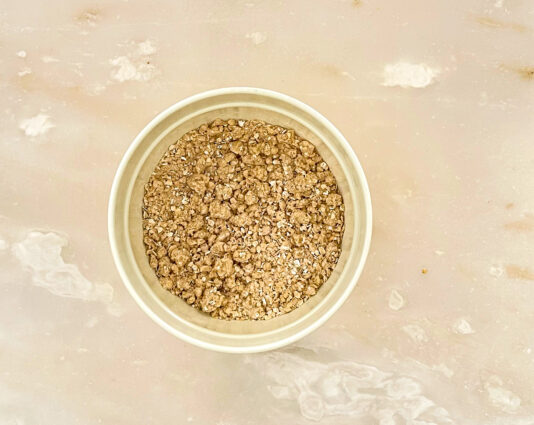
Given all your other responsibilities, maybe you can find some time out of your busy day to make these wonderful bars. The oats give these bars a delicious texture, and the sweetened condensed milk ensures a smooth silky goodness. The chocolate chips and peanut butter combine to give this treat a delightful, familiar taste. The result is a sweet and satisfying tidbit that is perfect for breakfast, a snack on the go, or for a pick-me-up any time of the day. 

This recipe is courtesy of Allrecipes, and will make 24 bars that will satisfy everybody’s sweet tooth.

Ingredients for Passion Bars:

2 cups quick cooking oats 
1 cup all-purpose flour 
1 cup brown sugar 
½ teaspoon salt 
½ teaspoon baking soda 
¾ cup butter, softened
1 (14 ounce) can sweetened condensed milk
¾ cup peanut butter
1 cup semisweet chocolate chips

Preheat oven to 350 degrees F.

Grease a 9×13 inch baking pan.

In a large bowl, stir together the oats, flour, brown sugar, salt and baking soda.

Cut in the butter to form a crumbly mixture.

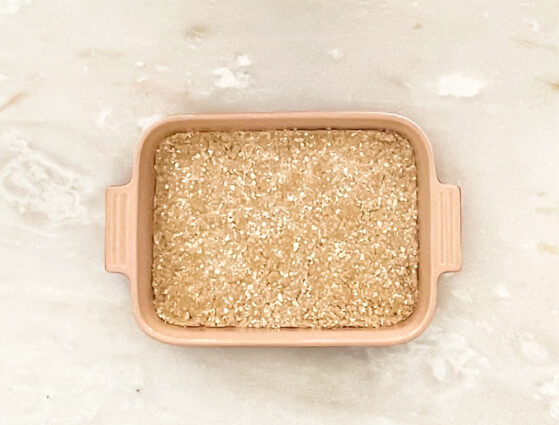
Reserve 1 1/2 cups of the crumbs, and pat the rest evenly into the bottom of the prepared pan.

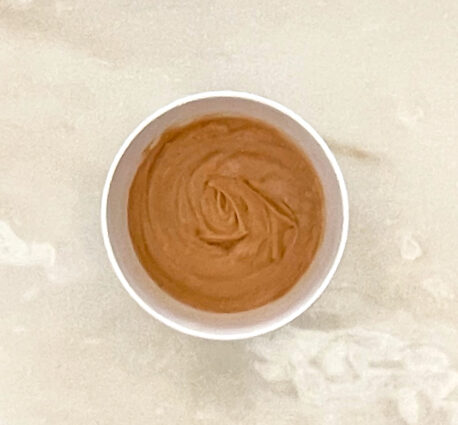
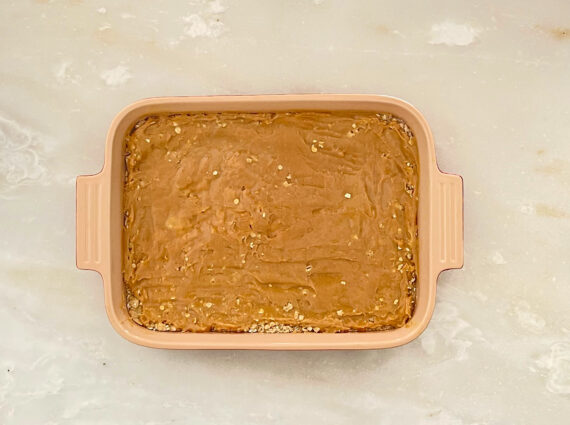
In a medium bowl, stir together the sweetened condensed milk and peanut butter.

Spread evenly over the oatmeal layer.

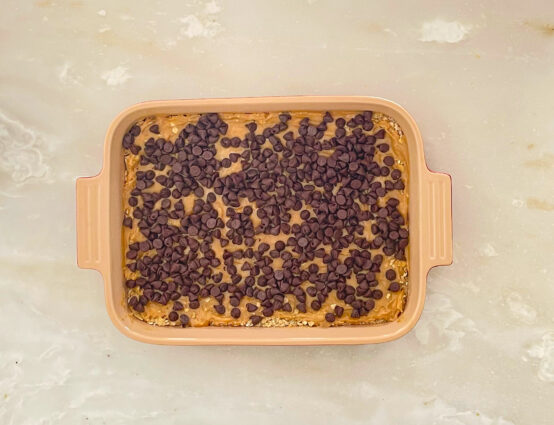
Sprinkle the chocolate chips over the peanut butter layer.

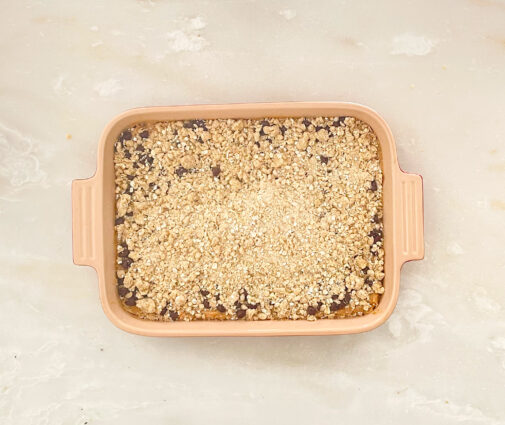
Then place the reserved crust over the top.

Bake for 30 to 35 minutes in the preheated oven, until golden brown.

Cool completely before cutting into bars.

It’s that simple!
signature

[recaptcha]


Many of us have been cooking a lot during this past year. Back in 2017, Harvard Business Review reported that about 10 percent of Americans actually enjoyed cooking.  Now, during this pandemic, it is hard to avoid cooking. Many restaurants are closed, and cooking has become a necessity as well as a challenge. For those with chronic diseases such as diabetes, crohn’s, or celiac, it’s been an added challenge to find appropriate recipes. Let’s think about ways we can enjoy cooking without it seeming like a huge chore.

Make things simple. Buy your meat fresh and freeze it so that you can simply defrost it the night before. This can be a whole chicken that you roast, a couple of steaks, veal chops, or chicken parts. You can leave them on the counter overnight, just put them back into the refrigerator when you wake up. Remove them at least an hour before you cook them to bring them to room temperature. Yes, even chicken can stay out of the fridge safely for an hour or so.

Choose easy side dishes. Bake some whole potatoes, or cut up some fingerlings and roast them for about 40 minutes. Take out a package of frozen corn, place it on the stove with some butter, basil, red pepper flakes, and lemon, and pan roast until it turns brown and has caramelized. Roast some broccoli or cauliflower with olive oil. It really doesn’t have to be complicated. 

Put on your favorite music while you cook. Studies have shown that listening to music can alter your mood and make you happy. Music can also slow down your heart rate, and reduce blood pressure and anxiety.

Use your favorite foods to prepare recipes that you enjoy. Nobody likes cooking a dish they hate. Try to get other members of your family to help, and make it a family event.  Bonus– you can teach the little ones healthy eating habits.

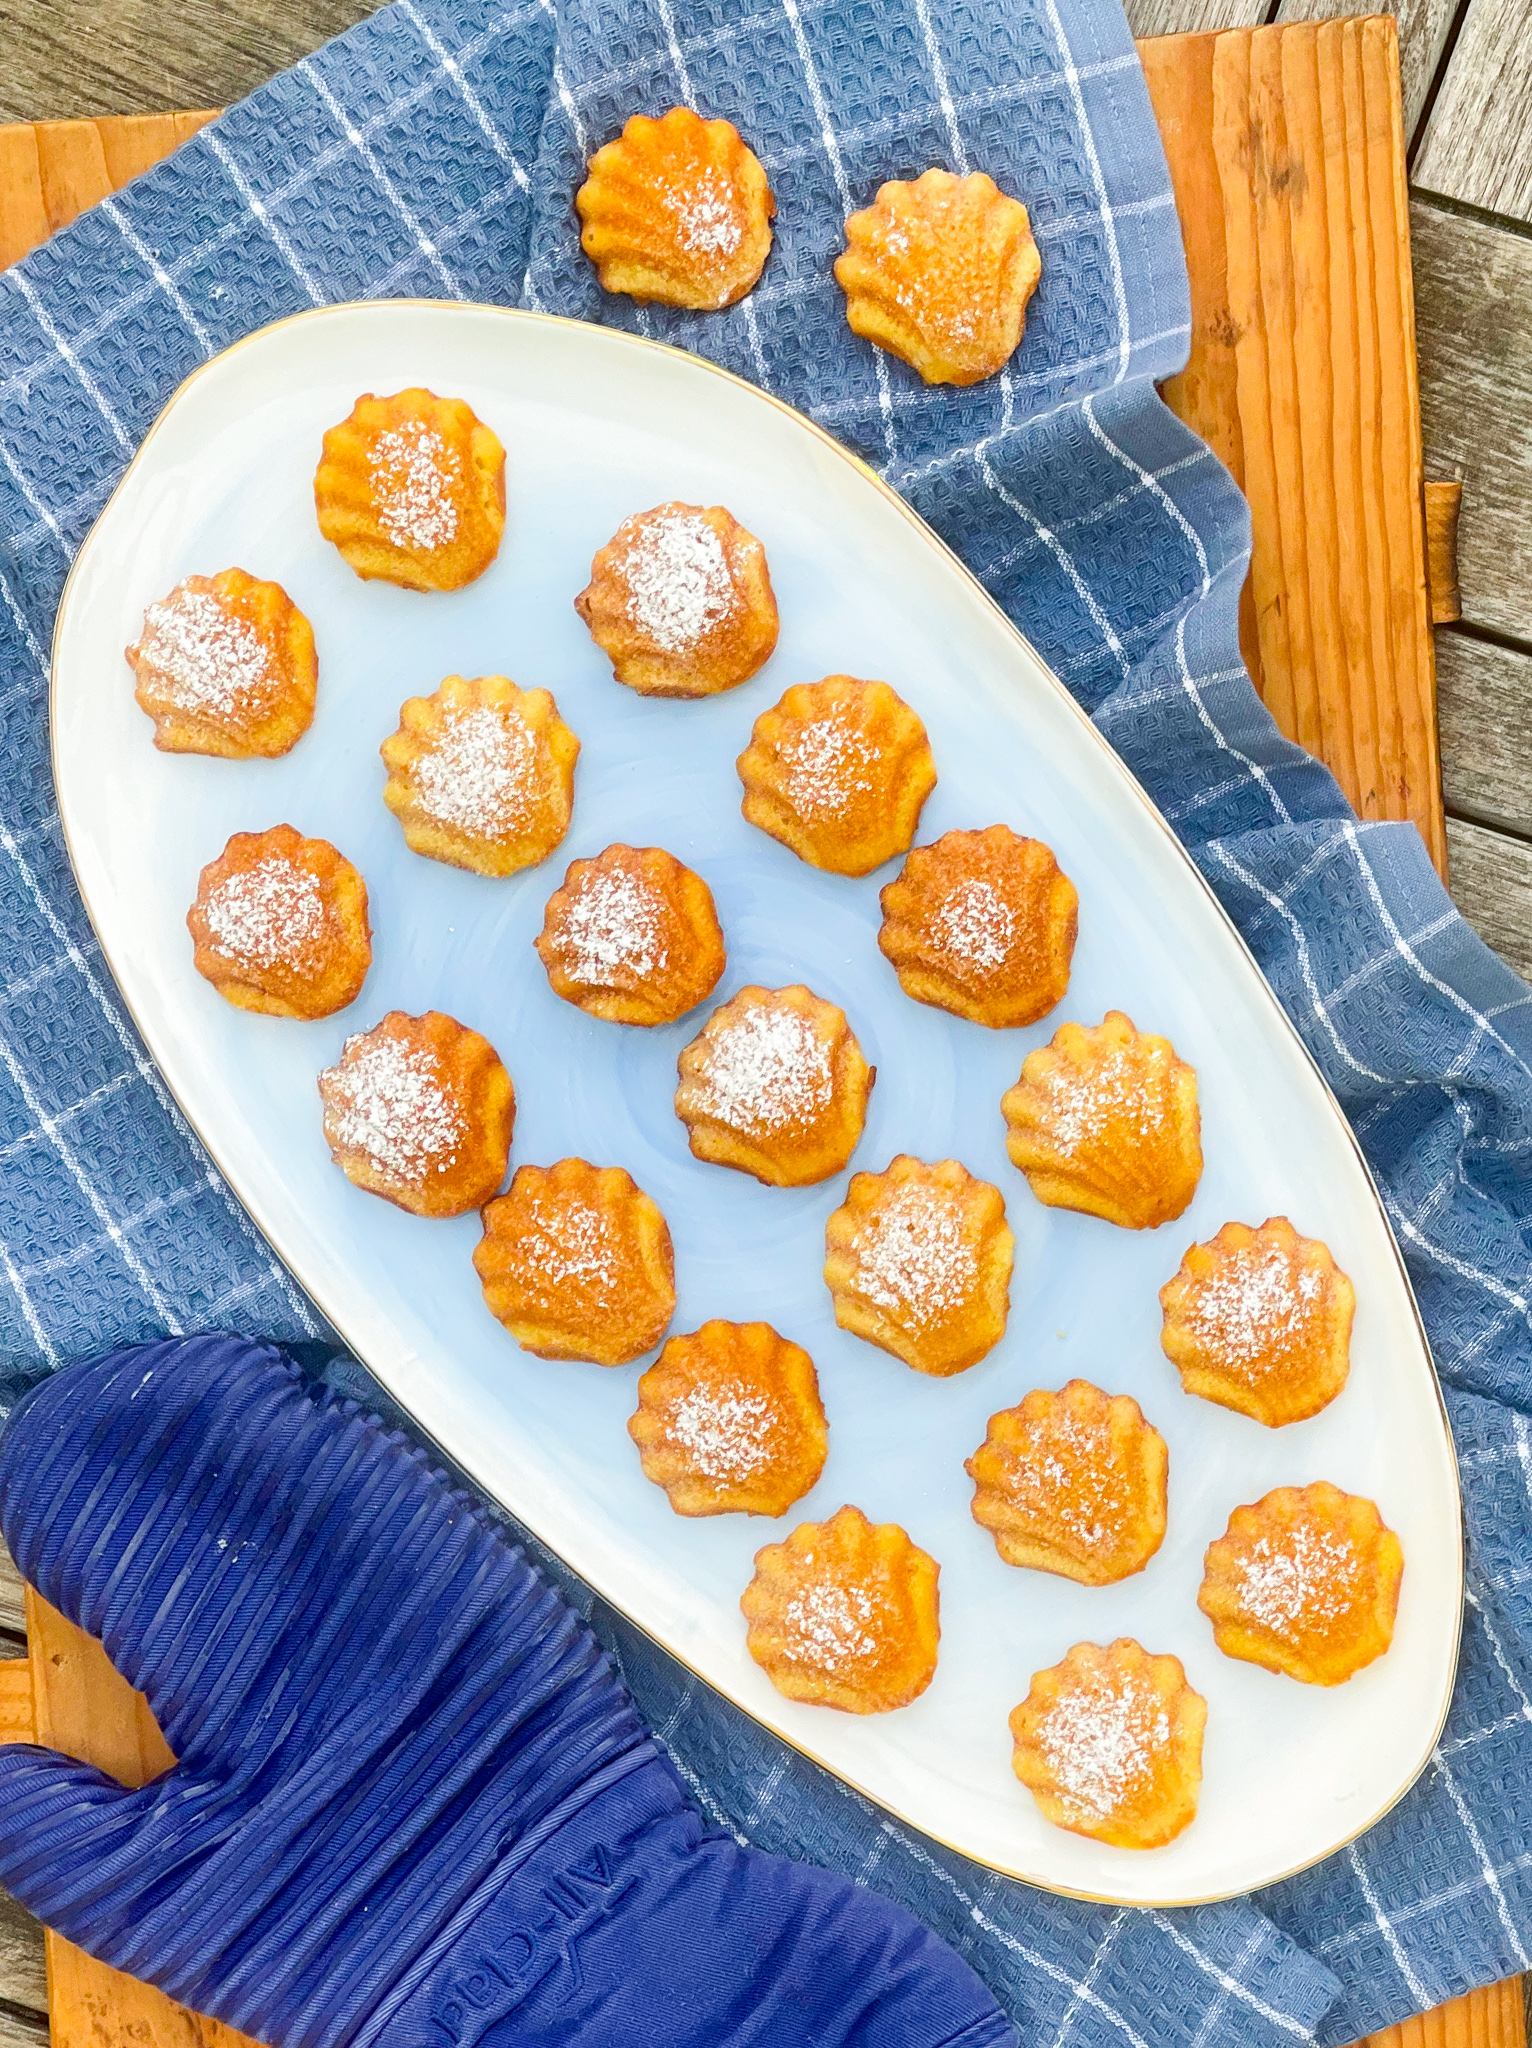
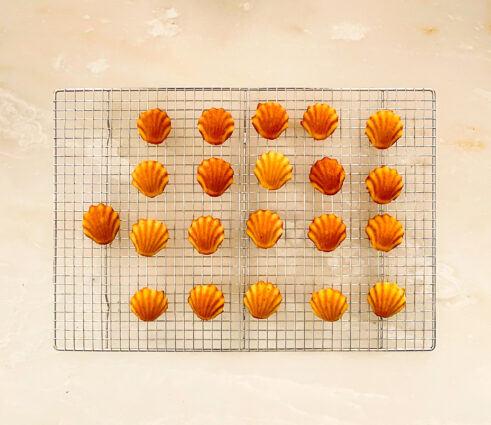
Now this is one recipe that I know you will enjoy making. Madeleines, also known as French butter cakes, are shell-shaped sponge cakes. When the cake was first made in the 18th century, the little bump was the most important feature.  The same is true today.  Though they are little butter cakes, most people refer to them as cookies. They are made with the simplest ingredients, but you have to be careful to ensure the right consistency. It may take a little extra time, but it is well worth it.

Whether you call them cakes or cookies, they should be light and airy, with a melt-in-your mouth exterior. You know the eggs are perfectly whipped when they drip like ribbons from your spoon or beaters. The vanilla extract adds even more delicious flavor, and the lemon zest, (don’t you dare leave it out!) gives these cookies a tang, that is so important to the cookie. You can then dust them with confectioners’ sugar or dip them in some melted chocolate for an even more luscious treat. Perfect for breakfast, a snack, or dessert, everyone will love them.

This recipe is courtesy of Sally’s Baking Addiction and will make 18 to 20 cookies to delight cookie and cake lovers alike.

Ingredients for Madeleines:

1/2 cup (1 stick) unsalted butter (plus another 2 Tbsp for the pan)
2 large eggs, at room temperature
1/2 cup granulated sugar 
2 teaspoons lemon zest
1 teaspoon pure vanilla extract
1 cup sifted all purpose flour, spooned and leveled
1/2 teaspoon baking powder
1/8 teaspoon salt
Optional: confectioners’ sugar for sprinkling on top, or melted chocolate for dipping.

Melt the butter and set aside to slightly cool as you prepare the rest of the batter. You can melt it in the microwave or melt it/brown it on the stovetop.

Using a handheld or stand mixer fitted with a whisk attachment (didn’t notice a difference using either one), beat the eggs and sugar together on high speed for at least 8 minutes.

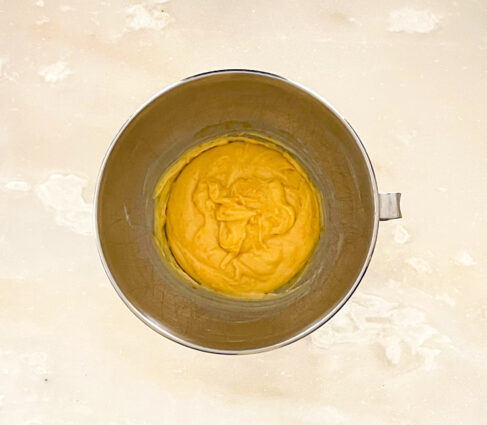
The mixture will be thick, pale, and form ribbons when you lift the beater(s).

Beat in the lemon zest and vanilla extract until combined. (The remaining ingredients are mixed together by hand; you no longer need the mixer.)

Whisk the flour, baking powder, and salt together in a small bowl.

Using a spatula or wooden spoon, gently fold into egg mixture.

I suggest carefully folding in half of the flour mixture, then folding in the other half. (Instead of dumping it all in at once.) Make sure you’re handling this batter with care. It’s very delicate.


Stir 1/4 cup of the batter into the melted butter.

It will take a minute to fully incorporate.

Then stir it all into the rest of the batter.

The batter will be thick, silky, and shiny. Cover the batter and chill in the refrigerator for 30-60 minutes.

Try not to chill any longer than this as the butter in the batter will begin to solidify.

During the last few minutes of chilling, preheat the oven to 350°F.

Melt the remaining 2 Tablespoons butter.

Using a pastry brush, lightly brush the pan with melted butter.

The author finds that greasing the pan is necessary even if you’re using a nonstick pan.

We want to avoid any chance of sticking.

The batter will be quite airy and spongy after resting. This is good! Do not try to deflate it. 

Spoon 1 generous tablespoon of batter into the center of each scalloped well.

No need to spread it to the edges. Just plop it in the center.

(Cover and refrigerate remaining batter if you do not have 2 madeleine pans to bake the batter all at once.)

Bake for 10-12 minutes.

The madeleines are done when the tops spring back after lightly pressed with your finger. Invert the pan onto the counter.

Transfer the warm madeleines to a wire rack to lightly cool.

Dust with confectioners’ sugar, if desired, before serving.

Madeleines are best enjoyed right after baking, so the author didn’t have any make-ahead tips.

They dry out very quickly; Sally finds baked and covered madeleines lose their texture even after 1 day!

For this reason, the author doesn’t recommend freezing them either. You’ll lose a lot of texture.

It’s that simple!
signature

[recaptcha]


Things have changed so much since I was a young adult. For one, there were much stricter rules back then– or at least, that’s how it was for me.  I was never allowed to grow my hair long, because my mother believed that only “hippies” had long hair. So, for much of my childhood and teenage years, I had a short, curly haircut that I absolutely hated. When I got to high school, she relaxed a bit, so of course I spent an exorbitant amount of time straightening my hair and blowing it out, as per the style of the day.

I had chores on the weekend (and most weekdays), and was not allowed to go out to football games with my friends until they were all done. There was an upside to this; I got very good at cleaning my room very quickly. Oh, there were times my mom made me re-clean to her satisfaction, but more often than not, I got away with just a cursory clean. 

Strange though it may sound, everyone dressed up to go out. If we went out to dinner, we would all wear our best clothes, especially my mom and dad. We wore formal attire for parties and holidays. People got all decked out to see a show or movie too.  I got new clothes for every holiday, cherishing the day I would finally get to wear them. Thank goodness that life has become more relaxed and informal these days.

As strict as my mom was, she also had a rebellious streak. For example, when I attended elementary school, girls were not allowed to wear pants (am I dating myself here or what?). In defiance, my mom bought me a tweed pair of pants, which I could not wait to wear. I wore them proudly. Once I got to school, they called my mother and told her to take me home to change, or I would not be allowed back. My mom did come to the school to argue, but in the end, the school won out, and I returned to school wearing the proper clothes. Imagine all that over a pair of pants!

Now, fashion is very relaxed and people dress as they please. I don’t mind wearing nice clothing, since it’s fun to dress up once in a while, but I really did hate having to do it so often. Now that we are staying home much more, leggings, t shirts, and comfortable sweatshirts are becoming the norm.

Change is good, and we are seeing it in all things, not only our wardrobe attire. If you are looking for a change in cooking, how about these doughnut-muffins that are not fried, but baked in the oven and served as a muffin?

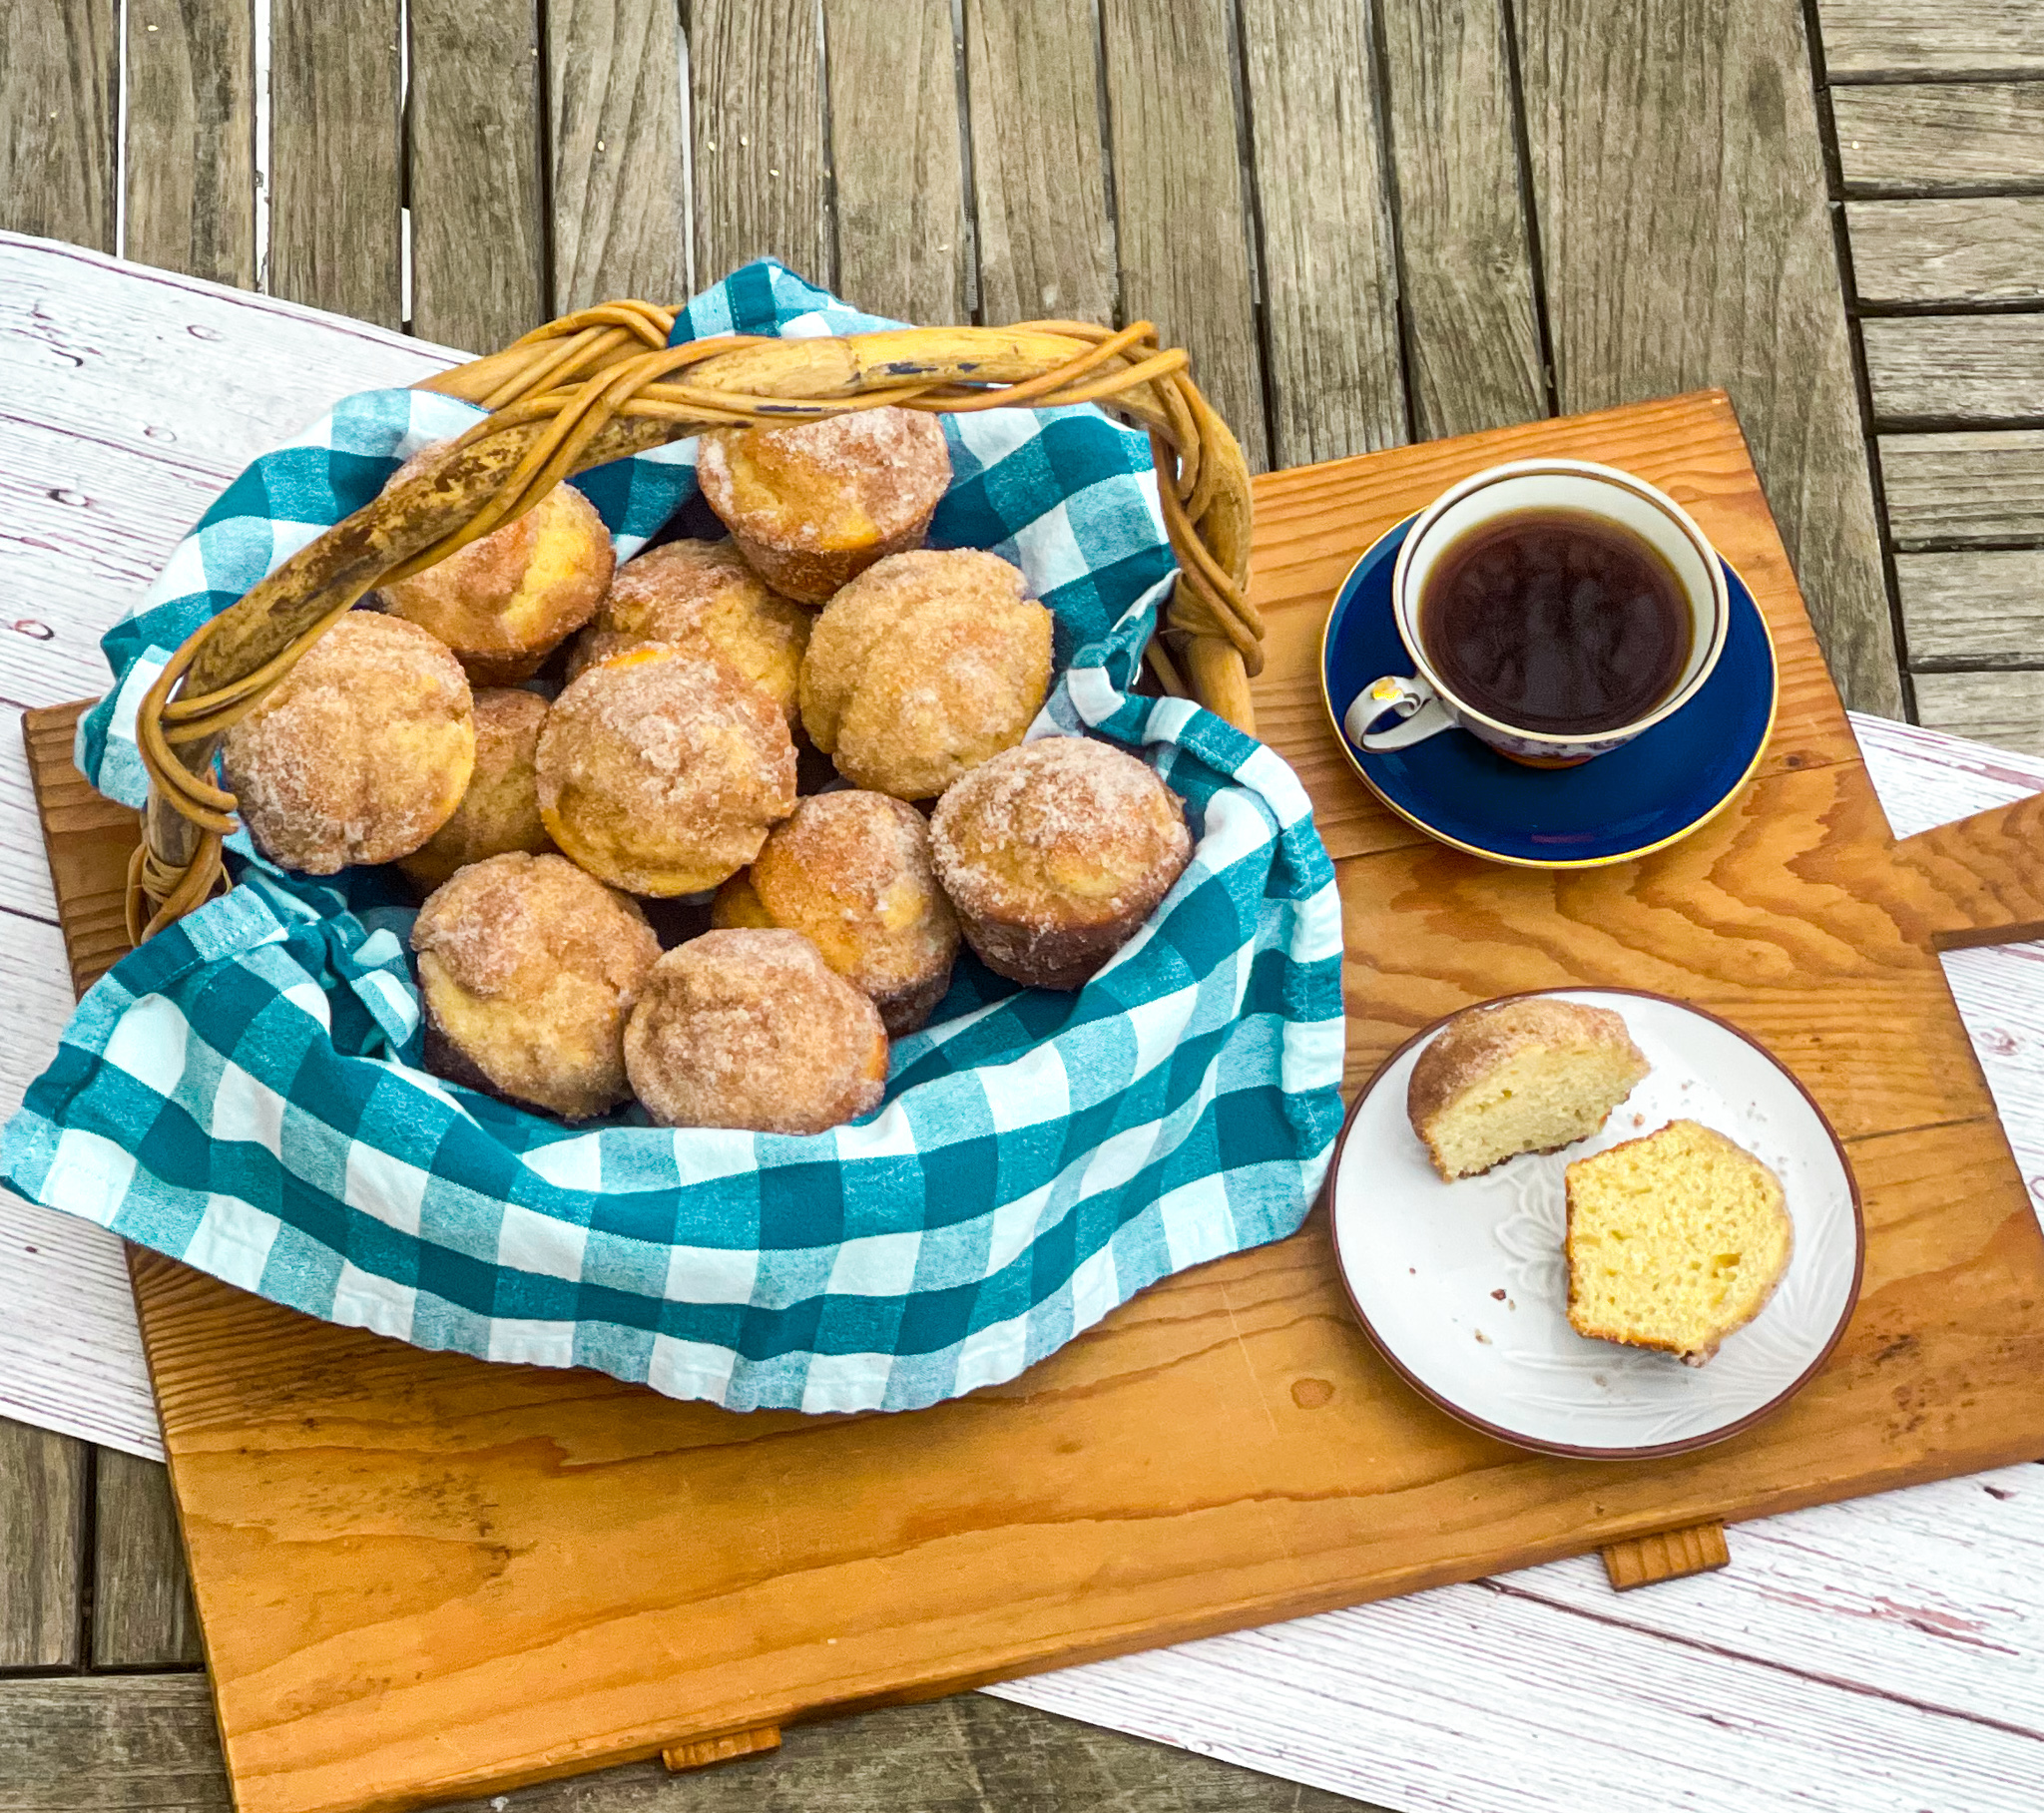
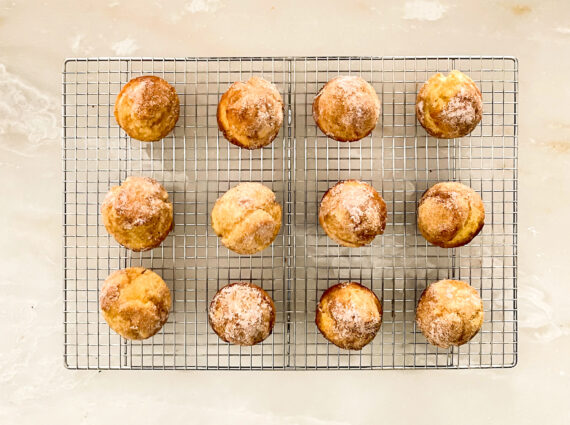
These Muffin Tin Doughnuts are amazing! As the author stated, “they set out to create a muffin that tasted like a doughnut in disguise with a tender crumb, a crisp exterior, and a buttery spiced coating.” And they did it! The buttermilk, butter and egg ensures a rich, yet delicate, cake-like doughnut. The nutmeg adds just the right amount of savory, giving it a little extra delicious flavor. The muffin is then baked at a high temperature to crisp it up and give the exterior a fried flavor. Each muffin is then brushed with butter and coated with a cinnamon sugar. How amazing does that sound? These are the perfect comfort food for breakfast, a snack, or dessert. Make these now: they are a “must try.”

This recipe is courtesy of Cook’s Country Kitchen and will make 12 doughnut muffins for people who will love this innovative twist on your classic muffin.

Ingredients for Muffin Tin Doughnuts:

2 3/4 cups (13 3/4 ounces) all-purpose flour
1 cup (7 ounces) sugar
1/4 cup cornstarch
1 tablespoon baking powder
1 teaspoon salt
1/2 teaspoon ground nutmeg
1 cup buttermilk
8 tablespoons unsalted butter, melted
2 large eggs plus 1 large yolk

For the Coating:

1 cup sugar
2 teaspoons ground cinnamon
8 tablespoons unsalted butter, melted

Adjust oven rack to middle position and heat oven to 400 degrees.

Spray 12-cup muffin tin with vegetable oil spray.

Whisk flour, sugar, cornstarch, baking powder, salt, and nutmeg together in bowl.

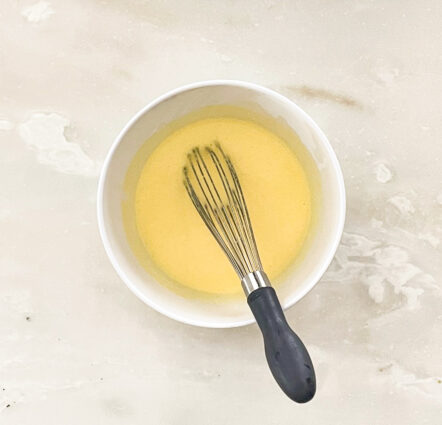
Whisk buttermilk, melted butter, and eggs and yolk together in separate bowl.

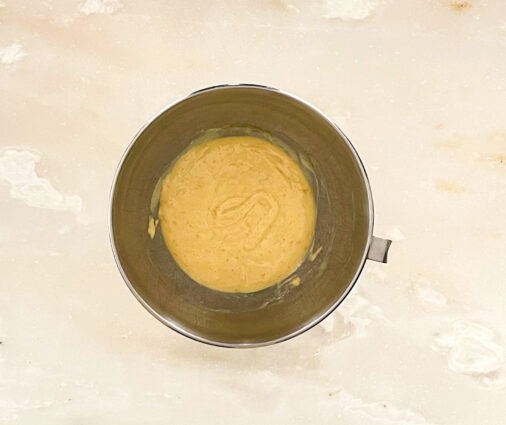
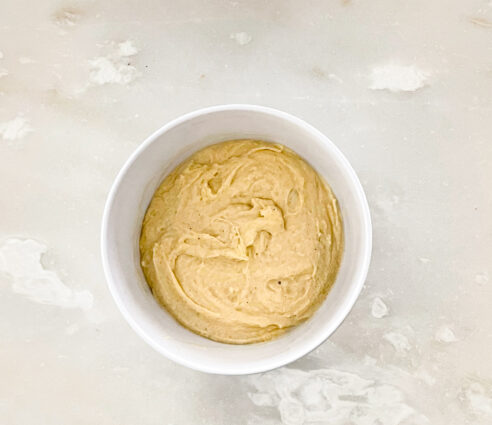
Add wet ingredients to dry ingredients and stir with rubber spatula until just combined.

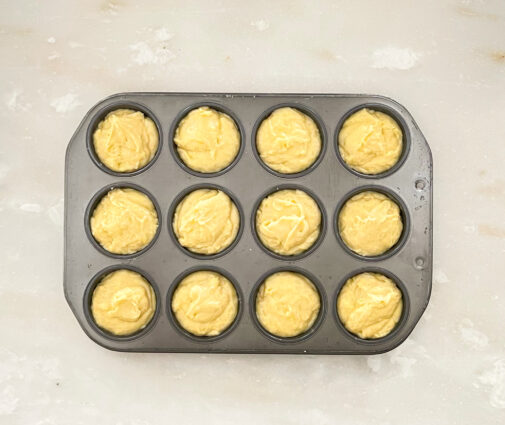
Scoop batter into prepared tin.

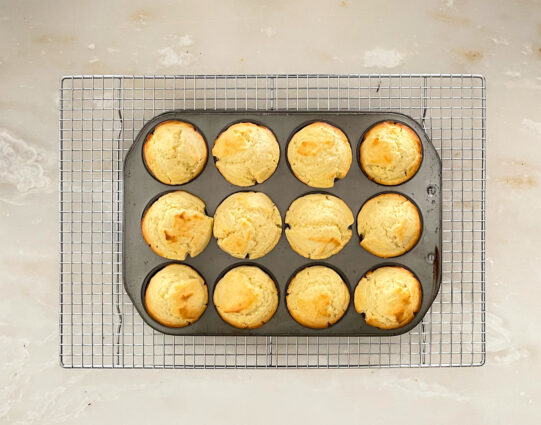
Bake until doughnuts are lightly browned and toothpick inserted in center comes out clean, 19 to 22 minutes.

Let doughnuts cool in tin for 5 minutes.

Whisk sugar and cinnamon together in bowl.

Remove doughnuts from tin.

Working with 1 doughnut at a time, brush all over with melted butter, then roll in cinnamon sugar, pressing lightly to adhere.

Transfer to wire rack and let cool for 15 minutes.

Serve.

It’s that simple!

signature

[recaptcha]