Finally, it seems like we are ready to get back together with family and friends. That, of course, means cooking. Some would argue that summertime is the worst for cooks–the sun stays out longer, giving us more time to get all our preparations done, but the heat and humidity make it difficult .

Between all the summer fun and the heat it can be difficult for us to get motivated to be in the kitchen. Even if you choose to make your meals on the grill with friends, it can still feel like a chore. We can of course order in take-out, but that tends to be pricey. As much as I love cooking, I find that I love staying cool even more, and that means leaving the oven off.

If you are looking to keep it chill while cooking during the warmer weather, here are a few tips that may help you:

Use your oven early in the morning, or in the evening. If you are baking or roasting, the temperature outside will be a little cooler, making it easier to withstand the heat. You will sweat a little less , and that makes for a better experience.

Forget the oven or grill. Time to take out your instant pot or use your toaster oven. Try using your toaster oven even more in the summertime since it can do pretty much everything a full-sized oven can do and won’t even raise the temperature of your kitchen. An instant pot or slow cooker can help make things like potluck-friendly pulled pork and juicy summer fruit sauce a reality without ever having to turn on the oven.

Try to make things in bulk. You might have to use the oven to make a meal, but at least you’ll only have to do it once.  You can even use the microwave to reheat most meals– just be sure to take the fork off the plate first!

Try no cook dinners. Meals like salads and cold soups (gazpacho) are easy to make even on the hottest days of the season.

Keep lots of cold snacks like veggies and fruits close at hand to help you keep cool. Chilled cucumber slices, chunks of watermelon, or a cold drink with plenty of ice will help you chill out when the temperature starts to rise.

Close the blinds and set some fans up in the kitchen. You’ll be surprised at how quickly you can drop the room temperature by 10 degrees or more by closing the window shades and draperies.

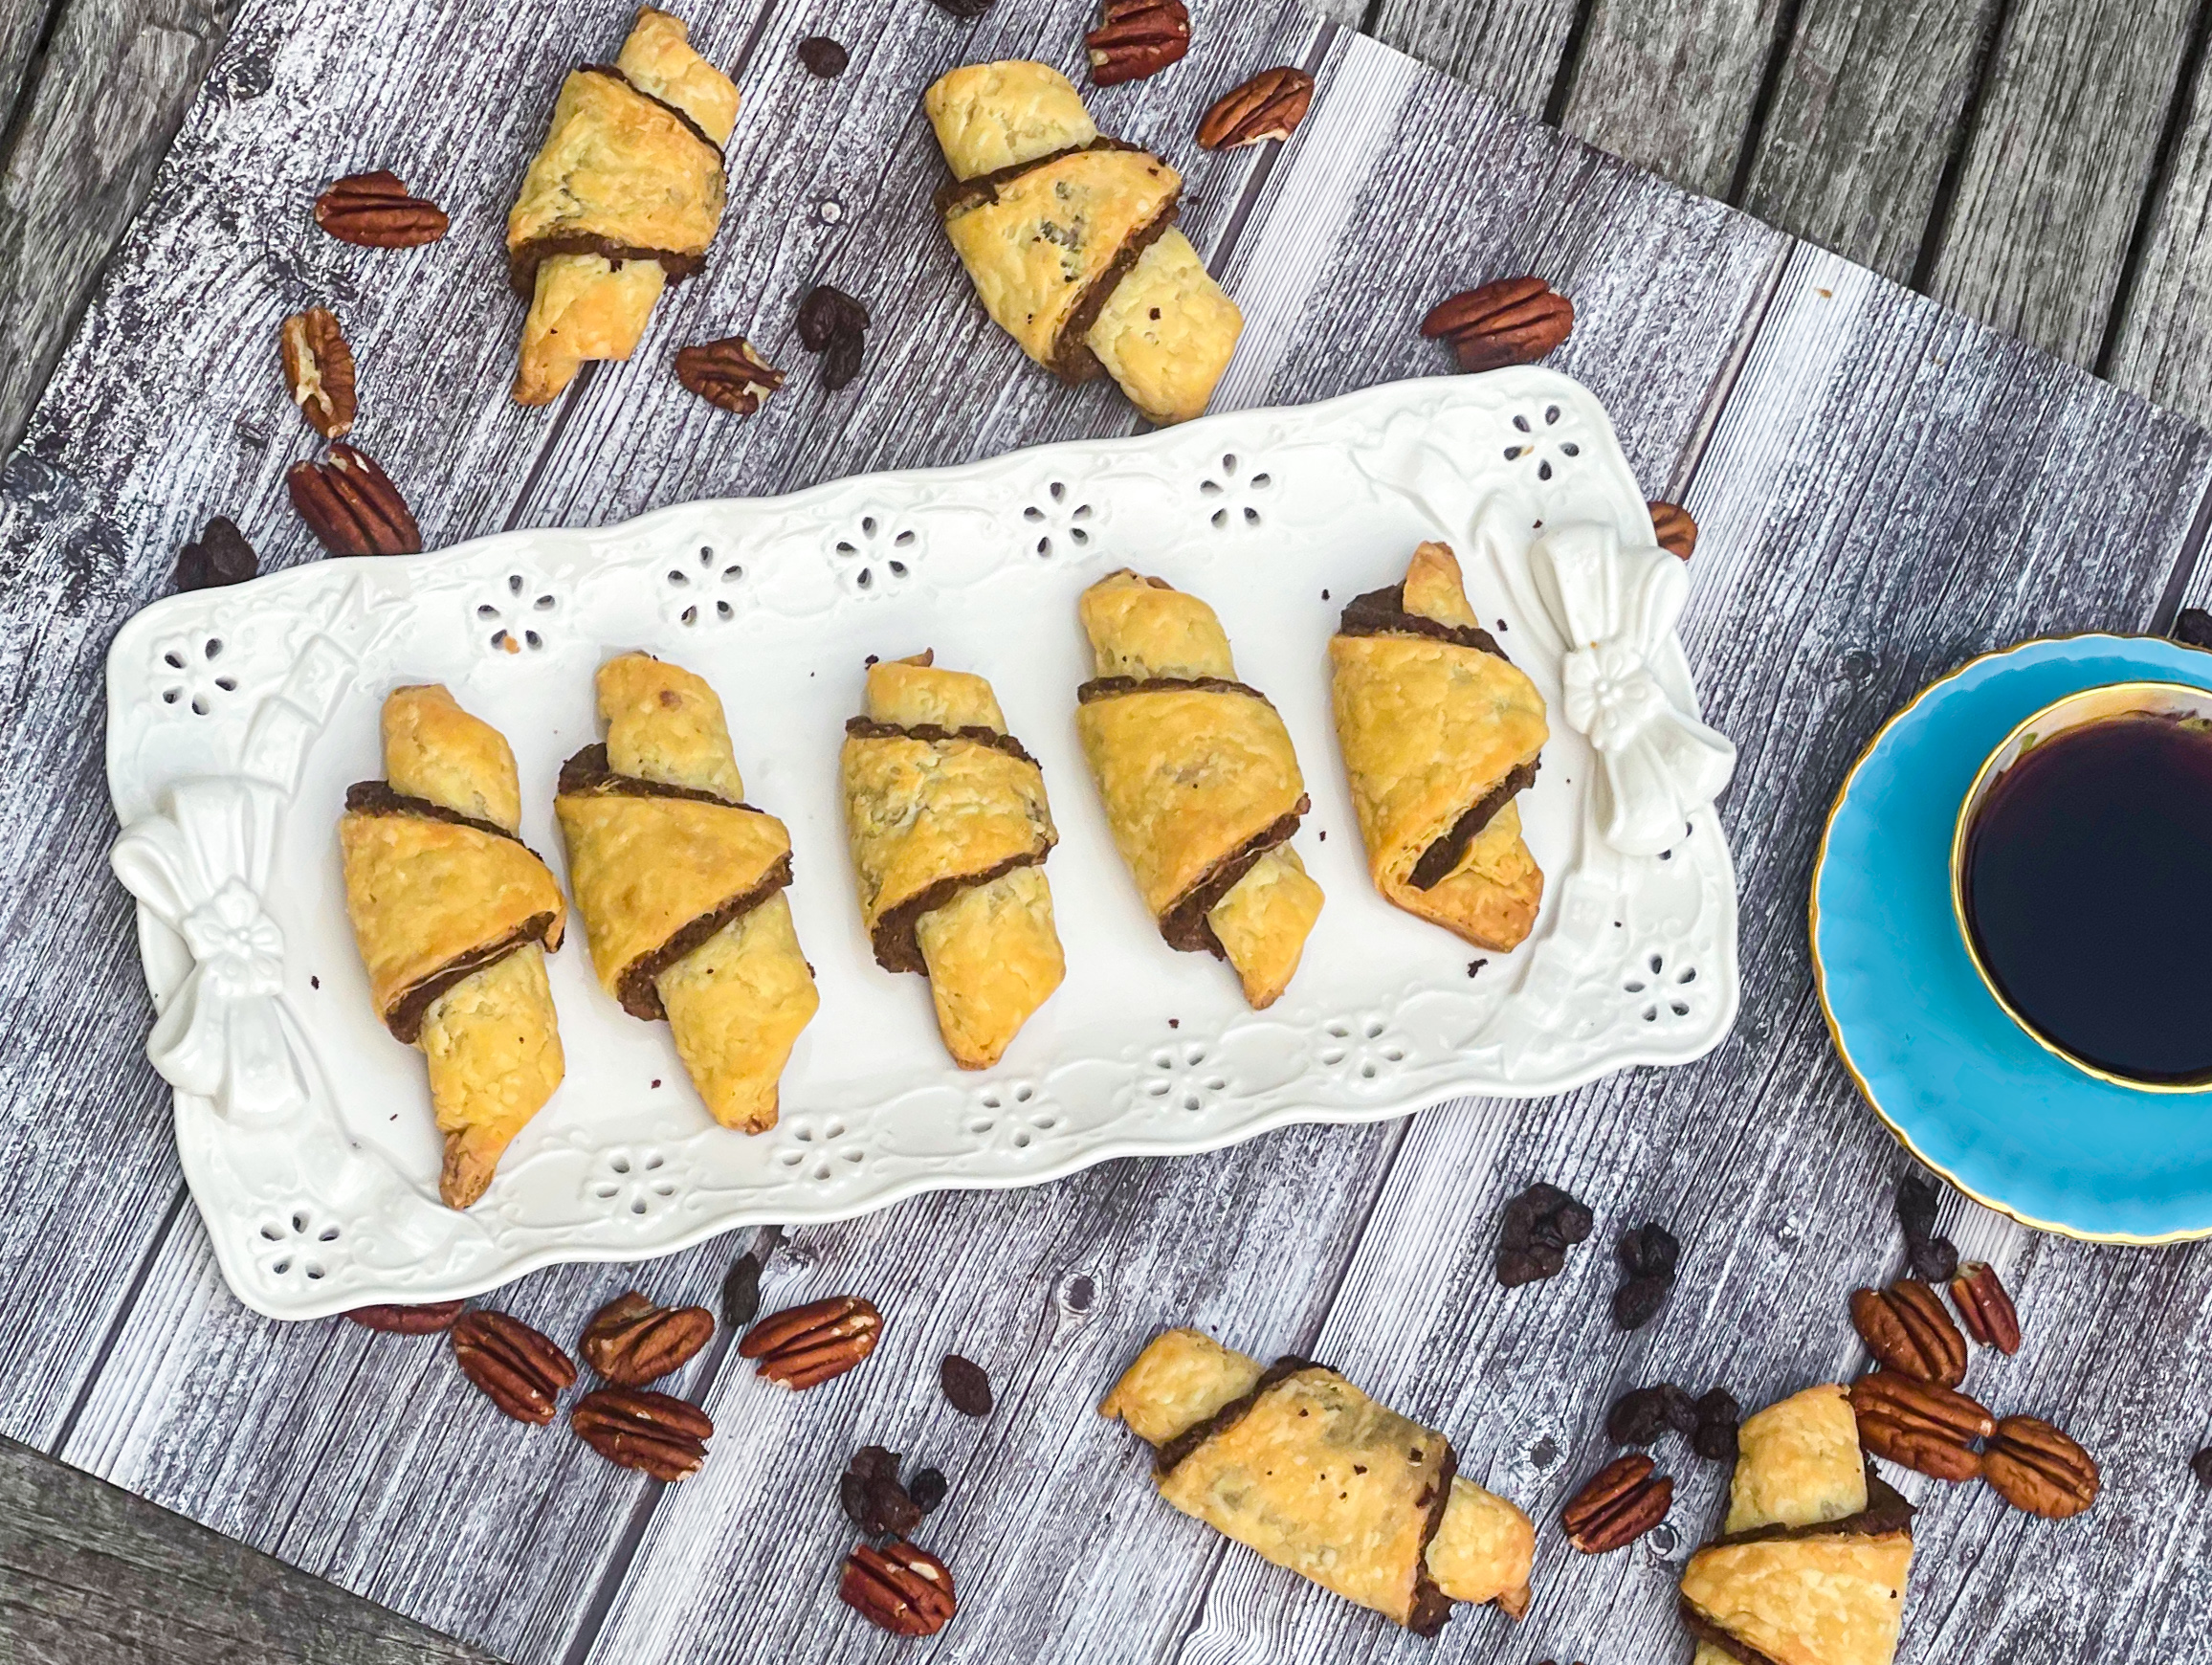
This dessert does need the oven, but the prep time is short enough that you can prepare the dough at night, then bake first thing in the morning. The cream cheese and sour cream makes the crust so moist and full of flavor. The sugar adds sweetness and the pecans give the small treats a nice texture and flavor. The savory here is the cinnamon which gives it a warm, spicy goodness.

This recipe is courtesy of Sally’s Baking Addiction and will make 24 rugelach for people who want a sweet treat on a hot day.

Ingredients for Rugelach:

For the Dough:

2 cups all-purpose flour, spooned and leveled
1/2 teaspoon salt
1 cup unsalted butter, cold and cubed (16 tablespoons)
3/4 cup (6 ounces) block cream cheese, cold and cubed
1/3 cup sour cream, cold

For the Filling:

1/2 cup packed light or dark brown sugar
1 cup chopped walnuts or pecans
1/2 cup raisins (or dried cranberries for some color!)
1 tablespoon ground cinnamon
Water for brushing dough
Optional for topping: confectioners’ sugar

Make the Dough:

Place the flour and salt in the bowl of a food processor. 

Pulse a couple times to blend.

Add the butter, cream cheese, and sour cream. 

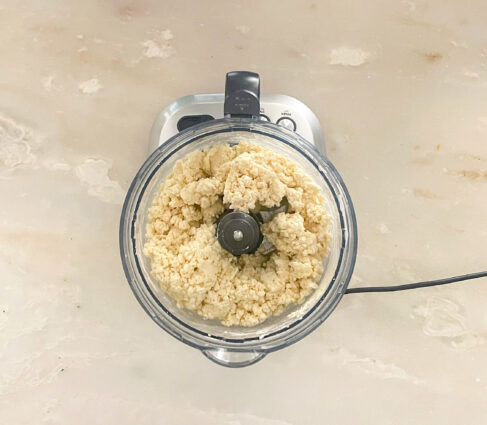
Pulse until crumbly; this will take 30 seconds or so. 

Pulse until there are pea-sized crumbs throughout. 
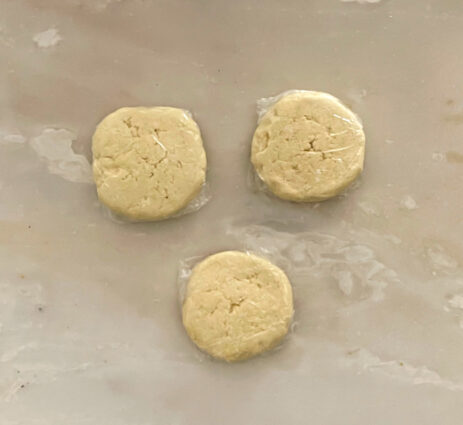
Divide the dough into three equal portions and gently flatten into a disc shape. Wrap in plastic wrap, then chill in the refrigerator for at least 2 hours or up to 1 day. 

Or freeze for up to 3 months and thaw overnight in the refrigerator before using.
Make the Filling:

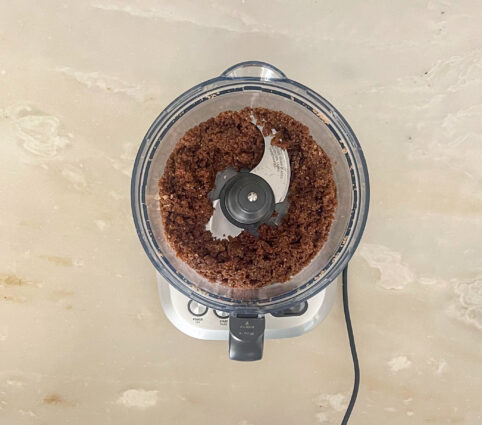
Pulse the brown sugar, walnuts, raisins, and cinnamon in the food processor until very finely chopped and well combined. 

The filling will feel a little moist. 

You’ll have a little over 2 cups total.
Line 3 large rimmed baking sheets with parchment paper or silicone baking mats.

Set aside.

Remove the dough from the refrigerator. 

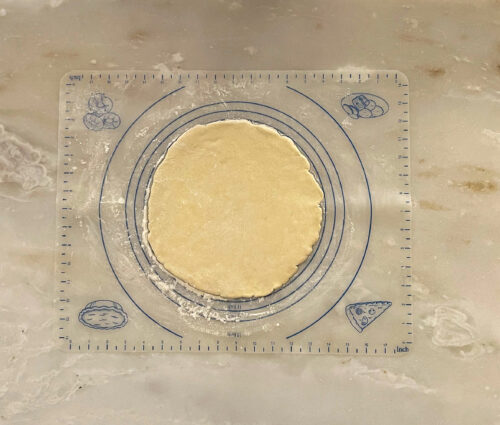
Working with one disc of dough at a time and on a lightly floured work surface, roll into a 10-inch circle (roughly 1/4 inch thick, give or take) and brush it lightly with water. 
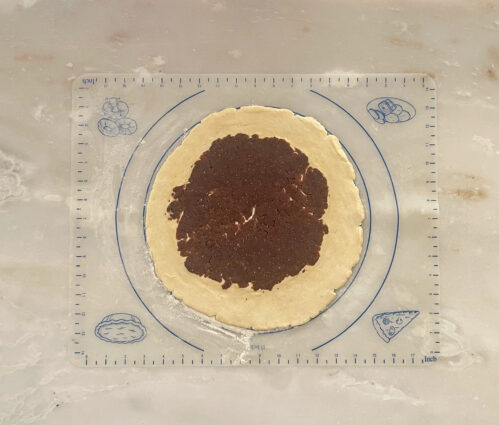
Spread about 1/3 of the filling on top.

Gently press the filling down into the dough so it’s compact. 
Using a pizza cutter or sharp knife, cut the dough into 8 equal wedges. 

If you’re cutting on a silicone mat, be careful not to cut the mat. 

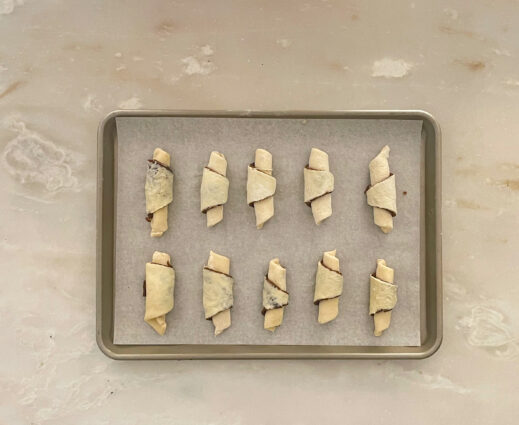
Roll each wedge up, beginning with the wide end and ending with the narrow end. 

Place the rolls point-side down onto the baking sheets, 8 on each. 
Repeat with the remaining two discs of dough.

Preheat the oven to 350°F.

Bake the rugelach for 25 – 30 minutes, or until golden brown. 

As the rugelach bake, the butter will lightly fry their bottoms, giving them a super crunchy crust. 

Remove from the oven and allow to cool for 10 minutes. 
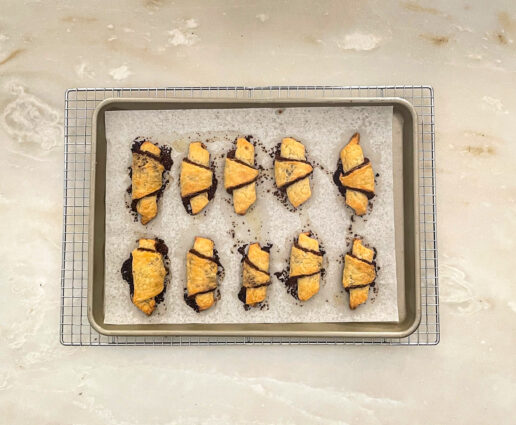
Dust with confectioners’ sugar and serve warm or at room temperature. 

Cover leftovers and store tightly at room temperature for up to 5 days.

It’s that simple!


signature

[recaptcha]


Now that summer is here, keeping organized might not be on your list of things to do– and that’s okay! The kids are out of school, so you might have unscheduled days, more spontaneity, and a more relaxed approach to daily life. We seem to have a collective sigh of relief when school lets out. At least for a while. I always thought of the Fall and Winter as a roller coaster. Then summer comes and you finally get off the roller coaster and slow down to really begin to enjoy the time you have.

For some reason, summer and keeping organized just do not seem to go together. Being organized and more strictly scheduled are not in our plans for the beautiful days ahead. But maybe, just maybe we can do both this year. Let’s explore some ways that organization and summer can be accomplished.

Prioritize. What are the most important goals you want to achieve? Is it making more time with your kids? Summer trips? Hanging out with friends and family? Maybe even getting some little projects done. Go for it! Make a small list for yourself and check off your tasks as you do them. You will feel a sense of accomplishment, and it’ll make you want to keep going.

Stay organized by keeping similar items together.  Use baskets or dedicated shelves if you have to. For example, create a space for the things you need to bring to the beach. Use a shelf to store towels where you can easily find them in a hurry. Keep a basket with items you need for the beach such as sunscreen, hats, bug spray, and magazines easily available and ready to go when you need them.

Do a few items on your list at a time. Focus a little bit each day on maintaining the state of the areas you worked on the previous day. When you can, make sure that you put the items you use back in the space you allowed. Put things away as soon as you are finished using them. Before you go to bed, take a turn to see if everything is in its place, and it will make the next day a little easier.

Create a calendar similar to the one you use in the winter to keep track of activities, camp, playdates, and trips. This way you can easily see what your days are going to be like and maybe try to set up some “me” time. A little downtime in your schedule can benefit everyone. Take a look at your list and see if you can cross off some things to create some breathing room. This will give you some well-earned time to relax, and it will be the most important part of your day. 

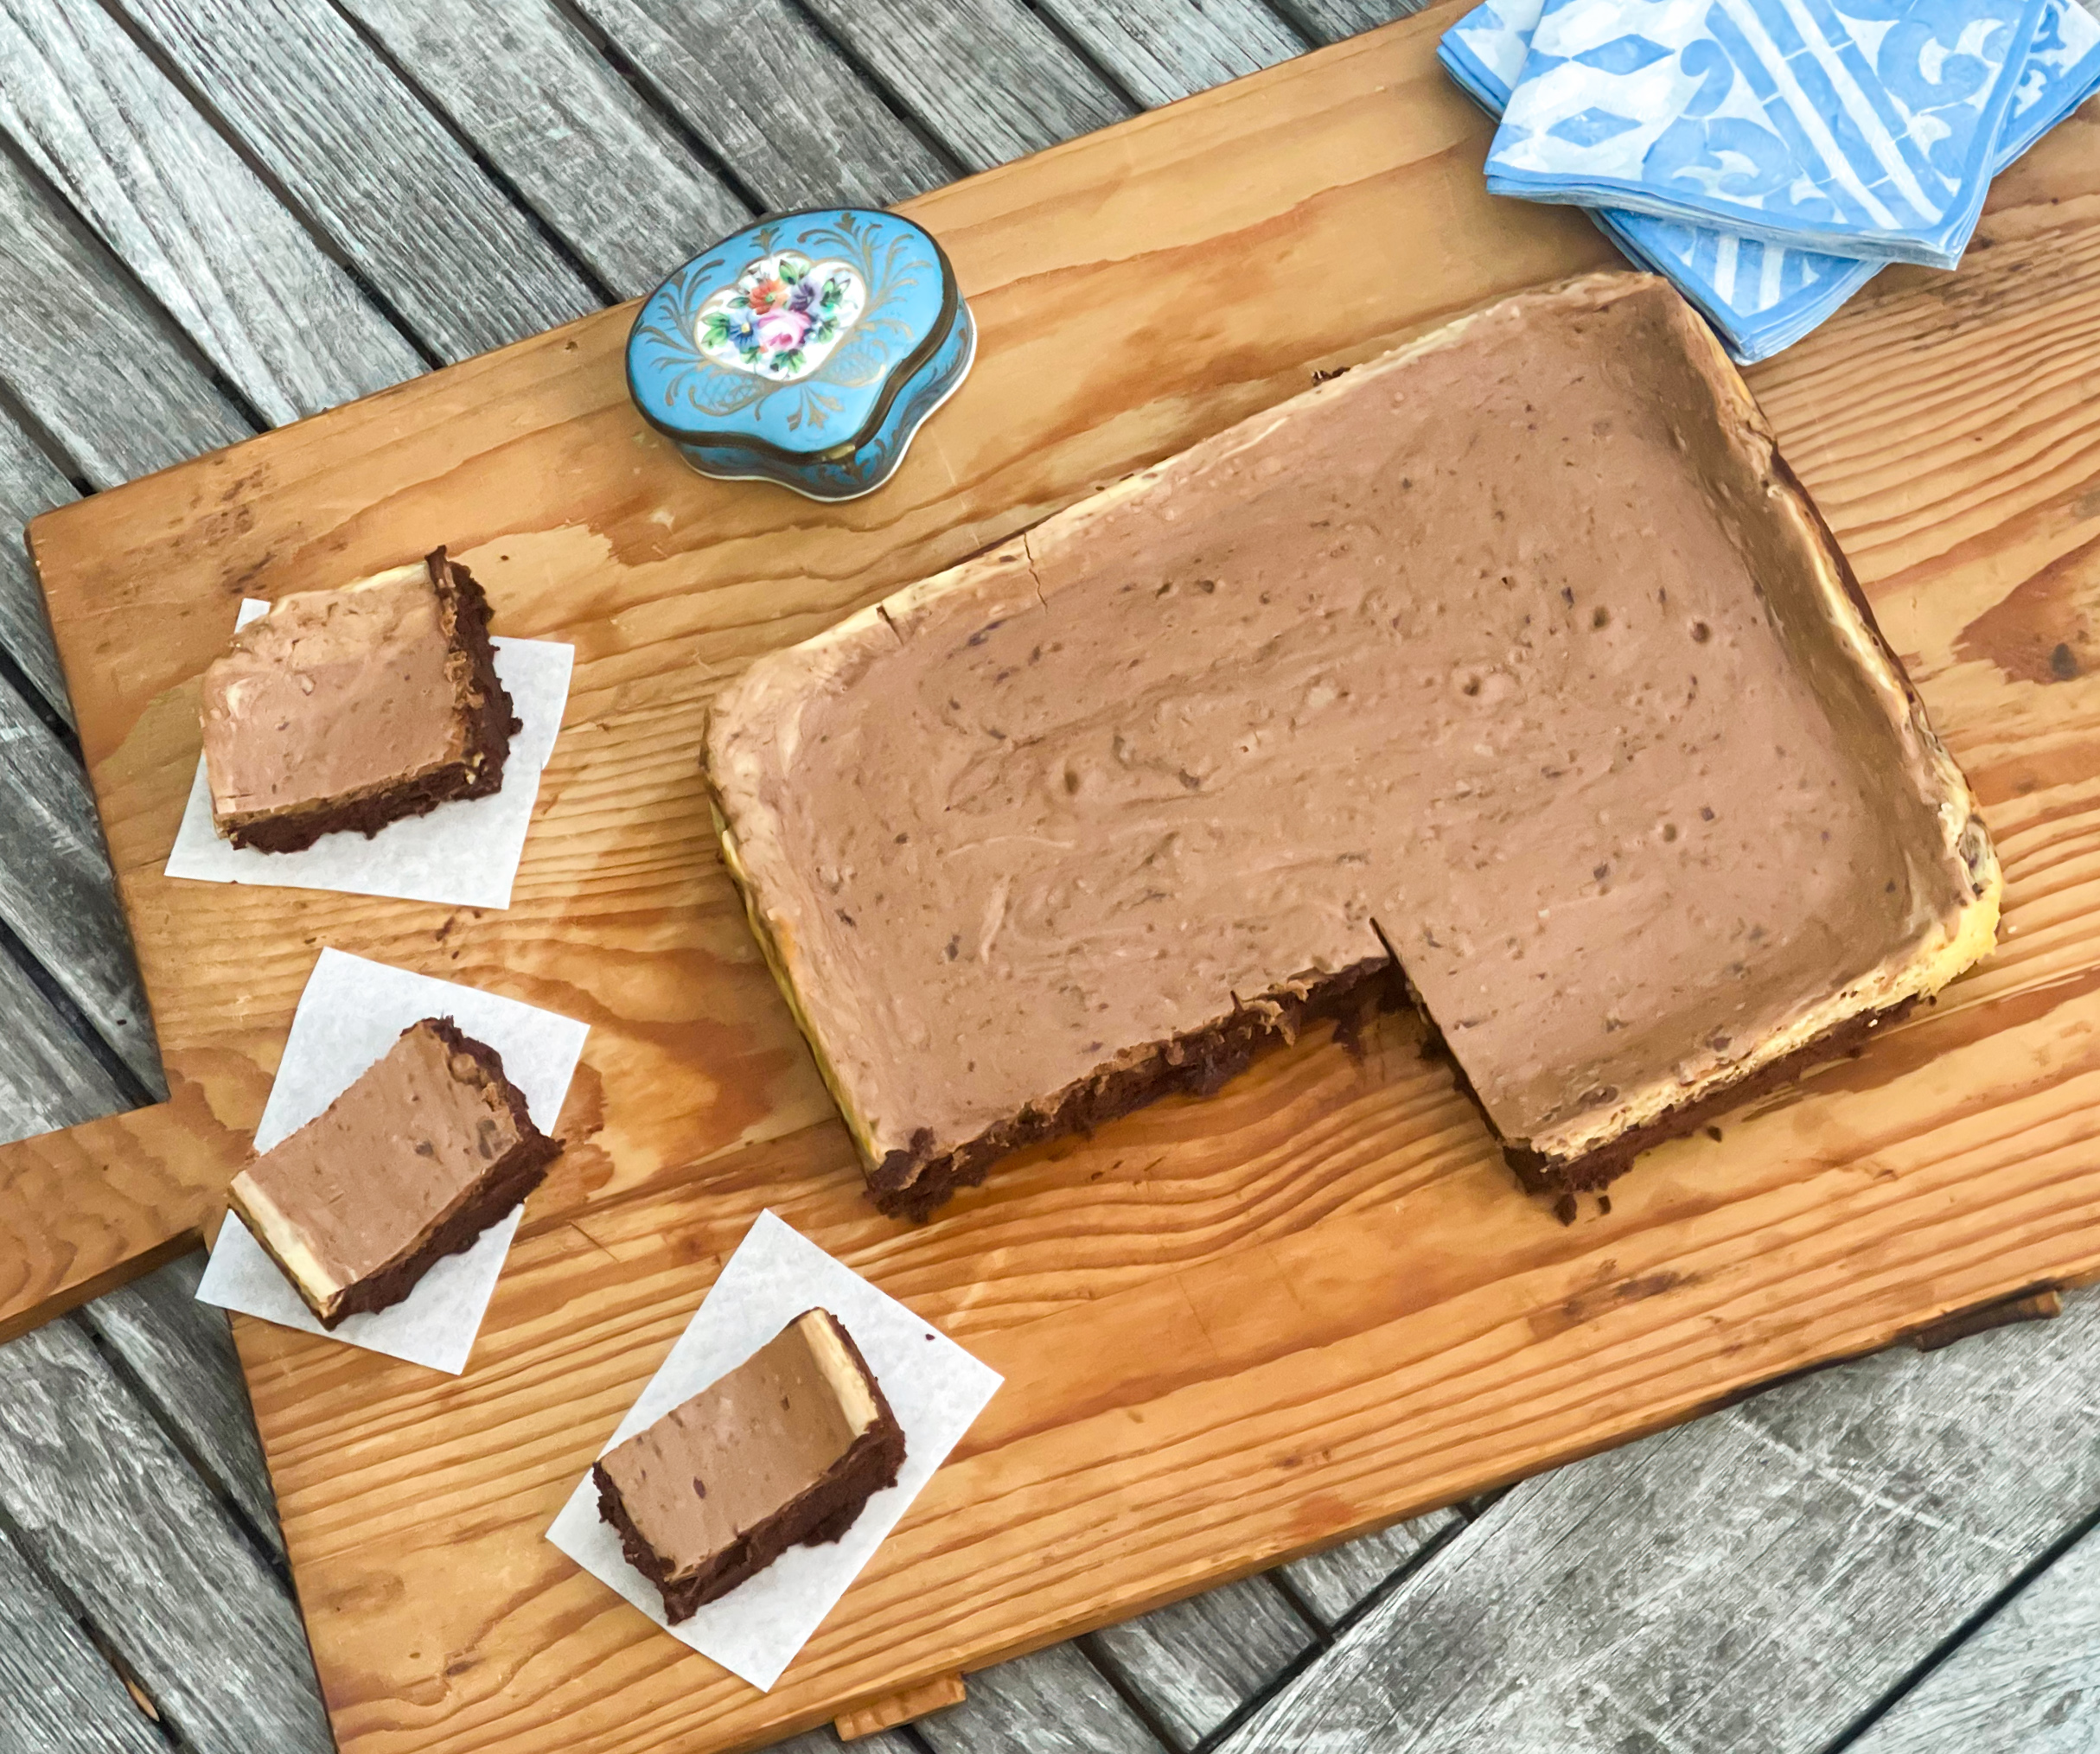
If you do find some free time, you may want to make these delicious brownies. They are so easy to make, and you probably already have all the ingredients in your pantry! The cream cheese ensures that these treats will be moist and delicious. The chocolate chips and cocoa powder adds chocolatey goodness to each bite. They have a creamy, buttery flavor that is enhanced by the sweetness of the two sugars and eggs. Perfect for a snack or to take to the beach or have as a delightful breakfast treat. Make these treats and your family will love you for it.

This recipe is courtesy of Southern Living and will make 10 to 12 brownies– so be sure to double it for all the folks who will want seconds.

Ingredients for Cream Cheese Brownies

1/2 cup unsalted butter
2 cups chocolate chips
3/4 cups brown sugar
 3/4 cup + 1/3 cup granulated sugar, divided
5 eggs, divided
2 1/2 teaspoons vanilla, divided
1/2 + 1/8 teaspoon kosher salt, divided
1/2 cup unsweetened cocoa powder
1/2 cup all-purpose flour
8 ounces cream cheese, room temperature

Preheat oven to 325°F.

Grease a metal 9- x 13-inch baking pan and set aside.

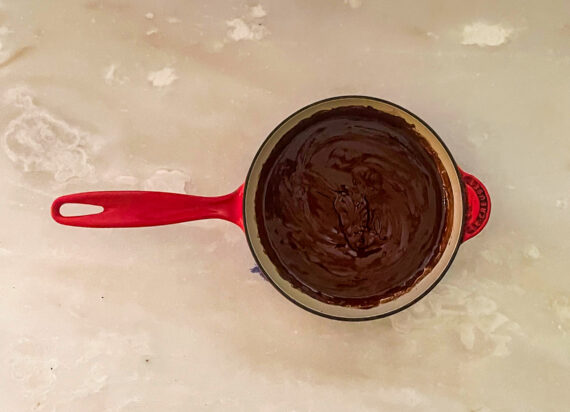
In a medium saucepan, melt butter until bubbling but not brown.

Turn off heat, add chocolate chips, and stir to coat.

Let sit for 5 minutes. Stir again until the chocolate is completely melted and combined with the butter.

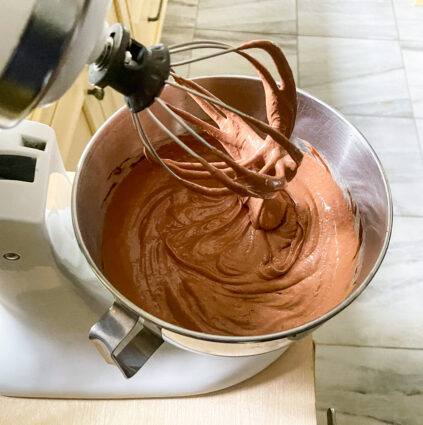
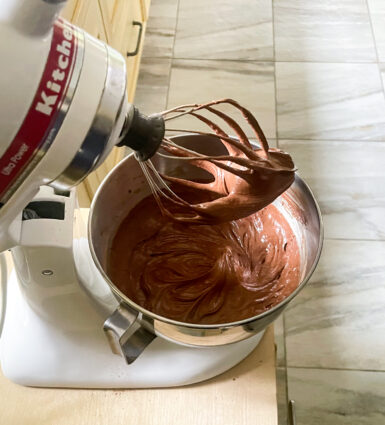
Transfer to a large mixing bowl and add, brown sugar, 3/4 cup granulated sugar, 4 eggs, and 2 tsp. vanilla.

Whisk until well combined.

Add 1/2 tsp. salt, cocoa powder, and flour and stir together until well combined.

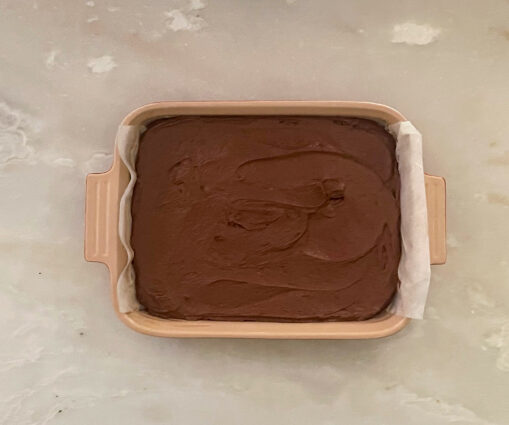
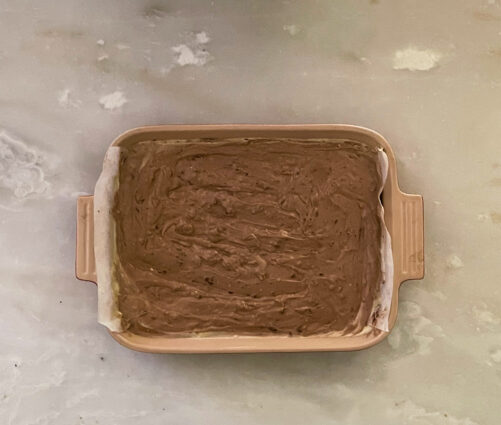
Pour into prepared baking pan.

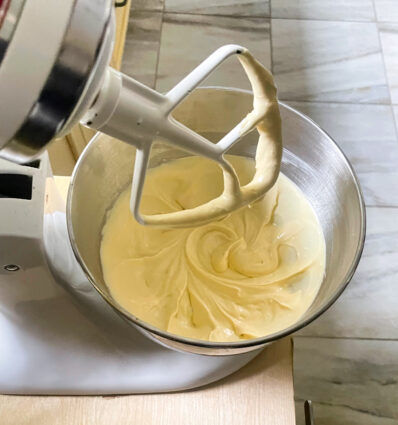
With a mixer, beat together cream cheese, 1/3 cup sugar, 1/2 tsp. vanilla, 1/8 tsp. salt, and 1 egg until well combined, about 3 minutes.

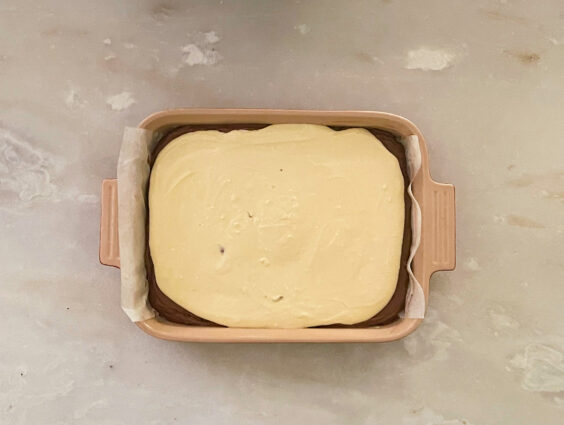
Spread over top of brownie batter. 

Using a knife, draw swirls across the surface of the cream cheese by running the tip of the knife about 1/2 inch deep into the brownie batter as you move it around.

(No swirls here, but just as good!)

Bake until set, about 30-35 minutes.

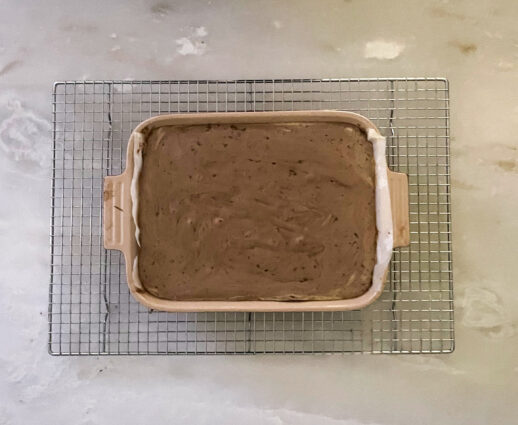
Allow to cool completely before cutting.

It’s that simple!

signature

[recaptcha]


There are so many people who find it very hard to sit down and do nothing. I know I am always ready to move on to the next thing on my to-do list. Most of us set out to achieve a particular set of tasks each day, or one big task (like cleaning out the attic or garage), but can be problematic if we let ourselves feel too much pressure to “be productive.”

When I get an idea in my head, I can’t get any rest until I do it. Years ago, people felt the need to focus on one task at a time, and didn’t burden themselves to fill a free day with so many things to accomplish. Nowadays, many us of have grown too expect so much of ourselves in too little time. It seems like the busier we are, the more we get used to doing, and we have gone from single-tasking to multitasking.

Most of us feel a real sense of accomplishment when we get things done. Crossing things off our to-do this releases dopamine, which regulates pleasure. According to Science News, “the release of dopamine also increases motivation to take on more.” This can create an endless cycle of productivity addiction. Personally, it feels good for a while, but I really need to learn how to turn it off, because it is not necessarily good for you in the long term, because burnout is absolutely real, and you will end up accomplishing nothing at all.

It is very important to find downtime in your day. According to Harvard Business Review, “creating the space for downtime increases productivity. Subject to heavy workloads and never-ending to-do lists, it’s easy to put our heads down and charge through tasks, thinking we have no time for days off, free evenings, or weeklong vacations. But driving too hard without breaks can make us less productive and less focused.” They found that downtime can dramatically improve mental and physical health, and our personal relationships too. For example, they found that employees who unplugged and took time off had reduced rates of serious health issues like coronary heart disease.

Here are some good ways to make time for yourself:

Take your dog for a long walk. You and your pet get some cardio which is good for all aspects of your health. Spending time alone with each other is vital to your dog’s mental health as well as your own.

Rethink your schedule. Make sure you schedule some downtime for yourself, as a reward for all you did that day. It will help you recharge and become more mindful. Decide when you’re going to unplug, and stick to it.

Put your phone on silent for a while. Easier said than done!  Perhaps consider making a “phone time-out” for your family too.

Find a hobby you enjoy doing and make time for it. I have been needlepointing since I was a teenager. It is therapeutic for me in so many ways. It allows me to turn my mind off, relax, and just enjoy the moment. Though I hadn’t made time for it in the past, I picked it up again this year, and I realized how much I missed it. Now I make time each day to do some needlepoint, and I’ve been enjoying seeing my progress.

Meditation can help as well.  If you do not meditate, perhaps you can find another way to rest and reset your mind and body. There are some great apps that make it easy to practice, so you don’t have to get started alone.

It may be hard for many of us to carve out some downtime in this 24/7 world. I think the pandemic has proven to all of us that we can allow ourselves some “me” time without the guilt, and still complete our daily tasks. In this current world, we need to be more vigilant than ever about cultivating the discipline to take downtime when the moment calls for it.

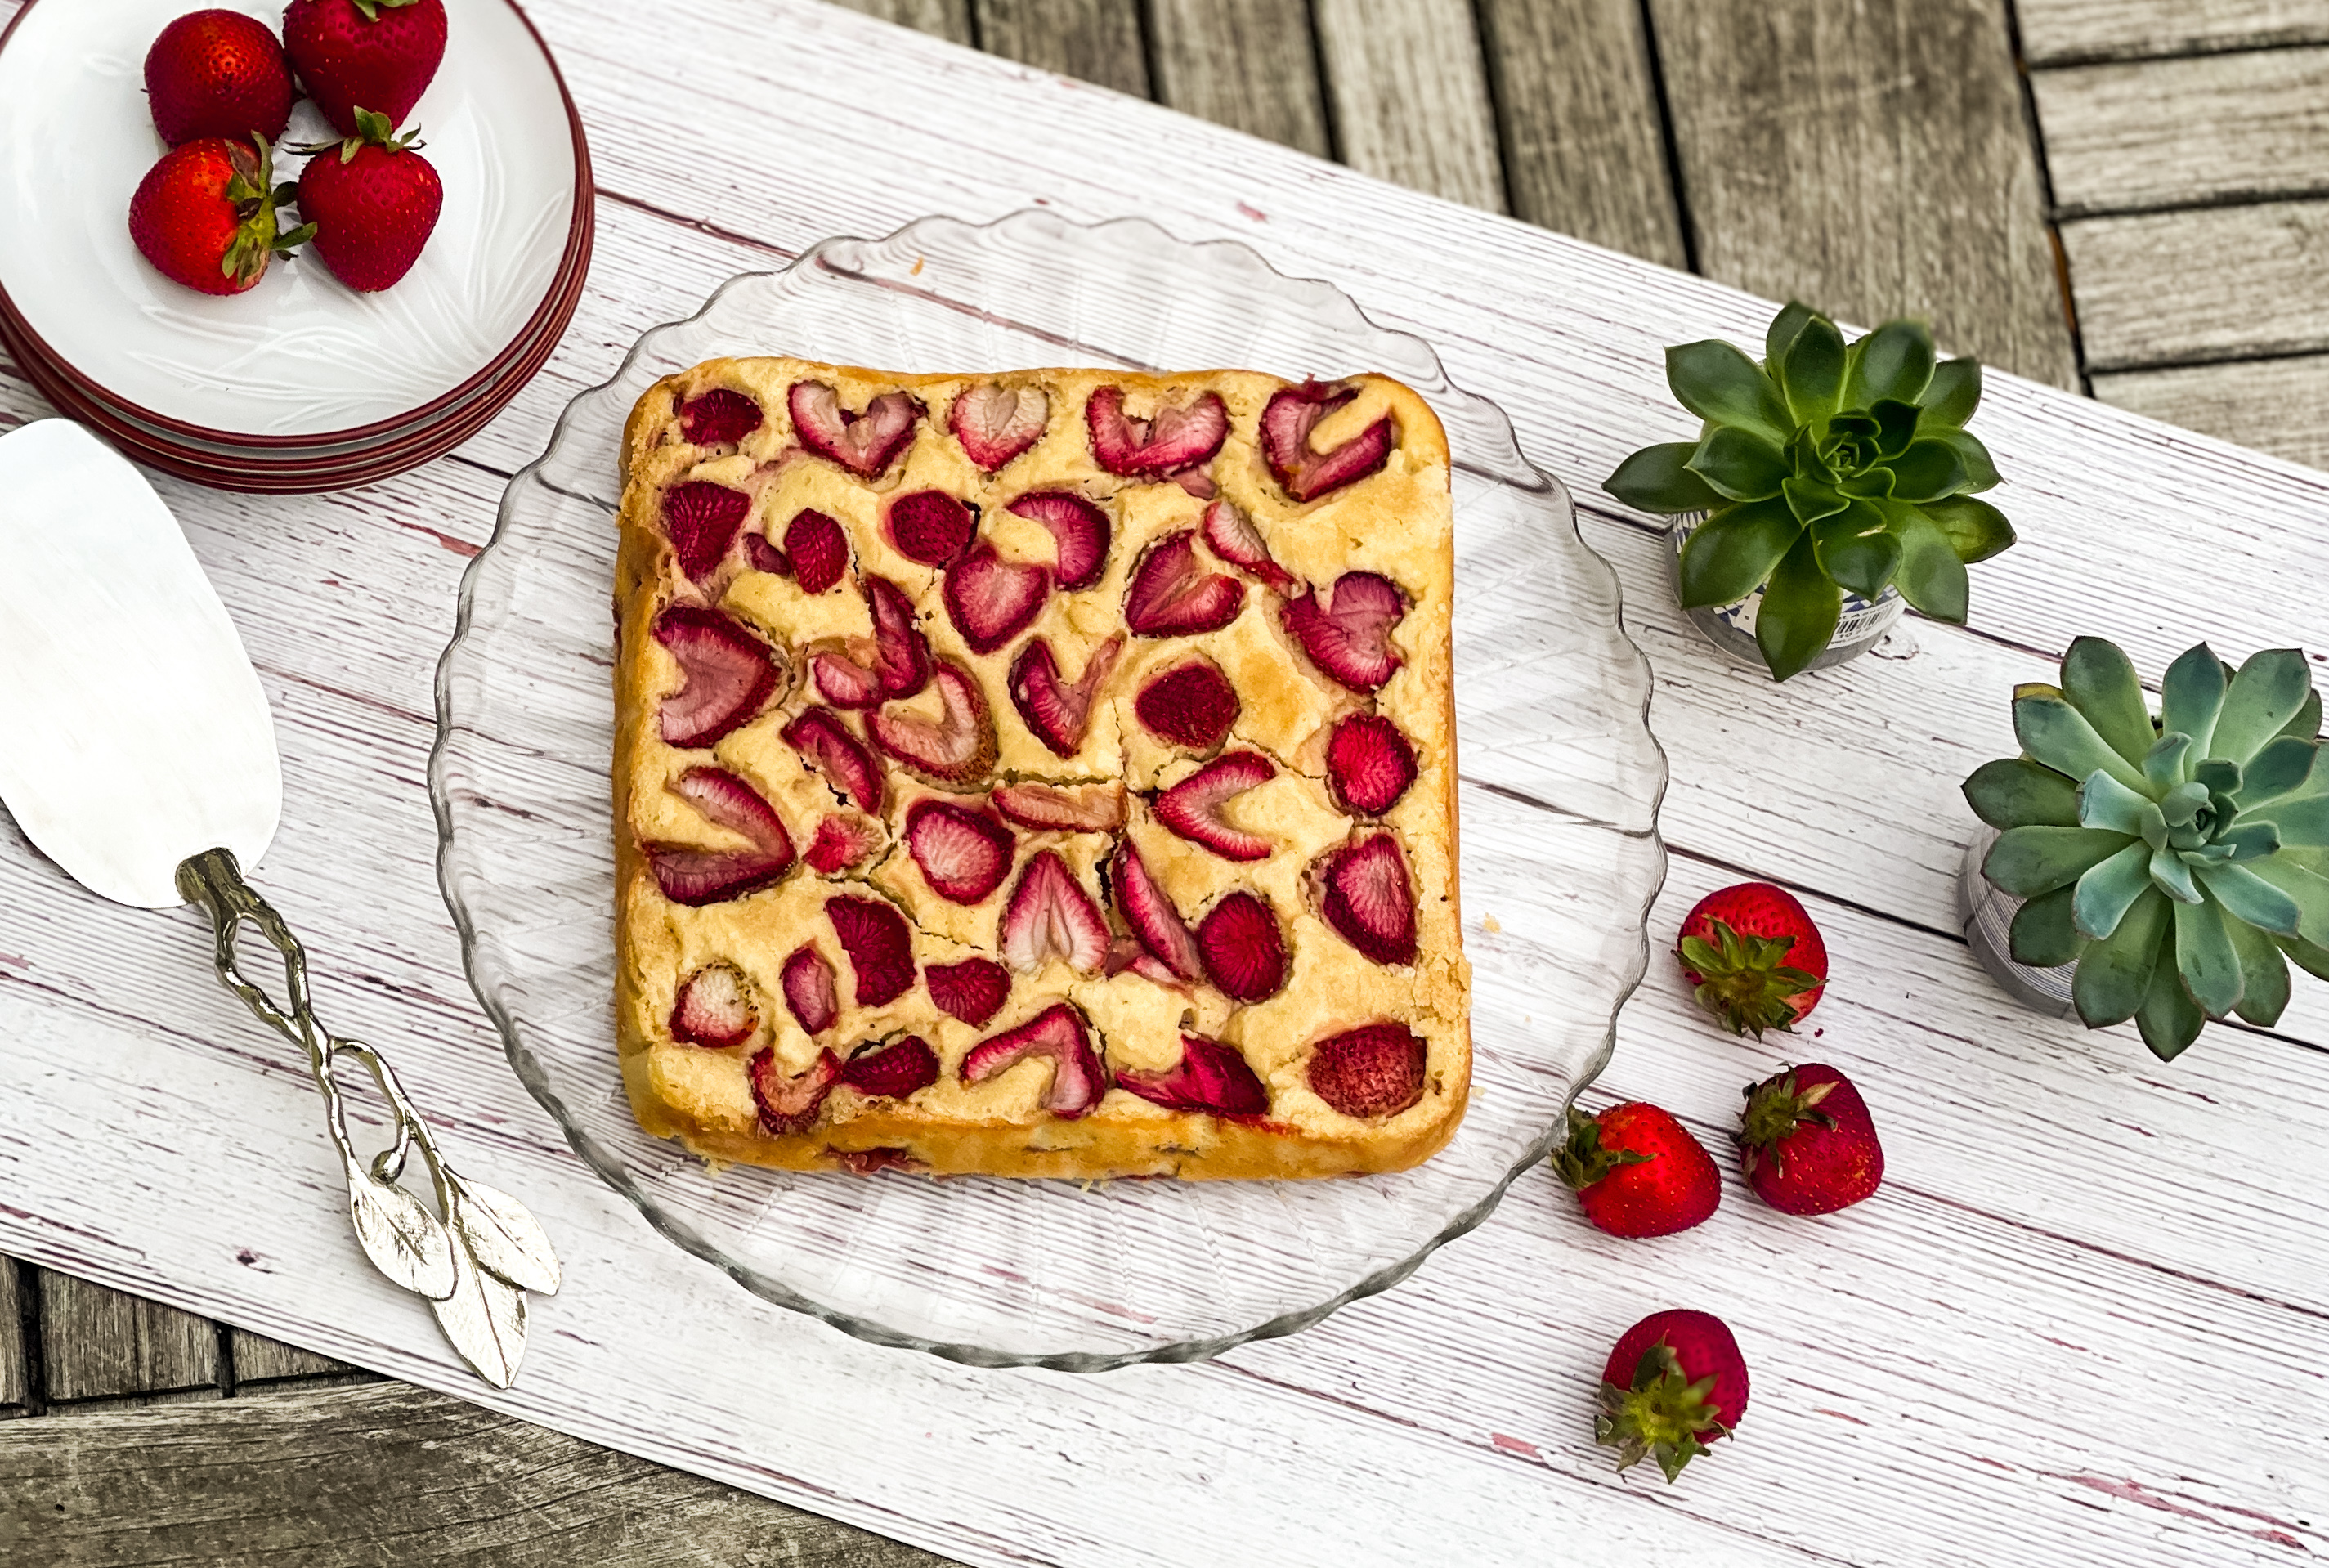
Onto the recipe. Another great dessert that is easy to make, but will taste like you have been cooking all day– you can use that extra time doing whatever makes you happy! As Allison Roman says, “if strawberry doughnuts are your thing, then this cake is absolutely your thing.” A classic, old-fashioned buttermilk cake with bits of berries strewn throughout, this cake manages to taste just like your favorite fried treat (without the frying!). The sweet strawberries are the perfect filling for this delicate cake, which gets its moistness from the buttermilk and eggs. It bakes up into a beautiful cake that resembles a sweet doughnut with bits of delightful strawberry in every bite.  

This recipe is courtesy of Allison Roman and will serve 8 to 10 people who can treat themselves to a delicious slice of cake.

Ingredients for Old-Fashioned Strawberry Cake:

½ cup unsalted butter (1 stick), softened, plus more for pan
2 cups all-purpose flour
2 teaspoons baking powder
3/4 teaspoon kosher salt
⅓ cup granulated sugar
1/3 cup light brown sugar
1 teaspoon vanilla extract
2 large eggs
¾ cups buttermilk
10 ounces strawberries, hulled and sliced 1/4-inch thick
3 tablespoons demerara sugar, for sprinkling (you can use granulated sugar in a pinch)

Heat oven to 350 degrees.

Smear or brush a bit of butter onto the bottom of a 9-inch cake pan and line with parchment paper (either cut to fit the bottom, or leaving some hanging over the edges for easy removal).

Whisk flour, baking powder and salt together in a medium bowl.

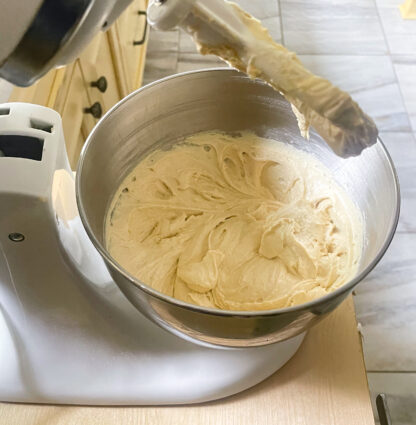
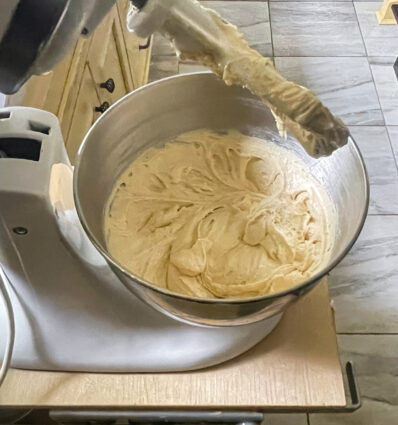
In a stand mixer (or using an electric hand mixer and a large bowl), beat butter, granulated sugar, brown sugar and vanilla together on medium-high, periodically scraping down the sides of the bowl to make sure everything incorporates, until the mixture is pale, light, fluffy and creamy, about 5 minutes.

Add eggs, one at a time, beating to blend between additions. (This is a good time to scrape down the sides again.)

Reduce the mixer speed to low and carefully add half the flour mixture, followed by half the buttermilk.

Repeat with remaining flour mixture and buttermilk, beating just until no large lumps remain.

Using a spatula, gently fold in half the strawberries and transfer the batter to the prepared cake pan.

Scatter with remaining strawberries and sprinkle with demerara sugar. 

Bake until cake is puffed, deeply golden brown on the top and pulling away at the sides, 45 to 50 minutes. (It should spring back slightly when pressed in the center and appear fully baked where the strawberries meet the cake.)

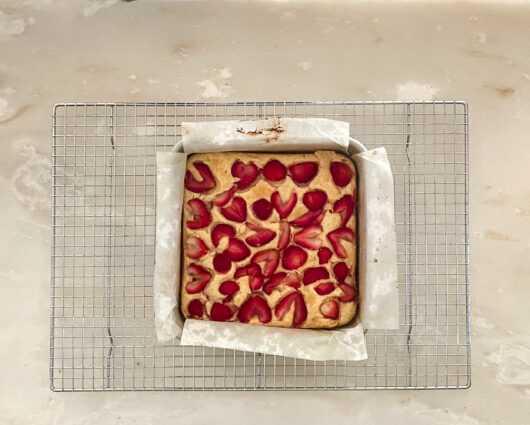
Let cake cool completely before removing it from the pan (either by inverting or lifting with the parchment lining).

The cake can be baked up to three days ahead and stored tightly wrapped at room temperature, or refrigerated.

It’s that simple!


signature

[recaptcha]


Like most people, my husband and I have not traveled far from our home in over a year. My husband’s birthday and mine are  just1 month apart, and we are the same age. Two years ago, we struggled for what to do for our big birthday year (I won’t tell you which one). We finally agreed  that we should travel to Israel– neither of us have been there, and we’ve heard wonderful things.

After we decided to make the long trip, we hosted a small party with relatives and good friends. I did not want a party, but my husband insisted and I’m glad he did.  We had a beautiful celebration with our closest friends and family, and despite all my complaining, the party was a great success. Everything went smoothly and I ended up delighted that we (well, mostly it was my doing the work) pulled it off. 

Then COVID, happened and our trip to Israel got cancelled. As you know, travel is on hold for the time being and I’m so sad. Oh how I do miss traveling! Going to other places helps to expand your mind and experience a little bit of the lives of others around the globe. Whenever we get to a different country, I always ask the driver to take us somewhere authentic for lunch or dinner; someplace that he would go with his family. Visit enough of these authentic little restaurants and you start to realize the true diversity of ways of life and understand that your lifestyle isn’t the only way to live.

While we’re grateful for our virtual ability to see the rest of the world right now, we’re definitely dreaming of hitting the road again as soon as it’s safe to do so. One of the best things about traveling is unashamedly eating anything and everything you can’t get back home. Food is a great way of understanding and connecting with other cultures, as are local art and music.  

As you meet different people, have new experiences, and visit foreign places, the reality of these things shatter any preconceived ideas you might have had before. You’ll see people as people just like you and yet so different, but based on geography, they live differently.  Take care to indulge your curiosity, and you’ll discover that there’s more to famous cities than their well-known sights. The challenges of a foreign language, the kindness of strangers, and the beauty and diversity of the natural world will only make you more open to and accepting of different ways of thinking and being.

Most important are the memories made while traveling. I think back to the train rides I took throughout Europe, sampling the food and cultures along the way. Your travel experiences will always be with you, and when you need a pick-me-up, they can be a valuable resource for reminding yourself how good life can be.

Luckily, we have some destination weddings that we have been invited to, and I look forward to going. While I am a little anxious, I know it is time to get back out there, and now we have something in our future that will be fun and a learning experience at the same time.  

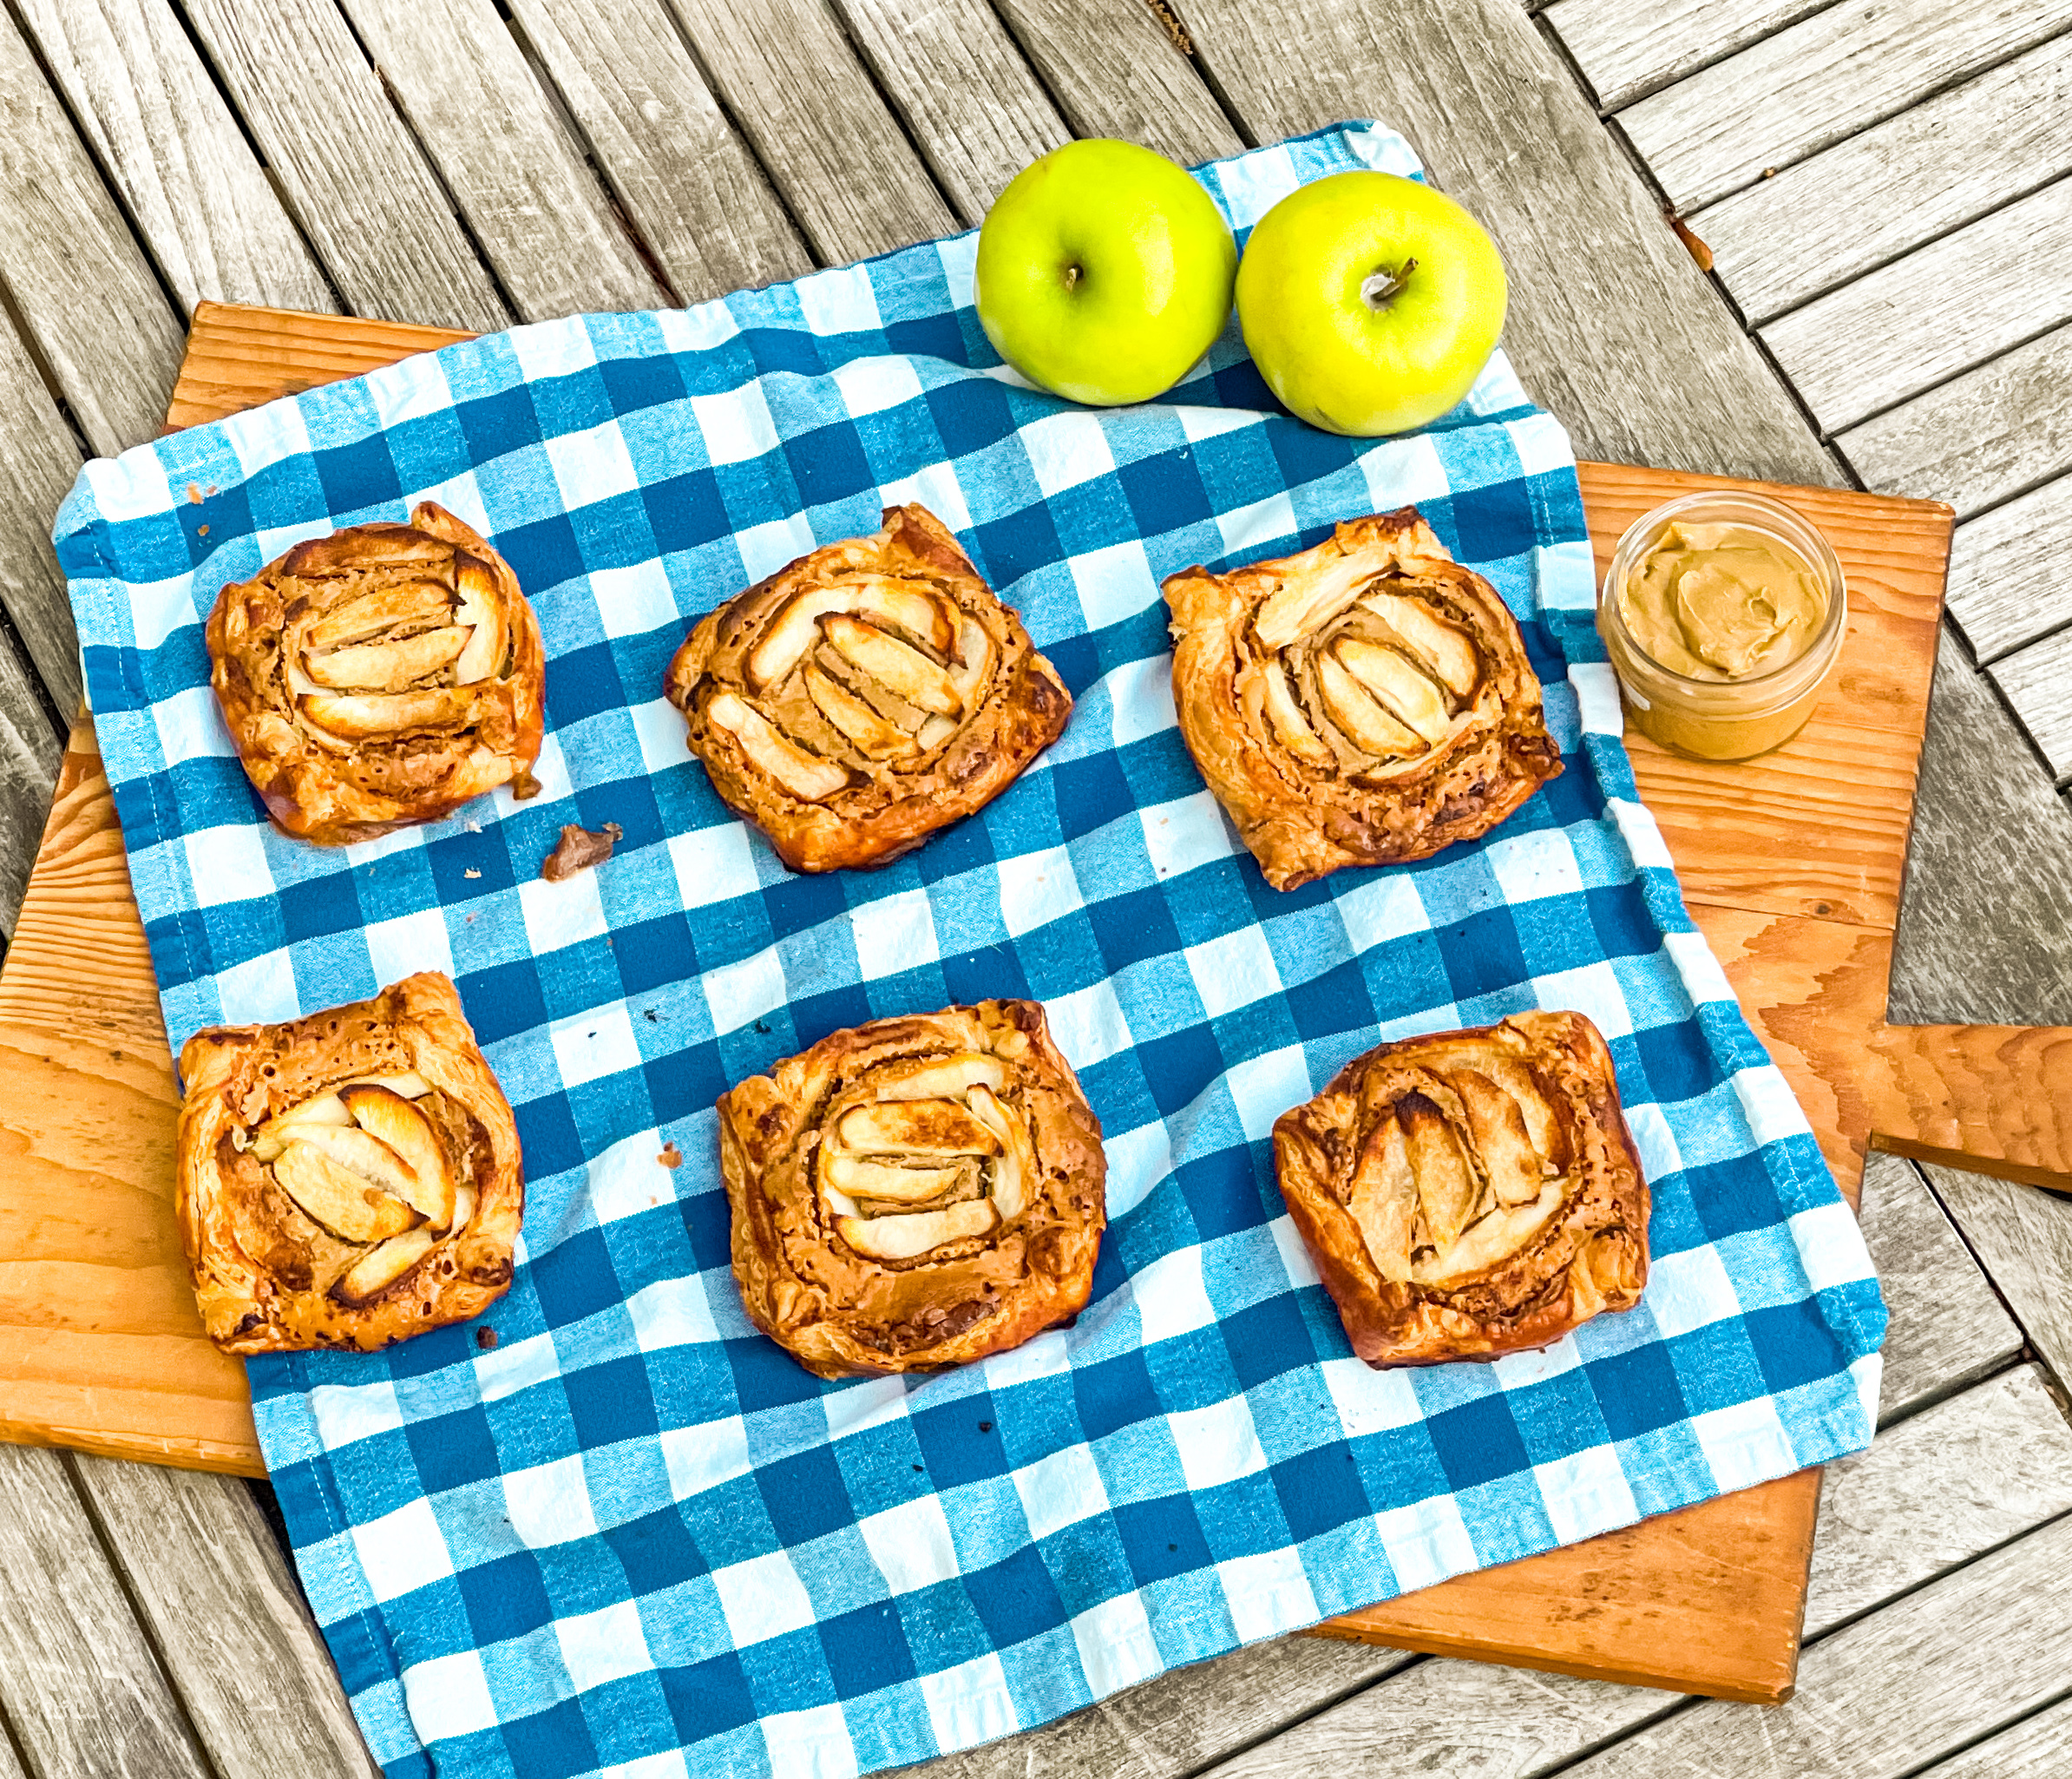
In the meantime, this is one treat that I know you all will want to make, especially since these can be made ahead of time. I have been on a peanut butter craze, so this is one perfect treat I just had to make. The two different nut butters ensure that these treats are moist and full of nutty goodness. It is housed in a puff pastry (no having to make your own dough!) that is brushed with egg wash that makes these tarts a beautiful golden brown– perfect for a photo op!

This recipe is courtesy of Epicurious and will make 8 gorgeous little tarts.

Ingredients for Apple and Nut Butter Pastry Tarts:

1 sheet frozen puff pasty, thawed
All-purpose flour (for surface)
4 tablespoons peanut or other nut butter
4 tablespoons apple butter
1 pound firm baking apples (about 2 large), peeled, cored, sliced into 1/2-inch wedges
1/4 cup chopped salted, roasted peanuts or other nut
2 tablespoons unsalted butter, cut into pieces
Sugar (for sprinkling)
1 large egg

Preheat oven to 425°F.

Roll out puff pastry on a lightly floured surface into a long rectangle.

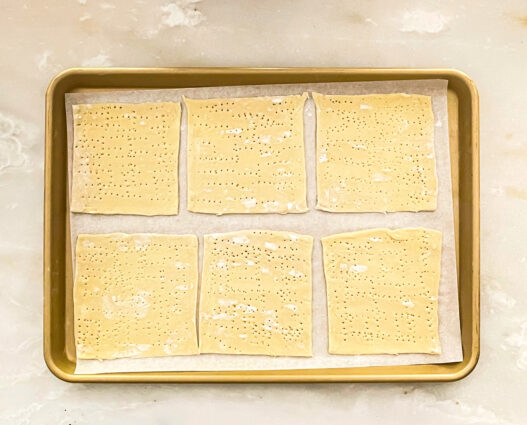
Cut in half crosswise (halves should be almost square). Transfer to a parchment-lined rimmed baking sheet; prick with a fork in several places.

Using a small offset spatula, spread 2 Tbsp peanut butter in the center of each half to make a 5″ round, then spread 2 Tbsp apple butter over top of each nut-butter round.
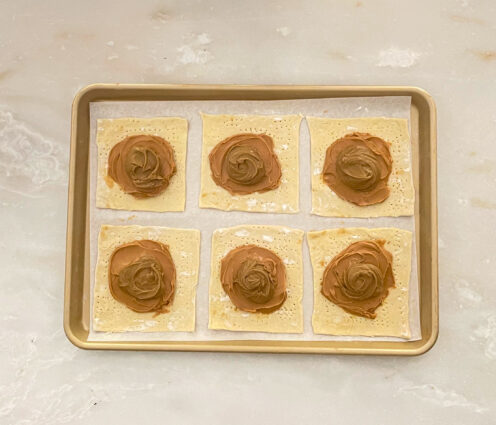
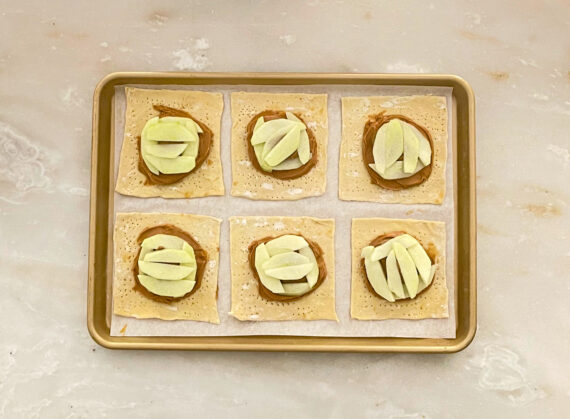
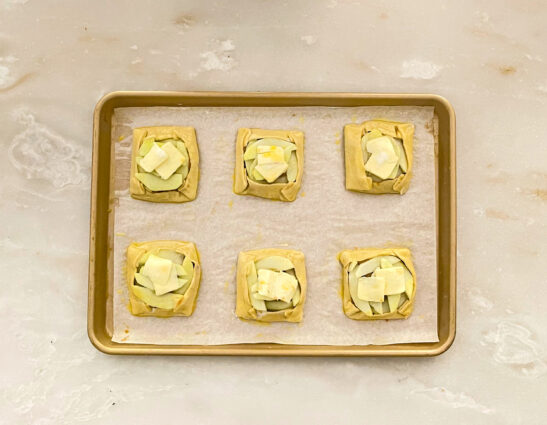
Pile up apples in the center of each puff pastry and top with peanuts.

                                                                                                (oops, looks like I forgot the peanuts!)

Dot fruit with butter and sprinkle with sugar.

Beat egg and 1 tsp water in a small bowl, then brush pastry with egg wash and fold up edges around apples, leaving the center open.

Press along the folded edges to lightly seal.

Brush outside of pastry with egg wash and sprinkle with more sugar.

Let chill in freezer for 10 minutes.

Bake tarts until puff pastry is golden, 15–20 minutes.

Reduce oven temperature to 350°F and continue to bake until pastry is deep golden brown and apples are tender, 20–25 minutes.

Do Ahead

Tarts can be baked 6 hours ahead. Store uncovered at room temperature.

It’s that simple!


signature

[recaptcha]


Spring is in the air! Finally. I just love spring for so many reasons. It’s hard to get through all of them, so I will just name a few things that make this season my favorite.

The most obvious reason is that daytime is longer. When spring rolls around, Daylight Savings Time means it stays lighter longer, which means (for most of us), getting more done.  Or at least feeling like we do. A sunset run is such a luxury!

You can begin to feel the warm sun on your body and face, and we all want to get out and enjoy the sunlight. Say goodbye to all the winter layers we need to stay warm– out comes our beautiful, brightly colored clothes.  As a bonus, you can take your exercise routine outdoors as well!

The earth begins to come to life once again in a burst of color. The trees are budding and the flowers are starting to bloom.  So many lovely fragrances hang in the air, and we get such pleasure to be a part of this new beginning.

Butterflies and bees zip delightfully around the garden.The birds, silent during the winter, gleefully sing as they make their nests and raise their young. If you’re lucky, you may see puppies, kittens, or baby bunnies in your neighborhood too!

Let’s not forget the wonderful produce that comes with this outstanding season. I always look forward to purchasing the fresh, delicious veggies and fruits that pop up in all the grocery stores and produce stands.

To sum it up, everyone loves spring. It comes with happiness, hope, and joy at the beauty of so much abundance. It also signals that summer is on the way, another season of fun in the sun and going to the beach. I just can’t wait!

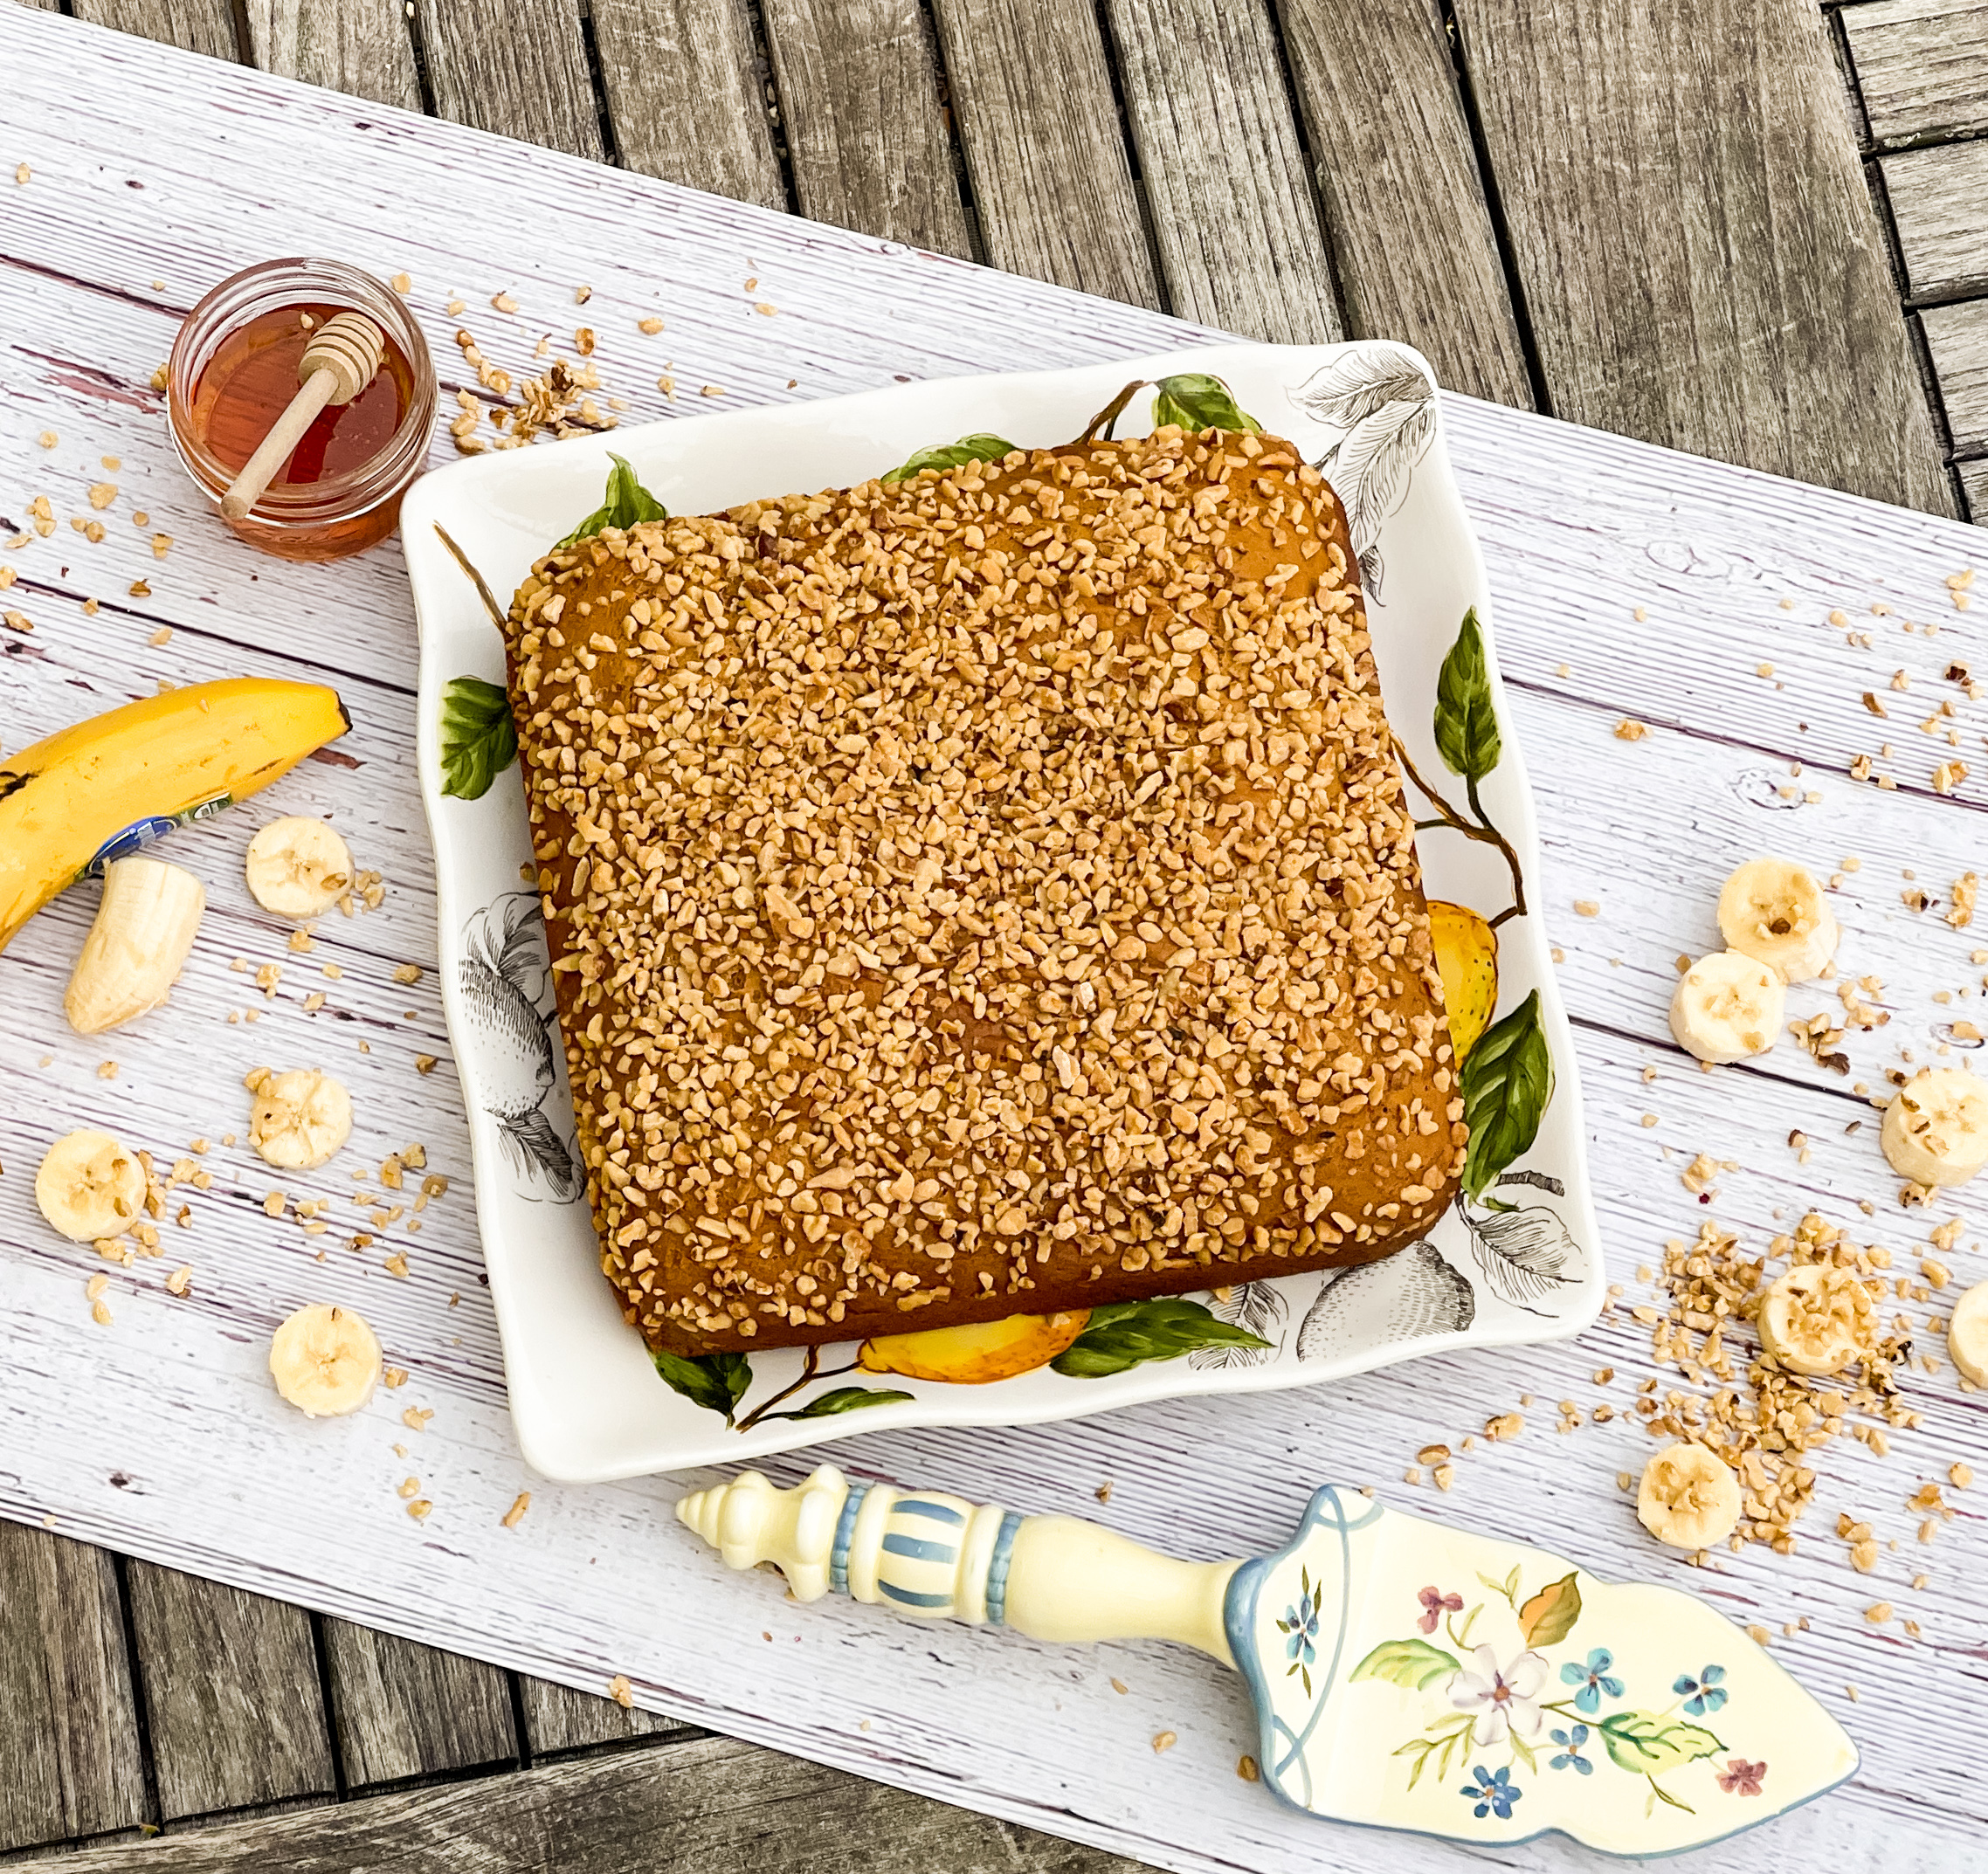
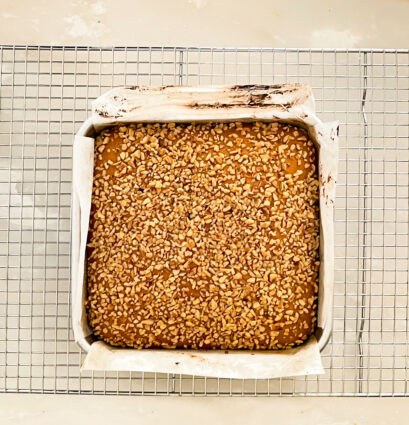
On to the recipe. Few things are better than bananas and honey. Put them both in a cake and the result is a delicious treat for the spring. The honey, bananas, and eggs ensure that this cake is delightfully moist and incredibly delicious. The cinnamon and sugar work together perfectly as spicy and sweet. The nuts give this cake a nice crunch, but you can omit them if you’d like. You are not going to be able to eat just one piece. Take some to the office or a friend and make their day even better.

This recipe is courtesy of Allrecipes and makes 9 enticing servings for your friends and family.

Ingredients for Banana-Honey Cake:

2 1/4 cups all-purpose flour, plus more for pan
1 teaspoon  baking powder
1 teaspoon baking soda
1 teaspoon ground cinnamon
1/2 teaspoon salt
8 tablespoons (1 stick) plus 2 tablespoons unsalted butter
1/2 cup firmly packed light brown sugar
1/2 cup honey
2 eggs
2 bananas, peeled and mashed
2/3 cup chopped walnuts or almonds (optional)

Position a rack in the middle of an oven and preheat to 350°F.

Butter a 9-inch square baking pan.

Sprinkle with flour and tap out the excess.

Make the Batter:

In a bowl, stir together the 2 1/4 cups flour, the baking powder, baking soda, cinnamon and salt.

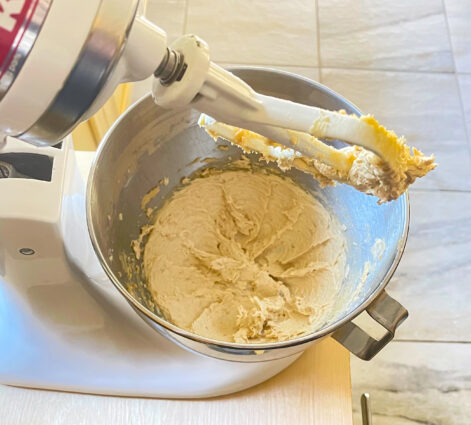
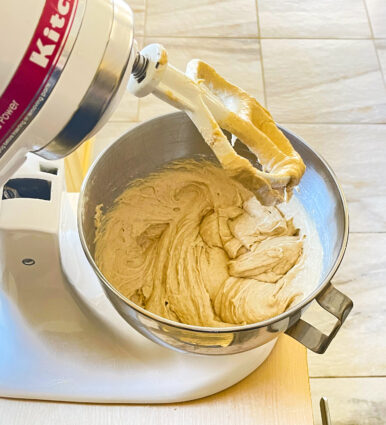
In a large bowl, using an electric mixer on medium speed, beat together the butter and brown sugar until creamy.

Add the honey and beat until blended.
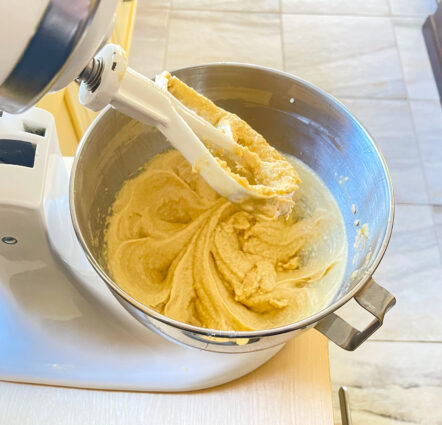
Add the eggs, increase the speed to medium-high and beat until smooth.

Add the dry ingredients to the wet ingredients in 2 additions, alternating with the bananas and beating on medium speed after each addition until smooth.

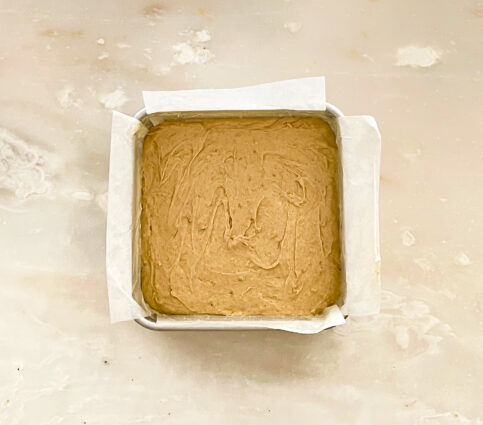
Spread the batter evenly in the prepared pan.

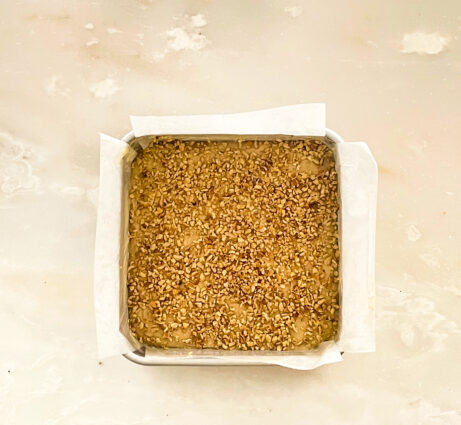
Sprinkle evenly with the nuts, if using.

Bake until a toothpick inserted into the center comes out clean, 35 to 40 minutes.

Let cool completely in the pan on a wire rack.

Cut into squares and serve.

Makes one 9-inch square cake.

It’s that simple!

signature

[recaptcha]