The summer always goes so fast. I think most of us would say that most of the things we would like to accomplish in the summer do not get done because it is over before we can blink an eye. Though we may be missing the lazy summer days, the fall brings us beautiful clear skies, and that crisp feeling in the air. 

One of my favorite Fall activities is antiquing. My husband also enjoys antiquing, and it is something we love to do together. Over the years, we collected antique china plates, each different from the next. It took a lot of labor, but it was done with love, and my husband and I are very proud of it.  My Thanksgiving tables of 50, give or take, looks beautiful and eclectic, thanks to our diligence. It has taken several years to collect 60 salad and dinner plates, and now I am on the hunt for antique wine glasses. This is not such an easy task, as most people do not sell single wine glasses, but rather sets of six or four. But I think they will complete my holiday table and make it look genuine. 

September moves very quickly, and soon the holidays will be among us. Planning menus take time, and I think appetizers are among the hardest to find. They need to be simple and easily prepared. I saw this one and knew I had to share it with you.

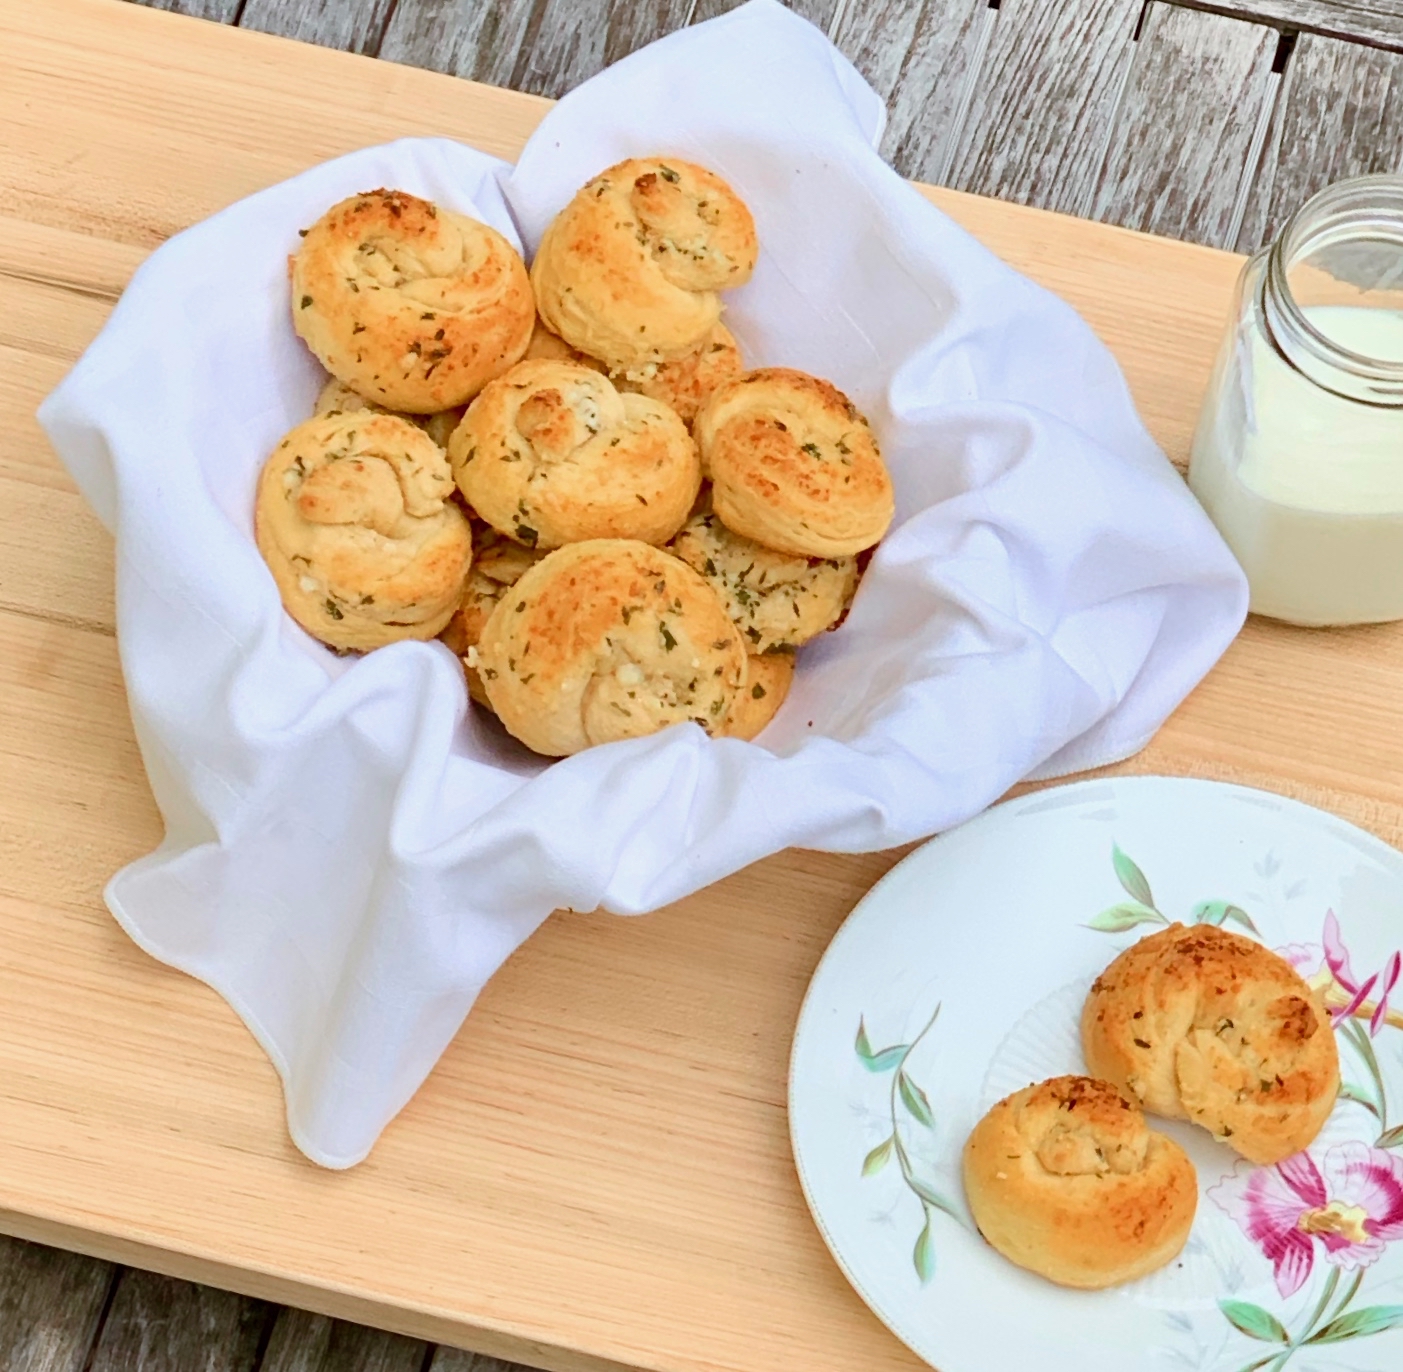
These rolls take little effort to prepare, and they are so delicious and make a beautiful presentation. The buttermilk biscuits are moist and delicate. The Parmesan, garlic, oregano, and parsley doctor them up and make them savory and scrumptious. Pop one into your mouth and it is simply heavenly. Here is a warning; you won’t be able to eat just one, so double the recipe for your guests to enjoy as many as they want.

This recipe is courtesy of Damn Delicious and will serve 16 people who will come back for seconds– and then ask for the recipe!

Ingredients for Easy Garlic Parmesan Knots:

1/4 cup unsalted butter, melted
2 tablespoons freshly grated Parmesan
3/4 teaspoon garlic powder
1/2 teaspoon dried oregano
1/2 teaspoon dried parsley flakes
1/4 teaspoon salt
1 (16-ounce) tube refrigerated buttermilk biscuits

Preheat oven to 400 degrees F.

Lightly oil a baking sheet or coat with nonstick spray.

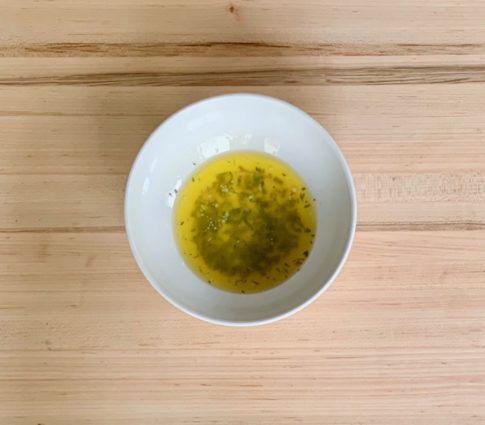
In a small bowl, whisk together butter, Parmesan, garlic powder, oregano, parsley and salt; set aside.
Halve each of the 8 biscuits, making 16 pieces.

Roll each piece into a 5-inch rope, about 1/2-inch thick, and tie into a knot, tucking the ends.
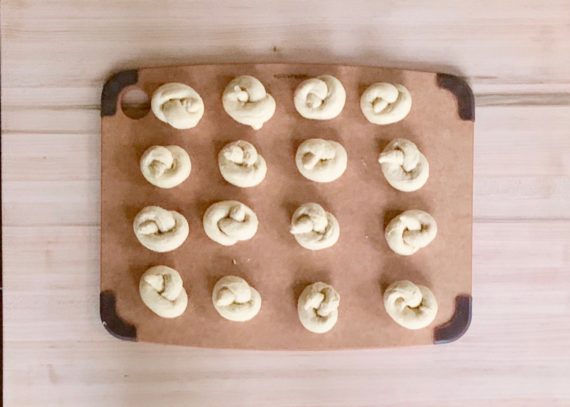
Place knots onto the prepared baking sheet and brush each knot with half of the butter mixture.
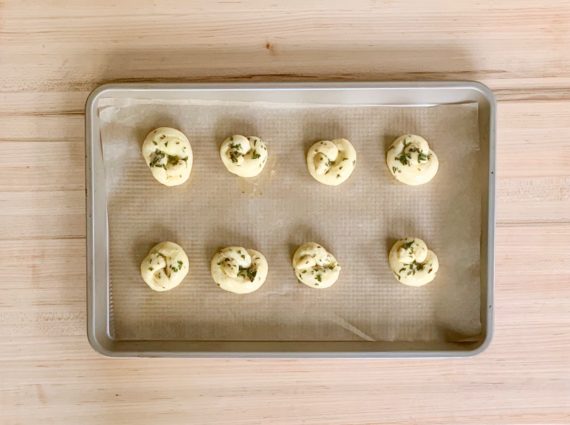
Place into oven and bake until golden brown, about 8-10 minutes.

Serve immediately, brushed with remaining butter mixture.

It’s that simple!
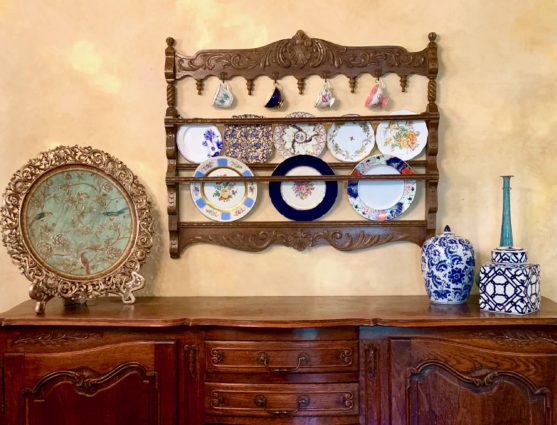
A friend of mine gave me an antique plate holder to diplay some of my antique plates and teacups. I found the perfect  place to hang it, and I just love how it looks!
 

signature

[recaptcha]


Planning a party means working out everything from the table settings to the main menu.  Somewhere in there, you have to decide on your appetizers. When I was growing up, our dinner parties never included appetizers, only bowls of mixed nuts. Nowadays, the appetizers are given as much thought as the entree.  Are you going to go all the way and serve hors d’oeuvres, which are eaten with a knife and fork? How about canapes, that the guests can enjoy with their fingers? Easier still are crudités, which are usually raw fruits and veggies for dipping.

With all the variables, one thing we do know is that hors d’oeuvres must be on the menu. There are so many options that it should be easy to find a few seasonal dishes. Given the variety of diets, make sure you include a meat option, a vegetable option and if you need to, a gluten-free option. For fall or winter events, warm options like baked brie or pigs-in blankets are good choices. Make them easy to pass around, or if you are serving buffet-style, try artisan cheese platters or vegetable crudites.

For food that requires toothpicks, make sure you have a few receptacles around for disposal– nobody likes stepping on a used toothpick.  You also want to put lots of napkins out so guests can keep their hands clean. More enterprising guests will certainly try to hold everything at once.  To avoid spills, encourage those folks to place the napkin (or two, for larger apps) or plate on top of their glasses; they’ll find it much easier that way.

The best advice I have is that you should make your hors d’ouerves simple. You don’t want to slave away in the kitchen and not be able to enjoy your own gathering. Pick ones that you can make ahead of time and heat up just before your guests arrive so that you’re able to enjoy the party with them. 

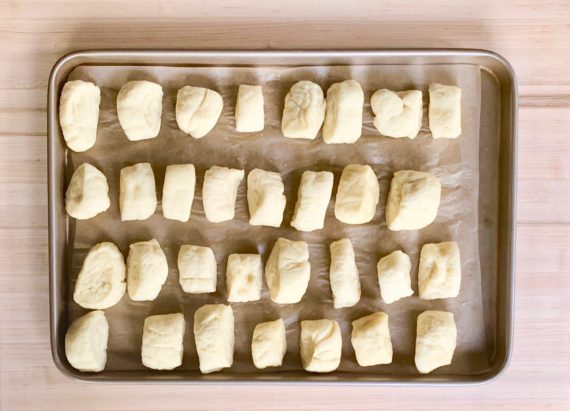
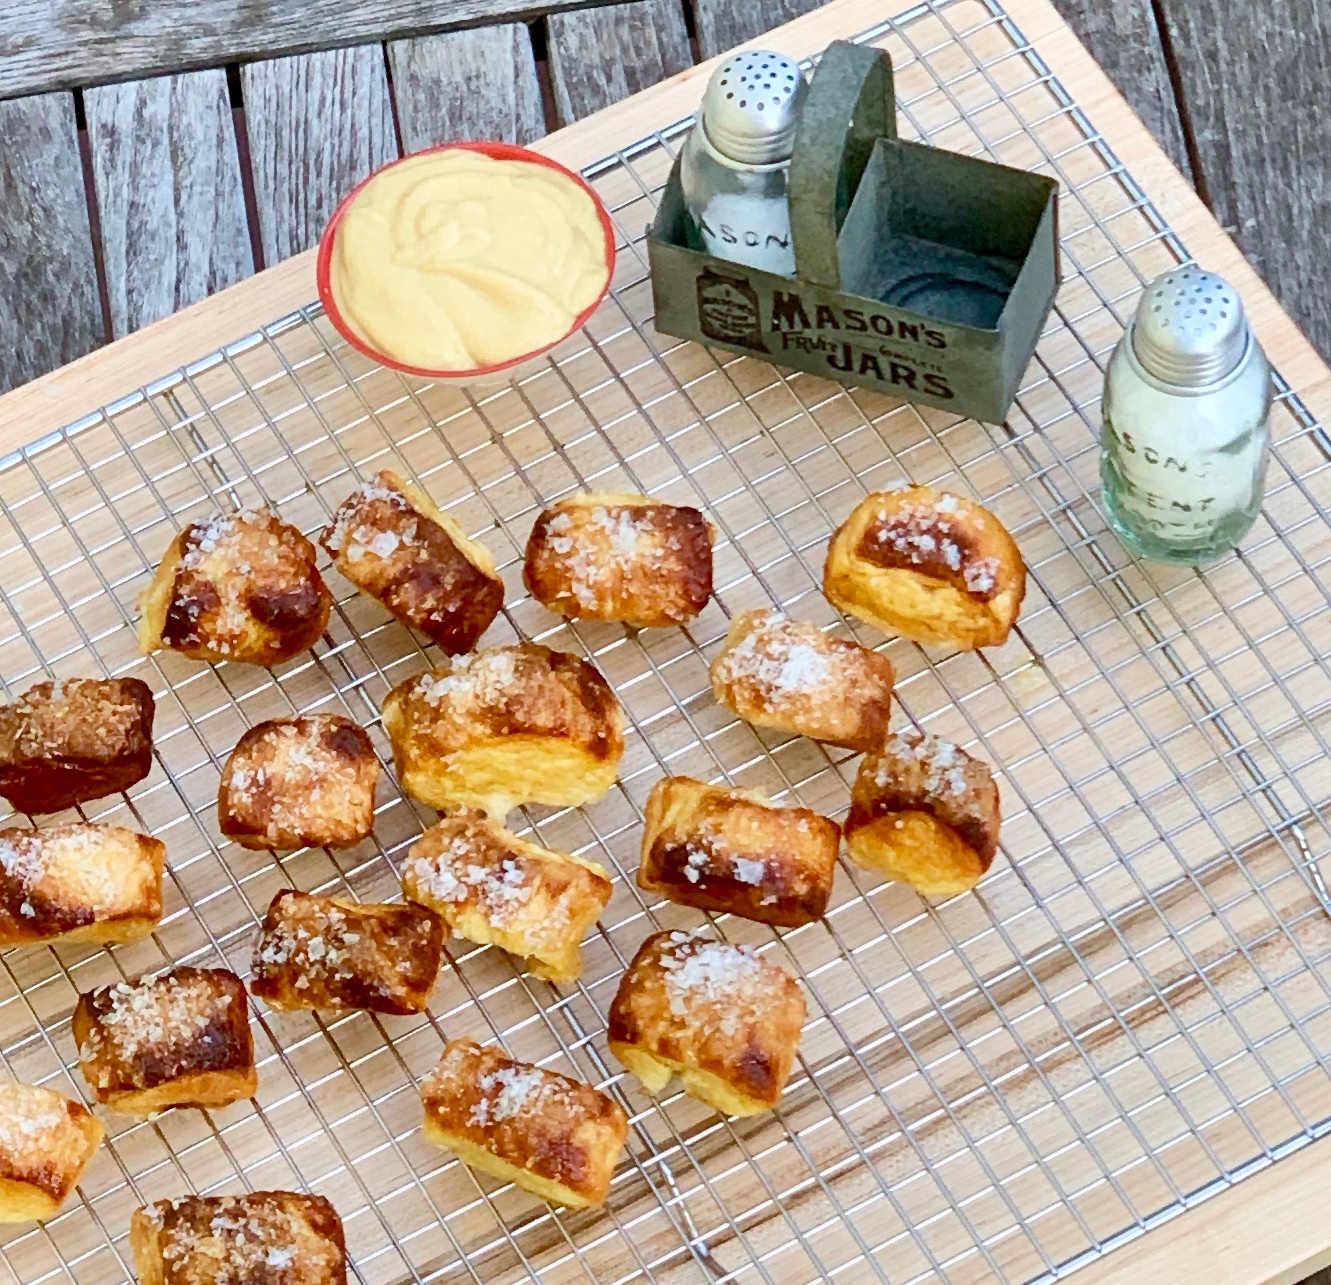
This recipe should do the trick. The author made these pretzel bites with enriched challah dough so the inside would be more flavorful. While you could shape them into mini pretzels, they work better for a party as bite sized pieces. This appetizer is truly special. The outside is beautifully browned and the inside is soft and fluffy. Pop each one into your mouth for a bite of pure joy and delight, on its own or with a dip.

This recipe is courtesy of Food 52 and will make a whole lot of pretzel bites that will delight even the pickiest guest.

Ingredients for Pretzel Bites:

3/4 cups warm water (around 105F)
3/4 tablespoons active dry yeast
3/4 teaspoons salt
2 eggs, beaten
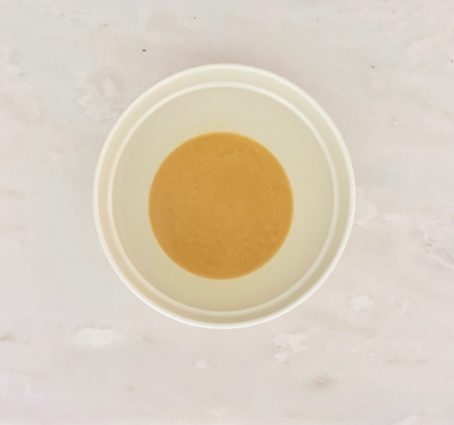
1/4 cup honey
1/4 cup butter, melted
3 1/2 cups all-purpose flour (plus more for dusting surfaces, etc.)
8 cups water
2 tablespoons sugar
1/4 cup baking soda
1 egg white, for egg wash
fleur de sol

In a large bowl stir together the warm water and honey.

Sprinkle with yeast and let stand until the yeast is foamy (about 5 minutes).

Stir in the butter, salt, and eggs.

Stir in the flour until it is entirely incorporated and it comes together in a shaggy ball.

Turn out the dough onto a floured surface and knead it for several minutes, until smooth.

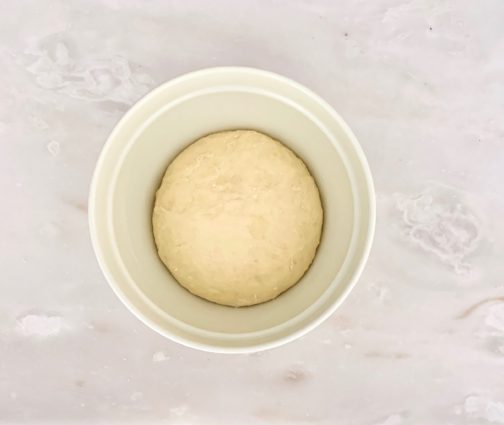
Put in a lightly oiled bowl, cover with a cloth and let rise in a warm place until it rises and collapses (90 minutes – 2 hours)


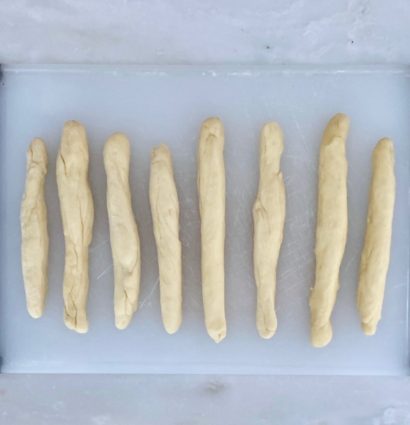
Punch the dough down, and on a floured surface roll it out into 8 ropes, each about 3/4 of an inch wide.

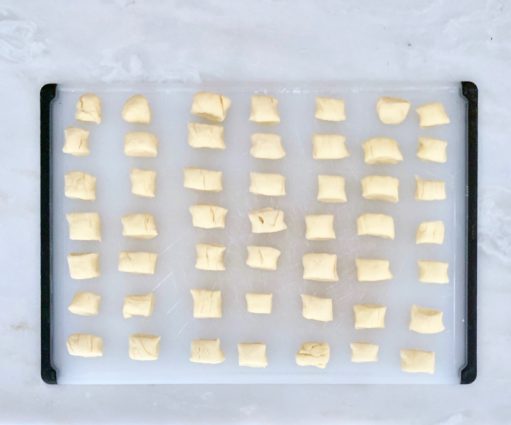
Cut the ropes into 1-inch pieces, separate them from each other placing them on a tray or baking sheet and cover with a towel.

Allow to rise for 30 minutes.

Preheat oven to 425F. Bring a large pot filled with 8 cups of water to a boil.

Once it is boiling, stir in 2 Tbs. sugar and 1/4 cup baking soda.

It will bubble up like crazy! But then it will subside.

Turn the heat down to a high simmer and add your little dough pieces, about ten at a time, making sure they’re not crowding each other.

Let them simmer for about a minute, giving them a couple little stirs during the process to make sure both sides cook.

Remove from water with a slotted spoon and put onto a parchment-lined baking sheet.

Repeat until all the little dough bites have been cooked in the water and have been placed onto baking sheets.

You can squeeze on quite a few per sheet, as long as they have a space between each of them.

Brush the bites with egg white and sprinkle with fleur de sel.

Bake in the oven for about 15 minutes, until they are a deep chestnut brown, make sure you don’t take them out when they’re too pale.

Remove onto cooling racks immediately to cool.

These pretzel bites are best eaten the day they are baked (very best fresh-baked, of course), so I guess you’ll have to do it the morning or afternoon of the party!

Serve with a little bowl of mustard, blue cheese dip (1 cup crumbled blue cheese whisked with 1/2 cup mascarpone), or chocolate fondue.

It’s that simple!

signature

[recaptcha]


When my kids were young, I would make scrambled eggs for them; it was the one dish my whole family agreed on, and I enjoyed indulging them. If left to my own devices, I would eat just about an egg a day. Scrambled, hard boiled, fried, sunny-side up, poached, or fried.  It doesn’t matter– I love eggs.

Europeans have popularized the use of eggs as an add-on to their dishes. They poach them over vegetables, pasta, or meat. In America, we are finally catching up with the times, and we can find eggs incorporated in entrees in fine restaurants. I delight in ordering those dishes when I see them available.

Nowadays, scrambled eggs have been replaced by hard-boiled eggs. I always have them on hand in my refrigerator. My husband grabs one each morning before his commute to work, and my kids and I have them for snacks. Correct preparation is deceptively difficult. The yolk should be a bright, beautiful yellow when cooked correctly.  Any green means they are overcooked.

Even with my years of egg-sperience (ha!), I still haven’t cracked (sorry!) the secret to peeling an egg. I have done exhaustive research and thus far, nothing seems to work. However, I have a friend who peels her eggs when they are still warm and they peel beautifully. I always throw my eggs into an ice bath to stop the cooking. I have yet to try her way, and when I do, if it works, I will be the first to let you know.

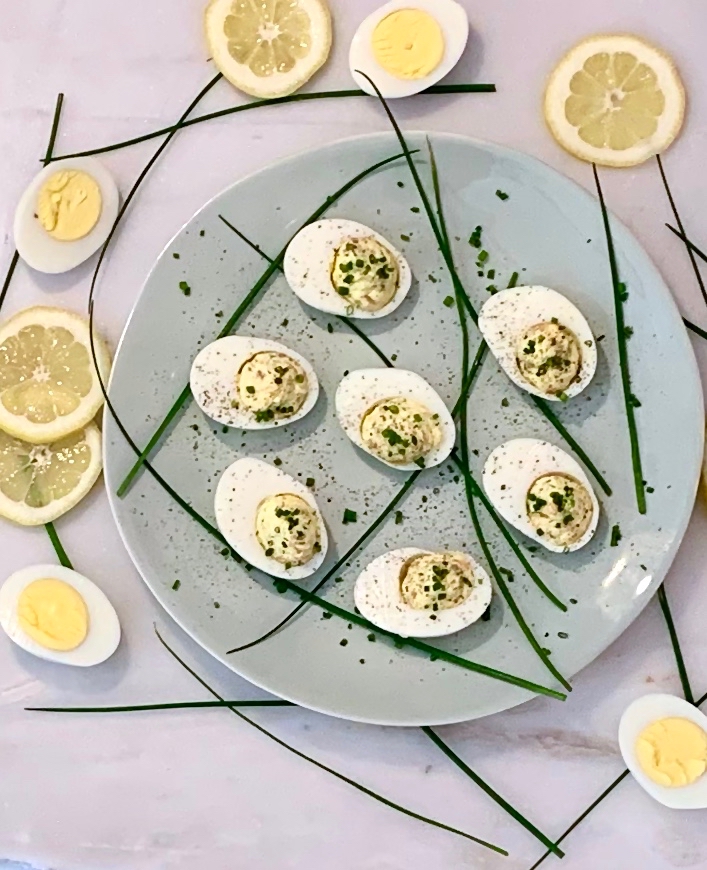
Deviled eggs are one of my favorite way to eat eggs. Everything about this appetizer is delicious. This intriguing preparation using smoked salmon caught my eye. Preparing the eggs this way made them much more sophisticated than the usual way. The salmon, combined with the mayonnaise and dill is so luscious. The lemon juice gives it a citrusy delight, and the cream cheese makes it so smooth. This is a perfect beginning to any meal.

This recipe is adapted from Cooking Light and will serve 8 people who will appreciate an egg-cellent new take on a classic appetizer.

Ingredients for Smoked Salmon Deviled Eggs:

8 large eggs
3 tablespoons canola mayonnaise
2 tablespoons chopped fresh dill
2 teaspoons lemon juice
1 teaspoon Dijon mustard
2 ounces chopped cold smoked salmon
1-ounce cream cheese, softened
1 tablespoon chopped fresh chives
1/2 teaspoon black pepper

Arrange eggs in a saucepan; cover with water.

Bring to a boil.

Cover; remove from heat.

Let stand 10 minutes; drain.

Chill eggs in a bowl filled with ice; drain and peel.

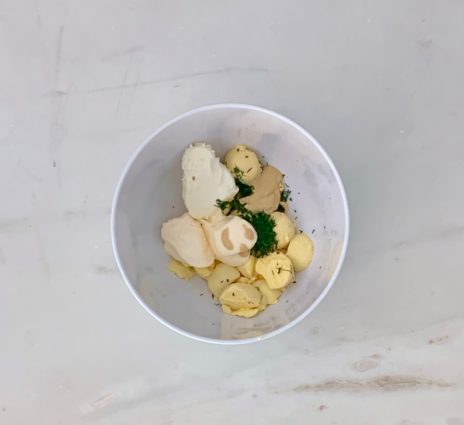
Halve eggs lengthwise; scoop yolks into a bowl.

Add the canola mayonnaise, dill, lemon juice, Dijon mustard, and cream cheese; stir until well combined.

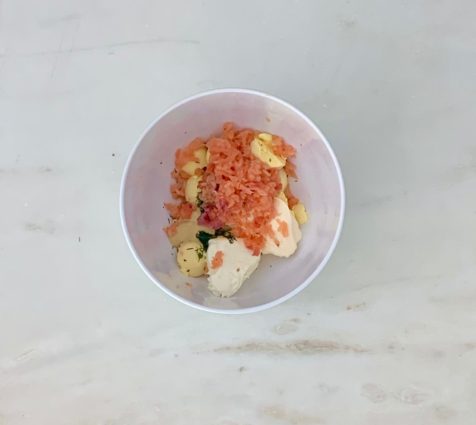
Mix in smoked salmon.

Mix ingredients until well combined. (I used a potato masher for this.)

Spoon yolk mixture evenly into centers of whites. 

Sprinkle eggs evenly with chives and black pepper.

It’s that simple!

signature

[recaptcha]


Another wonderful Thanksgiving has passed. It is definitely my favorite holiday. Although I entertain around 50 people each year, it has become a labor of love. Setting the table is always overwhelming, but I take much pride in my intense preparation. It literally takes me an entire day to do it, and I have come to enjoy every minute. There will be pictures in a future post that will include all the steps I use along the way!

Because I change the menu every year, I often find myself hunting for appetizers. It can be difficult at times and as the holiday gets nearer I get frustrated. I think I will try to find more great appetizers so you and I will have them when we need them. I try to find appetizers that I can freeze, because I am always so busy cooking the main dishes and sides the day of Thanksgiving. My friend, Mike, passed this one on to me and the cheese puffs came out beautiful and delicious.

P.S. this one is so easy!

I do not consider myself a baker. I have improved since I started this blog, but I always try to find recipes that are relatively simple. This one is just that. There are so few ingredients and steps, yet the outcome will make people think you worked much harder than you did. 

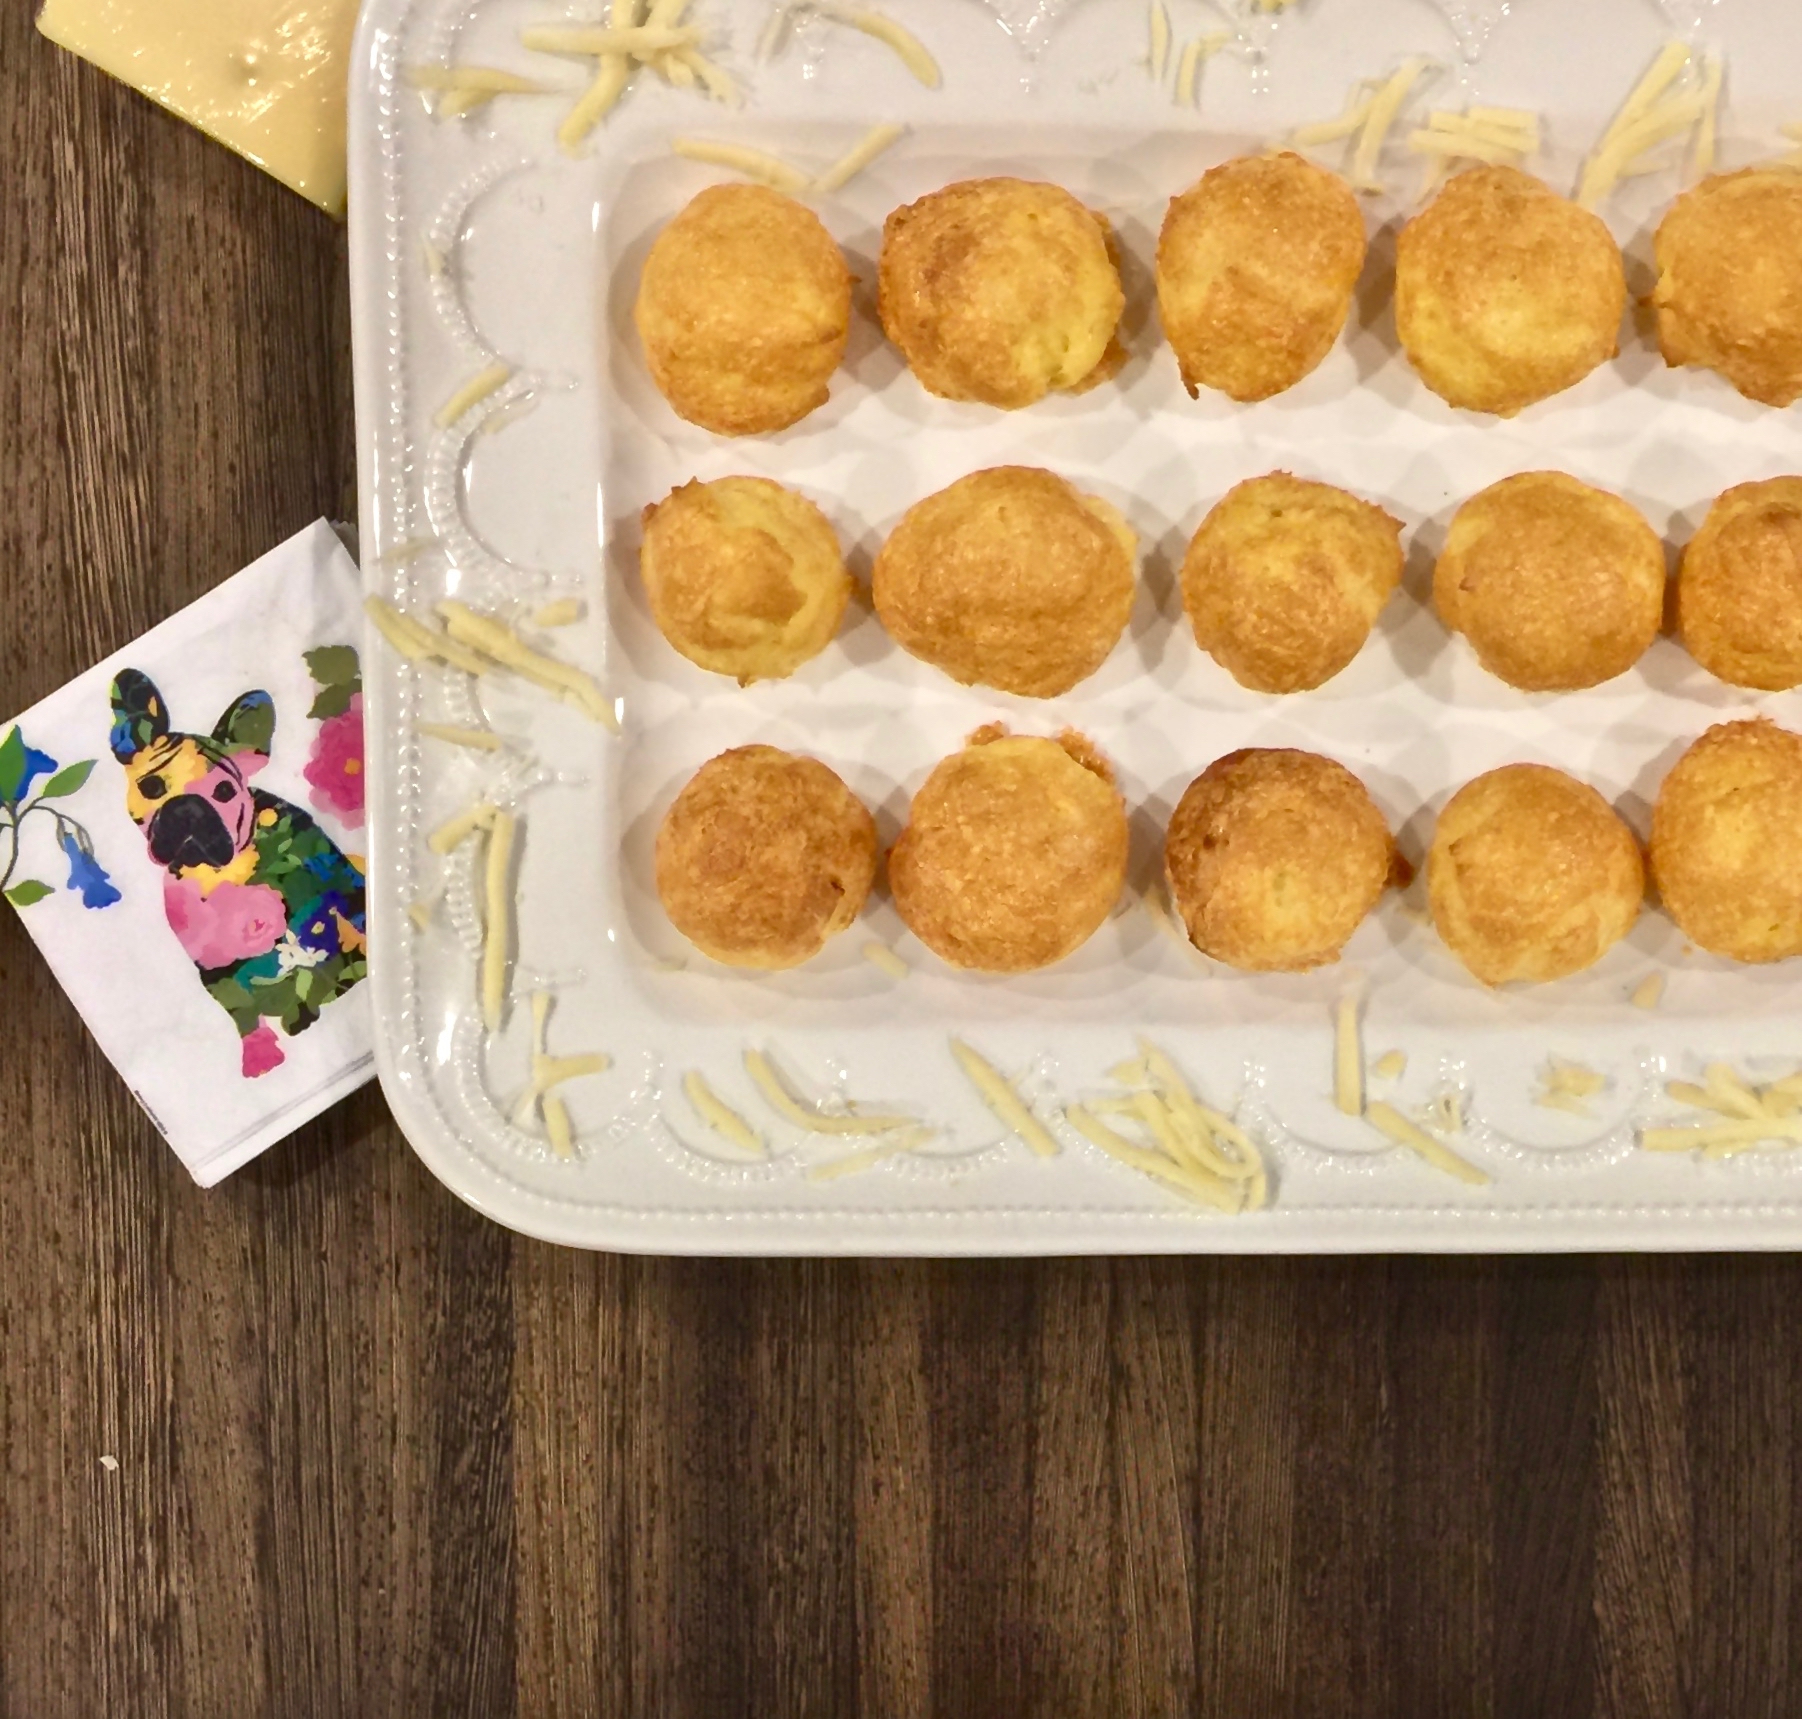
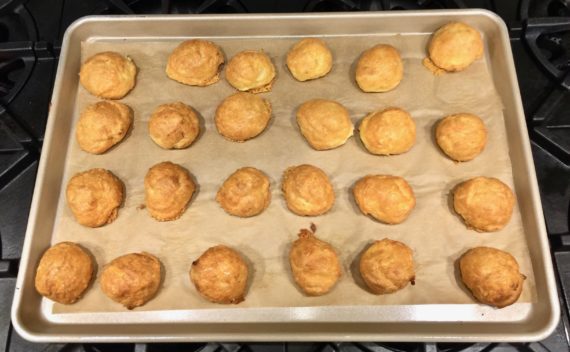
These cheese puffs are exquisite. They are gorgeously browned on the outside and light and fluffy on the inside. This is a “must make” whether or not you are entertaining. I made them for Thanksgiving this year and it was effortless, with extravagant results. My family went nuts over them. They freeze perfectly.

This recipe is courtesy of French Culinary Art cookbook and will make about 48 cheese puffs. Your family will be praising your efforts, and what they don’t know certainly won’t hurt them!

Ingredients for Gougere Cheese Puffs:

2 cups water
1 cup (2 sticks) butter
1/4 teaspoon salt
2 cups sifted all-purpose flour
8 large eggs
2/3 cup very finely diced Gruyere cheese
Small thin slices Gruyere cheese

Preheat oven to 425°F.

Mix the first 3 ingredients together in a 1 1/2-quart sauce pan. 

Bring to a boil.

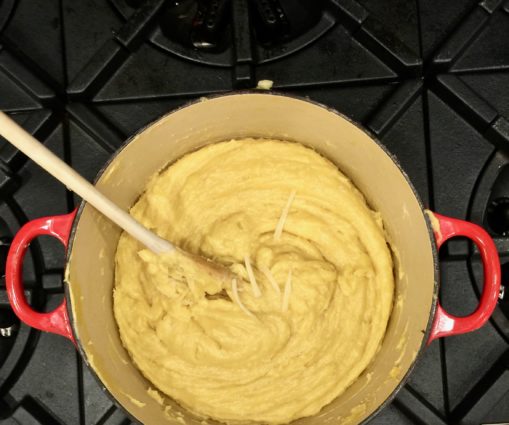
Remove from heat and stir in all the flour at one time, using a wooden spoon. (Turn heat off.)

Beat vigorously.

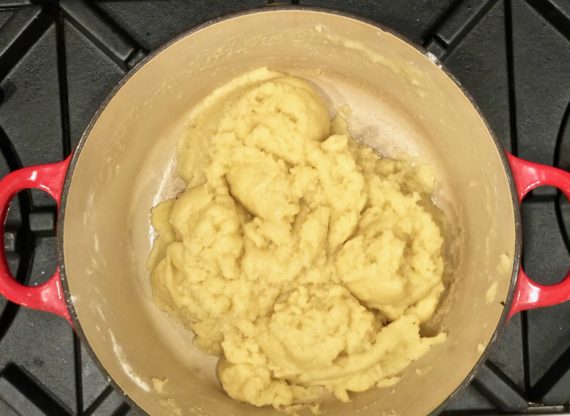
Return to heat and cook until the mixture leaves the sides of the pan and forms a very stiff ball.

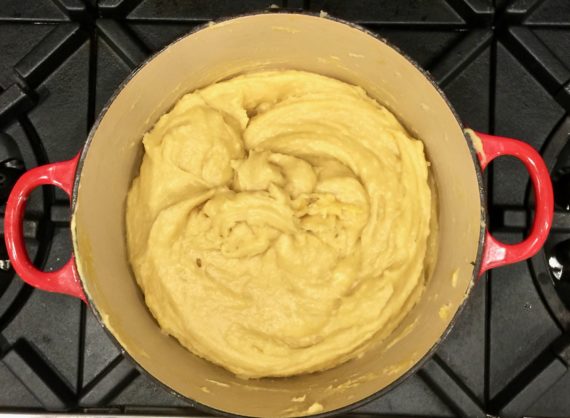
Remove from heat and. Beat in eggs one at a time, beating until it is completely absorbed before adding another.

Do not overbeat, as this reduces the volume and the consistency for piping purposes.

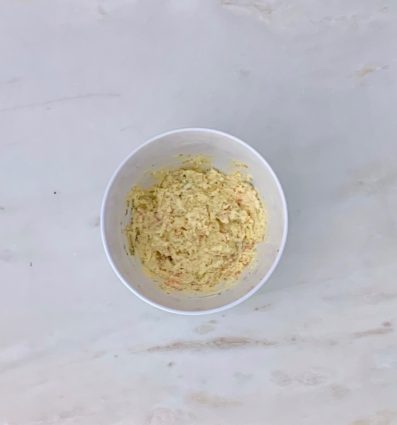
Mix paste with diced Gruyere cheese.

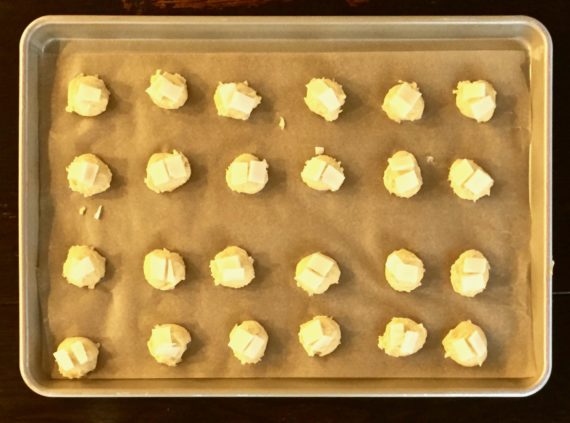
Squeeze paste form a pastry bag or drop from a tablespoon 2-inches apart onto ungreased baking sheets. (I covered pan with parchment paper).

Cover each drop with the thin slices of Gruyere cheese.

Bake in preheated oven 20 to 25 minutes.

Serve warm.

It’s that simple!

A sneak peek!

signature

[recaptcha]


Tabouli salad traditionally features ingredients such as parsley, fresh mint, tomatoes, scallions, lemon or lime juice and olive oil. It is most popular in the Middle East and originates from Lebanon. It is most frequently made with the whole grain bulgur.

The star of tabouli salad is the parsley and the citrus. When combined, their unique flavors seem to compliment each other perfectly. There are many variations of this salad, and the room for improvisation makes it all the more fun! You can use red or green onion, fresh mint or parsley, and just about any vegetable of your choice. Although it is usually prepared with bulgur, there are many versions substituting it for other grains like quinoa or couscous, or as in my recipe, cauliflower.

Fresh off of a visit to my local farmer’s market, I wanted to use as much of my bounty as I could. This salad seemed like the perfect way to do it. I did my recipe research and can now call this one my very own. I am in love with the way it came out, but feel free to make any changes you see fit and you call it your own as well.

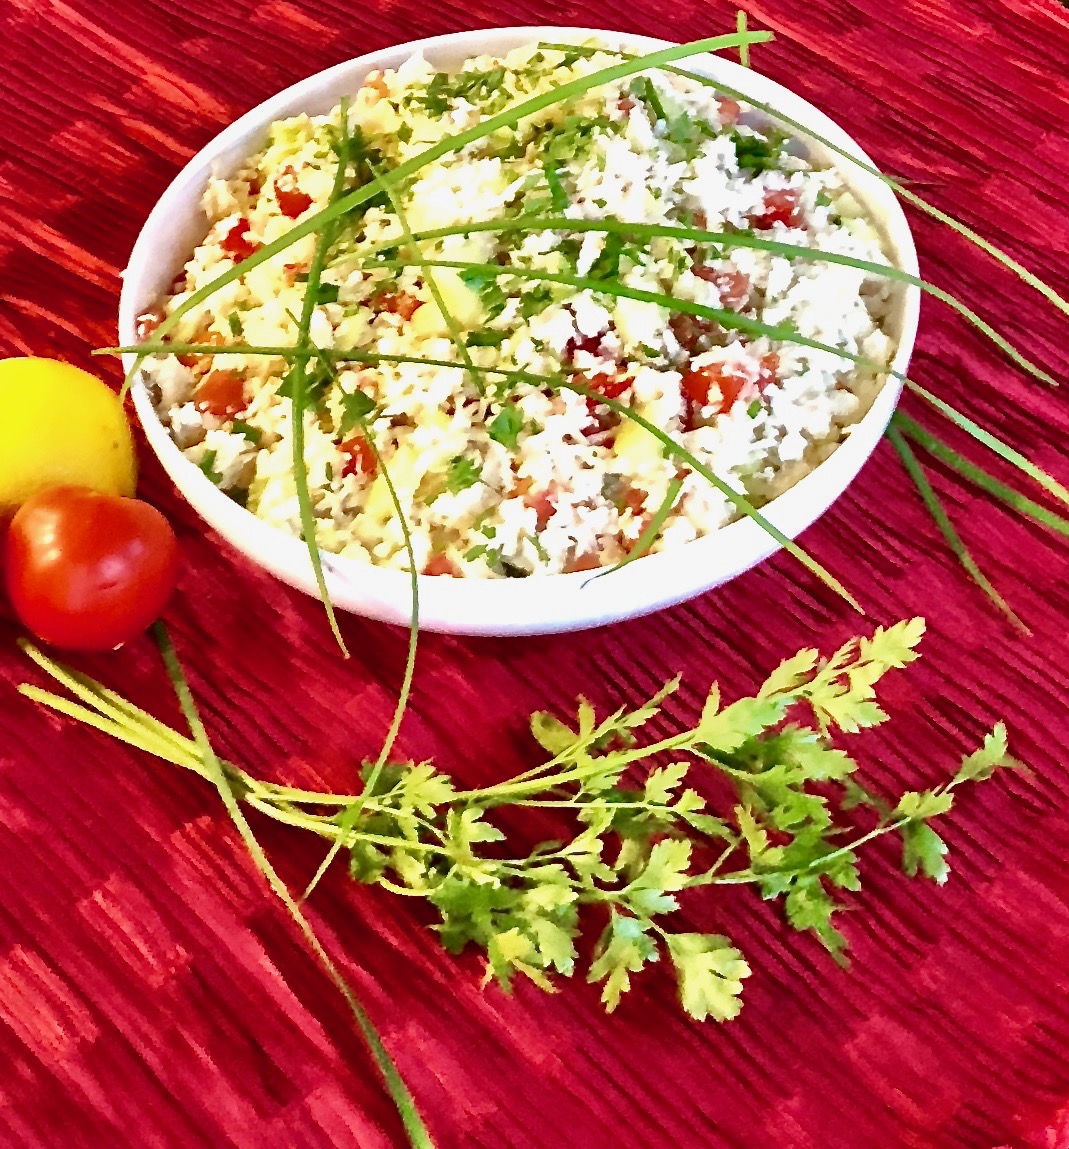
What a wonderful salad this is. It feels light, smells super-fresh and tastes delicious. The cauliflower is a great substitute for the bulgur wheat, which makes it truly a vegetarian dish. The dressing has a nice citrus taste and fragrance, and the tabouli is full of herby goodness. It is a perfect make-ahead recipe that will stay pristine in the refrigerator for several days.

This recipe will serve 4-6 people who will love this traditional Middle-Eastern dish and enjoy altering the recipe to their taste each time they make it!

Ingredients for Cauliflower Rice

1/2 medium head cauliflower, grated
1 English cucumber, peeled, seeded and chopped
4 chives, sliced, plus extra for garnish
2 plum tomatoes, diced
1 bunch chopped parsley

For the dressing:

Zest of 1 lemon
Juice of 1 lemon (or 1/2 to taste)
2 tsp. tamari sauce
1 garlic clove, minced
1 tsp. kosher salt
1/2 tsp. freshly ground black pepper
3 tbsp. good olive oil

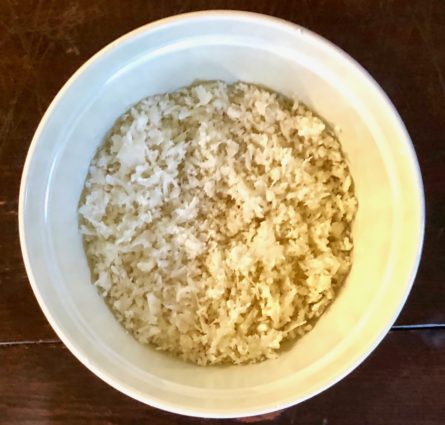
Grate 1 head of cauliflower into small pieces with a box grater or in the food processor.

Chop the tomatoes, mix with 1 tsp. of salt and transfer to a fine mesh strainer and allow to drain, 15 minutes.

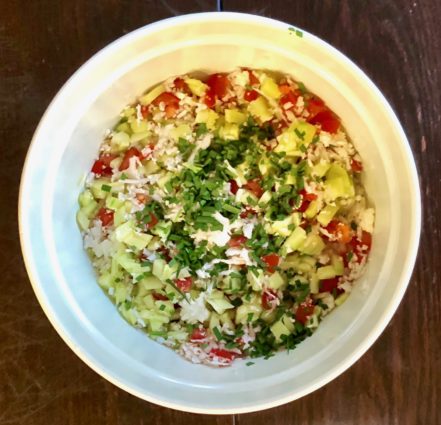
Toss together the cauliflower, tomatoes, cucumber, chives, and parsley.

In a small bowl, mix the lemon juice and zest, tamari sauce, garlic, salt and pepper, and olive oil.

Carefully combine the cauliflower mixture, and the dressing, in small increments until you have it dressed to your liking.

Garnish with chives.

Serve at room temperature.

It’s that simple!

signature

[recaptcha]