Finally, warmer days are here! It has been such a cold winter, and we all have had our fair share of take-out. This pandemic has made us look at winter a little differently. In the winters before covid, we would hibernate and stay indoors doing our usual chores and working out at our gyms.

But it is different now. Many of us have been eating outdoors at restaurants to get a change of scenery, and to avoid the tedious chore of cooking for just one day. I see people sitting in the freezing cold outside restaurants, in their warmest clothes and blankets for their legs, trying to stay warm and have a nice dinner at the same time. Yurts, greenhouses, igloos, tents and all kinds of partly open outdoor structures have popped up at restaurants around the country. To serve customers on patios or sidewalks, restaurant owners are coming up with creative adaptations that can make dining possible in the frigid depths of winter.

In the interest of the not freezing part and not getting COVID-19, if you decide to visit a restaurant, you need to do some planning– find an outdoor setup that offers some shelter, plan an outfit to battle the elements, choose dishes that won’t get cold as soon as it hits the table (or plan to eat cold dishes). Getting a table used to be the main concern, but now you have to think about wind chill and the chance of snow.

Some eateries are attempting to extend outdoor dining into the colder winter months, setting up heated tents that might allow patrons to enjoy a meal without fear of contracting the novel coronavirus. Not all outdoor dining structures are created equally, says Richard Corsi, an air quality expert and dean of engineering and computer science at Portland State University in Oregon. “There’s a wide spectrum,” Corsi says. “The safest that we’re talking about is no walls — a roof. And then the worst is fully enclosed — which is essentially an indoor tent — especially if it doesn’t have really good ventilation and good physical distancing.”

We really longed to get out of the house, even if it was a little on the cold side just to get some relief from cabin fever. Even my husband, who is not an avid gym rat, has been taking walks, sometimes on very cold days because he needed the fresh air. Working all day in the office and having to be home on the weekends has transformed him into a walker willing to brave the cold just to be outside. I too, have found myself going out for a run in temperatures that would have had me bundled up in front of the fireplace. Getting outside has been essential to our health these days.

Hopefully, the warm weather may be here to stay, but don’t get too excited about it. I hear that we have more cold weather and some more snow (oh, no!) coming in the months ahead. I have noticed through the years that it usually snows sometime around Easter, so I am ready for it. But let’s face it, we could use a break and maybe the warm weather will return a little earlier this year. Remember, even our definition of cold has changed, and what we thought was freezing before may just be perfect for dining outside. Here ‘s hoping for a warm spring, we deserve it.

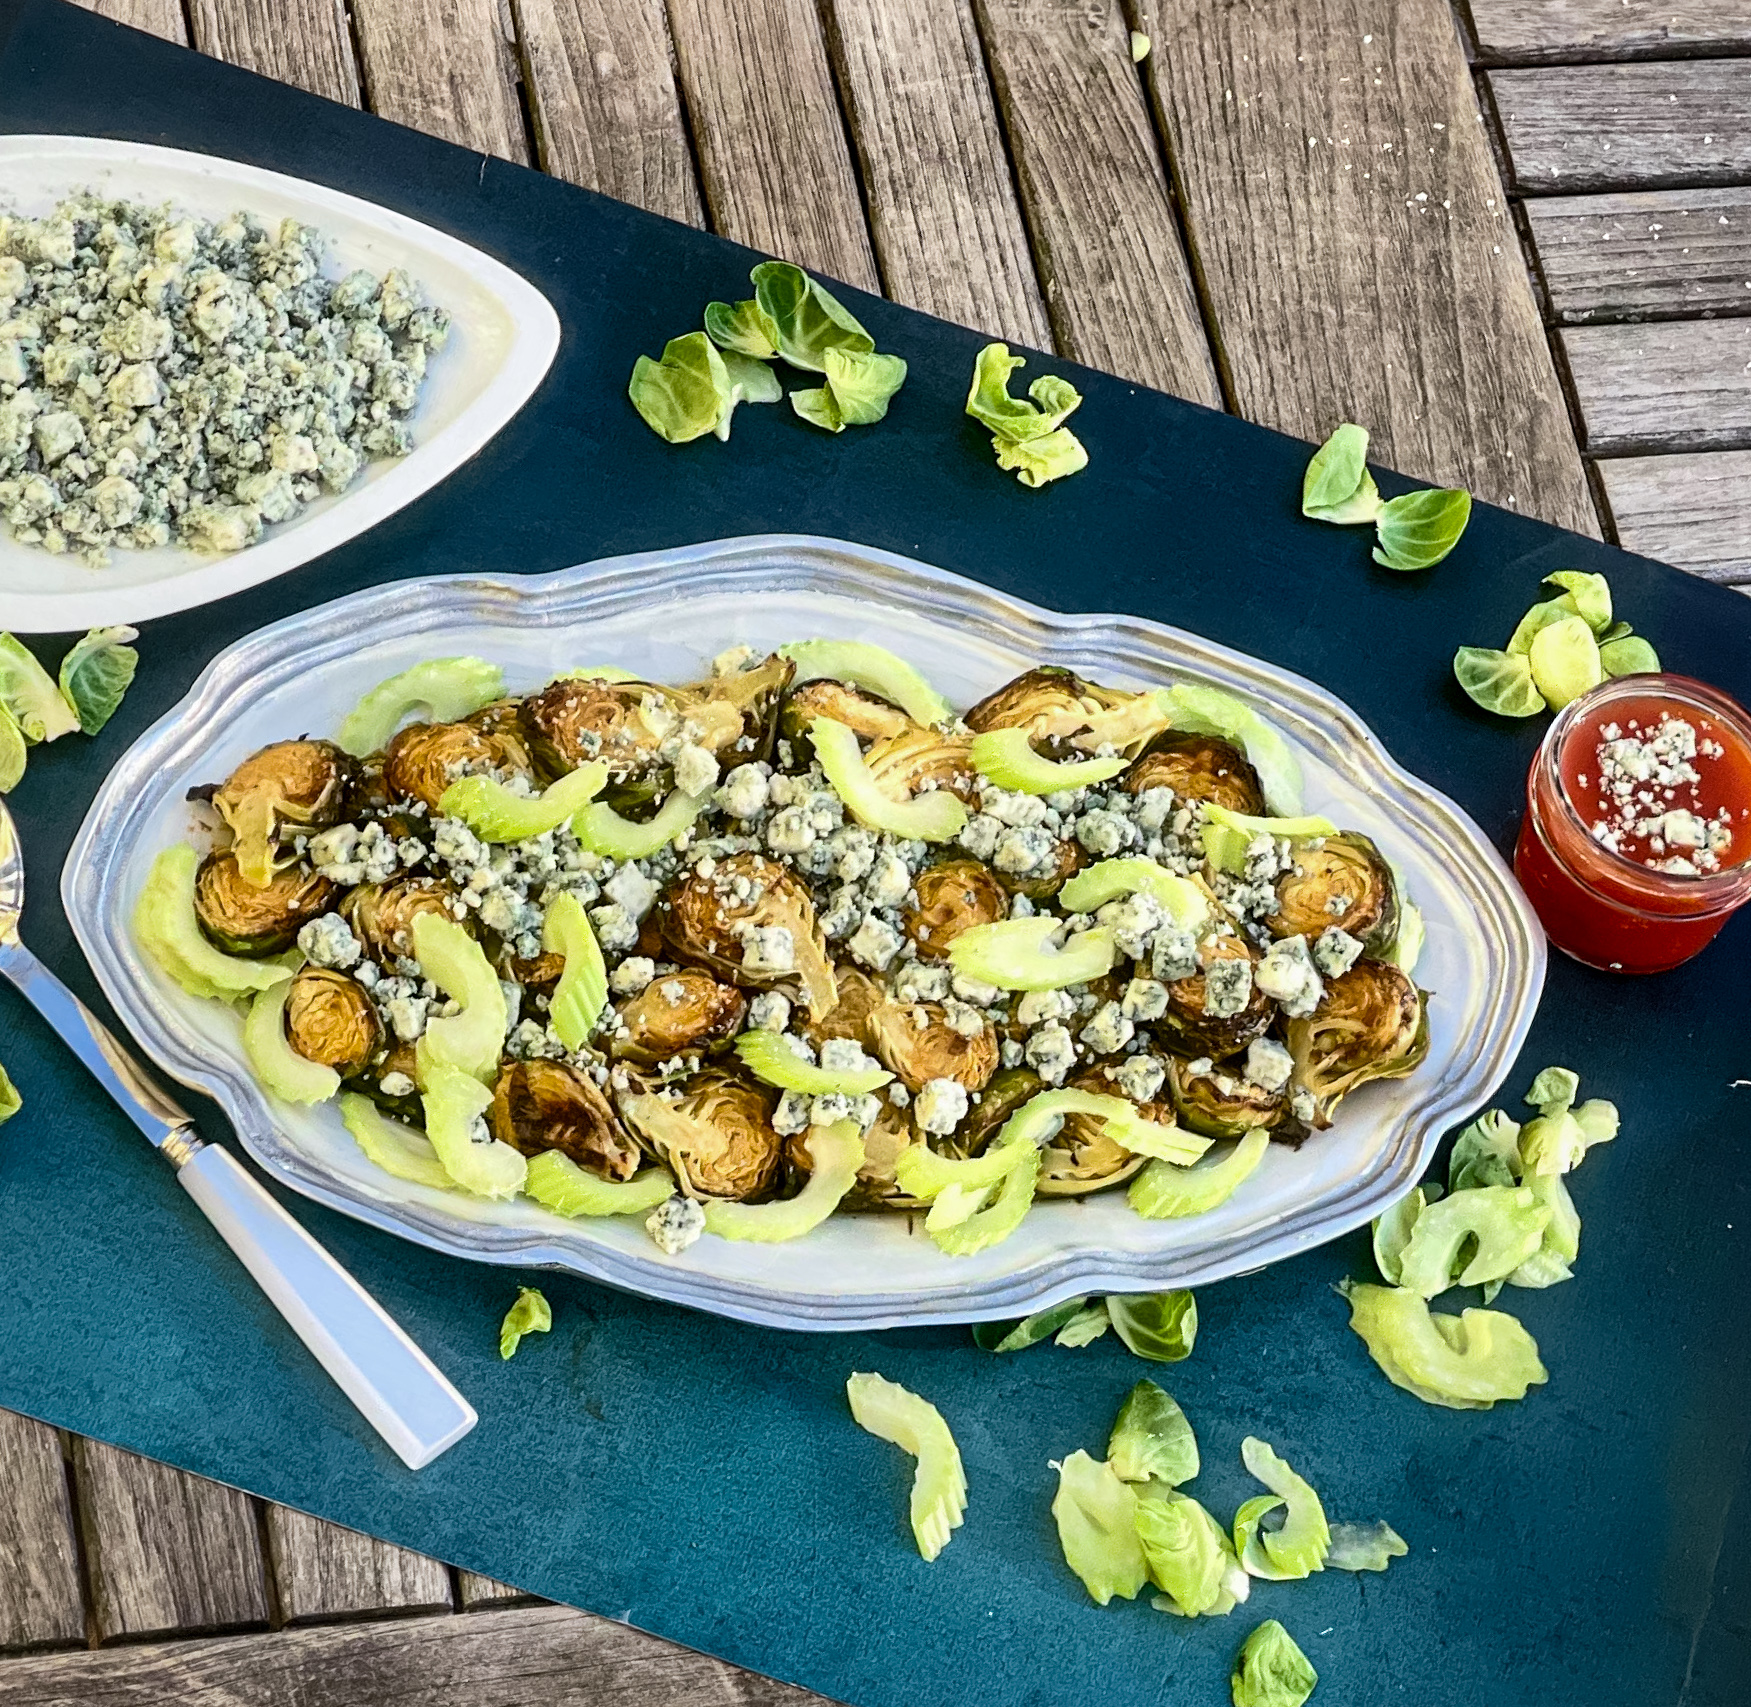
Now this is a recipe that is perfect for any cold, winter day, but you’re going to want to make it all year long. It takes Brussels sprouts to a whole new level– they are transformed into a wonderful, delicious side dish.  They are roasted to caramelized perfection in the oven, then coated in a combination of butter and hot sauce, making them appealing to even the worst Brussels sprout hater. The result is a side dish (or you could even use them as an appetizer) that even your kids will enjoy and so will you. I loved this dish because anything with hot sauce is a winner for me!

This dish is courtesy of Simply Julia, by Julia Tursten and will serve 4 people who can’t help going back for seconds.

Ingredients for Buffalo Brussels Sprouts:

1 1/2 pounds Brussels sprouts, tough outer leaves trimmed
3 tablespoons extra-virgin olive oil
1/2 teaspoon kosher salt, plus more if needed
3 tablespoons unsalted butter, melted
2 tablespoon hot sauce
1/3 cup crumbled Gorgonzola cheese
1 large celery stalk, thinly sliced on the diagonal, plus a few celery leaves for garnish

Preheat your oven to 450 degrees F.

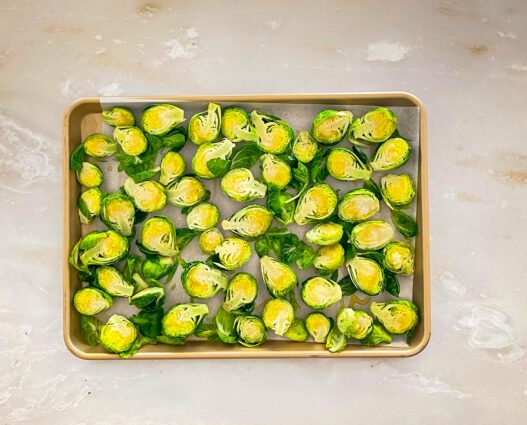
Place the Brussels sprouts on a sheet pan.

Drizzle with the olive oil, sprinkle with salt, and mix with your hands.
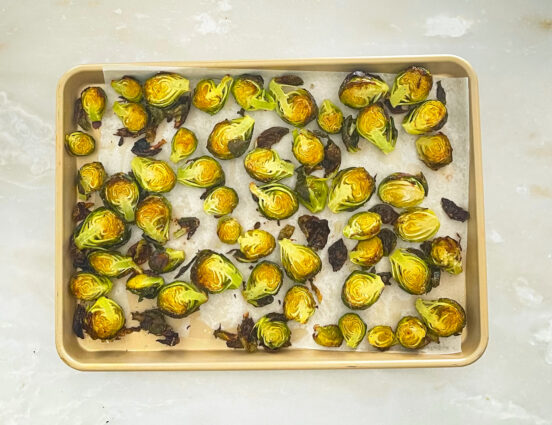
Roast the Brussels sprouts, stirring them once or twice while they cook, until they are softened (test with a paring knife) and also dark brown and crispy, about 20 minutes.
Meanwhile, place the melted butter and hot sauce in a large bowl and stir well to combine.
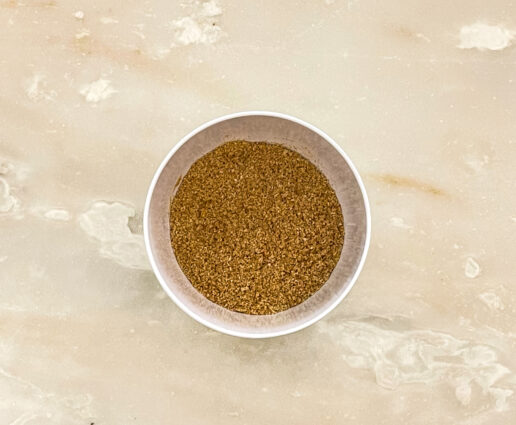
Transfer the hot Brussels sprouts to the butter mixture and toss well to combine. 

Season the sprouts to taste with additional salt if needed.

Transfer the sprouts to a serving platter.

Sprinkle evenly with cheese, celery, and celery leaves.

Serve hot.

It’s that simple! 
signature

[recaptcha]


When you are planning a dinner for friends or family, it can be difficult to find appetizers that are easy, delicious, and not too messy. Before you decide what foods you want to prepare you must know how many guests will be joining you. If you are having ten guests, three appetizers will be sufficient. If you are having more, just increase the number of appetizers by two. So, for 10 to 15 guests, five to seven appetizers will be plenty.

Appetizers come in a wide variety of flavors. They can be sweet, salty, hot, cold, and everything in between. The appetizers should be chosen carefully, because you don’t want them to overwhelm the meal you are serving. People usually come hungry, and the appetizers are consumed with a vengeance, especially if you choose the right ones. You’ll want to pick a variety, so that all you guests have at least one choice to eat.

Before anything else, you should choose your main course. After that, you can pick appetizers that complement the main course. Keep it simple, and save your worry for the main course. Alternate heavy, concentrated dishes with simple, fresh ones. Find ones that contrast each other in color and taste. For maximum convenience, you can serve a beautiful array of vegetables with creamy dips or cheeses with a combination of fruits and meats.

Appetizers should be lively and varied. Plan them ahead, and choose ones that you can make and freeze, making it less stressful to get them on the table in time for your guests to arrive.  Take them out of the freezer in the morning, and they will be ready to pop in the oven just before your guests arrive. Couldn’t be any easier.

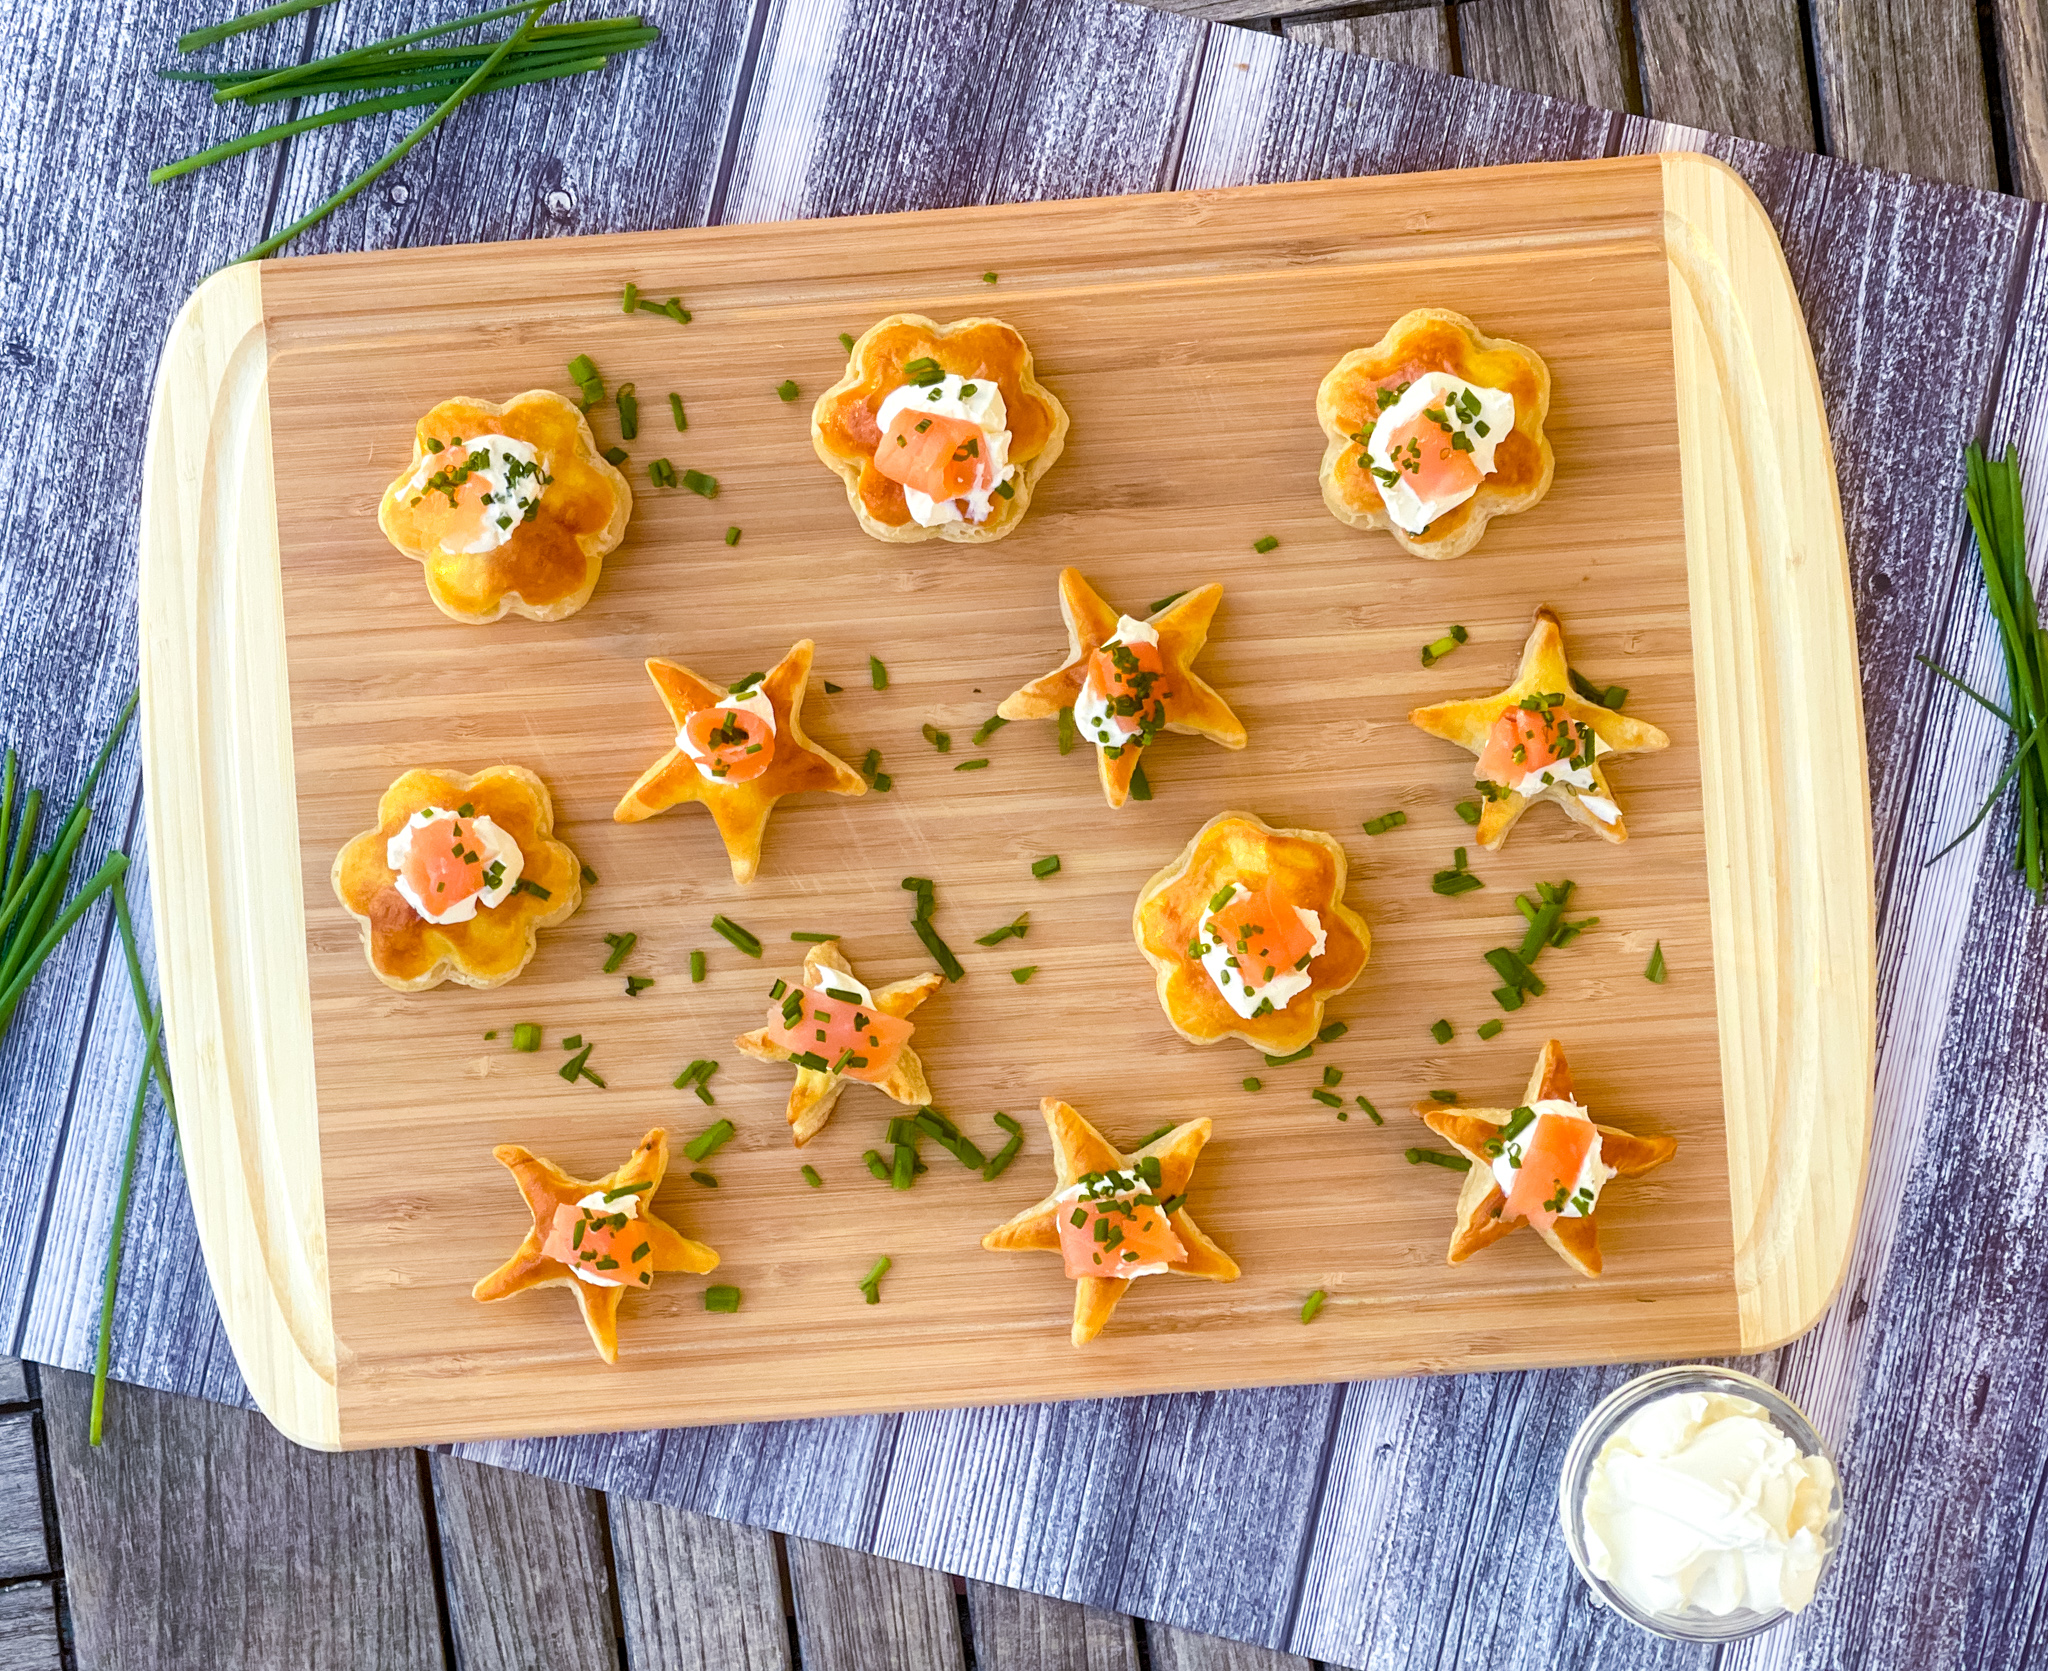
Now here is a recipe that Ina Garten uses in her chicken soup. I am changing that up, because I know they will be terrific for an appetizer, and they are so easy. These are a crowd pleaser for sure. The puff pastry bakes up to make these delicious little puffs of yummy bite-size treats– no soup needed! They are topped with a combination of eggs and cream, giving them a pretty shine and delightful flavor. You can add some chives, smoked salmon or scallions on top, or any topping of your choice to make them even more delectable, and perfect for any dinner party. Try cutting them out using different shapes for a beautiful presentation. Easy-peasy. These are a must try!

This recipe is loosely adapted from Ina Garten and will make 12 lovely pastries that all your guests are sure to eat up!

Ingredients for Puff Pastry Croutons:

½ (17.3-oz) pkg frozen puff pastry (such as Pepperidge Farm), thawed
Flour, for dusting
1 extra-large egg, beaten
1 Tbsp heavy cream
Kosher salt and freshly ground black pepper, to taste

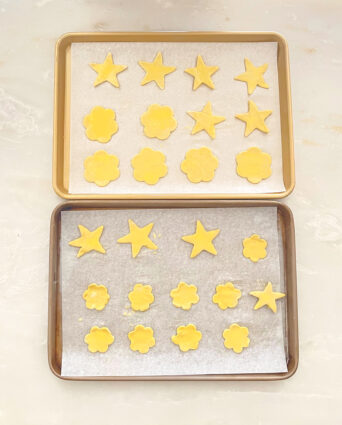
Preheat oven to 400°F. Line a sheet pan with parchment paper.

Lightly dust a board and rolling pin with all-purpose flour.

Unfold puff pastry. Lightly dust with flour and lightly roll to smooth out folds.

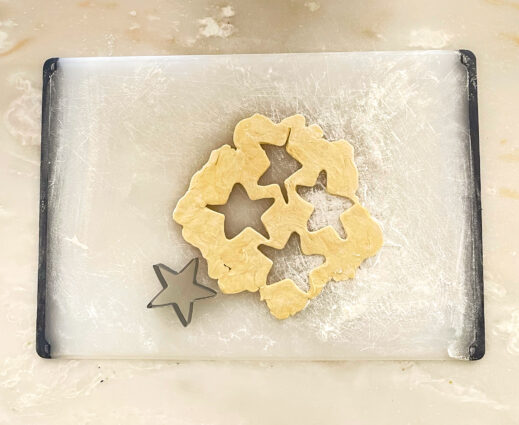
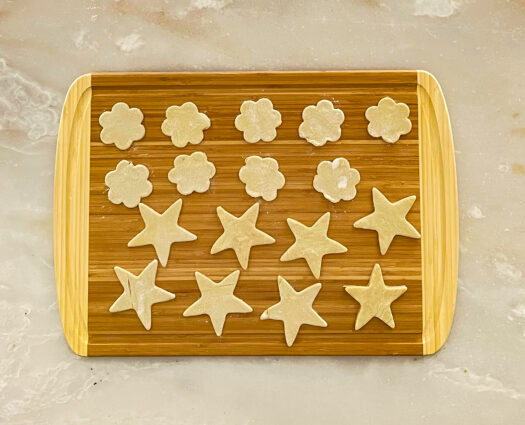
Use star-shaped or fluted round cookie cutters to cut out 12 stars or rounds.

Place on prepared pan.

Combine and cream; brush over tops of stars or rounds.

Sprinkle with salt and pepper.

Bake 8–10 minutes or until puffed and golden brown.

Notes: Defrost puff pastry overnight in the refrigerator. 

To make ahead, Prepare the pastry cutouts and refrigerate. Bake just before serving.

It’s that simple!
signature

[recaptcha]


It is very hard to think of anything but the coronavirus lately. As all of you, I am trying to stay safe and sane. All of our schedules have been altered, and staying home will be difficult for many. The upside is that there are many things you can do during this time.  I’ve compiled a list of some things I plan on doing, and it seems right to share the list with all of you.

Do the clean up you have been procrastinating. Those empty rooms stuffed with things you meant to look at?  Now’s a great time to actually do that. You’ll feel like you’ve really gotten something done!

Cook, cook, and cook. Your family will love that you are doing something for them, and you can freeze leftovers for another day, or simply make extra to bring to a neighbor in need..

Start a journal. Consider adding a line or two each day to write a few small things you’re grateful for. It will help you make sense of this situation, and remembering what you have is a good way to stay sane.

Exercise. This is very therapeutic and will help you feel better.  Try looking up some online classes for meditation, yoga, or calisthenics.  Many studios are offering online classes for free, or on a pay-what-you-can basis– consider offering a few dollars if you have a little to give.

Start reading that book you have been putting off reading. Diving into another world can help take your mind off the stress happening here.

Organize your Tupperware. Put them in a place where you can find the bottoms and the tops, and if you can’t find one part or another, recycle the extras.

Watch those movies you haven’t had time for before. There are so many good movies out there, in tons of different genres– find a top 100 list and start watching!

Organize your spices. Place them alphabetically, or put them in rows of which you most use them. Throw the ones out that have been there for over a year.

Finally, order take out.  You all know that I love to cook, and I love it when you all cook, but now is as good a time as any to support your local restaurant.  They might be closed or closing soon, and can use the support. Get some takeout, and open up that bottle of wine you have been saving for a special occasion. That time is now.

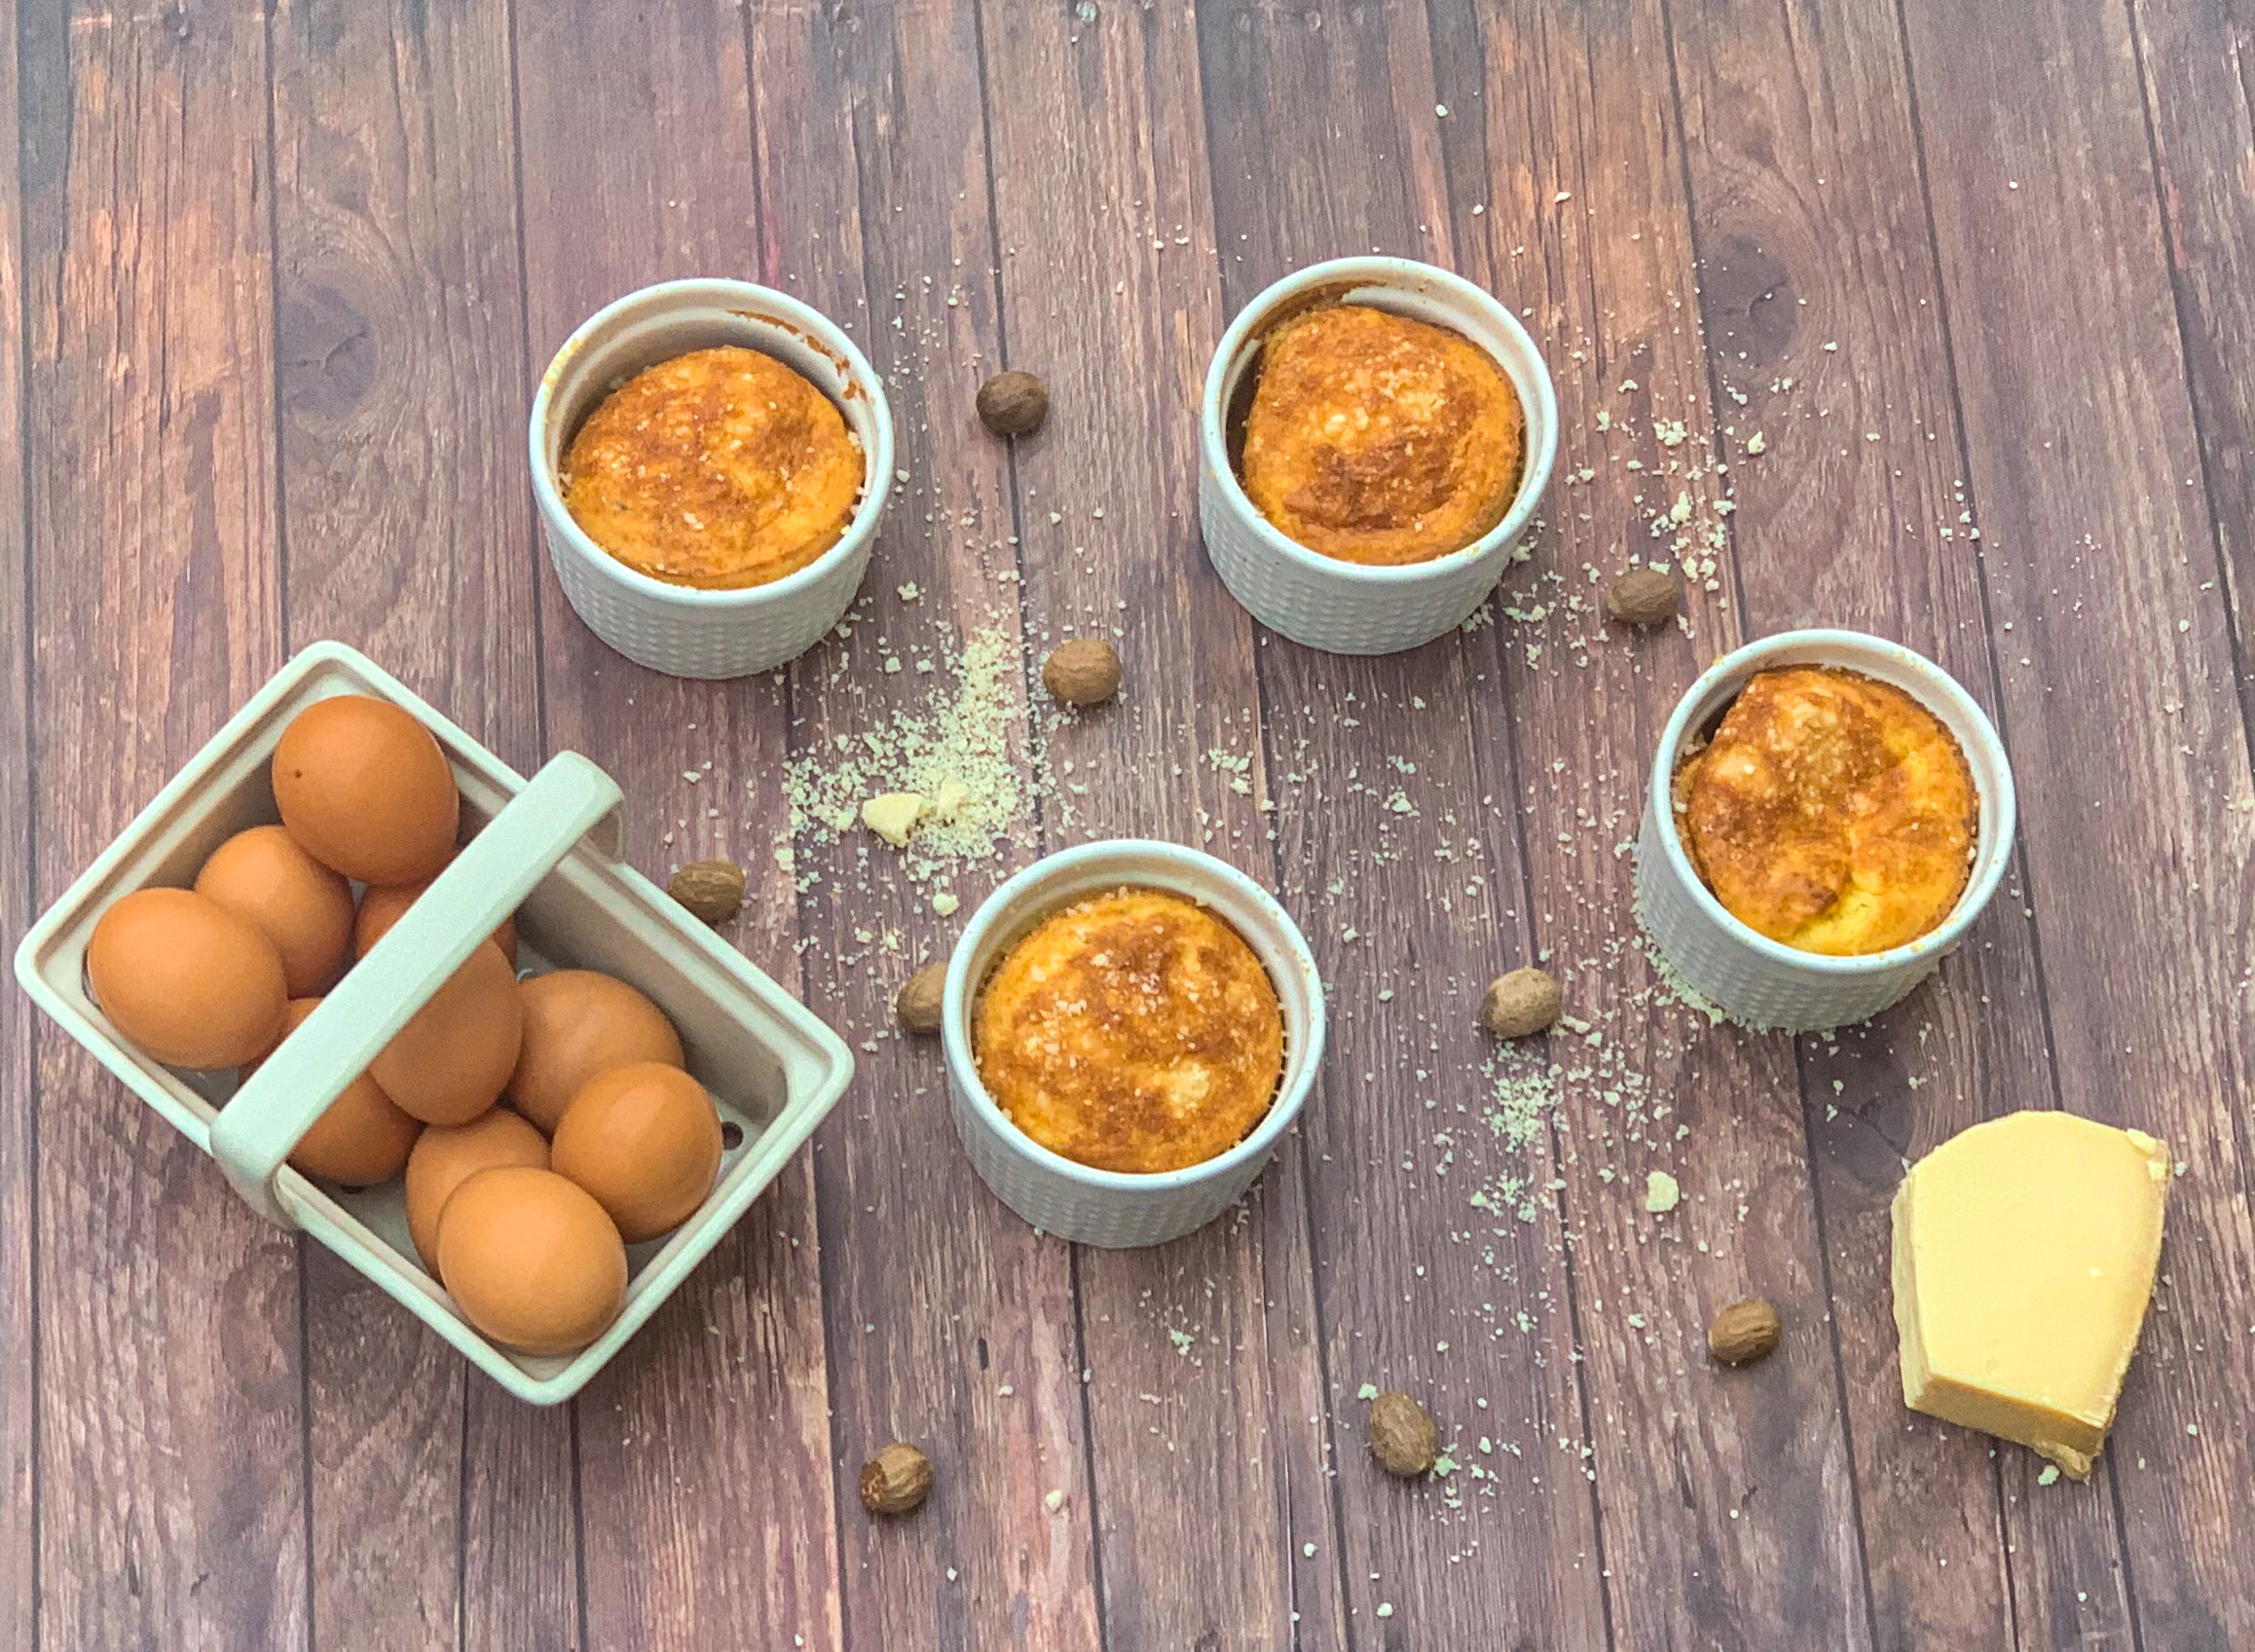
Or, you can make this cheese soufflé for your family. It is a beautiful gesture that shows you love and care about them. This soufflé is so airy and light, it is pure cheesy deliciousness in every bite. The white pepper and nutmeg add the savory. The paprika and cayenne pepper gives it just a pinch of heat, but not too much. The egg whites and cream of tartar deliver a delightful fluffy texture that is pure joy in every bite.

This recipe is courtesy of America’s Test Kitchen and will serve 4 to 6 people who will appreciate this warm, savory treat.

Ingredients for Cheese Soufflé:

1 ounce Parmesan cheese, grated (1/2 cup)
1/4 cup (1 1/4 ounces) all-purpose flour
1/4 teaspoon paprika
1/4 teaspoon salt 
1/8 teaspoon cayenne pepper 
⅛ teaspoon white pepper
Pinch ground nutmeg
4 tablespoons unsalted butter 1 1/3 cups whole milk
6 ounces Gruyère cheese, shredded (1 1/2 cups)
6 large eggs, separated
2 teaspoons minced fresh parsley
1/4 teaspoon cream of tartar

Adjust oven rack to middle position and heat oven to 350 degrees.

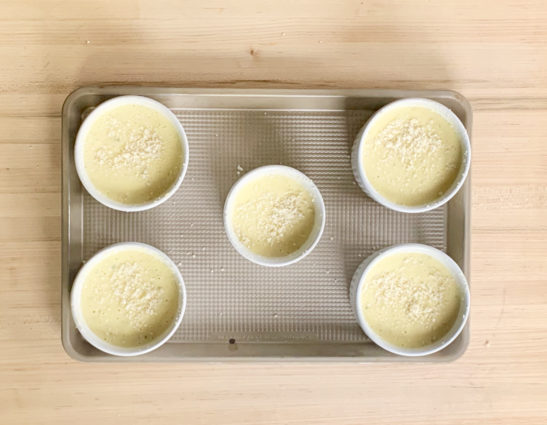
Spray 8-inch round (2-quart) soufflé dish with vegetable oil spray, then sprinkle with 2 tablespoons Parmesan.

I didn’t have an 8-inch round soufflé dish so I used a couple of smaller ramekin instead.

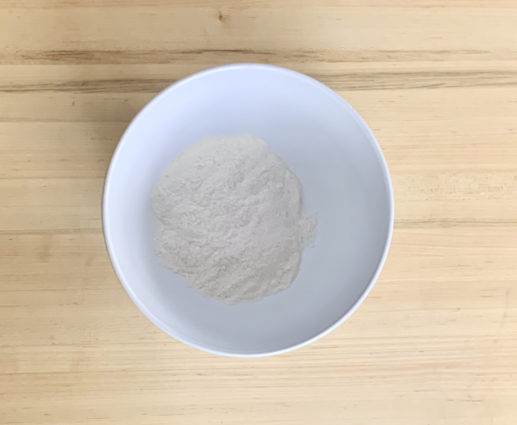
Combine flour, paprika, salt, cayenne, white pepper, and nutmeg in bowl.

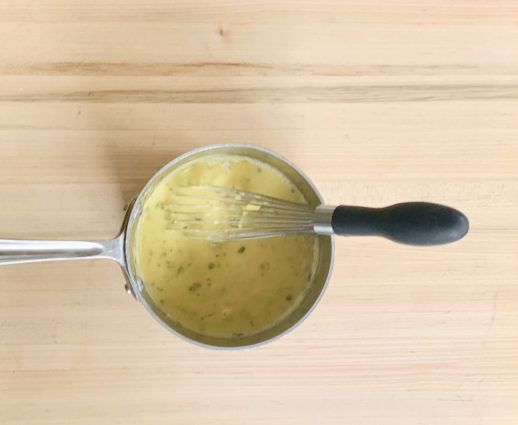
Melt butter in small saucepan over medium heat.

Stir in flour mixture and cook for 1 minute.

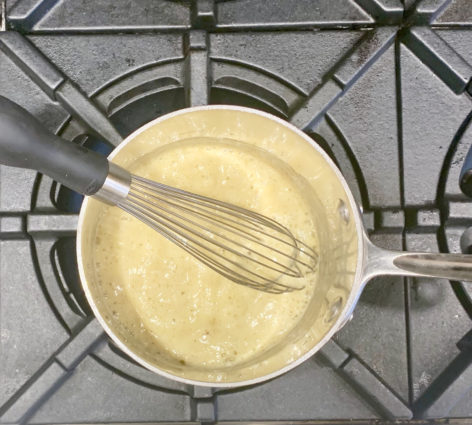
Slowly whisk in milk and bring to simmer.

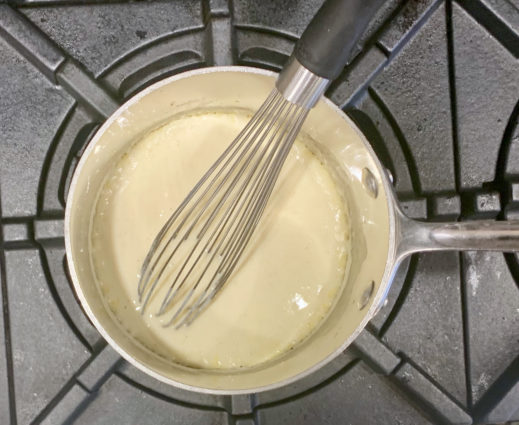
Cook, whisking constantly, until mixture is thickened and smooth, about 1 minute.

Remove pan from heat and whisk in Gruyère and 5 tablespoons Parmesan until melted and smooth.

Let cool for 10 minutes, then whisk in egg yolks and 1 1/2 teaspoons parsley.

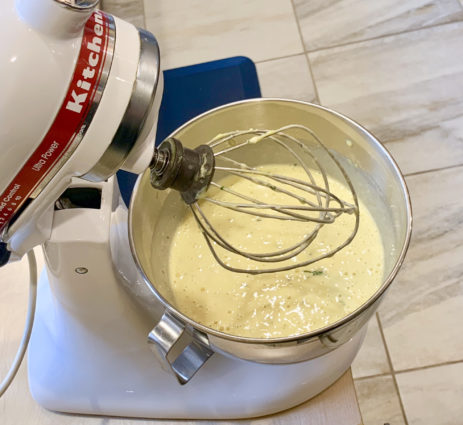
Using stand mixer fitted with whisk, whip egg whites and cream of tartar on medium-low speed until foamy, about 1 minute.

Increase speed to medium-high and whip until stiff peaks form, 3 to 4 minutes.

Add cheese mixture and continue to whip until fully combined, about 15 seconds.

Pour mixture into prepared dish and sprinkle with remaining 1 tablespoon Parmesan.

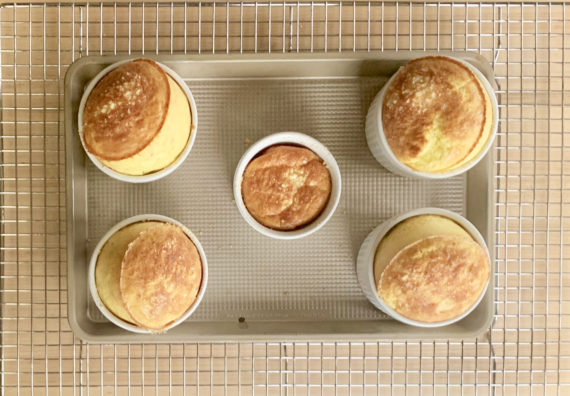
Bake until risen above rim, top is deep golden brown, and interior registers 170 degrees, 30 to 35 minutes.

Sprinkle with remaining 1/2 teaspoon parsley and serve immediately.

Boy, these look beautiful when they first come out of the oven, but, they flattened out fast! (See top photo.)

No worries, they still tasted amazing.

It’s that simple!
signature

[recaptcha]


In my years of cooking, I’ve come across all sorts of new things.  New fruits, vegetables, adjectives, technical terms, types of food, and even concepts.  We have julienne, umami, mise en place, and most recently, rillette. I’ve never come across this term before, and I’m excited to share what I’ve learned.

According to Antoine Westermann, “rillettes are meat, fish, or poultry that’s been chopped or shredded, seasoned with salt and pepper and preserved slowly in its own fat, the fat of another animal, olive oil, or butter to make a thick spread for sandwiches, crudité or pasta stuffing.” If you’re familiar with confit, this will sound familiar — the difference is that confit items are usually cooked and served whole, whereas rillettes are the result of shredding the confit. 

To me, that sounds like it could be a terrine too. So, I turned to Antoine Westermann, again and here is what he said about that. “A terrine is is a dish of ground meat, organ meat, seafood, vegetables, boiled eggs, herbs and/or other seasonings packed or layered in a ceramic or steel loaf-shaped mold, cooked in a water bath, cooled, turned out and sliced for serving. Sometimes an infused gelatin (called aspic) is set on top for a decorative effect that also adds an additional layer of flavor. Terrines can be par-cooked, wrapped in puff pastry and baked for ‘pâté en croute.’”

This made me think of a paté and again the famous chef came to the rescue. A paté is “a ground blend of meat, organ meat and herbs or seasonings. Some pâtés contain milk (for a smoother texture), egg (which helps it set in its mold), or bread (which helps stretch the ingredients and forms a firmer loaf). Pâté is often one element of a layered terrine, but it can be as simple as chicken liver mousse.”

Learning all this was a wonderful experience.  I’ve done so much in the kitchen already, but how joyous that there is so much more to learn!  All these variations, and I’ve never made anything more than chopped liver! When I saw this recipe, I knew I have to make it. These different preparations don’t sound like they are hard to make but I have a feeling it takes a lot of skill and experience. However, this particular appetizer was very easy and came together like a salmon salad would, with a little cooking involved. I also substituted parsley for the cilantro, because I just do not like cilantro– I’m sure many of you agree with me.

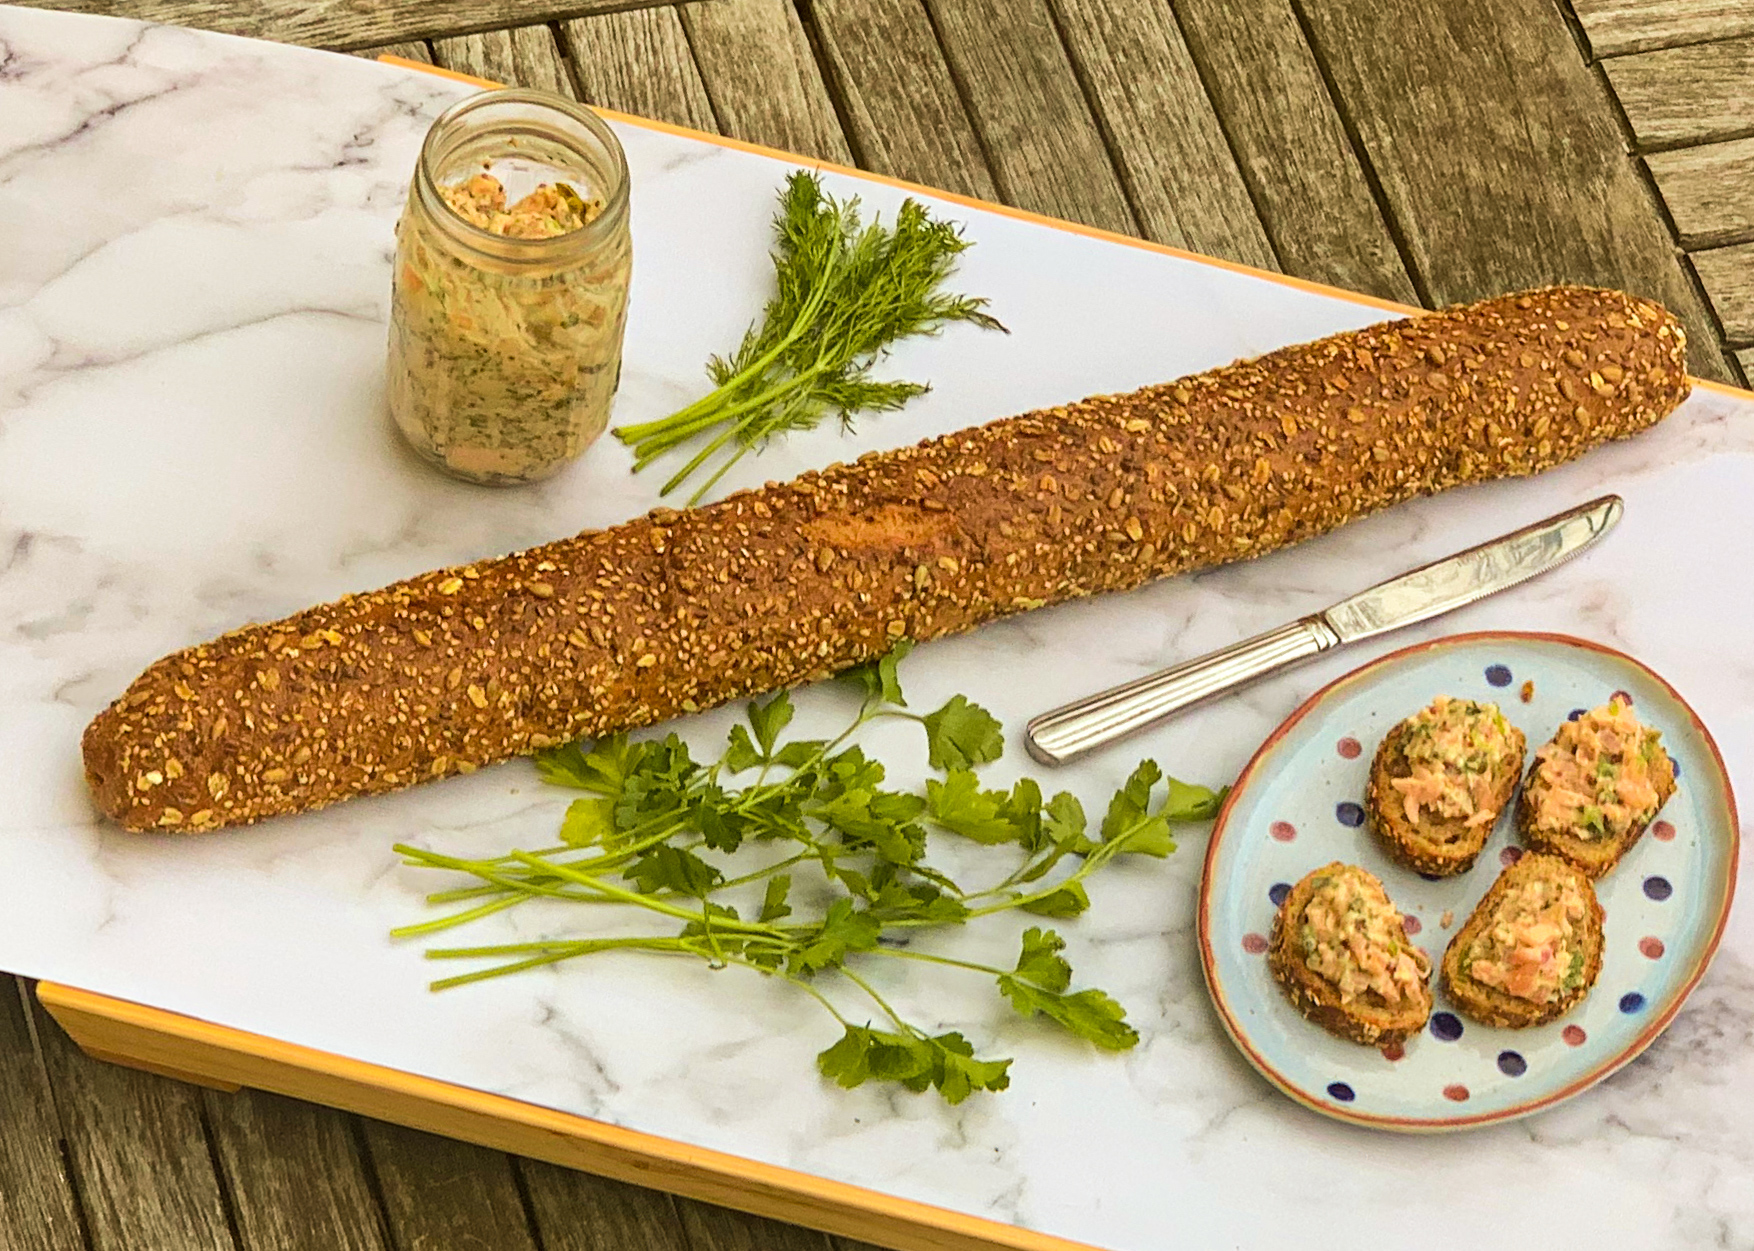
Turns out this rillette was a really fun way of trying to cook something completely new to me. The salmon combines deliciously with the dill, parsley, and capers. These ingredients are impeccably perfect together. The butter and mayonnaise gives it a creamy texture. The grainy Dijon mustard (along with the capers) give it tiny bursts of delicious flavor in every bite. The lemon zest added that tang and the scallions give it a touch of heat.  I love this and I know you will too. Serve it with a baguette, and you have an exquisite appetizer.

This recipe is courtesy of Dorrie Greenspan and will serve 6 people who will be inspired to try something new as well.

Ingredients for Honey-Mustard Salmon Rillettes:

2 scallions, trimmed, white and green parts minced
1 lemon
1/2 cup white wine, or white vermouth
1/2 cup water
Fine sea salt
6-8 ounces salmon fillet, fresh or frozen skin and any pin bones removed (see headnote)
2 tablespoons unsalted butter, softened
1 small shallot, minced (about 1 tablespoon), rinsed and patted dry
Freshly ground black pepper
1/4 pound smoked salmon, cut into thin strips or small squares
1/4 cup mayonnaise
2 tablespoons grainy Dijon mustard, (preferably french)
1/2 teaspoon honey
1 tablespoon capers, rinsed, patted dry and finely chopped if large
2 tablespoons minced fresh dill
1 tablespoon fresh minced cilantro
Crackers, toast or dark bread, for serving
Fresh herbs, minced or thinly sliced for serving (optional)

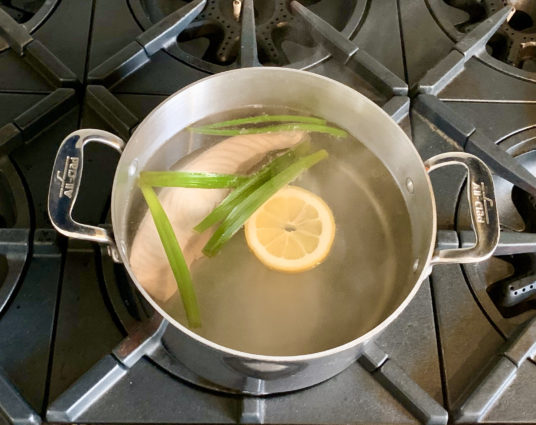
Toss the dark green scallion parts into a medium saucepan, add the wine, water and a pinch of salt and bring to a boil.

Drop in the salmon and lower the heat so that the liquid just simmers for a minute (3 minutes if the salmon is frozen), then remove the pan from the heat, cover and set aside for 10 minutes.

Drain the salmon (discard the cooking liquid) and transfer to a plate; refrigerate for 20 minutes. (You can refrigerate the salmon for up to 1 day; cover it once it has cooled.)

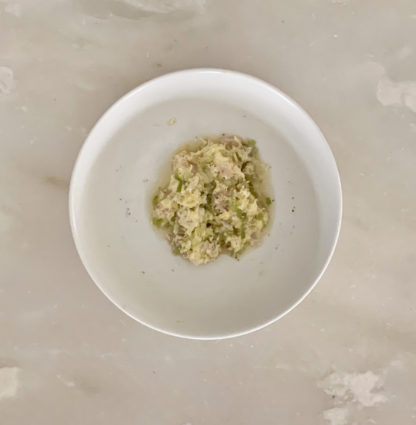
Using a flexible spatula and working in a medium bowl, beat the butter until it’s spreadable.

Grate the lemon zest over the butter, squeeze the juice from half of the lemon into the bowl and add the reserved minced scallions, the shallot, a pinch of salt and a few grindsof pepper.

Blend thoroughly, then stir in the smoked salmon.

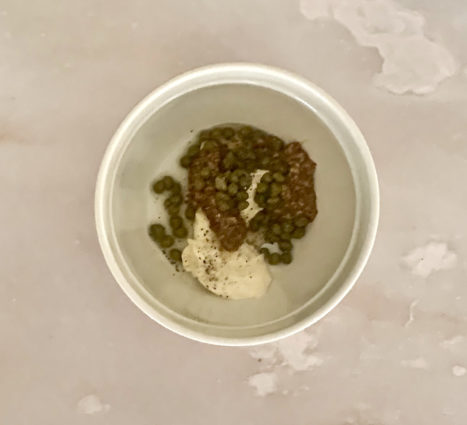
In another bowl, stir together the mayonnaise, mustard, honey and capers.

Squeeze a few drops of lemon juice into the bowl and stir in some pepper.

Scrape this out over the smoked salmon mixture and blend well.

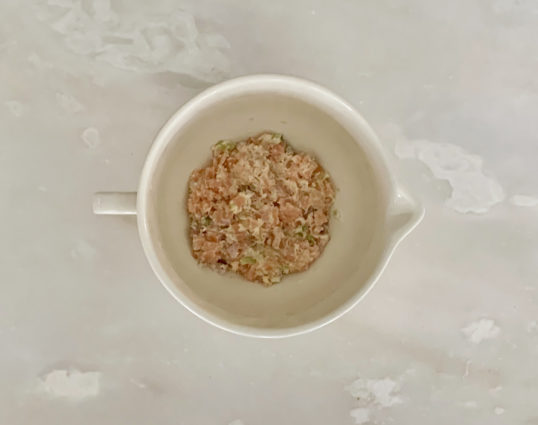
Remove the poached salmon from the fridge, cut it into bite-size pieces and gently stir them into the smoked salmon mixture — even if you’re extremely gentle, the salmon will flake and flatten; go with it.

Fold in the dill and cilantro, then taste for salt, pepper and lemon juice.

You can serve the rillettes now, but the flavor and texture are better if you pack them into a sealed container and refrigerate for at least 6 hours.

Serve with bread or crackers and, if you’d like, put out minced herbs that can be sprinkled over each serving.

It’s that simple!


signature

[recaptcha]


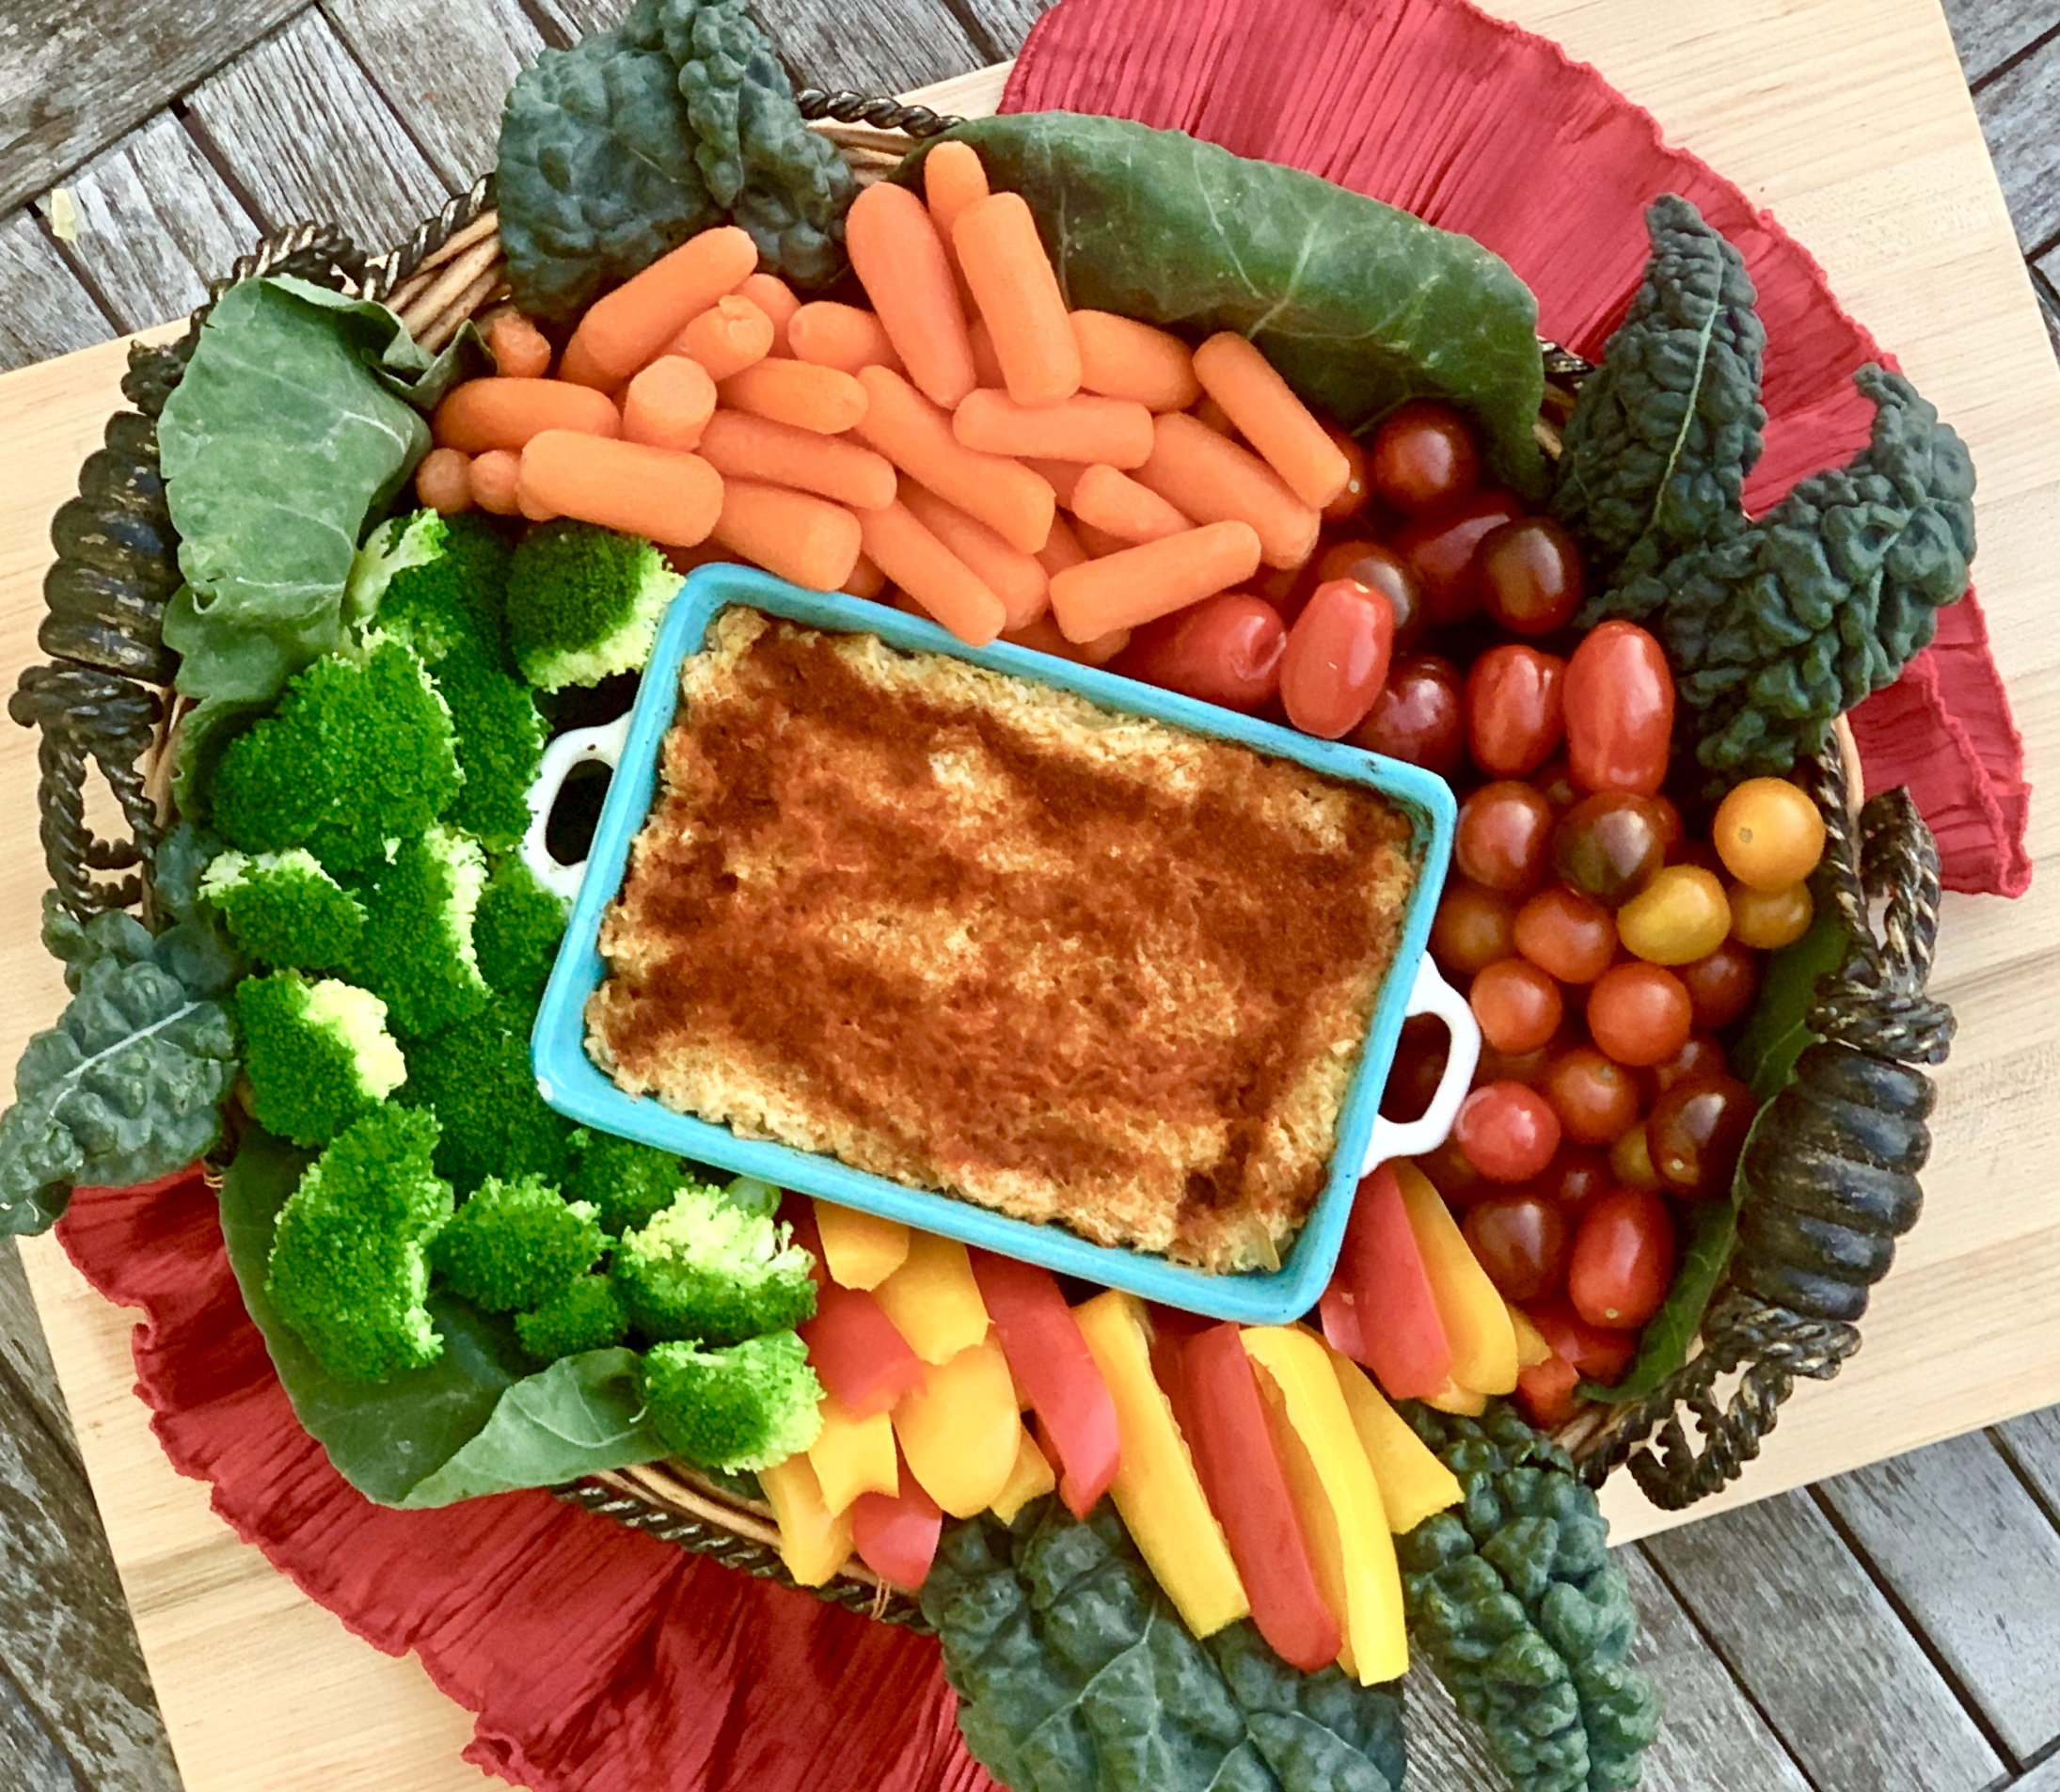
Throwing a party means carefully planning out everything from the table settings to the desserts. For me, the appetizers are the hardest part.  When I was growing up, our dinner parties never included real appetizers, only bowls of mixed nuts. Now, the appetizers are given as much thought as the entree. I think choosing an entree is often easier than the appetizer. Do you know the difference between the different types of appetizers out there?  Hors d’oeuvres are eaten with a knife and fork. Canapés are eaten with one’s fingers.  Crudités are raw vegetables that are served with dips.

There are so many options out there.  You want them to be easy to prepare, yet look appealing, and of course, taste delicious. You know appetizers must be on the menu, and it should be easy to choose, given all the options out there. But it is not. Nowadays, there are also dietary considerations that have to be explored. You would want to have a veggie only option, as well as a vegan or a gluten-free option. For fall or winter parties, pigs-in-blankets is a good choice. They are always my most eaten appetizer. If you are serving buffet-style, cheese and crackers, or vegetable crudités are good choices.

For food that people will eat with a toothpick, make sure you have a couple of receptacles in place for your guests to discard them. There is nothing worse than stepping on a used toothpick, or worse, seeing it on the table next to the food. Put napkins out so they are easily accessible to everyone. Encourage your family and friends to place a napkin on top of their drinks, and place the appetizer on top of the napkin.

I leave you with this advice: try to make appetizers that can be made a few days ahead and frozen. Just heat them up and they are ready to go. No fussing in the kitchen while your guests putter about.

I have been making this appetizer since I got married. All my guests love it and never get tired of it. You can make it a couple of days ahead and warm it, or cook it the day you will be serving it. I am so happy to finally be sharing it with you. This dish has a little bit of everything in it. The marination on the artichokes add big flavor, so be sure not to skip that step. The mayonnaise makes it creamy and easy to pick up. It has just the right amount of heat with the garlic and hot pepper sauce. The tang of the lemon is delightful and the Parmesan cheese blends beautifully with all the ingredients. Make this! You are going to love it!

This recipe is mine and when you serve it, it will make your guests positively jump for joy!

Ingredients for Artichoke Dip:

2 cans marinated artichokes
3/4 cup mayonnaise 
1 cup Parmesan cheese 
Juice of 1/2 lemon
2 garlic cloves, minced
3 drops hot sauce
5 tablespoons paprika

Preheat oven to 350 degrees.

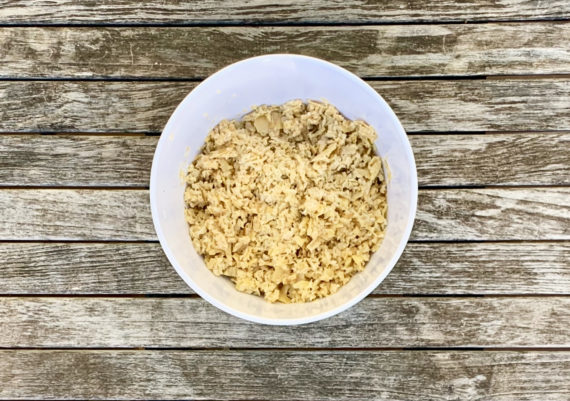
Drain, (but do not wash) artichokes and chop into small pieces (by hand or with a food processor.)

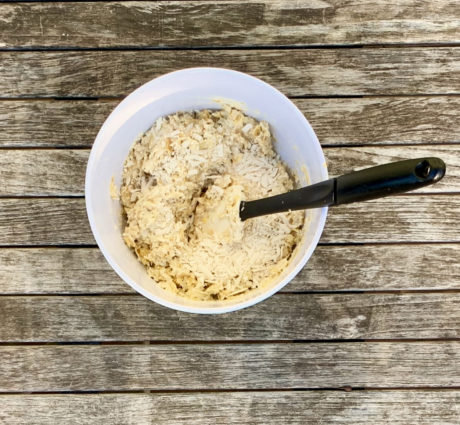
Add mayonnaise and Parmesan cheese.

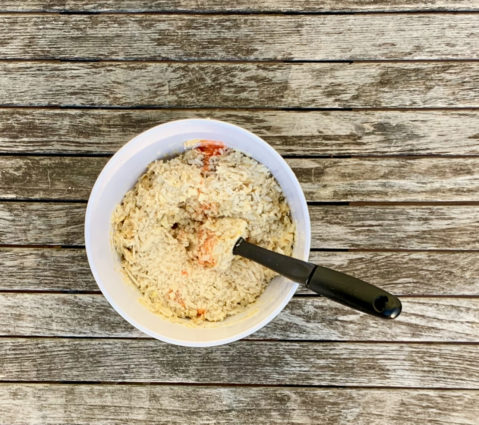
Stir in lemon juice, garlic and hot sauce to artichoke mixture.

Mix to combine.

Place into baking dish.

Sprinkle the top with paprika.

Bake for 1/2 hour.

Serve warm.

It’s that simple! 
signature

[recaptcha]