As I have surely mentioned before, my first job out of high school was teaching aerobic dance class — this was well before Zumba days, mind you! Aerobic dance was originated by a woman named Jackie Sorenson, who was from New Jersey. Being a New Yorker, New Jersey seemed like a foreign land to me. Little did I know I would end up here.

When I was asked to teach the class, I thought it would be easy. It was not. They had very strict requirements for their staff members. You had to maintain a certain weight, you had to be able to run an 8 minute mile, and you had to attend teacher training three times a year. Nowadays, these requirements would never be instituted. But I really wanted to teach, and I loved every minute of my ten years of it. Even though I’ve since stopped teaching, those requirements instilled a love of running that persists to this day.

When I moved to New Jersey, I began taking personal training lessons. During one of my sessions, my trainer taught me a bit of boxing, and I fell in love with the sport. Until that point, I had looked at boxing as a brutal sport. Learning it made me see it differently. I loved the fast pace of it, and as a woman, it empowered me. I will never be Mohamed Ali, but I put all my effort into it and became the best boxer I could be. 

It was around that time that I started running more seriously too. I cannot run in the hot weather (my body does not like the heat), but during the fall and winter months, I am so happy to be out there. It also makes me feel strong and has made my body muscular again. Yet another reason to love the colder weather!

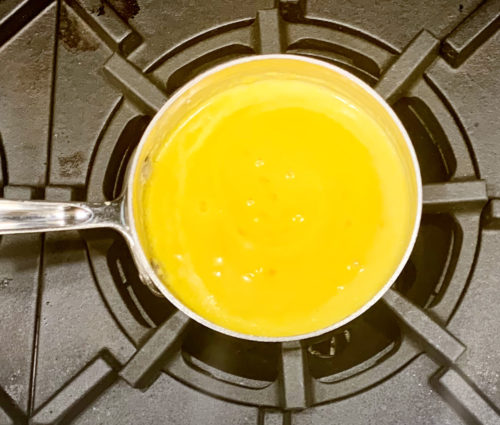
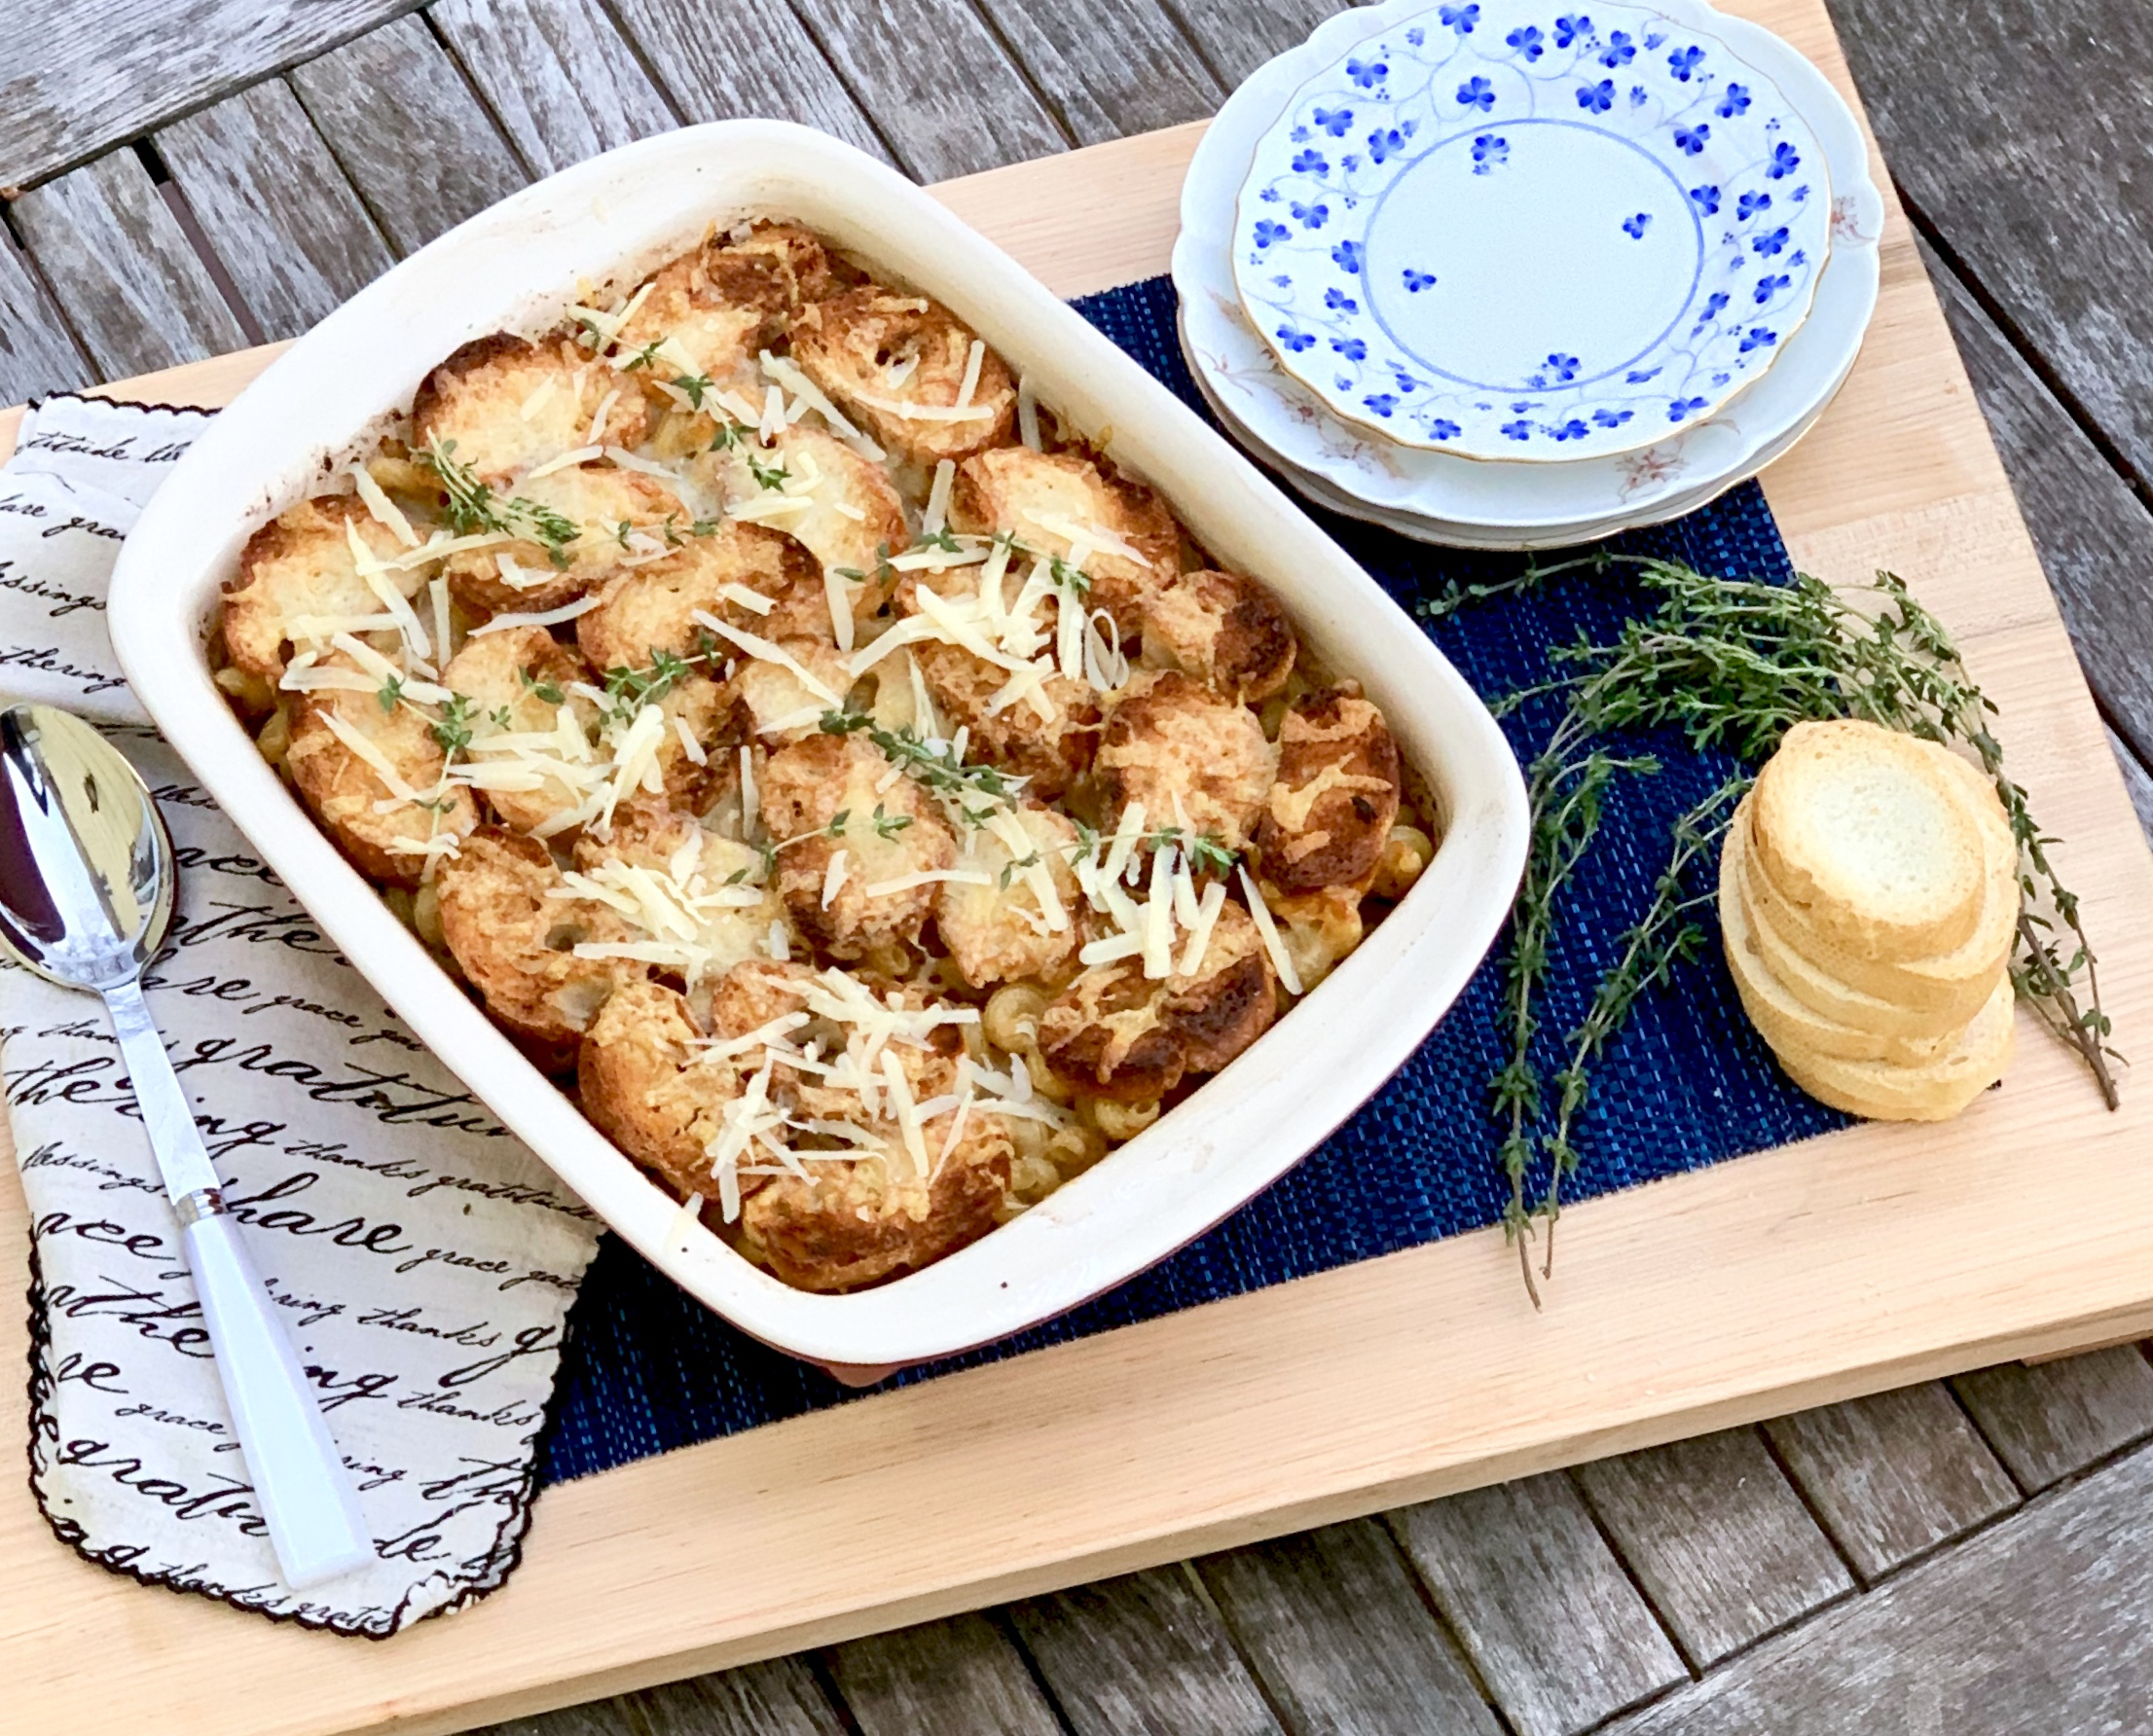
After a cold run, there is nothing better than a warm plate of comfort food.  This is the perfect dish to satisfy those cravings. In fact, it is two classic comfort foods made into one. How amazing is that?! The instructions are perhaps longer than usual, so be sure to prepare your mise en place, and to dread through the recipe completely. The sauce is made with Gruyere cheese, which is used in French onion soup. The addition of the Cheddar makes it creamy and smooth. The onions are beautifully caramelized, giving it homey goodness. Add some vinegar for a little tang and you’re all set. This dish is so delicious and satisfying! It is a “must try now”.

This recipe is courtesy of NYT cooking and will serve 6 to 8 people who will love warming up with this beautiful homestyle mac and cheese

Ingredients for French Macaroni and Cheese:

Kosher salt
4 tablespoons unsalted butter, plus more for greasing the pan
2 pounds yellow or Vidalia onions, peeled, halved and thinly sliced
5 sprigs fresh thyme, plus more thyme leaves for garnish
1 fresh or dried bay leaf (optional)
Black pepper
1 pound cavatappi or elbow pasta
1 baguette, cut into 1/2-inch slices
1 garlic clove
2 tablespoons sherry vinegar, red wine vinegar or white wine vinegar
3 tablespoons all-purpose flour
4 cups whole milk
16 ounces Gruyère, grated (about 5 cups)
12 ounces white Cheddar, grated (about 4 cups)

Bring a large pot of salted water to a boil. (If you’re planning to bake the macaroni and cheese in a baking dish instead of a skillet, butter 9-by-13-inch baking dish or other 3-quart casserole.)

Meanwhile, in a deep, large (12-inch) ovenproof skillet, melt 2 tablespoons butter over medium-high heat.

Add the onions, thyme sprigs, and bay leaf, and season with salt and pepper.

Cover with a lid, baking sheet or foil and cook, stirring once or twice, until the onions are softened, 3 to 5 minutes.

Uncover and continue to cook on medium-high, stirring occasionally, until deep golden brown, 20 to 25 minutes.
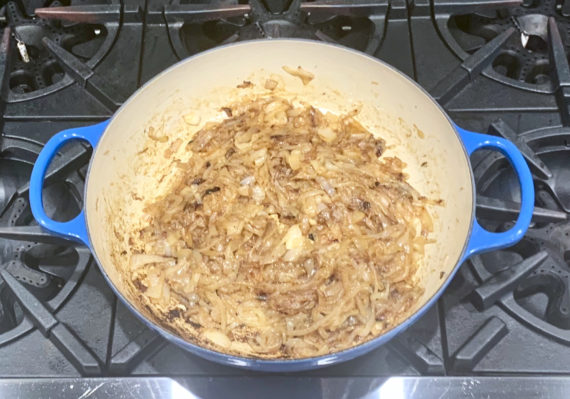
If the onions look dry, add a few tablespoons of water at a time to prevent them from burning, scraping up any browned bits that are stuck to the bottom of the skillet. (You will need to do this several times.)

While the onions are cooking, heat the oven to 450 degrees.

Cook the pasta in the boiling water until 2 minutes shy of al dente; drain and set aside.

Rub one side of each baguette slice with garlic.

When the onions are a deep golden brown, discard the thyme sprigs and bay leaf and deglaze the skillet with the vinegar until evaporated, scraping up browned bits as you go, about 30 seconds.

Add the remaining 2 tablespoons butter.

When melted, add the flour and cook, stirring, until the flour begins to stick to the bottom of the pan and has turned a light golden brown, about 3 minutes.

Slowly whisk in the milk and season with salt and pepper. Bring to a simmer, whisking often.

Reserve 1 cup of the Gruyère.

Carefully add the remaining Gruyère and all the Cheddar to the caramelized onion mixture and carefully stir until melted.
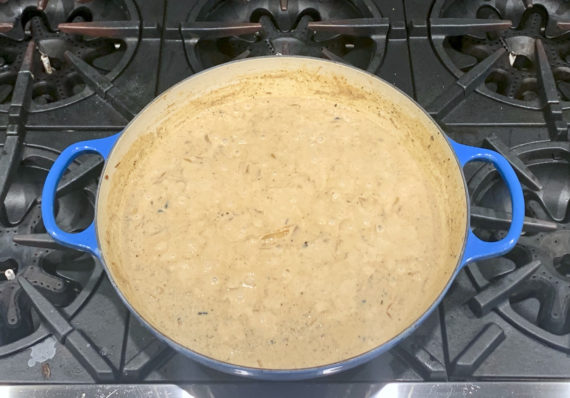
If your pan is big enough, add the cooked pasta and stir to combine, or combine the sauce and pasta in the prepared dish.
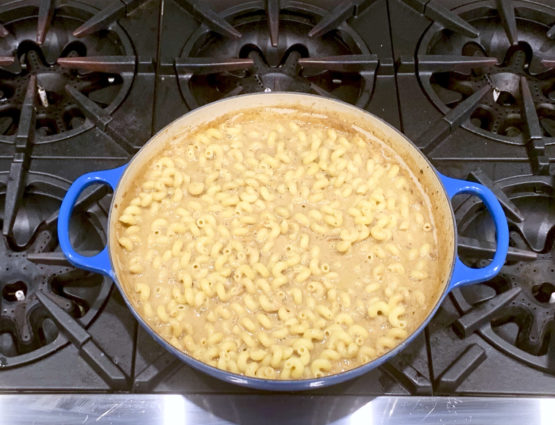
Spread the pasta mixture in an even layer in the prepared dish.
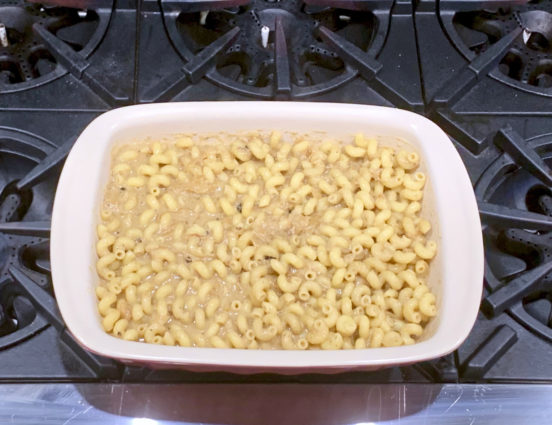
Top with the baguette slices, garlic-side up.
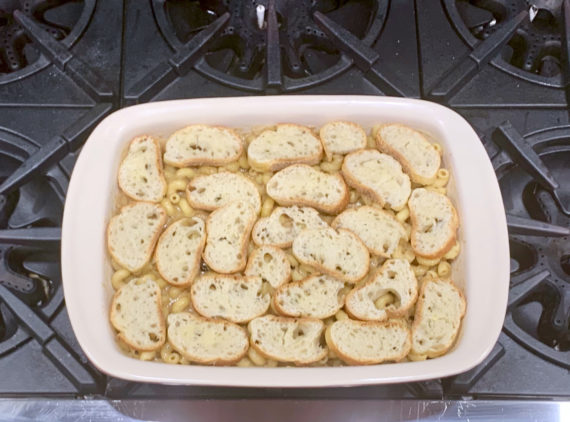
Sprinkle the toasts with the reserved 1 cup Gruyère and season with pepper.
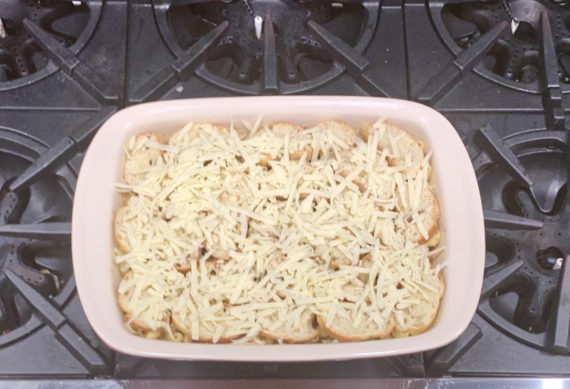
Place the skillet or dish on a sheet pan and bake until bubbly and brown in spots, 10 to 15 minutes.
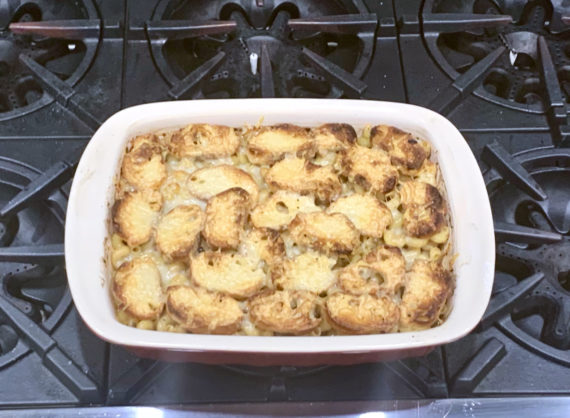
If you like a crispier top, broil for a few minutes.

Let cool slightly, then garnish with fresh thyme leaves.

This one isn’t as simple, but it sure is worth it!


signature

[recaptcha]


Most folks love apples. They are good any time of the day, from chopped apples in your morning oatmeal, to placing them in between two slices of turkey for lunch, or cutting them into sticks and served in a stir fry for dinner. Eat them raw with peanut butter as a snack, or bake them into a lovely fall dessert.

We know that apples are a healthy treat as well as a delicious one.  The old saying “an apple a day keeps the doctor away” turns out to be based in fact as well. Apples are a great source of vitamin C, potassium, and fiber. They also contain pectin, which becomes food for healthy gut bacteria. As it turns out, they are also are rich in antioxidants and phytonutrients that may reduce the risk of developing cancer, hypertension, diabetes, and heart disease.

But which apples are best to cook for specific recipes? Here are a few recommendations based on the Farmer’s Almanac:

Braeburn: Tart, sweet, aromatic, tall shape, bright color, best for applesauce.

Cortland: Tart, crisp, larger than McIntosh, best for pies, fruit salad, and applesauce.

Fuji: Sweet, juicy, firm red skin, best used for baking.

Gala: Mild, sweet, juicy, crisp, yellow-orange skin with red striping (resembles a peach), best used for cider.

Granny Smith: Moderately sweet, crisp flesh, green skin, best used for baking.

Jonagold: Tangy-sweet, yellow top, red bottom, best used for pies and applesauce.

McIntosh: Juicy, sweet, pinkish-white flesh, red skin, best used for applesauce.

Rome Beauty: Mildly tart, crisp, greenish-white flesh, thick skin, best used for baking and cider.

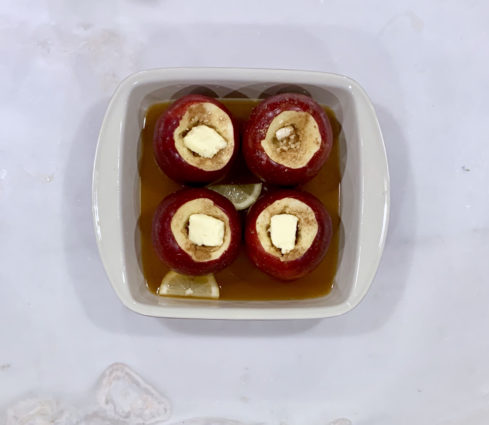
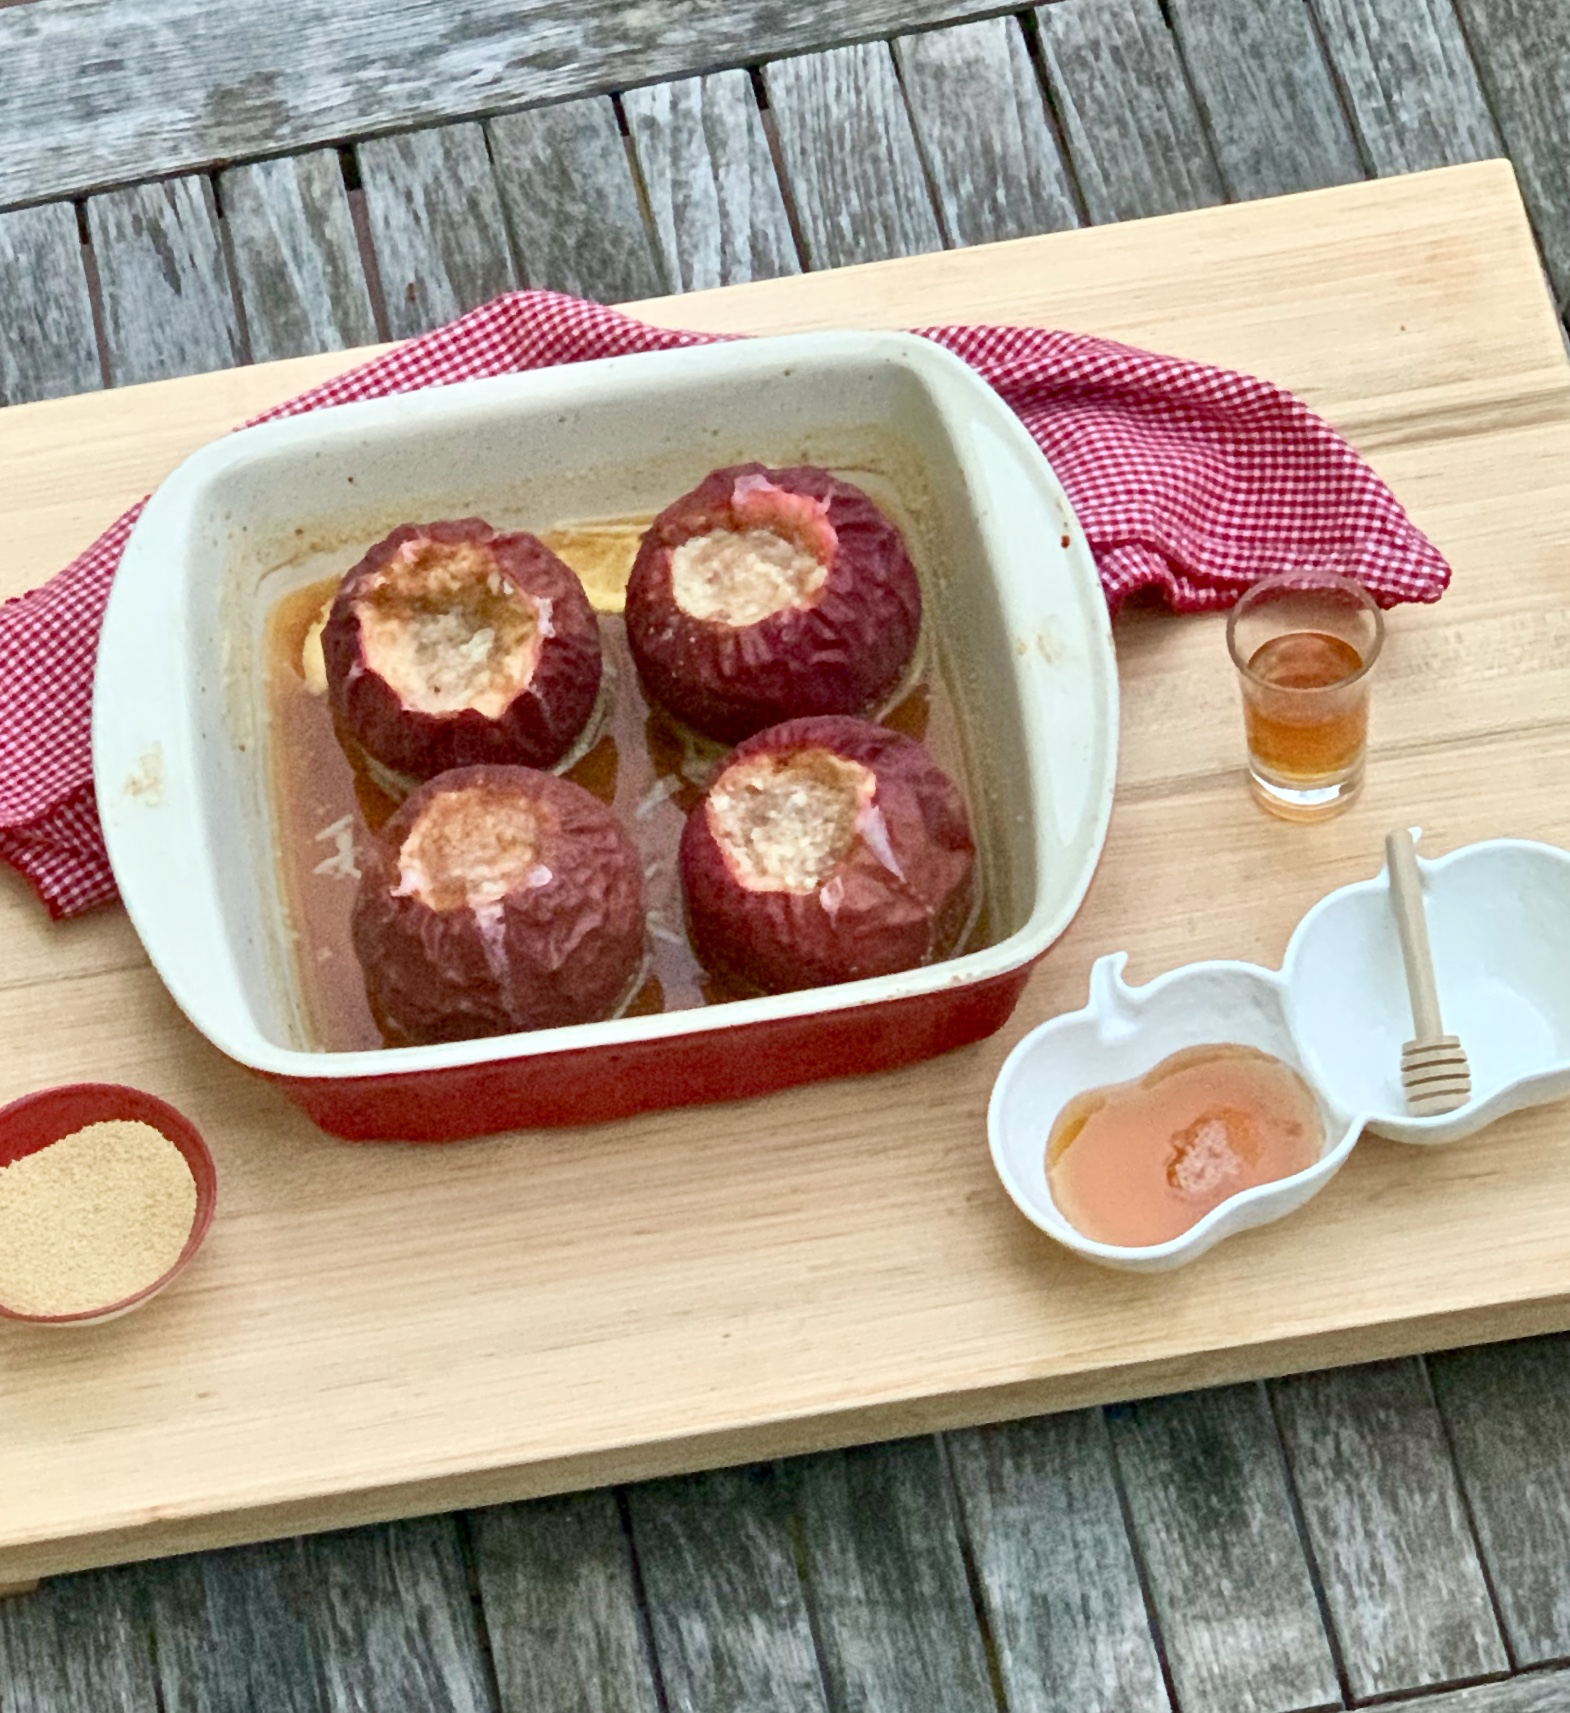
I used beautiful, deep red Rome apples for this recipe. I’m sure a lot of you have your own baked apple recipe, but surely some who do not. I never had one growing up, and it wasn’t until I was married for several years before I even tried one. Now I am hooked.

This sweet treat is rich in savory wholesomeness. It is a very simple, old-fashioned dessert. The sweet honey and brown sugar, combined with the cinnamon and nutmeg make this a delicious, luscious delicacy. Perfect for a cool, fall day— or any other day!

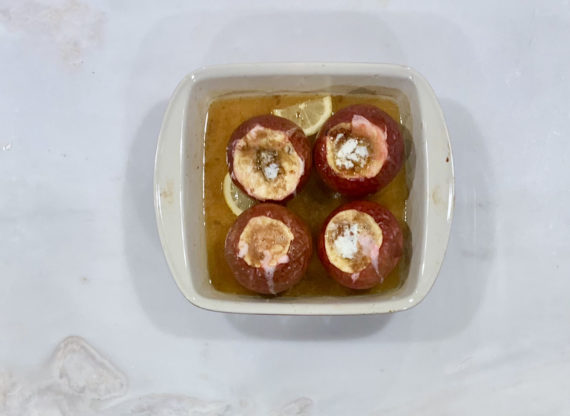
They do not photograph well after baking, hence the feature.  

Better to just eat them.

This recipe will serve 4 people who will feel the fall spirit.

Ingredients for Baked Apples:
4 large baking apples, like Rome Beauty
2 lemon wedges
2 to 3 dried apple rings, cut into bits
1 teaspoons honey for each apple, plus 1-2 more for liquid
A pinch of nutmeg for each apple
A pinch of cinnamon for each apple
1/2 teaspoon brown sugar for each apple
1 tablespoon salted butter
1 cup apple cider or juice
1/4 cup bourbon
Heavy cream, whipped cream or ice cream, for serving (optional)
Cinnamon, for dusting (optional)

Center a rack in the oven and heat to 375.

Line a baking sheet with parchment paper or foil, and set a 9- or 10-inch glass pie dish on top.

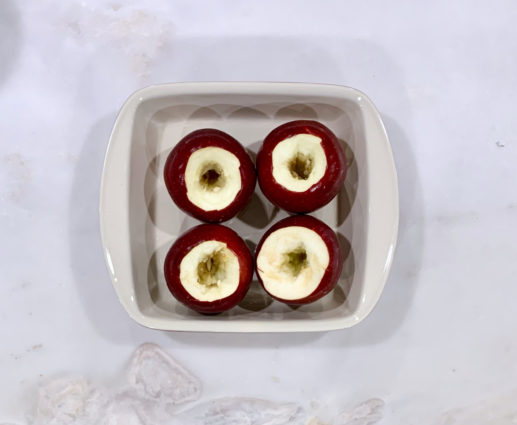
Cut a small cap off the top of each apple.

Using a paring knife or corer, core the apples, making sure not to go all the way to the bottom.

Cut away and reserve about 1/2 inch of peel around the tops of the apples.

Rub the peeled portions of the apples with the lemon, squeezing a little juice into each opening.

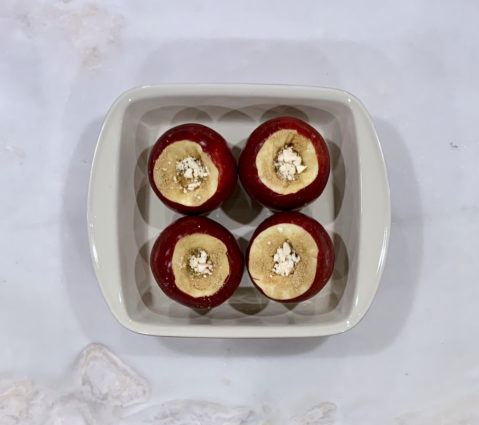
Fill each apple with an equal amount of dried apple, pressing down lightly as needed to push bits into the opening.

Pour 1/2 teaspoon honey and sprinkle brown sugar over the dried fruit in each apple.

Top with a pinch of nutmeg and cinnamon.

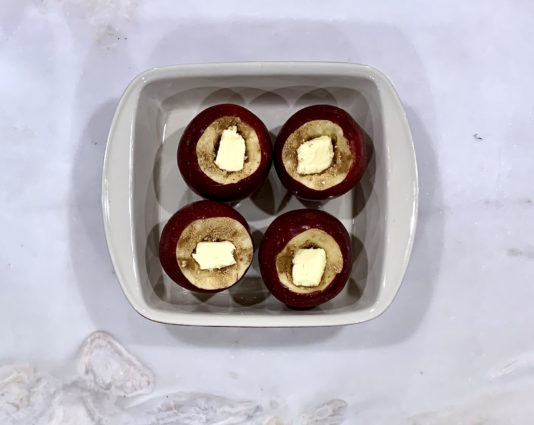
Cut the butter into 4 pieces, and top each apple with a pat. 

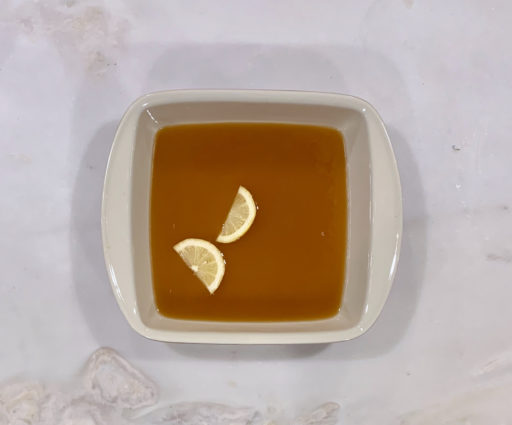
Take apples out of dish; set aside.

Pour in the cider or juice, bourbon and stir in 1 to 2 teaspoons honey.

Add lemon wedges and a few of the reserved peels into the pie dish. 

(The honey won’t blend evenly into the cider, and that’s fine.)

Add apples back into baking dish.


Bake the apples, basting occasionally with the cider mixture, until you can poke them with a skewer or the tip of a knife and not meet much resistance, 50 to 70 minutes.

Since apples are so variable, check early and often, as you might need more or less time.

It’s that simple!

signature

[recaptcha]


My Aunt Esther loves to read cookbooks. So does my friend Beth. I never understood that… Until I started learning to cook. Turns out, once I got started, I never stopped– I now own hundreds of cookbooks that I use to find recipes to share with all of you.

I read every cookbook from start to finish and use a stickie to mark off the recipes I want to try. I know I will never get to them all, but it doesn’t hurt to try. While I also use the internet to find recipes, I will never stop buying and reading cookbooks. I love to see the covers, turn the pages, and look at the beautiful pictures that accompany them. I find the pictures especially intriguing because I am in awe of both the presentation and the quality of the photography. People are so imaginative and clever, I wish I were one of them.

Over the years, I’ve learned a thing or two about using cookbooks.  I’m sure that many of you take the book and use it while you are preparing the recipe. I used to do it too, but I found that this is a one way trip to a dirty book with pages that are stuck together forever. Yuck! My advice to you is to make a copy of the recipe you are using. This way the recipes in your book will stay clean and crisp and will always look brand new, and you’ll never have to worry about peeling two pages apart.

When I find a recipe I would like to use, I also search the internet for similar recipes. Then I write down all the ingredients I want to add and make it my own. It takes time and effort, but I enjoy doing this and feel especially accomplished when my recipe turns out to be, as we call it in my home, “blog-worthy.” Sometimes it takes many tries to do this, and I have certainly made countless recipes that have ended up in the garbage.  Only the best of the best make it to the blog for you.

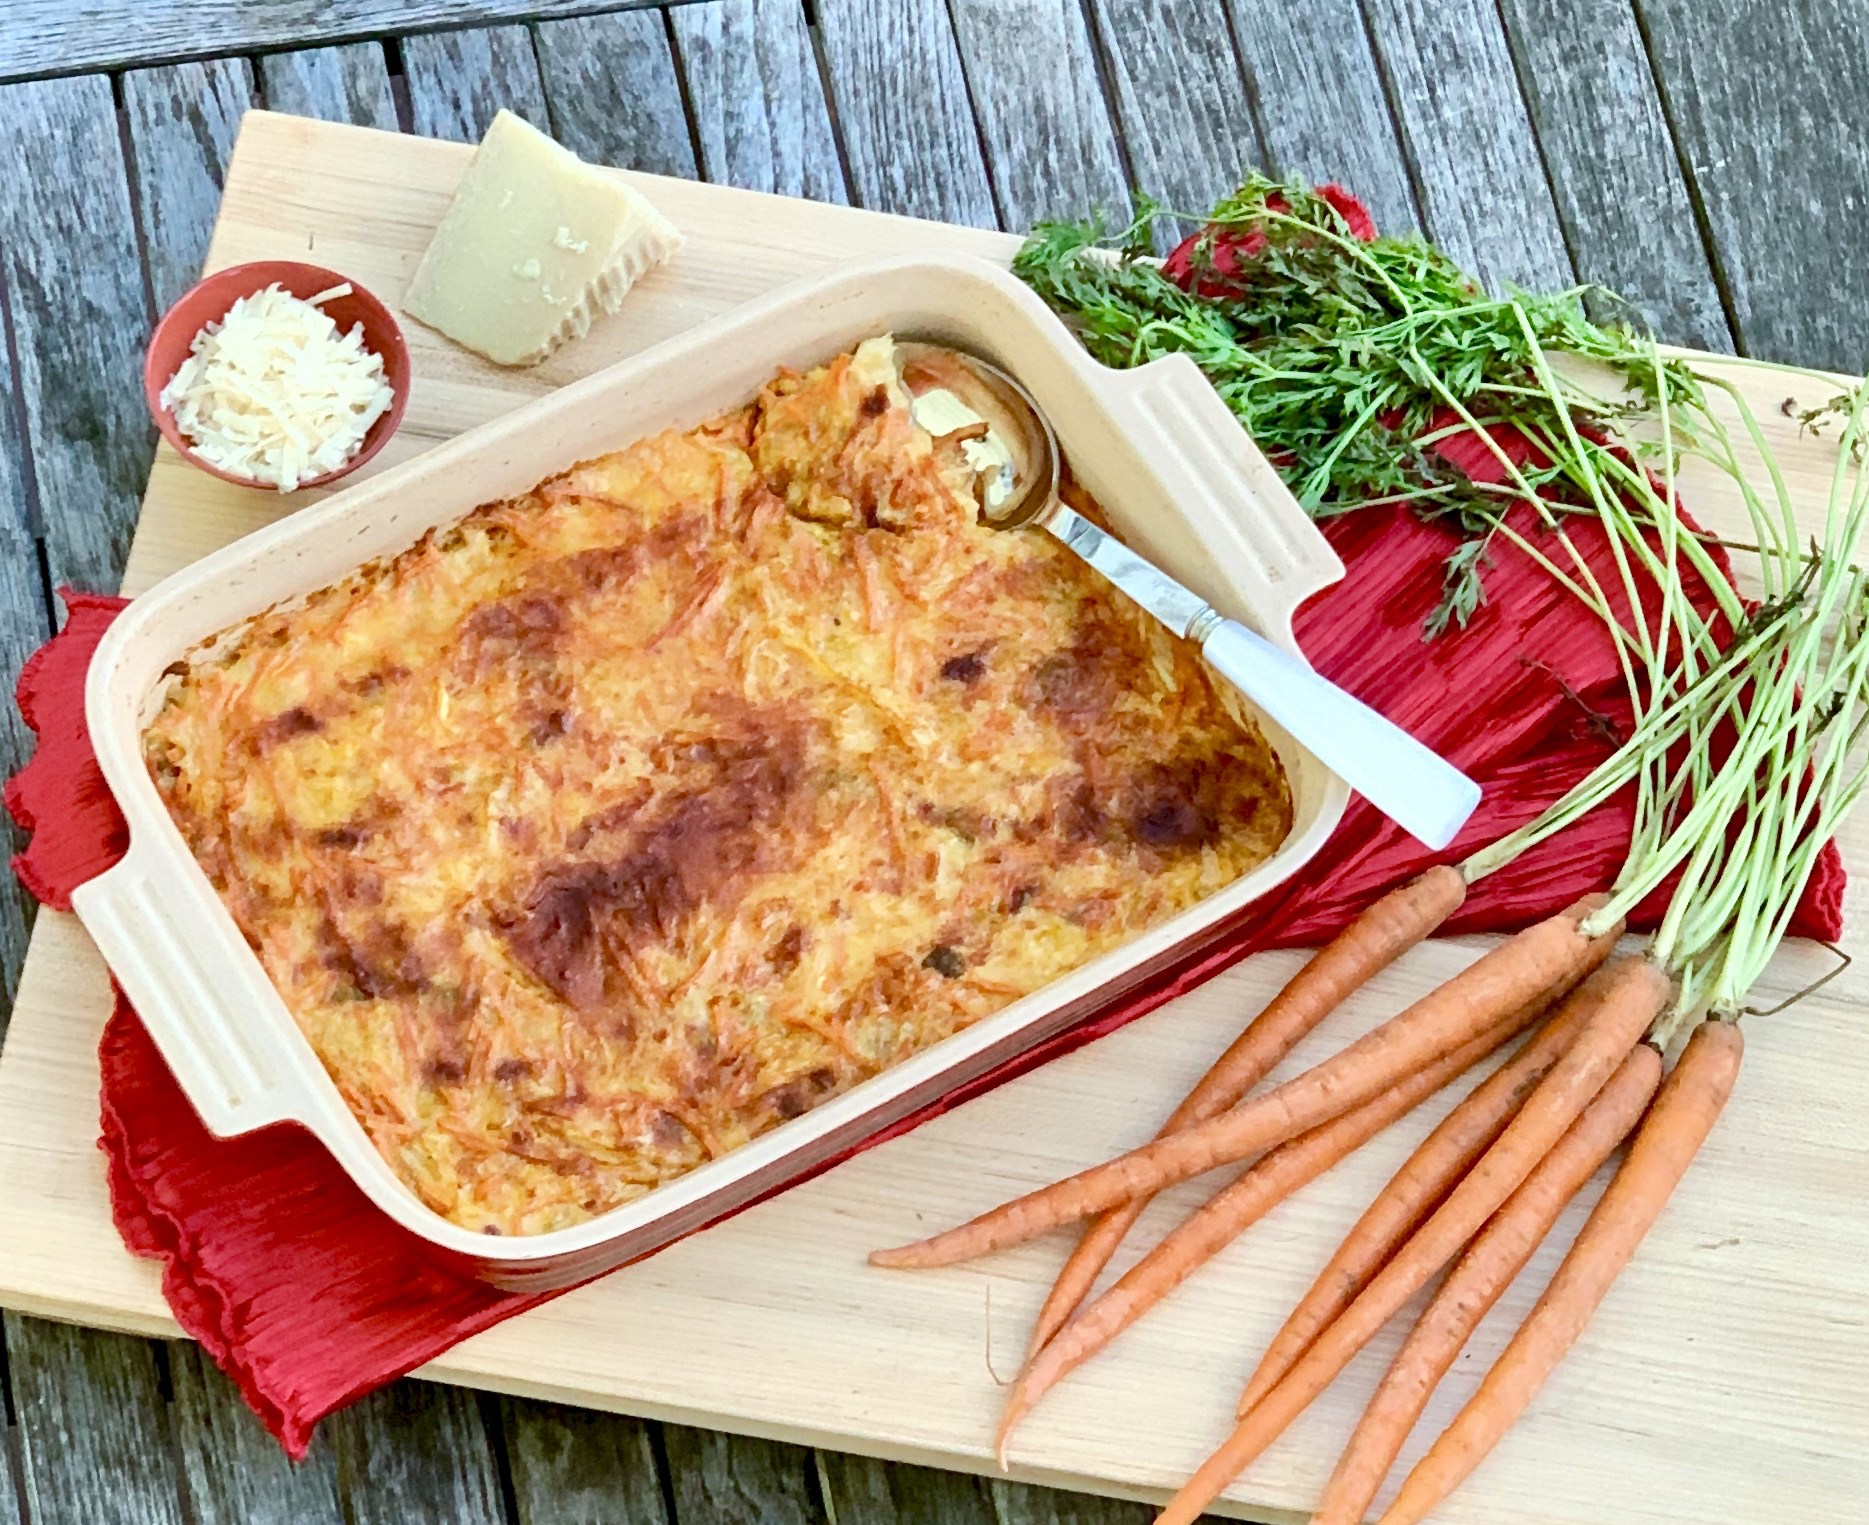
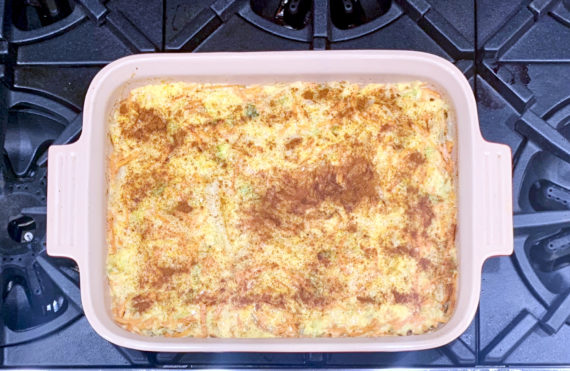
This casserole is so easy to make and makes a beautiful presentation. The carrots and cabbage give it a little bit of crunch. It is topped off with lots of gooey cheesy goodness. The paprika gives it just the right amount of heat. This would be a great addition to any Thanksgiving menu.

This recipe is not my own, but courtesy of Allrecipes and will serve 6 to 8 people who will want the recipe printed to take home for themselves!

Ingredients for Carrot-Cabbage Casserole:

2 cubes chicken bouillon
2 cups water
2 pounds cabbage, sliced into thin strips
2 large carrots, grated
2 tablespoons butter
2 tablespoons all-purpose flour
1/2 cup milk
2 ounces shredded Cheddar cheese, or more to taste
1/4 teaspoon paprika, or to taste

Preheat oven to 350 degrees F (175 degrees C).

Dissolve bouillon cubes in water in a large pot over medium-high heat. 

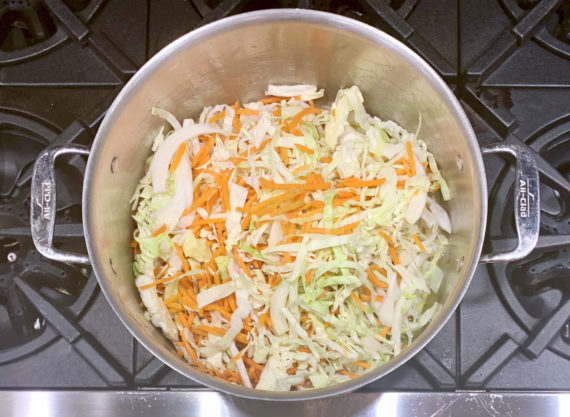
Cook cabbage and carrots in the seasoned water until tender, 20 to 30 minutes. 

Drain, reserving 1/2 cup of the cooking liquid. 

Transfer cabbage and carrots to an 8×11-inch casserole dish.

Melt butter in a saucepan over medium heat.

Stir flour into melted butter until hot, about 1 minutes.

Pour reserved cooking liquid and milk into the flour mixture; stir until smooth.

Add cheese to milk mixture; cook and stir until cheese is melted and the mixture is smooth and thick.

Pour cheese sauce over cabbage and carrots; stir to coat. 

Season with paprika.

Bake in preheated oven until hot and bubbly, 20 to 30 minutes.

It’s that simple!

Mitzie is too funny!

signature

[recaptcha]


Many of our friends have grown children who have moved out and are living independently. Most of those empty nesters are selling their homes and downsizing to smaller homes or apartments– they have no need for so much space any longer.

As luck would have it, my two sons are back at home living with us. We are delighted to have them here, but I close the door to their rooms every day so I do not have to look at or deal with the mess within. I had them both cleaned out so nicely and that certainly did not last for long. Even still, I am happy to have them home, cooking for them and eating as a family. 

Looking at it from the other side, people usually renovate their homes for aesthetic reasons or to create more space for their families. Recently, my family has grown quite a bit.  We have new nieces/nephews, and cousins are getting married and having children too. All of them are invited to my home for Thanksgiving, no matter what. When I suggested an addition to our house, my husband was flabbergasted. But he knew I had my heart set on it, and understood the reasoning. That was about three years ago and we are enjoying our newly renovated space even more than we imagined!

Every year, my married nieces and nephews switch off whose home they go to for the holidays. I have to admit, I miss them if they are not with me. I like to think they would rather be at my home because our Thanksgiving is fun and special and just plain wonderful. We cook together, eat together, and even hire a bartender, so it is a big, big festive occasion. This year, I am so excited to be hosting them all back at my home.

Now that my niece’s shower is over (pictures to come!) I have one more wedding and onto Thanksgiving. Cooking has not been a priority for me with all the whirlwind events happening, so it has become time to practice what I preach and keep my menus simple. This recipe is a rare find– both my boys love it!

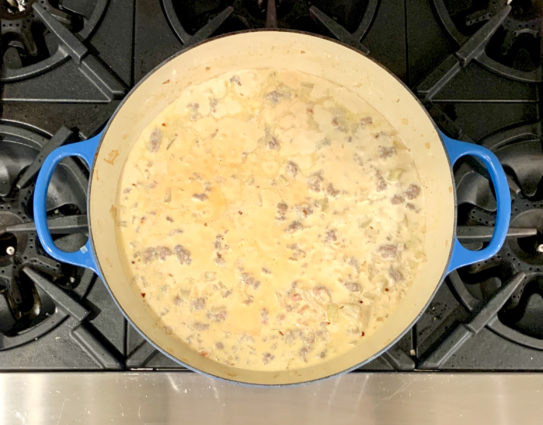
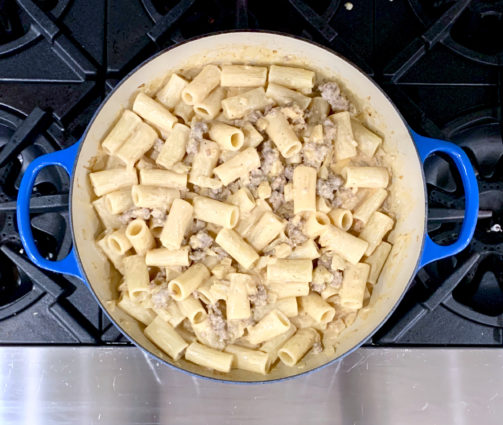
Besides being a picky-eater pleaser, this pasta dish is also one of my favorites. The sweet Italian sausage brings not only a sweet flavor to it but a wonderful texture as well. Despite the name, the heavy cream and half and half make it creamy, not heavy. It is just the right amount. The true star of the dish is fennel, both the seeds and the fresh plant itself. If fennel isn’t your thing, just leave them out– you will still have a tasty, hearty pasta, but you will be missing out. These two ingredients are the secrets that give this dish it’s rich, magical taste. And of course, topping it off with Parmesan makes this dish a wonderful new comfort food. It is easy to make and worth every minute.

This recipe is courtesy of Ina Garten and will serve 6 people who will add this to their list of favorites.

Ingredients for Rigatoni with Sausage and Fennel:

3 tablespoons good olive oil
3 cups chopped fennel (1 large bulb)
1 1/2 cups chopped yellow onion
1 1/4 pounds sweet Italian sausages, casings removed
2 teaspoons minced garlic (2 cloves)
1/2 teaspoon whole fennel seeds, crushed with a mortar and pestle
1/2 teaspoon crushed red pepper flakes
Kosher salt and freshly ground black pepper
1 cup dry white wine
1 cup heavy cream
2/3 cup half-and-half
2 tablespoons tomato paste
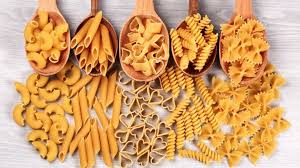
1 pound rigatoni
1/2 cup chopped fresh parsley leaves
1 cup freshly grated Italian Parmesan cheese, divided

Heat the olive oil in a large heavy pot or Dutch oven, such as Le Creuset, over medium heat.

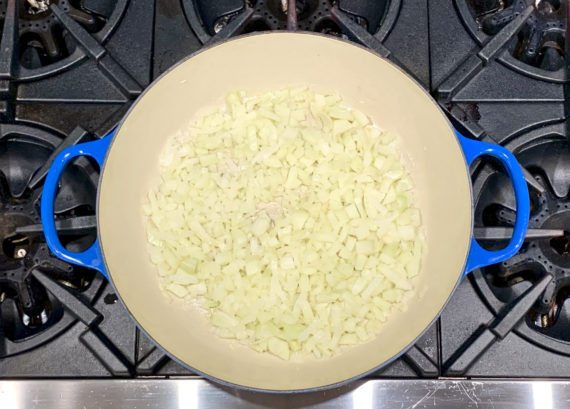
Add the fennel and onion and saute for 7 minutes, stirring occasionally, until tender. Add the sausage and cook for 7 to 8 minutes, crumbling it with a fork, until nicely browned.

Add the garlic, crushed fennel seeds, red pepper flakes, 2 teaspoons salt, and 1 teaspoon black pepper and cook for one minute.

Pour in the wine, bring to a boil, and add the heavy cream, half-and-half, and tomato paste.

Bring back to a boil, lower the heat, and simmer for 20 minutes, until the sauce has thickened.

Meanwhile, bring a large pot of water to a boil, add 2 tablespoons salt, and cook the rigatoni according to the directions on the package.

Drain and add to the sauce, stirring to coat the pasta.

Cook over low heat for 5 minutes to allow the pasta to absorb the sauce.

Off the heat, stir in the parsley and 1/2 cup of the Parmesan.

Serve hot in shallow bowls with the remaining 1/2 cup Parmesan on the side.

It’s that simple!

signature

[recaptcha]


I love the recipes from Sally’s Baking Addiction. It sounds like she is really in your kitchen talking to you.  She also offers helpful tips to avoid common kitchen disasters. I’ve found many of her tips useful for general cooking, but here are a few specific to today’s pound cake recipe.  I’ve paraphrased for clarity.

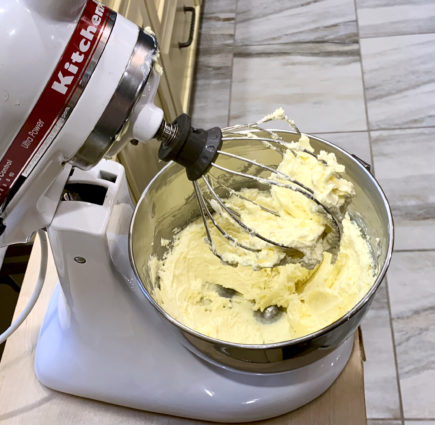
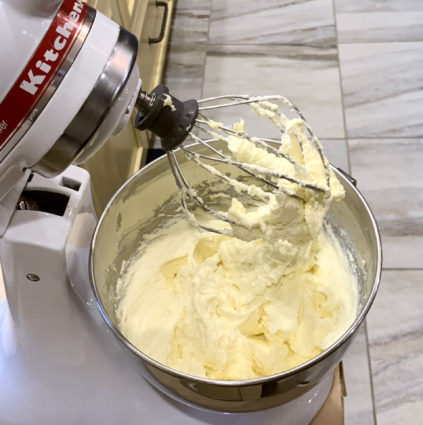
  1. Mix, mix, mix: Beat the butter until creamy. Add the cream cheese, then beat the two until smooth– get all the cream cheese lumps out now. Beat in the sugar, then add the sour cream and vanilla. It sounds like a lot of mixing, but that’s okay!
  2. 1 egg at a time: Add the eggs 1 at a time, making sure each is incorporated before adding the next. When the eggs are room temperature, the mixer only needs a few turns and won’t over-mix them. Over-mixed batter = boat anchor cake.
  3. Add dry ingredients: Add the dry ingredients right into the same mixing bowl.
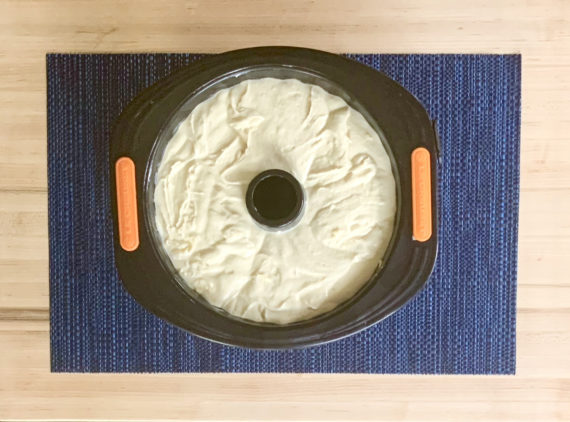
  4. Pour into pan: Pour the batter into a generously greased 10 to 12 cup bundt pan. Make sure the size is correct on this one.
  5. Bake: Bake the cream cheese pound cake at 325°F (163°C). Halfway through baking, loosely tent the cake with aluminum foil to prevent over-browning.
  6. Cool, then invert: Let the pound cake cool for about 2 hours in the pan, then invert onto a serving plate and cool completely before serving.

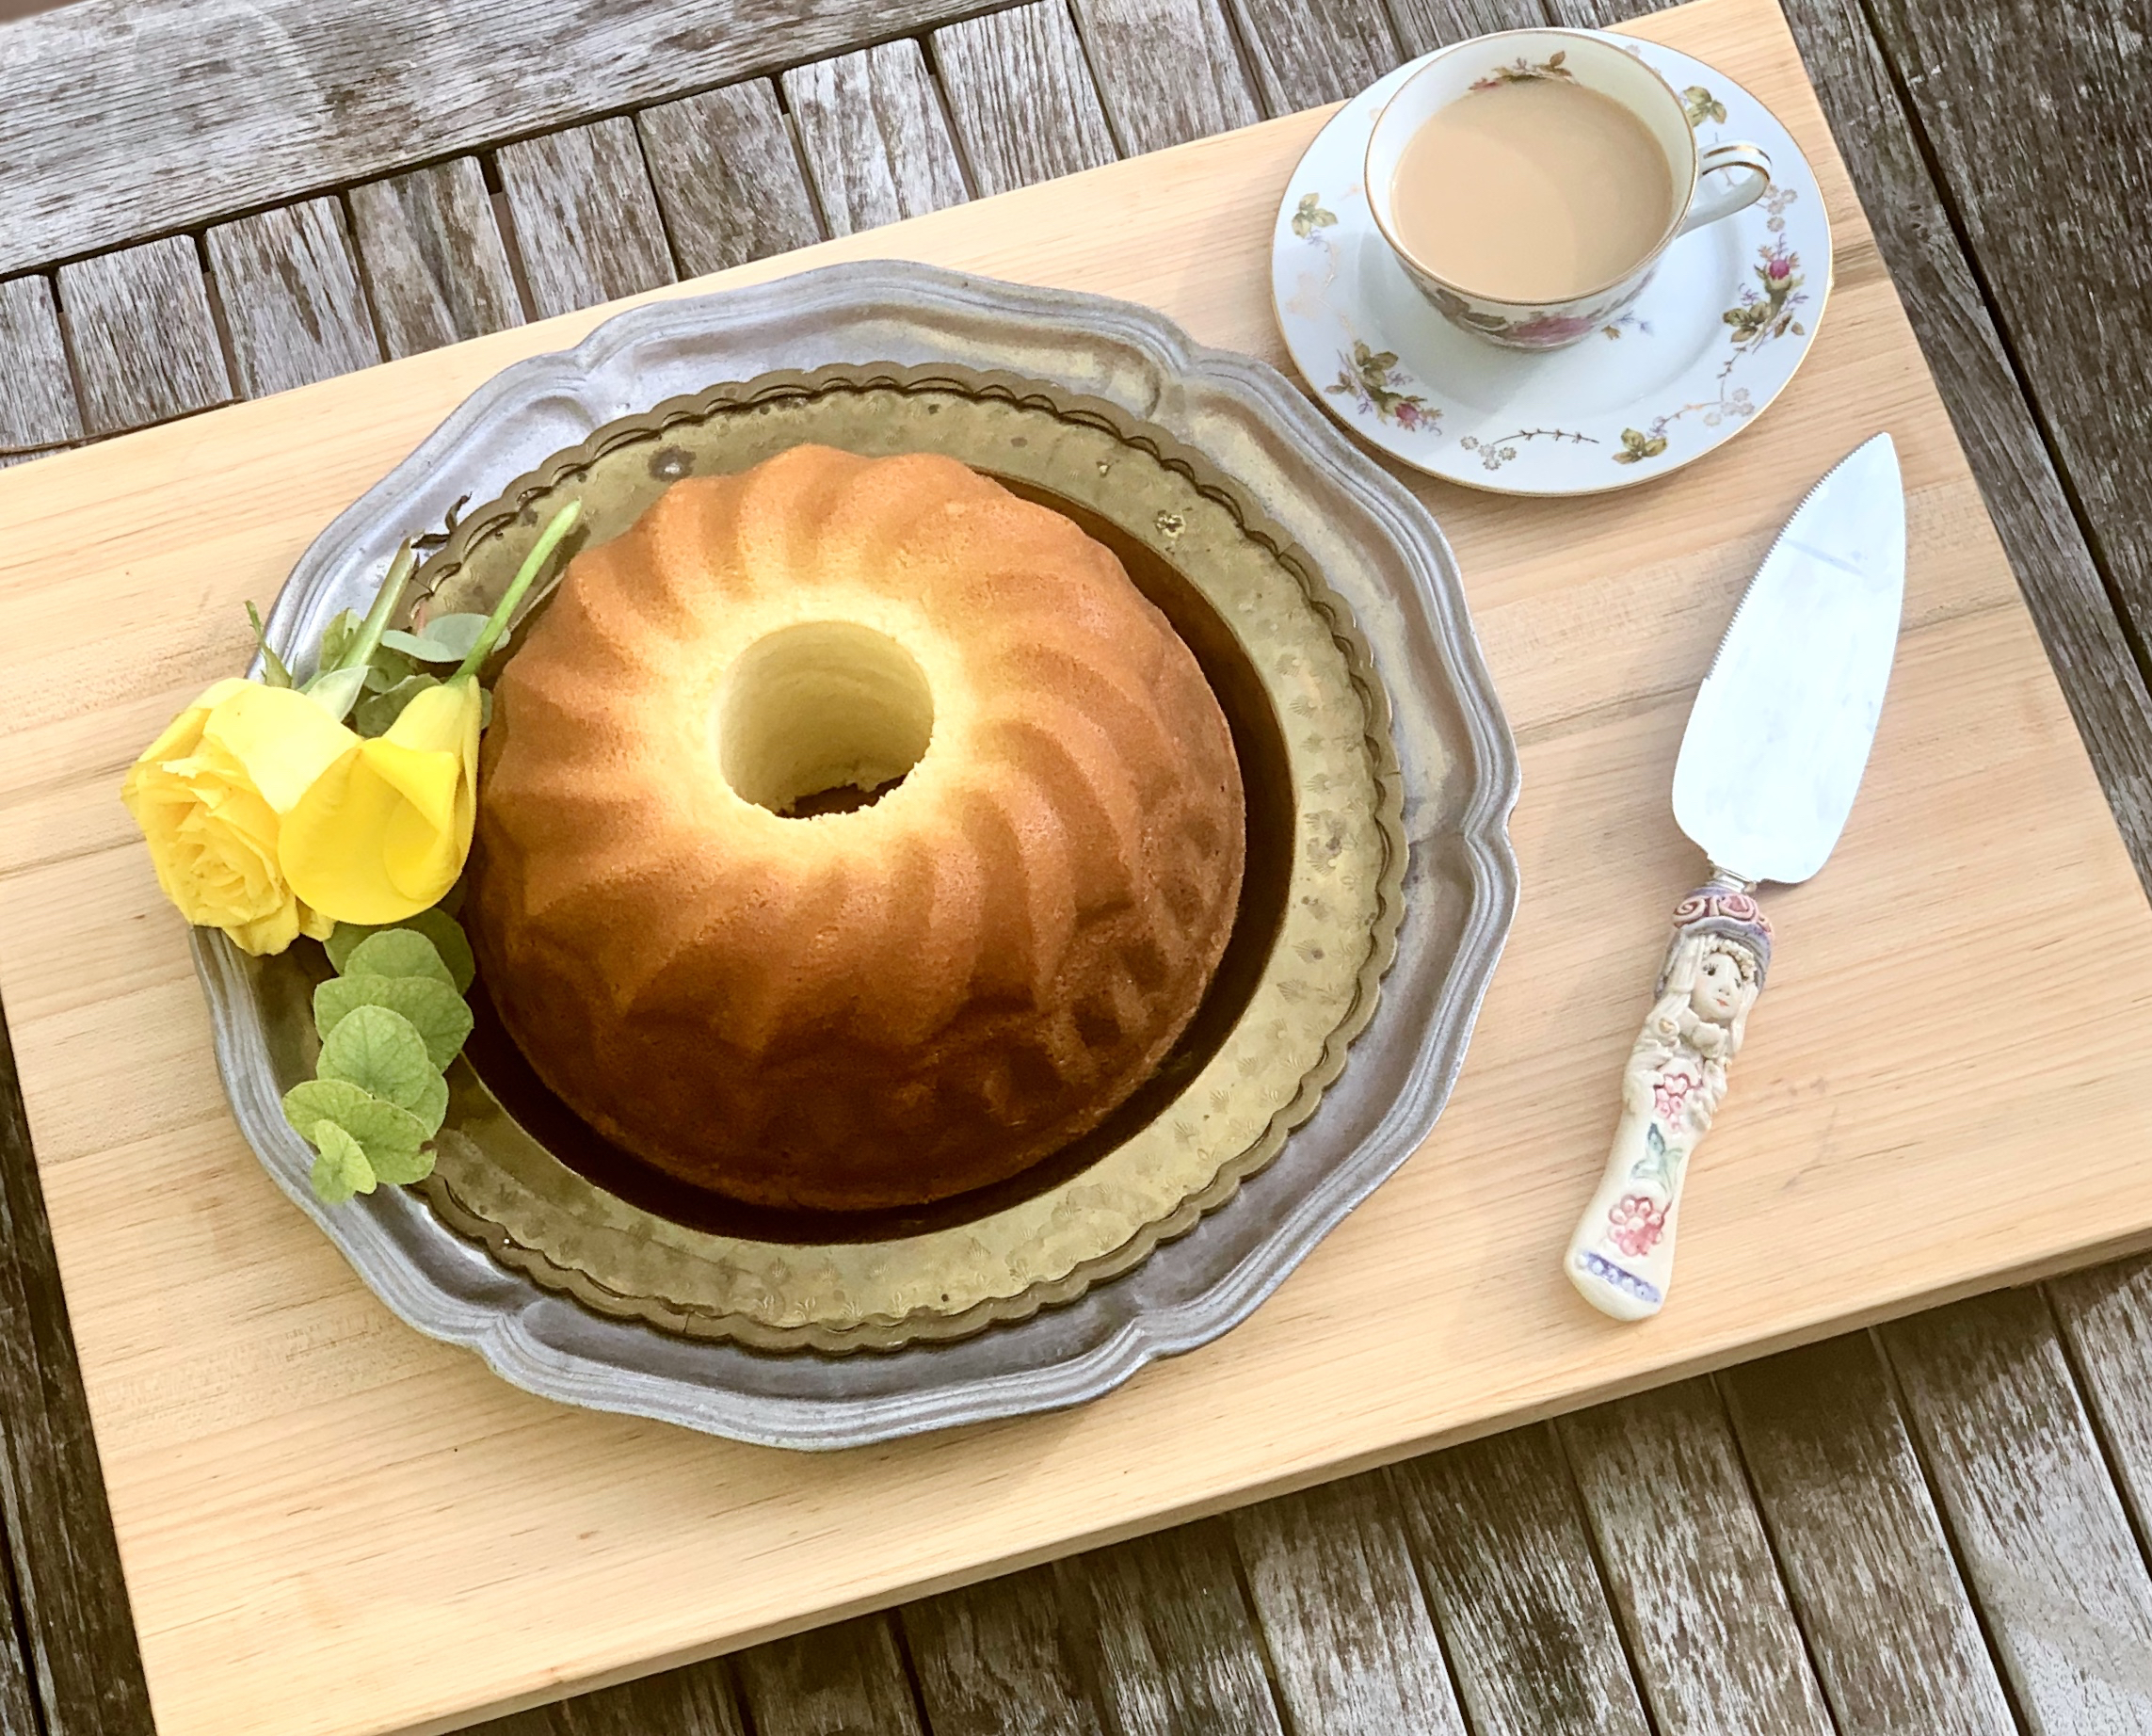
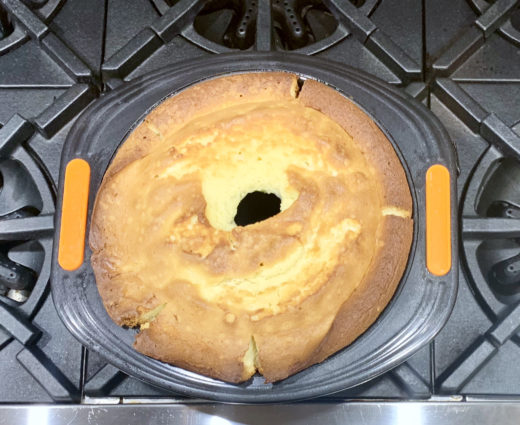
I followed the recipe exactly, and I must say that this pound cake came out beautifully. It is so moist and delicious. The cream cheese and sour cream offer a creamy texture and a zippy flavor. The vanilla adds some sweetness too. It is a dense cheesecake, but it is not heavy–more like a thick cake. Feel free to experiment with toppings: fruity, sweet, and savory are all fair game.  Sally really nailed it and so will you. 

This recipe is courtesy of Sally’s Baking Addiction and will serve 12 to 14 people who will love this delicious dessert.

Ingredients for Perfect Cream Cheese Pound Cake:

1 and 1/2 cups (3sticks) unsalted butter, softened to room temperature
8-ounce block full-fat cream cheese, softened to room temperature
2 and 1/2 cups granulated sugar
1/3 cup sour cream, at room temperature
2 teaspoons pure vanilla extract
6 large eggs, at room temperature
3 cups cake flour 
1/2 teaspoon baking powder
1/8 teaspoon salt

Preheat oven to 325 degrees.

Generously grease a 10 to 12 cup bundt pan with butter or nonstick spray.

Using a handheld or stand mixer fitted with a paddle or whisk attachment, beat the butter on high speed until smooth and creamy, about 2 minutes.

Scrape down the sides and up the bottom of the bowl with a rubber spatula.

Add the cream cheese and beat on high speed until completely smooth and combined, about 1 minute.

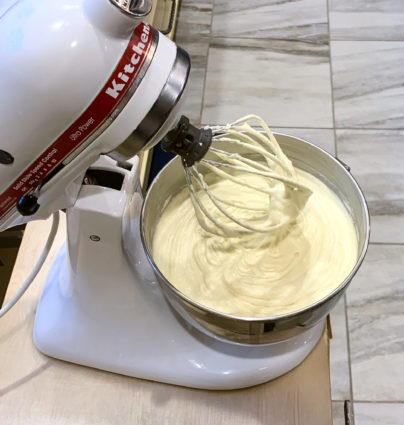
Add the sugar and beat on high speed until combined, about 1 minute, then add the sour cream and vanilla and beat on high speed until combined and creamy. 

Scrape down the sides and up the bottom of the bowl with a rubber spatula.

On low speed, beat the eggs in 1 at a time allowing each to fully mix in before adding the next.

Careful not to overmix after the eggs have been added. Once the 6th egg is combined, stop the mixer and add the cake flour, baking powder, and salt.

Beat on medium speed *just* until combined. Do not overmix.

Using a rubber spatula or sturdy whisk, give the batter a final turn to make sure there are no lumps at the bottom of the bowl. The batter will be a little thick and very creamy.

Pour/spoon batter evenly into prepared pan.

Bang the pan on the counter once or twice to bring up any air bubbles.

Bake for 75-95 minutes.

Loosely tent the baking cake with aluminum foil halfway through baking time to ensure the surface does not over-brown. The key to pound cake is a slow and low bake time.

Use a toothpick to test for doneness. Once it comes out completely clean, the pound cake is done.

This is a large heavy cake so don’t be alarmed if it takes longer in your oven. If it needs longer, bake longer, but leave the tent on. (I baked mine for 100 minutes.)

Remove cake from the oven and allow to cool for 2 hours inside the pan.

Then invert the slightly cooled pound cake onto a wire rack or serving dish.

Allow to cool completely.

It’s that simple!


signature

[recaptcha]